
Composition in a photograph is the way in which you have all the elements of the scene within the frame. It will depend on it that your work is more or less attractive, in fact the composition is one of the most important keys (if not the most important) for your photography to stand out from the rest. In today's article I intend to teach you some tricks so that you can master the center of interest, your main tool in the composition game. But to master something, you must first know what it is.
WHAT IS THE CENTER OF INTEREST IN AN IMAGE?
Every photograph must have a main reason to look at the eyes of those who contemplate it. If you look at a photo and your gaze is dispersed in the chaos of the scene, you will immediately lose interest, the image will have no appeal even if it is technically perfect in terms of color, light, sharpness, focus ... With an image you intend to tell a story, To transmit, therefore, like any history worth its salt, it must have a main element or protagonist. No matter what it is, it can be from a person to a button, but it must be the center of your picture, the one that stands out and I don't mean to be in the center, any of that, but to be the first thing see your eyes when they look at the image, that your gaze is directed directly at that element, that there is no doubt about what the photo is about, what it talks about. Having a center of interest or not having it makes the difference between a great photo and an image without interest. Do you want to know how to highlight your center of interest? Keep reading and you will see that there are many (and very easy) ways!1. RULE OF THREE THIRDS
The easiest and most extended way to highlight an element within an image is to place it in one of the points known as points of interest, since that is precisely what they achieve. If you place your element in the center of the image, you will most likely lose prominence, so that it stands out, it is best that you place it in one of these points, which are those that result from dividing an image into three parts through two lines, both horizontal and vertical.2. FUND
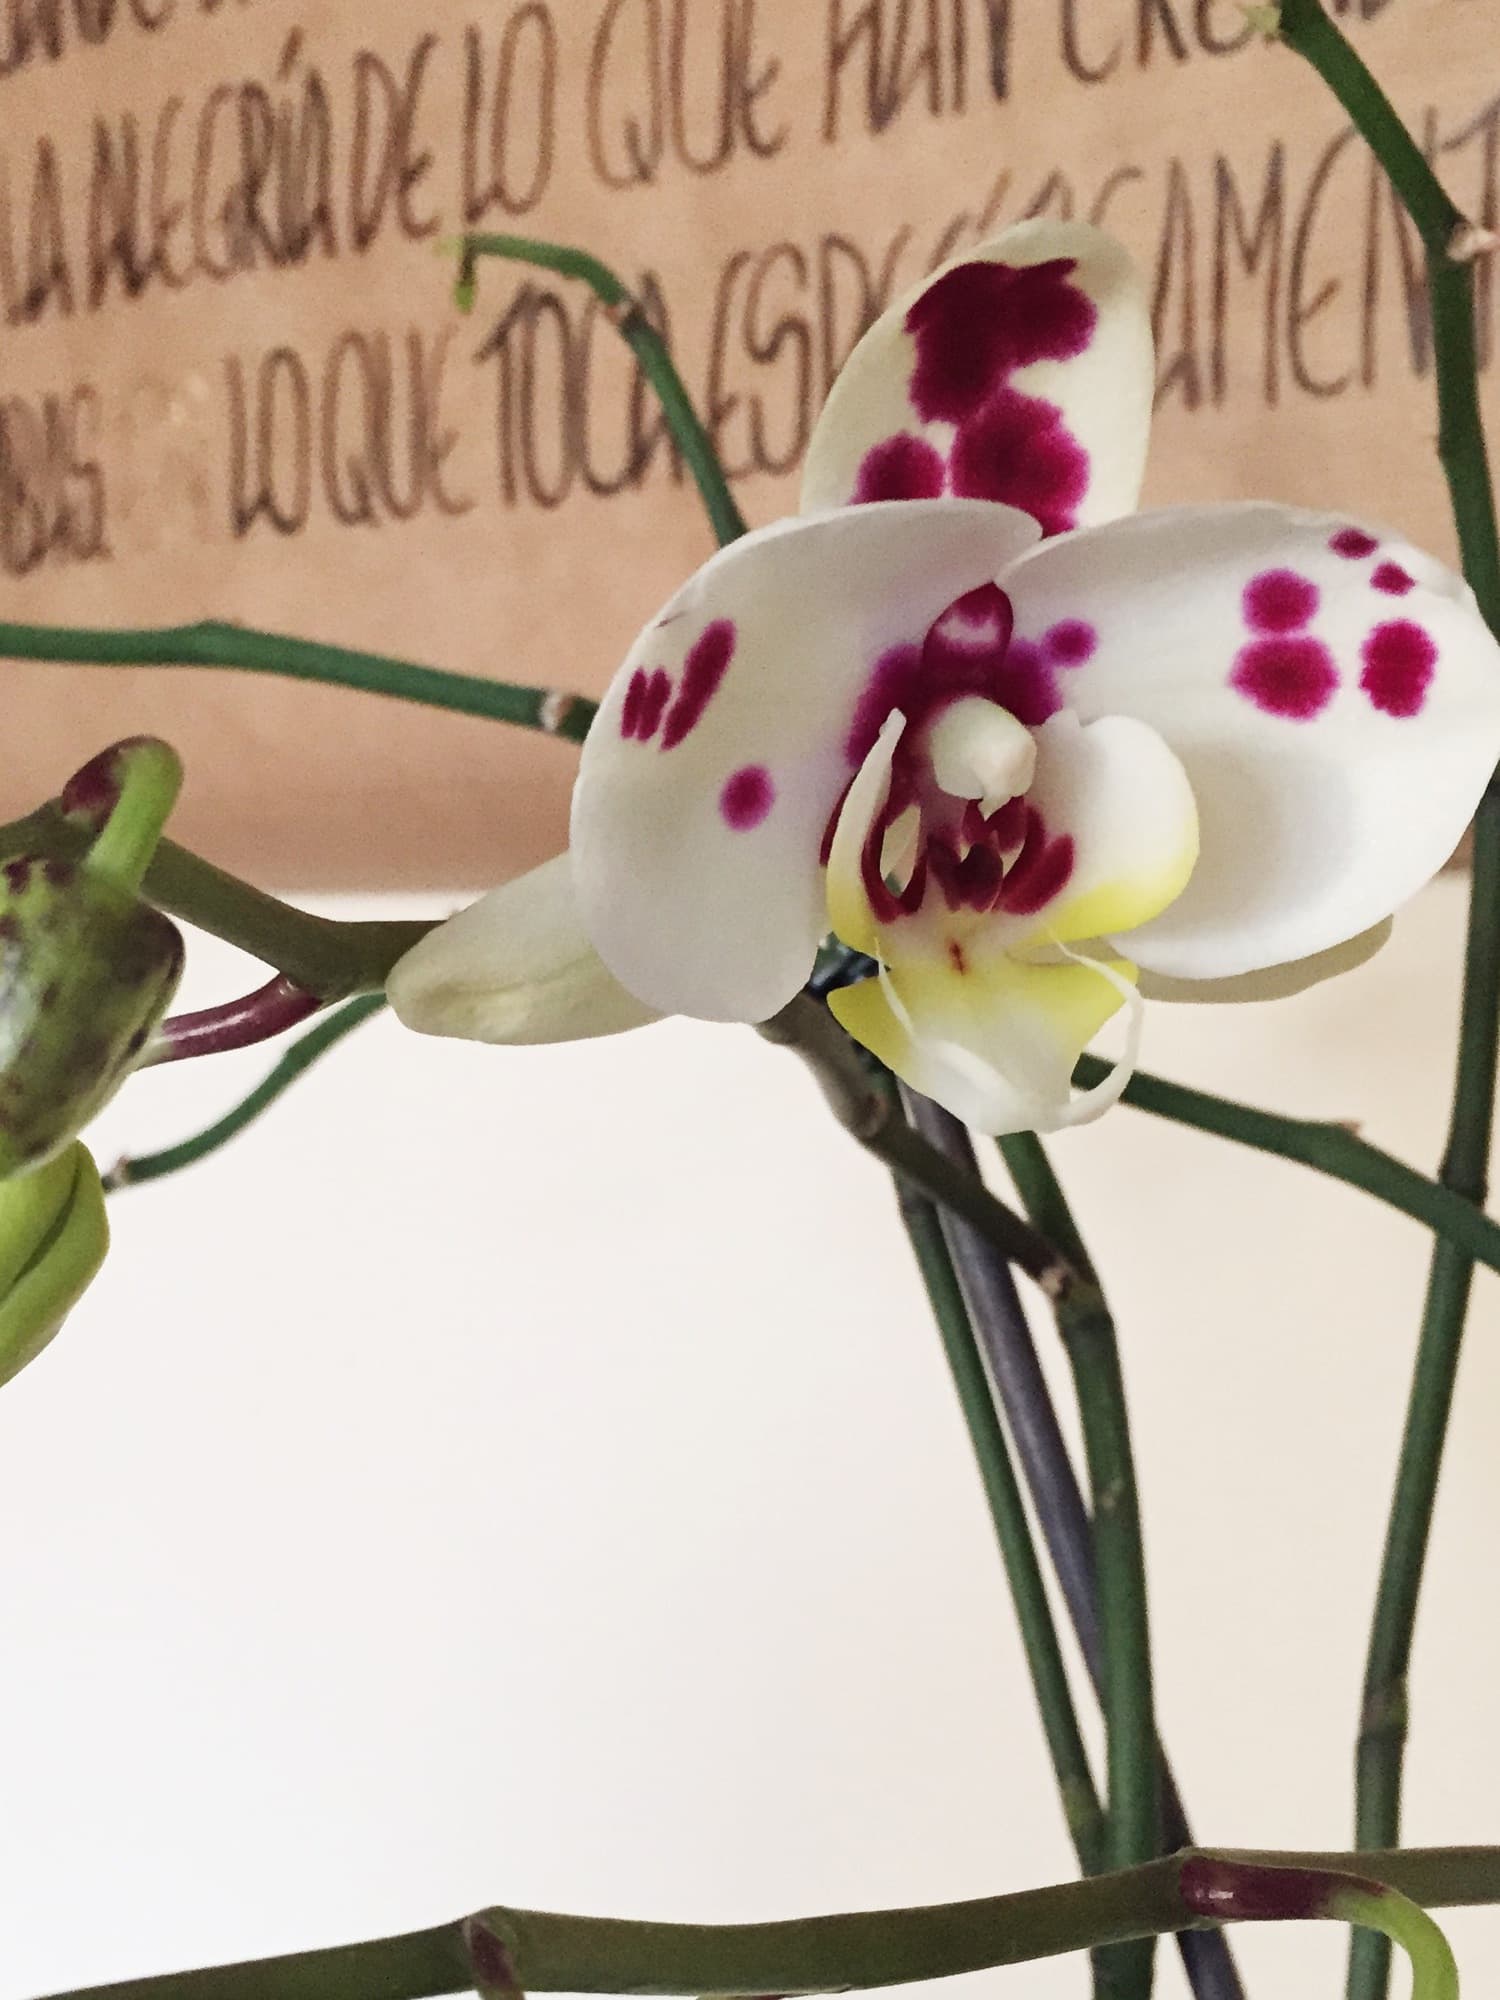
The background when highlighting the center of interest in a photograph is crucial. I explain why. The protagonist of the scene can be very clear, for example your pet that is beautiful and is sleeping peacefully on your sofa, but if your sofa is patterned, it can completely distract attention and look not knowing if to go to your sweet kitten or towards The patterned fabric. Here you have an example with flowers, in the first image, the background of letters distracts completely and as much as you know that the theme is the orchid, the attention is distracted and the center of interest ceases to have "interest", while in the Second image, it is very clear which is the center in theory and in practice, don't you think? In short, look for plain backgrounds that do not distract attention or completely out of focus so that they do not detract from your center of interest. And if you want to know more about funds for your photographs, be sure to read this article from my partner Alexa.3. LINES
The lines are also an excellent compositional element by themselves, but they are also ideal for driving the gaze towards the center of interest. Here is a sample of it, taken by Emilio Chulia.4. BLUR
A good trick to highlight the element that you have chosen as your center of interest is to play with the depth of field , in this way you will concentrate all the attention on it if there are elements around that can compete with its prominence.5. NEGATIVE SPACE
The negative space is the part of the image that does not contain information or that is so irrelevant that it lacks interest and that is used precisely to give more prominence to the element that you have decided to highlight. The negative space around your protagonist will make the attention go directly to the center of interest. If you want more information do not miss the article how to get splendid compositions thanks to the negative space .6. RHYTHM
It's not about putting music on your protagonist to dance, if that's what you're thinking . You create the rhythm visually by capturing certain elements within your frame repeatedly, that is, including in your scene a series of elements that are repeated repeatedly and constantly. If at that rate you suddenly get another element that completely breaks the sequence, it will immediately become the center of interest of your photography and also add tension and appeal to the rhythm of your image.7. NATURAL FRAMING
Another way to highlight an element in an image is to frame it with another element that is part of the image. This is known as natural framing (we dedicate a weekly challenge, in case you want to take a look at the gallery and take ideas). By putting a "frame" you will give greater prominence.8. CONTRAST
You can use the contrasts to highlight your center of interest, and you can do it in several ways. COLOR CONTRAST If the whole image has the same hue and suddenly an element of a totally different color appears, the attention on your protagonist is assured. Look at this example: CONTRAST OF LIGHT Imagine a stage, all in the dark and the spotlight focusing just the artist. This is not just because it looks beautiful, it is for the public to focus all attention on him or her. The same goes for photography, if you get the light to fall on the element you want to get attention, you will make it stand out much more. Maybe with an example you see it better.9. PERSPECTIVE
On some occasions we cannot avoid the distracting elements, either because we cannot blur them or cannot eliminate them. Luckily there is a trick to overcome this obstacle and is to change perspective. By changing the angle of shooting you can change the background or eliminate any element that may diminish your center of interest. Try the different perspectives until you find the most suitable for your element to stand out from the rest. Remember to look for an item of interest before shooting with your camera. Once you have it located, apply some of these tricks that I have talked about (or several) and you will surely get an impressive photograph. If I were you, I would be looking forward to finishing reading this to take my camera and practice them, in fact I just had a terrible desire to go out to take pictures and that is what I am going to do, but not before thanking you for reading here and ask you, if it has been useful, share it on Facebook, Twitter or Google +. Thanks again and until our next photographic meeting!Use the online HTML, CSS, JavaScript tool collection to make websites easily.
