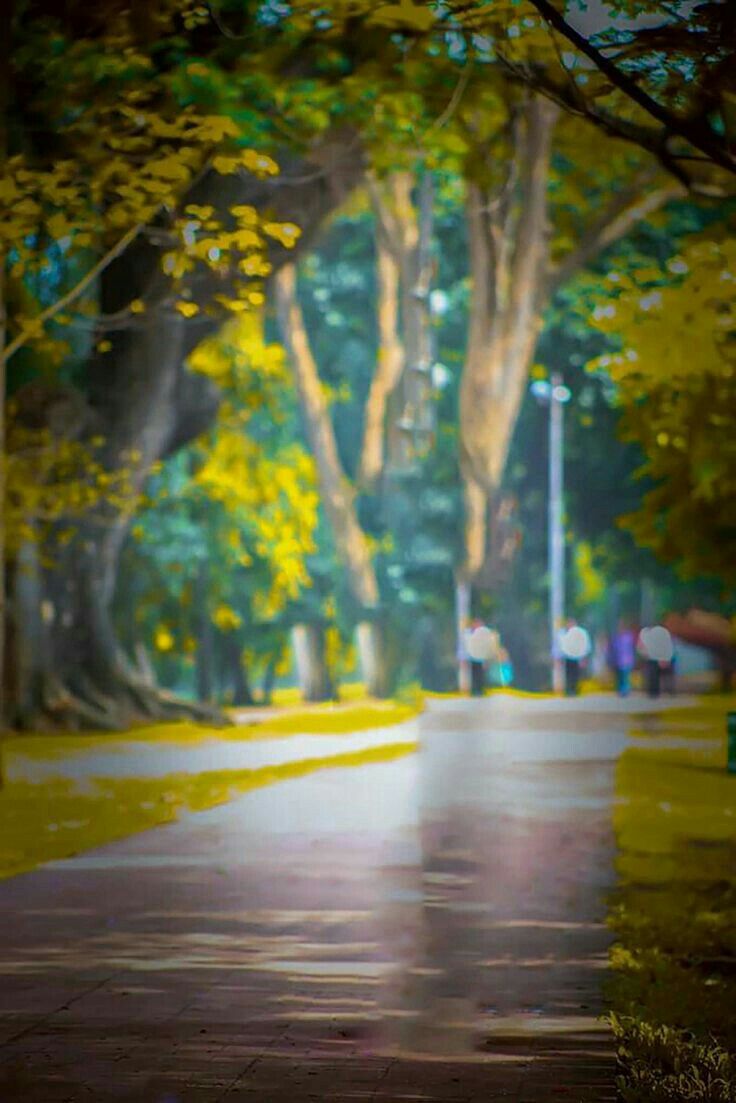
The blurred background (or background) allows you to remove distracting elements and focus the viewer's attention on the main subject. The most correct - even at the stage of shooting, blur the background with the help of optics, an open aperture and the correct choice of focal length, but you can reproduce this effect a little in Photoshop. Let's look at how to make the background blurry in Photoshop. Open a photo in Adobe Photoshop. First, create a copy of the original layer. To do this, you can either select the menu item Layer / “Layers” ? Dublicate Layer ... / “Duplicate a layer ...” , or use the mouse to drag the layer icon onto the icon for creating a new layer in the layer panel. Like other effects, blurring is best applied to a copy of the original layer. Click on the top layer. If you just blur the background in Photoshop and leave only the girl sharp, the picture may look unnatural. In order to achieve a more realistic effect, it is necessary to emulate shooting with an open aperture and a shallow depth of field. With this kind of shooting, blurring is smooth. The farther from the focus point, the stronger. We are now trying to achieve such an effect. The blur options are not very large, for starters 5-10 pixels will be enough. Click Ok and we see that the image on the screen has become blurry. Now duplicate the original Background layer again . The double will appear on the top in the layer panel with the name “Background copy 2” . Again, apply the Gaussian Blur filter to this new copy of the original layer , but this time set the blur radius more than in the previous case. We got 12 pixels. The last time we repeat the sequence of actions - copy layer ? blur copy. Now we set the blur radius even more, about 30 pixels. But the specific value will depend on the size of your image. As a result of these operations, we get 4 layers - the original sharp layer and three layers with blur, while the degree of blur increases with each layer. Now our task is to make a smooth transition from strong to weak blur, depending on the distance from the objects to the girl (she should be in focus and sharp). The most correct is to draw “sharpness” by the mask manually, because only you can determine the remoteness of objects in the photo; Automation cannot do this. But we will go in a simpler way. Add a mask to the topmost layer, since it has the greatest degree of blur. A mask is a kind of stencil. In those places where it is black, the areas on the layer to which it is applied cease to be visible. White areas are fully visible. Therefore, to achieve a smooth and natural effect, the Gradient Tool / Gradient Tool will come in handy . Select a gradient with a transition from white to black and superimpose it on the image from top to bottom. Thus, only the upper part of the blurred layer remains, which smoothly “disappears” and opens the underlying layer, where the blur is not so strong. So we got a smooth transition between the two degrees of blur. We perform a similar operation on the Background Copy 2 layer with an average degree of blur. Only in it it is necessary to make a smooth transition from the middle part of the frame to the bottom, which means that the center of the gradient should be lower than in the previous case. While we do not pay attention to the fact that the girl’s figure is also blurring, we will deal with this later. The blur in the photo already looks quite natural, there is one small touch left - to blur the foreground. Click on the Background Copy layer , which has the slightest blur, add a mask to it and apply a gradient. Now we need to make sure that only the girl’s figure remains sharp. In fact, we need to add another mask to each of the layers with blur, which will hide the blur on the figure of the girl. In order not to draw identical masks three times, we proceed as follows. Add a new folder using the command Create new group / "Create a new group" in the lower toolbar in the layer panel. In the folder that appears, move the mouse with three layers with blur and their masks. It is important to observe the sequence of layers and transfer them in the same order in which they were. Now you can add a mask to the folder. It will affect all the layers that are combined in this group - very convenient. Using the black mask of the group, gently paint over the girl’s figure with a black brush. To achieve the best effect, work should be done at 100% increase in the frame, changing the characteristics of the brush. As a result, we got a shot with a naturally blurred background, and we learned how to blur the background in Photoshop.
How to blur the background in Photoshop


