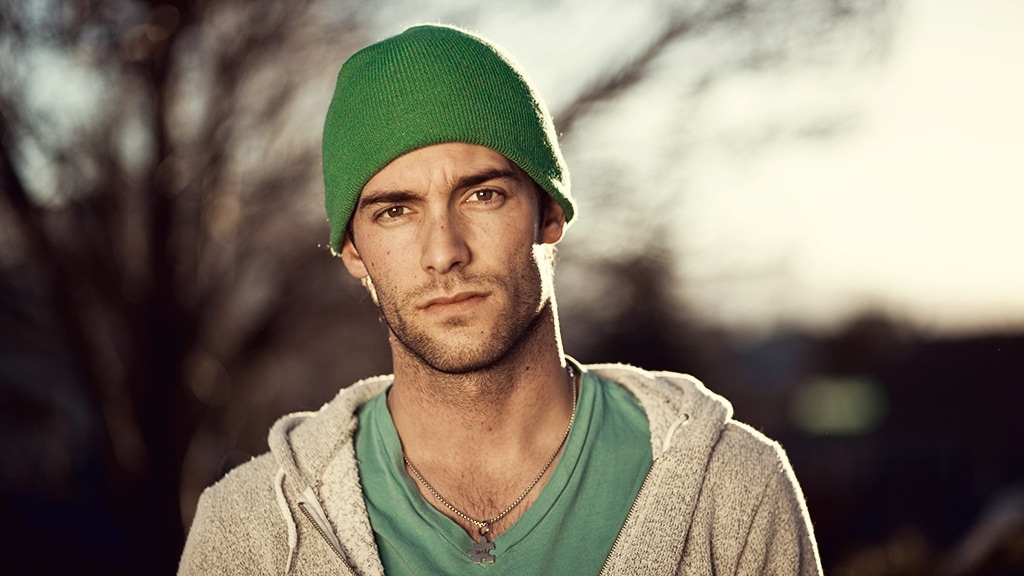
There are several reasons that can lead us to want to make a self-portrait. You realize that you have photos from all over the world but you never go out, you need a model, you want to put into practice the photography tips that you read on the blog or in this mega guide on portrait photography (which you cannot miss or you will regret it) , you don't want to waste your beauty or your grace ? or you want to immortalize an important moment in your life and you don't have anyone to portray you... Surely something similar has happened to you and if not... time to time, sooner or later You will see yourself in one of the above situations.
That is why I am writing this article today with tips and tricks, to make this task easier for you, which is not as simple as it seems, but it is not impossible either.
The two most common ways of self-portraiting are "here I catch you here I'll kill you" or something a tad more curated. The first option is when we stand in front of a mirror and shoot handheld (please, in that case, stay away from bathroom mirrors and don't use flash), or when we stretch out our arms like Inspector Gadget. This last option is useful, for example, if you are traveling alone and you want to take a picture of yourself with a monument in the background (make sure that your arm does not come out or cut it out later from your computer).
Surely you have already experienced these two methods, now if what you want is a proper self-portrait, keep reading.
TIPS FOR GETTING GREAT SELFIES
1. Arm yourself with patience. I have already told you that it is not an easy task. You will have to spend time and patience. Try again and again, shoot many times until you find the expected result and this time it is not from the comfort of being behind the scope, this time you will have to go and look at the result from your position again and again...
2. Plan. It may seem strange to you, but a self-portrait is not just any photograph, a portrait has to convey your personality or an emotion. Find the right place and think about the costumes or props that you are going to use. You can also rehearse gestures and postures in front of a mirror. We usually have it easy with models, move like this or "asao" but since we don't see each other... then we can get surprises ? .
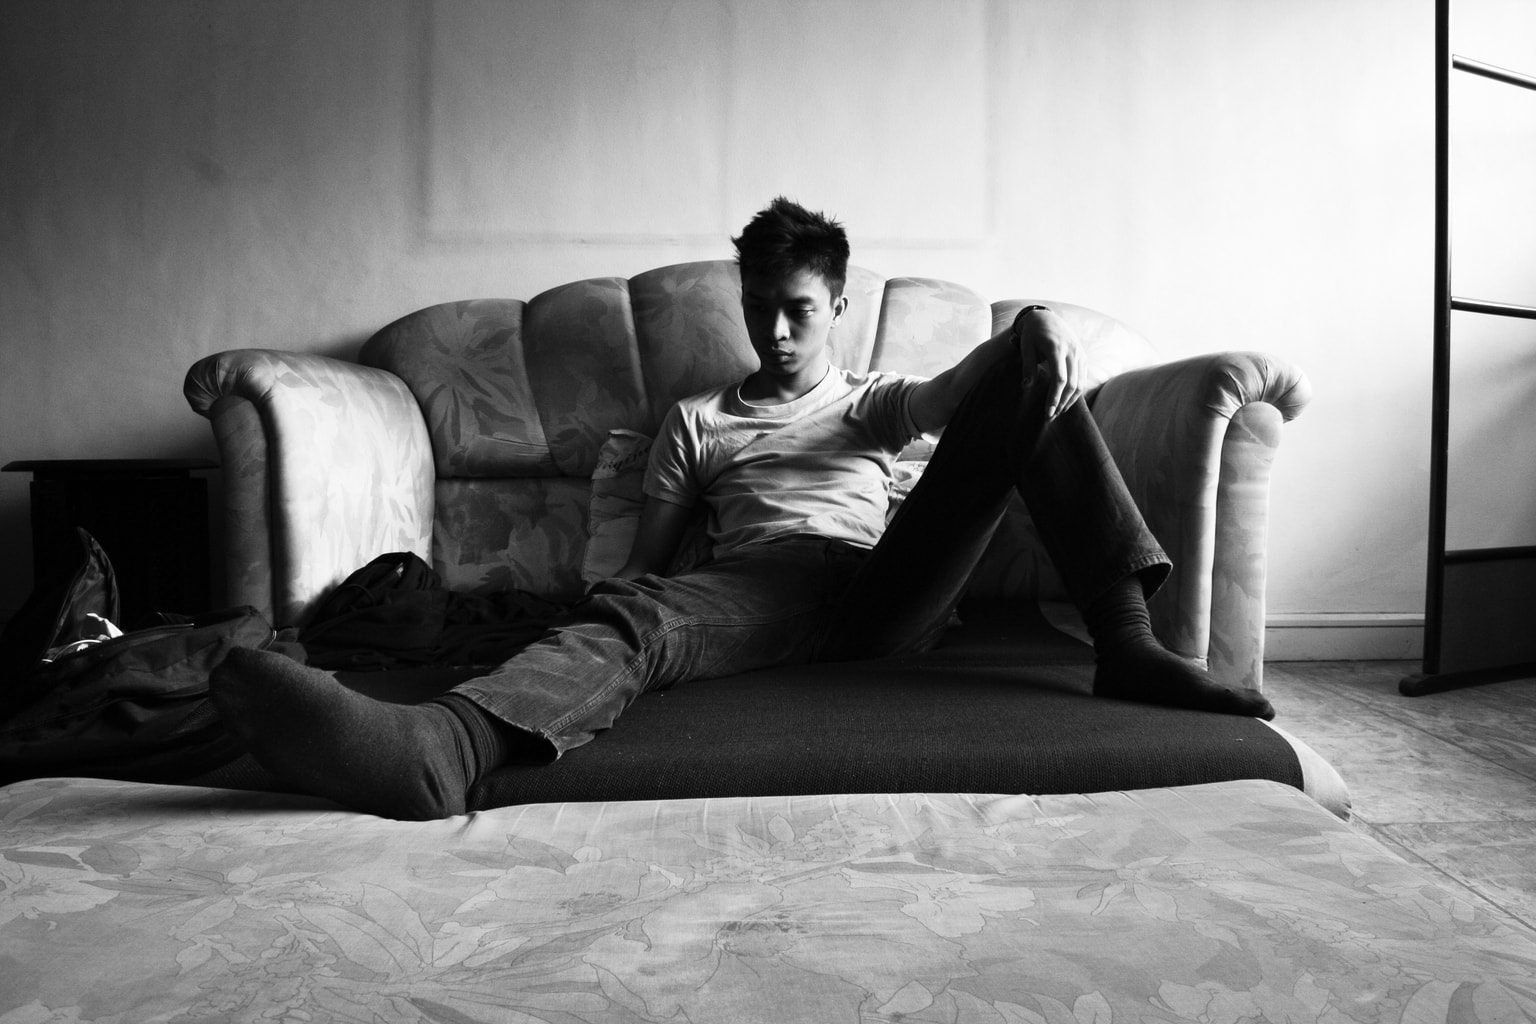
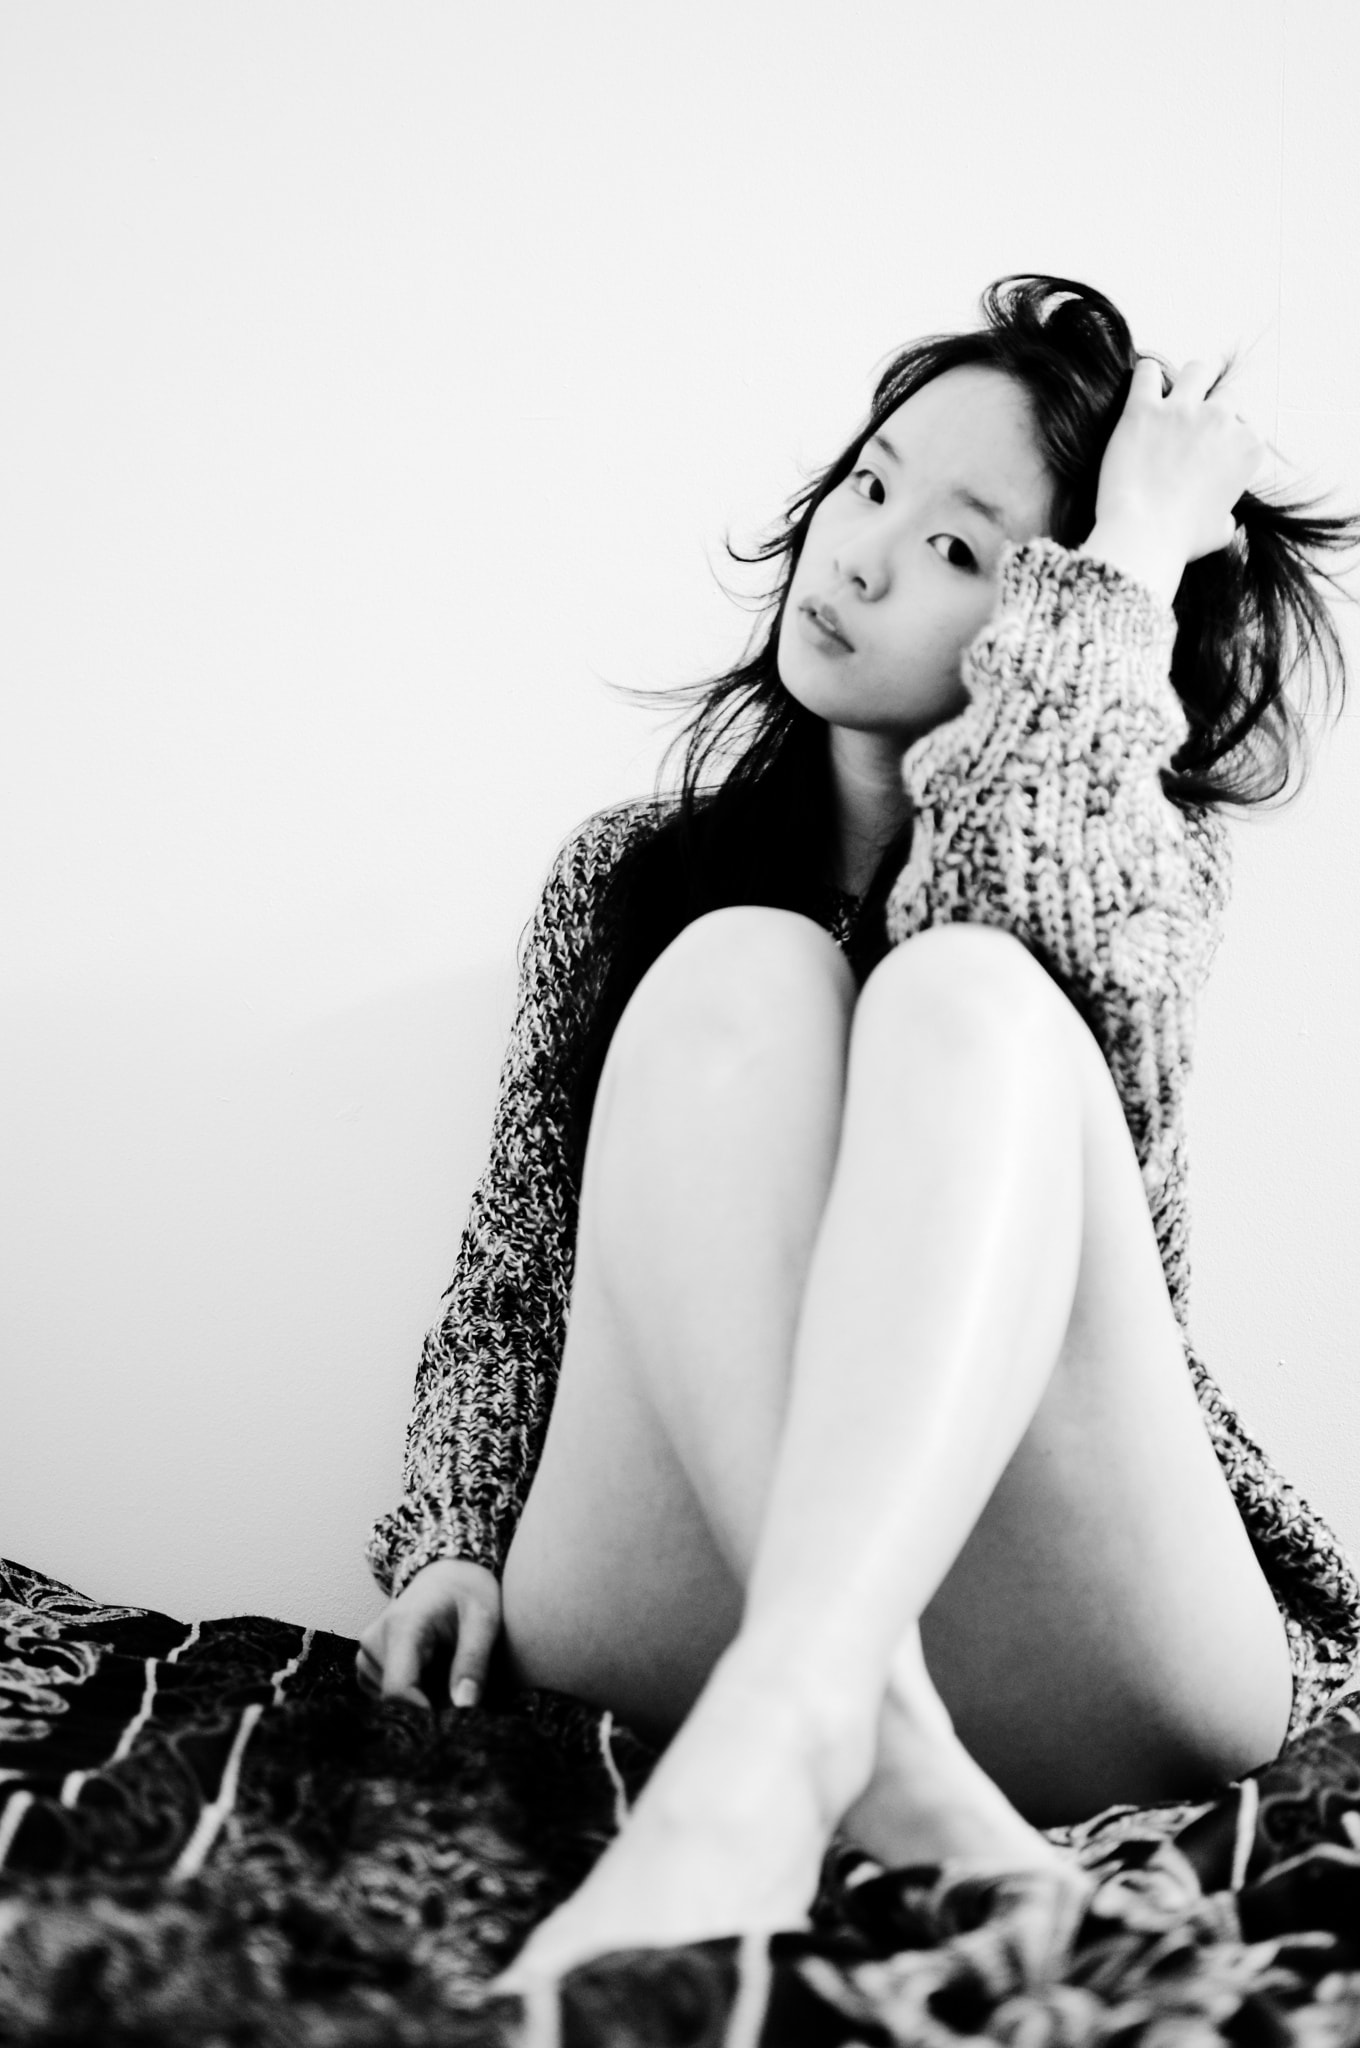
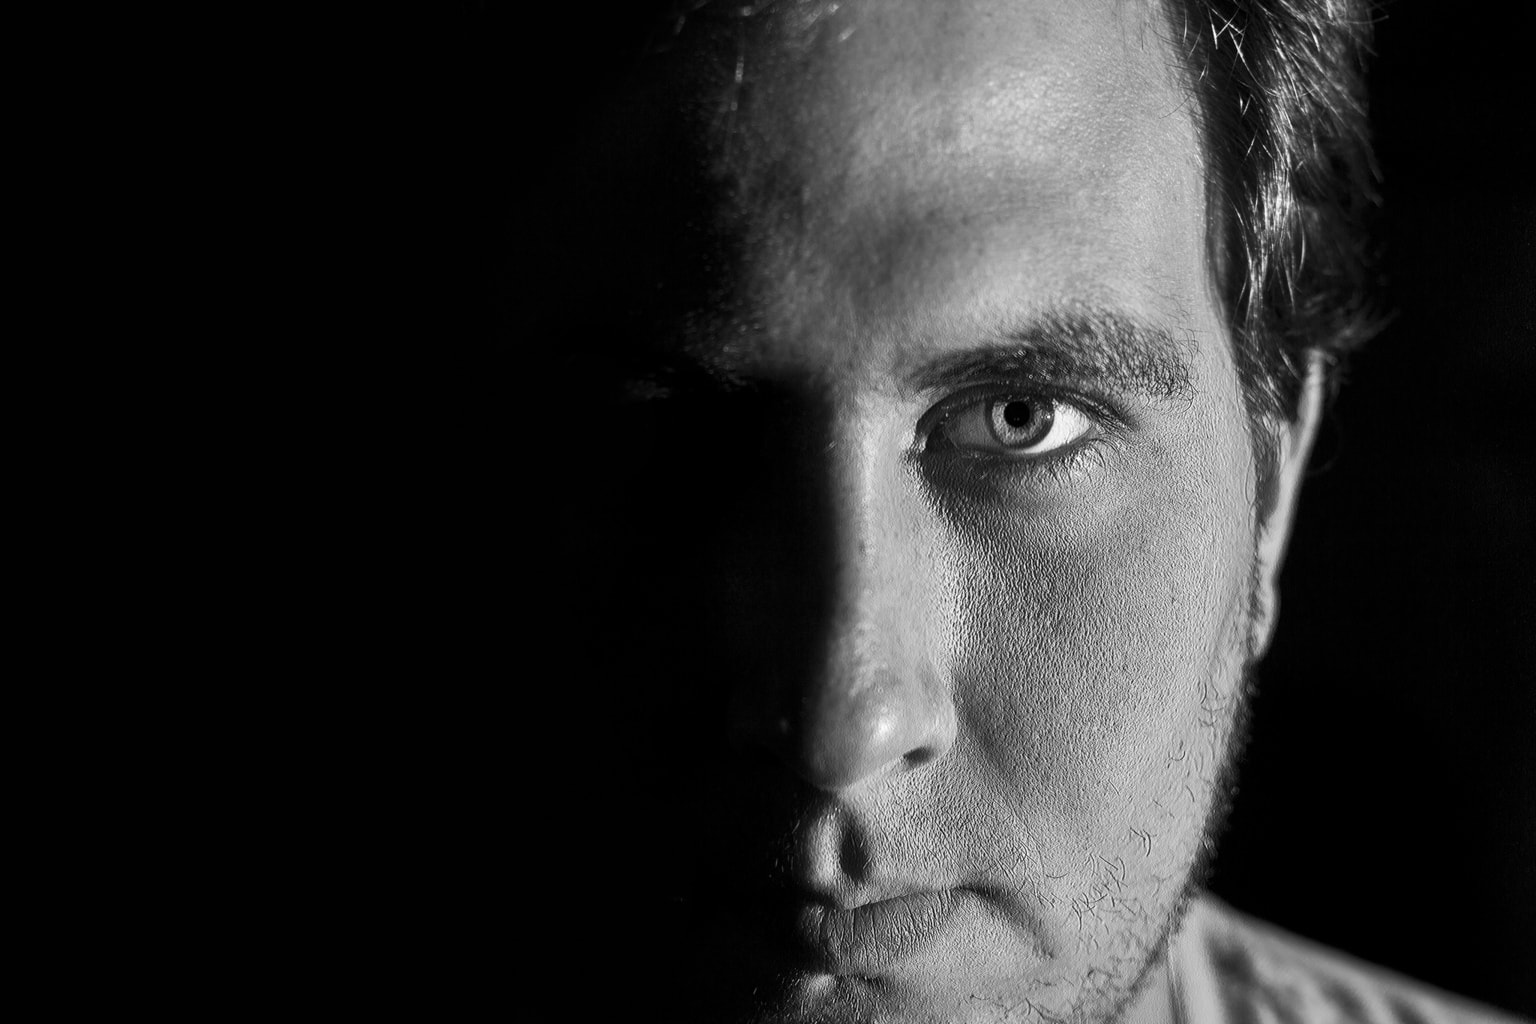
3. Take care of lighting. I remind you how to get stunning photos in natural light , although you can also use fill flash if necessary. The light will determine a large part of what you want to convey with your self-portrait, soft light, hard light, natural or artificial. Give it the importance it deserves.
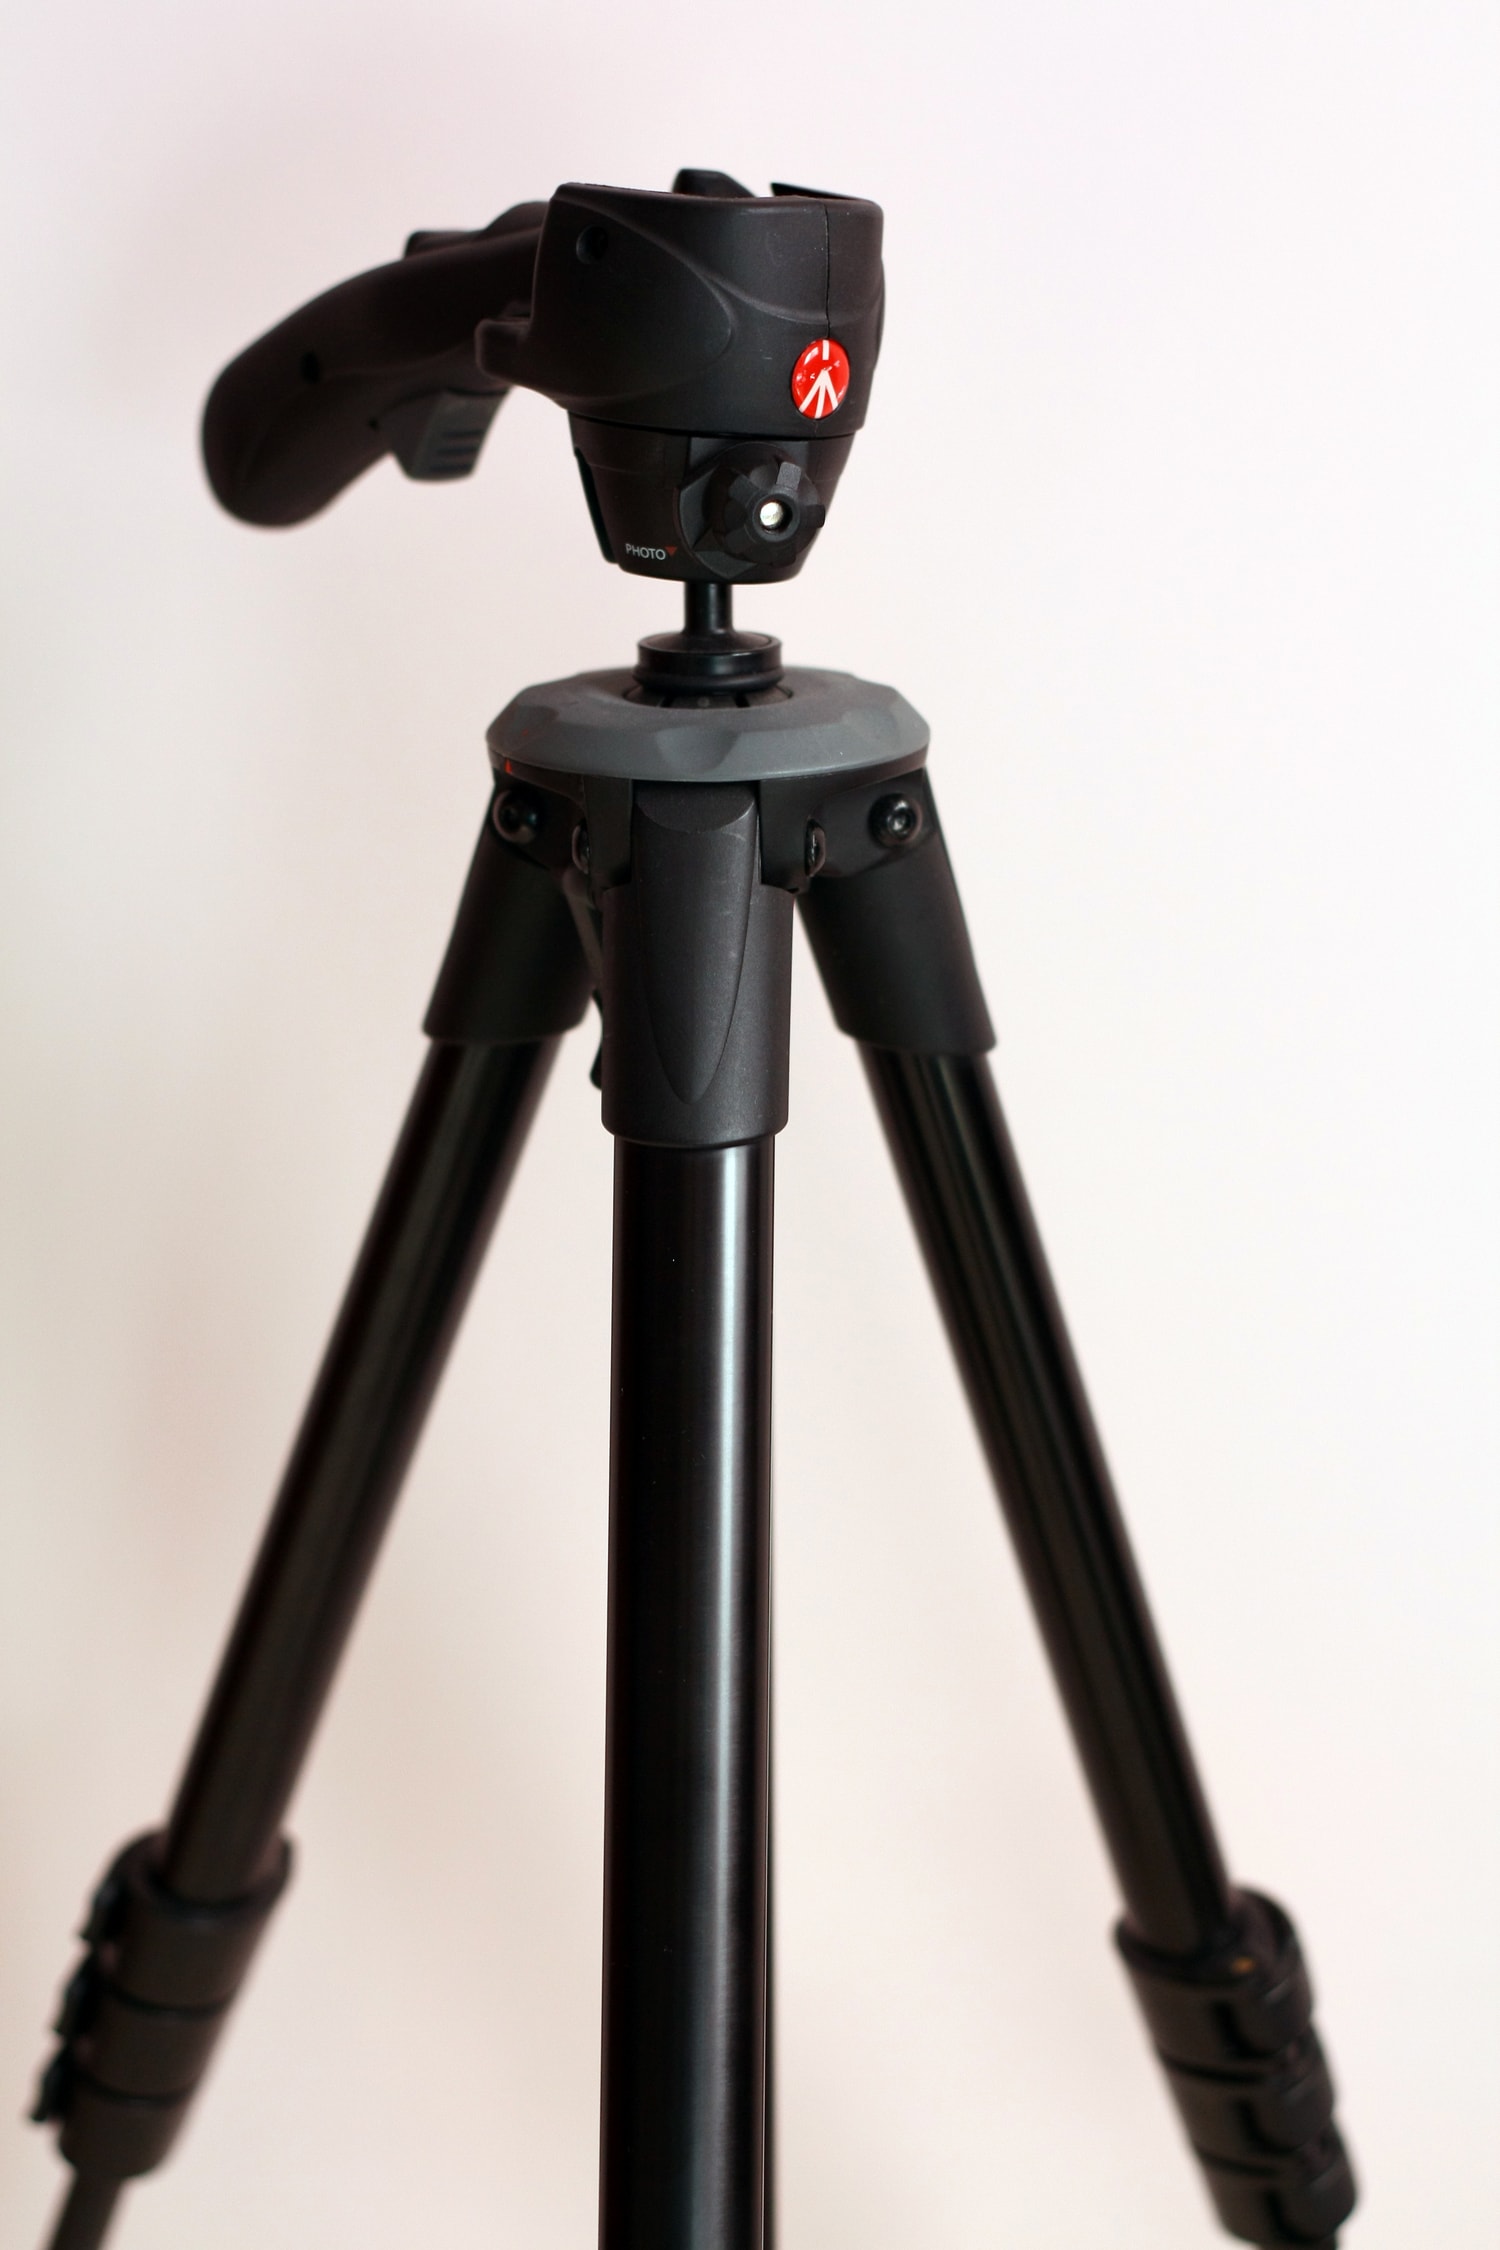
4. Use a tripod. It is the best option to hold the camera, although failing that you can place it on a firm surface, such as a table or a wall. If you don't have one but want to get one, in this guide we help you find the best tripod for you.
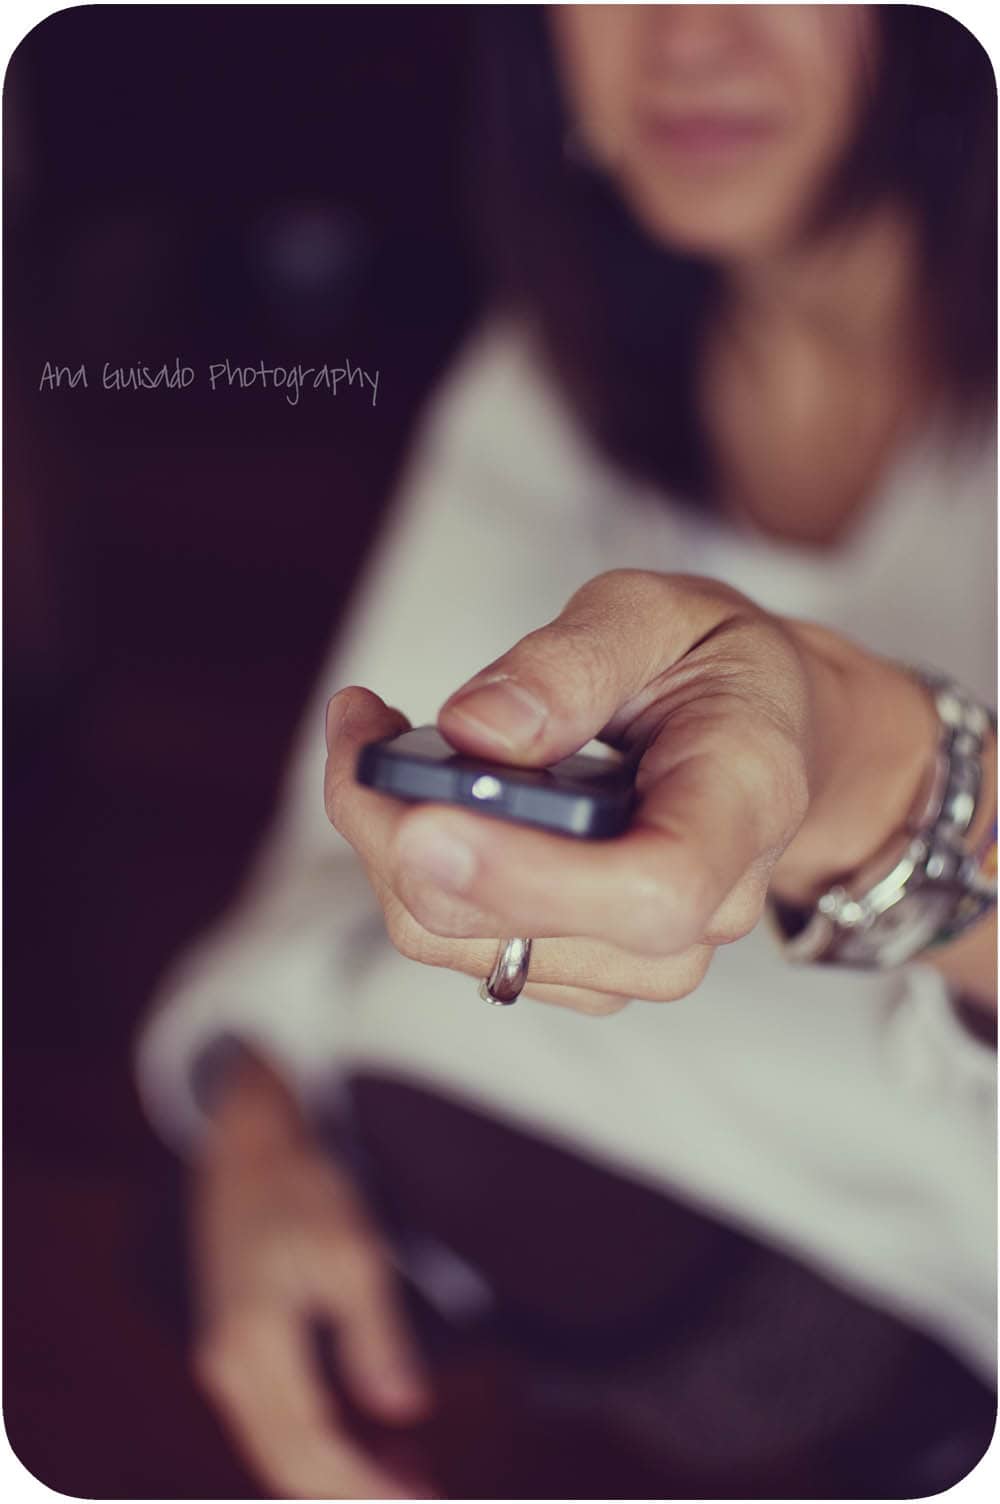
5. Use a remote or timer. The remote trigger is not essential, however it is very helpful, especially if you are at a considerable distance and no matter how much you run like Usain Bolt, you don't have time to press the button and return to your position. For about nine euros you can get one and I assure you that the result is worth it. The cable ones are even cheaper, but the distance will also limit you.
6. Frame well. Ok, this, along with the next point, are the most difficult to carry out, that's why I'm going to expand a little more on them, because it's very easy to say it but doing it is another story. It will be very likely that you shoot and when you go to check the result you find that you are not in the photo! Or only your arm appears or a blurred image of someone trying to get high... Don't worry, this is very normal for happen. To avoid this you can use several tricks:
- If you are lucky enough to have a rotating screen… you can skip these tricks because it will be easy for you to rotate the screen towards you, if not, keep reading ? .
- Put marks on the wall or on the floor to know where you have to stand.
- He uses a very wide frame and later cuts with a computer program. A wide angle will help you in this case.
- Framing close-ups is somewhat more complicated, since any slight mistake will make you disappear, leaving a sadly empty stage. If your camera has an LCD screen, you can place a mirror behind it and see the result reflected. If you're like me and you don't have that luck, get a doll or any other object and put it in the place where you will have to situate yourself later (be careful... don't forget to remove it later! ? ).
7. Focus well. Ains, how easy it is to say this and how difficult it is to do it, right? If you have already tried it, you will know what I am talking about, if not, you are lucky to have some tricks before you are disappointed:
- The easiest thing is to use a small aperture, or what is the same, a large depth of field (a high f number). This ensures that more elements of the photo are in focus.
- Another option is to activate all focus points automatically and wait for one to focus on us. It's a bit risky though and will cost you more than one trip to check.
To refine a little more and above all to get impressive portraits, of those that we have already told you about in other posts, and in which, for example, you blur the background or only focus on the eyes, there are also other tricks that work very well:
- Manually focus on a doll or similar, the same one that has served you for the framing can be worth it ? .
- Focus backwards. The distance between two points is the same from the point you measure it, right? So leave the tripod in place, stand where your mark is, focus and put the camera back in its place. Now you can position yourself and shoot!
- If you have a wall behind you, place a mark where you are going to stand. Place a string on the target that comes right up to the mark with the tip. Now manually focus on that mark, stand in front of it and tighten the thread by putting the tip just in front of your eye. If it is somewhat loose, remove the tripod, until the thread is taut. I tell you the eye because in portraits it is the part that should be focused, but if you want to experiment and focus your nose, for example, well, you know... the thread at the tip of your nose ? .
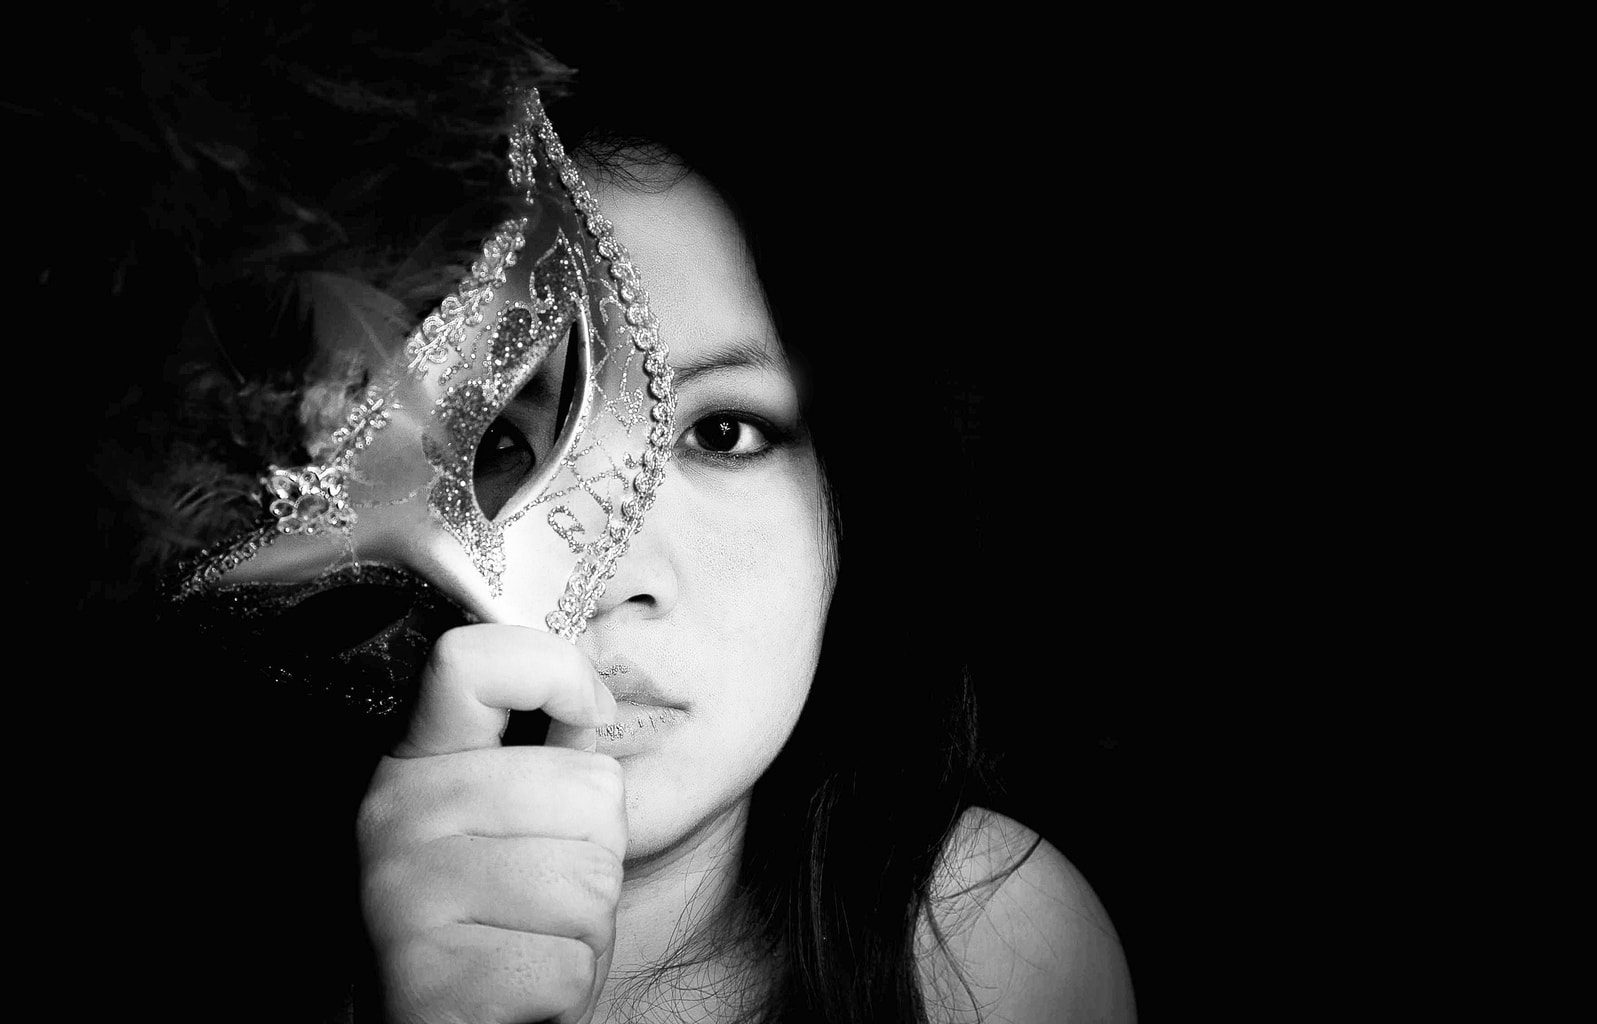
8. Shoot in a burst. If your camera allows it, shoot in burst mode, so it will be easier for one to come out decent. Mine, for example, does not allow burst shooting if I use the remote control, although it does with the timer.
9. Let your imagination run wild. Have fun, dress up, make faces, experiment! The session will be more enjoyable and you will last longer, which means more practice, more learning.
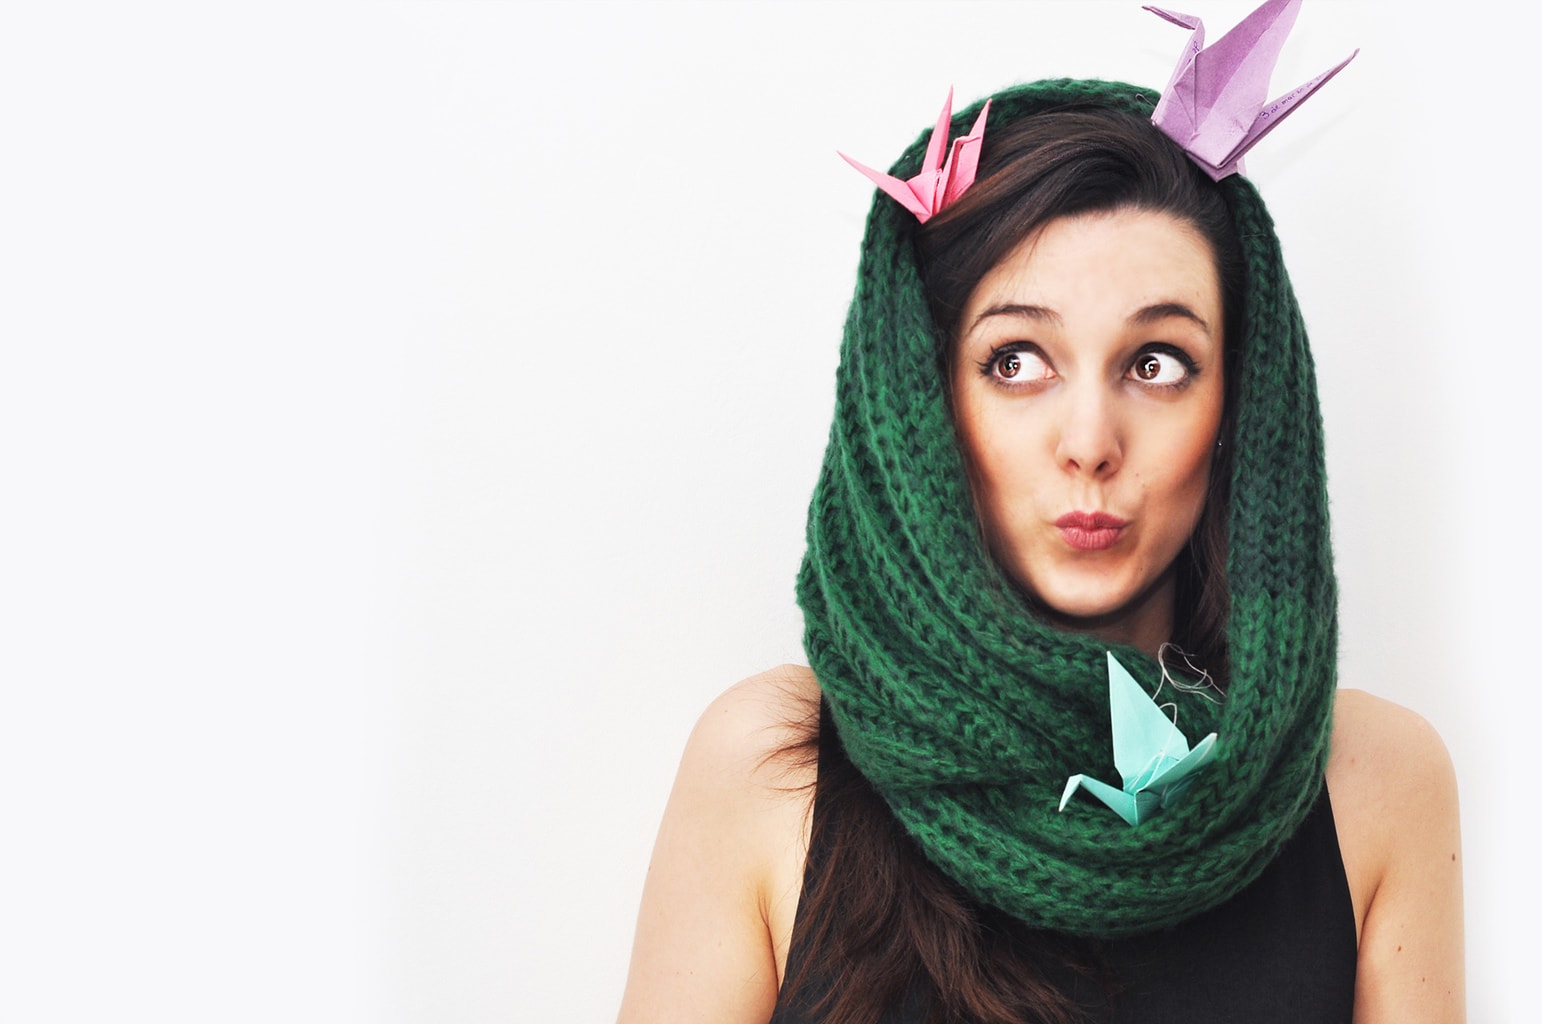
10. Take care of the composition and other aspects. Last but not least, I remind you that you must also take into account aspects such as the composition, the background or the harmony of the colors. If you want a refresher on the rules or advice on composition, read this article .
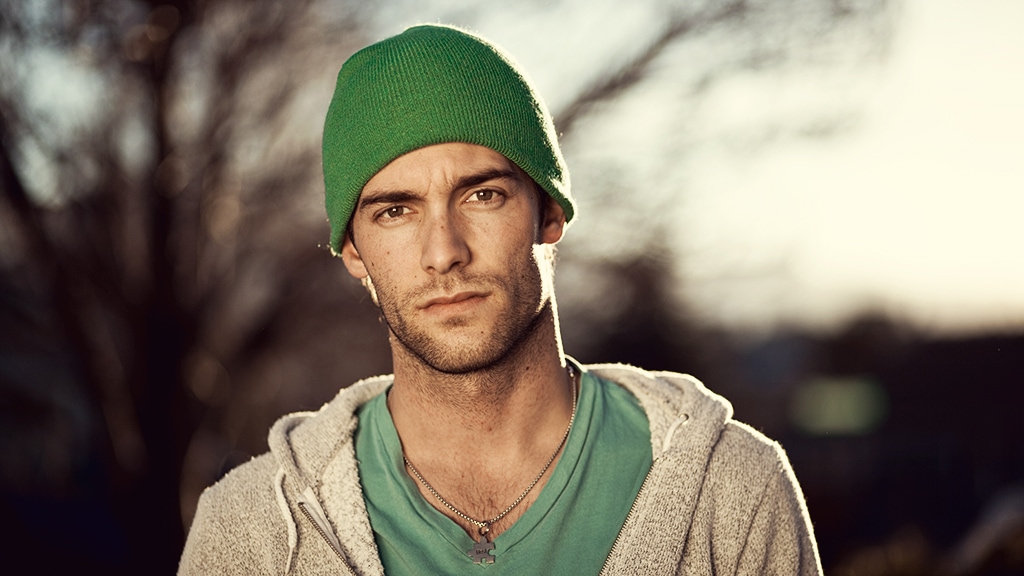
I hope these tips have helped you and you are already thinking about the place where you plan to take a self-portrait and what you want to convey.

