
If you like nature, you will inevitably like nature photography. When you see such an amazing, shocking and alluring beauty, you just can't help but click. You want to capture its essence on camera and take it home with you. It's something irresistible. I'm wrong? Nature photography is felt, breathed, lived. That's why today I bring you 100 express tips so you can enjoy it to the fullest.
1. Enjoy the environment, it will be easier for you to detect what you want to photograph.
2. Better to plan than improvise.
3. Try not to copy what you see, but to capture what you see, with your eyes, with your look full of lived experiences.
4. Start practicing close to home, the plants on your balcony, the little animals in the park. Once you are getting practice, you will be able to enjoy and take advantage of the breaks more.
5. When it comes to getting new lenses or accessories, think carefully about what type of nature photography you want to do, within it the topics are very diverse.
6. For long walks, choose the equipment that you are really going to use, weight is a factor that you must take into account.
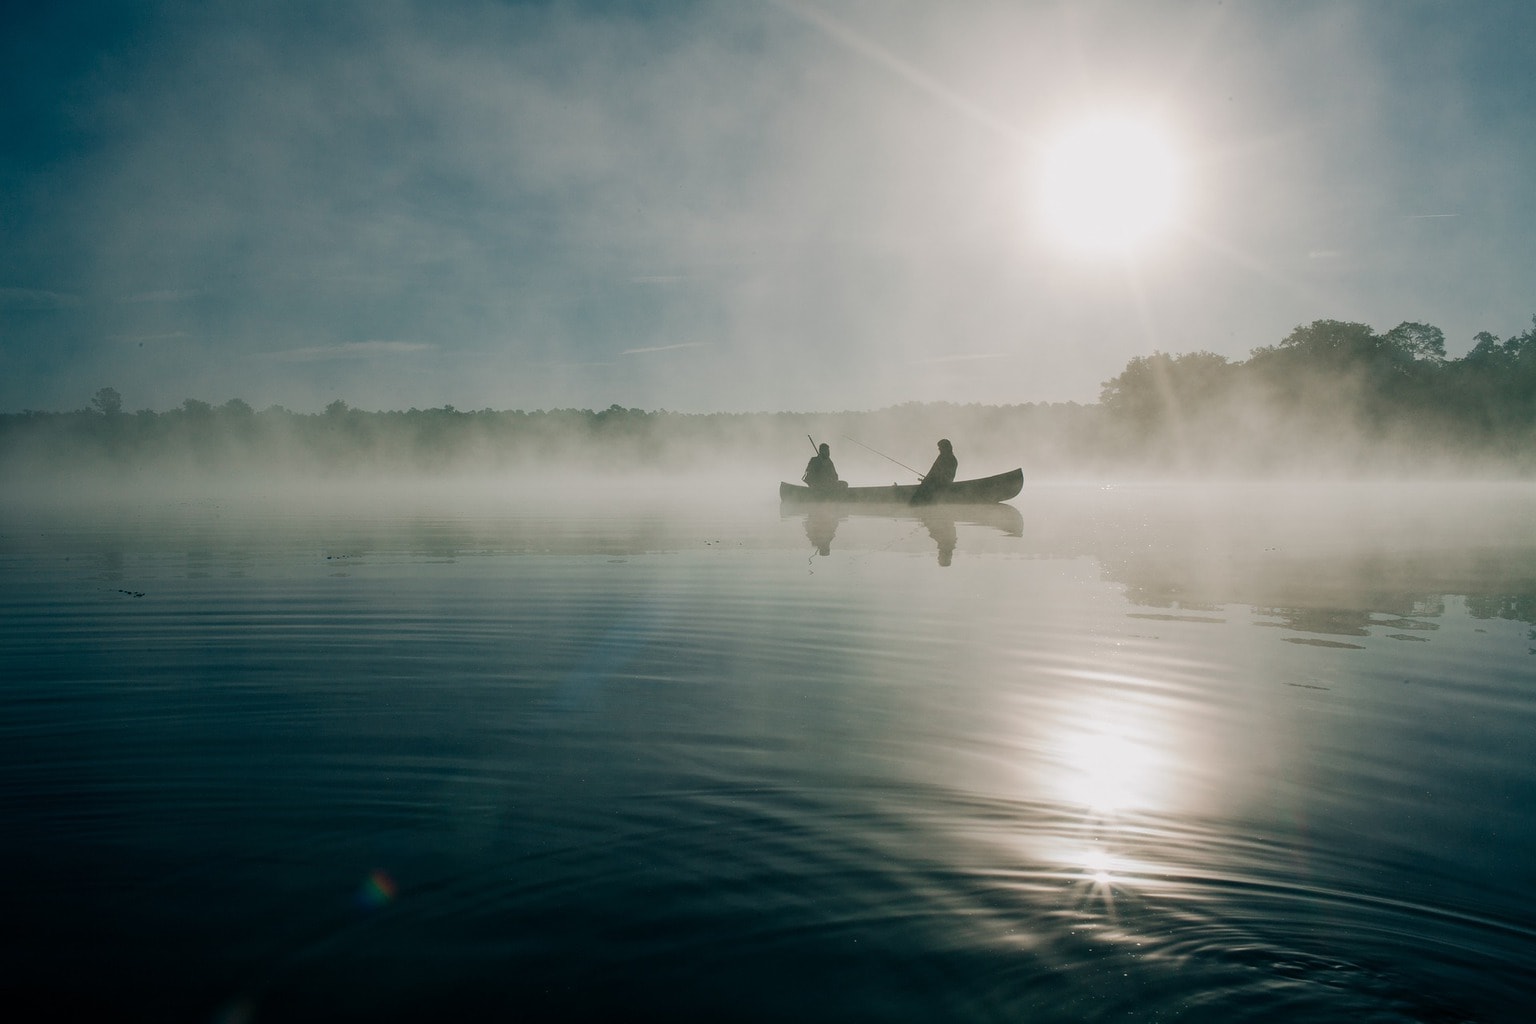
7. If you will be shooting often, or most of the time, in very humid environments or near water, consider getting a camera with a sealed body.
8. To gain clarity, hold the camera well, arms close to the body.
9. With long exposures, block the mirror if you can (this doesn't apply to mirrorless cameras, of course).
10. And shoot remotely to avoid camera shake.
11. Don't be afraid to get up early, it has a prize ? .
12. Get away from light pollution to photograph the stars. But if you can't beat the enemy, join him.
13. If you are going to photograph skies, landscapes or macro, get a good tripod . You will appreciate it.
14. To extend the tripod, start with the sections above. They are more stable.
15. Put weight on the tripod hook to gain stability.
16. Disassociates the focus from the shutter button.
17. In wildlife photography, if you need it, use a monopod, it will give you more freedom than a tripod. And use the right lens depending on the animal or the photo you want to take.
18. Confirm that your subject is in focus by enlarging it on the screen. Small doesn't always look good.
19. For long daytime exposures, use Neutral Density (ND) filters.
20. When you have a very bright sky and the rest is dark, use a neutral density gradient filter to compensate for the light contrast.
21. To get more depth in macro photography, do focus stacking.
22. Use Photopills or any similar application to plan your landscapes or your night or sky photos. Calculating the time of sunrise and sunset and the moon with them is tremendously easy.
23. Do not stay on the side of the road, your best friends are your feet, they will take you where your eyes and your camera want to be.
24. Investigate about the species you want to photograph, knowledge will help you know where to look, to observe and anticipate.
25. If you bring company, preferably one that has the same interest as you in photography.
26. The trick to achieve a photo of the huge moon and with a small silhouette inside it, is a good telephoto lens and the right distance. To do this, you need to plan well, and some other accomplice to help you.
27. If you are looking for sharpness above all else, get fixed optics.
28. If you prefer comfort, better a zoom lens that offers you different focal lengths.
29. For moving birds and other animals, shoot in bursts.
30. If you want a fast burst, make sure the memory card has a good writing speed, and don't shoot RAW+JPG because the burst will be very slow.
31. Whenever you return from the field or the beach, be sure to clean your equipment from dust and possible splashes.
32. And if you've been in humid environments, pack your gear with silica bags. You will avoid the appearance of fungus.
33. Observe the light, how it influences all the elements, be it a plant, a landscape or an animal. You don't even need a camera, wherever you are, at any time, you can do this exercise.
34. With diffused light you will awaken nostalgia with your landscapes.
35. The hard light from the side highlights the volumes and makes the colors vibrate.
36. The backlight highlights the transparencies of the wings and draws contours of light on the stems.
37. Use hard light to highlight the aridity of the landscape or convey desolation.
38. When you want detail, go for a front light.
39. Write down your ideas in a notebook, when you lack creativity, turn to it.
40. Larger birds are better to start practicing.
41. Use reflectors (specific or natural) to fill in the shadows when you prefer.
42. To transmit delicacy, use diffused light.
43. Cloudy days are great for diffused light.
44. Keep an eye on the color temperature. If you don't want an orange or bluish cast in your photo, adjust the white balance well.
45. Or shoot RAW and change it in the edit.
46. Editing can work wonders, but not miracles. Make sure that your photo is well exposed in situ , a burned photo cannot be fixed by San Lightroom or San Photoshop.
47. If wildlife is your thing, look for the native species of your area, dreaming about elephants is fine, but taking pictures instead of dreaming about them is much better.
48. Nature photography usually requires greater sharpness than other disciplines, you can probably increase the exposure time, if so, it is better to make a longer exposure than to increase the ISO value.
49. Although a noisy photo is better than shaky, if you can't ensure that nothing comes out shaken because you lack stabilization, better raise ISO if you can't open the diaphragm more.
50. Learn to use the hyperfocal.
51. Whenever you use a tripod, disable the stabilizer.
52. But, if you don't use a tripod and use slow speeds or telephoto, don't forget to activate it.
53. Keep an eye on the histogram, you don't have to be obsessed, but as I said before, if you have time to correct the exposure, it better be in situ .
54. Do not trust what your screen tells you outdoors, better look at the histogram .
55. Try to always have a center of interest.
56. Make this center of interest stand out above all else. For it…
57. Use the lines to lead the gaze to it (paths, streams, footsteps, a line of ants, a stone path, etc.).
58. Play with contrasts in color or focus.
59. Use complementary colors to create contrasts.
60. Includes analogous colors to convey harmony.
61. Includes natural settings.
62. First learn the rules, then break them.
63. And experiment, a lot.
64. Do not lose sight of the textures, nature is full of them.
65. Less is more. In nature photography too ?
66. That the background does not detract from your motif.
67. For small motifs such as insects, flowers, etc., you can take cardboard or fabrics of different colors in order to achieve better backgrounds.
68. Get abstract photography with a drone, with long exposures and camera movement, or isolating details.
69. Or with a macro lens, looking for textures invisible to the eye.
70. Use a wide angle lens to create depth in your landscapes .
71. With a vertical framing you also manage to provide greater depth.
72. With the horizontal frame you transmit more serenity.
73. Look for shapes in nature that have nothing to do with what you are photographing, a landscape inside a rock, a face on the bark of a tree, a heart-shaped stone, etc.
74. Remember that panoramas can also be vertical . For example, they can be an excellent resource when photographing waterfalls.
75. If you take several shots for a panorama, try to overlap between 20-30%.
76. HDR is an interesting technique to achieve a better dynamic range, but you should not abuse this resource in editing.
77. For the best sharpness, find the sweet spot of your lens.
78. Plan your next meteor shower photography with Photopills.
79. To photograph at night, always seek company, because it is more fun, and for safety.
80. The silky effect of the water is very interesting, but capturing the shape of the breaking waves can also give you great satisfaction.
81. For long-exposure night photography, cold nights are better.
82. For long exposures, remember to always carry an extra battery.
83. Use a flashlight to focus at night.
84. Look for inspiration in other artists, museums, music, cinema, etc., but above all, in nature. Walk through it, breathe the fresh air, bathe in stars, caress the bark of the trees, the fur of an animal, watch the flowers dance to the sound of the wind, the sunbeams hitting the rock... Feel all this and your mind It will be a spring of creativity.
85. Embark on a series or a project, it will maintain your photographic activity.
86. Use AF -C or AI Servo focusing with moving subjects; AF-S or One Shot, with static subjects; and AF-A or AI Focus, with subjects that are stationary but can move at any time. But the best, with static subjects, is that you launch with manual focus ;). Start practicing.
87. To photograph the fog, the best is a telephoto lens.
88. Shoot in RAW, if you intend to get the best out of your photo, don't hesitate.
89. But if you're too lazy to connect to a computer, and you think that editing isn't your thing, don't even bother, it's better in JPG.
90. Mist or Vaseline in a filter can be a good fog simulator.
91. Simulate rain with a diffuser spray water bottle.
92. Take advantage of what each season offers you. The light, the environment, the possibilities, etc. Everything changes!
93. Make sure that the editing adjustments are not noticeable in your photo, that they are imperceptible.
94. Carrying a thermal blanket in your backpack hardly takes up space and can save you or your camera in trouble.
95. Make sure you wear the right clothes and shoes.
96. A headlamp will be a good ally on your outings, especially near sunrise or sunset. To see your camera and to see where you step.
97. Respect the environment, its flora and fauna. Nature is our home and its care is above any photograph.
98. Do not throw in the towel at the first change. Some photos require a lot of practice and time.
99. Put a big dose of passion in it.
100. And another greater patience.
I could go on, nature photography is sooooo broad and so inspirational that we could reach 1000 tips, but for that we already have the book ? I hope these 100 nature photography tips help you and if you've been wanting to go out and do photos with the examples that I have given you, I will be happy. Before saying goodbye, I am going to ask you two favors: first, feel free to add any advice you consider in the comments. The second, that you share this article. It sure falls into the right hands. Thank you and happy (nature) photography.
