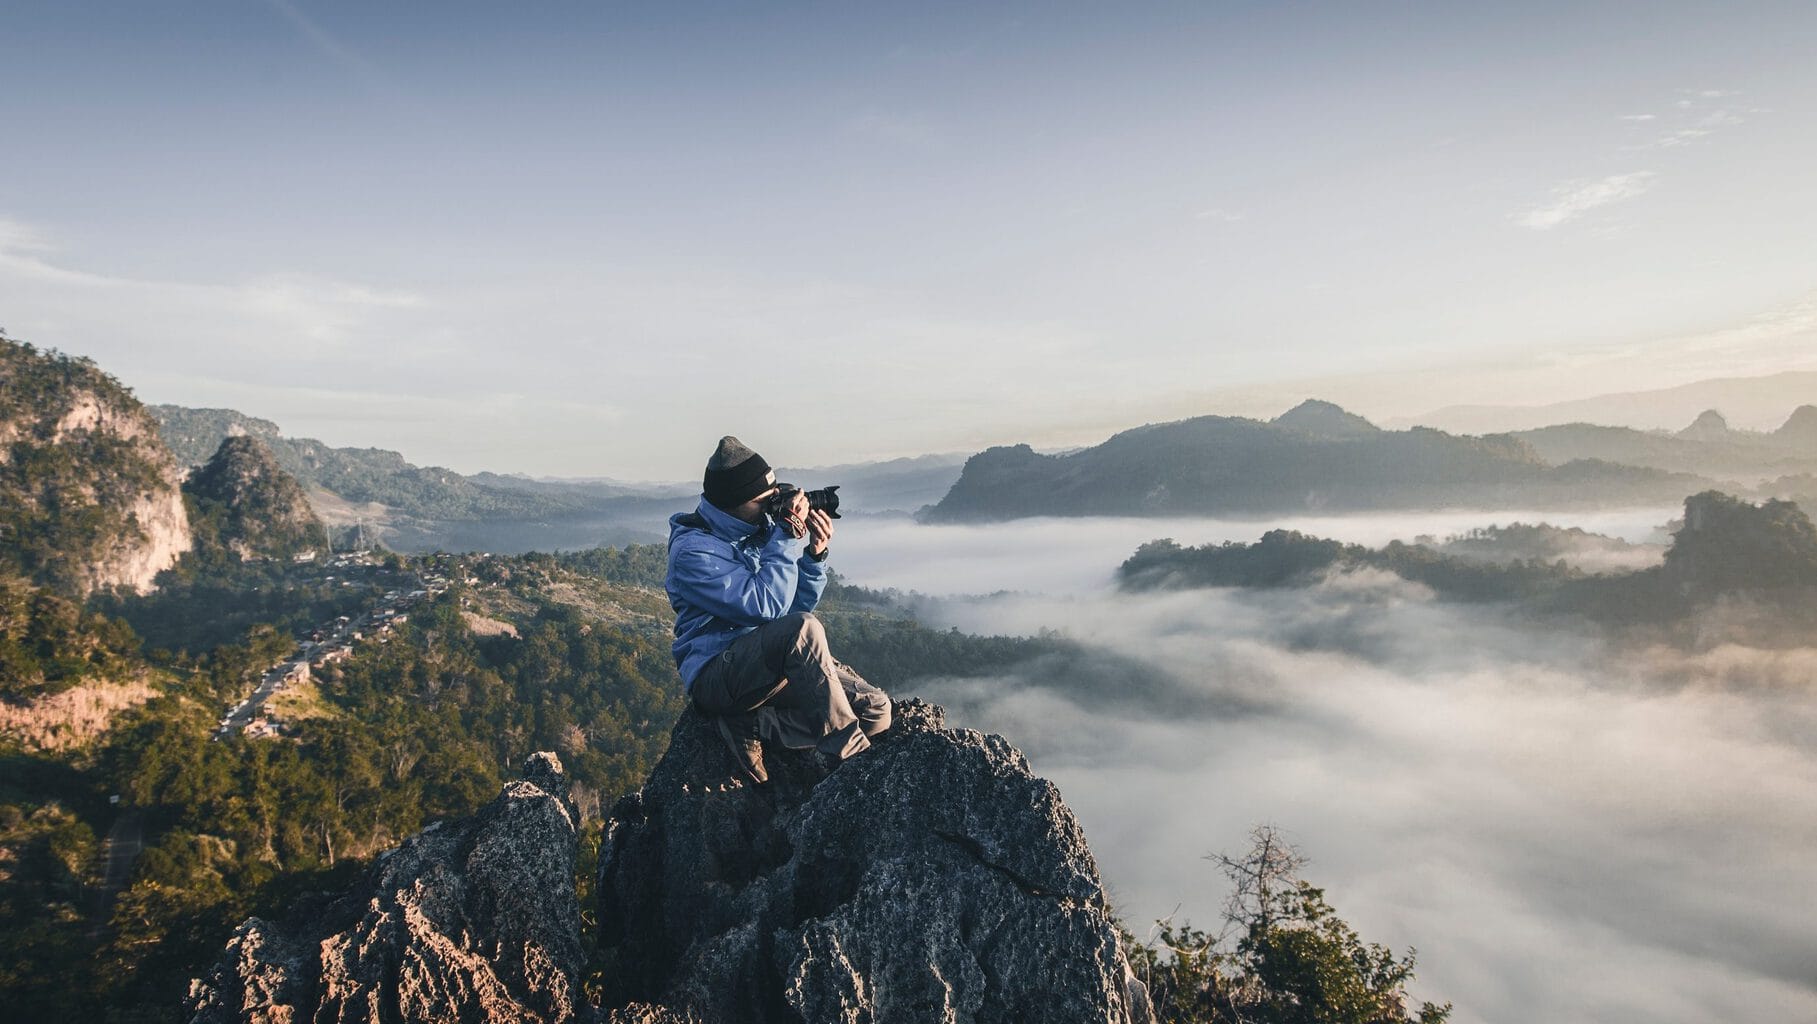
There are many types of photographers, there are those who love portraiture, speed, macro... Every lover of photography has a favorite discipline or type of photography. But they all have something in common, learning. When we start in this art, we ask ourselves a lot of questions until we get the result we want. Today I come with the most important questions that a landscape photographer asks himself .
1. VERTICAL OR HORIZONTAL?
We tend to photograph horizontally, it is the way the camera presents itself naturally , the way that is most similar to how our eyes see, etc. In fact, some people don't even remember that vertical photos also exist and they are also very useful.
The way in which you frame your photograph will affect the result, so it is important that you think carefully if you are going to use a horizontal or vertical format.
When in doubt, it is best to try, either with the same camera or framing with your hands to see the effect.
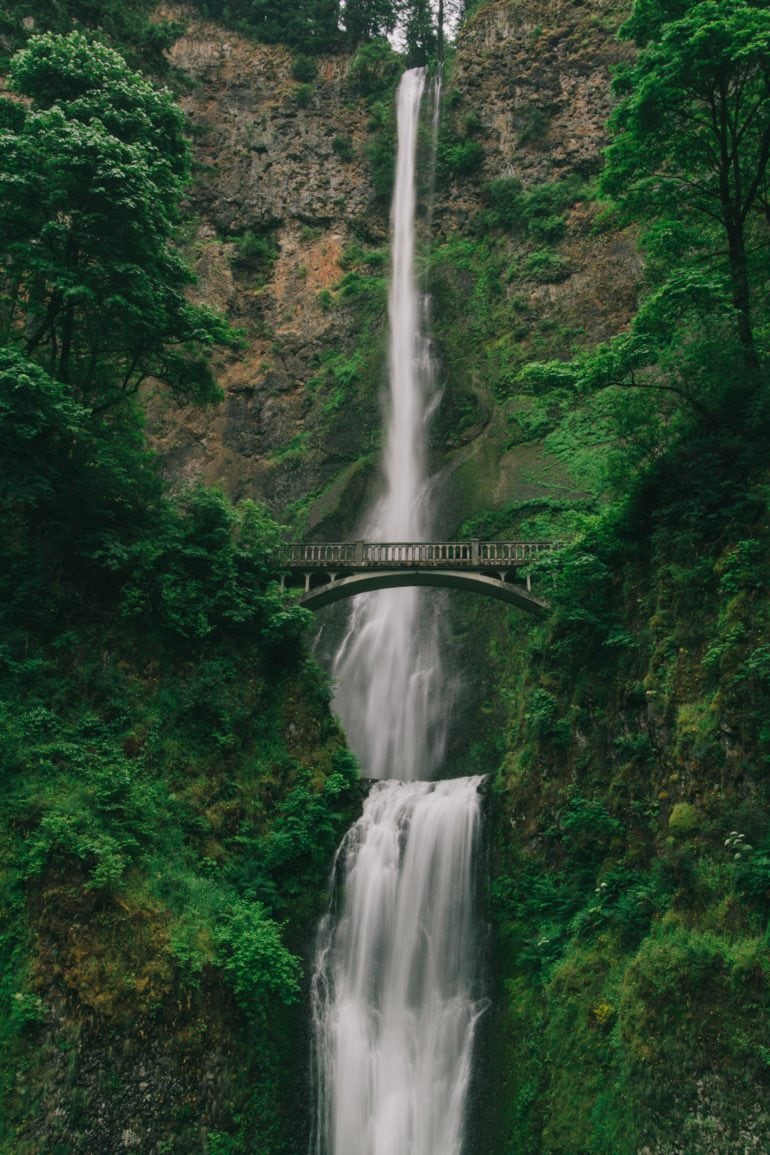
Broadly speaking, a horizontal frame offers more stability and a vertical one more strength. The ideal is to reinforce the message of the scene with the framing, for example, if the elements are arranged horizontally, use this orientation. If, on the other hand, it is a motif that is longer than it is wide, enhance it with a vertical frame. Even if it is a panoramic . This could be the case for a waterfall. Let's see an example.
2. WHERE DO I PLACE THE HORIZON?
If you've never asked yourself this question, I'm glad you're reading this. Naturally we tend to photograph the horizon in the middle, however, with few exceptions and various creative intentions, placing it in the middle usually detracts from the image.
To talk about this I have to introduce you to the law of the horizon, according to which it is recommended to leave two thirds of the image for the part that you want to give more interest to. That is, if the interesting thing in the scene is the sky, leave the upper two thirds. If the sky is too flat and boring, better leave it only one third and give the bottom two to the land, sea or whatever you are photographing. Let's see it with two examples:
-*
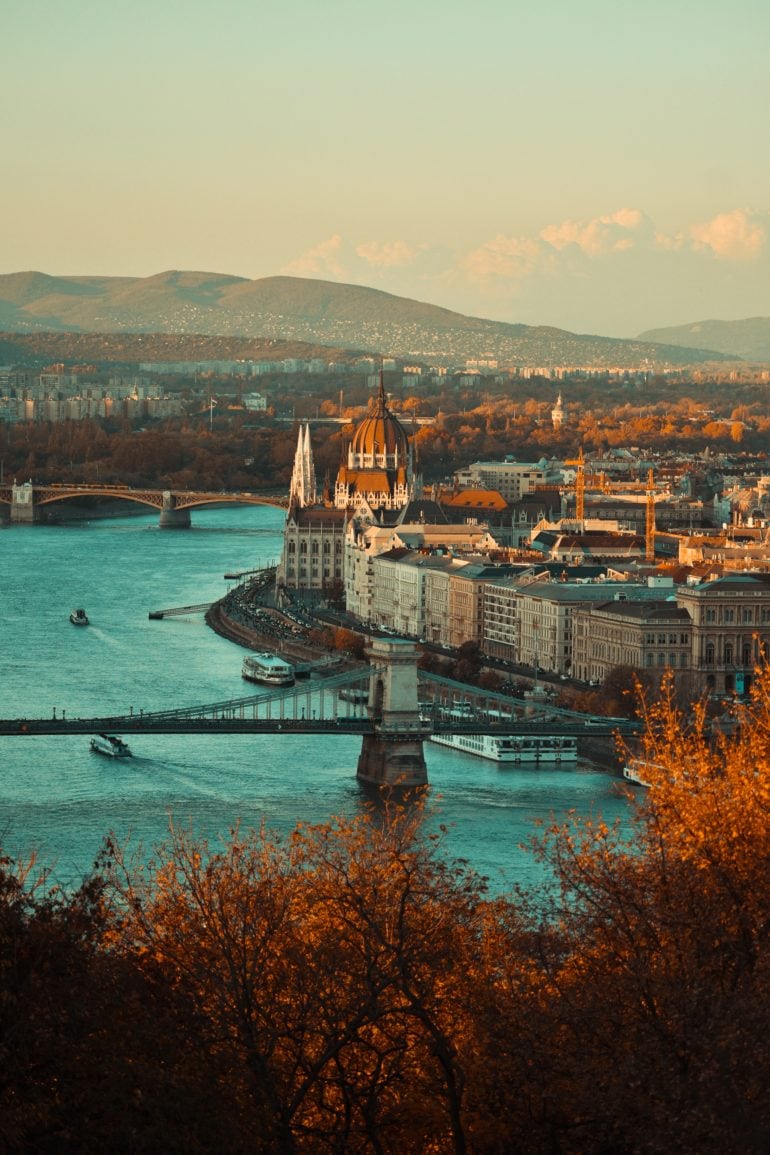
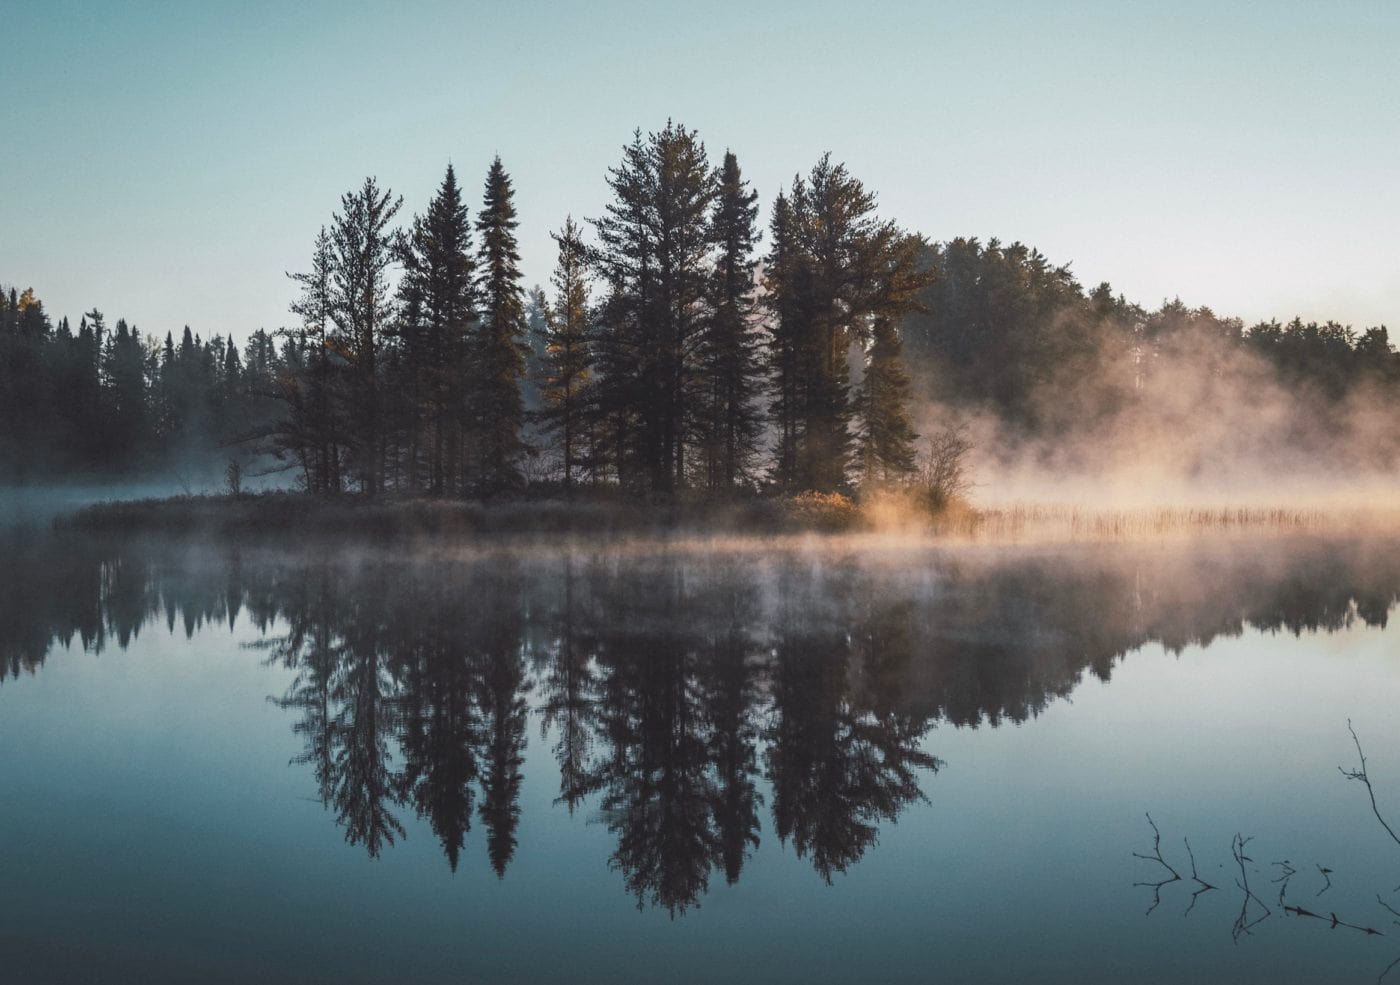
Now, if what you want is to transmit a lot of tranquility and calm or enhance symmetry, it may be a very good idea to place the horizon in the center.
3. HOW DO I CONTRIBUTE INTEREST TO HEAVEN?
Since you know the law of the horizon and you know how to use it, it may also happen to you that, for whatever reason, you want to give it more importance and it is not the best day because there are hardly any clouds and it is too flat. However, you need to leave him more space.
The good news is that there are some tricks you can use. Let's see them:
INCLUDE THE SUN
If you include the star king in the frame, you will be giving it so much weight and prominence that it will not matter if there are clouds or not. Here are some tips that will be useful to you , and in this other article a shot of inspiration for photographing the sun .
WAIT FOR THE STARS
If the sky is so clear that clouds are conspicuous by their absence, a good idea is to wait for the stars to appear at night. These will make your sky really shine. Above you have a good example of this.
ADD BIRDS
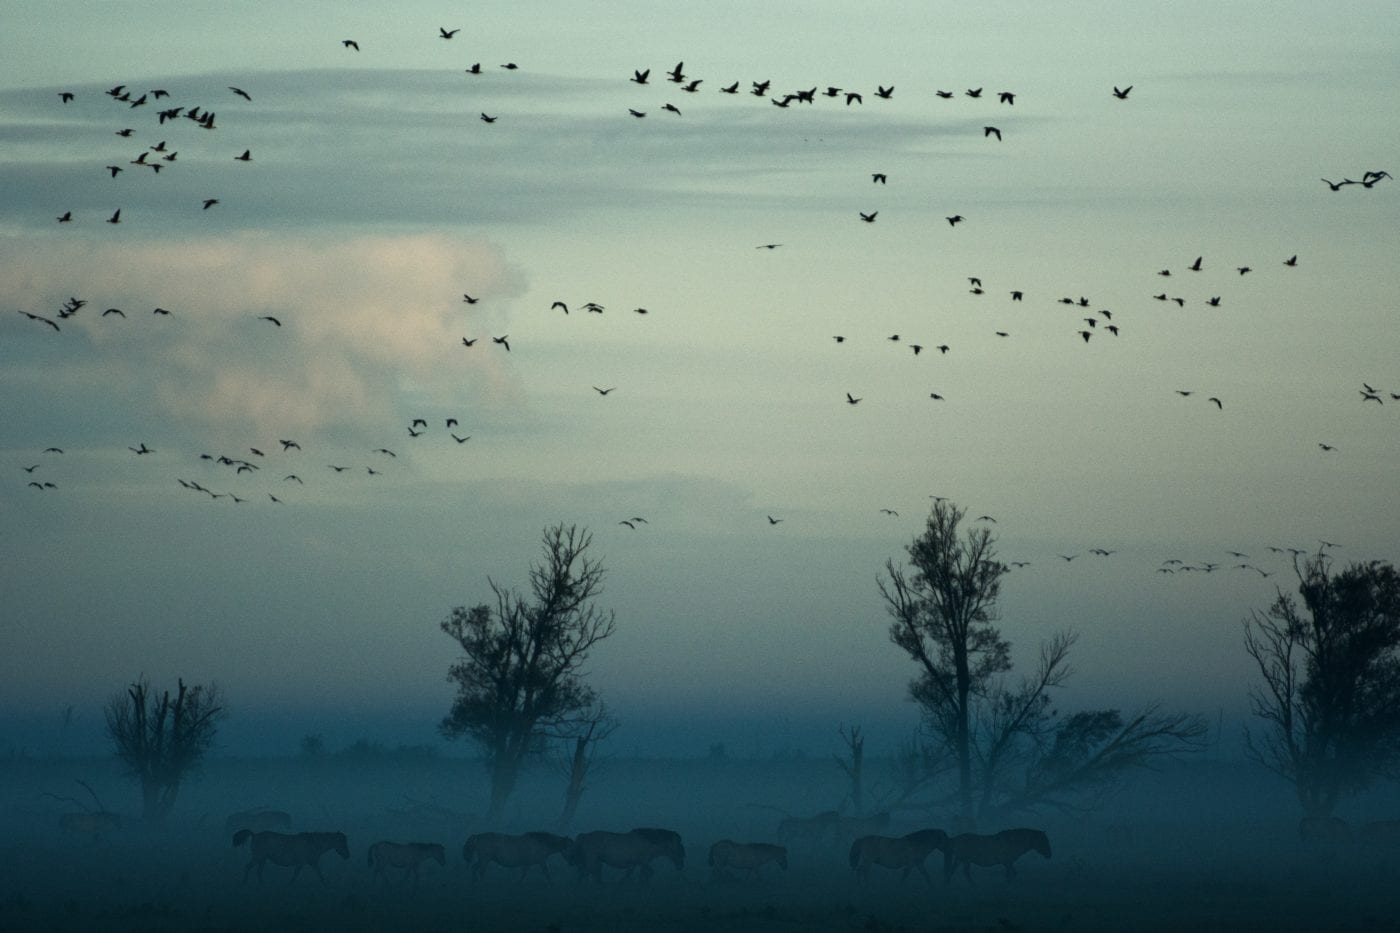
Creativity usually provides many resources to solve certain situations. For example, if you include certain elements, such as birds, even though the actual horizon is in the lower third, the middle third will also be occupied by them and will add interest.
To help you reinforce the message you can resort to a low perspective, backlighting, fog, etc.
4. HOW DO I ADD DEPTH?
One of the biggest problems that the landscape photographer encounters is that the place that you observe in person, with all your senses, is not the same as turning it into two dimensions and having someone see it on a screen or photographic paper.
For this reason, one of the objectives is for the viewer to feel part of the scene, to feel that they are inside the landscape. But... how to achieve it?
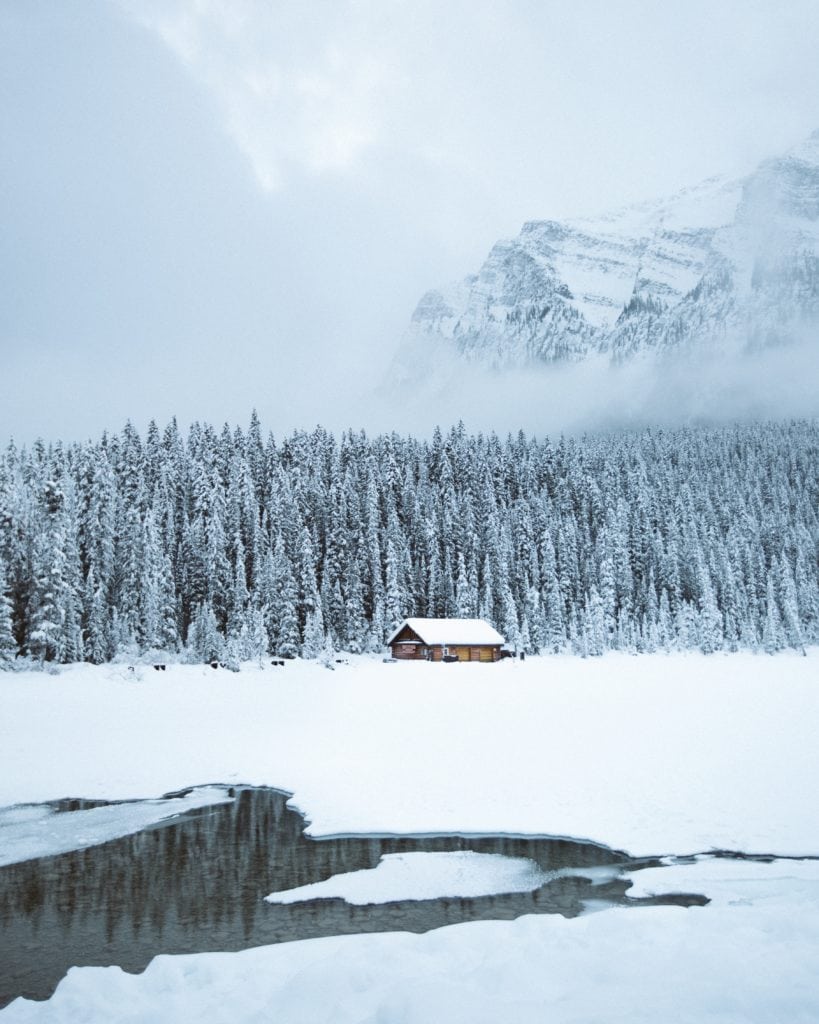
The solution is to include elements in the different planes of the frame. An element in the foreground, which can be anything from a rock to a flower, to give an example; elements in the middle plane, can be trees or a cabin, for example; and elements in the background, in a third plane. Usually mountains or a distant horizon.
Let's analyze this example. In the foreground we find the water with the reflection, in the background the cabin and the trees and, finally, in the background, the mountains.
5. HOW DO I GET THE LANDSCAPE TO CAPTURE THE PUBLIC?
We have already seen some resources to make the landscape more attractive, but as a landscape photographer you have to make sure that your photography has a center of interest, a point where the viewer directs and poses his gaze after walking through the scene, because if no, most likely it will pass three kilos of your photo. No matter how much technique you have or how much effort you have dedicated to it.
This protagonist can be a single element or a group. Animals, a human element, a cabin, a tree, a rock... any element you have in the scene, depending on how you place it within your frame, can be the protagonist. Here are some tricks to enhance the center of interest .
6. HOW DO I GUIDE THE GAZE TO THE CENTER OF INTEREST?
There are several ways for the gaze to go directly to the center of interest. You can use the rule of thirds; the lines to lead to it, such as paths, footprints, etc.; or even the contrast ( of color, light, shape… ).
7. WHAT APERTURE DO I USE?
The normal thing in landscape is to use small apertures (large f / number), to obtain a greater depth of field, that is, more focused planes. If you are still not very clear about the aperture / depth of field, you have to watch this video before continuing:
Now, normal is not always correct or recommended ? . Impressive landscapes can be achieved with a lot of creativity using large apertures.
Or it may also be the case that you need larger apertures to capture more light, for example in night photography or when you do not have a tripod and need more light. For these cases, if you need more focused area, the trick is to use the hyperfocal. Fear not, the name is ugly, but applying it is very easy .
8. WHAT LENS DO I USE?
The ideal in landscape photography is to use a wide angle to capture the entire scene. This is the usual and most recommended for the most common landscape photography. Now, photography is creative, it is an art in which (almost) anything goes.
Having said this, we can already assume that any objective can be used to make landscapes. From a macro to achieve an abstract landscape to a telephoto lens.
Each type of objective will offer you different possibilities. For example, the wide angle allows you to capture more of the scene and also add depth.
A telephoto lens will help you create a different type of landscape, with compacted planes, more blur, to close the plane or even get closer to where you couldn't with a wide lens.
9. WHAT SETTINGS DO I USE?
Continuing with the same line as the previous question, depending on the type of photography you want to achieve, you will need different settings. It is not the same that you want to capture a landscape in broad daylight than at night. It is not the same thing that you want to freeze the splashes of some waves than to achieve the silky effect of a river. For this reason, as each type of landscape requires specific adjustments, I am going to put here the articles with advice for the most typical or common landscapes:
- A landscape full of stars
- Landscape with silky effect water
- infrared landscape
- landscape with fog
- black and white landscapes
- winter landscapes
What I am going to recommend for any type of landscape, yes or yes, is to shoot in RAW and with automatic white balance. So in editing you can get the best out of your landscape and turn a good photograph into a spectacular one.
10. WHAT IS THE BEST LIGHT?
One of the million questions. If you search for landscape photographs on the net, you will see that there are many of those taken at sunrise and sunset. The side light offered by these moments is ideal for achieving textures and enhancing shadows. Also, the golden and warm color is always a plus.
You also have the light of the blue hour, also known as the magic hour. It is a perfect light for urban landscapes as it is when the artificial lights contrast more with the sky.
On the other hand, when what you want is to enhance the colors of paradisiacal turquoise blue beaches or enhance the aridity of the desert, for example, the ideal light is the harsh light of noon.
On the other hand, to achieve nostalgic landscapes, nothing better than the light of a cloudy day ; and for landscapes full of mystery, the light provided by the fog.
As you can see, there is no perfect light for the landscape, but an appropriate light depending on the type of landscape, what you want to tell and the emotion you want to convey , because yes, emotions can be transmitted with landscapes.
11. WHERE DO I FIND THE BEST LANDSCAPES?
Next to your house. Yes, you read it right. To start practicing it is not necessary to cross half the country or cross any ocean. Beauty is everywhere, the important thing is to know how to look at it, also, to practice with the adjustments, with the composition, try with different lenses, etc., the best thing is what is closest to you, because it will offer you more opportunities to try and , mate, the important thing is to practice a lot.
Once you control the subject, you can think about looking for more interesting places , or traveling to the most desired places for landscape photographers.
If you've been wanting to dig deeper, check out this article packed with tips and tricks for capturing stunning landscapes . I say goodbye for today, but not before asking you a favor, that you share this article so that it reaches more people. Sharing is helping other photographers and also giving this blog a long life ? .

