When we talk about drama in photography, we are not referring to social drama, or a dramatic or sad situation. With drama we refer to the impact or emotion that an image can cause. It will have happened to you many times that looking at a magazine or looking at photos on the net you have wondered how it is possible that those photographs that you come across have such an impressive effect while yours seem so flat, as if they had no life. That image most likely had some post processing (99% sure). But if you want your photos to be impressive too, today I'm going to show you some ways to add drama to your images. You will see how some are very simple.
1. USE AN INFRARED FILTER.
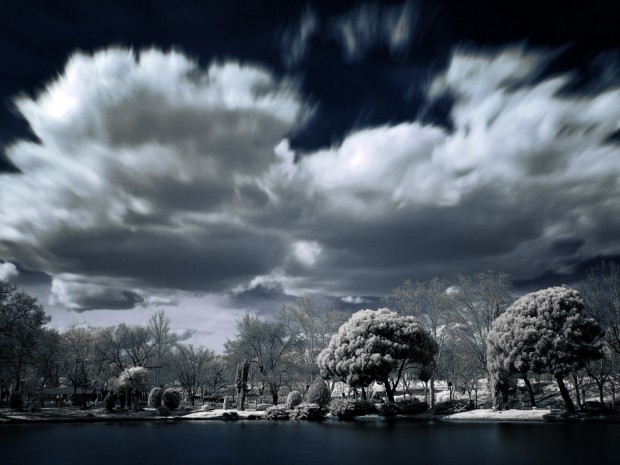
The first way to bring drama to your images is very simple, put an infrared filter on your camera and you will get images like the one you see below. If you have no idea about filters I recommend you read this post.
If you don't have this filter and you don't intend to buy it either, don't worry, there is the option of working on your image in an editing program and applying the infrared filter effect. Here is the link to a video tutorial to apply this effect:
2. LOW KEY PHOTOGRAPHY.
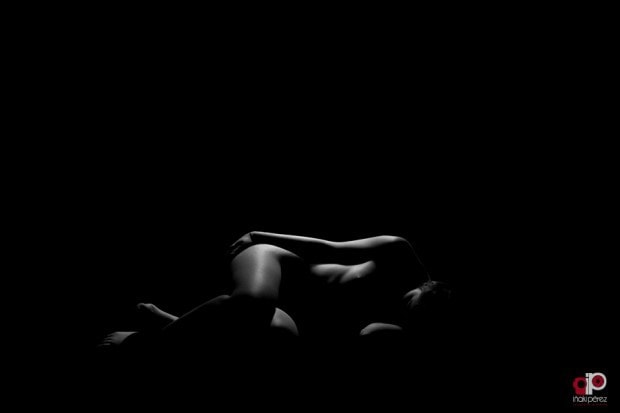
Low key is a photography technique with which it is possible to evoke a strong emotion in the viewer. The high key and low key technique is mainly based on the handling of light. Observe the following image in which black predominates and the lighting subtly draws the outline of the nude. It is done in a low key and makes a huge impact.
 OLYMPUS DIGITAL CAMERA[/caption]
3. CONVERT TO BLACK AND WHITE
One of the fastest ways to bring drama to an image is to convert it to black and white and increase the contrast. It is more advisable to do it later in an editing program because that way you don't lose color information and you can adjust it to your liking, but if you prefer you can adjust your camera and shoot directly in black and white and with high contrast. Here are some tips for better black and white photography.
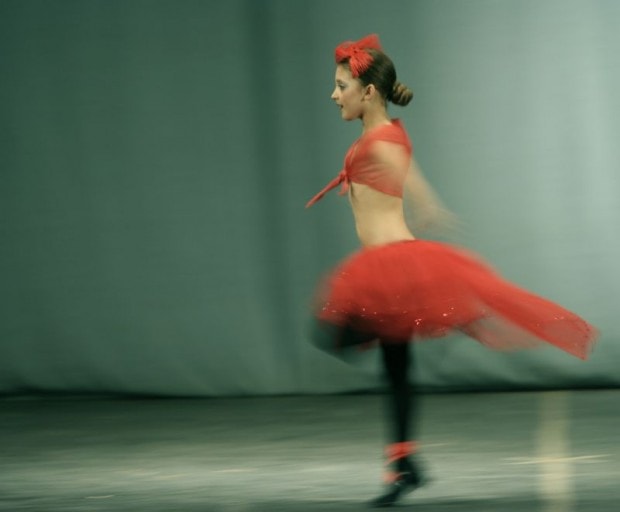
4. ADD MOVEMENT TO THE SCENE
Adding movement to the scene adds extra drama or impact to your image. I am going to introduce a word in English, motion blur, which is the effect caused by the relative movement between the camera and the captured objects. It can be done by moving the camera during the shot or by increasing the exposure time (in the latter case a tripod would be necessary).
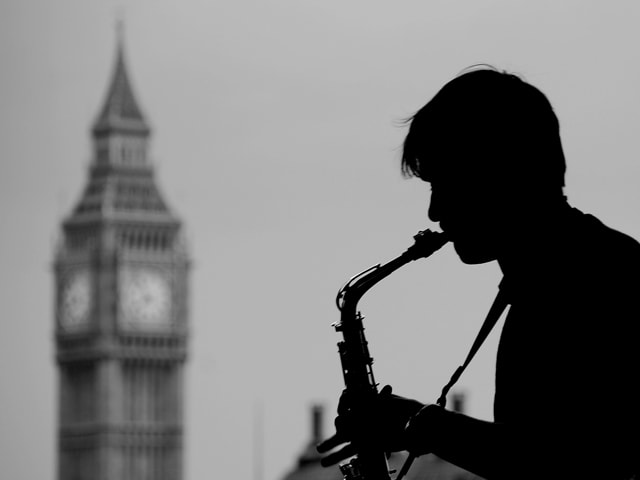
5. SILHOUETTES
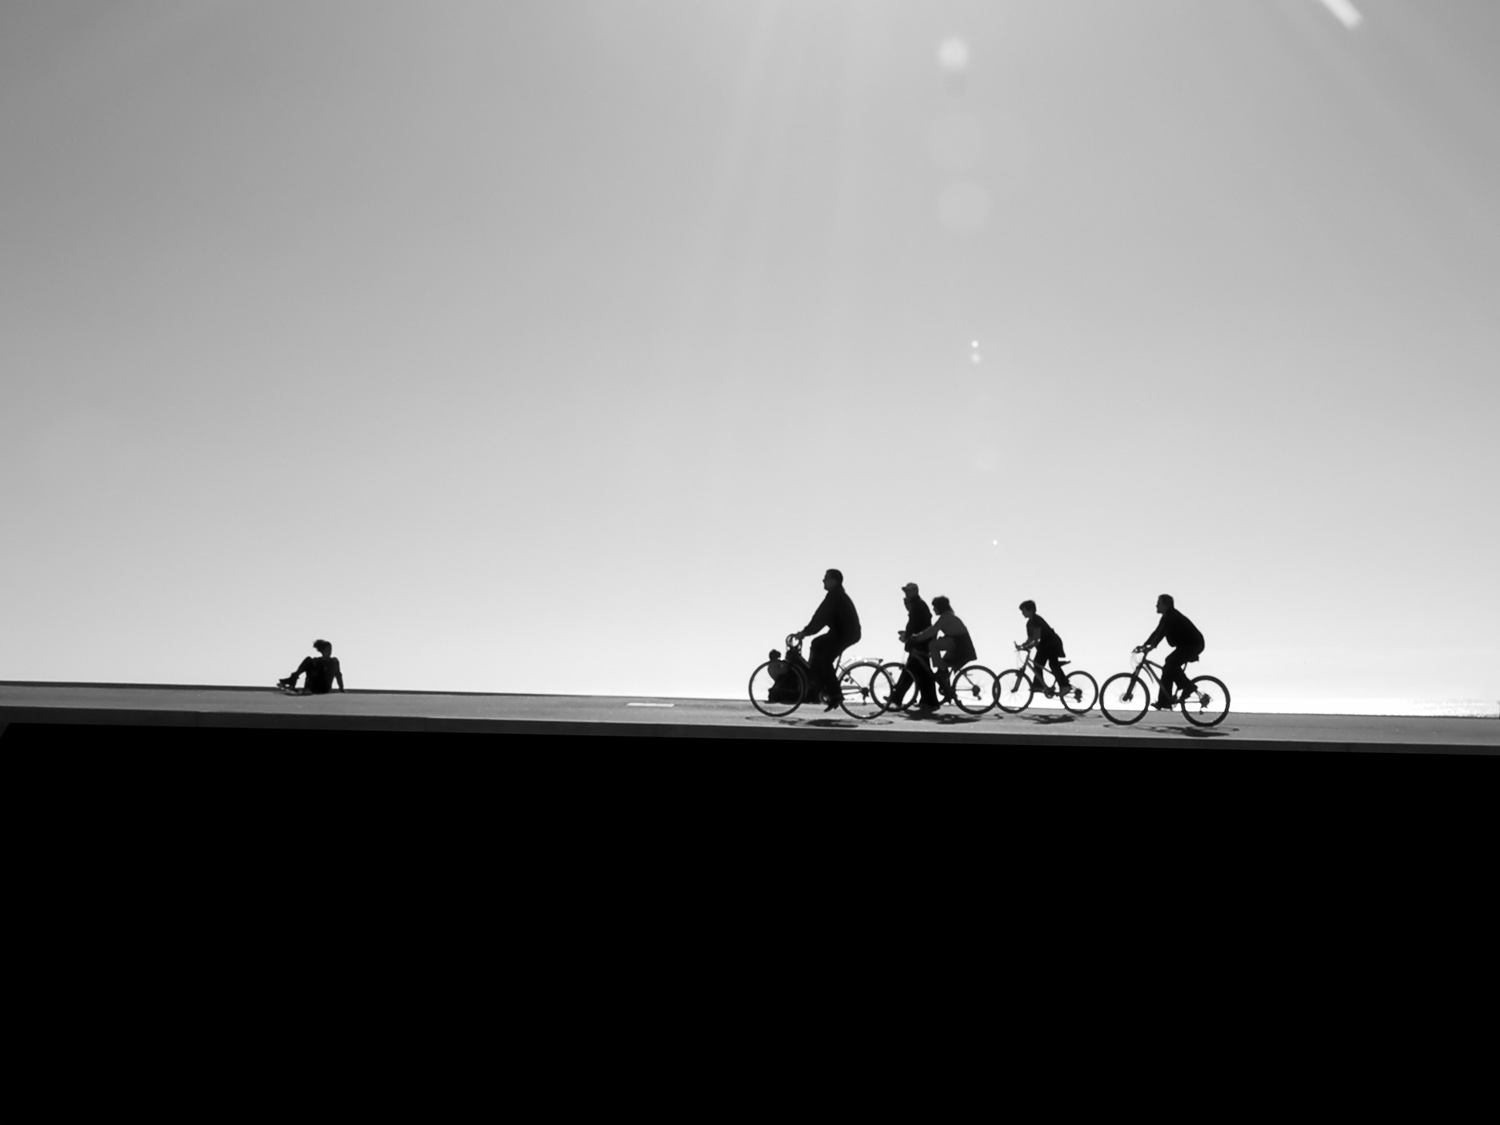
There are few things that transmit so much with so little as a silhouette. His simple schematic provides a ton of information while leaving you intrigued by the missing details. He shoots against the light and highlights the silhouettes. They do not necessarily have to be those of people, you can also capture the silhouette of an animal, a building, an object...
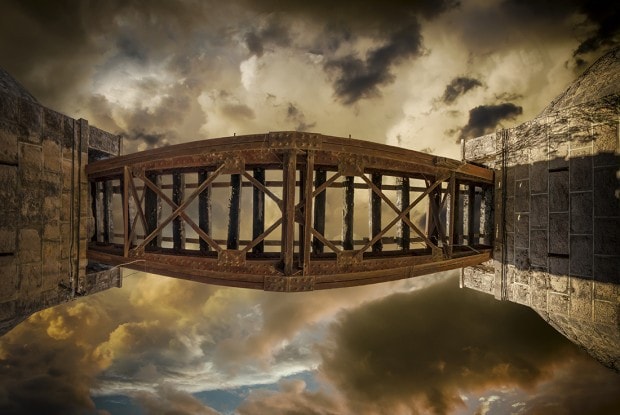
6. CHANGE THE PERSPECTIVE
Another very simple way for which you do not need any editing program is to change the perspective. Shooting from an angle other than the usual angle of vision brings extra impact. Move and find that angle that will give your photograph that different point.
7. USE LIGHT
Light is the magic tool of photography, the base, the principle, its raison d'être... light is EVERYTHING in this art. Play with its angle of incidence, with the intensity, with the reflections or even with its color. Here is an impressive example.
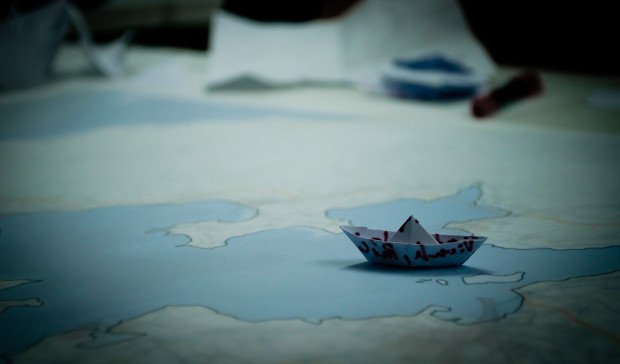
8. SELECTIVE FOCUS
Selective focus is achieved by shooting with a shallow depth of field , so that the object you want to highlight is sharply focused while the rest is out of focus. In this way all attention is focused on the focused object causing a greater impact. In the photograph shown below you can see this effect combined with two others mentioned above.
9. VIGNETTING
We refer to halos or black edges that fade towards the center of the image. It can be caused by the type of lens or by a bad placement of lens hoods or the use of filters, but we can also create it intentionally with an editing program so that the gaze is inevitably directed to the center of the image, as in the following example.
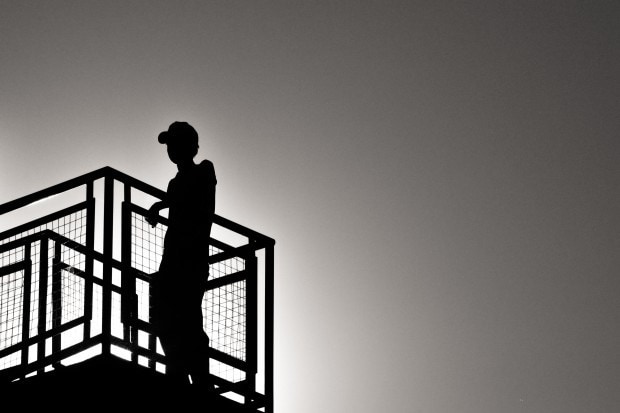
10. NEGATIVE SPACE
Negative space in a photograph is the space left empty within the image. On the one hand, this manages to focus attention on the object, creating a greater impact, and on the other hand, it evokes a strong emotion, creating feelings of loneliness, desolation, sadness... Look at this image in which it is further enhanced by the strong contrast and the white and black. As you see in this example and the musician's example above, combining several of these tips further enhances the dramatic effect in an image.
11. PLAY WITH COLORS
You will wonder what I mean by this, well, with the following example you will see it better. Notice how the red color stands out against the gray of the sky, an intentionally muted color to contrast with the field of flowers. If you read the article What do you have in common with Almodóvar, Van Gogh and Beethoven? , you will remember that the color red is the most associated with emotions and how you can use colors to cause an emotional impact on the viewer.
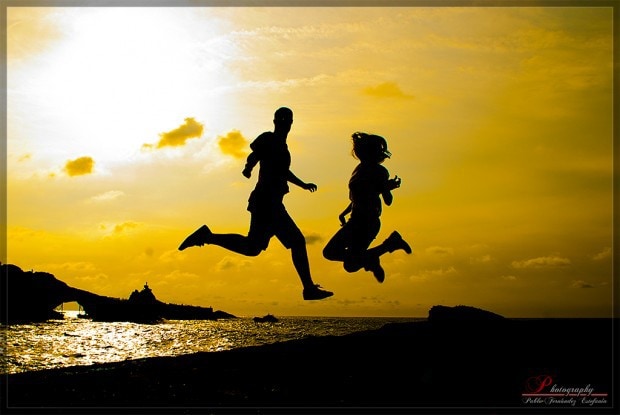
12. SHOOT AT SUNRISE AND SUNSET
On numerous occasions we have commented that the best light to photograph is early and late in the day. The result, especially in landscape photography, is spectacular. Golden hues, reflections and contrasts can be achieved without the need for filters or retouching, just with the magical light of the sun.
13. HARD LIGHT
There are two types of light in photography as far as quality is concerned, hard light and soft light. The first is the one that causes high contrasts and well-defined shadows. The smaller the source, the harsher the light will be. Soft light, on the other hand, achieves much softer shadows. To achieve greater drama you must use hard light, check it by looking at these two examples.
14. APPLY THE DRAMATIC FILTER
If you are lucky enough that your camera includes this filter within its range of creative filters, you have it very easy, use it! In the image on the right you can see the difference between an image with a filter and without a filter.
15. EXPERIMENT
Although I am not an expert in editing programs, I have decided to do a test for you. I have taken a photo that was very flat, lifeless and I have made some very basic adjustments. In less than five minutes I think I have managed to make the image have a greater impact. I'll tell you the steps.
So far the tips to give more life to your photographs. They're not difficult at all, right? Well now stop complaining because your photos are flat or because they don't have as much impact and put some of these ideas (or all) into practice. You already know that you can combine them and further enhance the dramatic effect.
I hope this article has been useful to you and that we will see the results in the weekly challenges ? . If you liked it, don't forget to give it a "like" or share it. Until next time!