Have you ever seen one of these television programs in which the tricks of great magicians are revealed to you? Today's article is a style ? The difference is that what I am going to reveal to you here are tricks and methods that great portrait photographers use to get impressive photos of their models . The typical portrait that we have always observed with admiration and that we never knew what "that" was that made it so spectacular.
In today's article I am going to present a series of tips and tricks, specifically 26, very easy to apply, which will help you tremendously improve your portrait technique . These are tips that you can practice in different situations and contexts and that will guarantee you original and professional-looking portrait photographs. But if you want more, don't miss this very complete guide on portrait photography where we tell you tricks, tips, inspiration and much more than you can imagine to master this discipline.
I think it will be a long and complete article, so I recommend that you enjoy it with a good cup of coffee, tea, a beer, or your favorite drink ?
Here we go!
PROFESSIONAL PORTRAITS WITH 26 SIMPLE TIPS AND TRICKS
1- Contextualize: This is one of those tricks that makes us adore a portrait without knowing exactly why. It simply consists of putting the person in their most common environment, looking for the most typical situation possible. If you are going to portray grandfather, let it be on his usual sofa, if it is grandmother, let it be with her skein of thread and her knitting needles. Sometimes we love the typical.
2- Always kneel before the little ones: If you are going to portray children or babies, always do it from their same height.
3- Apply the rule of thirds: This rule, applied to portraits, consists of placing the subject on one side of the frame instead of being in the center of the image.
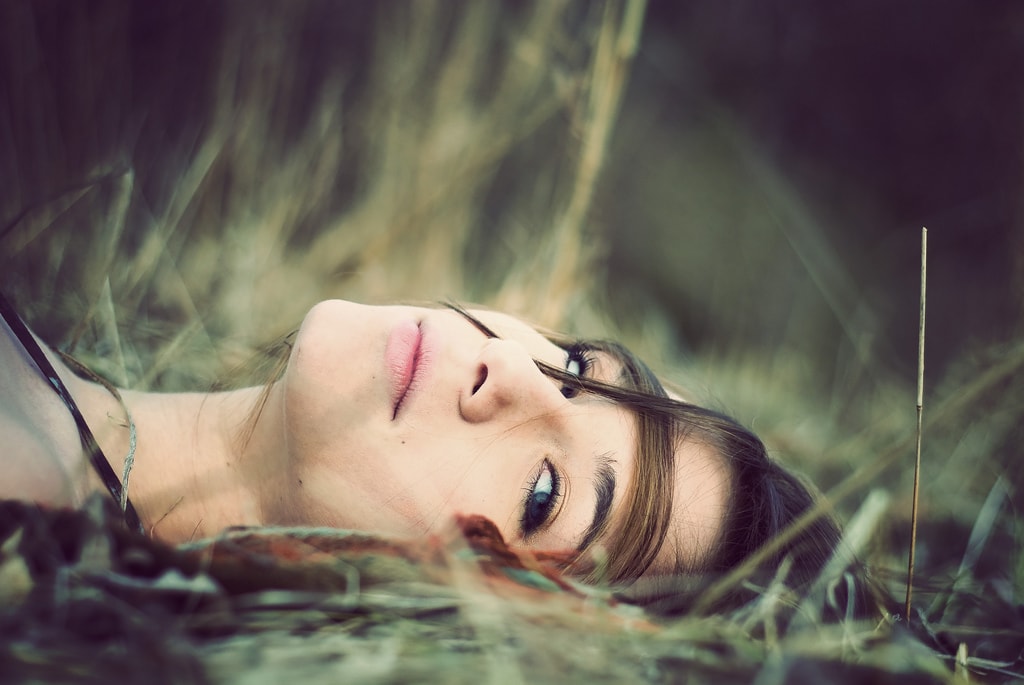
4- Give the subject a space:Combined with the rule of thirds, this trick consists of placing the subject to one side, and making them tilt their head slightly and look to the other side where we have deliberately left some space.
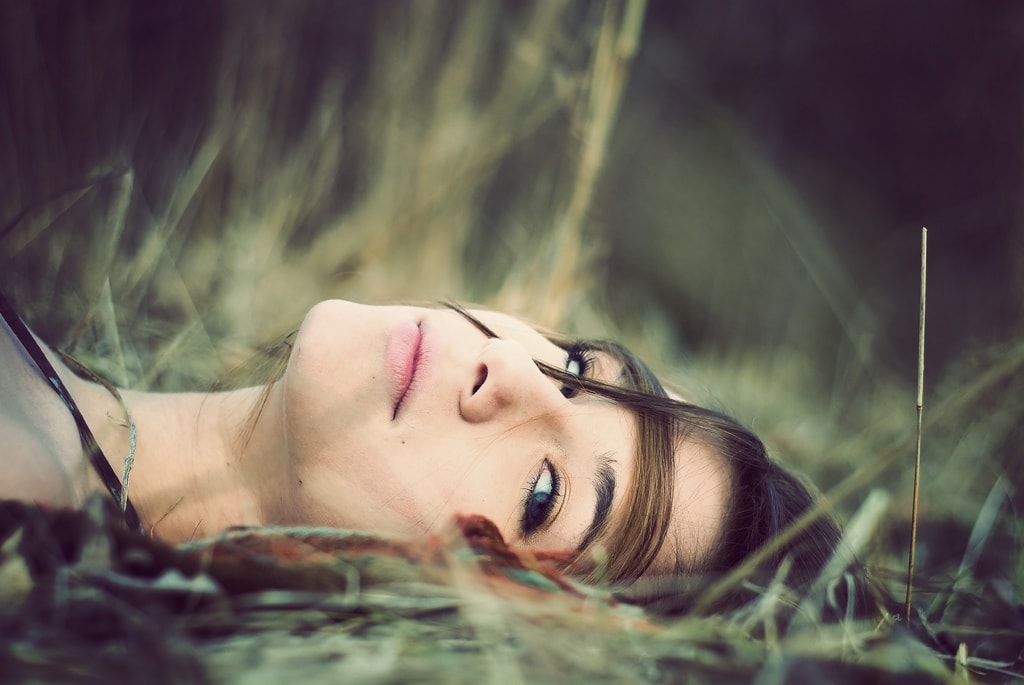
5- Take advantage of the light from the window: If you do not have the expensive lighting material from a professional studio, you can make do with natural light from outside through the window. Simply place your subject in front of the window and get close to yourself. Above all, never shoot against the light of the window (unless you are looking to do silhouette photography).
6- Use the largest possible aperture: Shoot using the largest diaphragm openings possible (low f / value). This will first allow a lot of light to enter and secondly allow the subject to come out well defined and focused, with a totally out of focus background. You can achieve this very easily if you choose the semi-manual mode of your camera called "Aperture Priority" (in Canon it has the letter Av , in Nikon the letter A ).
7- Above, humility; below, power:Portraits taken from above take away a person's strength, make them appear small, weak, humble and docile. Instead, portraits shot from below convey strength, power, and virility. For an advertising photo of a sports brand, the athlete will surely be photographed from below.
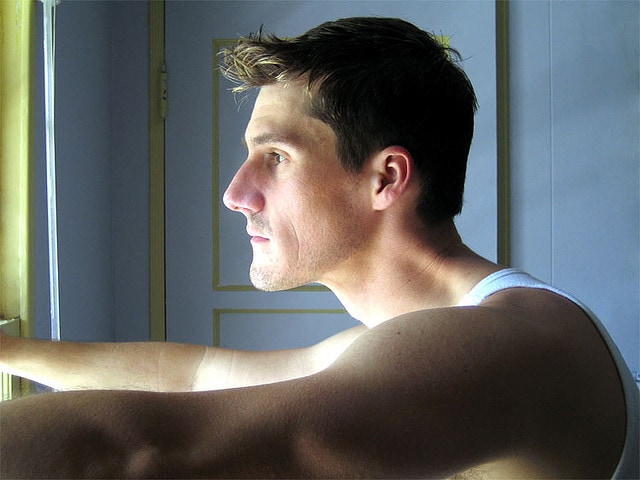
8- Unusual profiles: There is no rule that forces you to always shoot portraits from the front. Why not try unusual profiles such as portraying the subject from behind, or in profile...?
9- Infrequent perspectives: You are not required to shoot while standing, from the same height as the subject or holding the camera at head height. There are other perspectives that will offer you unusual and very original photos, experience them.
10- Better in the morning or in the afternoon: The sunlight during sunrise and sunset is unique and has no equivalent. If you want to impress your model with a good portrait session, suggest meeting her early in the morning or in the afternoon.
11- Avoid shooting at noon: As much as possible, avoid taking portraits between 11 a.m. and 3 p.m. It is a moment in which the sun hits hard and its rays will leave an unpleasant contrast of light and shadows on the subject's face. If it is essential to carry out the session at noon, at least try to find an area with a less aggressive light level.
12- First frame, then focus:I know, basic advice, but it's a common mistake. If you're using manual focus, you first have to frame the photo and then focus. If you change the frame or the composition you necessarily need to refocus again.
13- Make your subject feel comfortable: Being a model is not an easy task, sometimes the model can feel uncomfortable, nervous, especially if it is the first time. Those nerves will later translate into the worst portraits you've ever done. If you notice that your model is having a regular time, give him something to entertain himself with: a book to look at, a mobile, a glass, a toy, anything. You may have to resort to this trick only at the beginning and once your model has entered the dynamic you already remove the support element.
14- Beware of the wide-angle lens: This lens usually has a very short focal length (10-14mm) and its use in portraits is extremely risky unless you know how to control it. In case you don't know, this lens causes tremendous distortions on the subject's face and body, making them appear fat or giant. If you want to use it, do it, but be very careful.
15- Tilt the camera:Usually in landscape photography we are obsessed with keeping the photo completely horizontal with respect to the horizon, worth the redundancy. But in portrait photography, since the point of interest is not the horizon or the landscape itself but the subject, often tilting the camera on purpose to get a sloping horizon can result in a fun and original portrait.
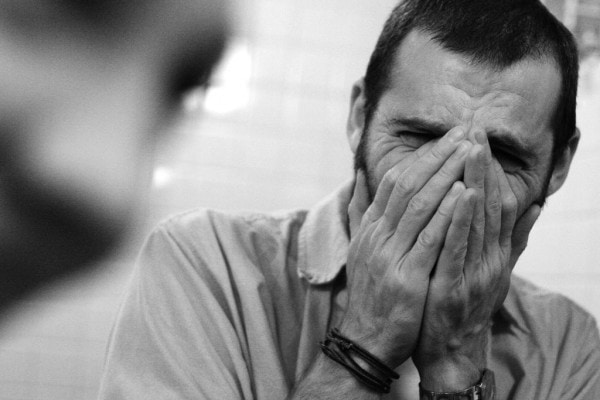
16- Portray emotions: The portrait has to transmit some contagious emotion: joy, sadness, doubt, fear, laughter, emotion is what gives life to the portrait. The beauty of the model is not an emotion, remember that.
17- Group portraits: There is nothing more boring than a photo of a group of people all standing with their heads next to each other. A good trick would be to distribute the people in the group to be portrayed at different heights, for example one sitting on the sofa, another semi-sitting on the armrest, one or two standing, and some sitting on the floor for example.
18- Obtain a transfer of rights: If you plan to market the photo or sell it later, ask your model to sign a document through which he transfers the image rights to you so that you can freely sell the photograph. If the person hasn't signed over their image rights to you in writing and you try to sell the photo as your production, you can get into trouble.
19- Focusing the opposite:You can get very original portraits if you make the subject a secondary element and make some of their accessories the protagonist of the photo.
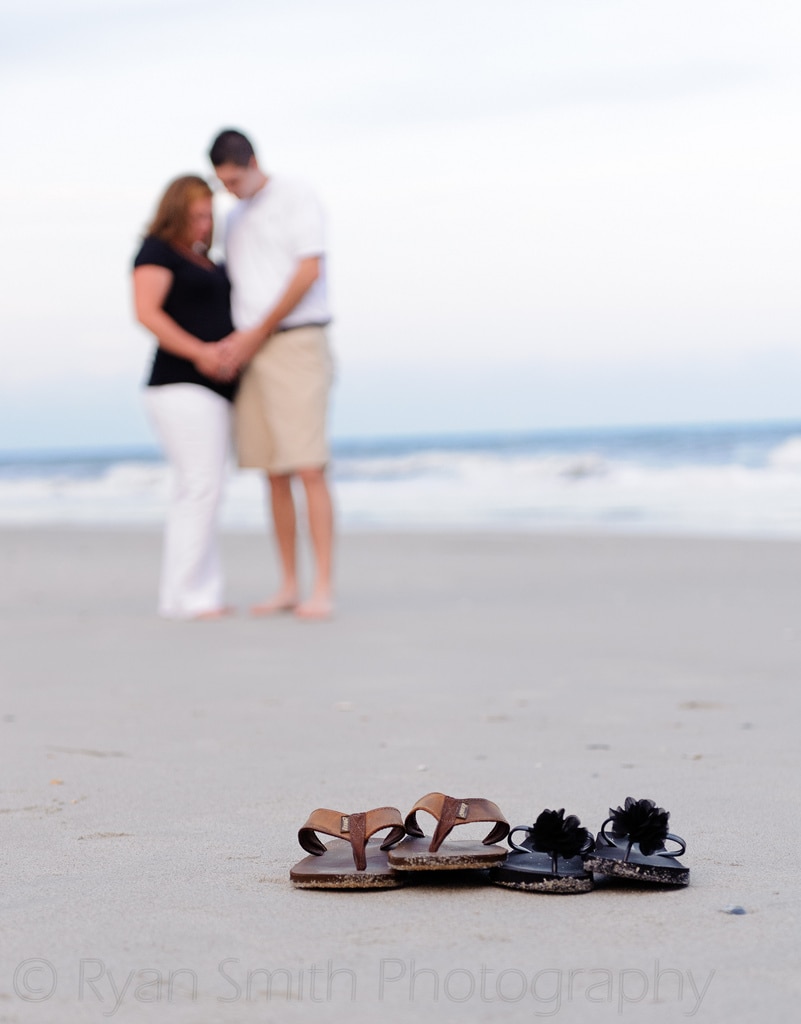
20- Focus the eyes: If you are looking for a reference point to focus on the subject, always do it based on their eyes.
21- Outdoor portrait with flash: Although it may seem illogical to you, outdoor portraits in broad daylight come out much better with flash. Try it and you will see.
22- Print your portraits, live them:What is the use of saving hundreds or maybe thousands of portraits on your computer's hard drive? I'm not saying you have to print all of them, but from time to time bring some of your portrait photos to life, for example the ones you consider the best. Use them to decorate your study, your workplace, the furniture in the living room or print them on a canvas and hang it on the wall. In this way you will be giving them a much more useful use and you will feel more motivated to continue progressing as a photographer.
23- With the little ones... burst mode: The pattern of movements of a child under 10 years of age is unpredictable, so I recommend you use the famous burst mode, so even if some photos come out blurry, you will have more chances of one being decent.
24- Use the King of Lenses: If you want to take portrait photography seriously and you still don't have one of these, maybe it's time to seriously consider it: you need a 50mm f/1.4 lens. I call it "The King of Lenses" and I explain why in the following article: 50mm f/1.4 lens, the king of lenses .
25- Soften the light from the flash: The light from the flash is sometimes too powerful and causes excessive aggressive light on the subject's face. To remedy this I suggest you use a flash diffusing screen. This will soften the way the light from the flash hits your subject.
26- Look for silhouettes:Silhouettes are another way to obtain very original portraits with a certain "magical" touch. The most suitable time to take this type of portrait is during sunset when the sun is about to disappear behind the horizon.
At this point in your reading, you already know 26 of the most efficient methods and tricks when it comes to taking portrait photography. I hope you have taken note and that you apply them. As soon as you start practicing them you will notice the difference yourself.
Happy photography, and as always, if you enjoyed reading this article or found it minimally helpful, please recommend it. Thanks ?

