
We have all gone through the complex situation of taking portraits indoors and having a hard time seeing how the photo comes out blurry due to the lack of light. Today I bring you 5 quick and easy tricks to put into practice, with which you can obtain (well) illuminated portraits indoors.
But before I continue, let me recommend the mega guide that I have prepared with more tricks, tips and inspiration for portrait photography (much more than you can imagine).
5 TRICKS FOR INDOOR PORTRAITS FULL OF LIGHT
- Bounces external flash
- Place a light diffuser
- Projects the light of a lamp
- Take advantage of the light coming from a window
- Shoot in Aperture Priority mode
1. BOUNCE THE EXTERNAL FLASH
In indoor portraits, and in situations with no light, the ideal is not to shoot the portrait with the flash directed directly at the subject. It will produce a light that is too powerful and will leave very exaggerated contrasts of light and shadow on the person's face and body.
If you have an external flash (and if you don't, get one, here are some recommendations ), most have a rotating head, which allows you to deflect the flash's light path slightly, either up or to the side. With this you achieve that the light is projected first onto a surface close to the subject, such as a wall or a ceiling, and from there it bounces towards their face.
It works wonderfully because the light, already bounced, reaches the subject very soft and even. If the surface is also a light color, you will get even better results.
2. PLACE A LIGHT DIFFUSER
In many online stores and for less than 5 or 10 euros you can buy this accessory that consists of a kind of white and semi-translucent plastic cover that we will place in front of the flash. Its function is to lighten the powerful light of the flash and make it softer .
If you don't have one of these accessories, don't worry, you can improvise one using any piece of kitchen paper or tissue paper you have on hand.
Place it in front of the target and test. If the flash is too strong for you, fold the paper and repeat the test. If it's too soft for you, unfold it and you're done ?
3. PROJECT THE LIGHT OF A LAMP
Sometimes we don't have a flash or we can't use it for whatever reason. If the light from the ceiling lamp is not enough to illuminate your subject, you can reinforce it by using any table lamp that you have nearby.
Simply bring the lamp closer to the subject, raise it with a side table up to the height of his face or the point you want to illuminate, yes, make sure that the lamp is not seen within the frame.
Most lamps will give you a warm light.
If it's too warm to the point that the photo takes on excessively orange tones, don't worry, this is something you can always change and readjust later in post-processing. Of course, you will have to take the picture in RAW .
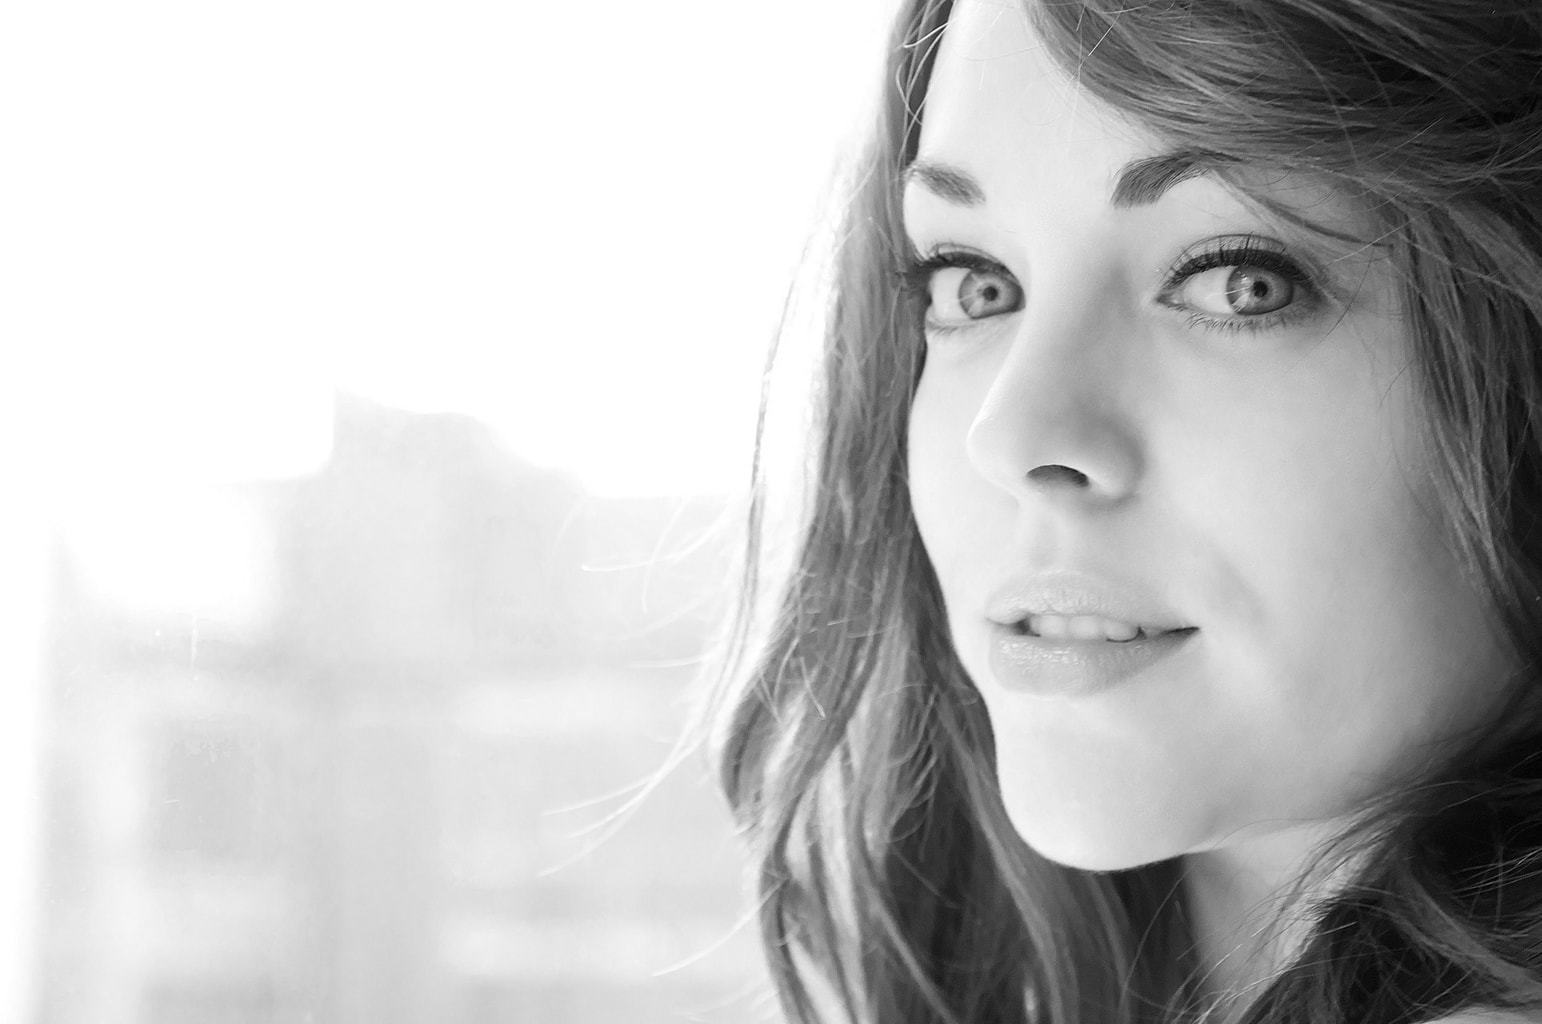
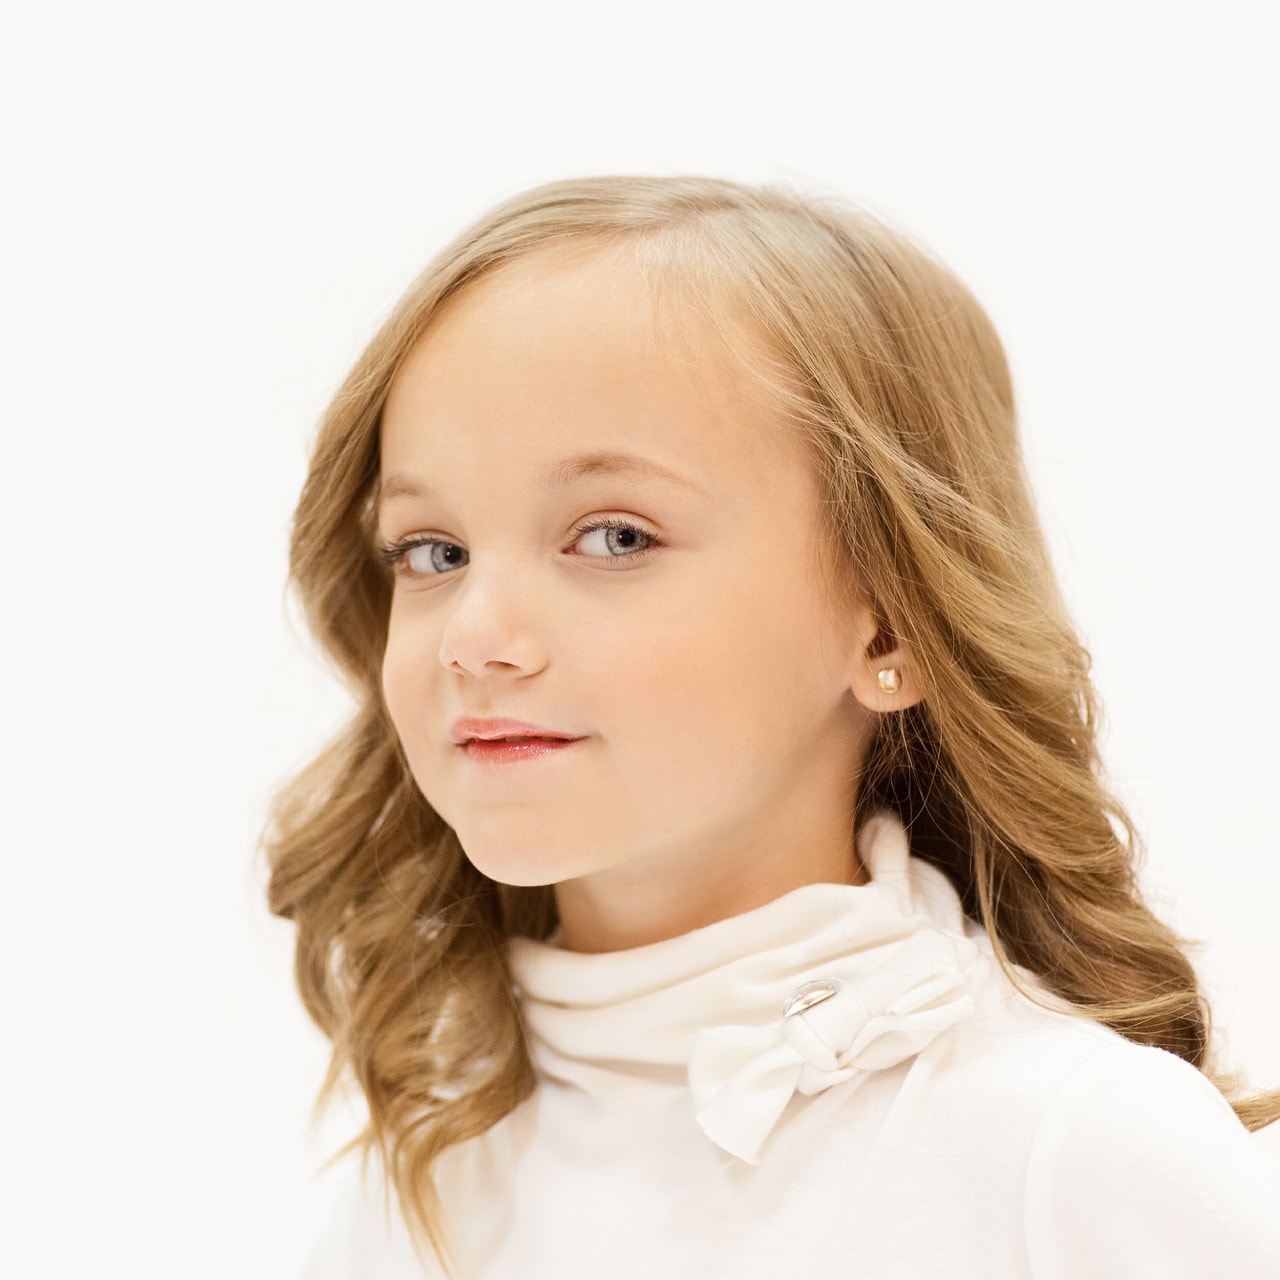
4. TAKE ADVANTAGE OF THE LIGHT COMING FROM THE WINDOW
In photography, the best light you can use is natural, due to the characteristics it offers, which are difficult to achieve with artificial light. Obviously it is easier to photograph a landscape or a sporting event in natural light than an indoor portrait, but not impossible. Simply locate a window with outside light coming from it and use it to illuminate your portrait.
Obviously, the light from the window will have to be projected onto the subject's face or side. You as a photographer should have the window well behind you, either to your right or to your left. We will never take this type of portrait with the window in front of the camera, nor with the subject facing away from the window, as this will cause the camera to darken the subject's body giving us an underexposed photo (unless we are looking for a silhouette effect, in which case we are interested).
Depending on the amount and direction of the light, you will have to place your subject at different distances from the window, and you keep trying until you find the optimal point of light.
Ah, remember to draw the curtain. This will act as a "diffuser" and will allow you to enjoy very soft light.
5. SHOOT IN APERTURE PRIORITY MODE
I always insist on using the manual mode when taking a photo, but if this mode resists you, at least try the semi-manual "Aperture Priority" . This mode, present in all current SLR cameras, allows you to control the aperture of the lens's diaphragm, making it larger or smaller.
It is that f/... number that you will have seen many times on the screen of your camera. Lowering the f/ number to low values (f/3.5 for example) will make the camera capture much more light than if you had it at f/16. The smaller the f/ value, the more light your camera will capture. Here I explain it very clearly.
The limit for this value is set by your goal. Some lenses reach f/ values as low as f/1.4, which is wonderful.

Each of these 5 tricks separately will allow you to work more easily on your portraits, but if you want you can also combine them depending on the resources you have available at the time or depending on the portrait lens you are using. Remember that light is your raw material as a photographer, so take advantage of it ?
Did you like today's tips? If so, I would appreciate it if you spread the article on your favorite social network. This is how we reach more photographers ?
