
As much as we like natural lighting for our photos, we well know that the external flash is a necessary photographic accessory when we do not have natural light or when it is insufficient. What you may not know is that it can also be a creative element. In today's post I will tell you about some ways to use the flash to get different effects and more creative photos. Do you want to know how? Well keep reading!
DIRECT SHOT
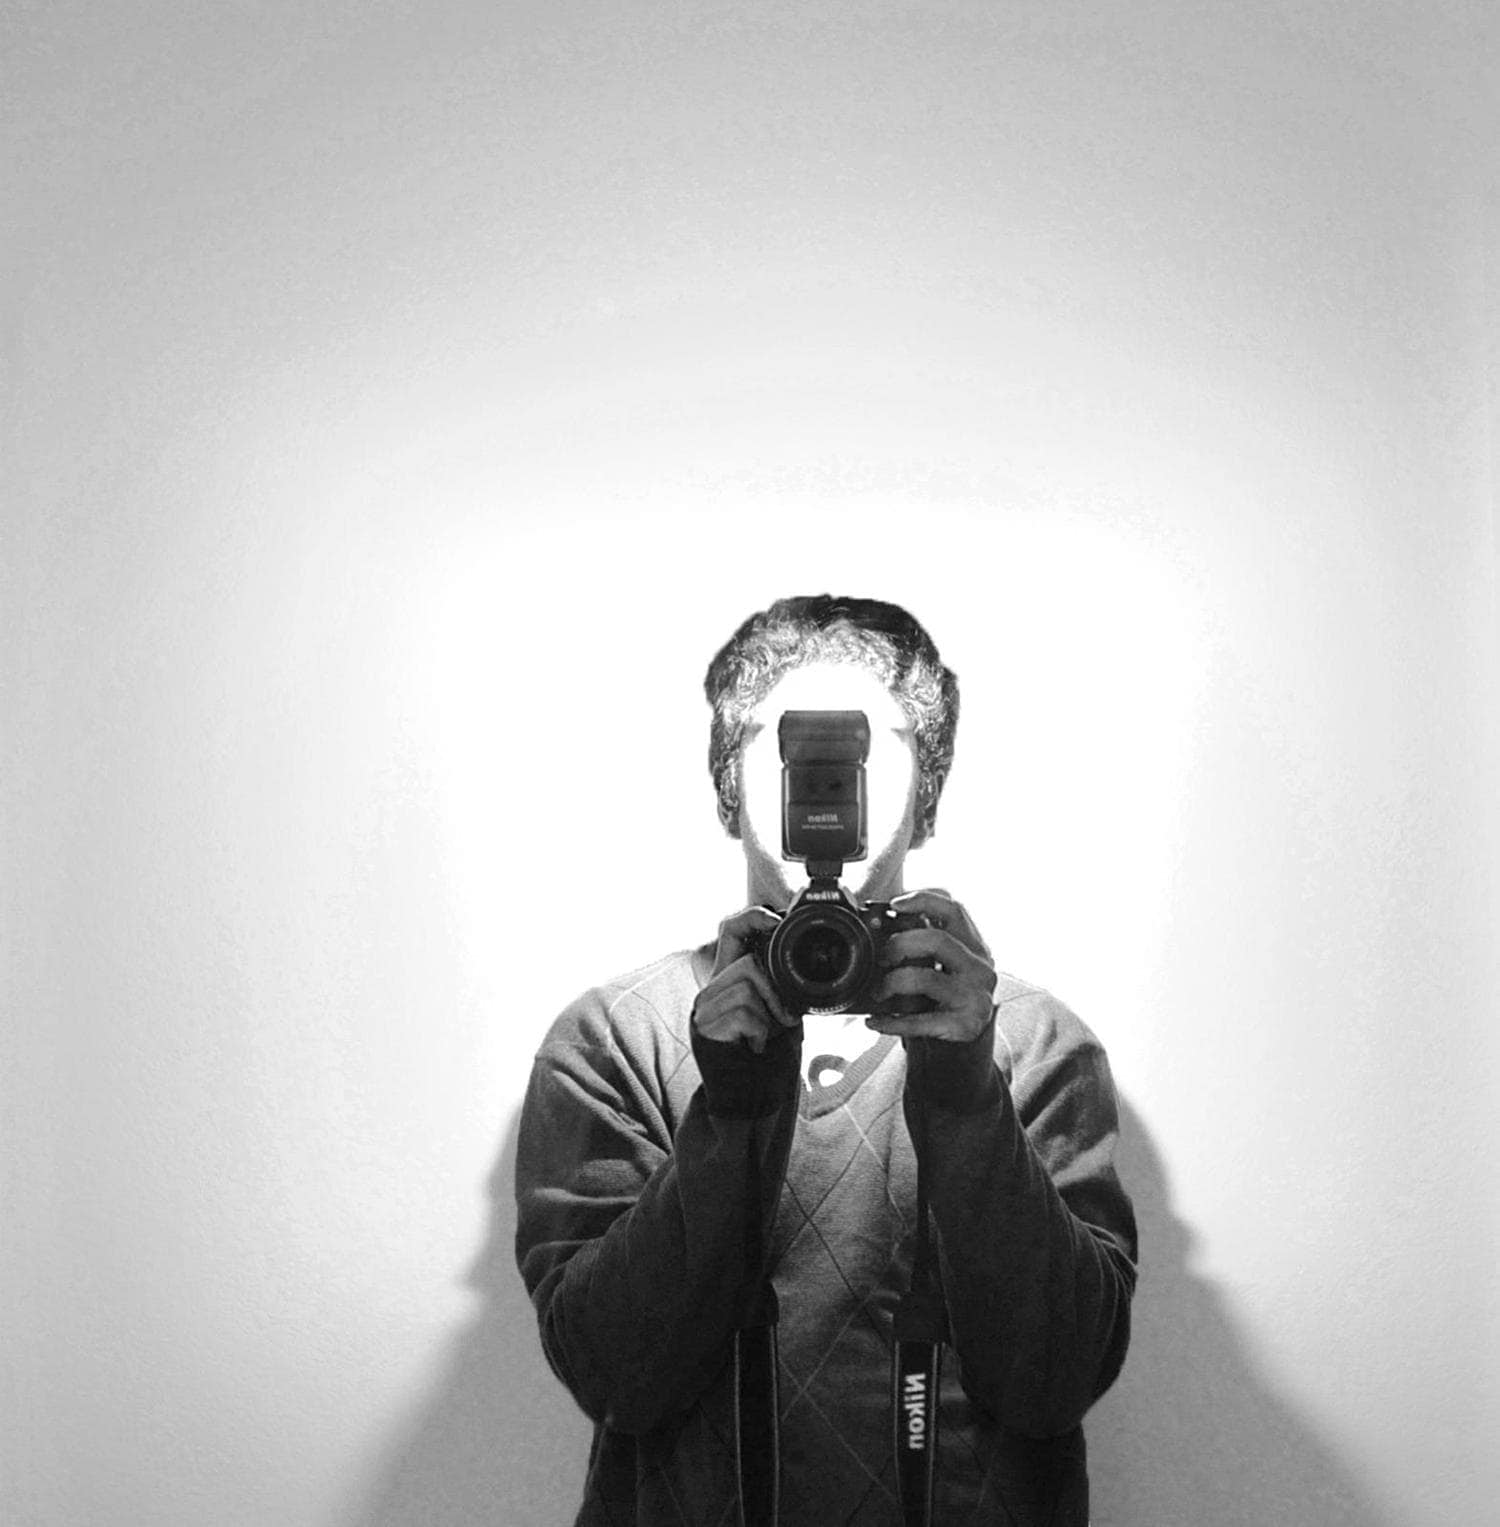
It is the simplest way, known and not very creative, the flash is directed directly at the object and it fires. The result is usually very artificial, with a very harsh light that generates very unsightly shadows. You know this shooting mode very well, so we will not spend more time on it.
FILL FLASH
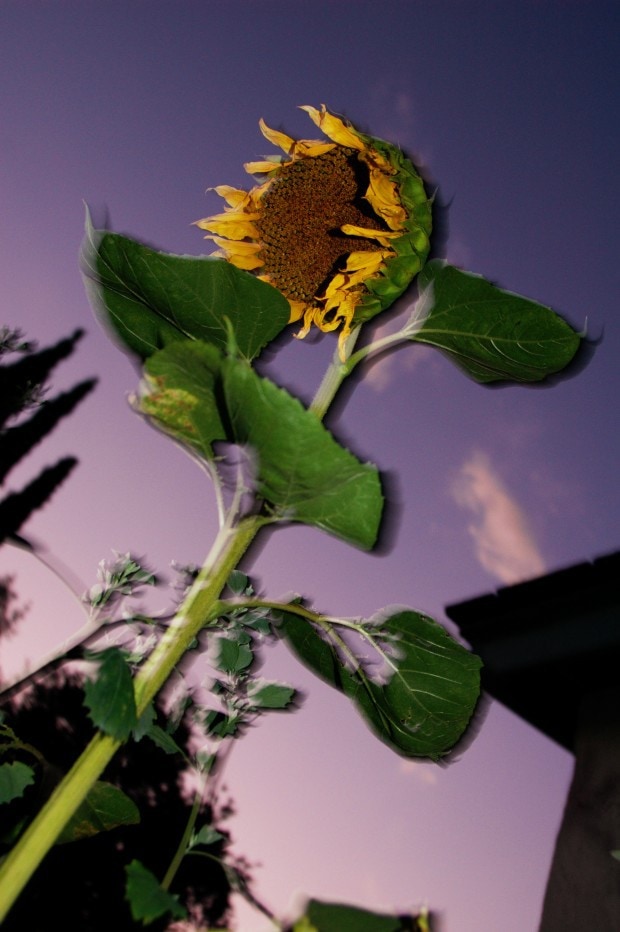
Outdoors and with sufficient light, we usually think that the flash is not necessary, however it can be very useful. I eat? Reducing the shadows. Sunlight often creates unwanted and unsightly shadows on the subject or object. To avoid them we use what is known as fill flash. Observe the following image.

In this case, the flash must be adjusted so that it produces less light than the ambient light, otherwise the result would be very artificial.
This technique can also be used in cases where we are backlit and even indoors, when we cannot modify the lighting.
BOUNCE FLASH
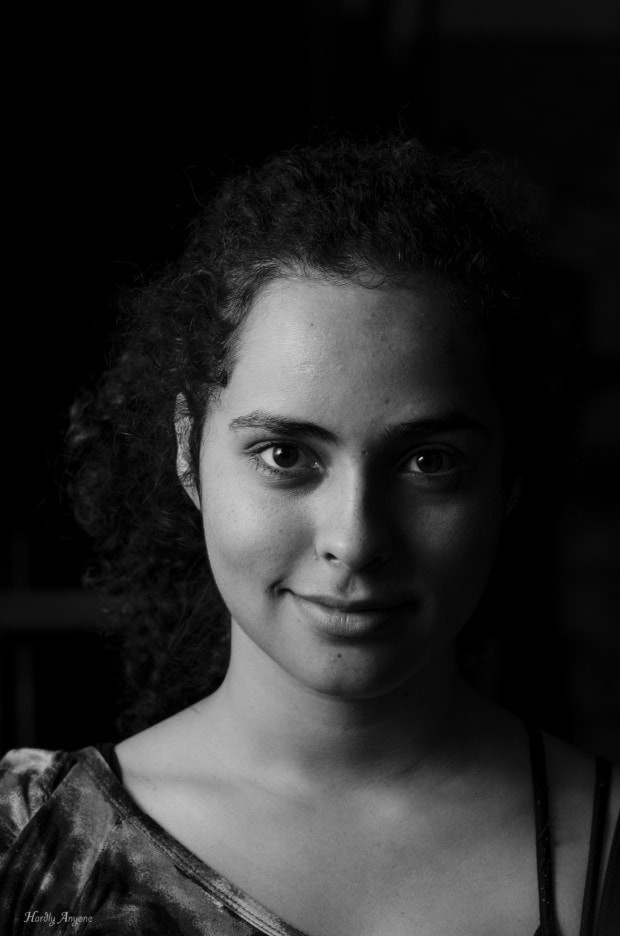
This technique simply consists of bouncing the light from the flash off the ceiling, a wall or any other white surface so that the result is a more diffused and therefore more natural light. That is, turn the light bulb towards the surface that we choose instead of focusing it directly on the subject. You must take into account that power is lost.
You can aim directly at the ceiling or at an angle of 75º. Also, if your equipment allows it, you can rotate it backwards at a 45º angle. These same angles can be used to bounce off the wall, as in the case of the following photograph.
Cheats:
- If you don't have a wall and you have a friend or family member nearby dressed in white, you can use it too. Of course, that it is trustworthy so that it is willing to put itself where you ask it and close its eyes to avoid the "flash".
- if what you have is a built-in flash, you can use a piece of silver card and adjust it with a bit of skill to the angle you want. There is another possibility, not at zero cost like cardboard, but not bad at all, it is an accessory called Easy Bounce . I leave you a video so you can see it.
SLOW SYNC
Surely more than once it has happened to you that when taking a photograph without sufficient light or at night, the subject or object comes out very illuminated with the flash but the background, however, comes out completely dark. Well, using slow synchronization, we can avoid this effect, since what we do is leave the shutter open a little longer and thus more light is absorbed. Using slow synchronization you will get more natural images, since the light of the scene is captured.
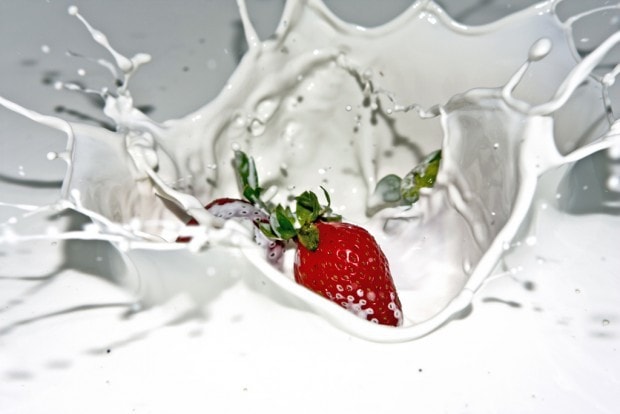
You can also use it in action photography. You can capture the movement of an object but freezing the subject of the movement at the same time. In the following image you will see it better.
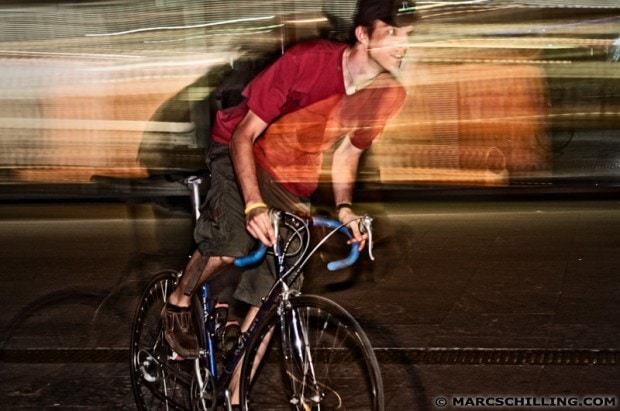
In both cases it is convenient to use a tripod to avoid shake.
It can be synchronized to front or rear curtain . I know, this is going to sound very strange to you, but to understand us, the flash normally goes off as soon as the shutter is released, so if there is a halo of light due to the movement, it will appear in front of the object. On the other hand, if we synchronize to the rear curtain , the flash fires at the end of the exposure and the halo of light appears behind the object, providing a much more natural result. Here are two example images.
HIGH SYNC
It ensures that all the objects in the image are illuminated correctly as the part of the sensor that has to capture the light reflected by them is revealed. In short, the entire scene is evenly lit. Keep in mind that when losing some power, larger apertures have to be used.
VF BLOCK
Flash value lock allows you to achieve correct exposure when the subject is not centered and is accompanied by a dark background. It is similar to the AE lock of the camera.
STROBE EFFECT
Some flashes have an option that allows multiple flashes to be fired at a certain time and with a specific frequency. What is this for? Well, to capture sequences of an object or subject that is in motion and show it in a single shot. To understand it better, here is an example.
FLASH MODIFIERS
Not everything is technical, another way to achieve different effects is through flash modifiers.
- Strobella: it is a small umbrella-shaped diffuser. Bouncing the flash off its surface creates a broad patch of light that illuminates the subject from different points, making shadows softer.
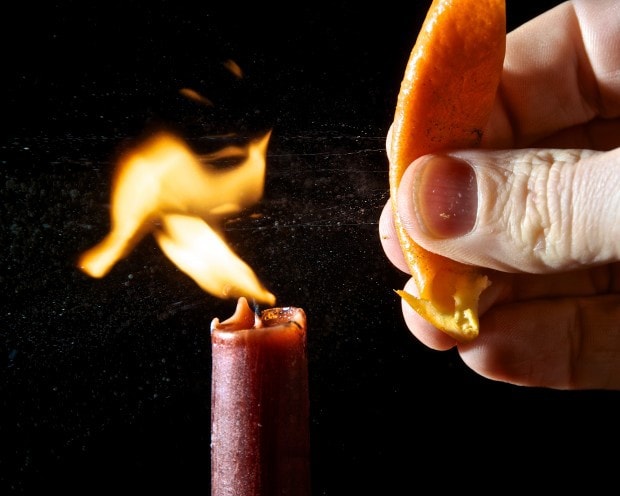
- Gels: they are colored filters with which you can modify the lighting, obtaining a warmer, colder or even something more fun result, adding a touch of color, as in the following image in which a red gel filter has been used.
- Softbox: it is a box that allows light to pass through it, acting as a diffuser, turning direct light into a much softer light.
- Flags: similar to a reflector that instead of bouncing the light, prevents it from reaching an area of our scene. You can use anything as a flag, the most normal and accessible is cardboard or cardboard. They can be white or black. The white one serves as a flag and a reflector and if you want to prevent light from bouncing in other directions, you should use the black one.
In this Iaio post , you have more options for diffusers and accessories for your flash, and best of all, how to get them for free or for very little money. Are you going to miss it?
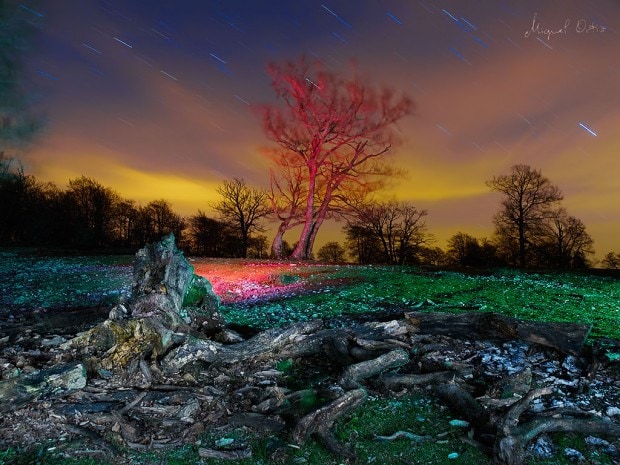
CREATIVITY
And as always, creativity is one of our best allies. Give free rein to your imagination and play with the flash. Here are a couple of examples:
OTHER LINKS THAT MAY INTEREST YOU
Be sure to take a look at these posts and you will better understand the world of flash.
- Everything you need to know about flash
- Tricks for better use of flash
And if you already feel like practicing, here is an idea:
- How to take smoke photography with an external flash
The best way to learn is to practice, I won't get tired of repeating it. Experiment with all these effects and have fun, because after all, if we are hooked on photography, it is because we enjoy it!
If you found it useful, share it. Until next time and may your flash illuminate you! ?
