
This is a guest author article Julien Leveau where he brings you a series of professional tips for photographing interior architecture. Capturing the inner beauty of a villa or property is not easy. It requires many skills and good material to take advantage of the architectural design. Playing with lines and curves, or managing lighting, are essential elements when taking a good picture. As a professional architecture photographer, I will share my secrets so that you also get impeccable images.
- The team
- During the session
- Settings
- Edition
1. THE TEAM. PRIMARY ISSUE IN INTERIOR ARCHITECTURE
Obviously the camera you use has its importance when taking pictures of interiors, but to achieve a great photo, the most important thing is the objective.THE MATERIAL I USE
For the interiors, I use several focal points depending on the space that the interior offers me and the effect I want to obtain. Next, I share what I carry in my briefcase every time I capture interiors.CAMERA
I am fond of Nikon and I use the D800, D810 and D850. I usually carry two of them just in case, but usually one will be enough. It is important to take several batteries and their charger if it is a long session. To document a villa, I dedicate an average of 8 to 10 hours, which allows me to document the sunset.GOALS
As I mentioned, the optics are the elements that will allow you to have THE PHOTO. In interior architecture, these are the ones I use: 1. The super wide angle, a 14-24mm Nikon. I use this objective between 14 and 19mm when the spaces are very small (bathrooms or yacht rooms, for example). I recommend limiting its use in indoor photography because it has several defects. The first defect is that it distorts the lines, which prevents me from readjusting them in editing. The second defect of the super wide angle is that it gives the impression that the space is larger than it really is. If the session takes place for the sale or rental of a real estate property, it can generate the disappointment of a potential client when you visit the property and realize that the space is smaller than what you saw in the photos. Therefore, in most shots, I use 24mm.TRIPOD
I have a tripod equipped with a kneecap. This accessory is essential to always have my straight lines and for long exposure shots. So is it when making composite photographs (subject that I will discuss later).FLASH
For the use of artificial light, I use a remote flash mounted on a tripod. In case you can take an assistant (or a second person) to the session, a light reflector may be the solution. These elements will help you highlight the shaded motifs or to adjust the lighting differences between the interior and the exterior.2. TIPS DURING THE SESSION
The first step when I arrive at a farm is to take a tour. The objective is to visualize the spaces and determine how the light will move throughout the day in order to plan the shots according to the schedules. For example, the terrace may be shaded in the morning, but offer a magnificent sunset at nightfall.- Stand in front of the scene. Take your pictures in front of your subject. Many interior photographers make the mistake of putting themselves in a corner to show everything, don't do it! (again with the exception that it is the desired objective or that the space is too small for a front shot). A photograph does not have to show everything, on the contrary, it is sometimes preferable to suggest the existence and let the viewer's imagination do their job (don't you think?).
- Adequate height. In order to keep the lines of the walls straight, and give the viewer the impression that he is visiting the property, it is necessary to use a correct tripod height. Adjust it between 1.5 and 1.6m high to be level with the elements and get a neutral angle. Do not want to take photographs from below or from above because it would enlarge or decrease the elements (unless it is the objective you are looking for). It is also a way to maintain continuity between the different photographs.
- Use of light I always try to limit the use of artificial light and optimize the natural light that enters through the windows. However, it is not always ideal or possible. In these cases, I use my flash to compensate for the lack of light in certain places in space. I also make several shots using different exposures to have the low, medium and high lights well exposed. In editing, I put together a composition of all those shots using masks in Photoshop and I have my picture finished. Do you remember when I talked about the need for a tripod to make compositions? Well this is the example.
-
Photo to highlight the exterior -
Highlights photo -
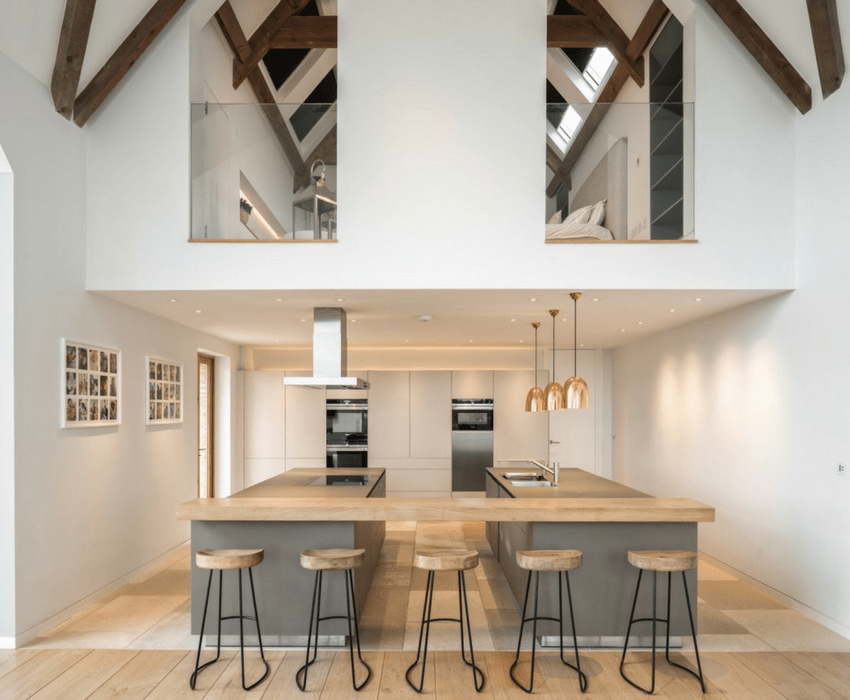
Additional flash in the bar -
Additional flash for the ceiling -
Additional flash on the table on the left -
Finished photo
3. SETTINGS TO PHOTOGRAPH INTERIOR ARCHITECTURE
The settings I use in interior architecture will depend on each shot, but those are the general rules that I apply:- ISO . Always at 100 to save great image quality and avoid noise. I compensate for the lack of light with longer exposures.
- Opening. If I am taking details or want to generate depth of field (for example, if there is vegetation behind), I use large openings (from f / 1.2 to f / 2.8). For most shots I use an aperture between f / 3.5 - 5.6.
- Exposition. Indoors there is almost no movement so long exposures can be used without problem (hence the importance of the tripod).
- Format. RAW, obviously, if you're not convinced, I invite you to review this article .
4. AFTER THE SESSION. PHOTOSHOP EDITING
When I arrive at the office after a session, the first thing I do after downloading them to my Mac is to select in Lightroom the ones that I will use. Once this process is finished, I pass the files to Photoshop to combine my shots. Here is a small tutorial that explains this process very well: And here you have it, the complete guide to take photos of professional quality interiors. I hope it helps you and that you have learned something from my experience. This is an article by Julien Leveau, professional architecture and wedding photographer. You can continue his work at Julien Leveau and at Arcenciel Studio . If you also want to participate as a guest author, click here. If you liked the article, thank Julien for his advice by sharing the article on your favorite social network so that others can enjoy his fantastic work and the advice he offers. Thank you and see you soon.