Like so many other concepts in photography, "law of reciprocity" is a concept you want to run away from. But, even if it sounds very complicated, I invite you not to do it ? because the law of reciprocity in photography is basic to understanding light and how exposure works.
Without light there is no photography and, without mastering it, it is impossible to have good results. Stick with me and I will try to explain it in a very simple way. Although first, I would like to recommend this mega guide on lighting in photography so that you can delve into the subject or turn to it whenever you need to clarify concepts or seek advice on light and photography.
THE EXPOSURE TRIANGLE
We cannot talk about the law of reciprocity without first talking about the exposure triangle, since the law of reciprocity is closely linked to it.
The exposure triangle is made up of the three variables that influence the exposure of a photograph: shutter speed, aperture, and ISO.
DIAPHRAGM APERTURE
Controls the amount of light we let into the sensor through the lens. The aperture of the diaphragm is directly related to the depth of field. At lower aperture values (f/1.4), more light passes through the sensor and less is the area in focus in the image. At higher aperture values (f/22) less light passes through the lens and the greater the area in focus in the image.
SHUTTER SPEED
It controls the time that the shutter of our camera remains open. At higher speeds, the shutter opens and closes faster and therefore less light enters the sensor. Conversely, at low speeds, the shutter stays open longer and therefore lets in more light. In addition, the shutter speed is related to the ability to freeze the movement of the image (high speeds) or to have it imprinted (slow speeds).
Mario explains it clearly in his video:
It is the sensitivity of the sensor to light. The higher the ISO value, the more sensitive it is and, therefore, the more light-gathering capacity. Conversely, the lower the value, the less sensitive it is and the less ability to collect light. ISO is also associated with the concept of noise. The higher the sensitivity, the more noise in the image, the lower the sensitivity, images with less noise and, therefore, less noise.

If you are clear so far, let's move on to the next point. If not, I recommend that you spend a few minutes on it. Not only will it be useful to understand the topic that concerns us today, which is the law of reciprocity, it is also the essential recipe for understanding and taking photography.
From blurring the background of a portrait, getting a well-focused landscape, freezing a drop of water, or getting the silky effect… everything is based on these three concepts of the exposure triangle.
WHAT IS THE LAW OF RECIPROCITY?
Now that we have the freshest display concepts , let's get down to business. The law of reciprocity is very simple, it is simply based on the logical principle of compensating exposure or finding the balance between all variables to achieve correct exposure when shooting in Manual Mode .
The formula of the law of reciprocity (as a curiosity) is:
Exposure= Intensity (I) x time (T).
Where the intensity would be the opening of the diaphragm, and the time the shutter speed.
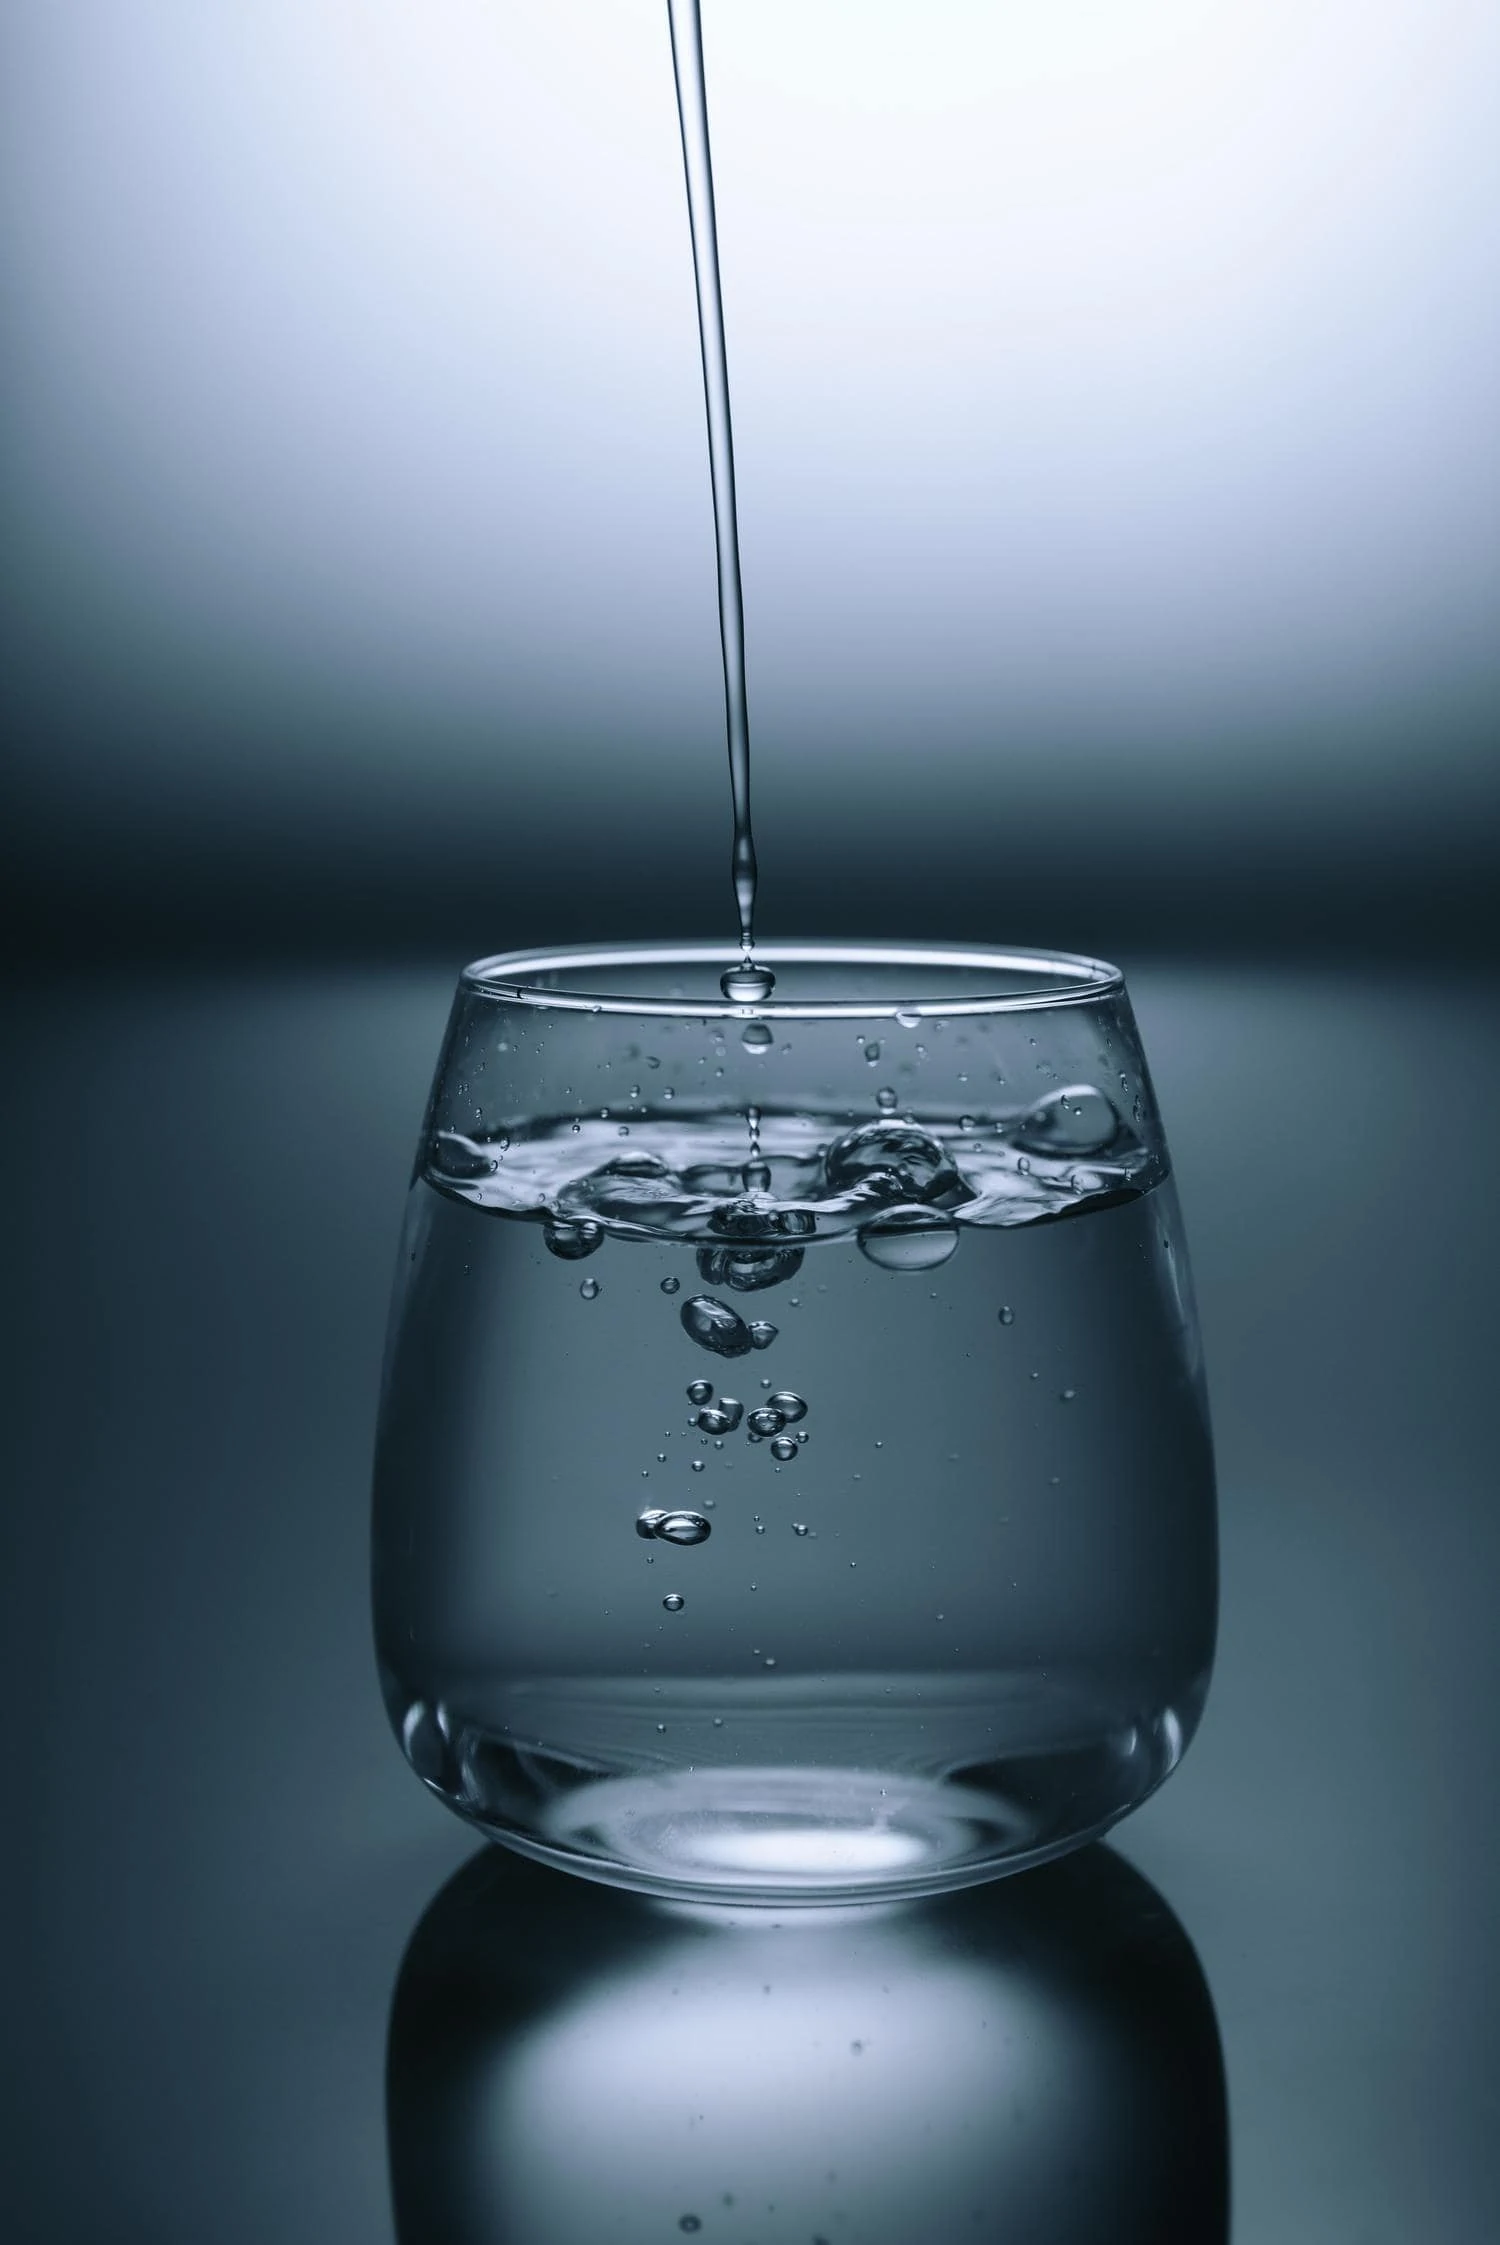
->Imagine that you want to fill a glass of water. The more you open the faucet, the faster it fills up, so you need less time to fill it up. The opening of the faucet is our aperture (or intensity), the time it takes to fill the glass, our shutter speed (or time).
On the contrary, if we open the tap less, we will need more time to fill it to the top. The law of reciprocity is based on this simple relationship between opening and time.
In short, the longer the tap is open, the less opening we need to fill it, or the larger the tap opening, the less time we need to fill it. Simple, right?
Now a more photographic version through a couple of very simple examples ? :
Example 1: Let's say I'm taking a portrait and I want to blur the background more. What I will do is open the diaphragm to be able to work with less depth of field as we have seen before. So far so good, the "problem" is that if I open the diaphragm I let in more light and, therefore, my image will look burnt or overexposed.
The law of reciprocity tells us that, logically, we must compensate the exposure to make it correct. In this case, if I've let more light in through the aperture, what I need to do is subtract light through one of the other exposure variables I have: shutter speed and/or ISO.

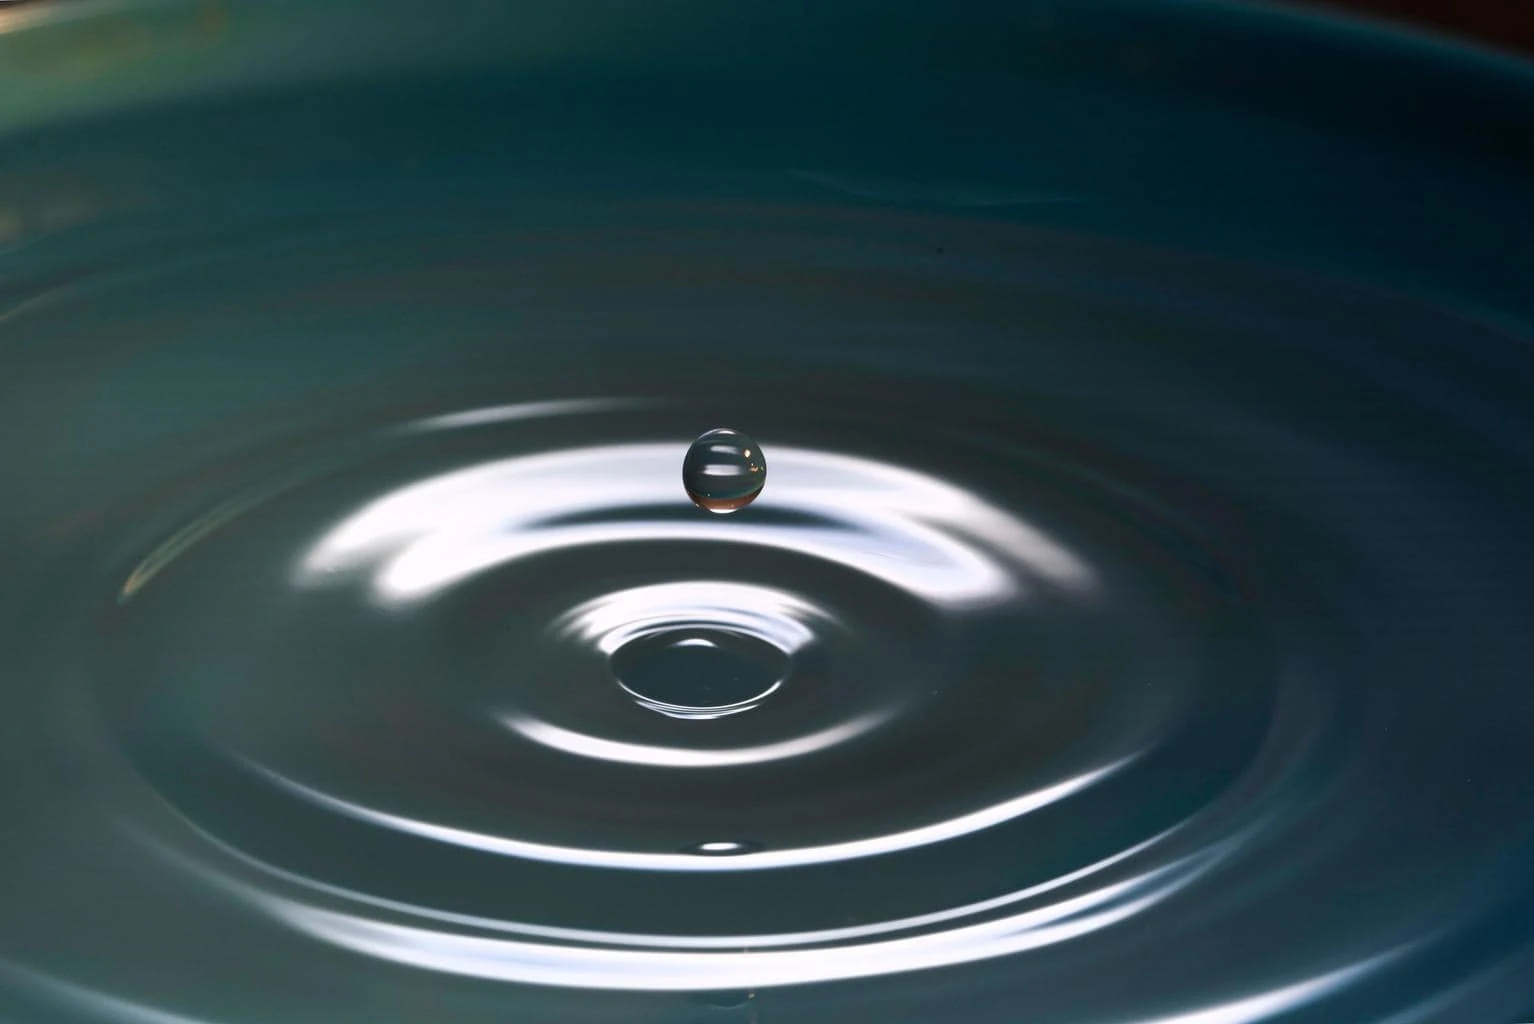
Example 2: Let's say that this time what I want is to freeze the movement of a falling drop. In this case, I will seek to work at speeds as high as possible. If I increase the speed, as we have seen before, less light will enter the sensor. What should I do in this case? Exactly, compensate by letting in more light through the other exposure variables, in this case: aperture and ISO.
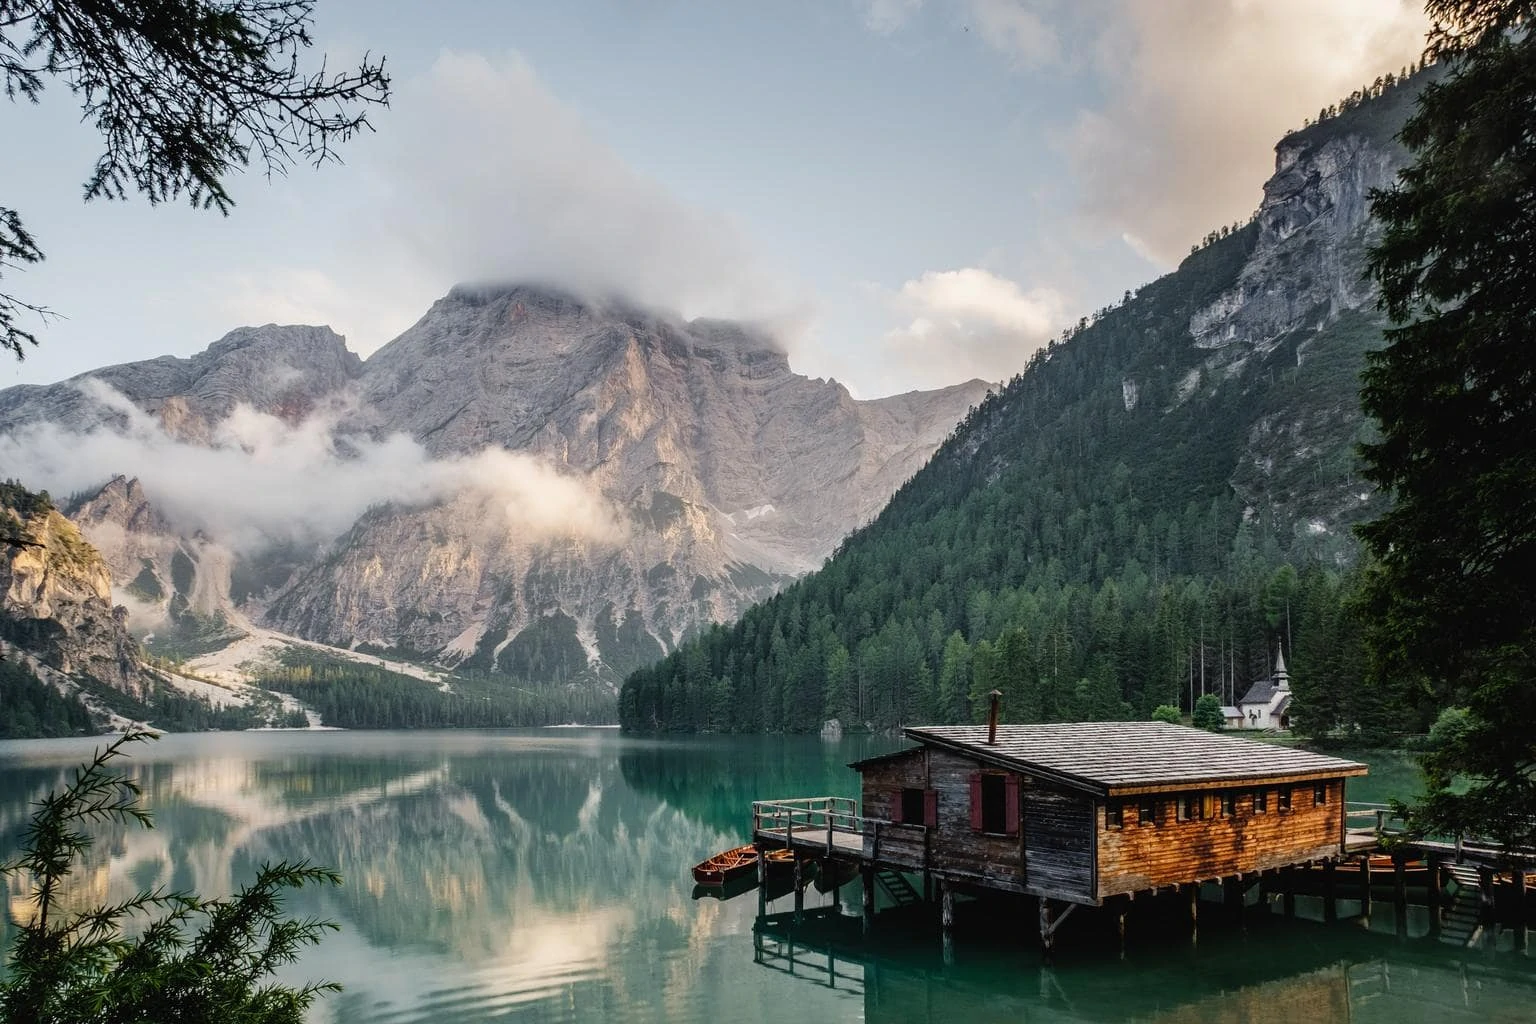
Example 3: I want to shoot a landscape as sharp as possible, so I want to keep the ISO to a minimum. This implies that little light will enter the sensor and that to correct the exposure, therefore, I will have to play with the other two exposure variables, in this case aperture and shutter speed.
ANOTHER ESSENTIAL INGREDIENT, THE STEPS IN PHOTOGRAPHY
I hope that up to here you have the general image of what the law of reciprocity is; it's simply finding balance in your exposure by adding or subtracting light. Now, to apply it correctly, we need to go a little beyond the general idea, we have to do it through what we know as the steps .
So far, we've been talking about adding or subtracting light. The amount of that light that is essentially what the steps are. When we talk about going up one step, it means increasing the light input, and going down one step means decreasing the light input.
Surely this concept sounds familiar to you from having read it at some point. The steps are the different exposure values. Each step lets in half as much light as the previous one. In the following diagram you can see the complete steps (many cameras offer intermediate values to adjust and fine-tune the exposure further).
If you look at both graphs we see, for example, that in the case of shutter speed, going from 1/250s to 1/500s reduces the entry of light by half and vice versa, if we go from 1/500s to 1 /250s we double the light.
Or, if you look at f-stops, going from f/22 to f/16 would mean doubling the light input. Instead, going from f/16 to f/22 would mean having half the light.
PRACTICAL EXERCISE ON THE LAW OF RECIPROCITY
There is no better way to gain agility with the steps than by practicing, so I suggest you solve the following exercises to get the hang of the law of reciprocity and the steps. The idea is to start from an original exhibition that I propose, and go playing as if we varied different values. You dare? here they go:
CONCLUSIONS
If you have just started in photography, you will have finished this article with a head like a hype ? It is not for less, because in this article I have talked about the soul of photography as far as technique is concerned. If you master everything that I have mentioned in it, everything, everything, everything you want to achieve with an image, you will be able to do it. I'm not exaggerating.
So do not get overwhelmed with all the concepts and try to go through them little by little, understand them well, through this article or the many others that we have on the blog.

