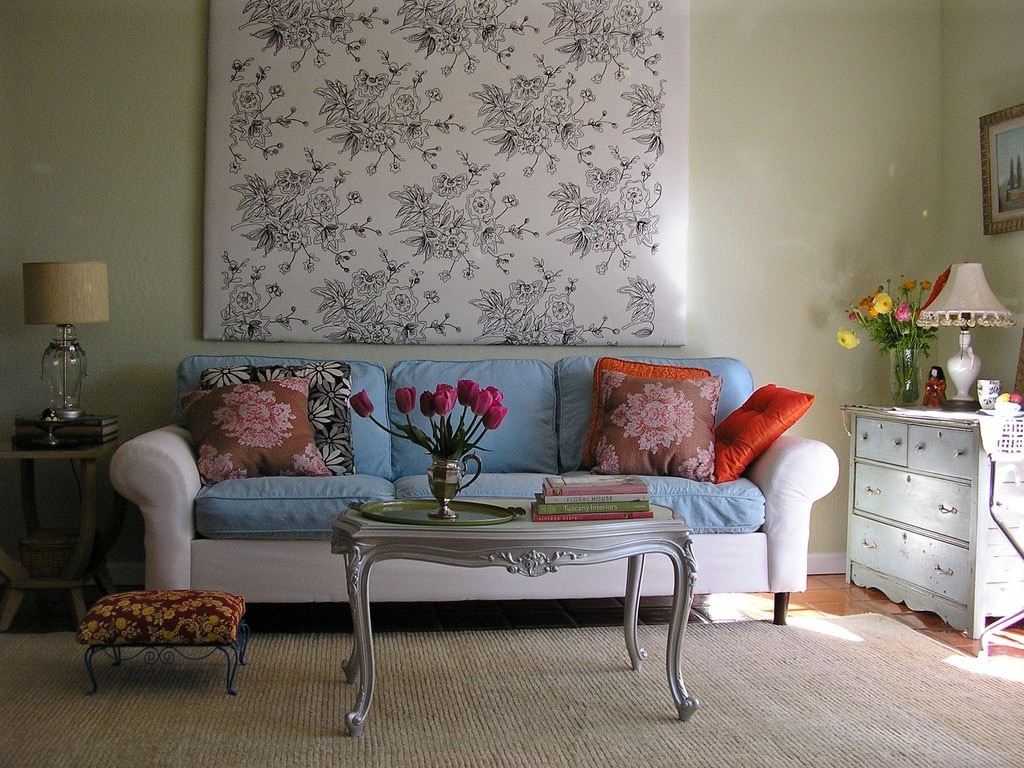
Who has not taken pictures indoors hundreds of thousands of times? And of those hundreds of thousands of times, how many have turned out well? Confess, not many ? That's because interior photography, while not difficult, does require some effort and planning. There are many variables within those four walls: Different mixed lights, dark areas, reflective elements, vertical lines, horizontal lines, eyes that end up being red and thousands of candidates to make your image fail miserably ?
But don't worry, the remedy is as simple as paying attention to these errors that are as typical as they are easily solvable. We see?
DON'T SHOOT RAW
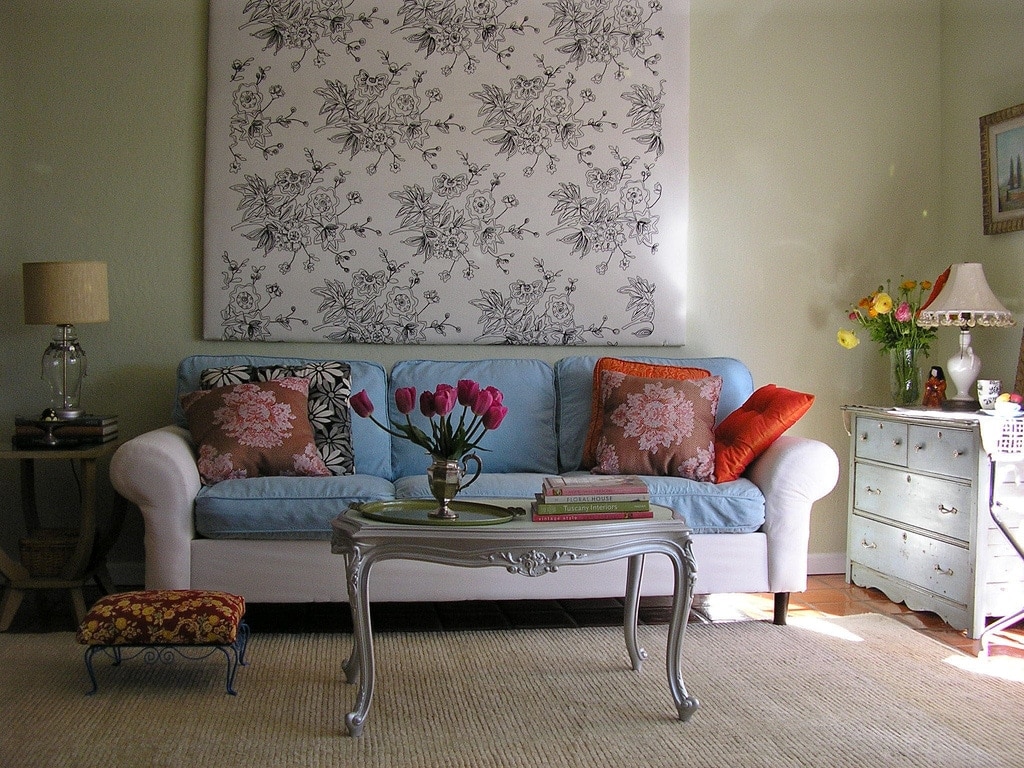
We usually advise shooting in RAW in a general way since, as we have explained on some occasions, it is the format that collects the most information from the shot, allowing us to work better in the processing of the subsequent image. Indoors, I will advise you even more fervently if possible ? . Shooting in RAW will allow you to make small adjustments afterwards without losing image quality.
DO NOT CONTROL THE WHITE BALANCE
All lights have different color temperature . There are warm, greenish, bluish or white. And although our eye may not perceive them with the naked eye, our camera does. When we take pictures indoors, it is very common to find lights that tint our image with orange tones (tungsten lights) or greenish (fluorescent lights) and even with several of them mixed. To prevent the different tones from dominating our image, it is essential to configure the white balance of our camera beforehand unless, as I advised you in the previous point, you have shot in RAW. In that case, you can adjust it in the subsequent processing of the image.
USE THE FLASH
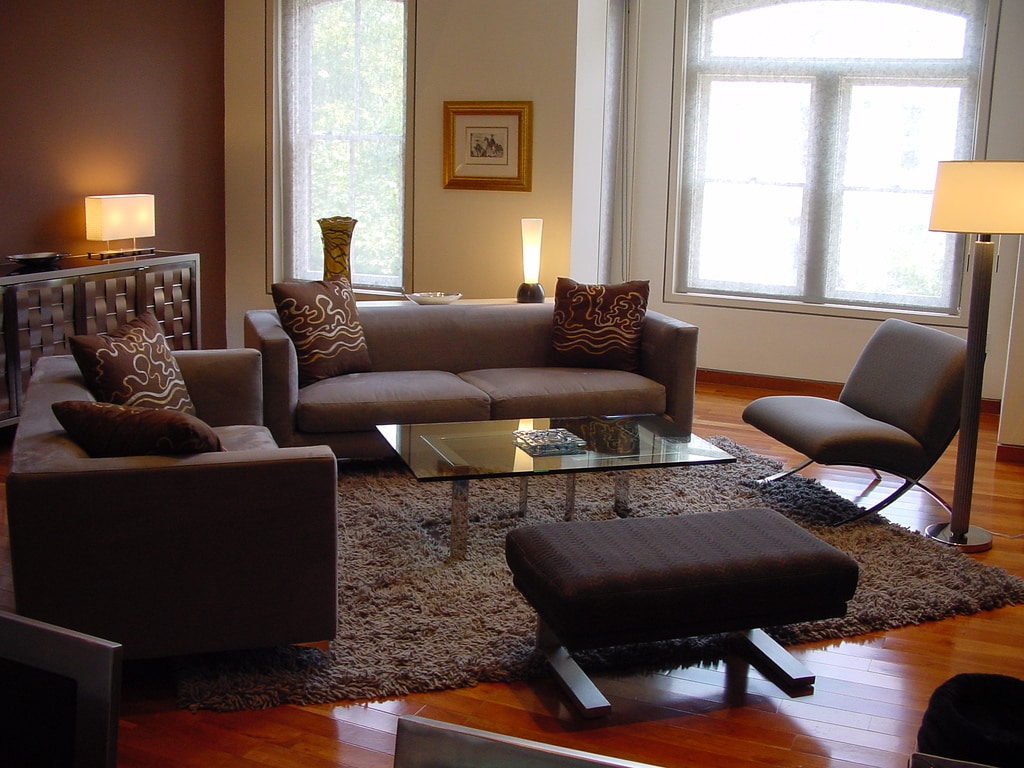
Don't get me wrong, if you know how to use it, a good external flash can be a great ally, but if you don't master it, or if you only have the one that's built into your camera, better disable it and work with the light you have. The built-in flashes put out a short-range, hard-light flash, so you're often left with brightly lit (sometimes even burned-out) foreground and darker as you zoom out.
- harsh and ineffective lighting
- Flatten the image and modify the original colors
- Create reflections on certain surfaces such as mirrors or reflective furniture.
- Red eyes
ISO ABUSE
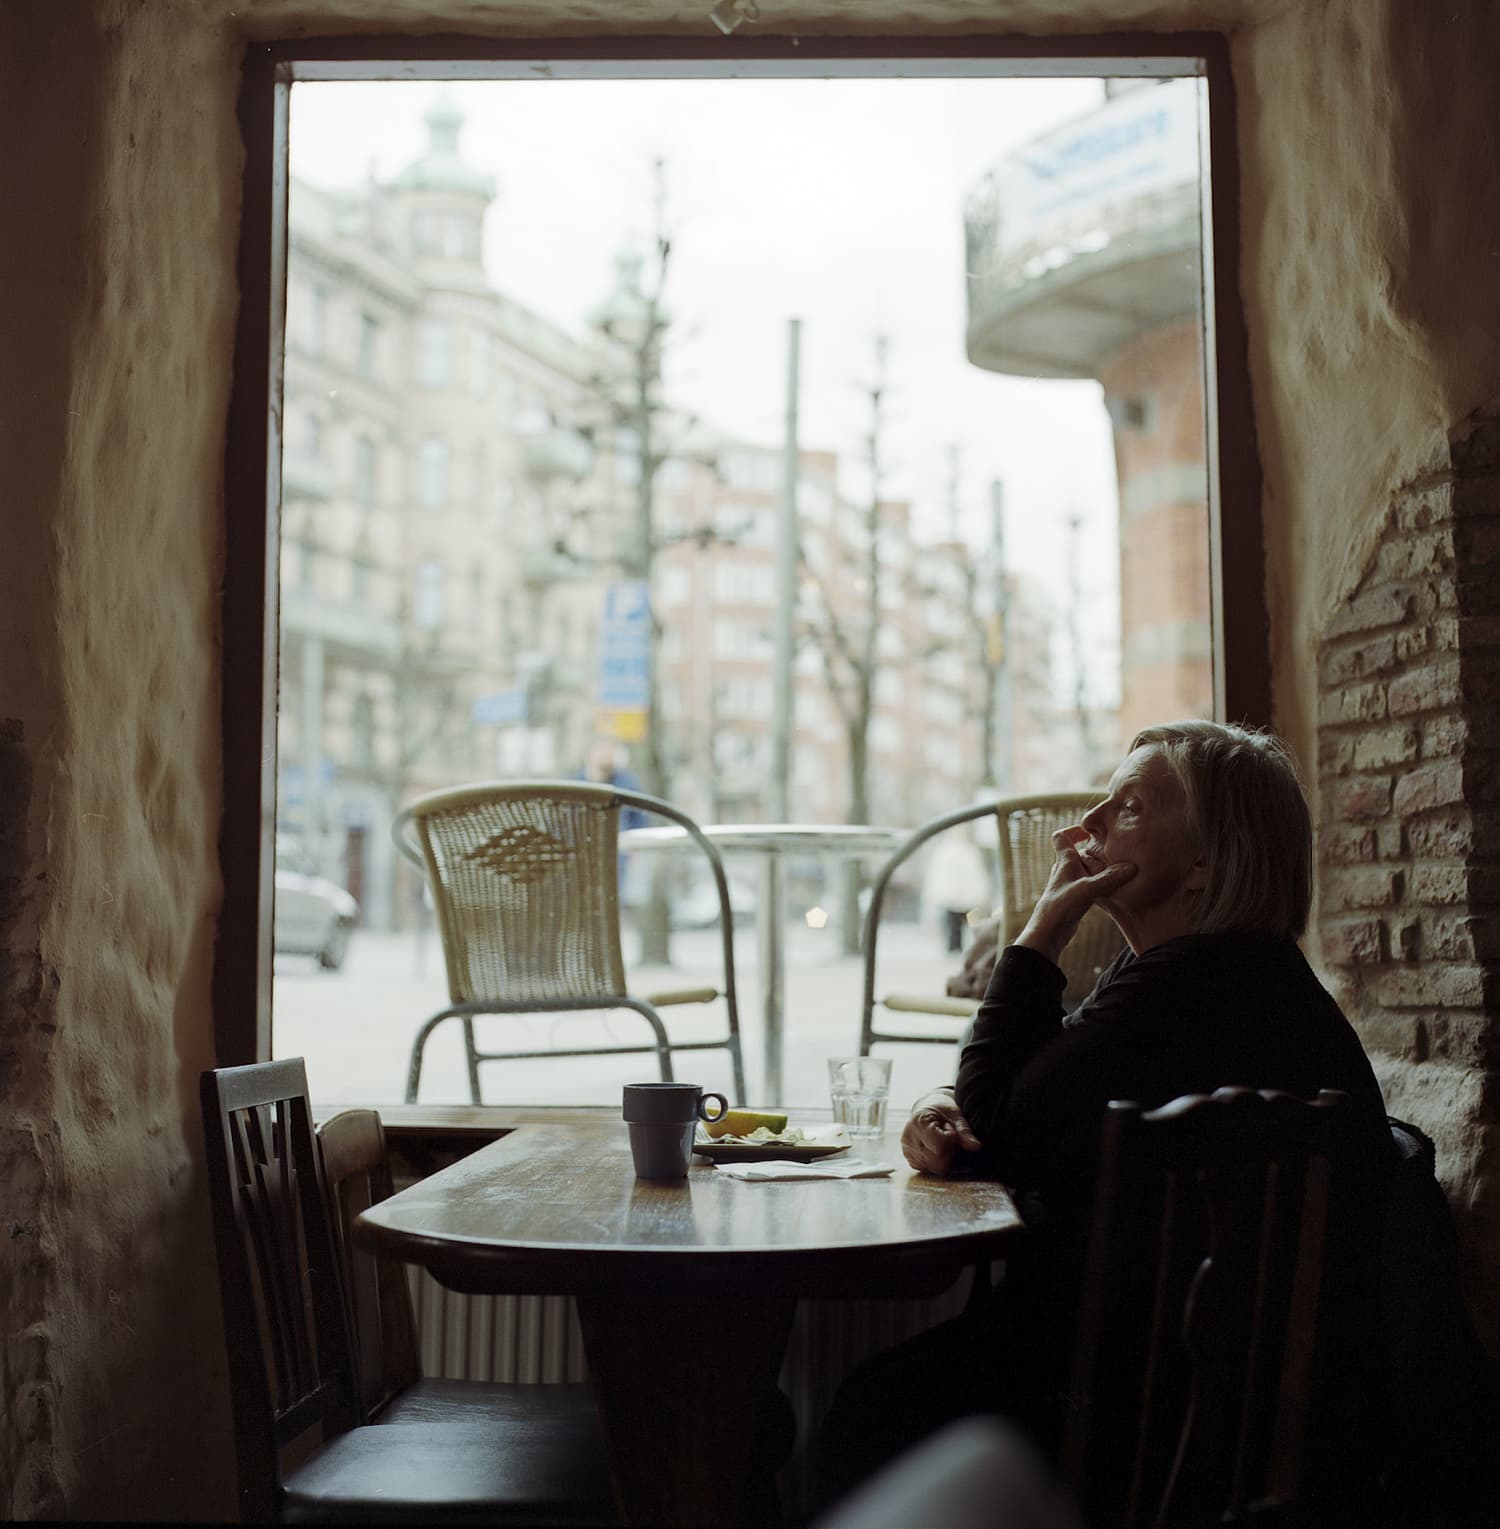
To combat the lack of light that usually characterizes the interiors, it is easy to fall into an abuse of the ISO to increase the sensitivity of our sensor to light and thus have more margin to work with slightly higher speeds. So far the idea is good. The bad thing is that in dark interiors you need a minimum ISO so high that all your images are going to lose the minimum acceptable sharpness that a good image needs.
DO NOT USE TRIPOD
Here you have the solution to your problems of lack of light; neither increase the ISO nor use the flash. The best thing is that you work on a tripod, that you leave the ISO at a low value (100 for example) and that you adjust the necessary speed accordingly. This way you will avoid moving and noisy images , and you will get the light you need.
Now, if you want to photograph something that has intrinsic movement (pets, people...) you will have no choice but to raise the ISO, open the diaphragm, or use the flash as a last option.
DON'T CONTROL THE BACKGROUND
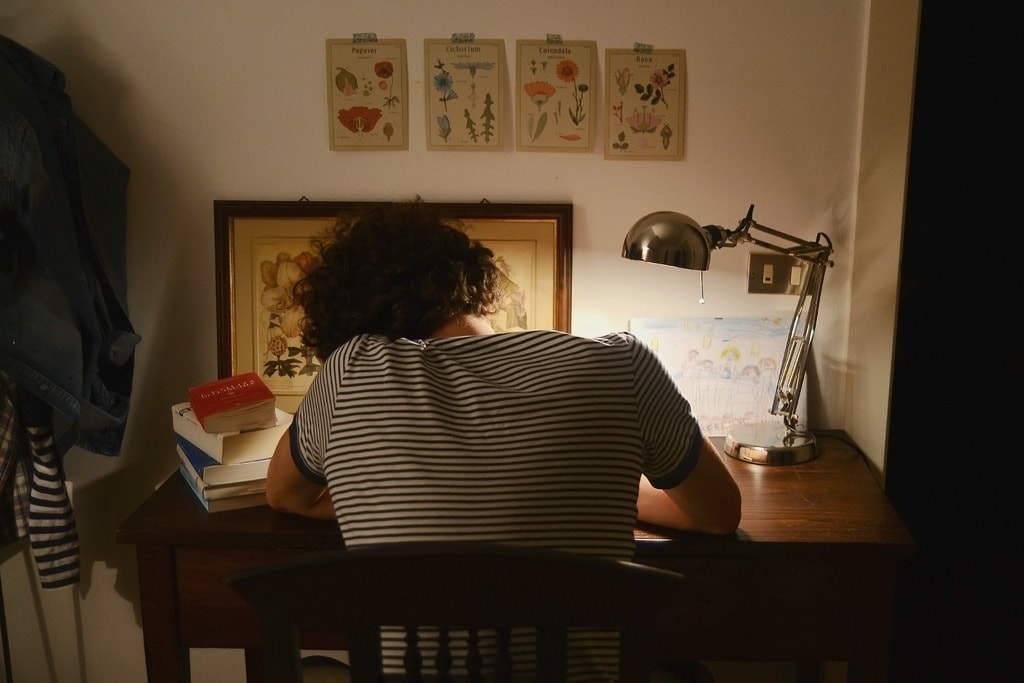
Yes, you left your bed unmade, and maybe when you took the photo you didn't notice but the camera didn't miss anything ? There's a sock sticking out there, there's a jacket thrown in any way, or the plates of the afternoon snack your children without picking up. Take a good look at everything that fills your frame because the elements that you do not control can spoil the image. If necessary, move furniture, change the frame or collect a bit ? Think a little before pressing the shutter and half of the photographs that are candidates for the recycle bin will disappear as if by magic ?
- If the background bothers you, don't forget that you can play with the aperture of your camera to modify the depth of field or area in focus in the image. Remember that at low aperture values (for example f/2.8) there is little depth of field.
- Another option to remove unwanted elements is to close the frame. Get a little closer and leave what does not interest you out of it.
CROOKED LINES
Another common flaw in interior photography is crooked lines. To avoid them, it is important to try to photograph the vertical lines (shelves, doors, cabinets...) as at a right angle as possible with respect to our objective.
- Wide Angle lenses, despite the fact that they are used indoors due to their wide angle that allows them to give a feeling of spaciousness, are also characterized by distorting the image, especially at the edges of the image.
NOT TAKING ADVANTAGE OF NATURAL LIGHT
Choose the best time of day to make the most of natural light.
- Be careful with the burned windows. You can use the curtains as diffusers or practice a little with HDR or Bracketing (or bracketing) to compensate for the different exposures.
BAD COMPOSITION
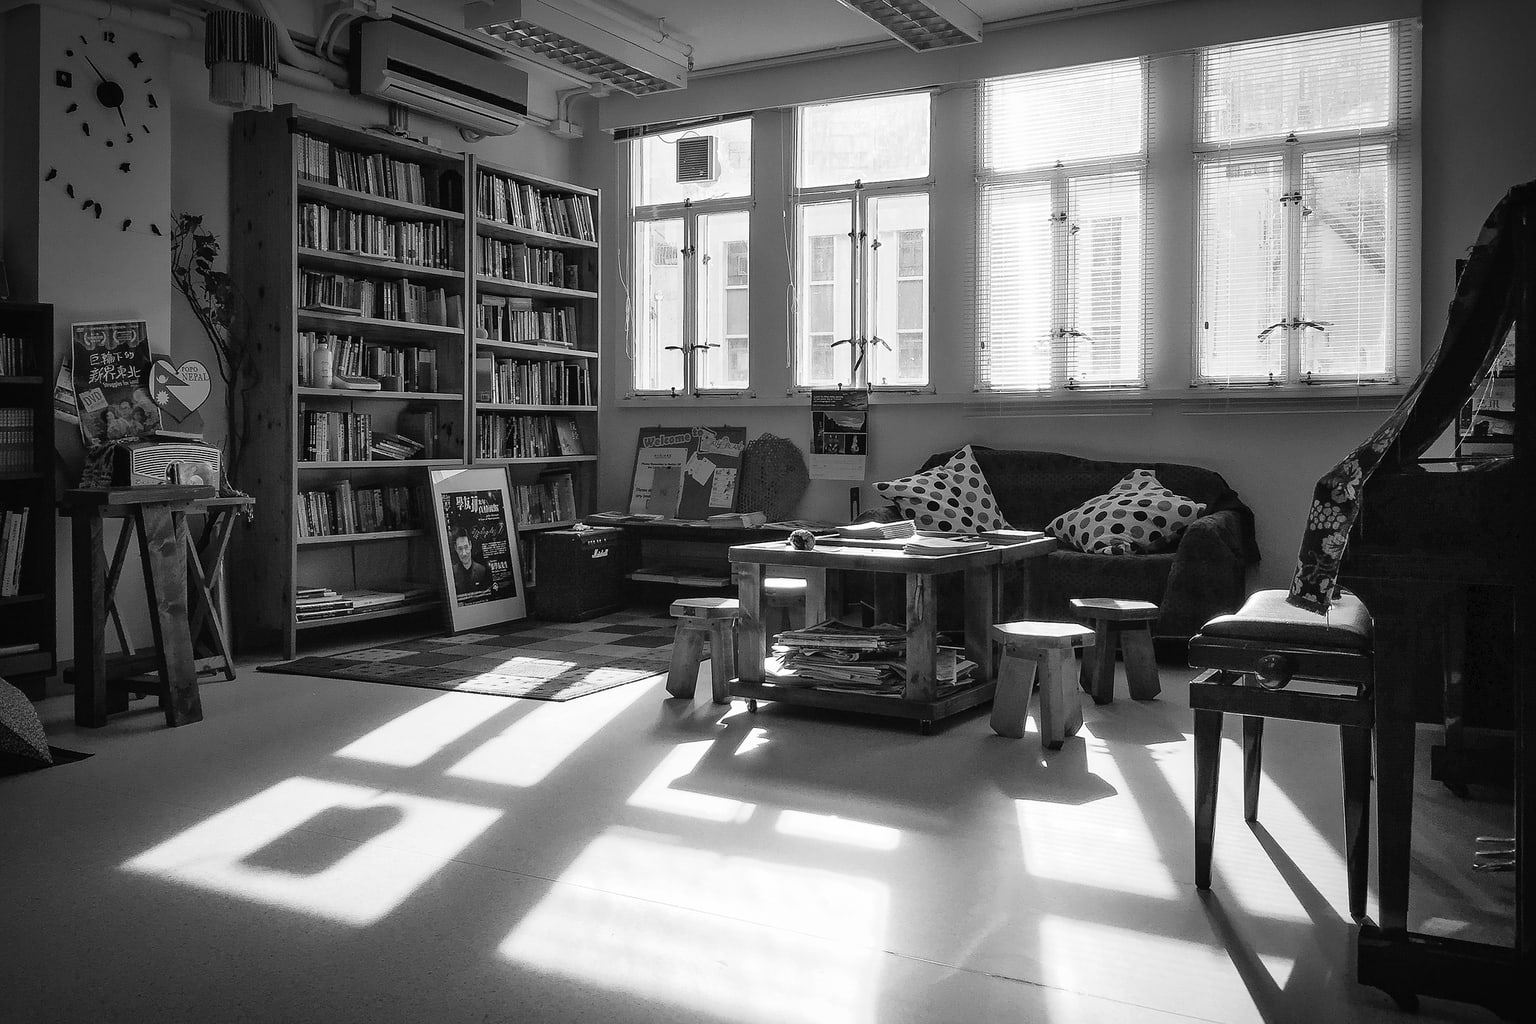
Another typical interior photography mistake is bad compositions. It seems that as space limits us we cannot vary what we see or what is in front of us, but the truth is that we are the ones who have the power to decide and control what will appear in our image.
- Details: If the whole does not convince you, try isolating different parts, a painting, an armchair with a small table, a lamp and a chair, a piece of bookshelf... give free rein to your creativity and style, do not settle for one overall image.
- Less is more: The space may be open, bright, designer and without any clutter, then great, you have it easy. If not, if the rooms are somewhat smaller, less bright and somewhat messier, welcome to the world of ordinary mortals. In that case you will have to work a little more ? Try to look for photogenic corners and less general compositions.
Most of the mistakes that we make as photographers are not thinking and letting ourselves be carried away by the moment and by what is in front of us. There are times when this will be necessary if we want to capture the soul of the scenes, but other times it will simply be a mistake that will lead to bad photography. The more you internalize the possible errors, the more times you look at your own, the more you practice, the more ability you will have to unite that spontaneity or improvisation capacity so necessary as a photographer, with the ability to anticipate failures and solve them almost without thinking. .
I hope it has been helpful to you, if so, share it on your favorite social network. Thank you and until next time ?

