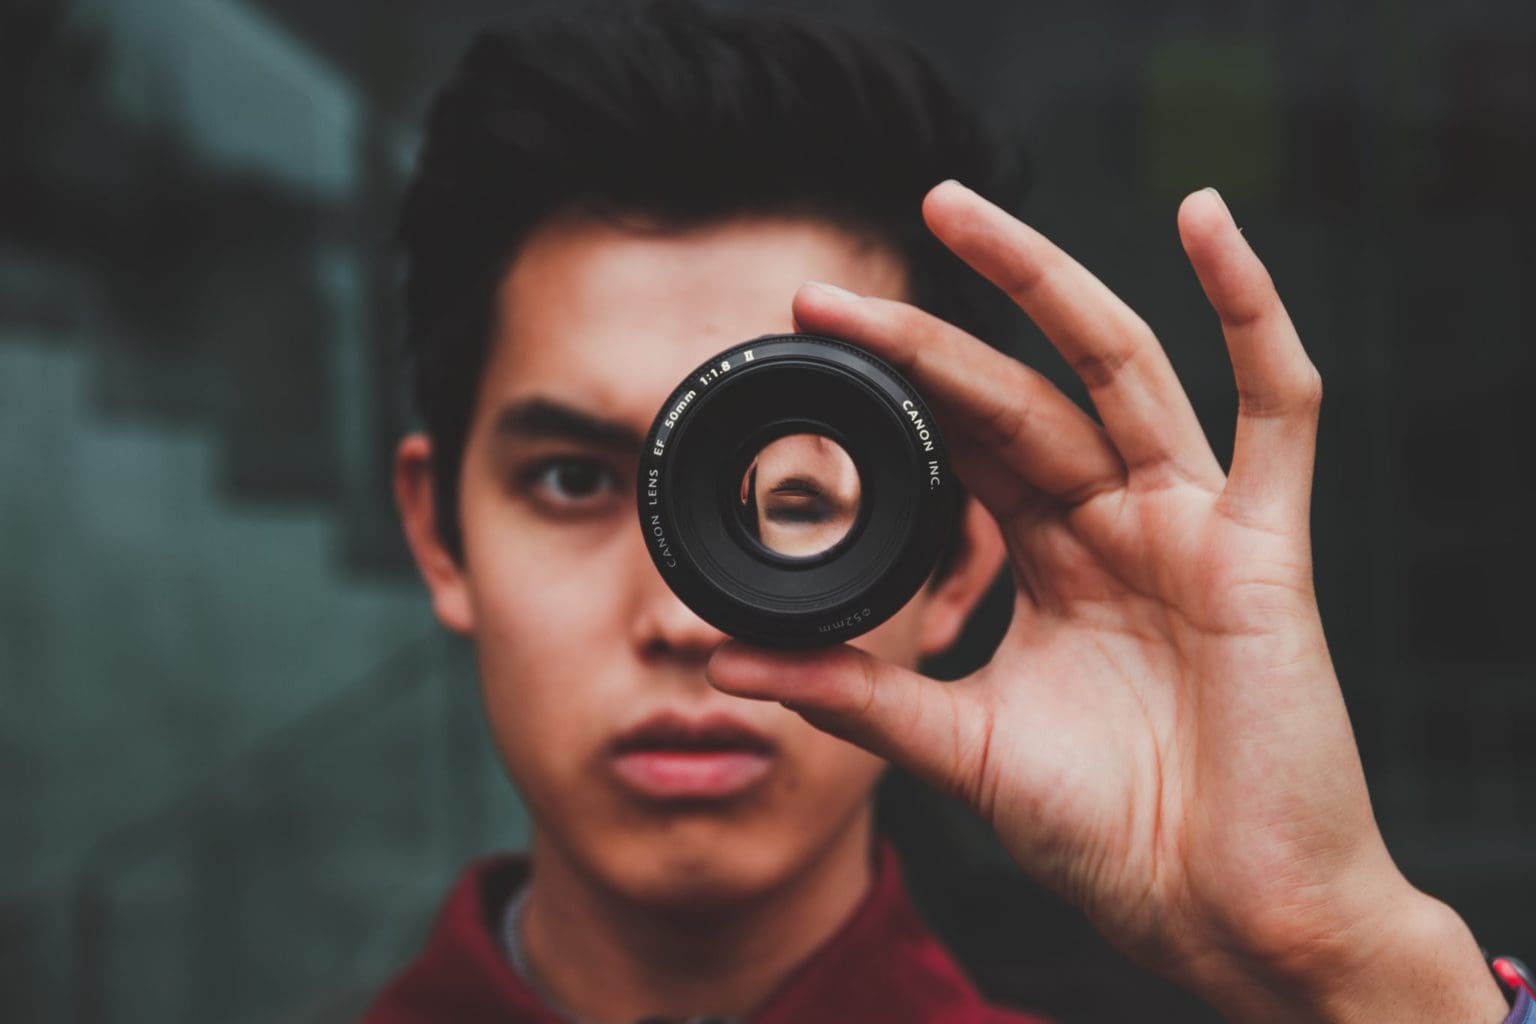
This week we have Mariana Campos as a Guest Author, a reader who proposes 9 exercises to train the photographic eye, because you know that the photographic eye can be developed, right?
To be in shape and always achieve better performance we need to train, and this applies to all areas of our lives. It is also valid in the field of photography, because if you want to improve the quality of your photographs, what you should do is exercise your photographic eye.
The training is aimed at strengthening your skill in capturing the elements of the image, sharpening your senses, learning to direct the viewer's gaze, making the most of the environment and, above all, provoking feelings and sensations.
Next, I will give you some activities that you can do with a digital camera or with your smartphone; the frequency can be daily, weekly, monthly, you choose the one that best suits your lifestyle. You can train in the morning, in the afternoon or at night, but do not forget that the light varies during the day, so it is important that you think about alternating the moments of the exercise.
Let's start now with the 8 exercises to train your photographic eye!
1. BUILD AN “ALPHABET”
It is about getting the letters of the alphabet in those places, objects and shapes that you have at hand. The information that the photograph will show can only be that corresponding to the letter found; important, it is not worth reframing in editing, it must come out in a single shot.
I suggest that you take the photos in the same format (horizontal or vertical), this will make the task easier for you and the result will be more homogeneous. You can use both uppercase and lowercase letters.

Now from here, as in the gym, the series will be 8 photos in each case. Don't forget to take breaks, drink enough water and have small snacks ;P . You can make it more fun if you listen to music with your headphones.
2. COLOR AS THE PROTAGONIST
This exercise consists of choosing a predominant color for each shot. You will have to move through the everyday spaces that surround you, here it is about putting your eye on that strategic place, where the color will tell you that it is the protagonist of your photo.
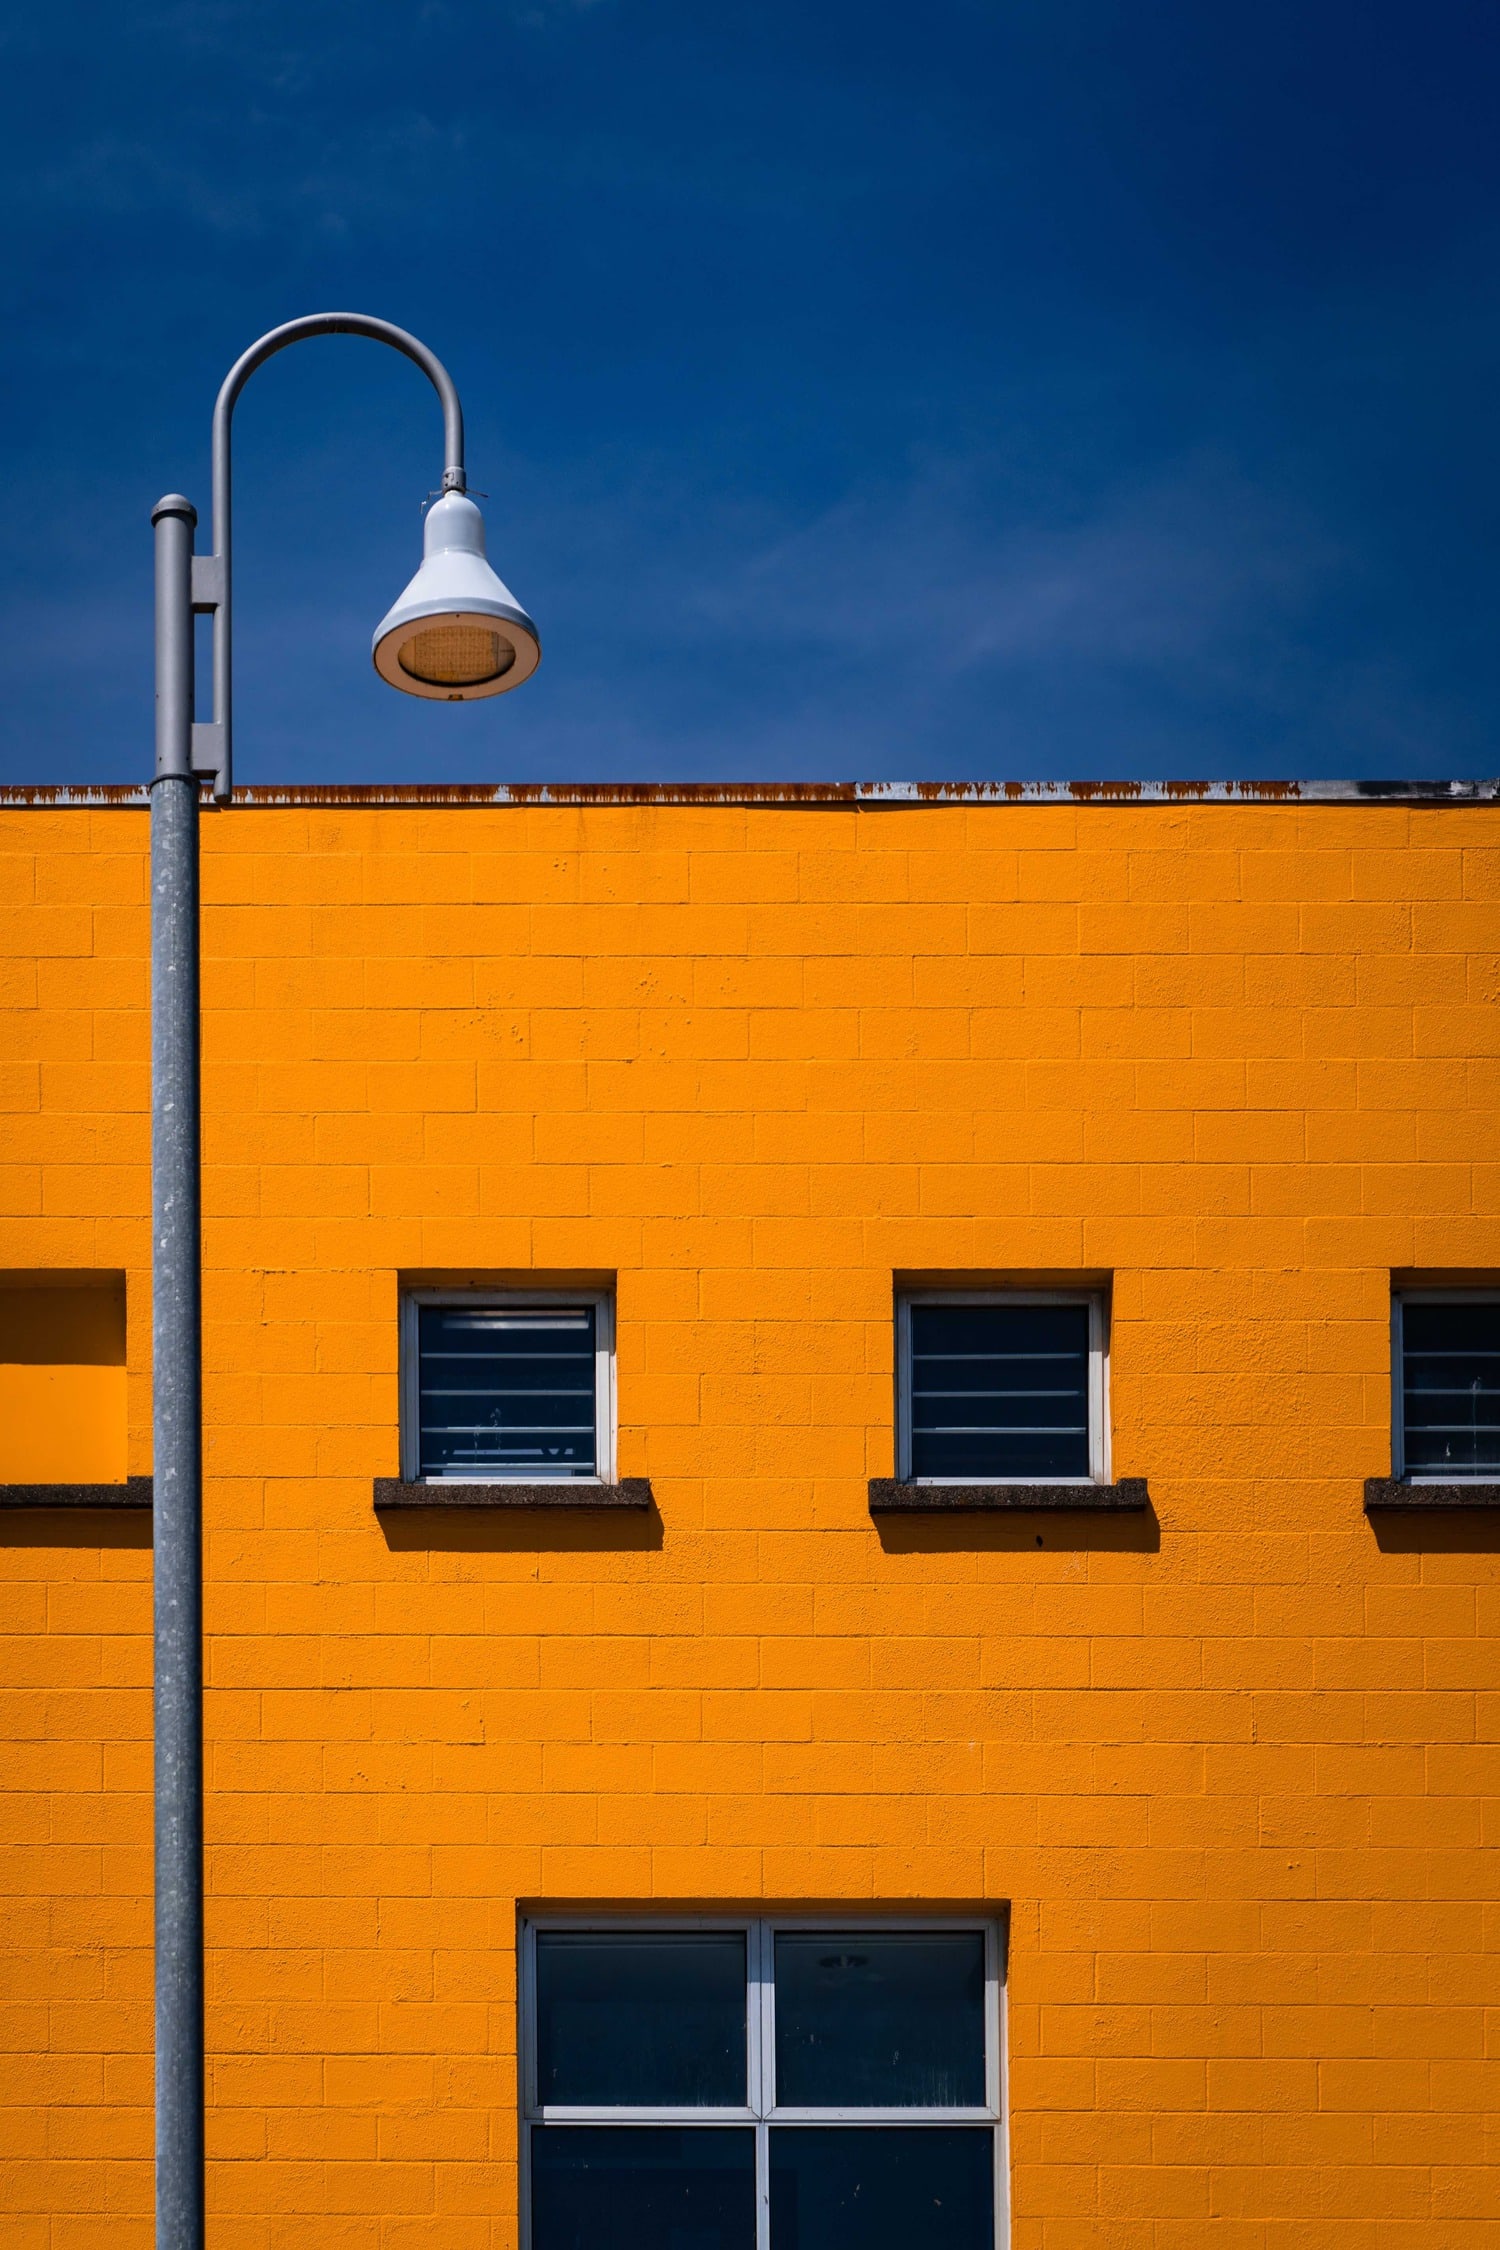
Then you can consider a photographic series dedicated to him, it can be a color a day, the color of the week or the month. Here are tips for composing with color.
3. THE GAME OF SHAPES
It's time to play and have fun with shapes. Select a geometric shape, circle, square, rectangle, rhombus, star, cylinder, etc., and let your imagination fly.
Take advantage of the frame, help yourself with architectural elements and with objects that have that predefined shape; The union of several elements is also valid to generate the desired shape, mix as much as you want, and dare to express yourself through them.

4. SEEK THE LIGHT
This time you are going to use all the directions in which the light can fall on a subject, object or scene. These are:
- they are frontal
- from above (zenithal)
- rear (backlight)
- side
- from below (against overhead)
- or punctual where you illuminate only a part
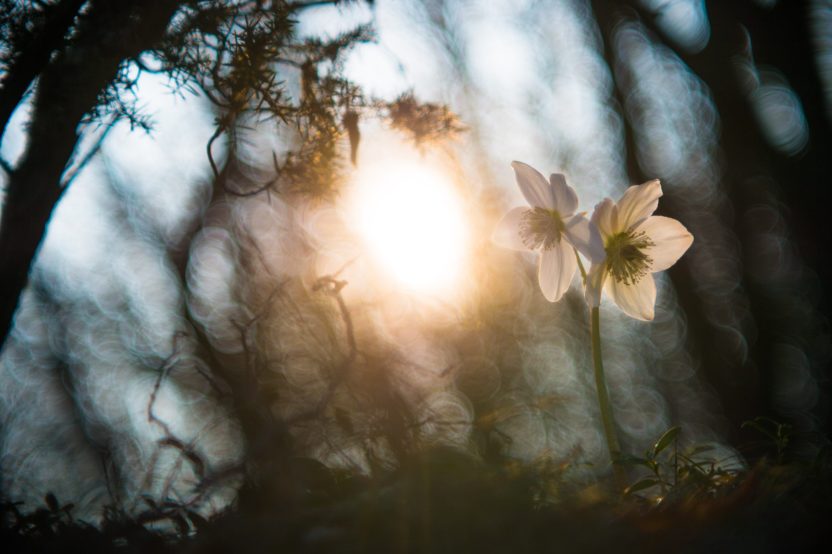
My advice is that at first you take advantage of the first hours of the day, where the light is more diffuse, because as the hours go by it will become harsher and you will require a little more training .
Remember the possibility of handling light to convey visual sensations, which can range from delicate, soft and ethereal to dramatic, mysterious or terrifying.
5. FACE WHAT CONTRASTS
In this opportunity you are going to look for what in a close-up causes contrast, be it color, texture, shapes, blur, temperature, movement, direction and sense; use any resource that helps you express it.
The light in this case intervenes especially, because with it you can generate more or less strong shadows, and there the contrast will be marked. The value of this exercise lies in drawing the viewer's attention by making him feel the contrast.

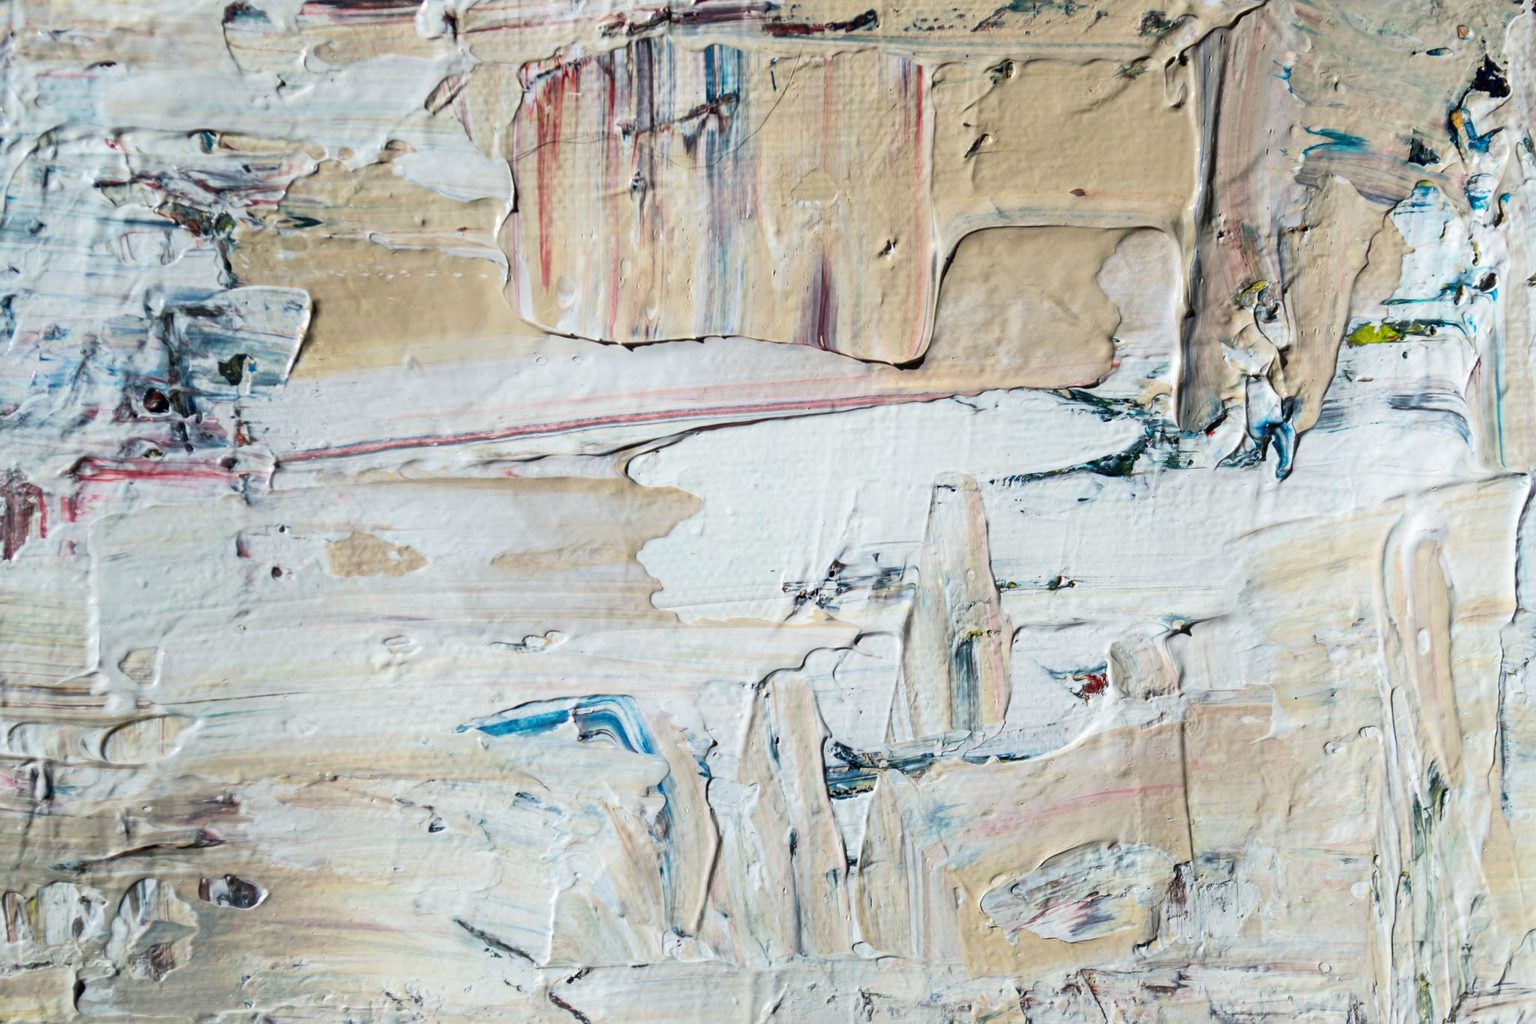
6. FEEL THE TEXTURE
Perhaps it is one of the easiest exercises to perform, because we are surrounded by thousands of objects with infinite diversity of surfaces.
Here are some texture ideas for you to try: brick, wood, carpet, animal skin, watercolor, chalkboard, metal, fabric, stone, nature, crumpled paper.
Use objects, materials and everything that builds them, so that what is visible at first sight allows you to generate in your viewer the sensation of visual touch.
7. HUMANIZE YOUR PHOTOGRAPHY
The photograph that perhaps most often connects with its viewer is the one that shows some human element. Finding faces, eyes, lips, hands, torsos, feet, backs of people always generates curiosity and visual interest.
Direct your gaze towards the human being and capture the smoothness of a skin, the brightness of a look, the delicacy of some hands, the strength of the arms, the sensuality of some lips or the beauty of the passage of time on a face.
8. KEEP AN EYE ON WHAT IS DIFFERENT
Whether you have been taking photos on your own for a long or short time, it is possible that you always use the same style, the same settings or the same models, forgetting that for your photographic eye it is vital to keep the flame of spontaneity alive.
For this reason, with this exercise I want to get you out of your comfort zone, that is, you are going to take totally different photographs from the ones you have been taking. The challenge for you is to generate a radical change temporarily; If you only do panoramic landscapes, go for framing small objects; If what you like are shots with groups of people, try the portrait photo. If your photographs are always in color, play with high-contrast black and white. And so on.
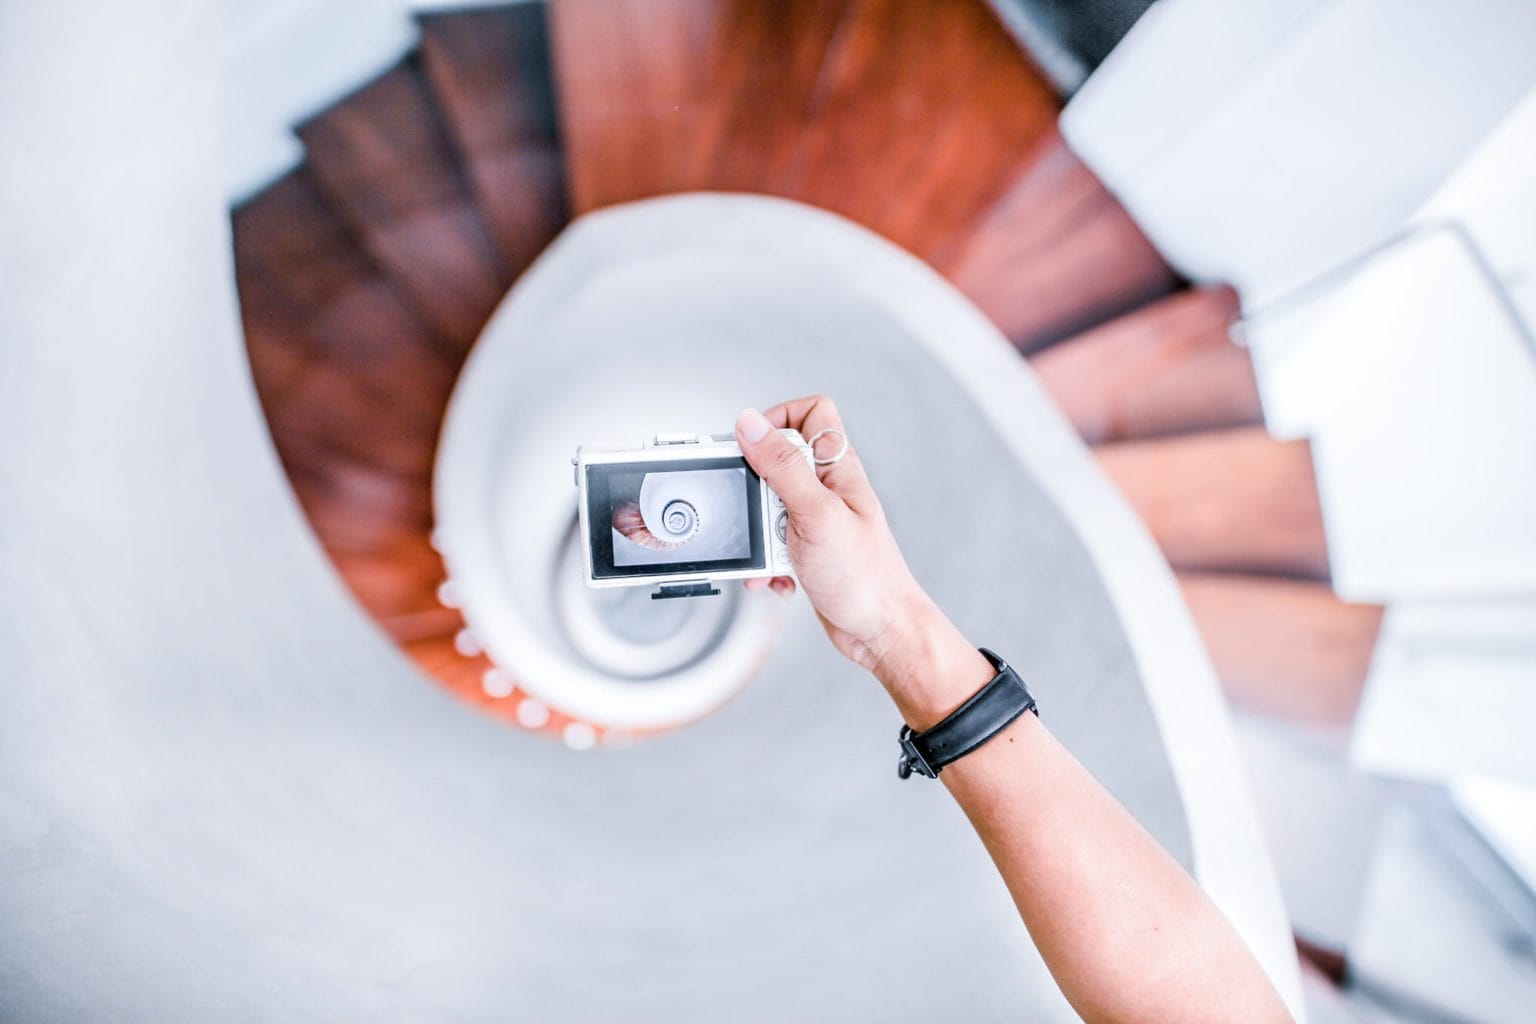
9. PAREIDOLIAS
Pareidolias are everywhere , they are fun to look for and they play well in photos. The best thing is that they stimulate the capacity for observation and creativity. Do not miss it!
You should know that this is the first level of training, the fundamental one; then come other muscles to develop, other routines to follow, other goals to achieve. Preparing will always make you feel better and more confident in your potential.
Generating images is a wonderful, powerful process, full of creativity. By exercising, your artistic universe will take shape, your voice will sound clearer and more defined. Photography is exercised in many other ways and in this blog you have many examples; Already considered a kind of personal trainer for you.
This is an article by Mariana Campos, a reader who wanted to share with you and the rest of the readers these 8 exercises to train your photographic eye that we hope will be very useful for you.
Did you like the article? Thank Mariana for her advice by sharing the article on your favorite social network so that others can also perform these exercises and train their photographic eye. Thank you and see you soon.

