
![HOW AND WHEN TO USE A NEUTRAL DENSITY FILTER TO ACHIEVE THE MOST IMPRESSIVE PHOTOS [STEP BY STEP]?](https://photographychef.com/wp-content/uploads/2023/02/HOW-AND-WHEN-TO-USE-A-NEUTRAL-DENSITY-FILTER-TO-ACHIEVE-THE-MOST-IMPRESSIVE-PHOTOS-STEP-BY-STEP.jpg)
My photographic equipment is quite minimalist. A camera, a pair of prime lenses, a tripod, a shutter release, and a neutral density filter . Little more. I always try to never buy something that I am not going to use or that I am not 100% convinced of. I don't like storing pots (because I've already made my mistakes in this regard, don't believe it ? ).
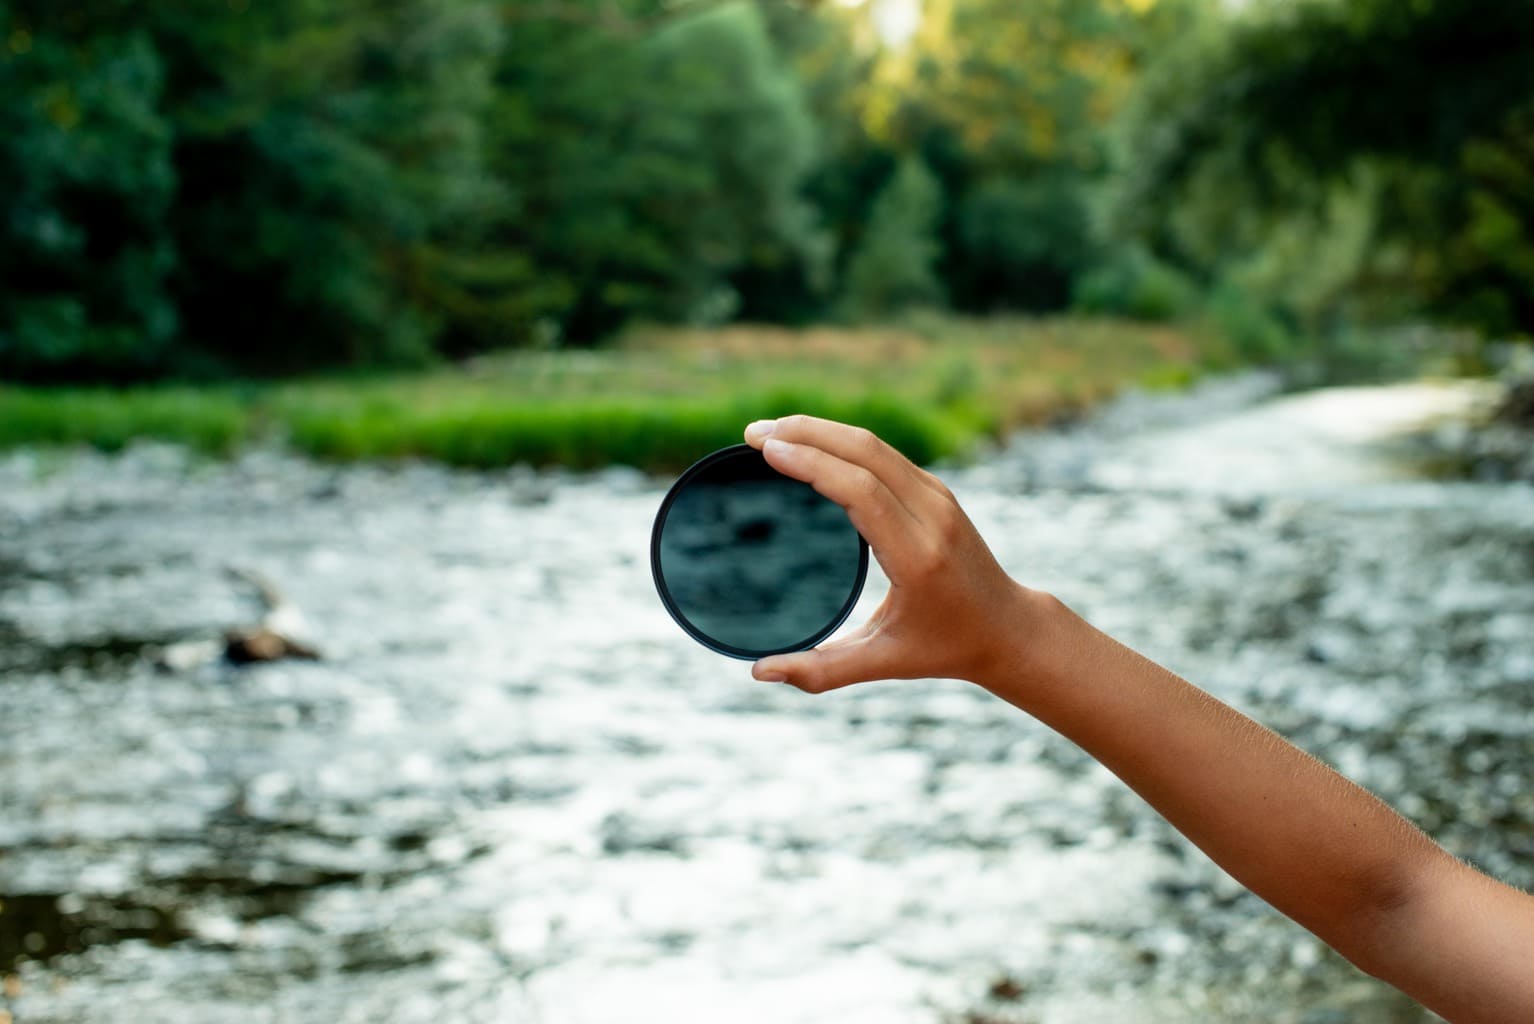
The neutral density filter is, however, one of those purchases that you do not regret. It allows you to get very creative photographs, in exchange for a very small space in your backpack and a relatively low outlay of money.
That is why, if you like to experiment, enjoy landscape photography , or long exposure photography , or if you simply want to increase your creative possibilities, a neutral density filter is a "Must" in your photographic equipment.

NEUTRAL DENSITY (ND) FILTER BUYING TIPS
Neutral density filters are characterized by not altering anything other than the amount of light. That is to say, it does not affect the colors or the contrast of the scenes, they simply subtract certain steps of light. If you are interested in getting one, look at:
- The stops of light: the most frequent filters are 6, 8 and 10 stops and the most recommended are the glass ones since the gelatin ones tend to reduce the quality of the photographs.
- Take into account the diameter of the objective to which you plan to attach the filter. You have them in different diameters (49mm, 52mm, 55mm, 67mm, etc.).
- The price: it is worth investing not only in optics but in everything that we put in front of it. There is no point in having a spectacular lens if you put a plastic filter in front of it;).
- Brand: K&F, gobe, B+W, Hoya, etc.
- Shape: Neutral density filters can be threaded or to be placed in a filter holder.
- Don't get confused with the Gradient Neutral Density filter , which can also be very cool, but it's different.
HOW TO USE A NEUTRAL DENSITY FILTER
Using a ND filter isn't difficult, but it's not just screw-shoot and go. To use it correctly, you should know that this filter subtracts certain steps of light from the scene. The number of steps will depend on the type of filter you have purchased. As I have already told you, there are different diaphragms (2, 3, 6, 7, 8...) so you should determine it based on the one you have.
If you are not clear about how the issue of the steps works, this article will help you solve it: « The steps in photography explained in detail ».
Basically, the steps tell us about how to regulate the amount of light that we let through to the sensor in photography. Let's see it step by step.
1. The first thing is to find the place, the scene that we want to photograph. I recommend to start a continuous water source, like a river or the waves of the sea. Keep in mind, however, that it will also work for clouds, or to capture movement in bright situations.
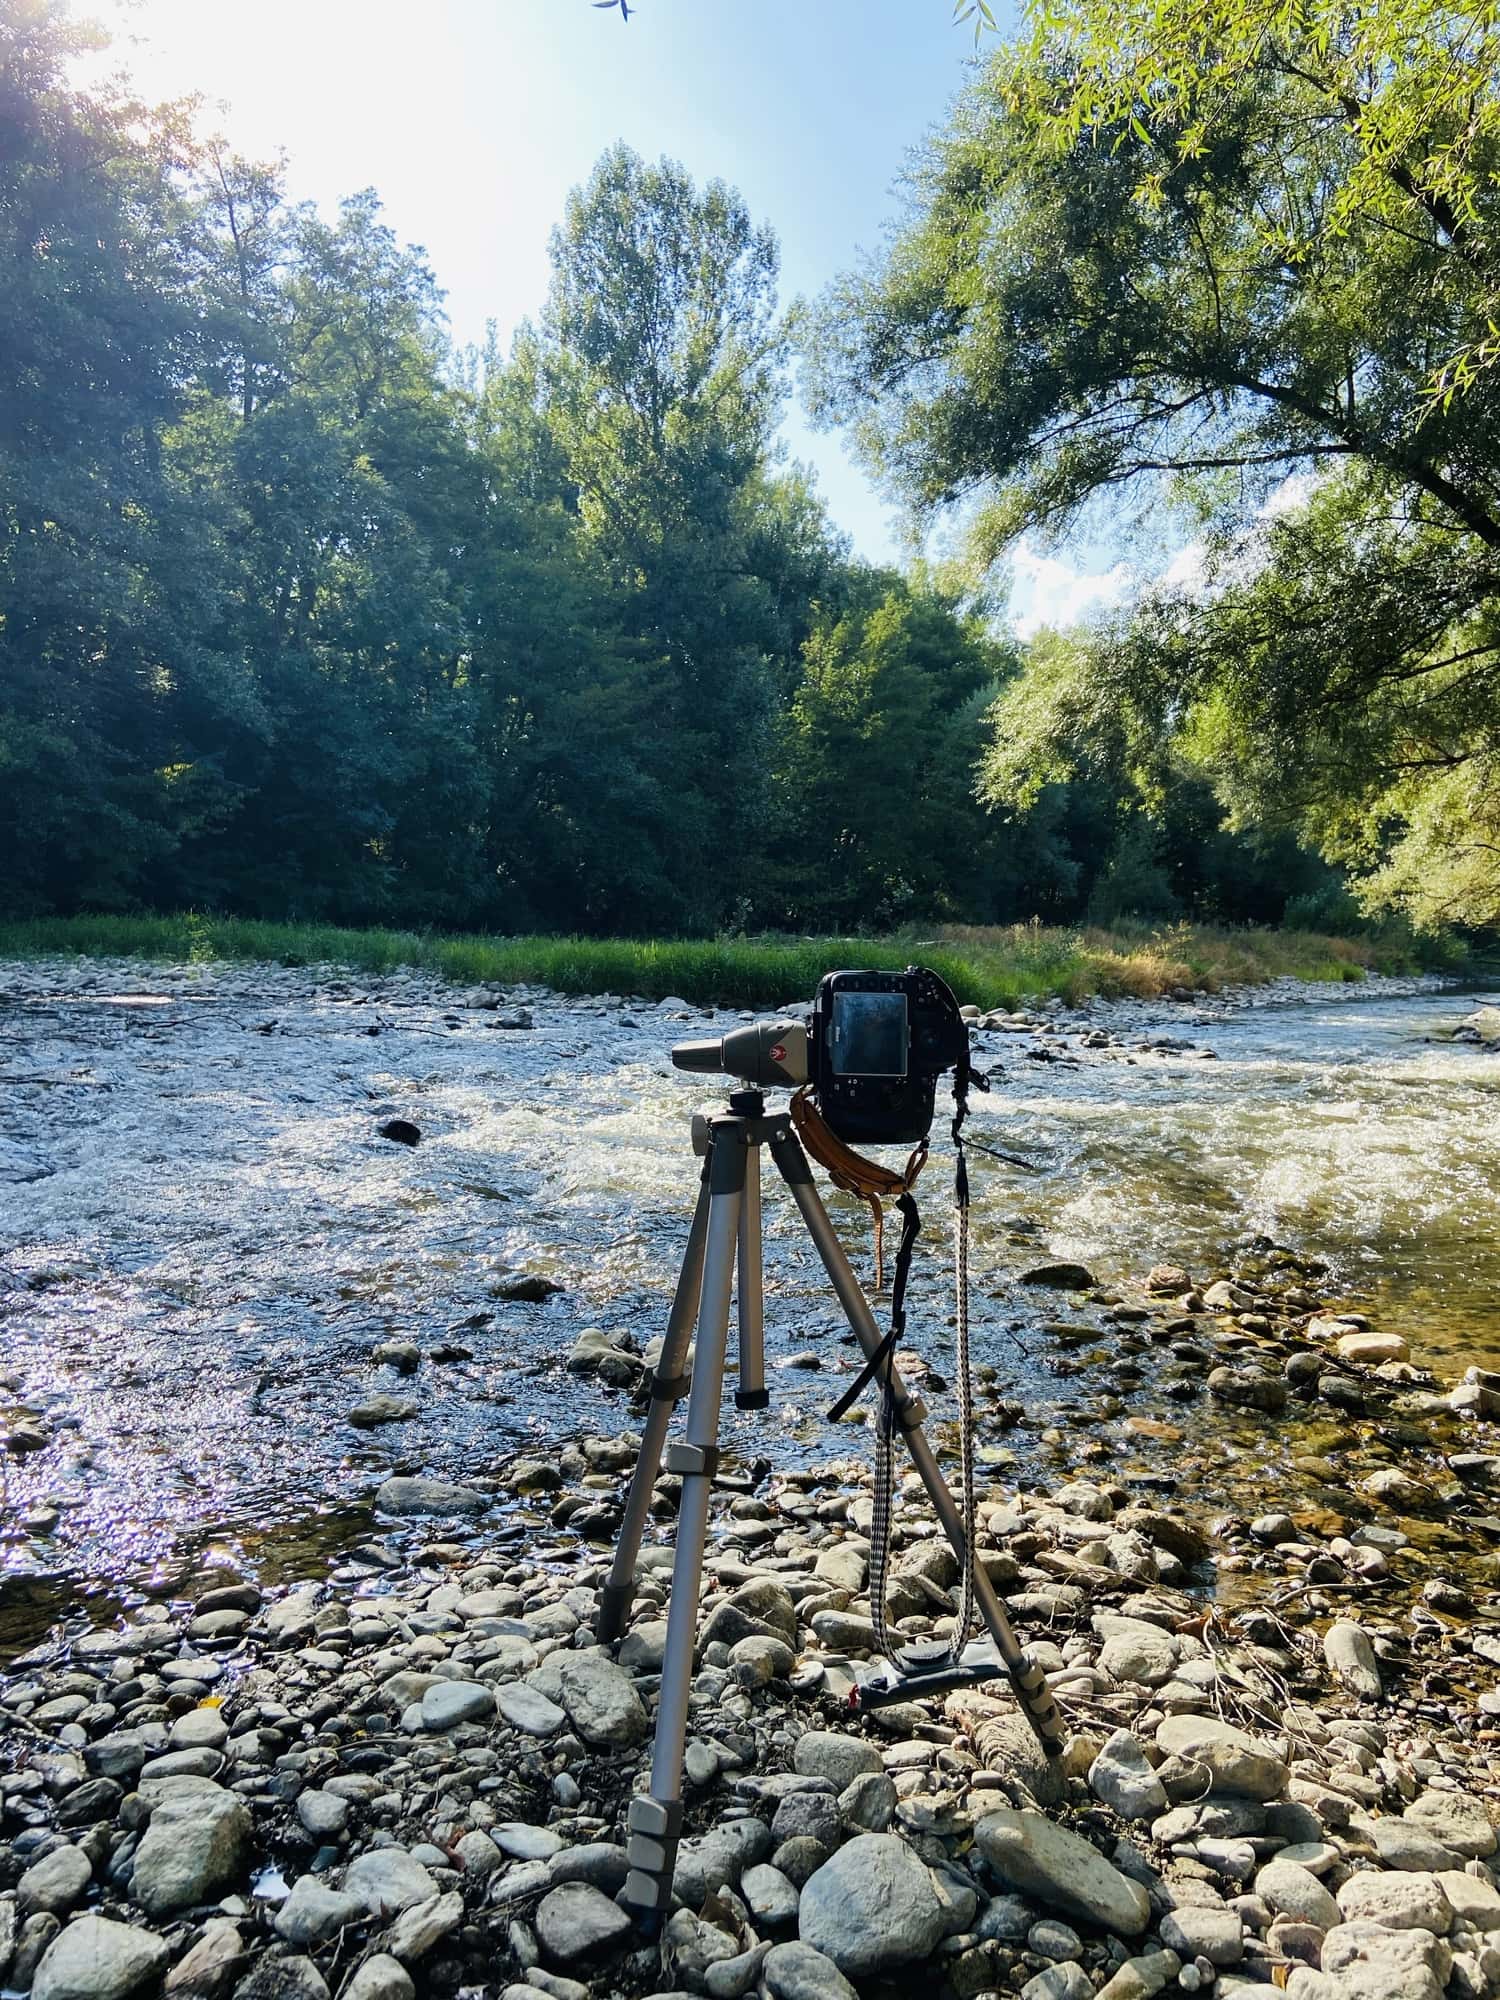
2. Once the scene is determined, mount the camera on the tripod and frame the photograph. It is important that you do it now because with the filter on you may not see anything or very little.
3. For this reason it is also important that you focus correctly. You can do it in automatic mode, but once you determine the focus, deactivate it and switch to manual focus so that it does not refocus with the filter on.
4. To use an ND filter, use manual mode, which will allow you to decide the exposure variables (to learn how to use Manual Mode we have prepared this very complete guide for you ).
5. The exposure settings will be determined by the scene in question, by the filter you have and by the result you want to obtain, but as a general rule:
- Set your camera to manual mode.
- Keep the ISO as low as possible.
- Use a slow speed. The longer the shutter is open, the more the long exposure effect will be noticeable .
- Use a closed aperture (it will allow you to have more area in focus while also helping to reduce light entry).
- If you want a very accentuated effect, try shooting at sunrise or sunset, which will allow you to use even lower speeds.
- Also try shaded areas to get even longer exposures.
- It is highly recommended that you photograph in RAW to be able to adjust lights and shadows in the processing.
- Pay attention to the changes that are taking place in the light (sometimes it varies very quickly).
Now, from that correct exposure, you must subtract the light points determined by the filter. In my case it is 4 steps of light.
It is possible that if your filter is not too dark or if there is enough ambient light, your camera will still be able to focus and correctly calculate the exposure. In that case, you won't have to do anything special about it.
CASE STUDY ON HOW TO USE AN ND FILTER
It is usually easier to understand everything when we see a practical case, so I suggest you take a look at this section, where I show you with data and results the difference between using an ND filter and not using it.
EXAMPLE (STEP BY STEP) AND COMPARISON BETWEEN THE USE (OR NOT) OF A NEUTRAL GRADIENT FILTER
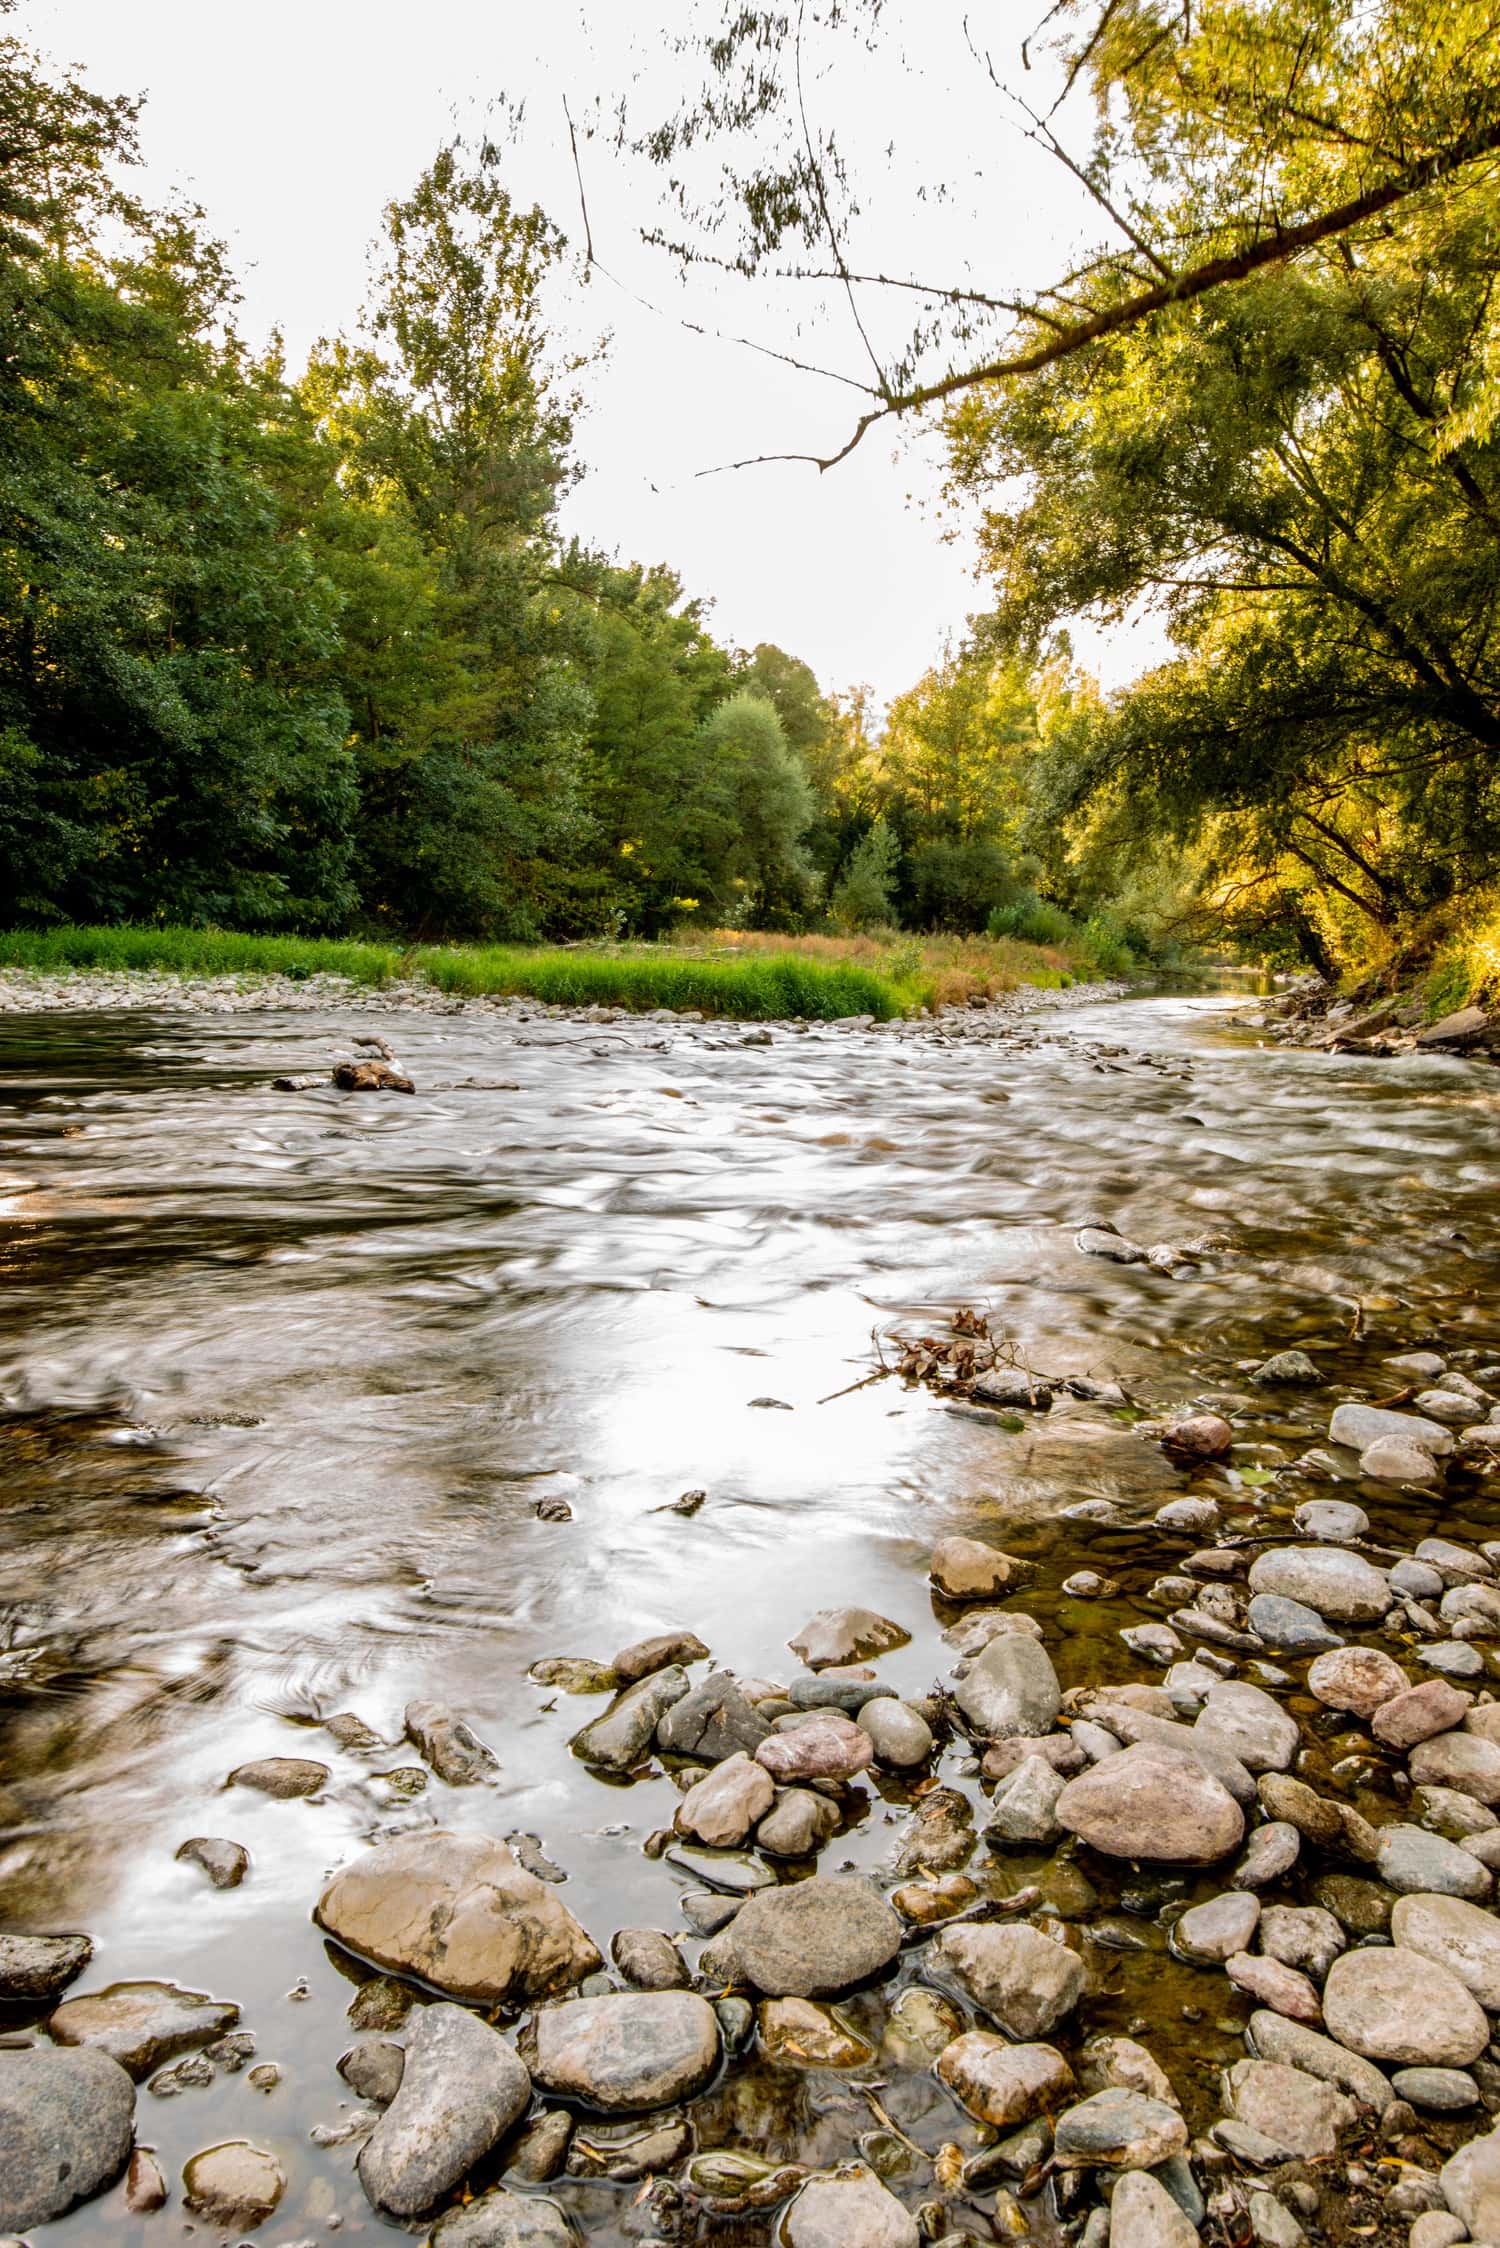
To take these photographs that you will see below, I chose the frame and placed my tripod well secured. First I took the pictures without a filter. To give you an idea of how light it was, it was around 5:30 p.m. on a summer day, about 3 hours before sunset.
I looked for a place relatively in shade, and with moving water. Next, I adjusted my camera so that I could subtract light from the scene by any means possible.
MY EXIF (OR STARTUP SETTINGS) WERE:
ISO 64 (forced to be less sensitive), f/16 (to subtract as much light as possible through the aperture), and I started with a value of 1/8s down to 1s.
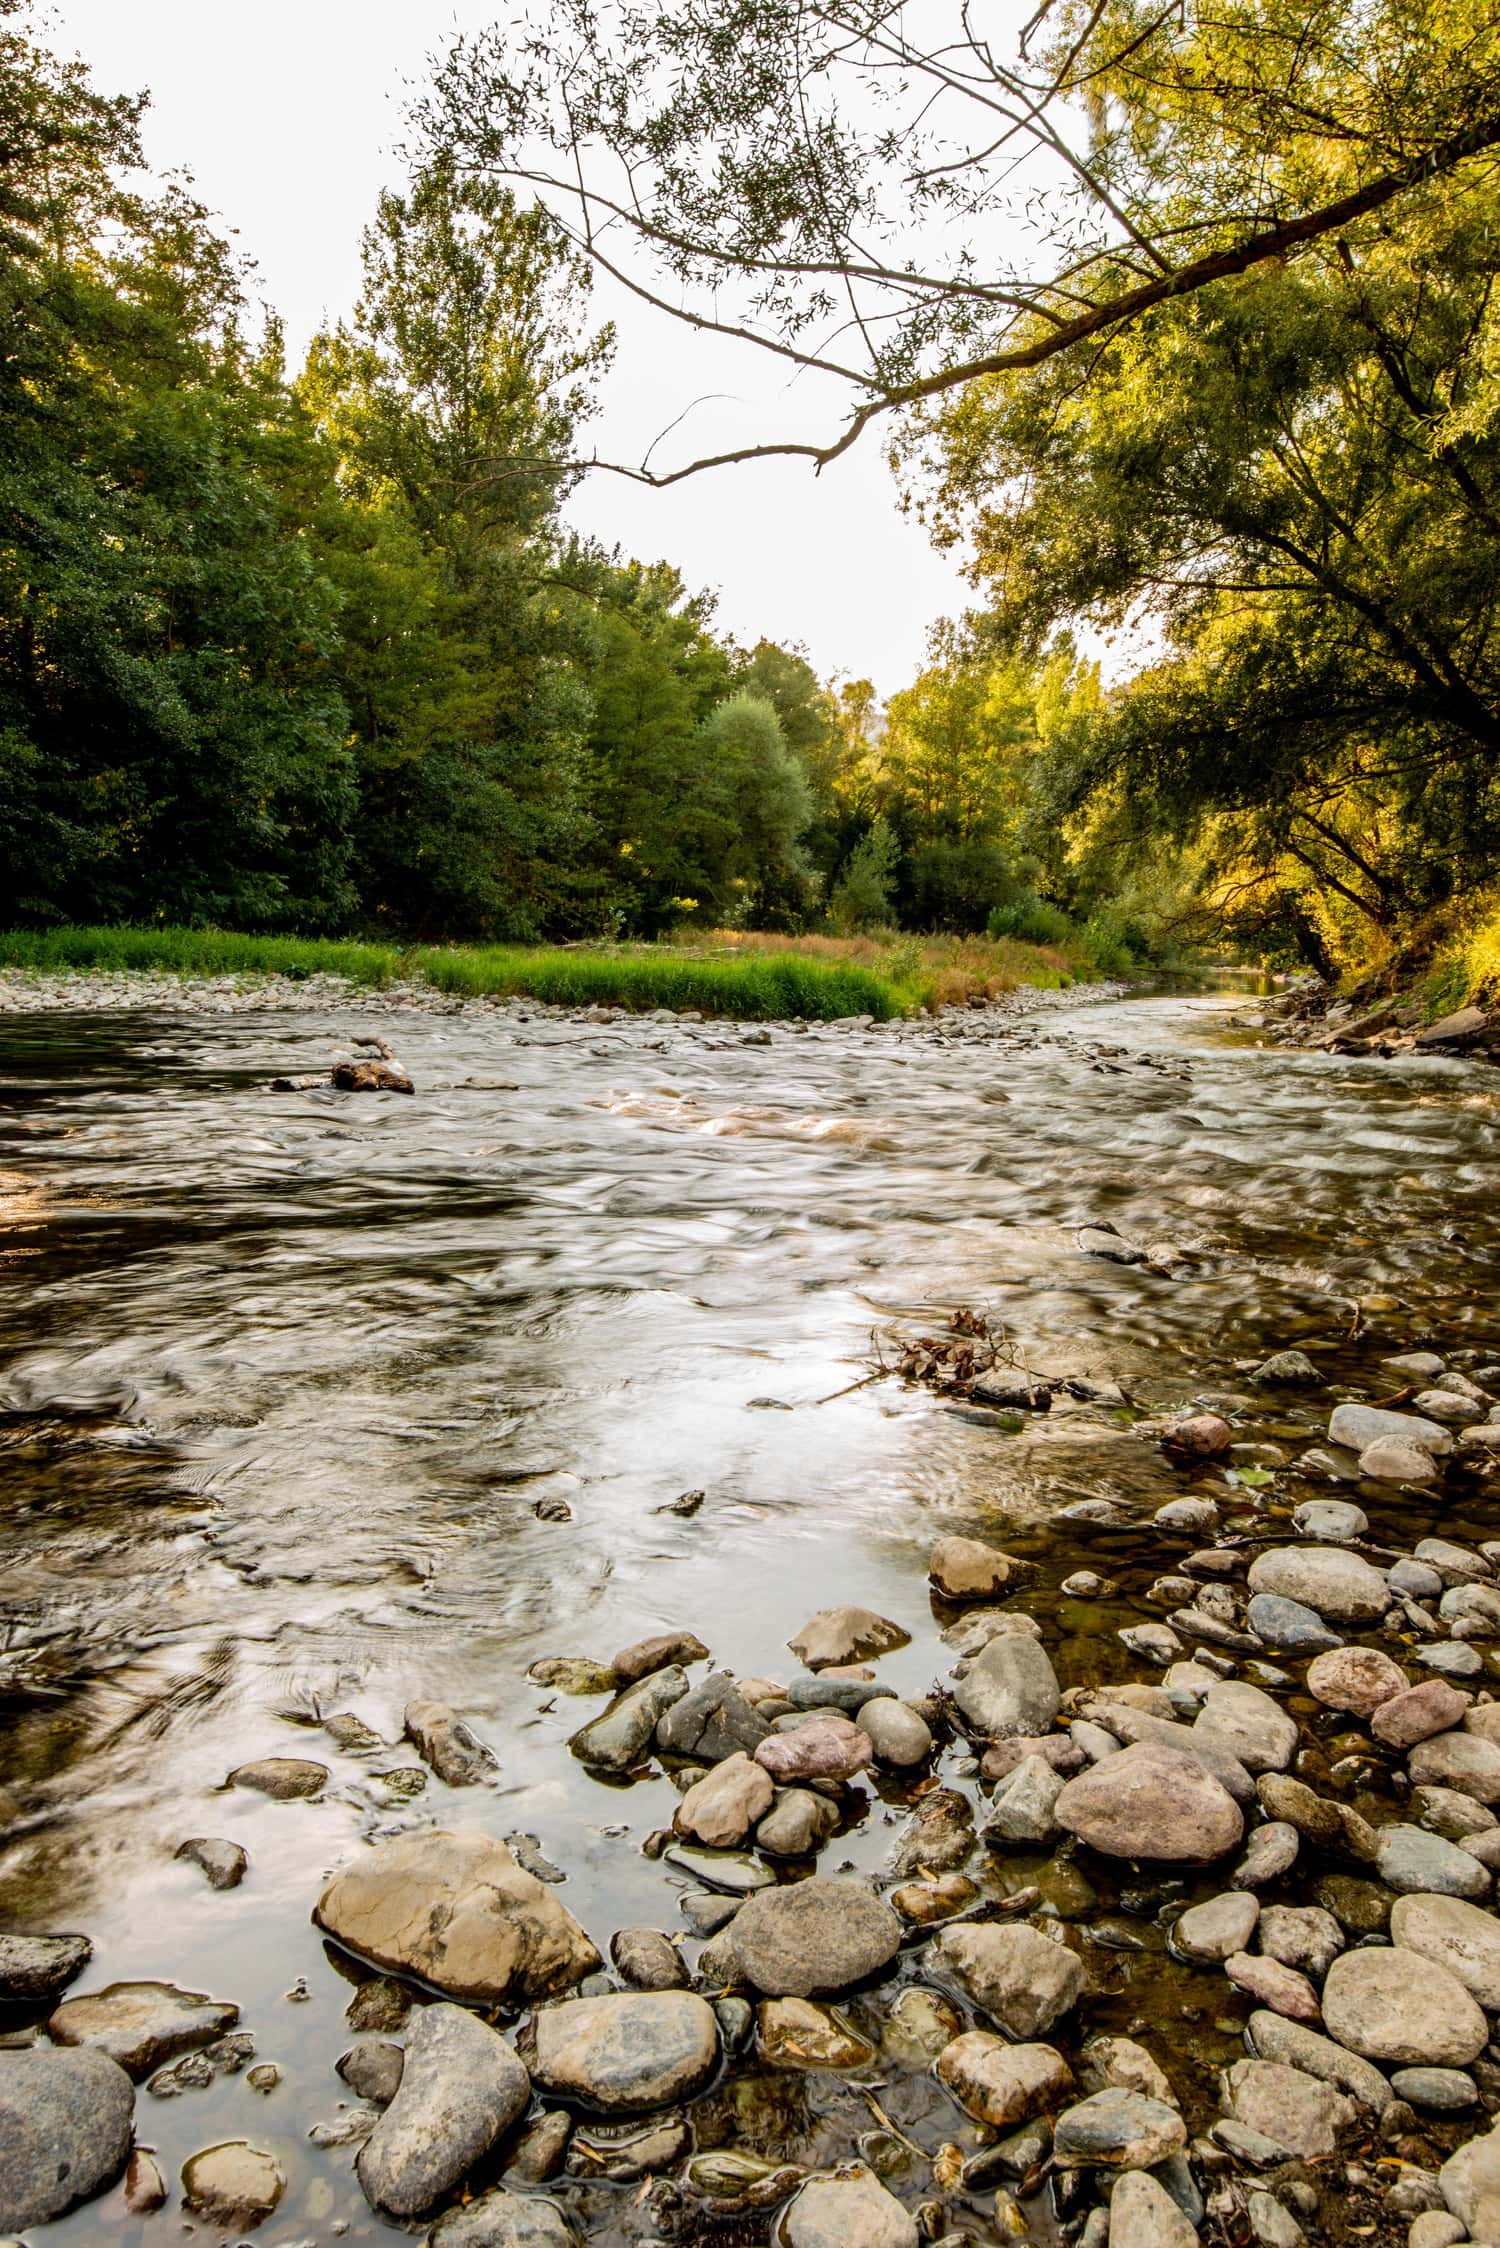
As you can see, the movement of the water is appreciated, the longer I had the shutter open, the more the effect is appreciated, although it is not impressive ? .

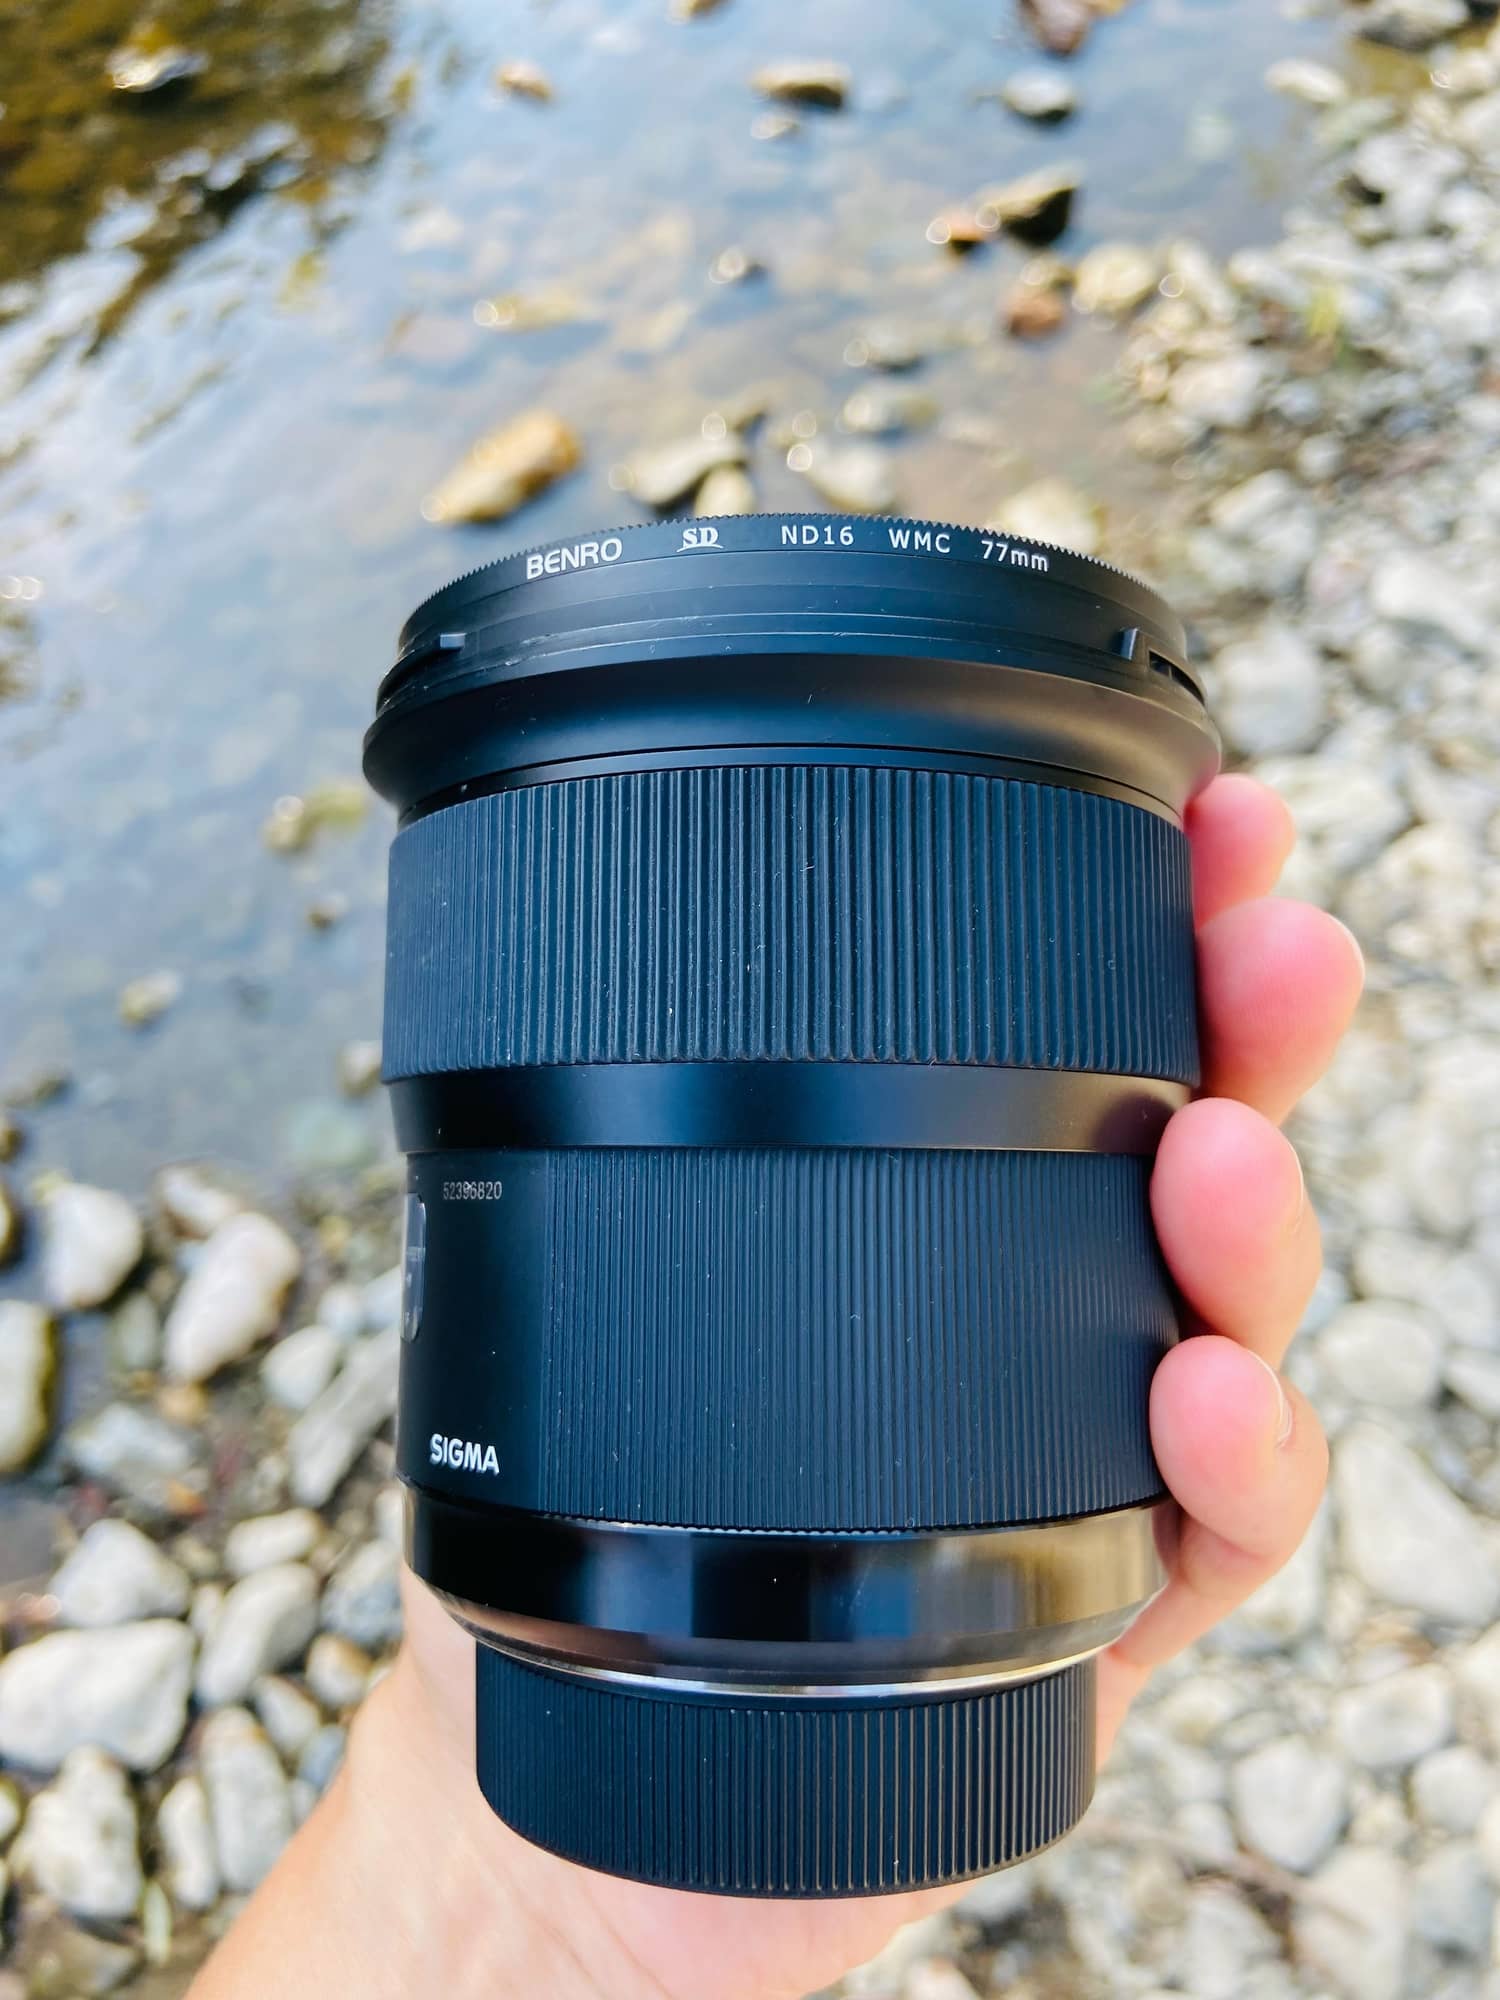
Now, see the difference by putting a filter on the same scene. In my case, I have already told you that I used a Benro filter that subtracts 4 steps.

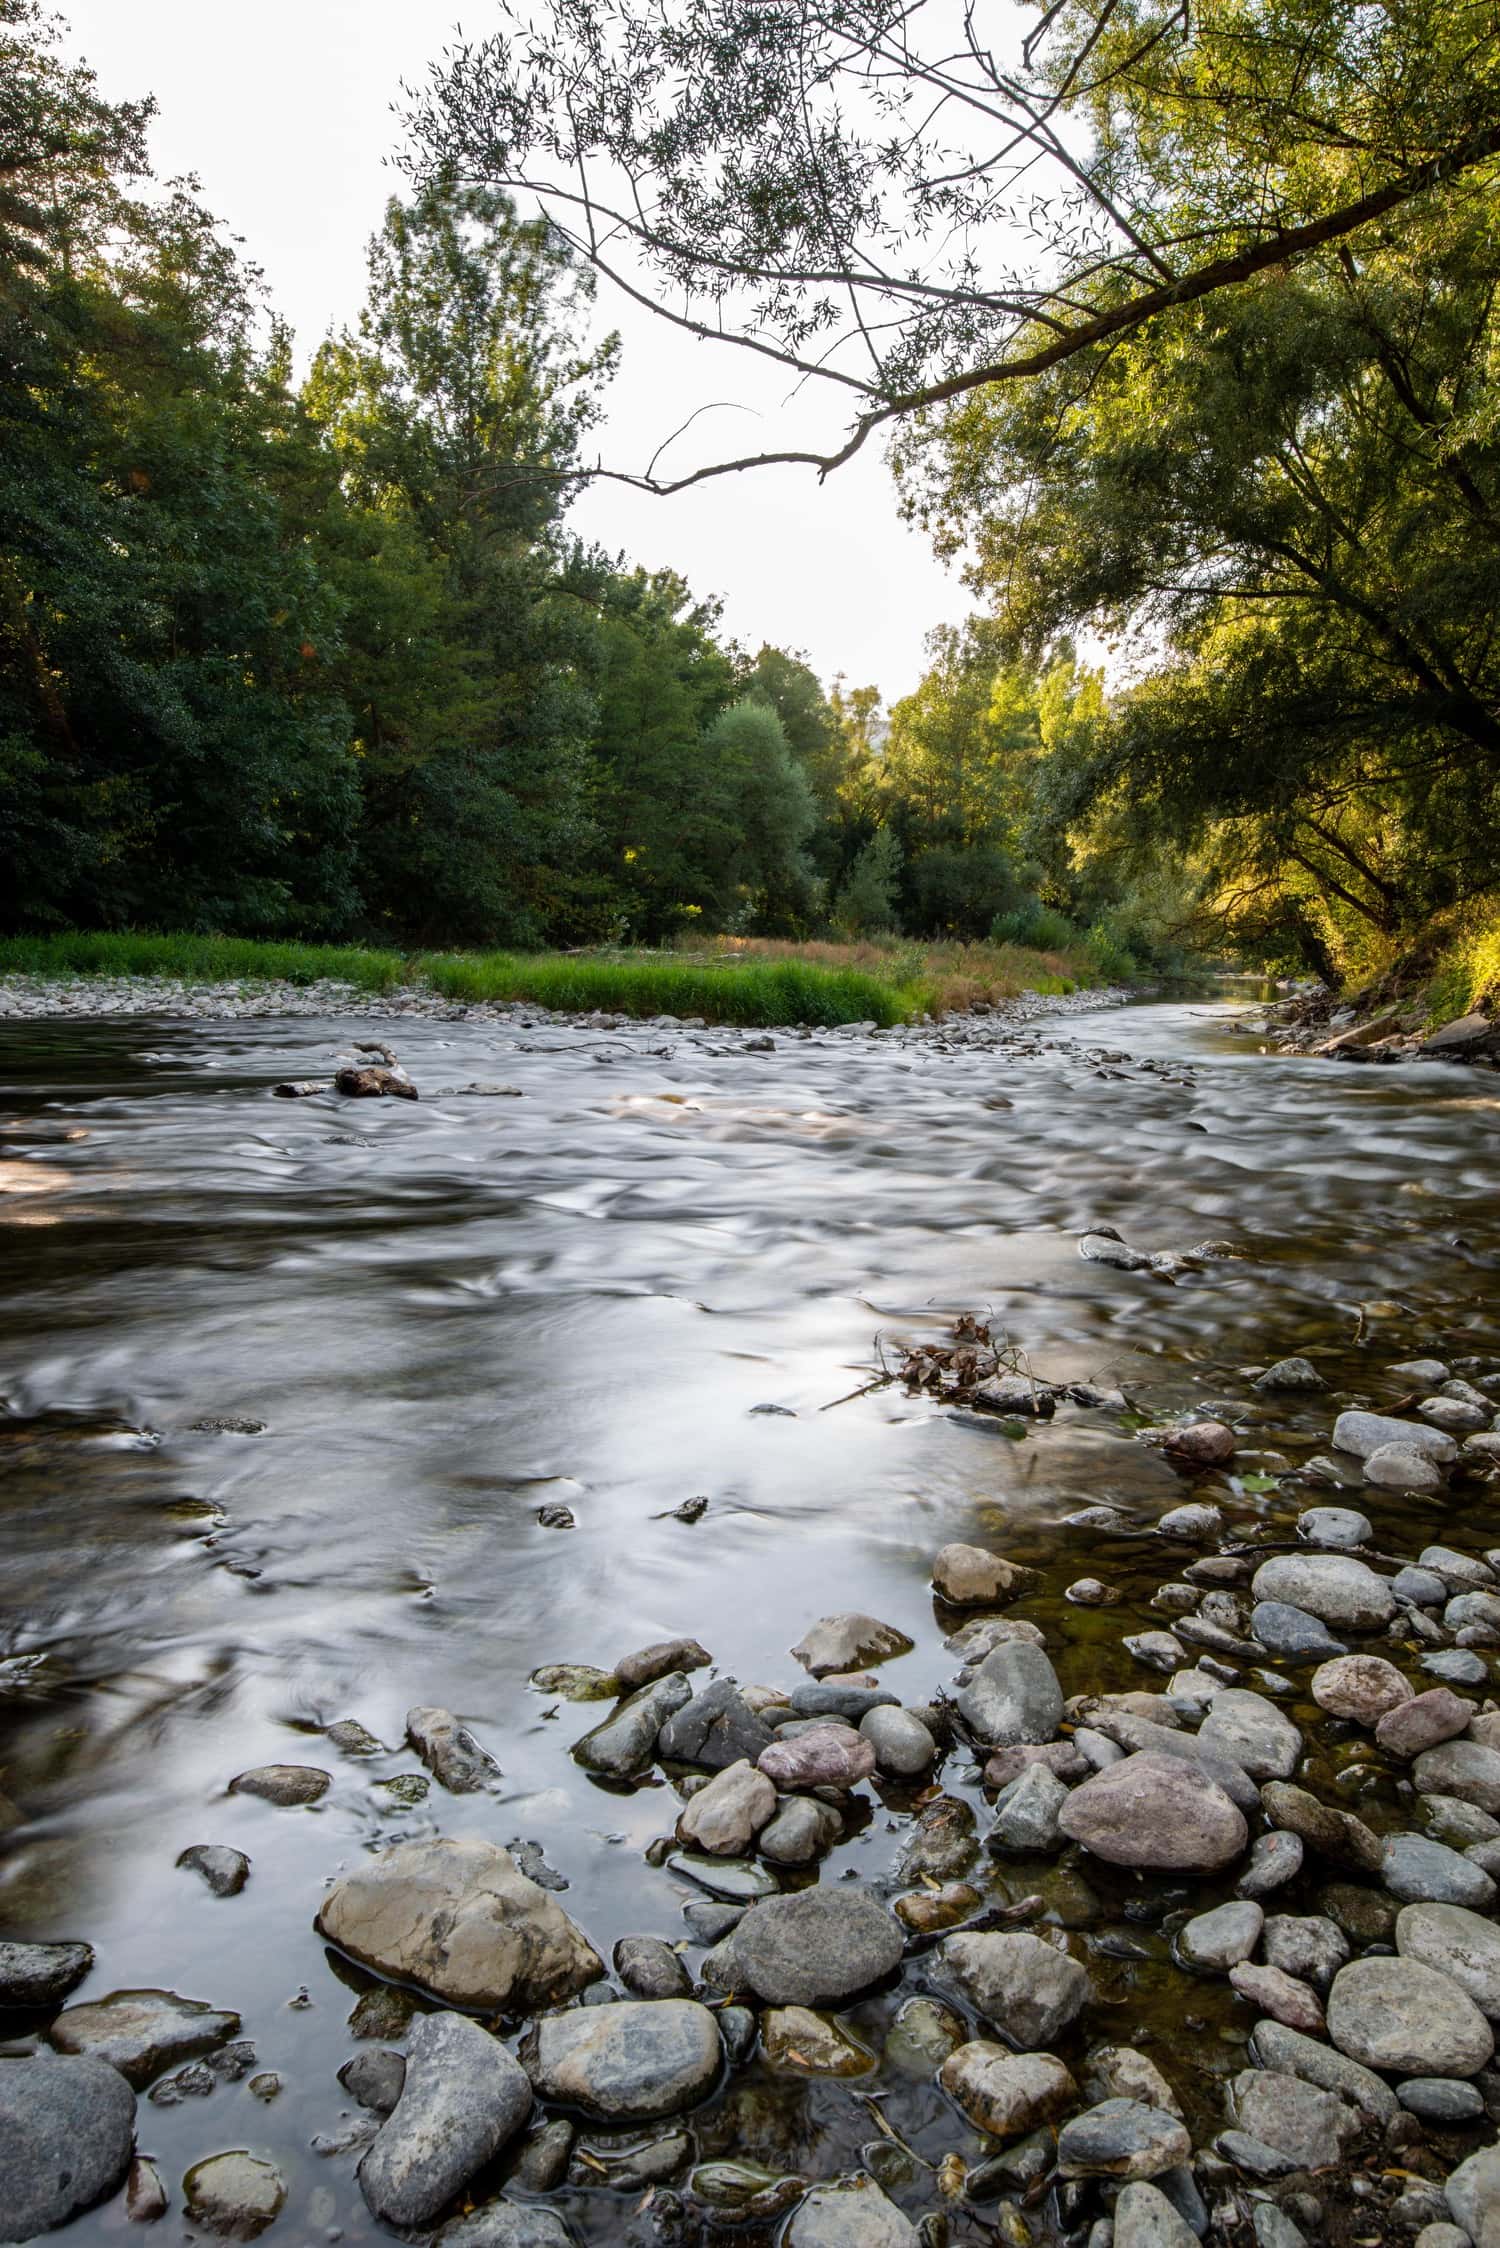
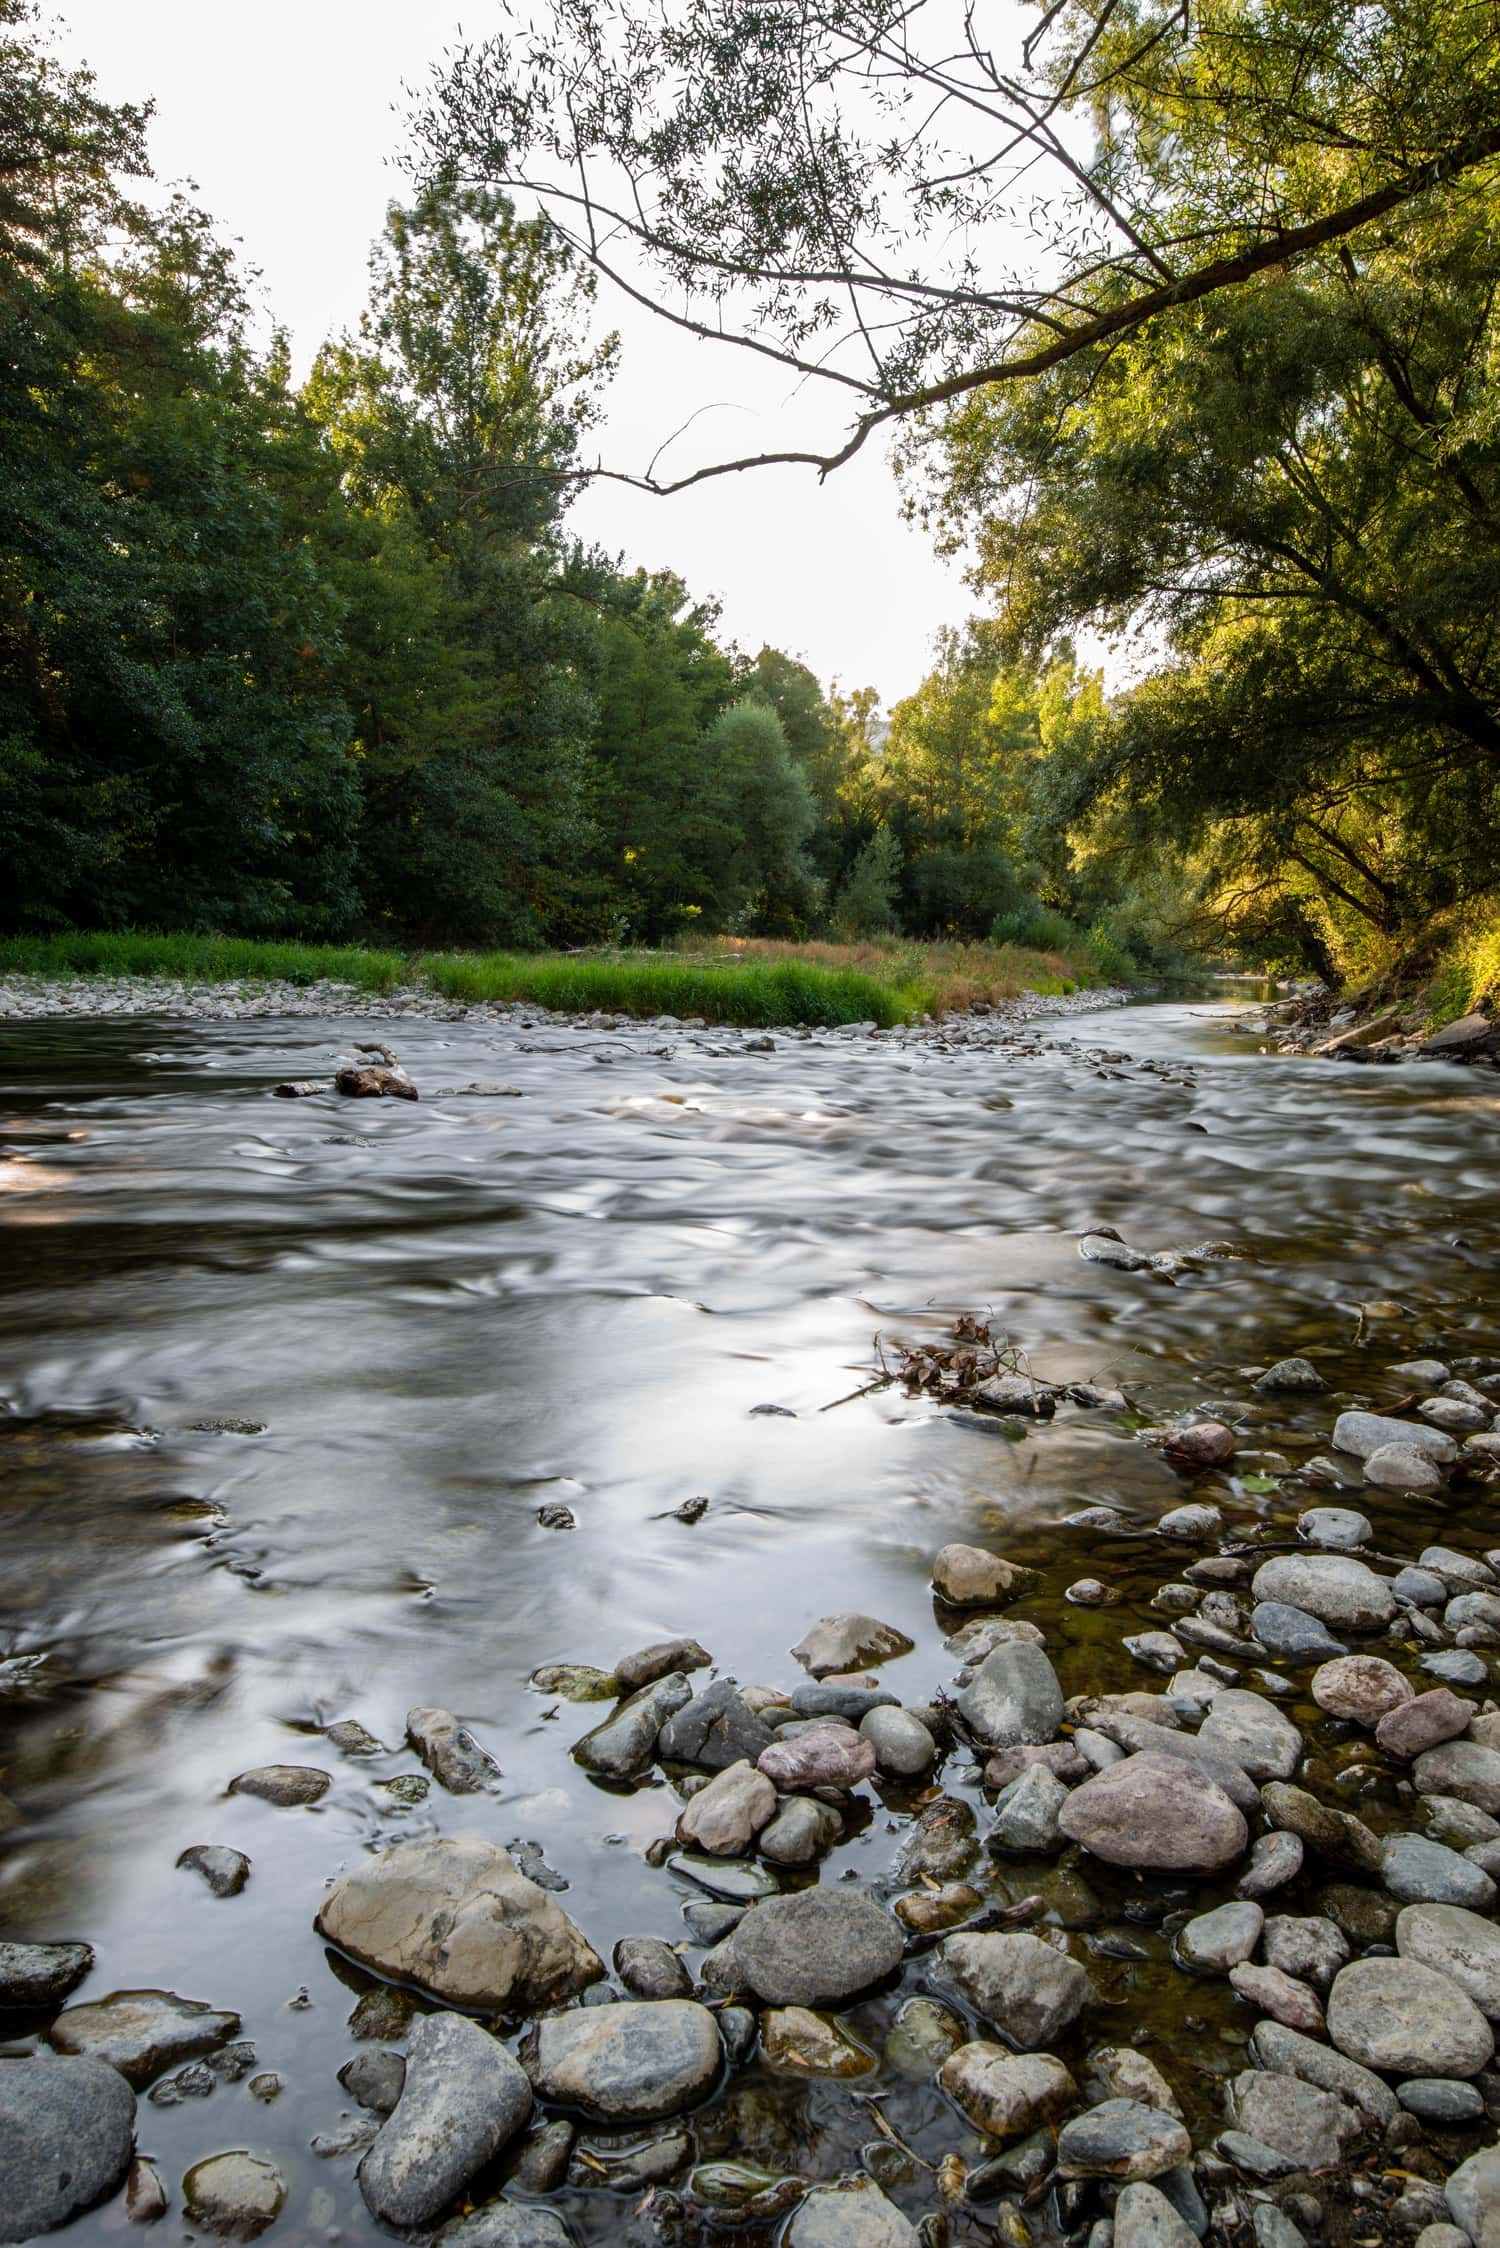

I think the result is very well appreciated, here I show you the two images with the longest exposure time that I could get without burning the image considering the light it had.
The photo on the left has no filter, the one on the right does:

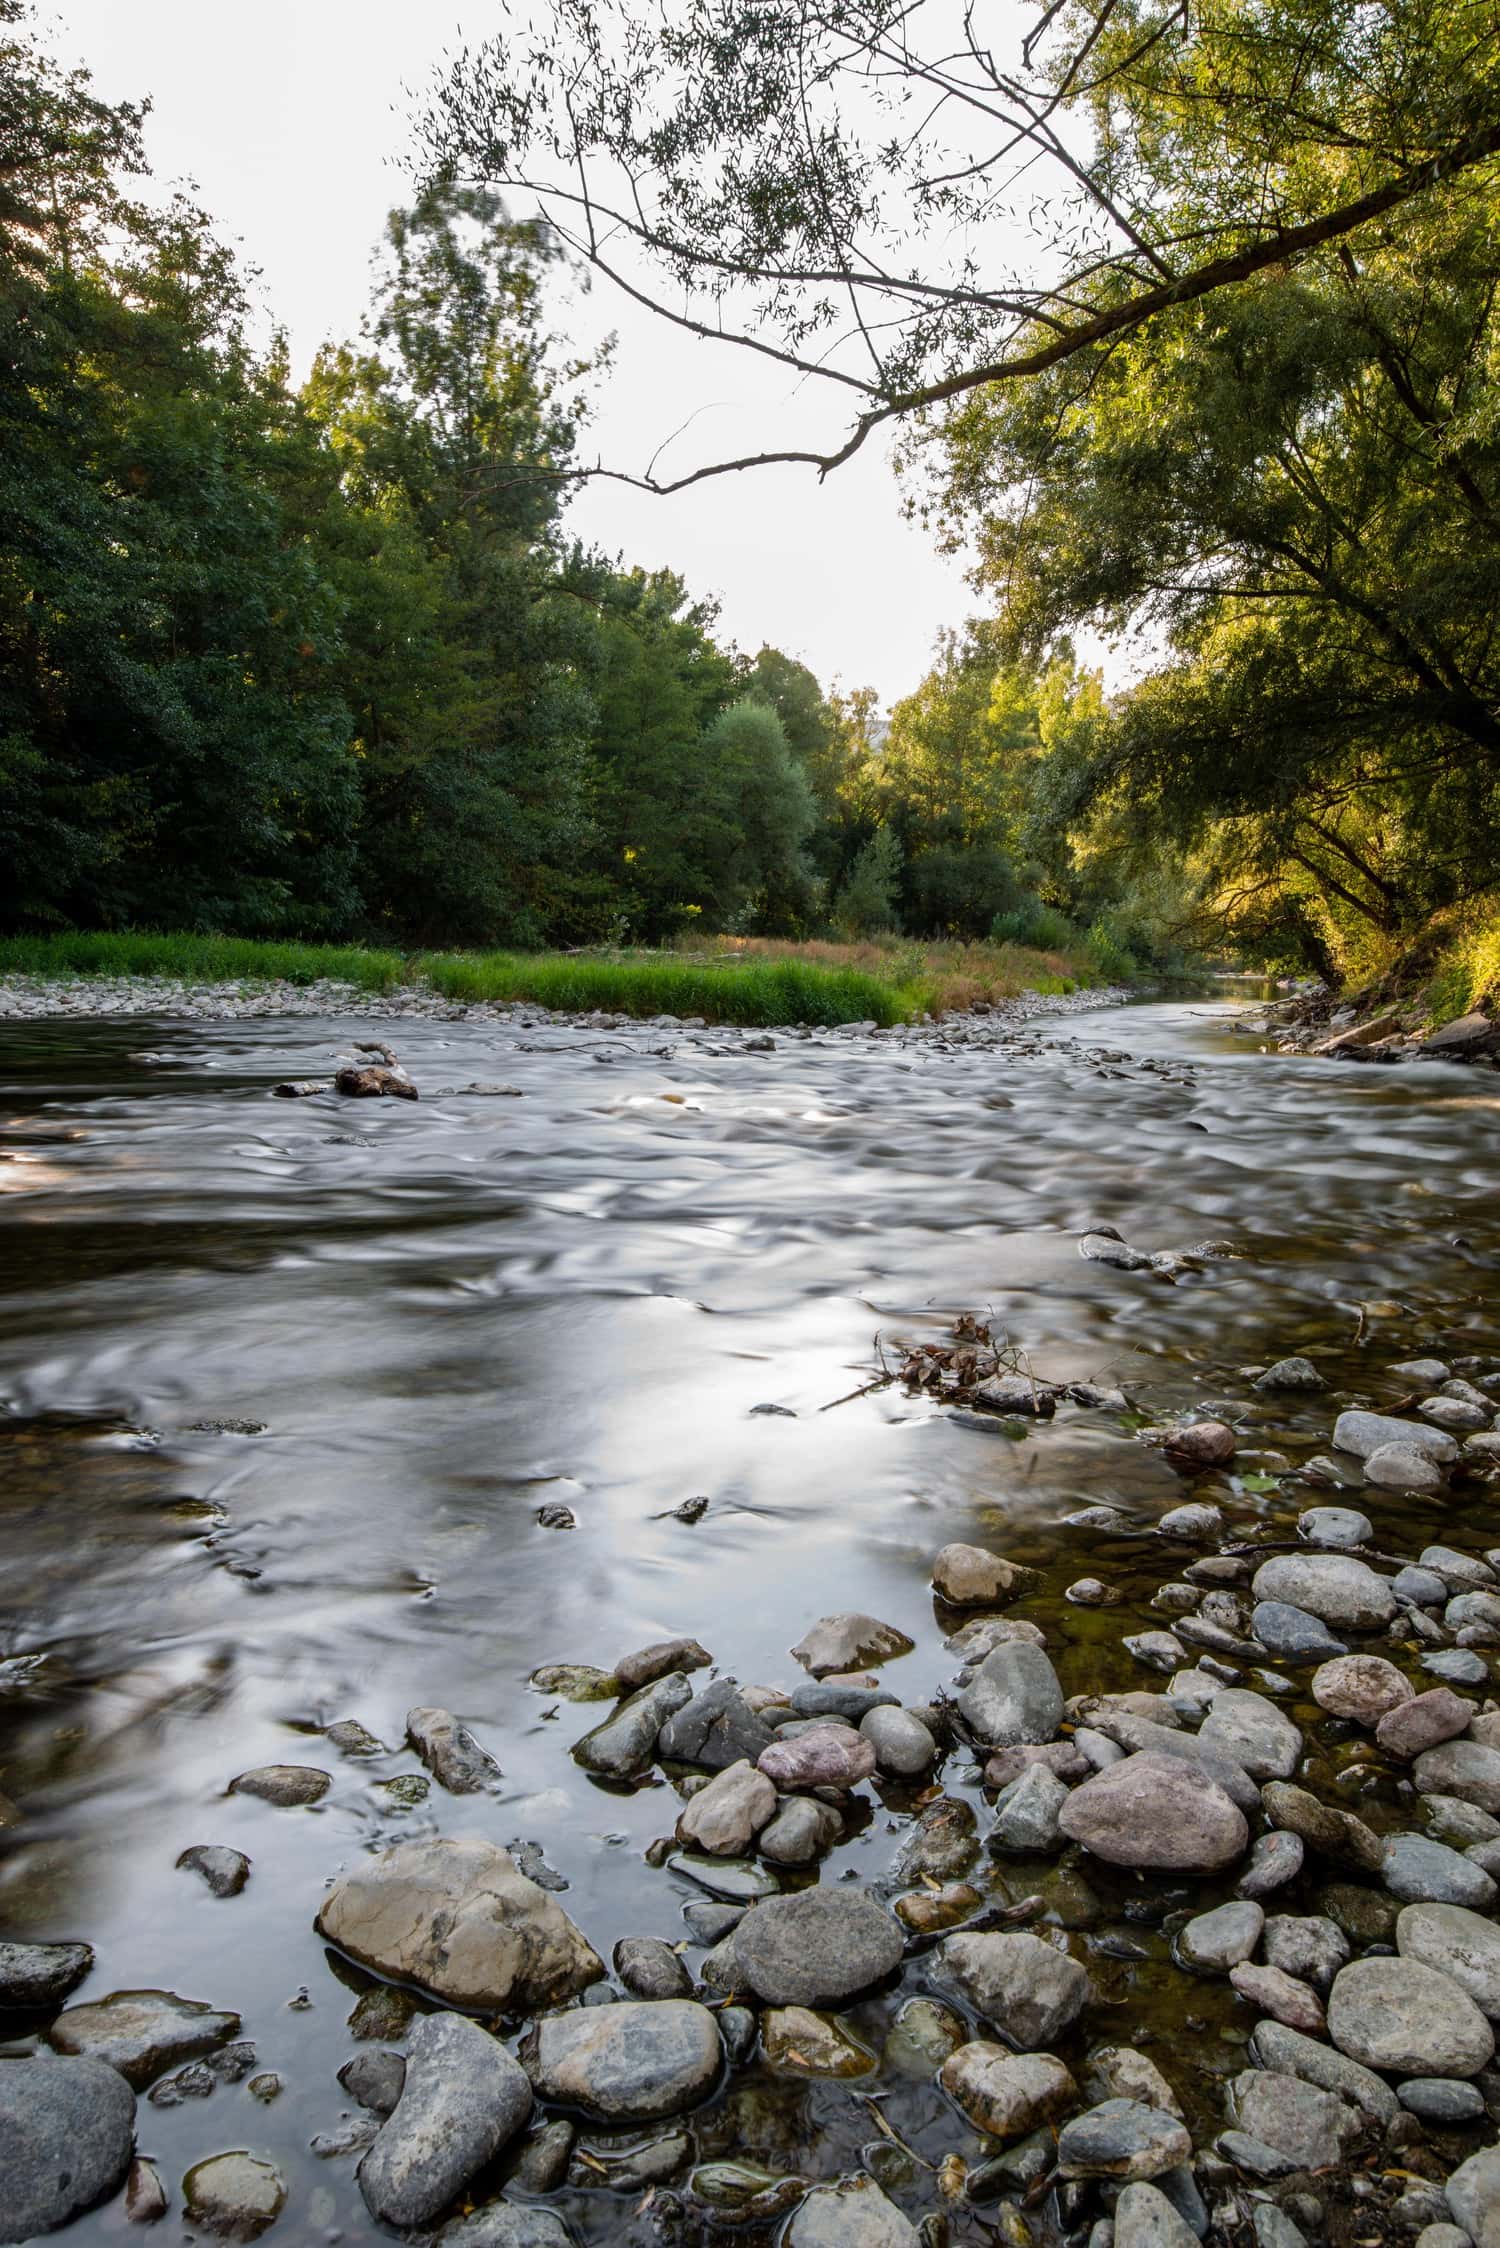
HOW CAN I GET A MORE ACCENTUATED SILK EFFECT?
- The more steps of light left in your lens, the more possibilities you have to use slow speeds.
- At sunset or sunrise you will have less light and, in addition, more beautiful colors.
- Look for shady places.
- It uses very closed openings.
- Shoot with the lowest ISO value possible.
- The longer the shutter is open, the more the effect will be accentuated.
- The faster the water (or your subject) moves, the more the silk effect will be appreciated in the photos.
In general, as the light changes faster than it seems, I recommend that you take several photos with different exposures, always making sure that you do not lose information in the shadows or in the lights. You already know that an over or under exposed image is unrecoverable in good quality, doing so only produces noise in the image.
If you like nature photography , walking by the sea or along the banks of a river in the middle of the forest, this objective does not take up anything and is a great investment that can make your photos grow from correct to impressive.
