Editor's Note: I rescue this article from the archive for its interest and value to many users frustrated by damn blurry photos.
Today I will share with you a few tips on how to avoid moving photos , a problem that brings more than one headache and whose solution is extremely easy if we follow a few steps that I will explain below.
Let's first see why some photos are blurred or blurred. Later I will detail the simple steps to follow.
WHY DO SOME PHOTOS MOVE?
The main reason for a photo to be moved is mainly one: because the camera suffers some movement during the time in which the image is being captured (during the exposure time). There is no other explanation. Actually all other motives revolve around it.
How to hold the camera correctly
HOW TO AVOID BLURRED / BLURRED PHOTOS?
1- Adopt a comfortable and correct posture, put your elbows inwards: Whenever possible it is advisable to adopt a comfortable posture that helps us reduce the vibrations of our own body. A very common mistake among those who buy a SLR camera and take pictures without even having a look at the instruction manual is to hold the camera incorrectly. The following illustration shows the correct way to hold a camera.
2- Use a tripod, or improvise one: Obvious advice but that could not be missing in this list. In the absence of a good tripod there are very economic alternatives that will not cost you much. You can use some wall as support, table, or any type of fixed and stable support. Of course, if you leave the camera on top and release it, be careful that it does not fall.
Another trick to stabilize the camera would be to use our own body as a tripod: resting the elbow on the ground (or some very stable support) for example.
3- Use a remote trigger or shoot with a 2 or 10 second delay: This tip is useful and complements that of using a tripod. A remote trigger allows us to shoot the photo avoiding the slightest movement caused by the action of shooting the photo. The same result can be achieved with the retarder function.
4- Activate the vibration reduction function: Most modern cameras offer the possibility of significantly reducing movements and vibrations. Some SLR cameras have this function in the lens itself, such as Nikon, in which case the vibration reduction function is called VR. The Canon is called IS and goes in the goal too. Others like Pentax and Sony carry it in the camera's own body. This option is very useful and I insist, it greatly reduces the vibrations, especially when we use a telephoto lens.
5- For SLR and bridge cameras: use a fast shooting speed: If you have a SLR camera you can have full control over the shutter speed. The faster the sharper shooting speed the photo will appear.
6- For SLR and bridge cameras: capture all available light: This council matches the previous one. If you use a very high shooting speed it is easy for the photo to come out dark (sharp but dark). To solve this we can play with the parameters of the light: open the lens diaphragm so that the camera captures more light, use a somewhat high ISO value as much as possible, and if necessary activate the flash .
How to avoid moving photos: 6 easy steps
As you can see, these are very simple steps that can save you a disgusting ENOOOORM at the time of sitting down to view your photos on your computer. We have all been frustrated once to see how moved a photo has left us.
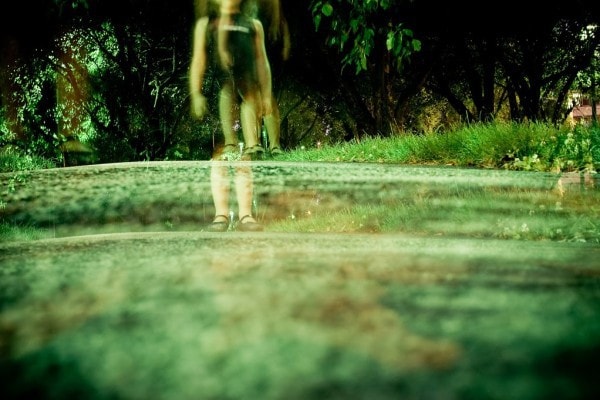
Unless, in an outburst of avant-garde creativity, we have dedicated ourselves to taking photos moved on purpose, because by the way, some photographers get EXCELLENT photos moved personally that I can not help but admire, like that of the girl blurred in the grass. A marvel.
Did you like the article? Thank you for helping me spread it.
The HTML CheatSheet has its built-in editor where you can preview the document you are working on.