
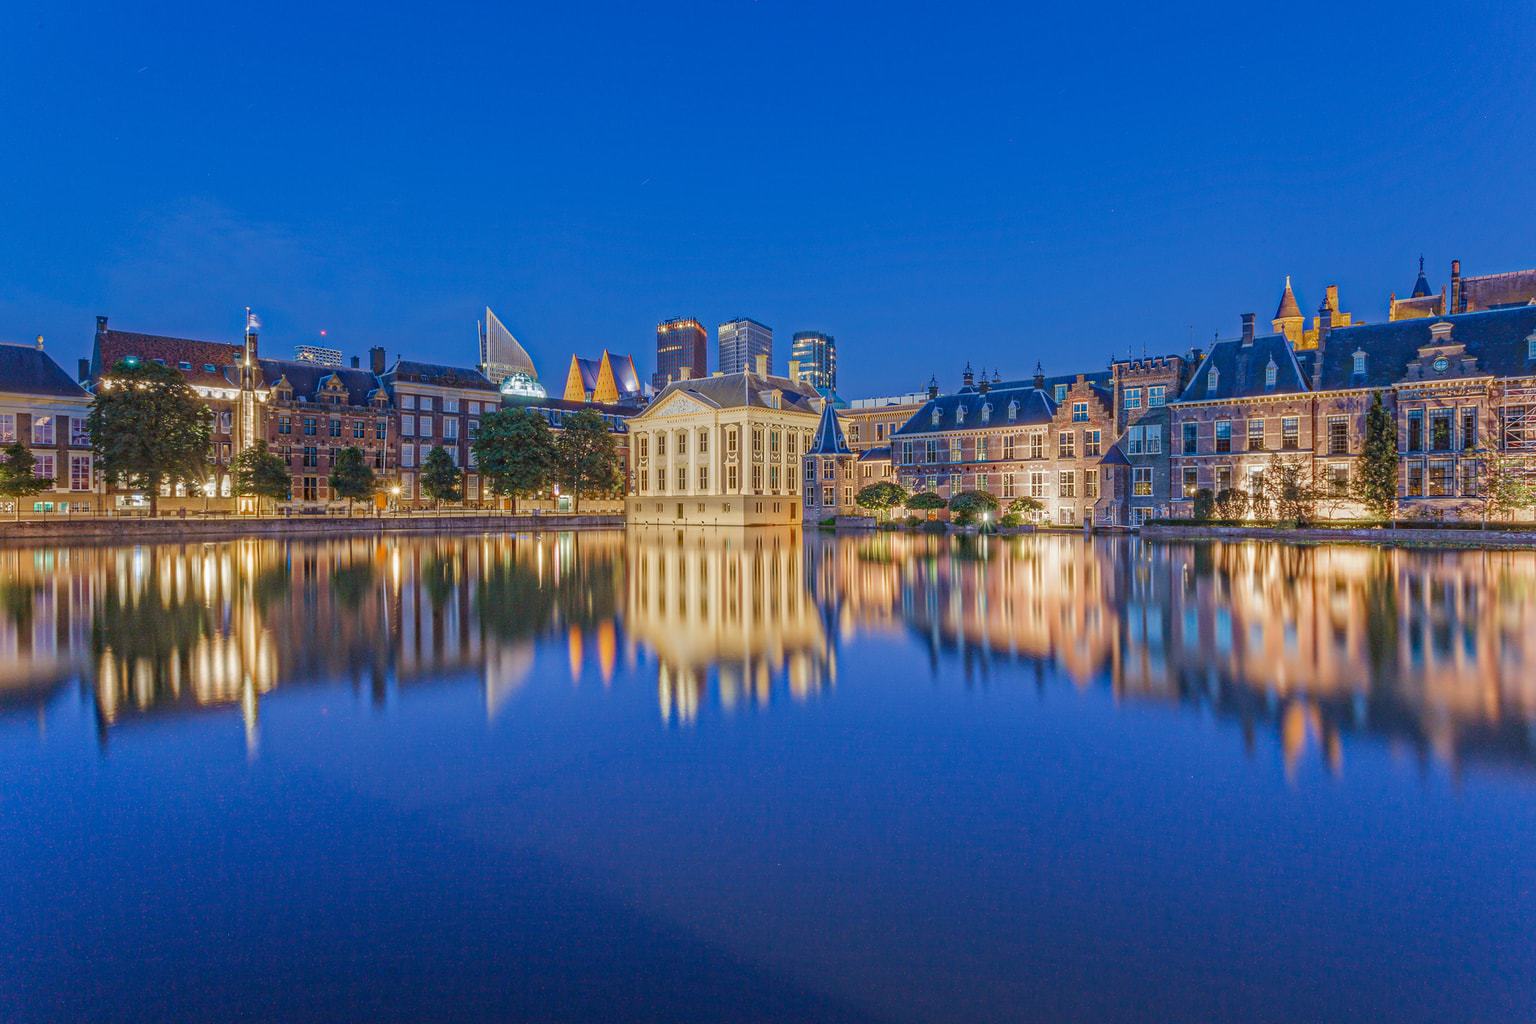
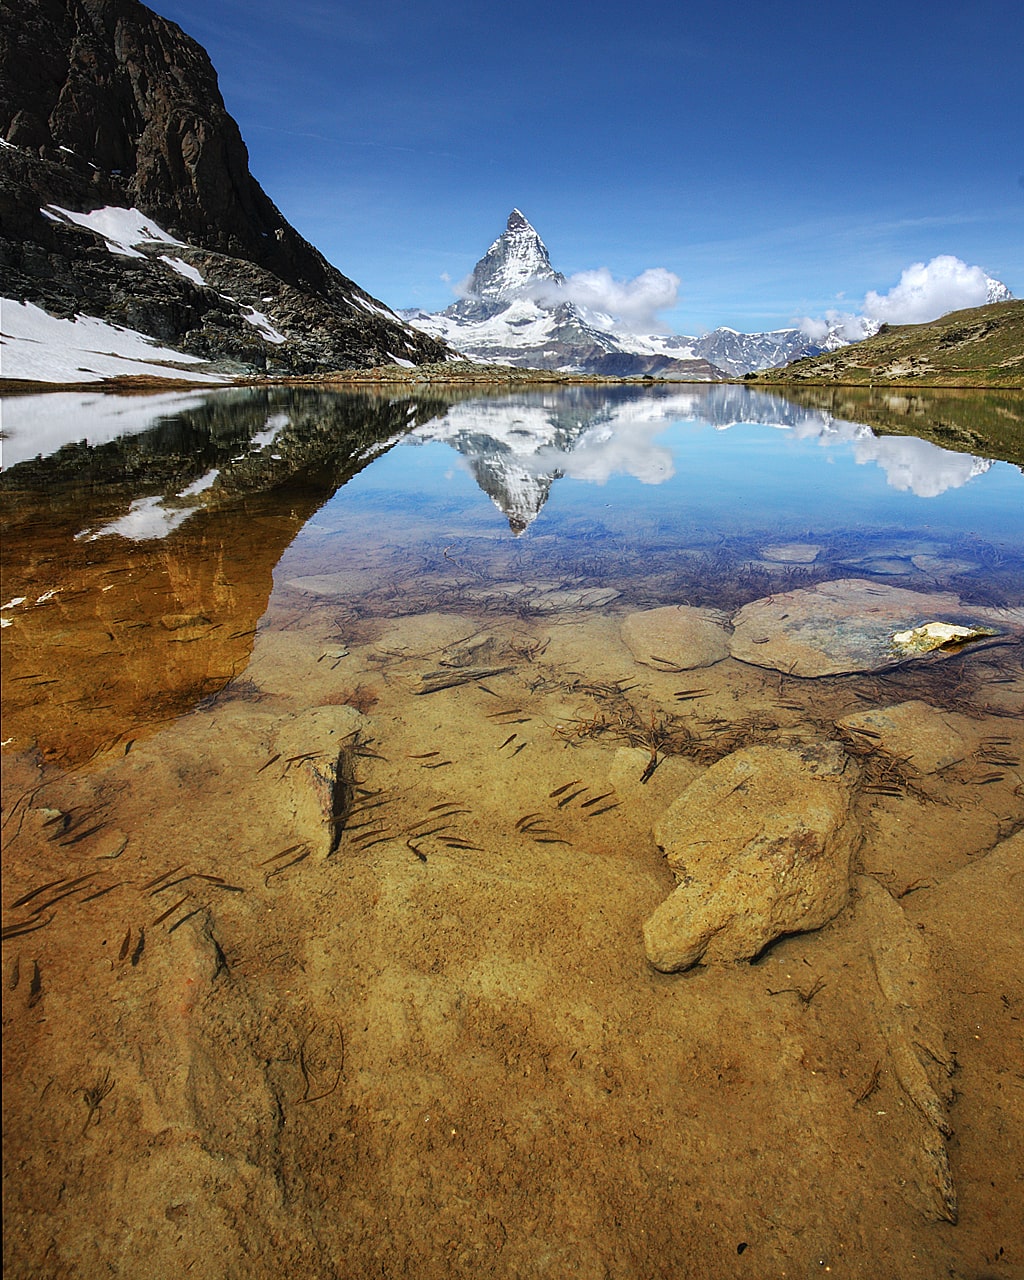
One of the most hateful comparisons we make with other photographers has to do with the sharpness of the photographs, especially in landscape photographs that are so spectacular and you can't get it no matter how hard you try... Well, that's what we're here for, to throw you a cable
Because there is a part that has to do with the quality of the team, make no mistake, a professional team is not the same as a beginner or amateur team. But it is not all the equipment, there are many other factors and actions that intervene when it comes to getting an extremely sharp photo, and if you do not control them, you can already have the most expensive equipment in the world that you will not get a photo half as sharp that you can achieve with a beginner camera.
Most likely, you are in the second group and, for now, if your economy does not depend on photography, you do not need more, what you really need is to take advantage of yours. That is why I am going to tell you how to achieve maximum sharpness with the camera and the lenses you have. Let's go there!
1. CLEAN THE TARGETS
The first thing to do, if you want to get a very sharp landscape image, is to clean the lenses that you are going to use. Dirt, blur and movement are the number one enemies of sharpness. Start at the beginning, leaving your team like the jets of gold. Here are some recommendations .

2. REMOVE THE FILTERS
On more than one occasion, from the blog we have encouraged you to use filters in landscape photography , since there are numerous benefits they offer. However, I have to warn you that a filter can reduce the sharpness of your photography. It's okay to protect your lens in some situations, but in this case, to achieve maximum sharpness, it's better to remove it, especially if it's a good lens and the filter is an accessory that you bought "on the cheap" to get by, because the only thing What you get is to reduce the quality of the lens. If you want to use a filter, at least one that matches your goal.
3. USE A TRIPOD
In portrait photography you can make the excuse that you can't use a tripod because you have to follow your subject as it moves. You don't have that excuse here. The landscape is not moving, it is not going to run away or anything like that. Here you have to use it yes or yes if you are looking for the greatest sharpness in your image. The slightest movement will blur the photo. If you haven't gotten one yet, you should think about adding to your photographic equipment the tripod that your SLR camera would like to have .
But not only do you have to worry about putting a tripod, but you also have to be careful that it does not move. Avoid placing it on a vibrating surface (a bridge, for example) and if it is windy, place a weight to prevent the air from moving the camera. If you don't have a weight you can hook your backpack.
4. USE A REMOTE SHUTTER RELEASE
You have your camera on the tripod, you have put some weight to prevent the air from moving the camera and now you go and to shoot you press the camera button… meeeec!!!! (horn sound). Big mistake, dear reader. That movement when you press the round button on your SLR has just ruined the sharpness of your photography.
How is this fixed? Well, using other forms of shooting , such as the remote shutter release, which is a very cheap accessory and saves you from this predicament. If you don't have and you can't spend the ten eurillosThat's okay, you can use the trick to activate the camera's timer (although I warn you that it's a bit of a pain, the shutter release is more comfortable, of course ? ).
5. DISABLE THE IMAGE STABILIZER
Some cameras and lenses carry an image stabilizer . This is useful in many cases, but not exactly in this one. If you already have your camera planted on the tripod, the stabilizer will only detract from your photography.
6. BLOCK THE MIRROR
Your camera may not have this feature, but if it does, don't hesitate to use mirror lockup , as mirror movement also causes minimal vibration that will affect the result. This is not something you should do every time you shoot a landscape, but it is something you should do every time you want an extremely sharp landscape.
7. ADJUST ISO VALUE
The ISO value should be as low as possible. Here you also have no excuse that there is little light because you can use slow speeds and compensate for this lack. You won't be able to compensate for the noise caused by high ISO in any way, there will be no editor to save your landscape.
8. SWITCH TO RAW
It is not always advisable to shoot in RAW , as it has its drawbacks , but in this case it will be very useful. For extreme sharpness, you are not going to get rid of processing and for this, the more information the image contains, the better results you will get, that's why you need your file in RAW and not a JPG that compresses the information.
9. COMPOSE ON THE SPOT
Do not expect to experiment with the composition by cutting comfortably from your chair in front of the computer because all the work you have done so far will not help you. The more you cut, the more quality your photo will lose. Do all the composition tests "in situ" and take home the already cropped photo.
10. FOCUS
And here comes the part that can be a bit more complicated but in reality it isn't so much when they explain it to you ? and that's what we like to do at the blog team, make things easy for you.
You have two options:
- use hyperfocal. This is a very ugly "word" but it is perfectly explained and clarified by our friend Alexa in this article ).
- focus bracketing , another weird word that actually consists of taking several shots with different focuses and then stitching them together with an editor. Find the sweet spot of your lens, the one that allows you to obtain maximum sharpness and which is usually at intermediate apertures; Take several shots with different approaches and then join them with the editor that you normally use.
11. PROCESSED
Whether you use bracketing or not, it doesn't hurt to run your photo through the editor and sharpen it with the unsharp mask and make some contrast and saturation adjustments. Do several tests until you get a result you like.
If you use any online editor you can find this sharpness enhancement function as “Sharpen” or “Sharpness”.
And remember, if you haven't followed the steps above, don't expect an editor (no matter how good it is) to improve your photo, they do wonders but not miracles ? Get the sharpness in front of the landscape and improve it on the computer. It is the only way to achieve an impeccable result.
PRACTICE MAKES A MASTER…
This should be your maxim, don't expect to get spectacularly sharp photos by reading hundreds of articles, better read just one or two and start testing. You can do the first ones from your home, you don't need to find the best landscape, just practice. Once you see that your photos have improved in sharpness, go find some pretty scenery. Surely it makes you less lazy that way ?
If you found this article useful or interesting, I appeal to your generosity to share it and give it a "Like" on your favorite social network. You can do it on Facebook, Google + or Twitter. Thank you very much and see you soon!
