Few things will frustrate you as much as a photographer who is beginning to take his first steps in digital photography as seeing that those spectacular photos that you have just taken on the computer and how sharp they look on the LCD screen of your camera when downloaded to the computer, the they are moved and have been ruined.
There is a big mistake that all photographers taking their first steps, and also many more experienced amateurs, make: not holding the camera correctly. The vast majority of sharpness errors in these photos are not the result of lens problems, but rather problems with holding the camera when shooting.
If you are experiencing these kinds of problems or you want to review some concepts about the importance of stability in photographs, this article is for you. You can not lose this.
WHY IS IT IMPORTANT TO DO IT CORRECTLY?
Although there are a large number of factors that influence the sharpness and therefore the quality of your photos, if your camera is not steady when you shoot it, none of the others will make sense.
If you hold your camera the wrong way, the probability that your photos will come out blurry increases considerably and this is not pleasant at all, at least not if we are not trying to convey that feeling .
Both the posture when shooting your camera and the way you hold it will allow you to obtain the best results. So how to do it correctly?
The "best" way to hold the camera is something that has generated, generates and will generate many debates around it. There are many photographers, including many renowned and professional ones, who use both hands to hold the camera and seek to achieve a firm stance to ensure stability while others do the opposite, being more flexible and using only one hand to shoot their cameras.
There is no single way or method to prevent the photos you take from moving as a result of the vibration of the hands when holding it, after all, only you know the way in which you feel most comfortable when photographing, even creating your own style.
In any case, below I will give you a series of guides and tips so that you can find the desired stability photo by photo.
KEEP YOUR CAMERA AS STEADY AS POSSIBLE
Your photos will be blurred when, while the shutter of your camera is open allowing light to reach the sensor, vibrations or movements occur that cause the light that is reflected by the objects in the scene to be captured by the sensor in different ways. positions.
When there is a lot of light, since the shutter remains open for a very short time to achieve a correct measurement and exposure of your photographs , the probability that a photo will come out blurred is much less. But when the shutter speeds must be slower (darker scenes) the chances that a photograph will come out blurred are multiplied.
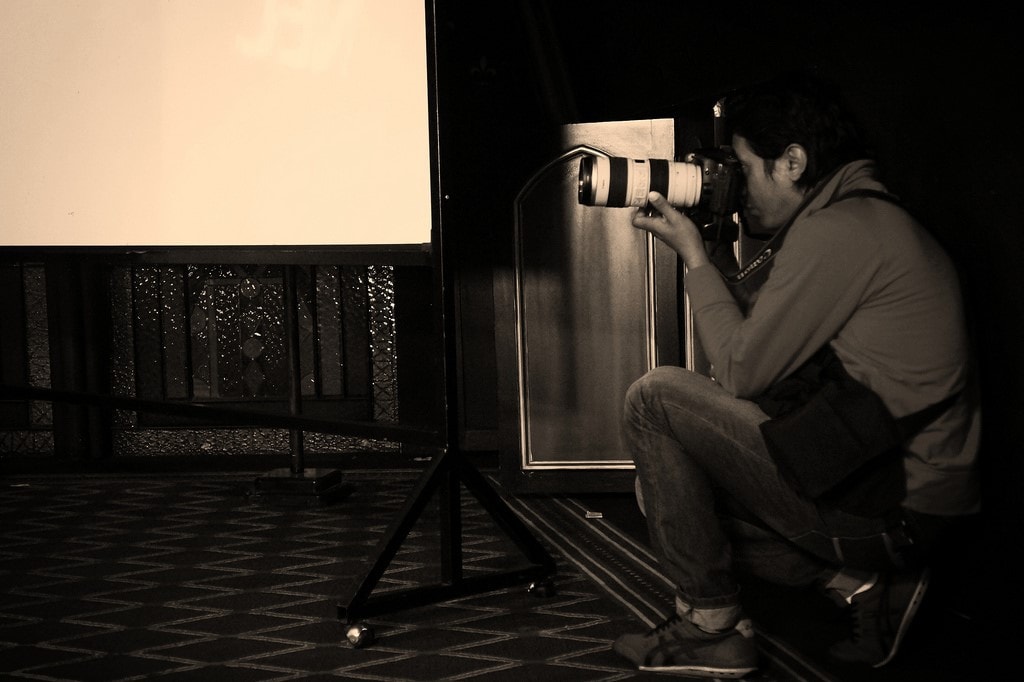
That is why, to prevent these vibrations from ruining your photographs, it is essential that you keep the camera as steady as possible and this is achieved by transforming your body into a tripod.
THE 3 SUPPORT POINTS
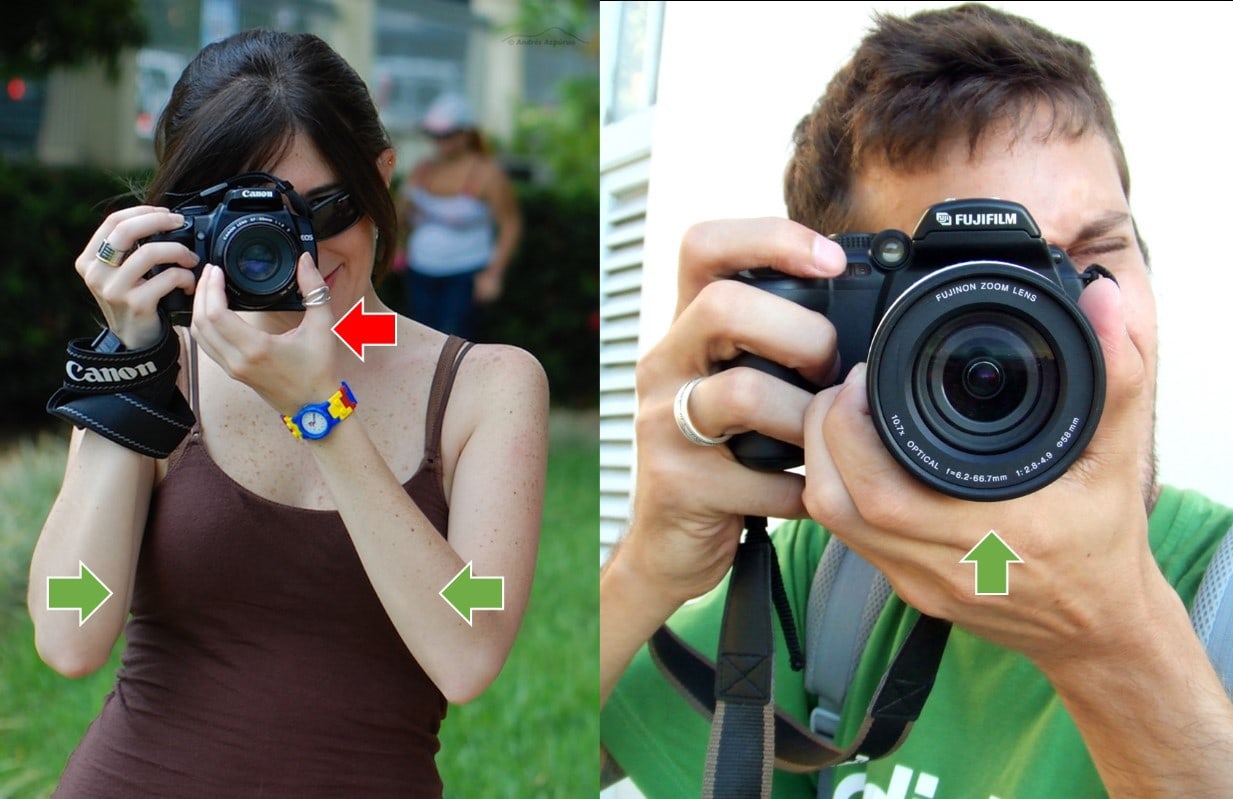
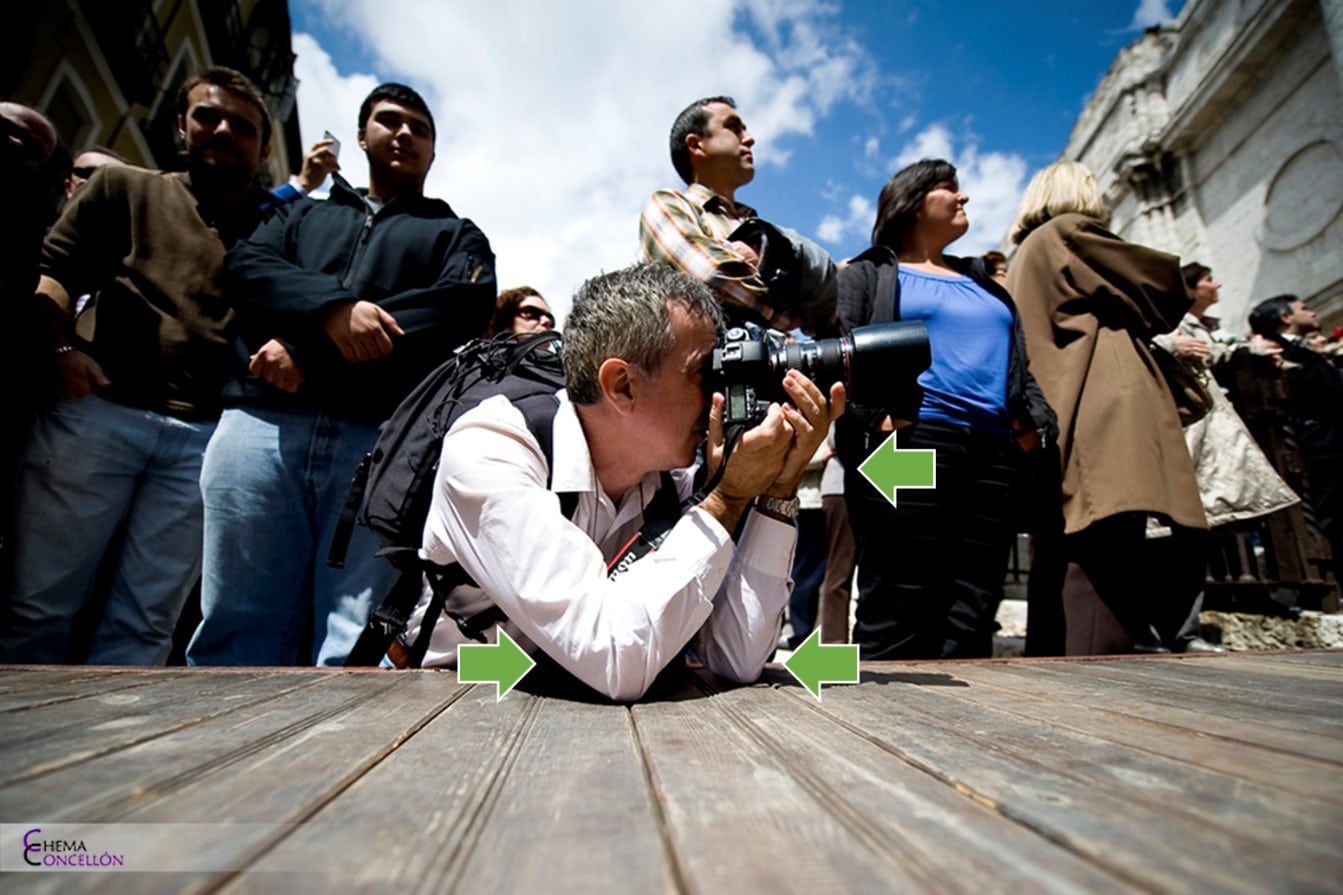
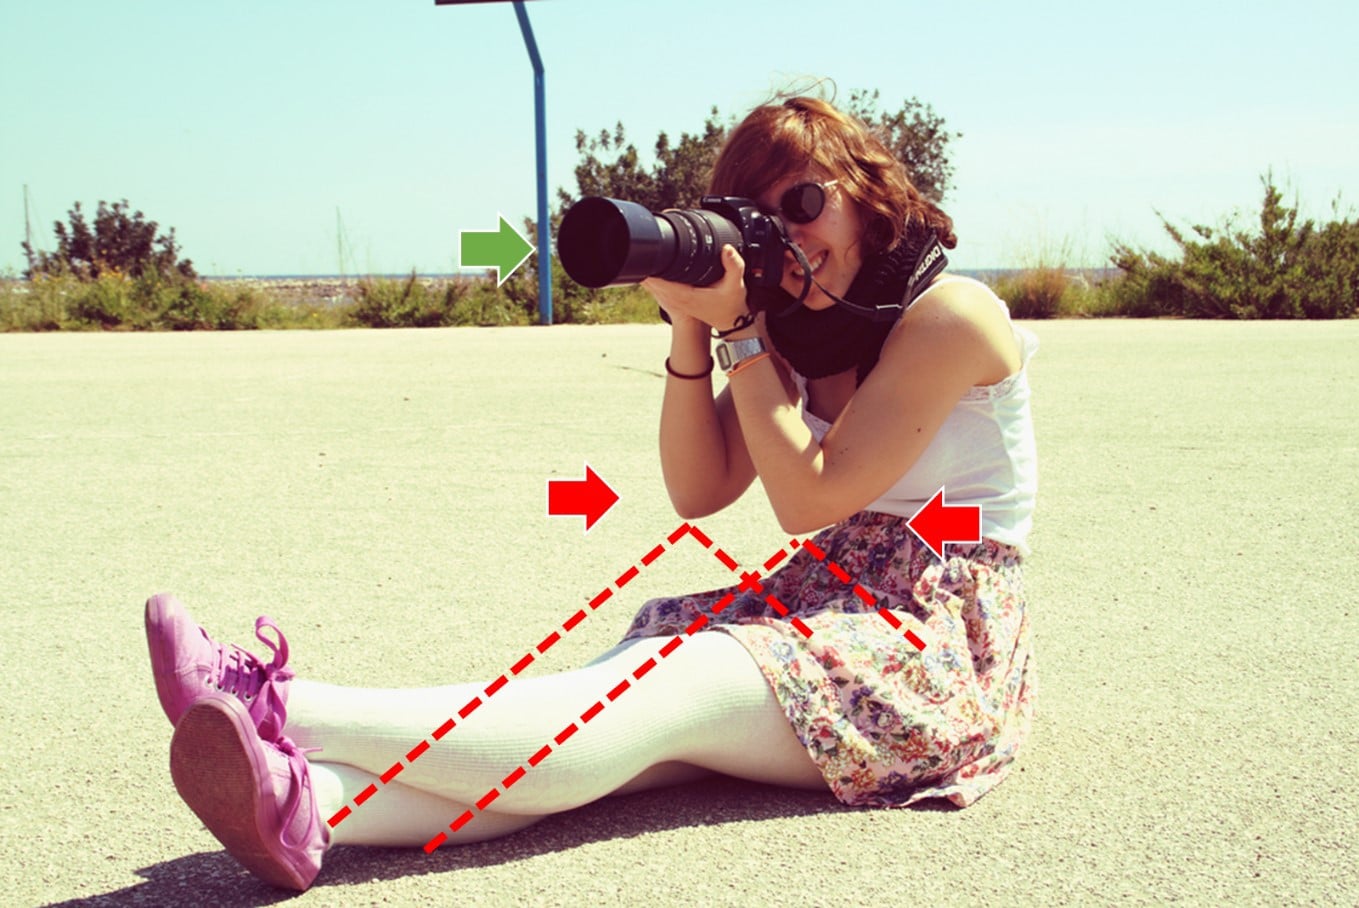
As if you were trying to emulate the operation of a tripod, the key when it comes to holding your camera correctly is exactly that, get 3 support points (or more if possible) to minimize the possibility of your camera moving from vertically, horizontally or both.
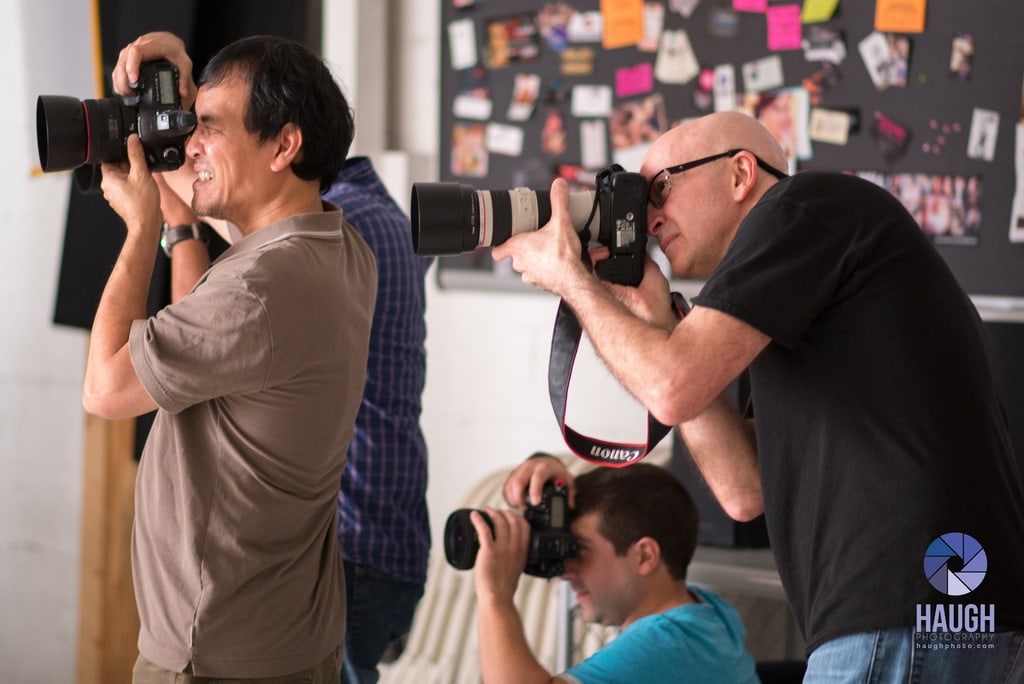
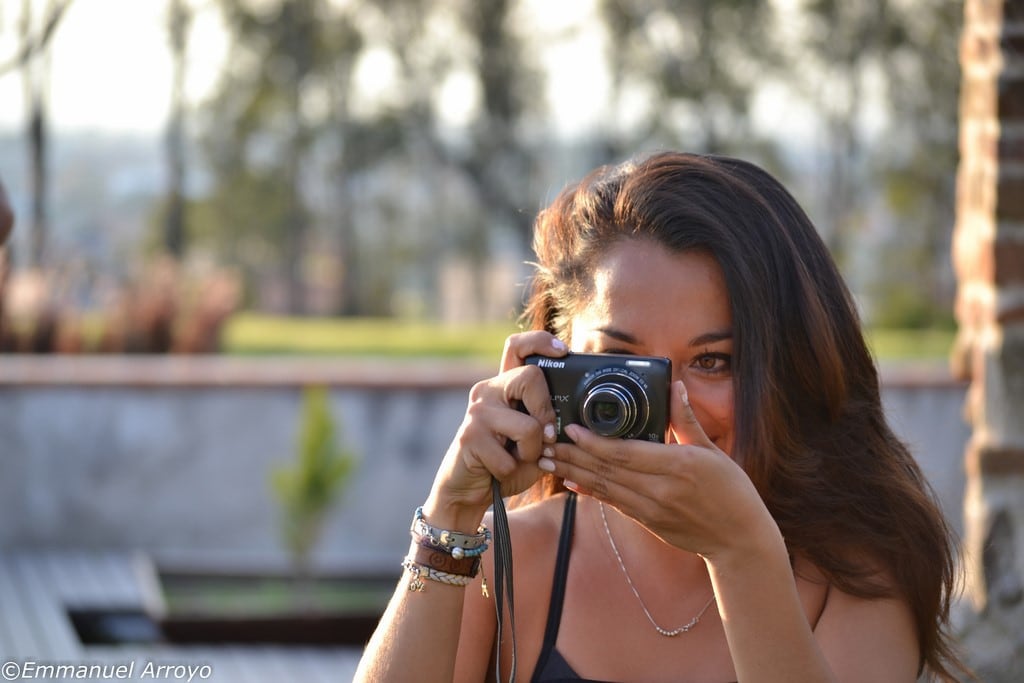
How to do it with only two arms? While it's true that you only have two arms to hold your camera, don't forget that if you shoot through the viewfinder, you can use the contact between the viewfinder and your eyebrows or forehead as an extra point of support.
This way, while controlling the camera with your right hand and supporting its weight with your left hand, you add stability by using your brows or forehead for extra fucking support. Take the test and see what I'm talking about.
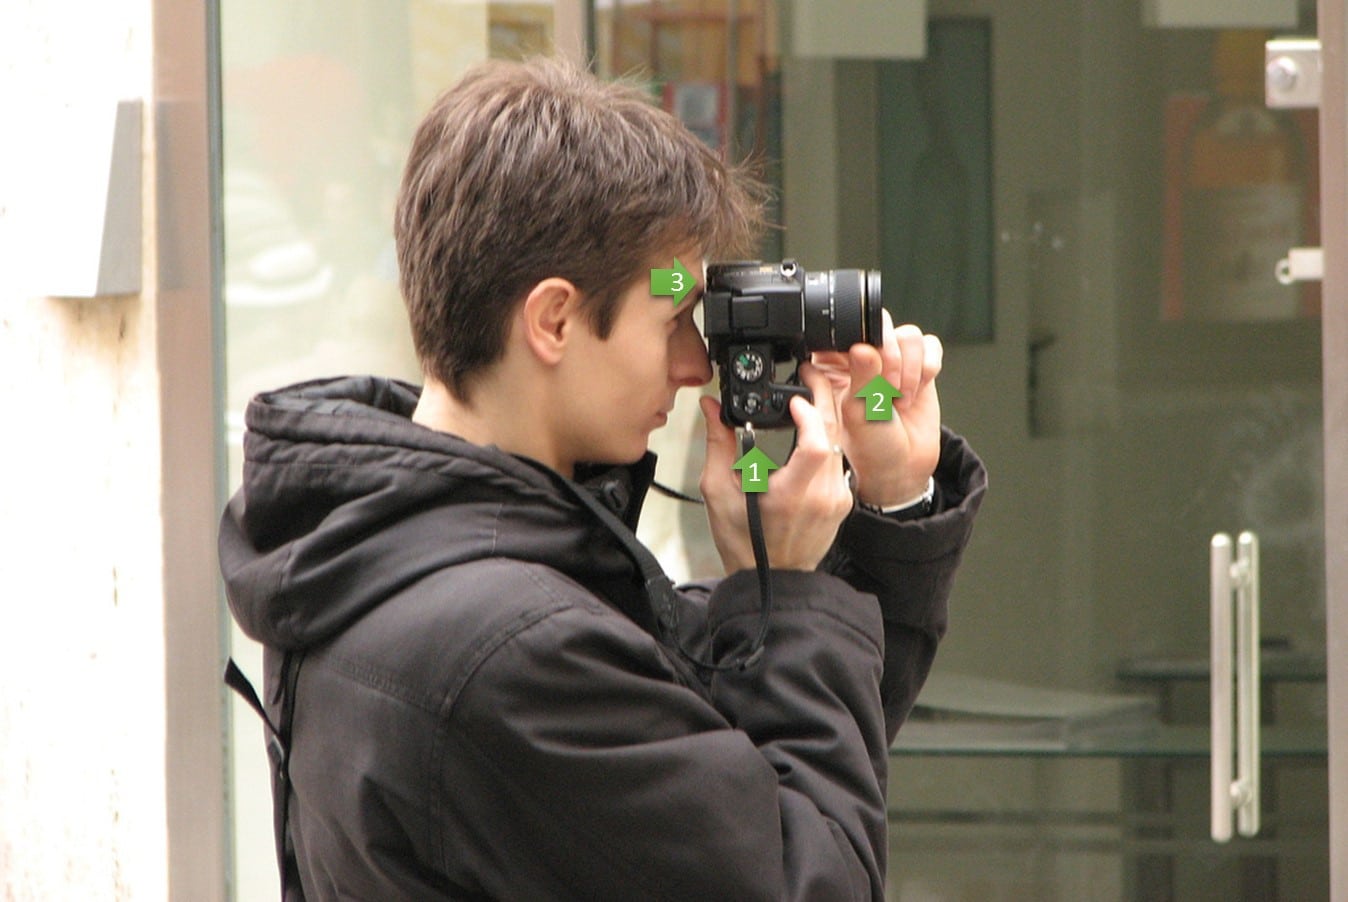
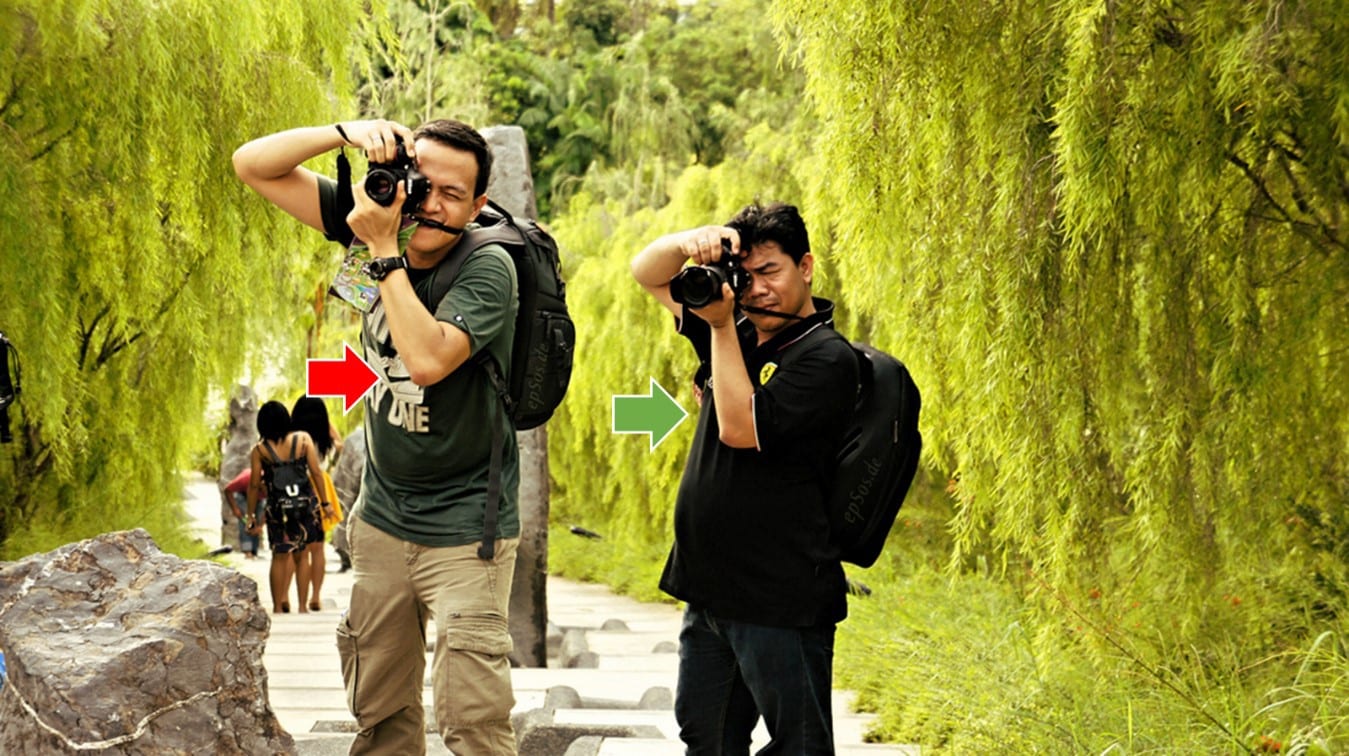
The most important aspect when it comes to achieving stability by shooting your camera without any support other than your own body are the support points.
Take a look at the pose of the following photographer:


