
Do you know the photographic technique of zooming? Have you ever tried to do it? Today I am going to tell you how to get it step by step in Photoshop, although if what you want is to try to do it from the camera, I recommend this article in which we tell you the tricks and tips to achieve a good zooming without Photoshop.
In this article I'm going to show you how to convey that feeling of vertigo or movement with Photoshop. The degree of effect will depend on what you want to achieve, but the steps are the same. And I'm going to explain them to you in a very simple way, pointing you step by step, very chewy, so you don't get lost, and because that's how I like it to be explained to me ;P
HOW TO GET THE ZOOMING EFFECT IN PHOTOSHOP STEP BY STEP
Once you have your photo open in Photoshop, follow these steps:
- Unlock the layer by clicking on the lock.
- Rename (if you want) the layer by double clicking on the name of the image, in this case I put "Background".
- Duplicate the layer (Control/Command J). Or with the right mouse button on the layer you click on “Duplicate layer”.
- Change the name of the copy (optional), I put "Blur".
- Follow the path: Filter > Blur > Radial Blur
- A small dialog box will open (left image). Click “Zoom” under Method, raise the Amount (to your liking) and with your mouse over the graph move the center to where you want the center of the effect to be. In my case, I calculate so that it falls on the girl's face (see purple dot in the image). Press "OK". If you are not convinced by the amount or you have not found the place of the center of the zoom, undo the operation (Control / Command Z) and repeat until you like the result.
- Create a layer mask. In the screenshot on the left I surround you with the icon that you must use to create a layer mask. In the right image you can see the layer mask already created.
- Select the Brush Tool and use black to remove. This is to remove the effect where we don't want to apply it. In this case, the face. With white we put it back if we have gone too far when eliminating. Lower the opacity and hardness of the brush to make it look more natural. Take your time in this step to get it right, playing with opacity and hardness and using the black and white brush, to erase or apply. The details in the end make the difference, although it all depends on how demanding you are and what the destination of the photograph is (and the size, the smaller, the more flaws are hidden, the larger the size in which it goes let's see, you must be more careful with the details).
- Edit the photo to taste, lighting, colors, tone, etc. And now you have it! You just have to export your image.
Easy, right?
TIPS FOR BETTER ZOOMING
If you start from a suitable photo, the zooming effect will be more impressive. The example I have used does not produce much impact because the background is smooth. The more elements, lights or colors your image has, the more sensation of movement you will be able to convey to the viewer.
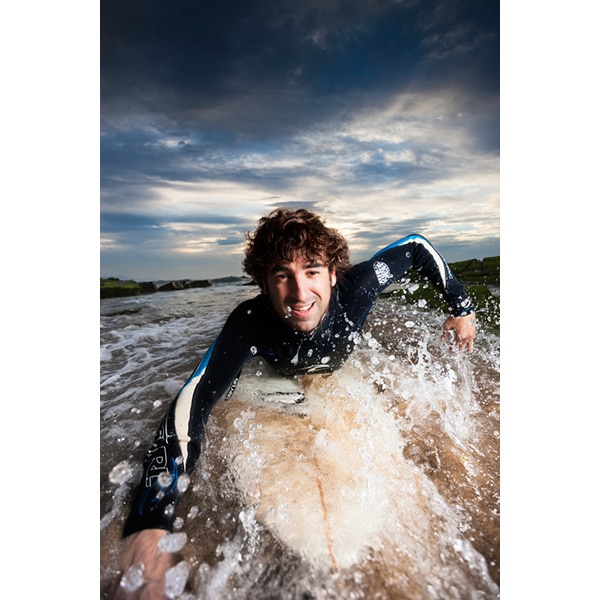
For example, a photo from the same session, in this case we see how there are more elements that add interest to the effect.
If we are talking about a person, as in the case of the example, the ideal is that they should be in front, not from behind, so it will appear that they are approaching and not moving away.
Another issue is movement and coherence. Does it make sense to apply zooming to some flowers? Unless what you want is to misplace the viewer with some intention, the flowers are not exactly fast.
When we take a photograph there must be a message, an intention and the whole set must go along the same lines. If you have to choose between zooming in on some poppies or on a bike, which do you think would be better? Well that ?
Better we see it with examples, here are some images to which I have applied the zooming effect, in which do you think it impacts more and in which less? Because? Analyzing these photos will help you decide your next “zooming” and get it right ?
Now I propose an exercise. Go through your file and choose several photos. Apply the zooming effect and analyze if it brings interest to the image or not and why. Keep the images in which this effect is really consistent with the message, eliminate the rest. Without fear. It is part of the exercise and learning. By the way, you can also do today's photographic exercise without leaving home ?
So far the zooming effect ( more Photoshop tutorials here ), I hope you have found it useful and that it has been easy for you (that was the intention).
You already have another tool to experiment and have fun, which in the end is what really matters.
