
Everyone who lands in the world of photography knows the frustration of downloading the images to the computer and verifying that they are far from what I expected or that they have more failures than successes. This is much more frequent than you can imagine. Especially at the beginning. You throw a picture and when you see the result you get totally depressed. Photo editing programs don't work miracles, but they help a lot. It's like money, it doesn't give happiness ... but let's recognize that help helps. Well, this is the same. With an editor you will not achieve the perfect image, but if you have a photograph with a good base, it can help you improve it. In today's post I will give you some basic tips to improve your images without the need for great knowledge in editing, but enough for your photography to improve significantly. Do you want to meet them? Well, settle in and keep reading.
1. MAKE A GOOD COMPOSITION
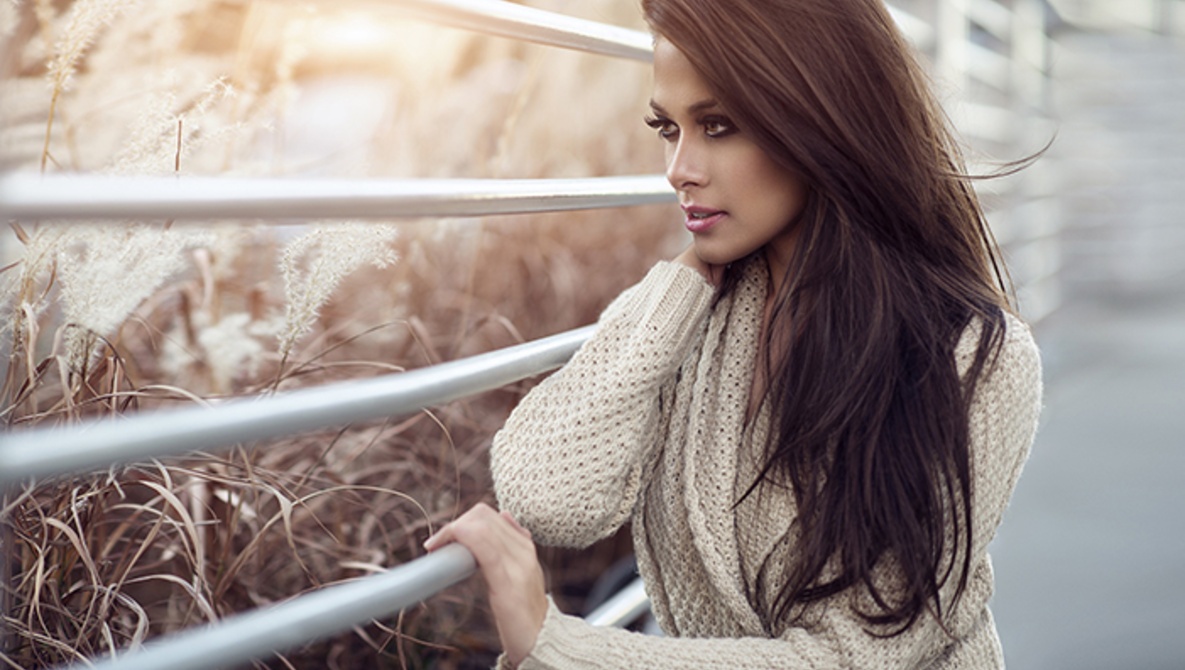
Yes, true, this has nothing to do with the photo retouching, however, as I said at the beginning of the article, if there is not a good base, little can be done. It is important to know what type of image we want to capture before shooting, to know what we want to obtain and then correct the faults if there are any . To do this, I recommend you read this post in which I gave you nine tips and tricks to improve your composition . Look at this example, you could improve light, color, contrast ... but the question is: is it really worth it? Does this image have any interest? The answer is no and no. It is not worth it precisely because the image has no interest. If I had done a better composition before shooting, I could touch up, but since I didn't, well, why am I going to waste my time, right?2. ADJUST THE LIGHTING AND CONTRAST
Now yes, we already embarked on the task with the first step. I am not going to tell you what you already know (or you should know), which is how important lighting is in a photograph . The light can be the protagonist by itself, and it can range from spoiling an image to making it wonderful, but this is another topic that we have already talked about in other posts such as this , this , this or this (to give some examples, because there are still plus). Today I will only tell you that it is one of the most important basic tweaks to improve your image once you have it on your computer. Modify the exposure level curve and regulate the lighting. You can also play with the brightness and contrast levels, it will be depending on the editor you choose. Look in this example before and after:3. OTHER BASIC SETTINGS
Once the lighting and contrast are adjusted, we will make other level adjustments such as white balance or saturation. Regarding the white balance, it is best to have shot in RAW , because in this way you can adjust it with just one click, otherwise you will have to do it manually. In the following image, it has been modified with the Photoshop Color balance tool :4. REMOVE UNWANTED ITEMS
On many occasions there are elements that we cannot make disappear before firing, or it may be that we simply have not noticed, a figure at the bottom that sneaks, some papers on the floor, a cable going through a wall ... or a graffiti, like In the case of our example. But luckily there is the clone buffer and the correction tool. Either one can help you eliminate those unwanted elements that can spoil our image. (It can also help you to eliminate skin imperfections in a portrait (pimples, wounds ...) or even to invent moles (would Marilyn Monroe have been the same without her lunar appeal? I leave it there ...).5. STRAIGHTEN THE IMAGE
I know that many love crooked horizons, in fact I have a lot of pictures like that. This can be beautiful in an album in which you paste your printed photo with the orientation you want, giving it a fun touch. But if you visualize the image on a computer, it is not so good to see the horizons and the crooked lines. The more you enter this world, the more the crooked lines disturb. A beautiful sunrise at sea can be totally damaged if the horizon is crooked and we don't want that, right?6. CONVERT TO BLACK AND WHITE
Your image may not say anything in color, no matter how much you touch up the brightness, the contrast, reframes ... try to pass it to black and white, you may have a pleasant surprise.7. PASS THE SCISSORS
Sometimes there is no time to frame well, or you simply do not like the result as much as you expected, nothing happens, you can trim the image comfortably from your chair to frame it. A good framing can save a photo.8. BLUR THE BACKGROUND
By blurring the background you make the protagonist of your photography stand out even more. The ideal is to shoot with a wide opening, but as we commented with the framing, sometimes it is not possible, well for lack of time, equipment ... now is the time.9. APPLY A FILTER
There are hundreds of creative filters in different publishers. A filter can give a special hue to an image by changing it completely with just one click. Look at this example:10. PUT A FRAME
It is not a really necessary action, but it can give your image a special touch. Of course, the simpler the frame, the better it will be. I recommend that if you want to put any, that is a plain white border, it is much more elegant and will not detract from your image.