
Today we will talk about the night photography of skies and stars . Specifically I bring you a warm tutorial which if you apply it to the letter you will get stunning photographs of skies full of stars, photos of those that you always saw in magazines and encyclopedias but that you thought that a “non-professional” person could never get. Today I will show you how wrong you were. Let's go to them then.
BEFORE LEAVING
For a photographic experience of a beautiful sky full of stars, you need to have the following material:- SLR camera
- Tripod
- Remote Switch
- Well recharged battery (if you have an extra battery this is the time to remove it)
14 STEPS TO PHOTOGRAPH A SKY FULL OF STARS
- Turn off the autofocus of your target, we will use the manual focus.
Star Photography - Once the manual focus mode is selected, choose an infinity focus.
- Choose a high ISO sensitivity . This will depend on the camera you have, some from a certain level of ISO begin to show some noise, the ideal in this case would be to be in ISO's as high as possible (reasonably). I recommend that you experiment until you find the one that gives you the best results, but for starters you could try ISO's between 2,000 and 4,000.
- Set the mode dial of your camera to manual mode, "M" , which will allow you to control both the aperture of the aperture and the shutter speed.
- Adjust an opening as wide as possible (f / small value). If you can place it between f / 2 and f / 3.5 or at least some very close value.
- Now set the shutter speed to a value normally between 10 and 30 seconds . You will have to experiment a bit until you find the speed that offers you the best result. (See below for a warning related to shutter speed.)
- If your camera or lens has an image stabilizer, turn it off.
- Select the remote shutter mode on the camera if you have one. If you do not have one, you can use the delayed shooting mode (2 seconds). I tell you this to avoid any possible vibration when we shoot the photo.
- Select the RAW or at least RAW + JPG format . The RAW format offers you endless possibilities when it comes to postprocessing the image.
- Place your camera on a good and robust tripod .
- Take care of the composition , apply the rule of thirds if appropriate, try vertical framing, study carefully what you want to appear in the photo apart from the sky and the stars, unless you want to frame only the sky.
- Be careful with the clouds . If you see that you are going to spoil the photo, try to find another part of the sky that is free of clouds.
- Pay attention to light pollution . Stay away from the light of the cities. The more darkness that surrounds you and the camera, the easier it will be for your camera to capture the light of the stars. By the same rule, stay away from full moon days.
- The first shot: The first shot has to be a test, and the second and third. Take a few test shots. They try to use maximum aperture, maximum ISO, and maximum shutter speed (30 seconds). Obviously you will get the photo very bright and overexposed, but it does not matter, they are just evidence. That will allow you to clearly see the landscape and be able to decide the type of framing you will finally choose, as well as allow you to find the most appropriate ISO value without noise.
600 / focal length = Maximum exposure timeExample: If we want to use a focal length of 25mm, we will have to divide 600 by 25, which results in 24. Therefore we will have to use a shutter speed equal to or less than 24 seconds. This is for when we use a Full Frame camera. If ours is a camera with a smaller sensor (Nikon D60, D3000, D3100, D5000, D5100, D7000, D90 and Canon 450D, 500D, 550D, 600D, 60D, ...) then the rule changes slightly:
600 / (focal length x 1.5) = Maximum exposure timeExample: If we want to use a focal length of 25mm, we will first have to multiply it by 1.5 (that is 25 x 1.5 = 37.5) and then divide 600 by that result (dividing 600 / 37.5) what we The final result is 16. Therefore, we will have to use a shutter speed of 16 seconds or less. It is very easy but if you see that it is a very messy calculation forget it and simply experiment with shutter speeds until you find the most suitable one.
BONUS TRACK
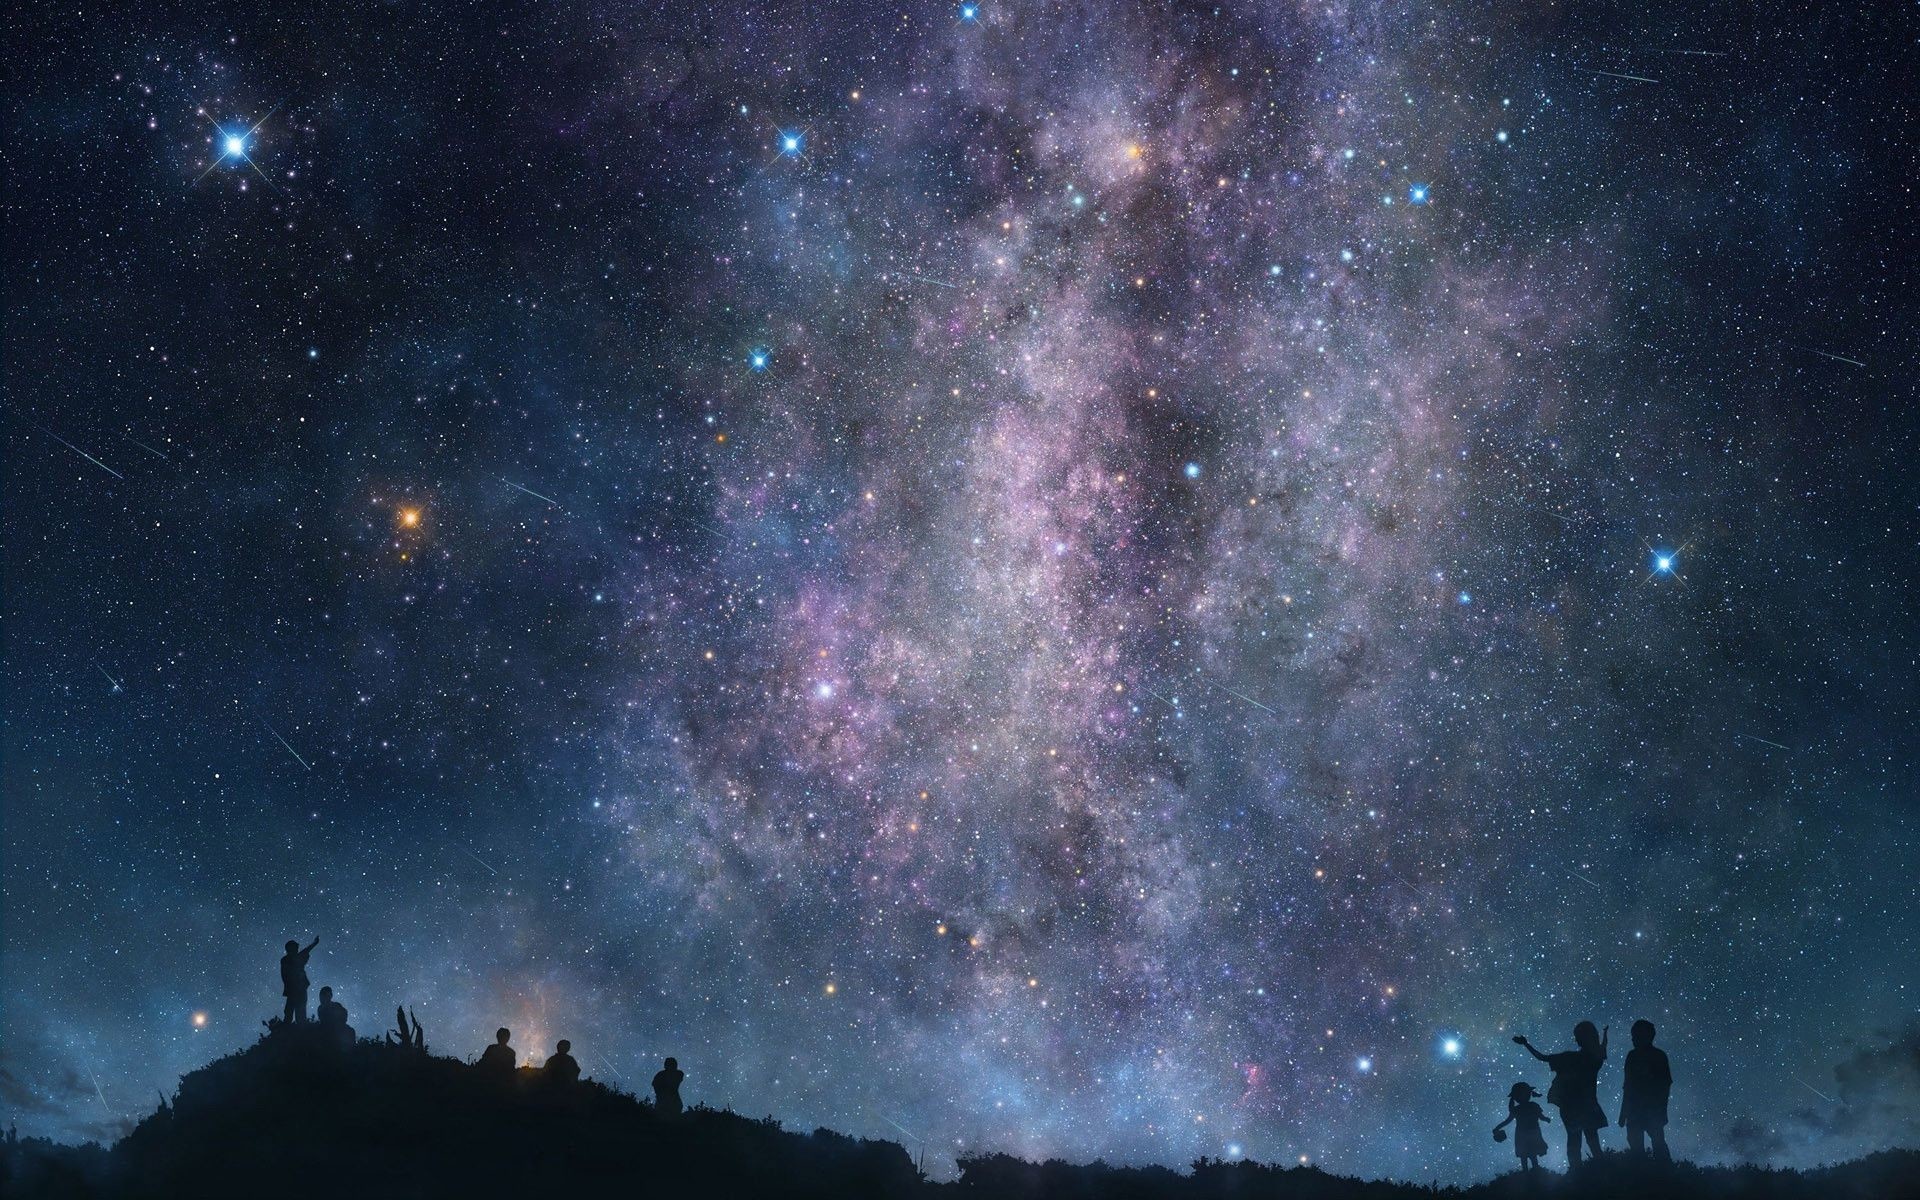
A great photograph can be found anywhere in the sky, however if you find a section of the milky way you will get a splendid photo. It is not that difficult: before going on an excursion, do some research, search and try to locate the milky way at the point from which you will be taking the photos. There are several programs that can help you locate it, the best known is Stellarium (can be downloaded from stellarium.org). There are also applications for iPhone (Star Walk) and Android phones (Google Sky Map) that tell you where you can find the milky way simply by lifting the phone and moving it to the sky (using augmented reality). There you have it all friend. The 14 basic steps that will help you discover that photographing a splendid night landscape of stars is not as difficult as you thought. You dare..?