
This is an article by guest author Álvaro de Aymerich in which, to celebrate the fact that yesterday was World Animal Day, he offers you some essential tips to prepare your next wildlife photography. And if what you want is to delve into nature photography, this is our most complete guide, with tips, tricks and lots of inspiration.
Wildlife photography is surely one of the most complicated and least recognized modalities by the public. I always talk about fauna in the wild, of course. But that reports a satisfaction difficult to explain with words.
I say that it is little recognized because, according to my experience, when someone sees a wildlife photograph, they are usually unaware of all the work involved in that shot and therefore value it less than they should.
In this article I am going to try to give some guidelines or recommendations that I have been learning to bring you closer to a type of photography that gives great joy, but also a significant percentage of unsuccessful sessions.
ELUSIVE ANIMALS
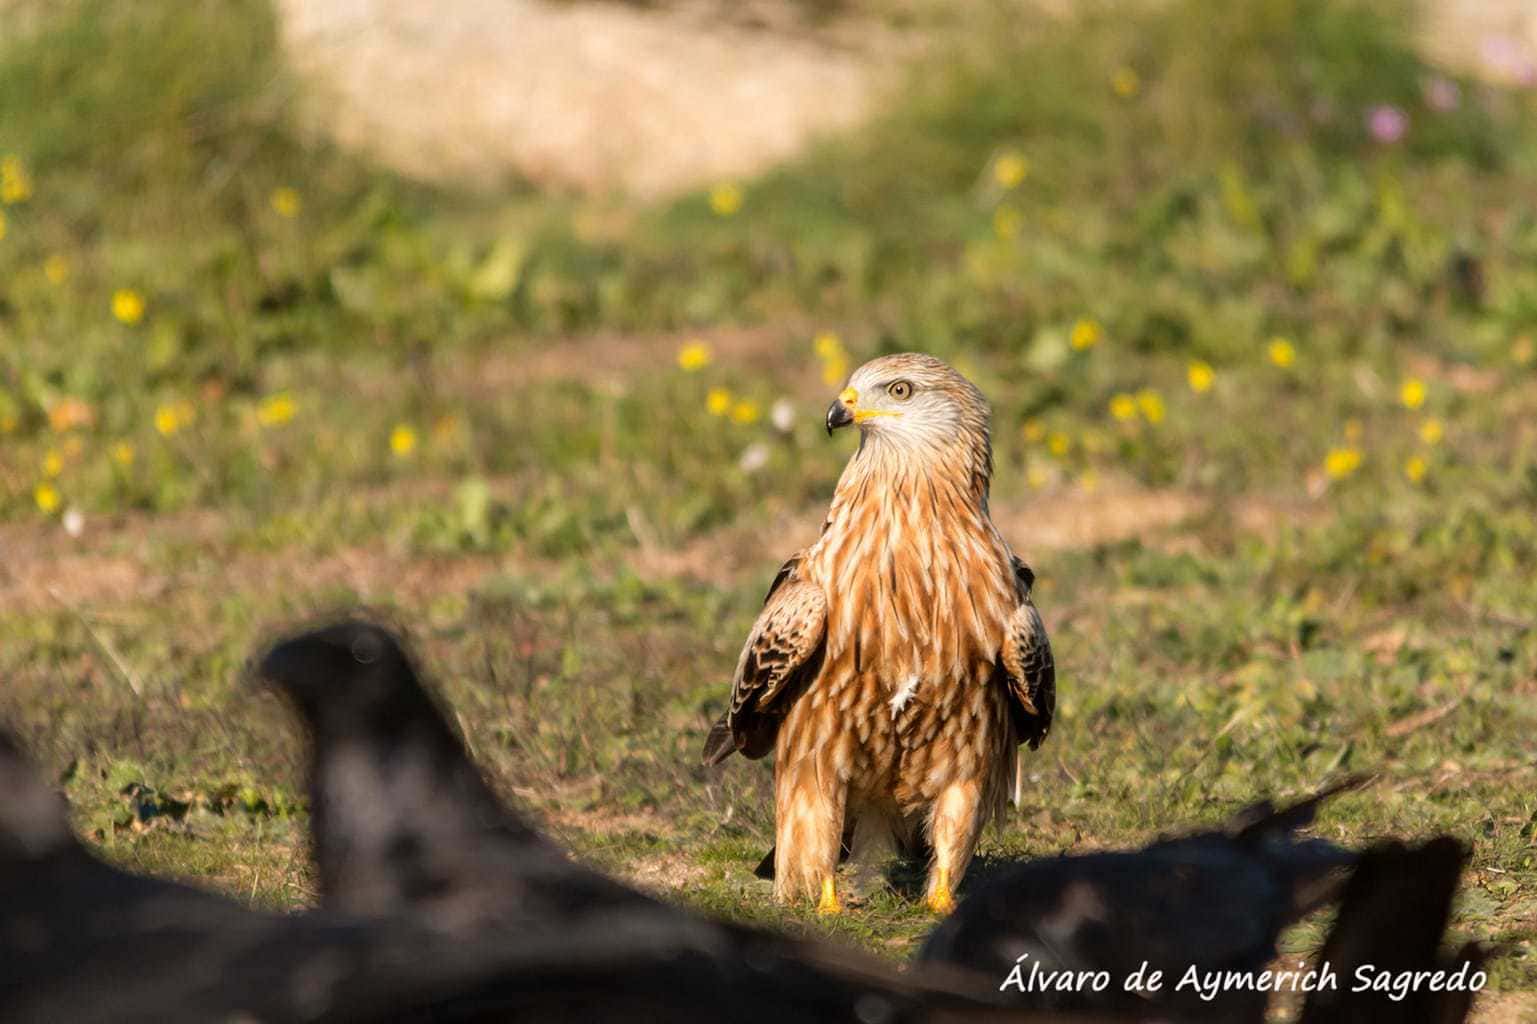
When you do wildlife photography in a country where hunting is so present, getting close to the species becomes the main problem.
Most of these are elusive with man and, in general, they have good reasons for being so. There is a large percentage of species called hunting , that is, they can be legally hunted, so if they see you with a telephoto lens, in general, they don't usually pose for you (there are always some exceptions, of course).
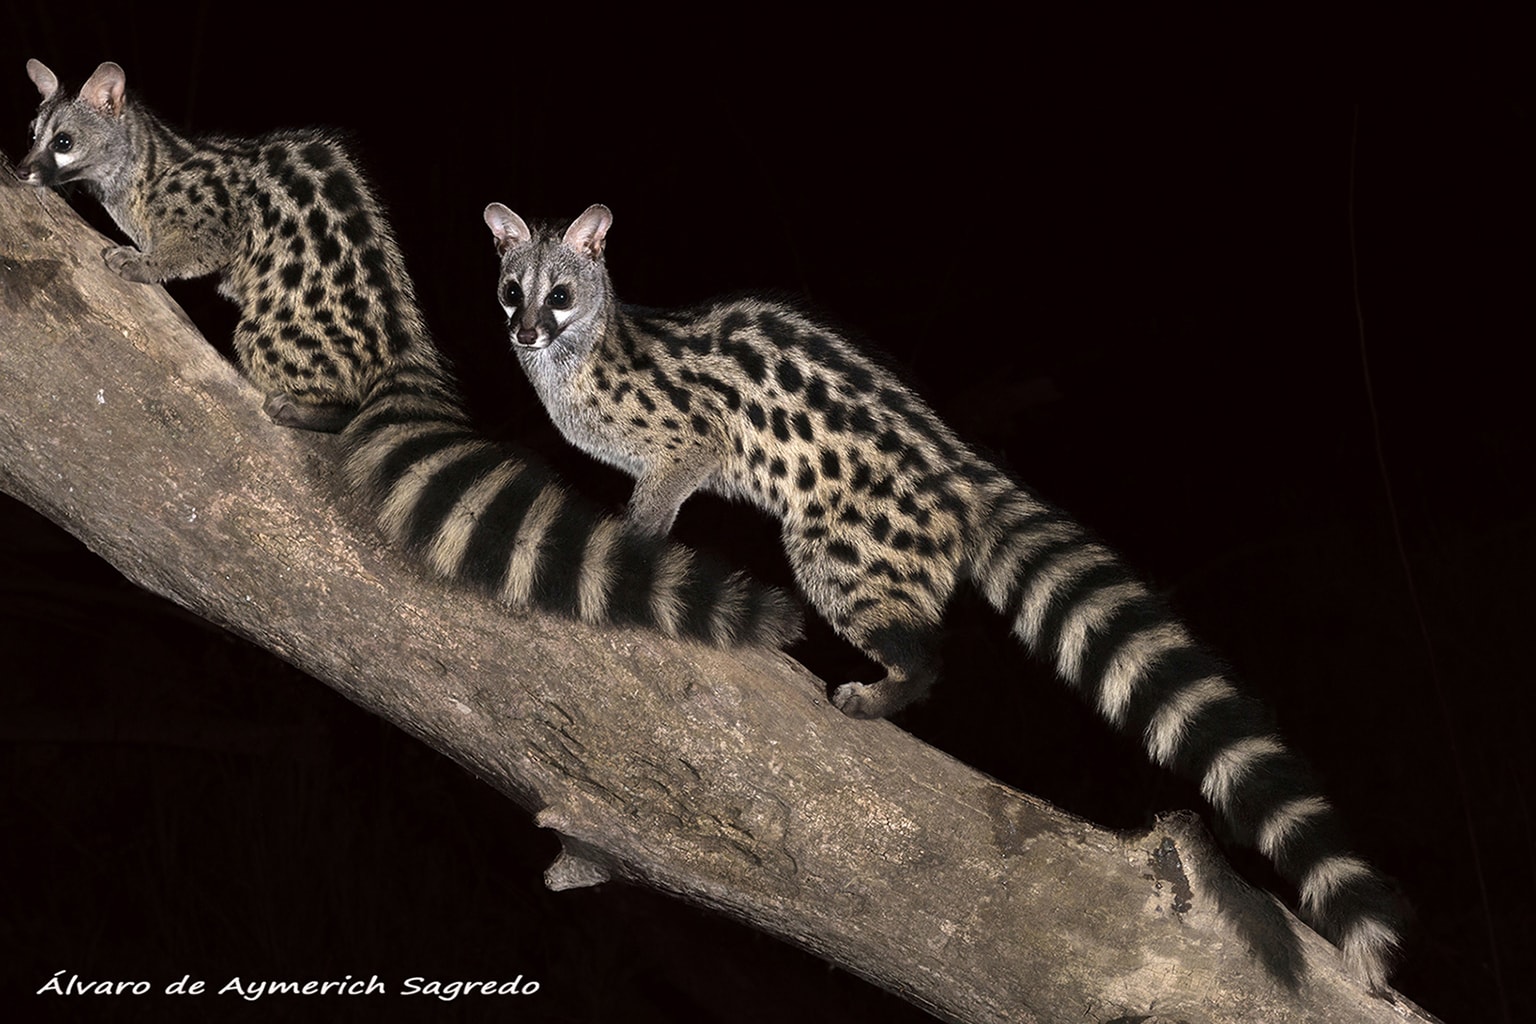
Most mammals have crepuscular or directly nocturnal habits. And the birds, in general, are equally elusive when they see us.
To overcome this obstacle and achieve your most impressive wildlife photos, I will tell you my tips.
1. STUDY THE SPECIES
The first step to getting a good shot, from my experience, should be trying to learn as much as you can about the species you want to photograph. Customs, food, places where they usually live, etc... I even sing in birds; Many times we go to listen to them without being able to see them and knowing how to recognize them by their song helps a lot.
Once you know the species, you have to find the little animal you want to photograph, here comes the field work. If we talk about mammals, we will have to know how to recognize footprints, traces of excrement, etc.; in the case of birds, binoculars and a lot of patience.
2. PATIENCE, MORE PATIENCE AND PERSEVERANCE
Which brings me to the next point. Patience and perseverance have to be an important part of the job from here on. There are species that are easier to immortalize than others and it will take us less days. But, in general (I'm speaking from what I've experienced, but also from what other colleagues say), many sessions end up being a failure and you return home empty-handed and with a not-so-good feeling.
It is important to know that this is going to happen and not to get discouraged, the day you get the photo you wanted, all those bad days are forgotten.
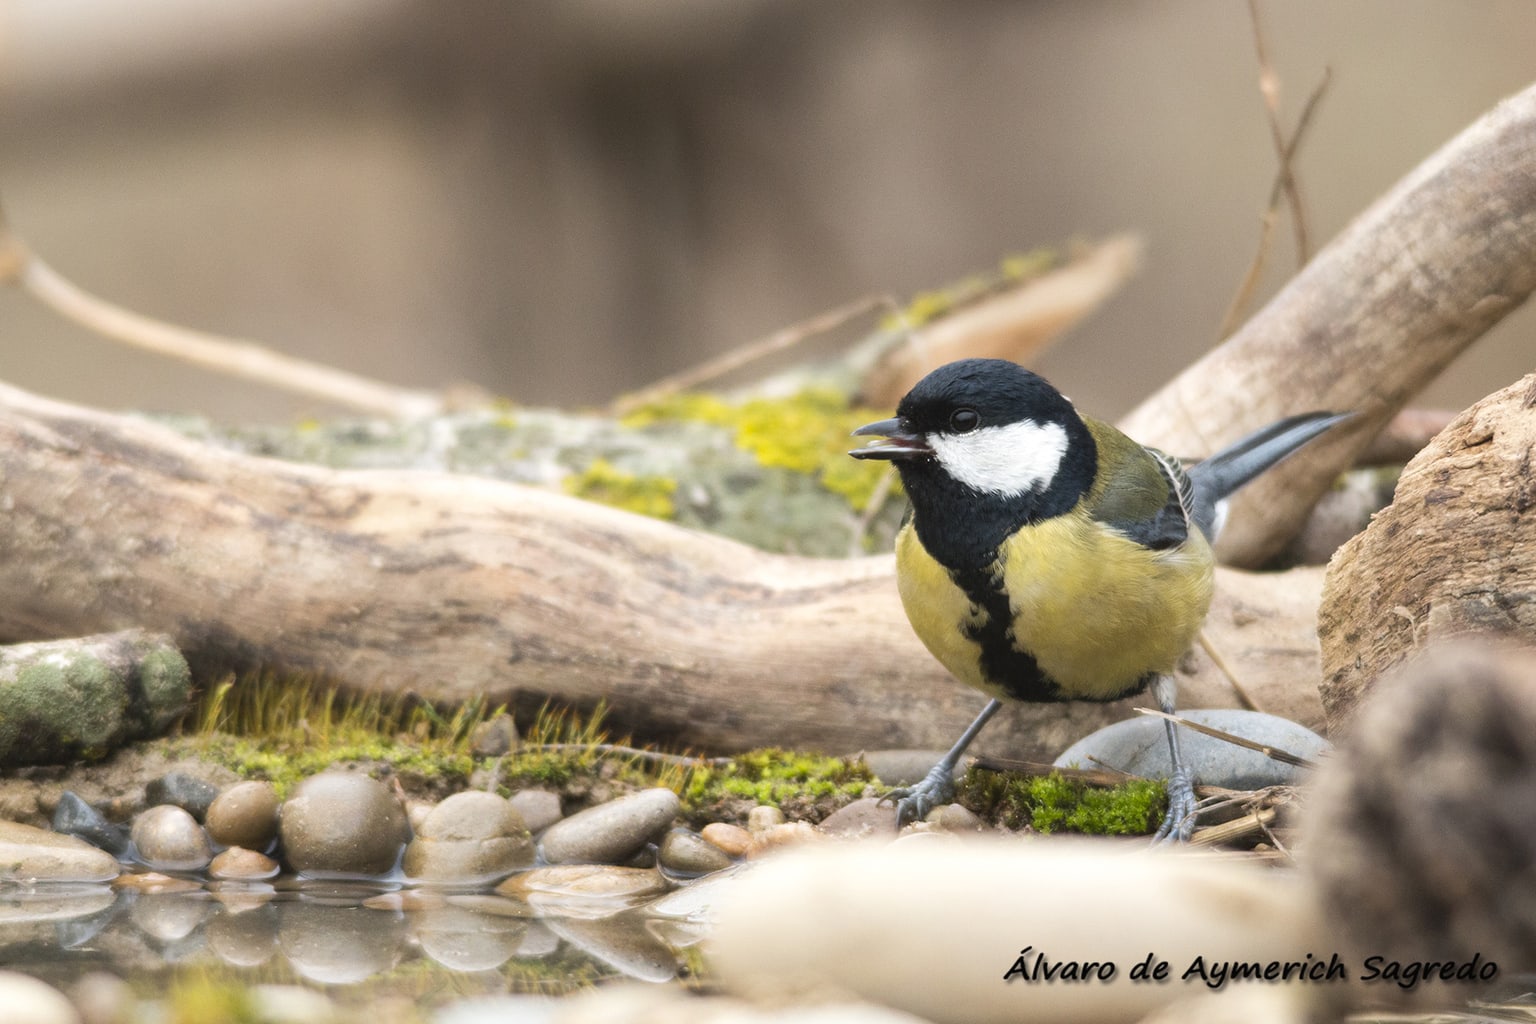
3. HIDE OR HIDE
From here an important range of options opens up but in almost all cases with a common factor, the hide . It is basically a place to hide at an optimal distance to be able to take a good shot. It will be a place where you will be hot, cold and you will have to be still. Also in silence, without making noise for many hours.
There are many options to install a hiding place, you can buy them, use tents, or even assemble it yourself (respecting the flora of the place, without cutting branches or doing any damage). And always with the relevant permits in case of doing it in protected areas or private farms.
The permissions issue is a bit confusing and would take a whole article to clear it up. On another occasion we will delve into it if you request it.
Normally, prior to the installation of the hide , a feeder or drinker must be installed. Thus, the animals that you want to photograph get used to passing by there every day.
It can also be installed near a regular innkeeper that you have previously seen him use.
OTHER MODALITIES OF HIDE
Other types of hide, normally designed for waterfowl and with which very attractive photos are obtained, are the tumbling hide and the hydro hide .
In both cases the premise is to lower the plane from which we take the shots and get to the level of the animal's eyes, getting much more spectacular photos.
In the case of the tumbling hide, it consists of being stationed lying on the shore of a lagoon or lake in a bird passage area. The hydro hide is a structure that floats in the water where the camera is placed and you can photograph species from the water that are difficult to observe from the shore, with a much more attractive point of view than the typical high angle shots (from above).

4. PROFESSIONAL HIDES
As you can see, time in wildlife photography is very important. Not everyone can afford the number of hours that must be invested to have a good session or to maintain a feeder or drinker.
Here the professional hides come in, they have all the work done prior to the shot and you just go to the place and enjoy the session. It is an excellent option to get closer to species that are difficult to observe or that require a lot of time to approach.
On the other hand, and this is a personal opinion, you lose that satisfaction that one has when you see a shot and know all the work behind it: the unproductive sessions that led you to that photo, even the link established with the animals you photograph. …
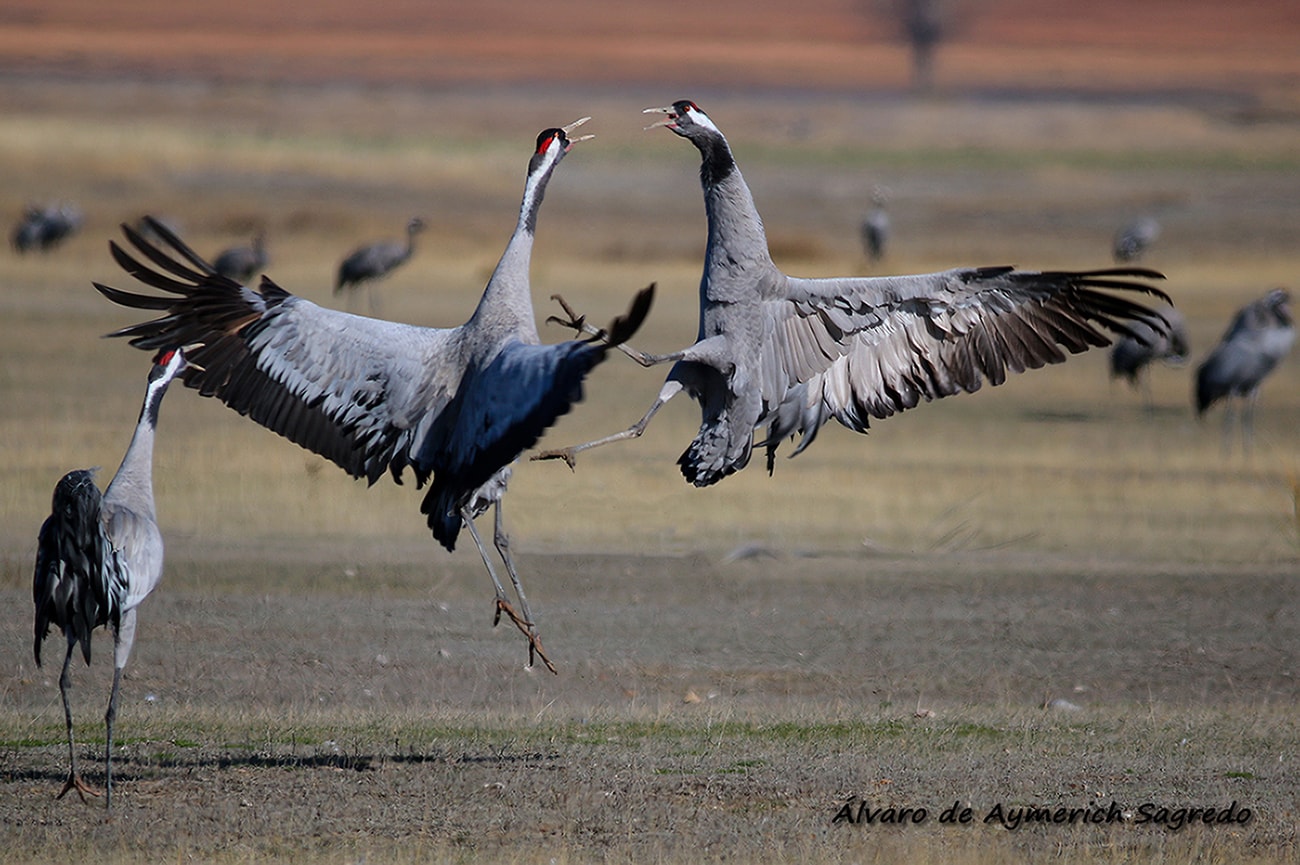
In Spain there are some public ones (for example in Gallocanta to photograph Cranes or in the Pyrenees for Bearded Vultures). Also many private ones, with all the necessary permits to carry out the activity. And, from my experience, with very prepared people.
Although I don't usually use these hides a lot , the times I have done it the experience has been excellent.
5. FIRST THE ANIMAL AND THEN THE PHOTO
All this must always be done with respect for the species to be photographed and those that live in the environment in which you will carry out the sessions. A photograph is never worth more than endangering the life of an animal, its nest or destroying its habitat.
This type of photography engages because it gives you the chance to share moments and encounters that are unique and very difficult to experience in any other way; if you also take a good shot that immortalizes that moment, the satisfaction is difficult to explain...
Finally, I want to link you to the ASAFONA code of ethics(Aragonese Association of Nature Photographers). It is the association to which I belong, to serve as a guide for what I believe is an example of how to do wildlife photography.
This is an article by Álvaro de Aymerich, wildlife, landscape and urban photographer. You can follow his work on his website.
If you also want to participate as a guest author, click here.
Did you like the article? Thank Álvaro for his advice by sharing the article on your favorite social network. So others can enjoy your fantastic work and experience. Thanks and see you soon.
