
![HOW TO TAKE 360 ??DEGREE PHOTOS [SUPER EASY METHOD]](https://photographychef.com/wp-content/uploads/2023/01/HOW-TO-TAKE-360-??DEGREE-PHOTOS-SUPER-EASY-METHOD.png)
Would you like to take 360 degree photos ? ? Today I show you how. And in the simplest way so that it is very very easy for you.
Lets start by the beginning.
WHAT IS 360 DEGREE PHOTOGRAPHY?
360 degree photography one that captures a motif from different angles with the aim of generating a 360-degree spherical view.
It is built through several shots that are stitched together in an editing program.
It can be done with a mobile phone, a specific 360 camera or even an SLR or EVIL camera.
WHAT ARE 360 DEGREE PHOTOS USED FOR?
Beyond the visual impact at an artistic level that a 360 degree photograph can have, there are other uses at a professional or commercial level:
- Product photography (for example, the interior of a car or a caravan).
- Real estate market (sale or rental of homes or offices).
- Audiovisual field (in the search for locations for film recordings or advertisements, for example).
- Travel agencies (to sell certain destinations).
- Companies (that need to show their facilities, such as gyms, clinics, hotels, etc.).
CAMERA TO TAKE 360 PHOTOS
You can take 360 degree photos with an SLR or EVIL camera, with a mobile or with a 360º camera .
All options are valid, although there are differences.
To achieve a professional result, it is best to take the photos with a mirrorless camera or an SLR that offers you greater control of the shot, as well as higher quality.
However, if you are looking for something fast, automatic, creative and you do not need professional quality, you prefer it to be easy and with equipment that weighs and takes up little space, without a doubt it will be better for you to use your mobile phone or a 360-degree camera.
HOW TO TAKE 360 DEGREE PHOTOS
The main thing to achieve 360-degree photographs, as with a panoramic photograph , is that the seams are not noticeable , that is, the joining areas; and that there are no continuity errors.
Let's see some tips on how to take 360 degree photos to achieve the best results:
- Overlay the images. You should overlap them by 30-40% so that the subsequent stitching or joining by the program is more efficient.
- Use the same focal length at all times, the more angular the better, and if it is a fisheye, the better still because you will have floor and ceiling in your 360º. In this case, you should be careful with your fingers if you photograph without a tripod because they can be seen.
- Keep the camera level, for this you can activate the level of the camera to always keep it with a 0º inclination.
- Maintain the same position, for which you can use a stable tripod with a panoramic ball head or the economical version that is the technique known as Philopod . This consists of using a lead(builder, welder or fisherman type) as a level. You hold a rope by the nodal point of the objective and the lead to the other end that almost reaches the ground. You place a coin or similar on the ground and this serves as a reference for the camera to turn on itself without deviating. In this video you can see how to find the nodal point or optical center of an objective:
- Keep the same settings. This seems basic is important, it is best to photograph in manual mode so that the exposure parameters are the same and there are no cuts.
- Shoot remotely. In this way you avoid both capturing your shadow and having jitter in the image.
- Avoid movement and very close objects. Capture scenes in which there are no moving elements such as people walking or vehicles passing by because when joining shots, there will be stitching errors . On the other hand, there may also be failures with objects that are less than 1 meter from the camera.
- Use the hyperfocal distance. For best results photograph using the hyperfocal .
- Recommended settings. As starting settings you can use the following: manual mode, ISO 100-200 depending on the lighting of the scene, aperture f / 8 or sweet spot of the lens, shutter speed above 1 / focal length. Activate high beam warning to avoid burned areas or zebra pattern.
- Combine with a suitable program. The last step is to join the shots in a program that allows you to obtain 360 degree photos, such as PTGui.
HOW TO TAKE 360 DEGREE PHOTOS WITH YOUR MOBILE
Most mobile phones today have Panoramic or Panorama mode, or even some 360º, which allow 360 degree photos to be taken .
To do this, you have to turn around on yourself, without moving too much and move the mobile towards where the arrow indicates, keeping on the guide line. With a tripod you are sure, if you do not have a tripod, try to keep your pulse and not move from the guide line.
Do a test with your mobile first, because some models do not allow panoramic mode to record the full 360 degrees.
Another option is to take pictures rotating around the nodal point and overlapping and then join in a program like PTGui. Here is an example with the trial version of PTGui (hence the watermarks), without using a tripod, freehand.

Below you can see how a panorama taken with a mobile phone has been turned into a 360º photo with the Panoraven online application. Welcome to the Toledo Synagogue.
HOW TO TAKE 360 DEGREE PHOTOS WITH THE IPHONE OR ANDROID MOBILE THROUGH AN APPLICATION
The best application to take 360-degree photos is Google's Street View, although it works if you want to publish your photo, otherwise it will remain in the private gallery. It is very useful for companies, yes, but not to send it to your friends, for example.
These are the steps to take a 360 degree photo with Street View:
- Download the Street View app on your smartphone. It is available for iPhoneand Android
- Prepare the space as you want it to look and choose the point from which you want to take the shot.
- With the application open, select the camera icon and click on "Take spherical photo".
- Go turning on yourself without moving from the site and following the indications to place the orange dot inside the white circle. You don't have to press any buttons, just fit the dots into the circles as you turn. The application takes the photo at that moment
- Click on the validate icon and wait. Please be patient because now the app has to stitch all the photos together and it may take a while.
- Once done, add the coordinates and post your photo.
Be careful with the battery, with the camera and the location, the consumption is high, so I recommend that you take the battery well charged.
HOW TO TAKE 360 DEGREE PHOTOS WITH GOPRO
With GoPro Max cameraYou can directly take 360 degree photos.
If you have another GoPro that does not allow this option, you can always do the same exercise as with the mobile. That is, take different overlapping shots, preferably stabilizing your GoPro and then join them.
Also, if you like spherical photos that look like mini planets, here they explain how to achieve itwith GoPro.
HOW TO TAKE 360 DEGREE PHOTOS WITH PHOTOSHOP
There is a very easy trick to turn a panorama photo into a 360 degree photo with Photoshop .
Having your panoramic photo you only have to follow the path 3D> Spherical panorama> New layer panorama of the selected layers . And that's it, the program does it alone, it's that easy.

HOW TO VIEW 360 DEGREE PHOTOS
Once you have your photos mounted, you will surely like to know how to view them in 360º. Otherwise, what good is all of the above?
Here are two free online programs that allow you to view your photos in 360 degrees . There are more, but it seems to me that they are the easiest to use, the ones that work best and also you don't need to register:
- panoraven.
- Panoramic Viewer
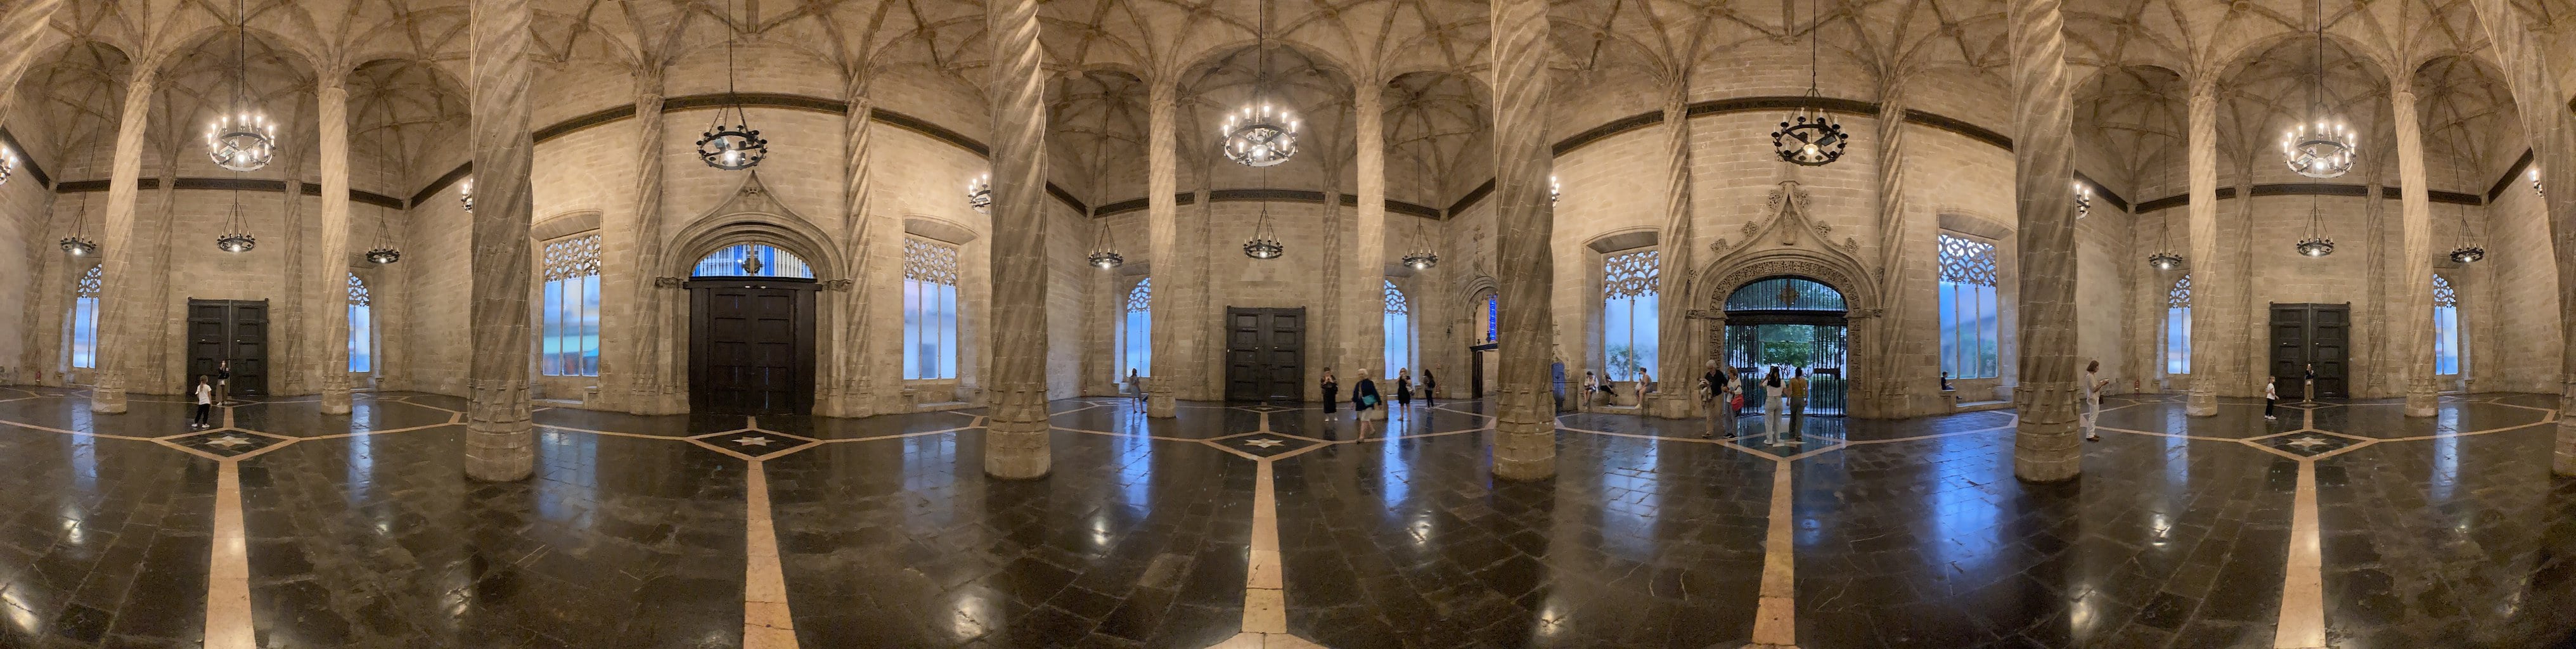
Here's a linkto see the photo of the Lonja de Valencia in Panoraven.
Then there are other free programs to view 360 degree photos that you can download:
- Pannellum
- marzipano
- Photo Sphere Viewer
