
I don't reveal anything if I tell you that lighting in photography is everything. Without light there is no photo, it's that simple. For this reason, it is the most important point of a photograph, without a doubt.
Therefore, if you were thinking that what you need as a photographer is this or that camera, forget it. The first thing you need as a photographer is to learn to master the light. And point. And there will be those who say that if this, if the other, or if the camera is the most important thing, if the megapixels , if the accessories... blah-blah-blah.
No way. I have seen incredible photographs taken with a very simple Smartphone and authentic rubbish taken with a camera worthy of the best National Geographic reporter.
It's not the camera, it's the photographer behind it and his mastery of the raw material of a photograph, which is light. And that photographer, my friend, is you.
In this guide I have proposed to compile everything, absolutely everything, what you need to know about lighting in photography, so that you can save it and come back to it every time you need it, so that you can review it until all the concepts are part of you. in a way as natural as breathing.
WHAT IS LIGHTING IN PHOTOGRAPHY?
Lighting in photography is the discipline that is responsible for providing a scene with the amount of light necessary to achieve the correct level of exposure for the message, emotion or story that the photographer wants to convey.
TYPES OF LIGHTING IN PHOTOGRAPHY
We will start with the most basic. The two types of light in photography that exist are natural light and artificial light. Let's see the main characteristics of both:
NATURAL LIGHT
Natural light is that which comes from the sun. Its main characteristic is that it varies greatly depending on the time of day. The first and last hours of the day when the sun is low, we have warm, diffuse lights and long shadows. On the other hand, in central hours of the day, we find a hard, neutral light, with strong contrast and very marked shadows.
Sunrises and sunsets are the kings of natural photography, learning to master this light is essential, because you will take many of your best photographs with them ? . You will do it without problems with these tips for photographing sunrises and sunsets , and with the most recommended settings.
The central hours of the day are characterized by causing marked shadows and little or no transition between light and shadow (high contrast), what we know as hard light, which I will explain a little later.
Learning to know a changing light such as natural light is a challenge, but one of those challenges with which you always come back with a good taste in your mouth;). Tame natural light with these tips .

ARTIFICIAL LIGHT
Artificial light is that which we originate as human beings, which, ultimately, does not come from the sun, the moon or the stars. Artificial light can be soft or hard depending on its size with respect to the object it illuminates.
The main advantage of artificial light is that it does not change and, therefore, its behavior can be perfectly predicted, allowing you to work any day of the day and without rushing.
We can also distinguish between the ambient light, which is the one that previously exists, and the artificial light that you add, which can be continuous light (bulbs, window light, LEDs, etc.) or discontinuous such as flash.

CHARACTERISTICS OF LIGHT IN PHOTOGRAPHY
Light has multiple characteristics depending not only on the type of source that originates it, but also on aspects such as direction, distance and size, color temperature or the degree of diffusion.
Keep reading and I'll show you its main features.
DIFFUSION OF LIGHT
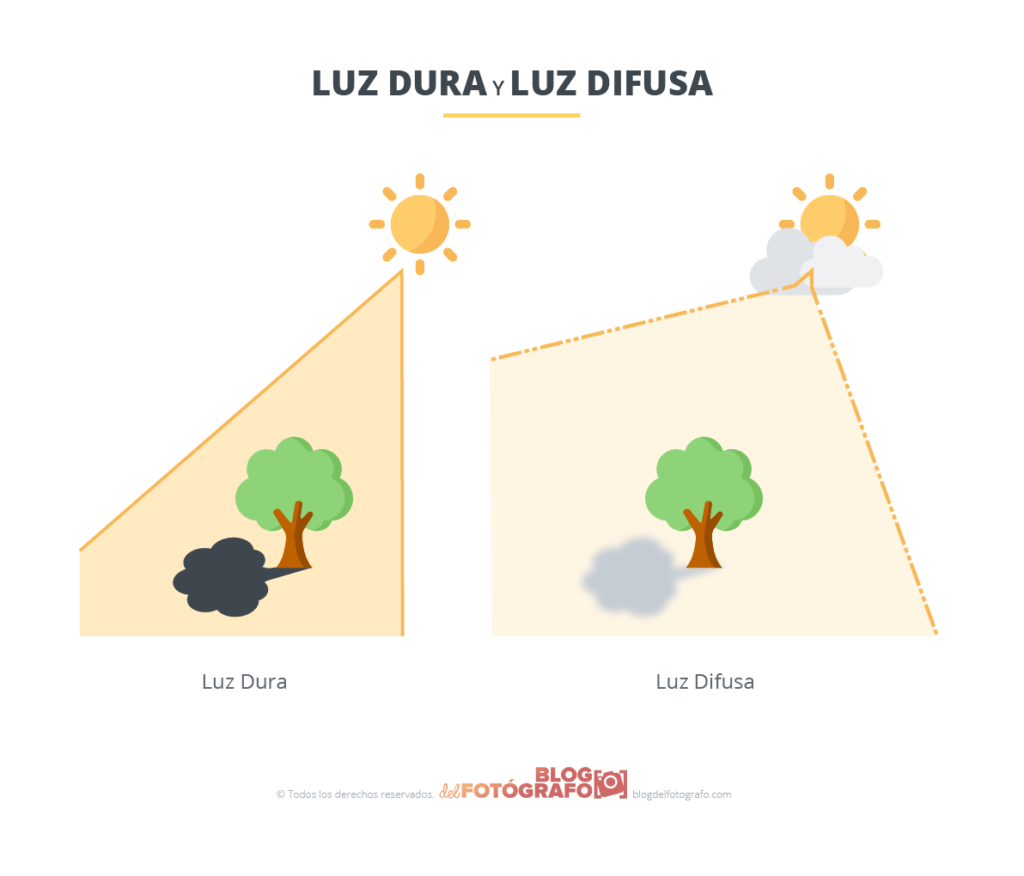
The light can be hard or soft depending on its diffusion.
- A soft or diffused light is the one that we can observe on a cloudy day or the one that we create artificially with a diffuser. It generates few shadows and a homogeneous light without too much contrast.
- A hard light is the one that we can observe on a clear day when the sun is high in the sky or for example that of an integrated flash. It generates very marked shadows and a lot of contrast in the image.
The size and distance of the light source directly influence the diffusion of light:
- The smaller the light source , and the further it is from the illuminated object, the harder it is. A clear example is the sun.
- Instead, the larger the light source and the closer it is to the illuminated object, the softer it will be.
Do not miss our tips to work with hard light and get good results even in portraits, I will give you more information below. If you want to control soft or diffused light, then this is the item for you.
LIGHT DIRECTION
Another very important aspect when mastering the light is the direction of the light.
- Frontal light: shines frontally on the subject, generates few shadows and textures.
- Side light: in this case, it falls on the side and generates contrast between the illuminated area and the shadow area. It serves to highlight the textures and volume.
- Semilateral light: it arrives at an angle of 45º and is widely used in photography to highlight textures and add depth.
- Aerial or chopped: the light falls from above, generates marked shadows and a lot of contrast.
- Low angle: light falls from below. It is a light that is not found in nature and its effect is quite unnatural since it inverts the shadows that we consider "normal" such as the lateral or overhead shadows.
- Backlight: The light source is behind the subject and in front of the camera. It emphasizes the silhouette and the shape since much of the information of the midtones is lost.
- Semi backlight: at an approximate angle of 135º, it is used to outline the subject.
- Fill Light: Used to fill in the shadows of the main subject with a slight hint of light.
- Backlight: It is the ambient light that we find in a naturally lit environment.
COLOR TEMPERATURE
Color temperature is the dominant hue or color of light at a given time. It is controlled through the white balance .
- Sunrises and sunsets, as well as typical indoor home lamps emit a warm light.
- The moments before sunrise and after sunset (known as the blue hour ), as well as fluorescent-type lights emit a cold light. Here you can see some examples of light in the blue hour.
- The central hours of the day, as well as the flash, emit a white or neutral light.
For more information, do not hesitate to take a look at this article that will reveal what color temperature is and how to use it in your photos.
TIPS AND TRICKS TO MASTER LIGHTING IN PHOTOGRAPHY
Fortunately, there are plenty of lighting tips and tricks that will get you great results right from the start of your learning. I assure you that you don't have to be a professional to get amazing images.
LEARN TO MASTER MANUAL MODE
The first thing I advise you is to learn to photograph in manual mode. I know that manual mode is like flash, something that when we started seemed extremely complicated, unattainable, professional .
None of that, to master manual mode you just have to patiently learn what it means:
- The aperture of the diaphragm : is the hole through which light enters through the lens and to the camera sensor. The more we open the diaphragm, the more light we let in and vice versa, the more we close it, the less light. The aperture of the diaphragm is also related to the depth of field (area in focus in the image). The larger the aperture, the smaller the area in focus.
- Shutter speed : This is the speed at which the shutter opens and closes. The faster the speed at which you work, the less light passes through the sensor and vice versa. Shutter speed is directly related to the ability to freeze the motion of the scene.
- ISO sensitivity : is the sensitivity of the sensor to light. When the value is low, it is not very sensitive but offers us better image quality. If we need more light, we must increase that value, but after a certain value, the quality suffers as noise begins to appear in the image.
In this graph I show you the three parameters with their secondary effects :

With these three ingredients you will be a magician of light , promised. Spend a while tinkering with them and you'll see that it's not that complicated;). Read on and we'll see how they relate to each other.
THE EXPOSURE TRIANGLE IN PHOTOGRAPHY
The three elements (shutter speed, aperture, and ISO) make up what we know as the exposure triangle. Why is it important to know? Well, because all three have the same ability to add or subtract light as the others, so you have to know how to balance them to get a correct image in terms of exposure.
For example, if I want a very blurred background, I will have to open the diaphragm a lot (a lot of light will enter), if I also have a slow shutter speed set (the shutter stays open longer, letting in a lot of light) and a high ISO (very sensitive to light), I'll probably have a burnt-in image (unless it's night and you need large amounts of light).
What you should surely do in this case is to use a faster speed (let less light through) and a lower ISO (less sensitive and also with higher image quality). This is what we know as the law of reciprocity , which sounds like something mathematical and horrible but it is not so much and we explain it to you very easily in the link.
The game between the three variables, therefore, is what will give us a correct exposure.

THE STEPS IN PHOTOGRAPHY, WHAT ARE THEY?
A stop in photography is the exact amount of light we get by opening or closing the diaphragm, ISO or shutter speed. Every time we open a passage, we double the entrance of light. Every time we close a step, we divide it by two. It is very important to know this to learn how to expose correctly.
You can see it in the following image and finish understanding it easily in our article dedicated fully and in detail about the steps in photography.

THE HISTOGRAM IN LIGHTING
Another essential element in lighting is the histogram. Learning to read the histogram is very simple and it is the most reliable help you will have when it comes to knowing if an image is well exposed or not.
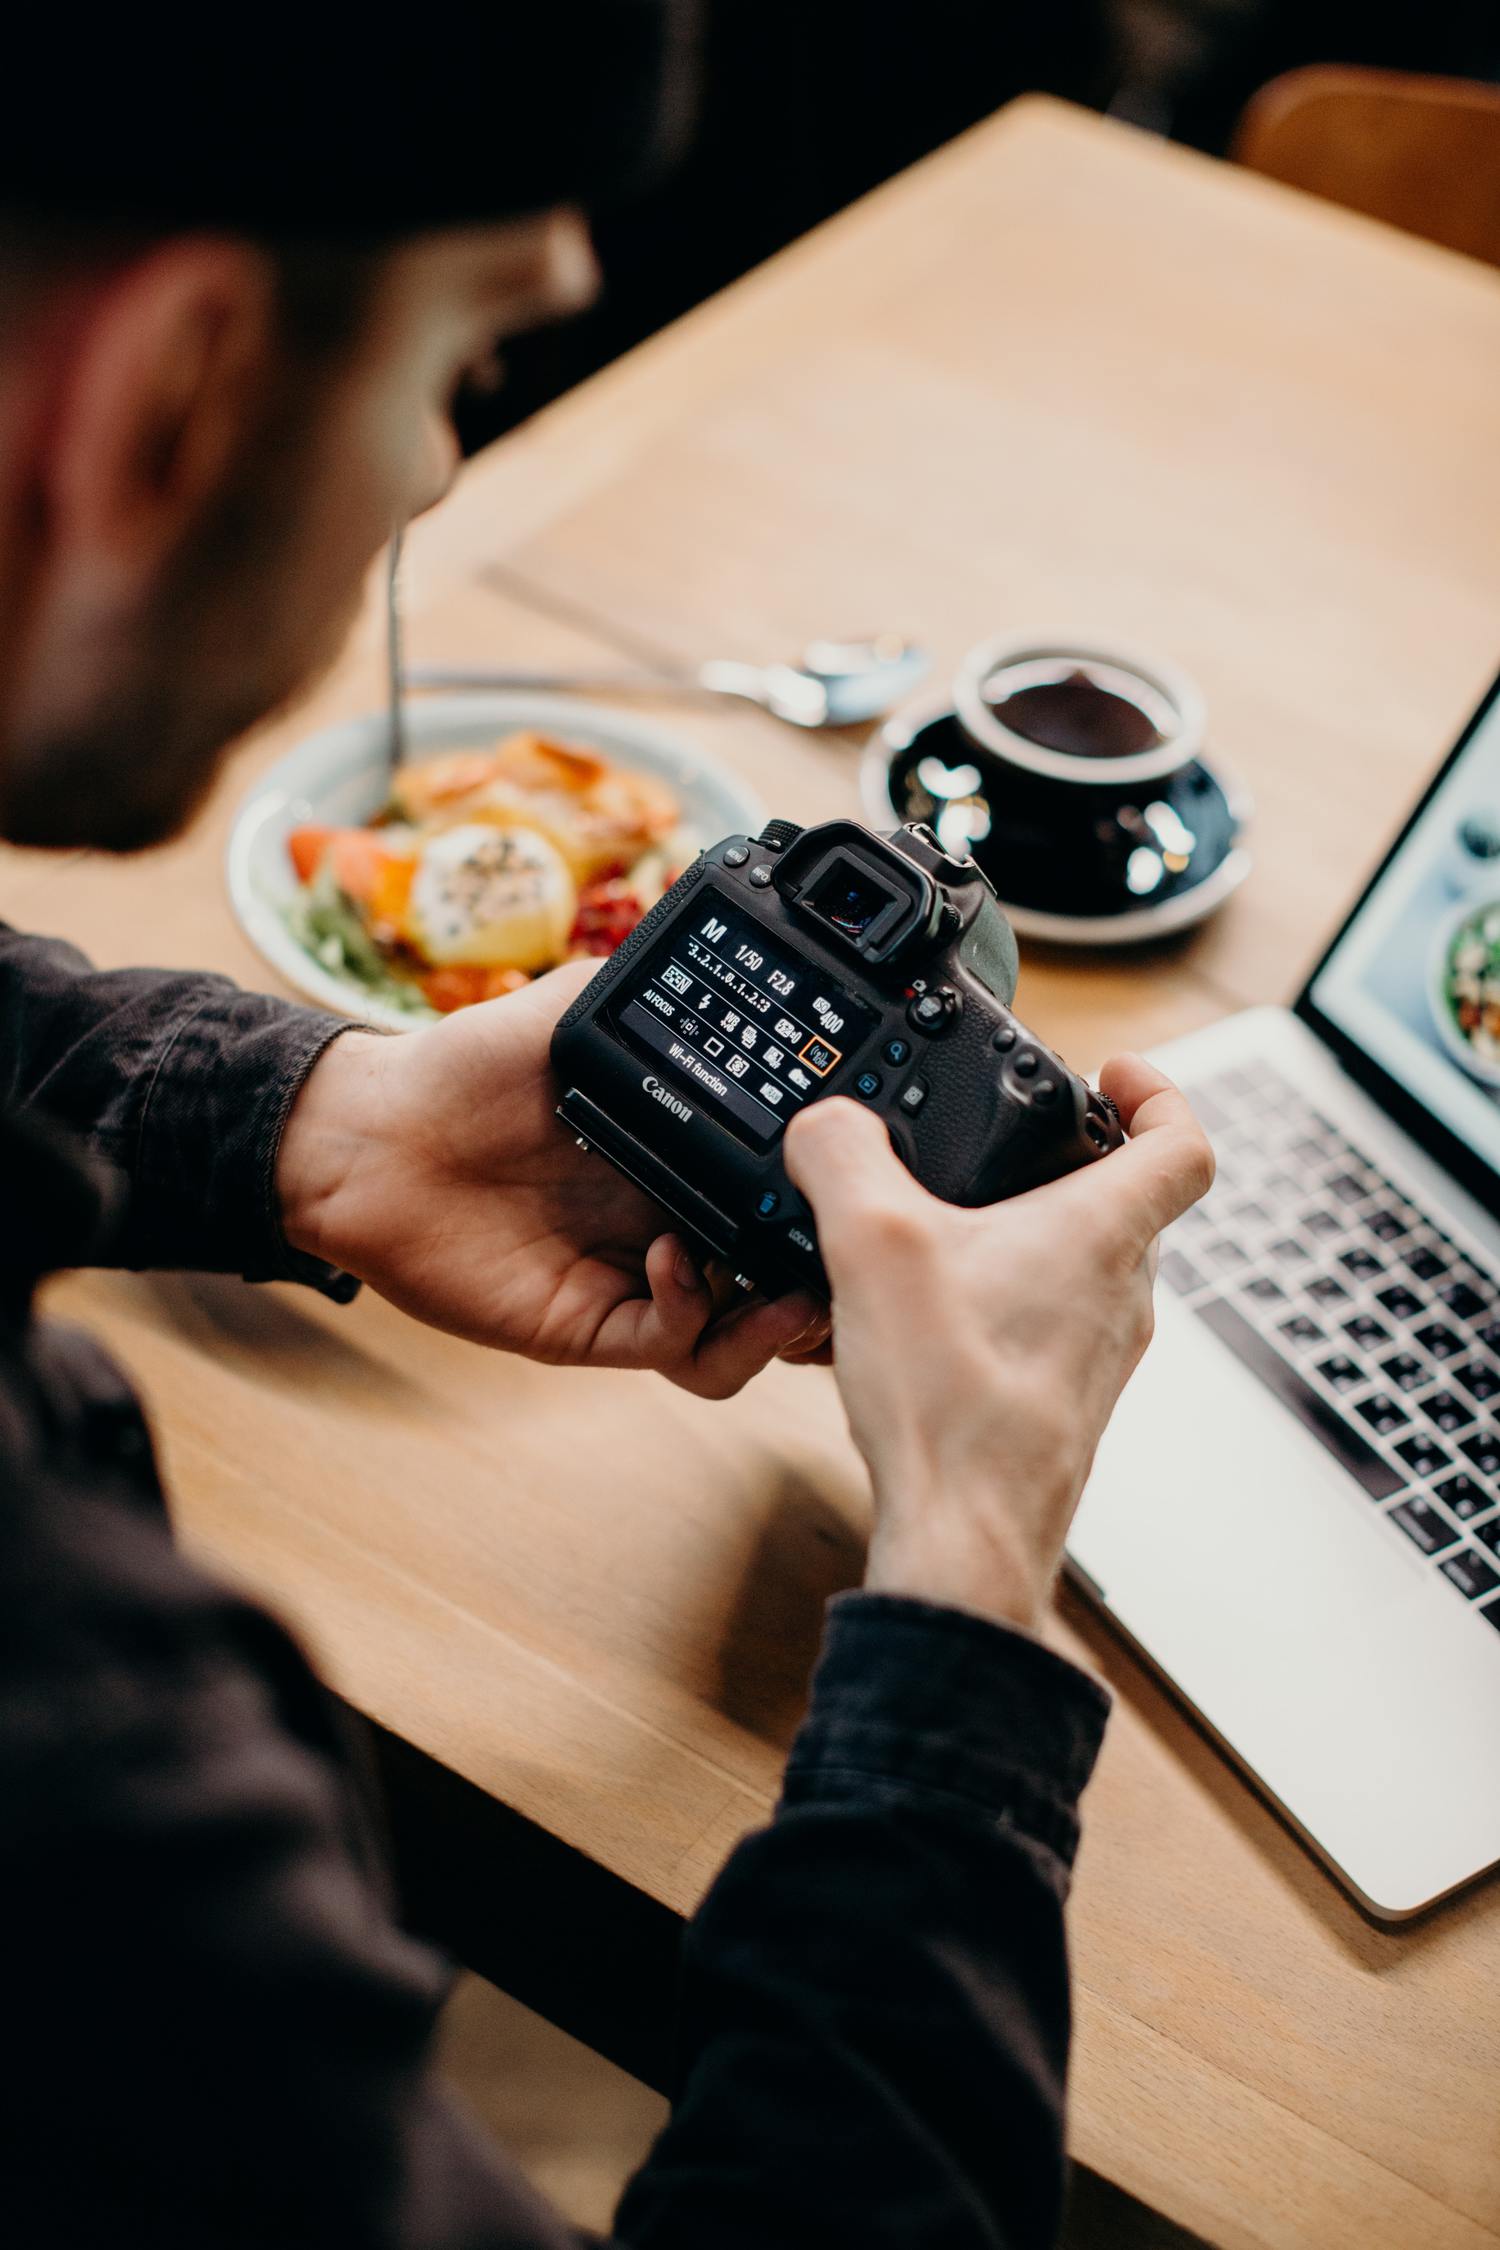
LEARN HOW TO SET UP YOUR CAMERA
No matter how good that light in front of you is, if you don't know how to configure your camera to take pictures of it, you won't be able to get the most out of all its benefits.
There are some basic settings that I recommend you know and use in your photos:
- The RAW format: Unless you never think about editing your photos (which I really don't recommend) this is the best format out there for image quality.
- Set a suitable measurement mode for each occasion.
- Auto white balance usually works well whenever you want a neutral tone, but not when you want to capture the warm tones of sunrise, for example. Then set a manual mode.
- The manual mode is the only one that will offer you 100% control of the shot, but if you get anxious ? start with the semi manual modes until you feel like taking the leap(don't be late!)
Before continuing, do not miss our complete guide for correct measurement and exposure in your photographs.
LIGHTING IN STUDIO PHOTOGRAPHY
At this point in the article, you will have already thought that there are some accessories that should be able to simplify your life a bit and take your photos to another level. You thought well ? .
HOW TO LIGHT A PHOTOGRAPHY STUDIO?
In lighting, as in photography in general, you have objects that are very worth investing in that are extremely cheap for the good results they give. Others work, but unfortunately they are quite expensive for a hobbyist's pocket. Here are my recommendations to get you started:
- A 5-in-1 reflector: a great investment for light shaping, especially if portrait photography is your thing. Don't know what a reflector or a diffuser is? Well, before you continue, take a look at our complete article on diffusers and reflectors.
- A light box: You can easily make it at home .
- A good tripod .
- External flash (in the link a complete guide on this lighting accessory).
- Remote Switch.
- Filters .
If you need to go a step further, here are all the photography lighting accessories you may need in the long term, as well as the material you need to set up your first photo studio.
PHOTOGRAPHY LIGHTING KIT

There are photography lighting kits with the basics to start taking your first steps at home. You can take a look at these photography lighting kits that are sold on AmazonTo give you an idea.
They contain, as a rule, a background (white, black and green), a pair of umbrellas, a pair of Softboxes, tweezers, a transport bag, etc. Here I have shown you an example but you have many more and at various prices.
Of course, before getting one of these kits, seriously consider whether something like this might interest you or, on the contrary, you are not going to take advantage of it. If you plan to take photographs in a portrait studio, of children, families, pets, fashion, products, etc., I do recommend it. Much. Now, if your thing is to jump into the mountains to photograph nature , then forget about this ?
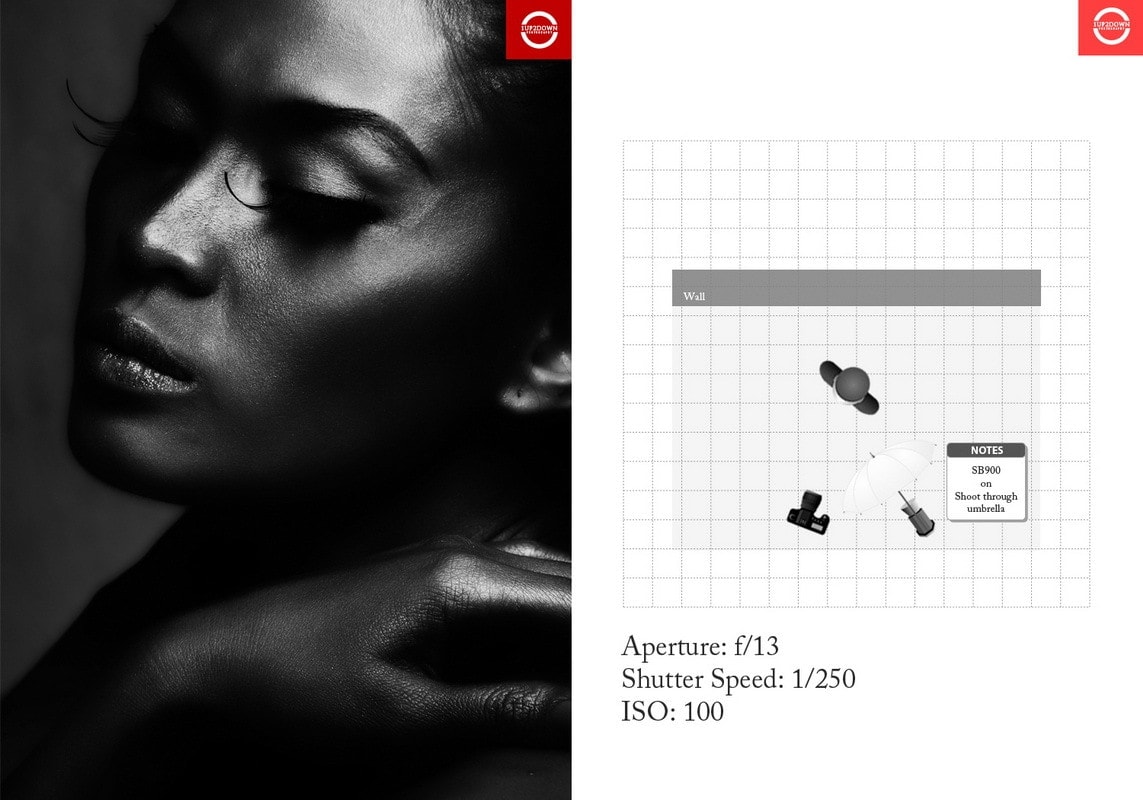
WHAT IS A LIGHTING SCHEME IN PHOTOGRAPHY?
A lighting scheme in photography is the place and angle in which we have the lights, the background and the object in order to achieve a certain result.
There are many default lighting schemes, Rembrandt , Butterfly , Split , Loop , etc. may sound familiar to you.
They will be very useful to enter the world of lighting since with them you can start to control the light in a guided way. However, keep in mind that they are not the only ones and that you can perfect them, change them, or customize them as you like ? . Below is an example of a lighting scheme with the result.
LIGHTING FOR PRODUCT PHOTOGRAPHY
Lighting in product photography is key. We must, through a single image, ensure that a potential consumer not only feels that he knows a product perfectly, but also wants to buy it.
- Consider the harshness of the light.
- The angle.
- Avoid unwanted reflections.
- Use appropriate backgrounds (black and white are the most used).
Have you been wanting to know more about product photography? You're in luck, I have this mega guide for you with all the secrets about product photography fresh out of the oven.
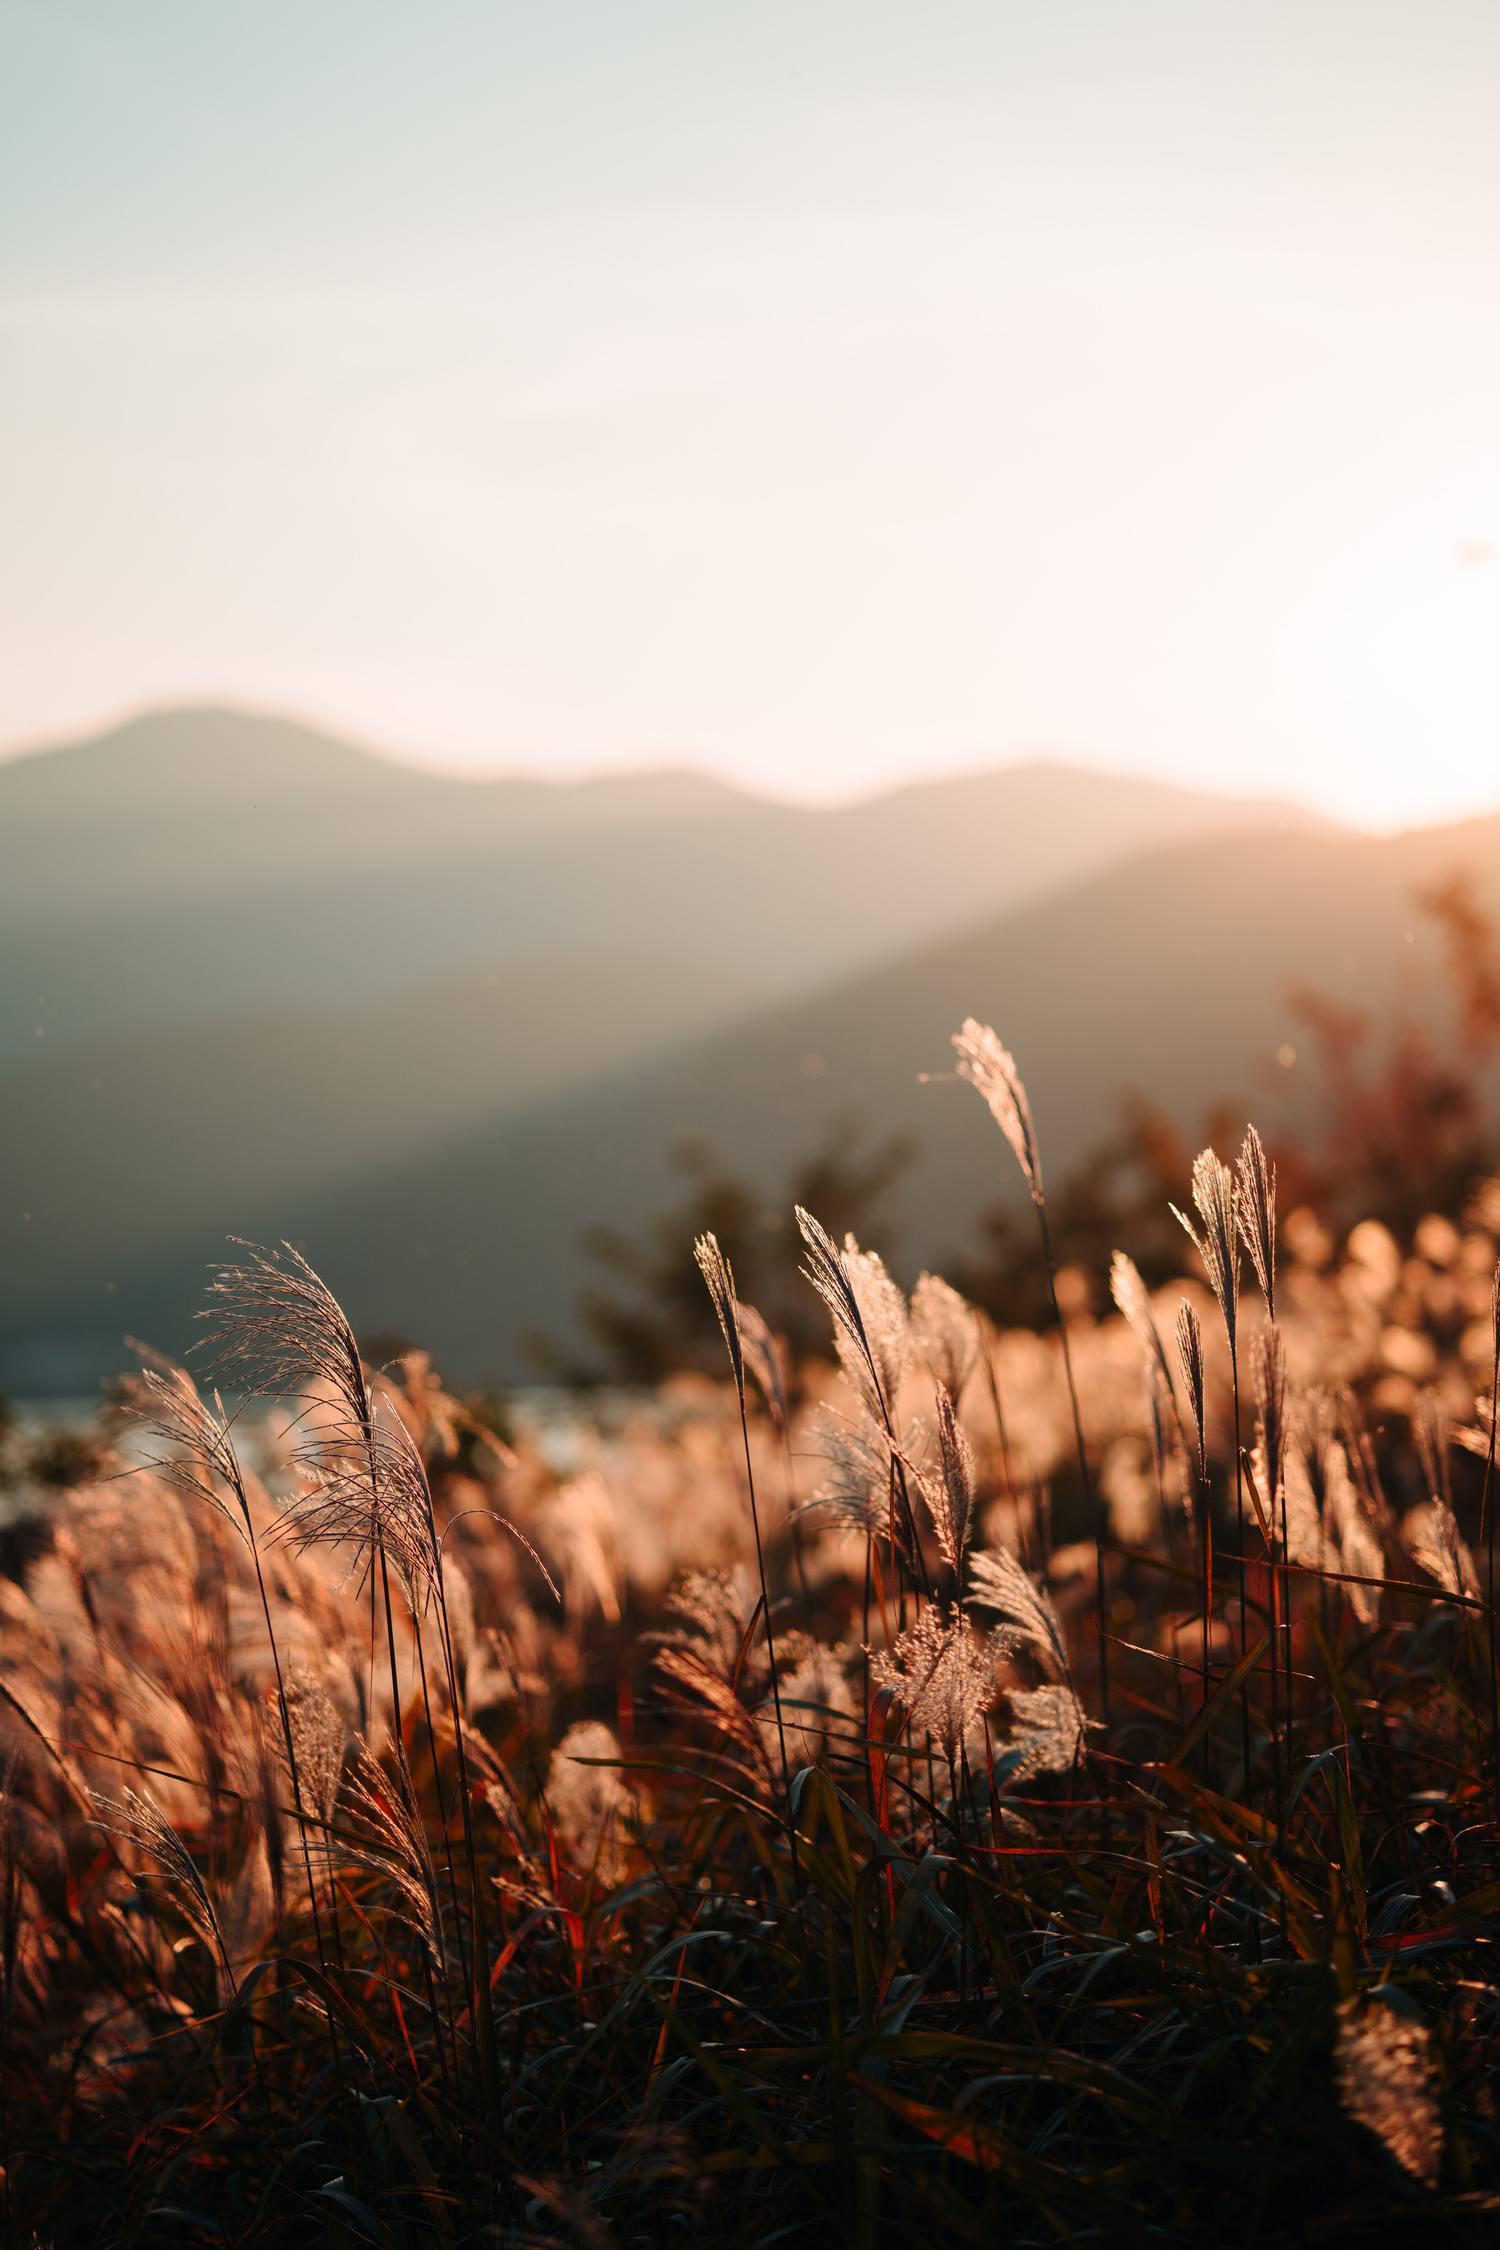
LIGHTING IN LANDSCAPE PHOTOGRAPHY
Landscape photography is mostly based on natural lighting. That is, the one originated in a non-human way. Mainly the sun, but the stars or the moon also emit light, the main sources of lighting for night photography.
The best hours for a landscape photographer are, without a doubt, the lights of sunrise and sunset , but also the blue hour, those moments before sunrise or just after sunrise when the sky turns blue. intense and that I already mentioned to you at the beginning.
Now, as photographers, our duty is to know how to take advantage of any type of light that we have in front of us ? . In this blog we have written a lot about landscape, although I recommend that you go directly to my complete guide on landscape photography where you will find all the information about it. It will be very useful to you, you'll see.
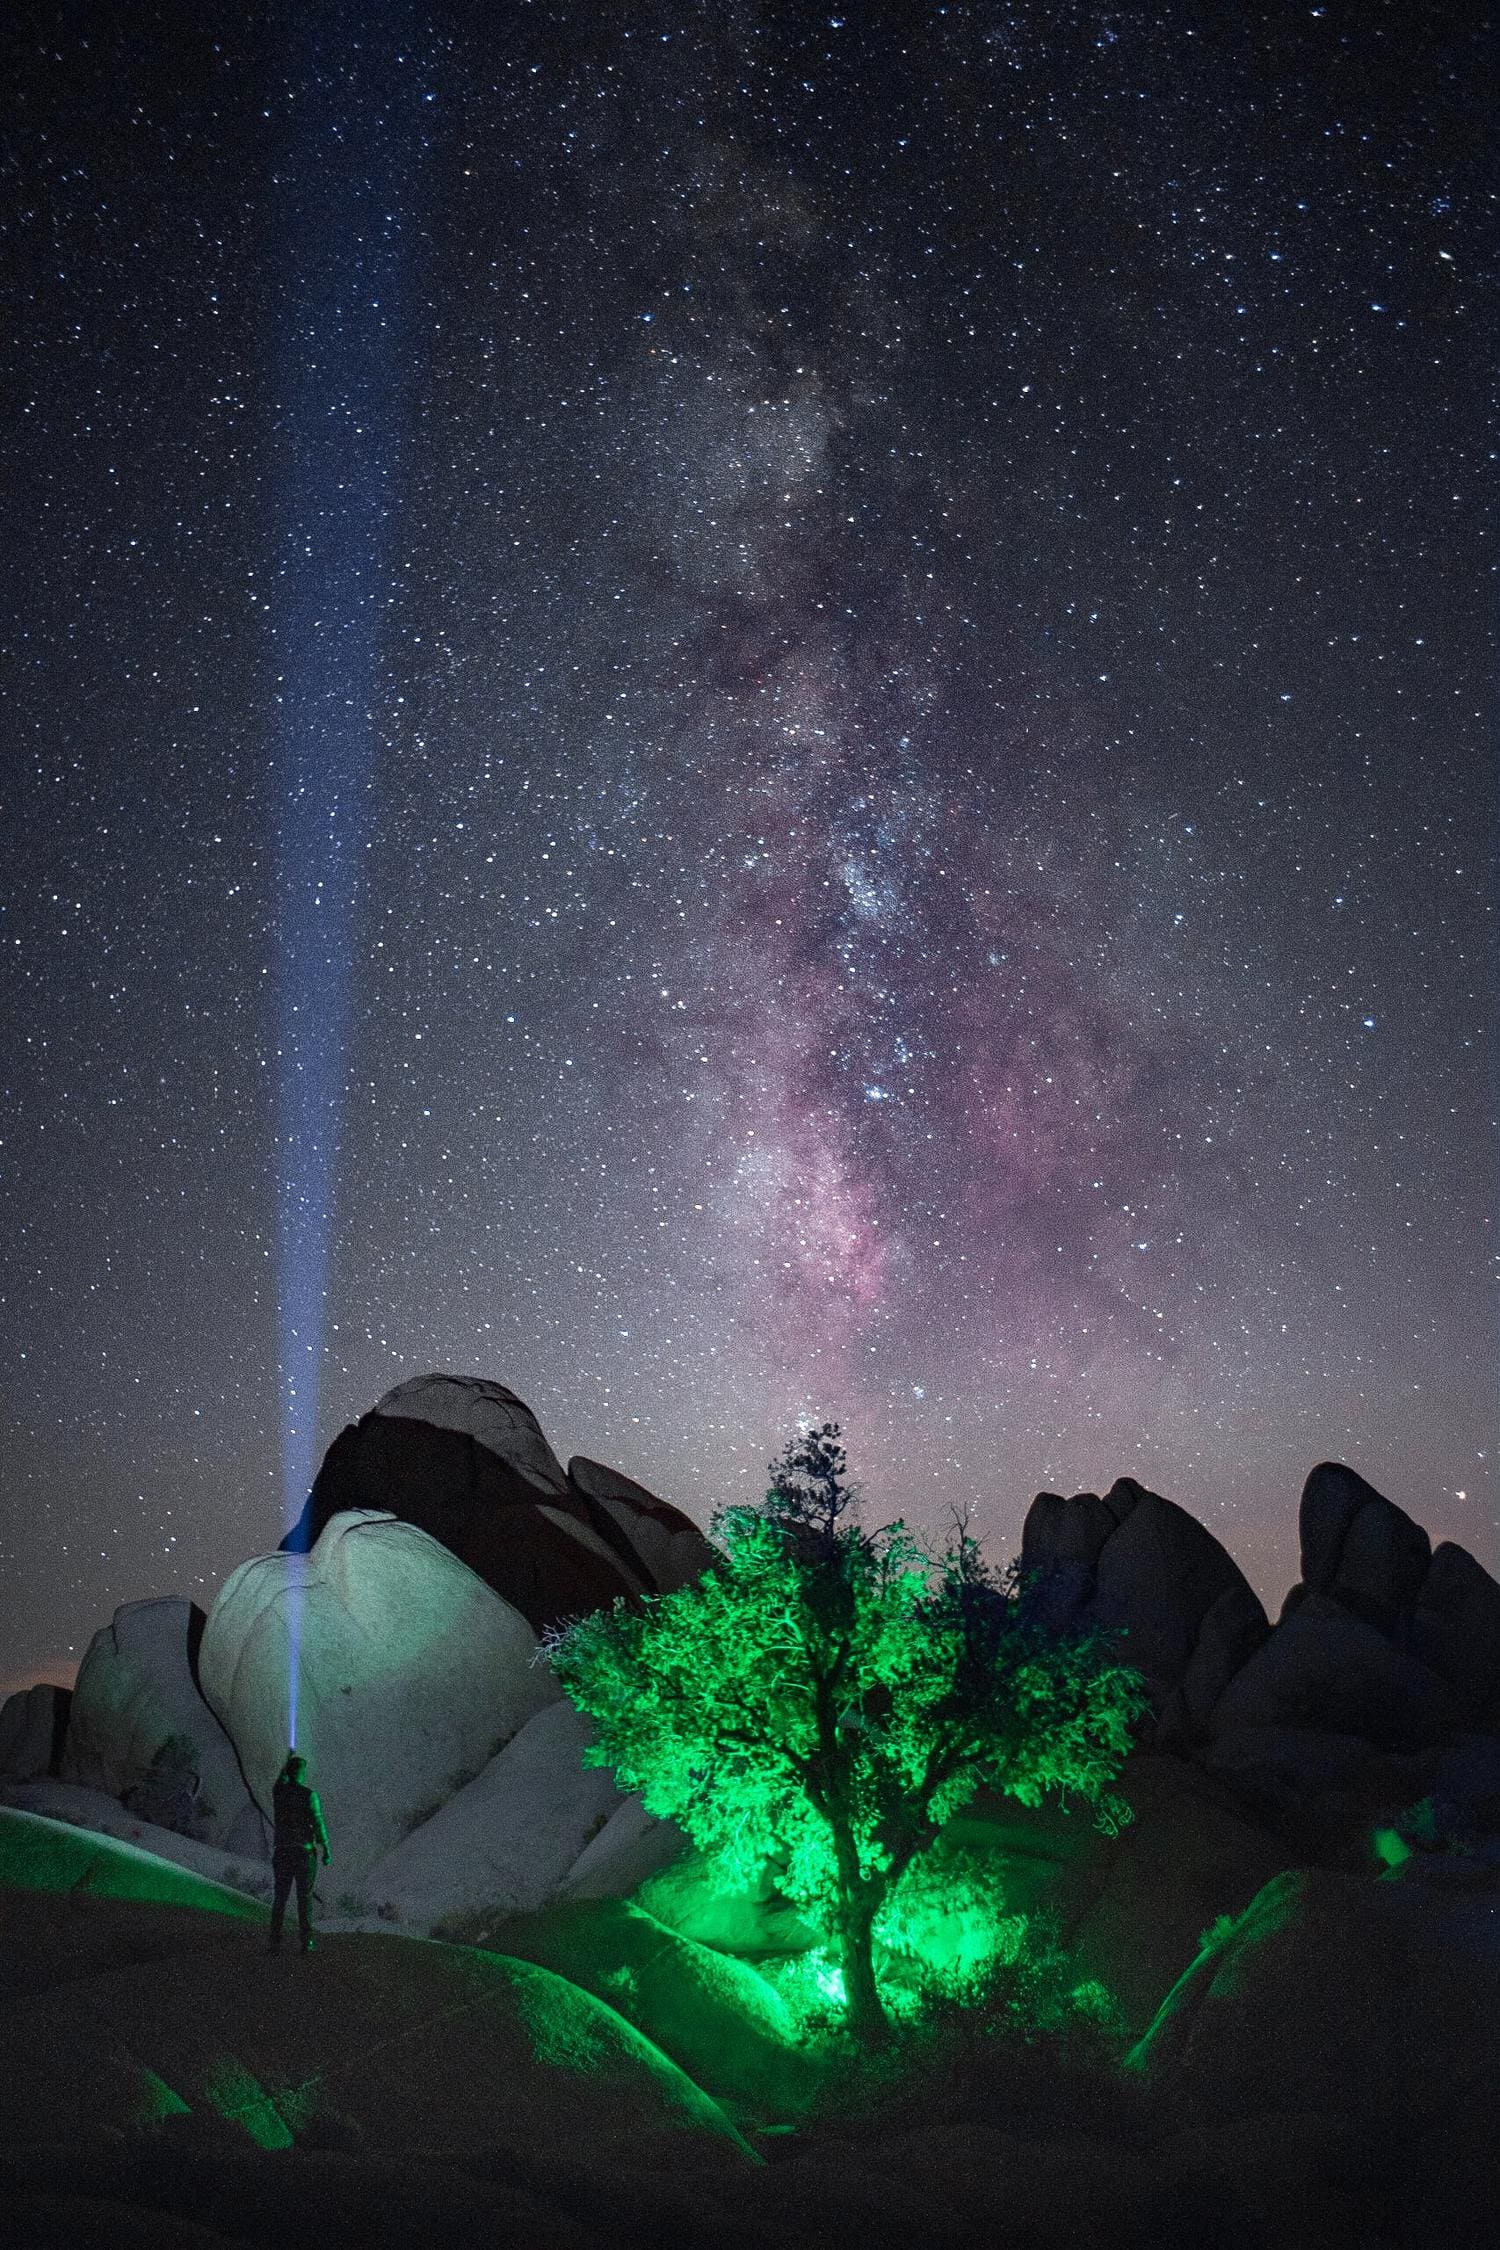
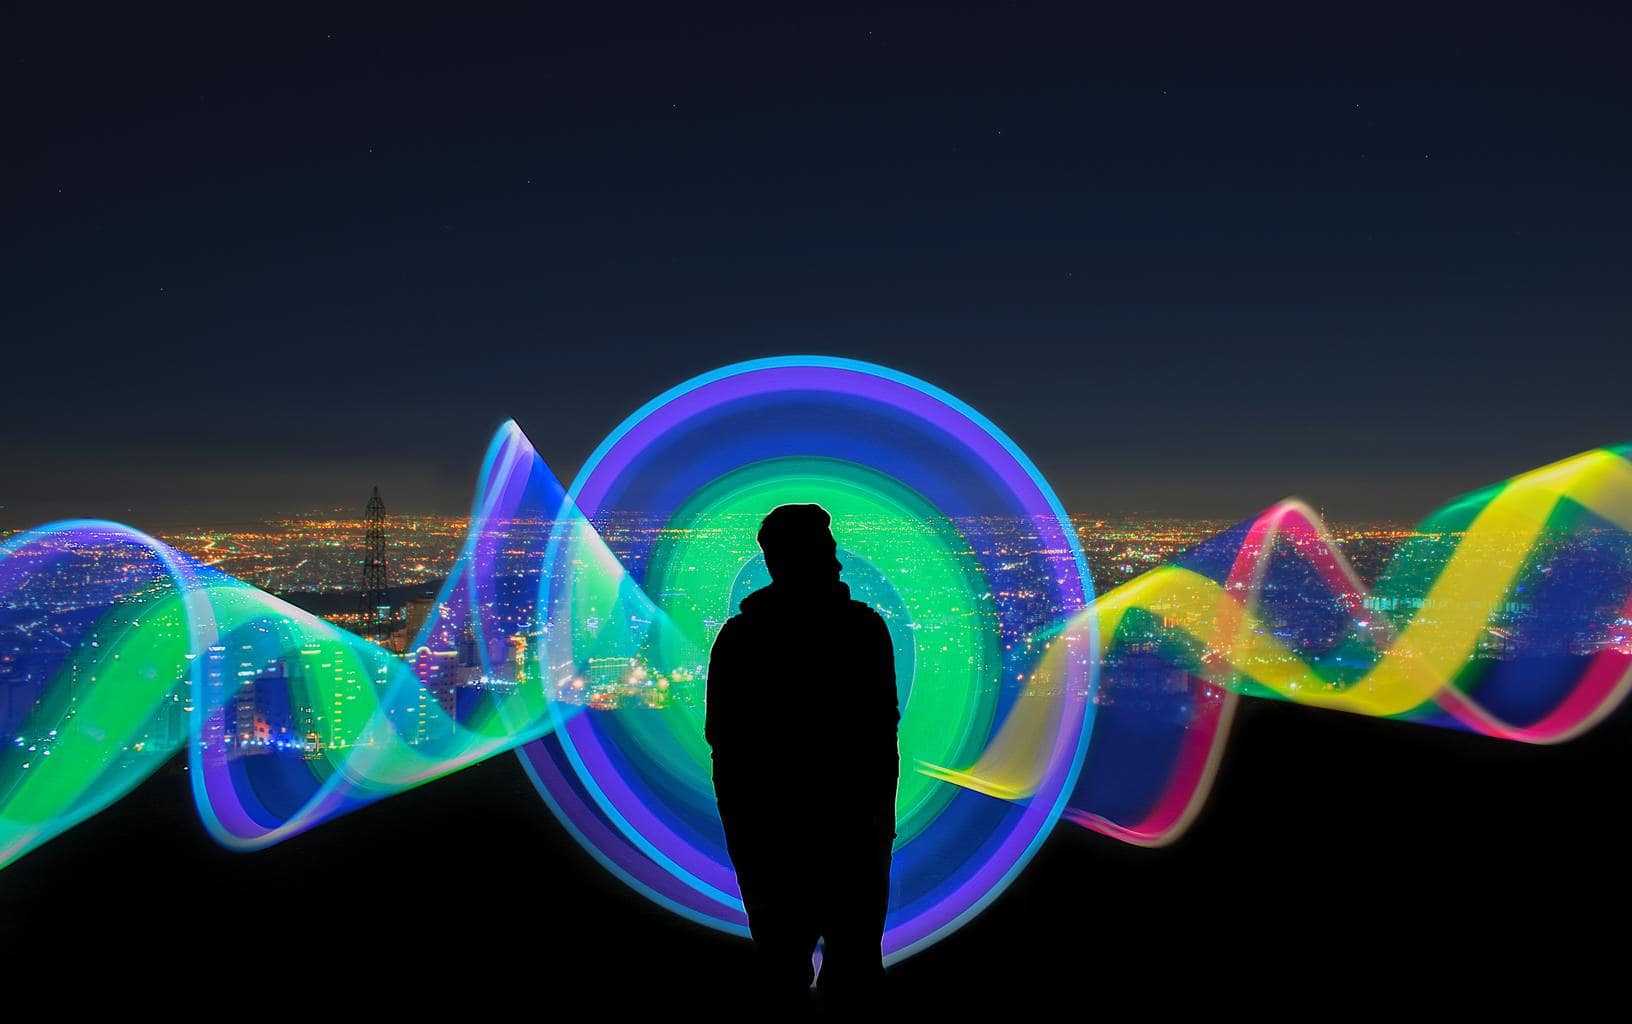
LIGHTING IN NIGHT PHOTOGRAPHY
As I mentioned before, lighting in night photography can be natural (stars or the moon), but also artificial (lanterns, streetlights, lamps, flashes, etc.).
Lighting in night photography allows you to photograph with a high dose of creativity, leaving us with always impressive images through photographic techniques such as long exposure or Lightpainting . Here are some examples that will serve as inspiration .
That you are thirsty for information about night photography? Continue with my mega guide on night photography with which I aspire to bring you some light in the world of night photography. What do you prefer a summary? Well then, don't miss our 100 quick tips for successful night and long-exposure photography.
LIGHTING IN PORTRAIT PHOTOGRAPHY
Lighting in portrait photography is another of the great challenges that you will face as a photographer. The way a portrait can be changed simply by changing the angle of lighting or the intensity of the light source is amazing.
- The best accessories are an external flash, a tripod, light shapers like a diffuser, and a reflector.
- Basic lighting schemes: Rembrandt Light , Slipt Light , Broad Light , Butterfly Light , Loop Light .
- Soft light is the most photogenic, but you can get very interesting portraits in hard light too.
I recommend this guide to illuminate your portraits , and if you want to delve into portraiture beyond lighting, you cannot miss this complete mega guide in which you will find tips on lighting but also on composition, tricks, etc. In fact, I think it would be a good idea to keep all of them in favorites and you will have a good fund of information to go to when you need it.

LIGHTING FOR MACRO PHOTOGRAPHY
Macro photography is one of the most fascinating types of photography out there, but also one of the most complicated. To get good lighting in macro photography it will be very useful:
- A macro lens.
- Or, failing that, an inversion ring or an extension tube.
- A good tripod, robust and stable.
- A remote shutter release.
- A ring flash.
- Or an external flash with a rotary head (more versatile).
- Reflector.
- For more accessories for your macro photography, check out this article.
As far as mastering light in macro photography, this is all you need to know about lighting in macro photography .

LIGHT IN BLACK AND WHITE PHOTOGRAPHY
Light and composition in black and white photography are the winning combo. Sometimes we make the mistake of thinking that black and white "hides" some exposure or shape defects, but the truth is that it is precisely in black and white photography that we must be more careful with our exposures.
In black and white, a lot of noise is generated when trying to recover the shadows, so it is essential that you work with a good starting exposure.
- Avoid underexposed areas: try to right the histogram to avoid noise.
- Play with the shadows.
- With the backlights.
- With high contrast images .
- Look for interesting light situations (cloudy days, very punctual lights...).
- Choose an appropriate measurement mode for each situation.
- Activate the histogram and let yourself be guided by it.
And of course, I have my guide with all the tips on black and white photography that I think, if you're crazy about monochrome, half as much as I am, you're going to love it ?
RIGHT HISTOGRAM
Just a few lines ago you heard me talk about right- handing the histogram. You may have made a face of disgust or uncertainty when reading it and seeing that there was no explanation. How was I going to leave you like this? ?
Here is a complete article on the concept of histogram to the right, which is nothing more than trying to bring the histogram to the right (highlights) without burning it. This avoids underexposed areas in the image.
I encourage you to try it (after reading the corresponding article), it will help you eliminate noise from your photos.
LIGHTING-BASED PHOTOGRAPHIC TECHNIQUES
I would dare to tell you that most of the techniques I know are based on playing with lighting. I will tell you, below, what for me are the best lighting techniques in photography.
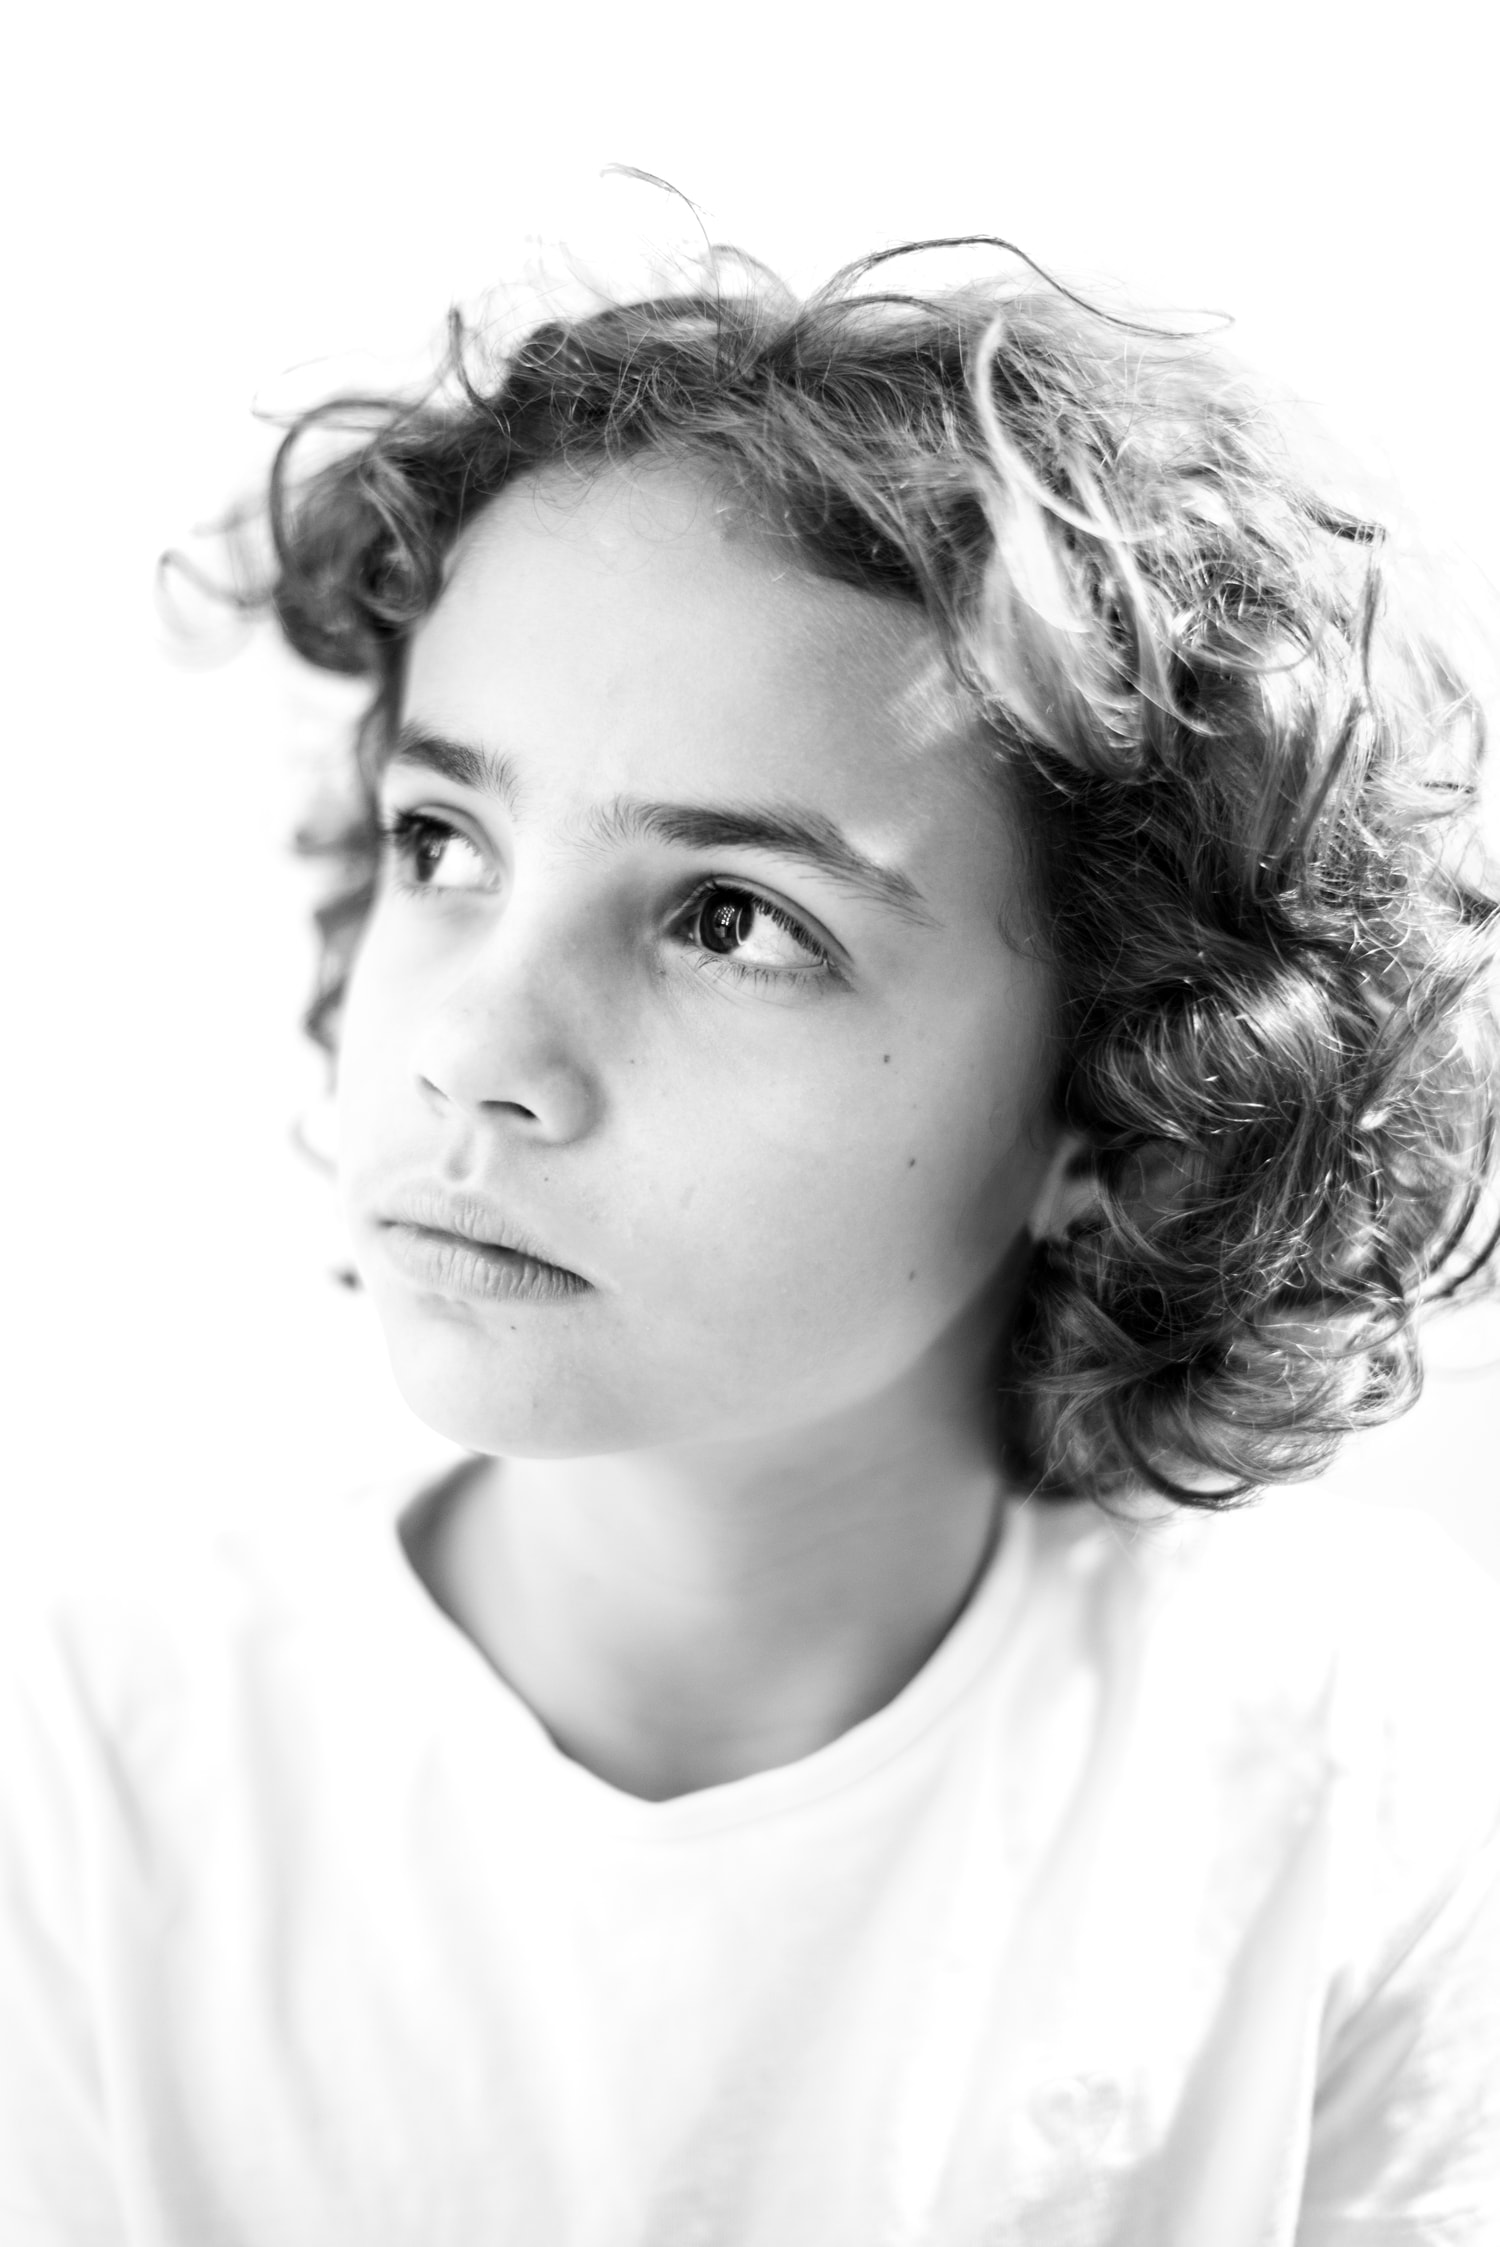
HIGH KEY
The high key is based on obtaining images with white as the dominant hue. High key photography is full of light and conveys purity and joy. They are associated with childhood, freshness, etc.
Learn how to take a high key photo step by step , ( even with your mobile phone ) dress it up with a few touches of inspiration and, of course, learn how to edit an image like the one in the example step by step in a super simple way .
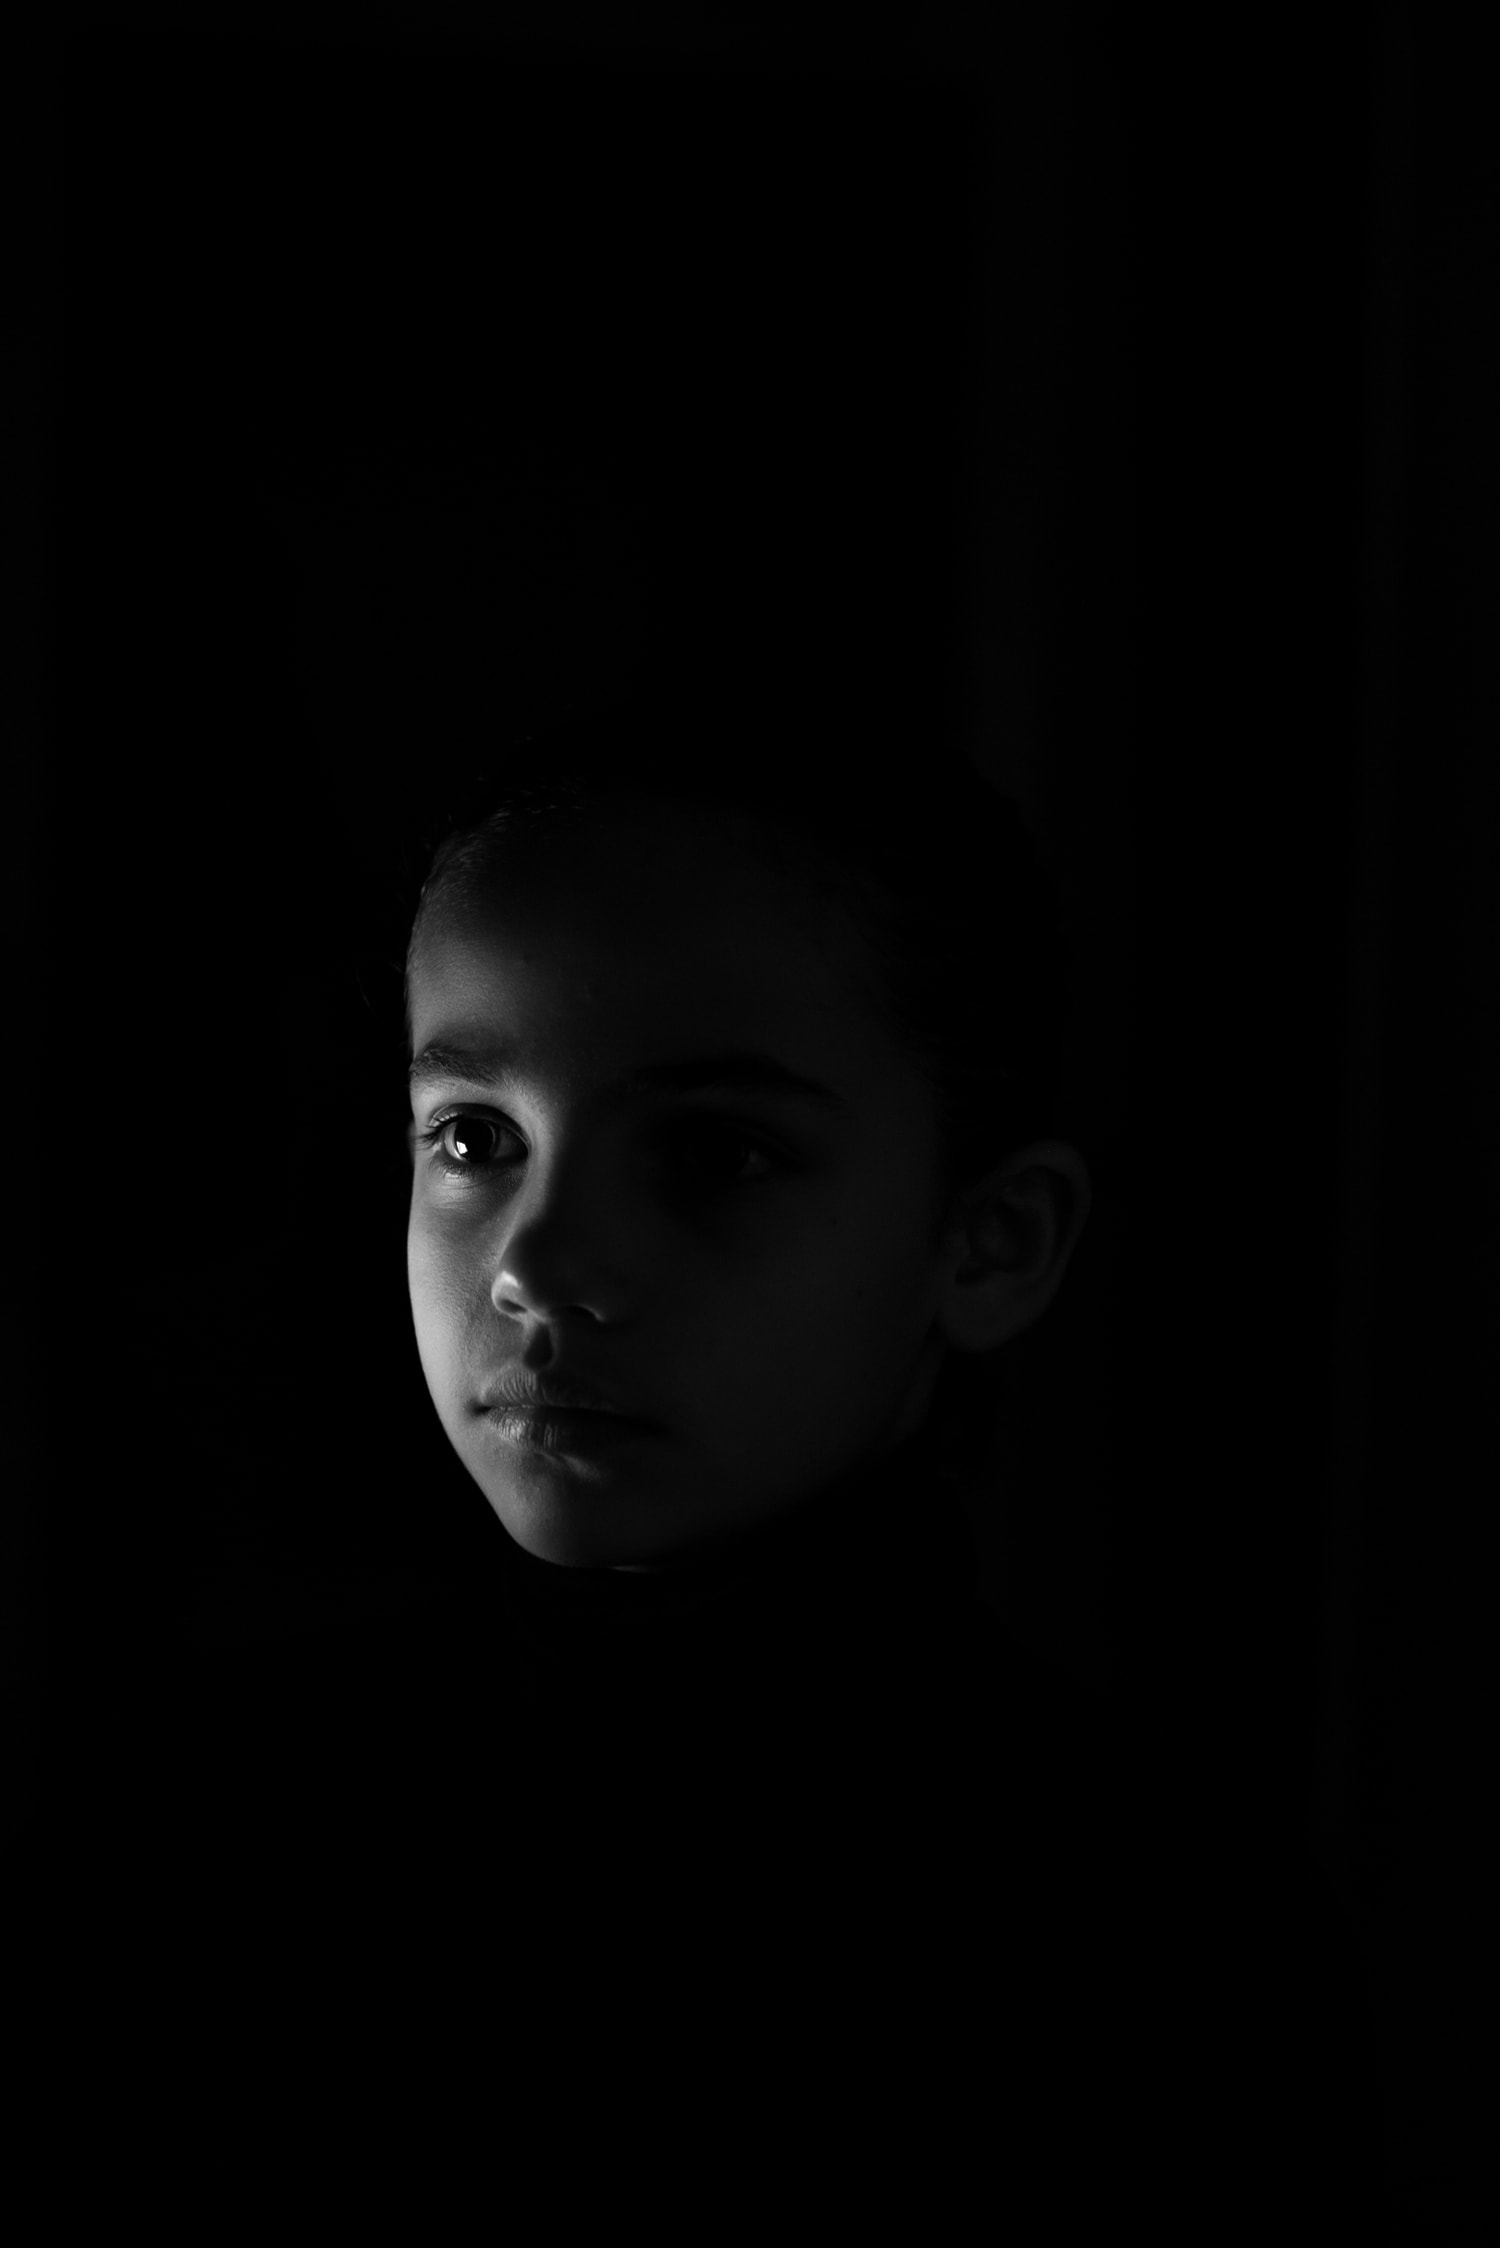
LOW KEY
On the contrary, the low key has black as the dominant tonality. It is associated with elegance and mystery.
If you are interested in this image style, here you can see how to achieve it step by step, with its dose of inspiration and, of course, the step-by-step editing tricks to achieve spectacular low-key development.
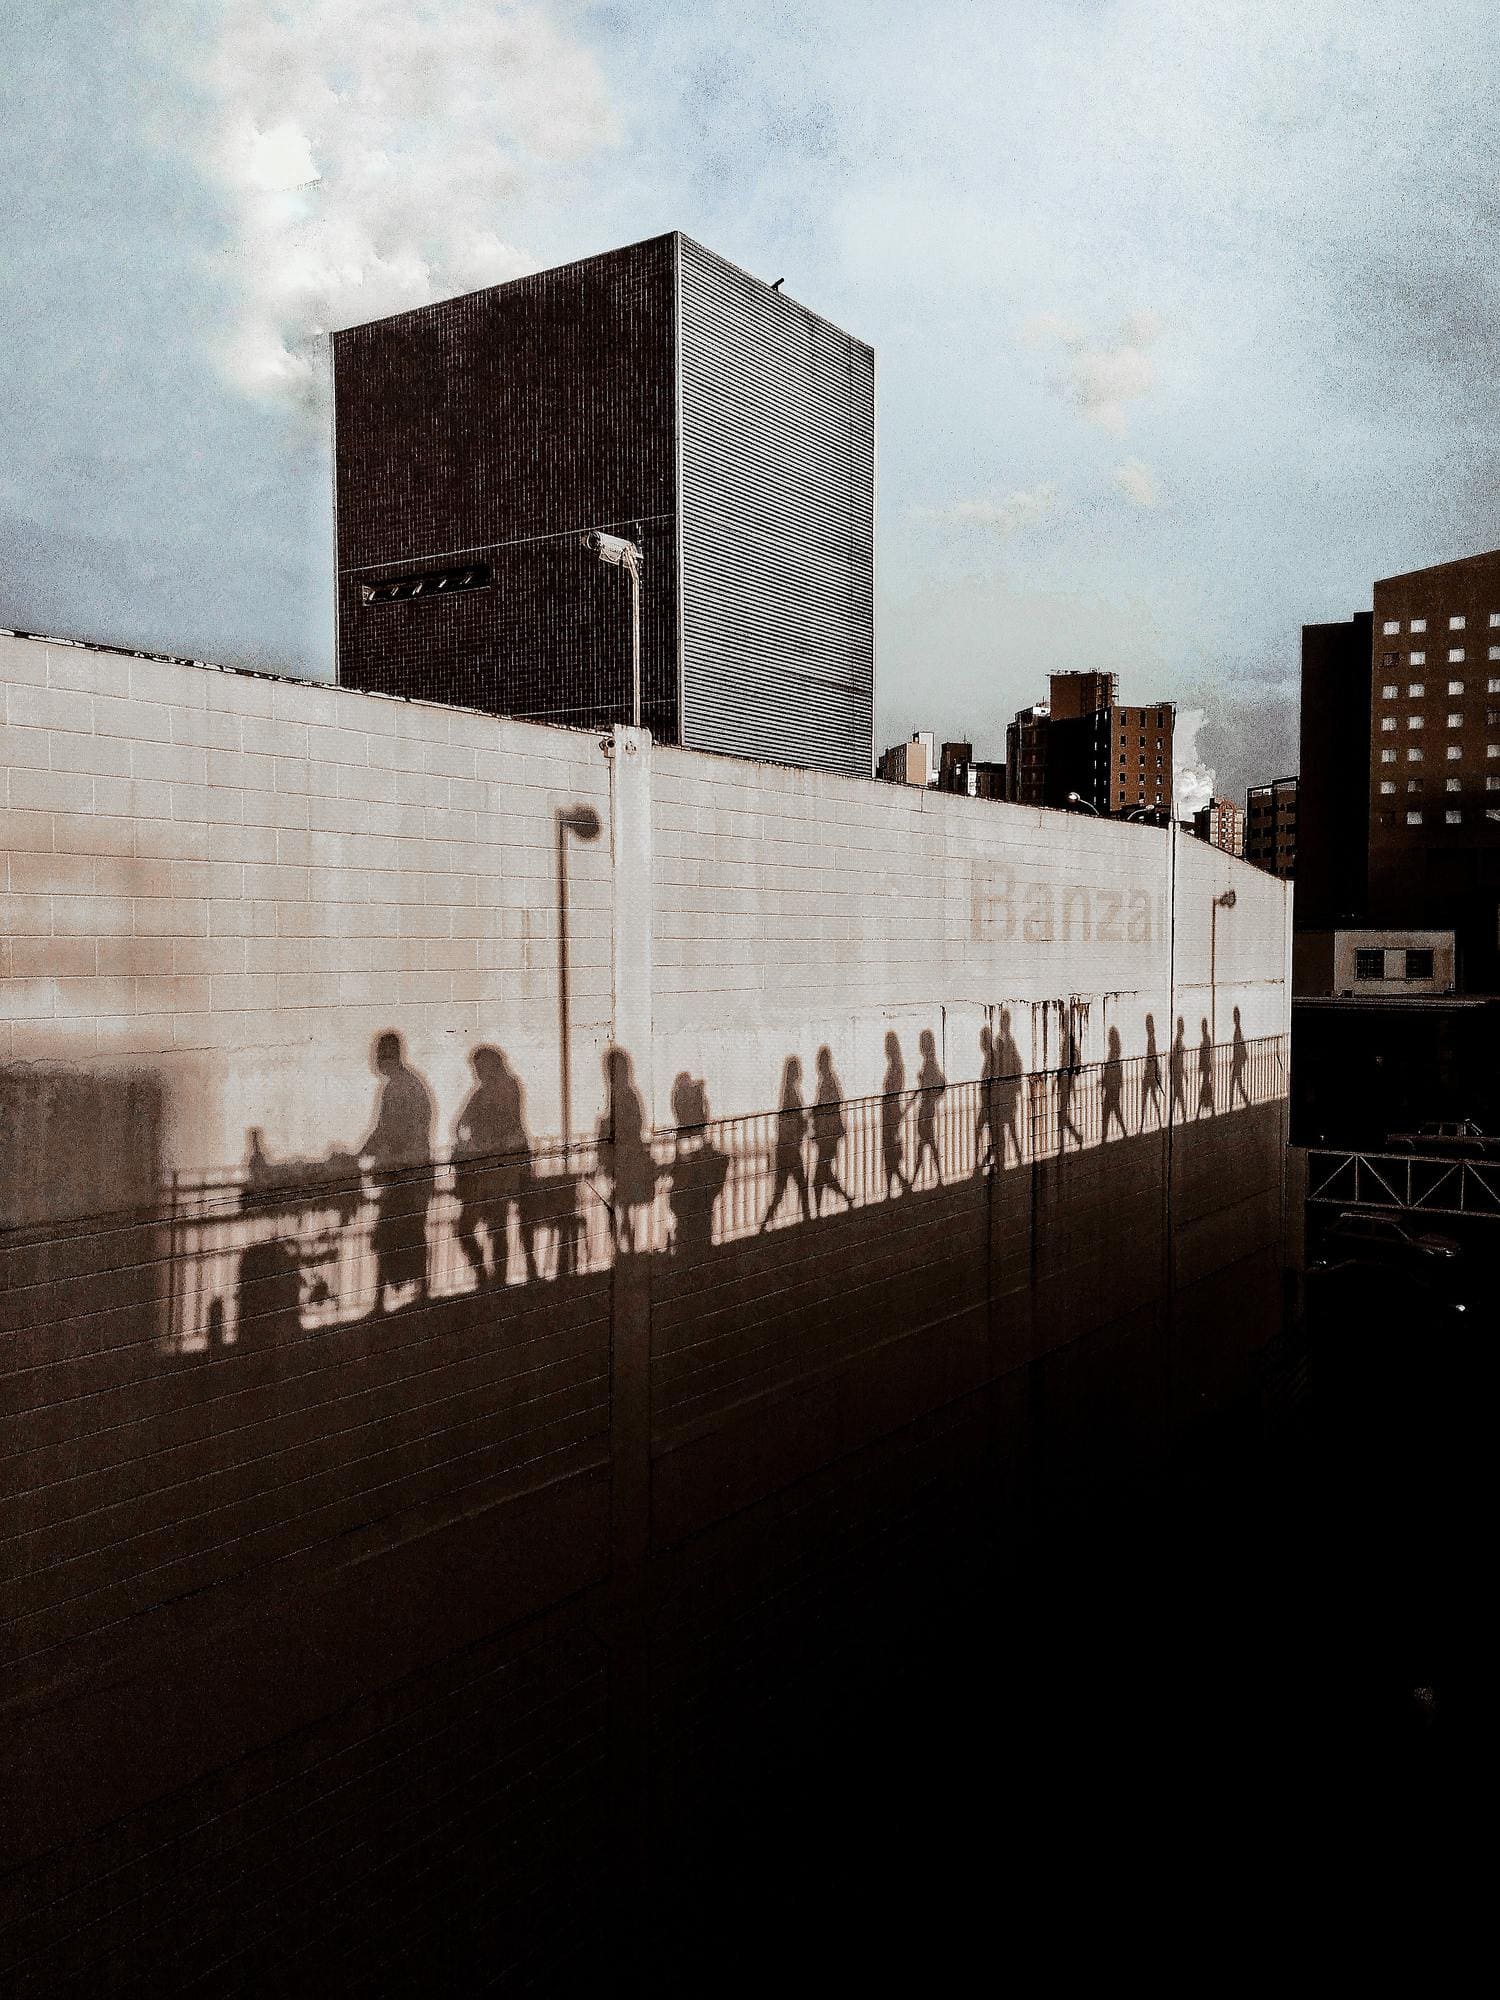
SILHOUETTE PHOTOGRAPHY
Another very interesting technique is learning to photograph against the light. Playing with the limitations of the dynamic range of the scene to turn it into a creative element can lead to very interesting silhouettes.
Learn how to make silhouettes step by step with these easy tips and get inspired by these 21 stunning silhouette photos .
BACKLIT PHOTOGRAPHY
Although all the silhouettes are against the light, not all the backlights are silhouettes ? .
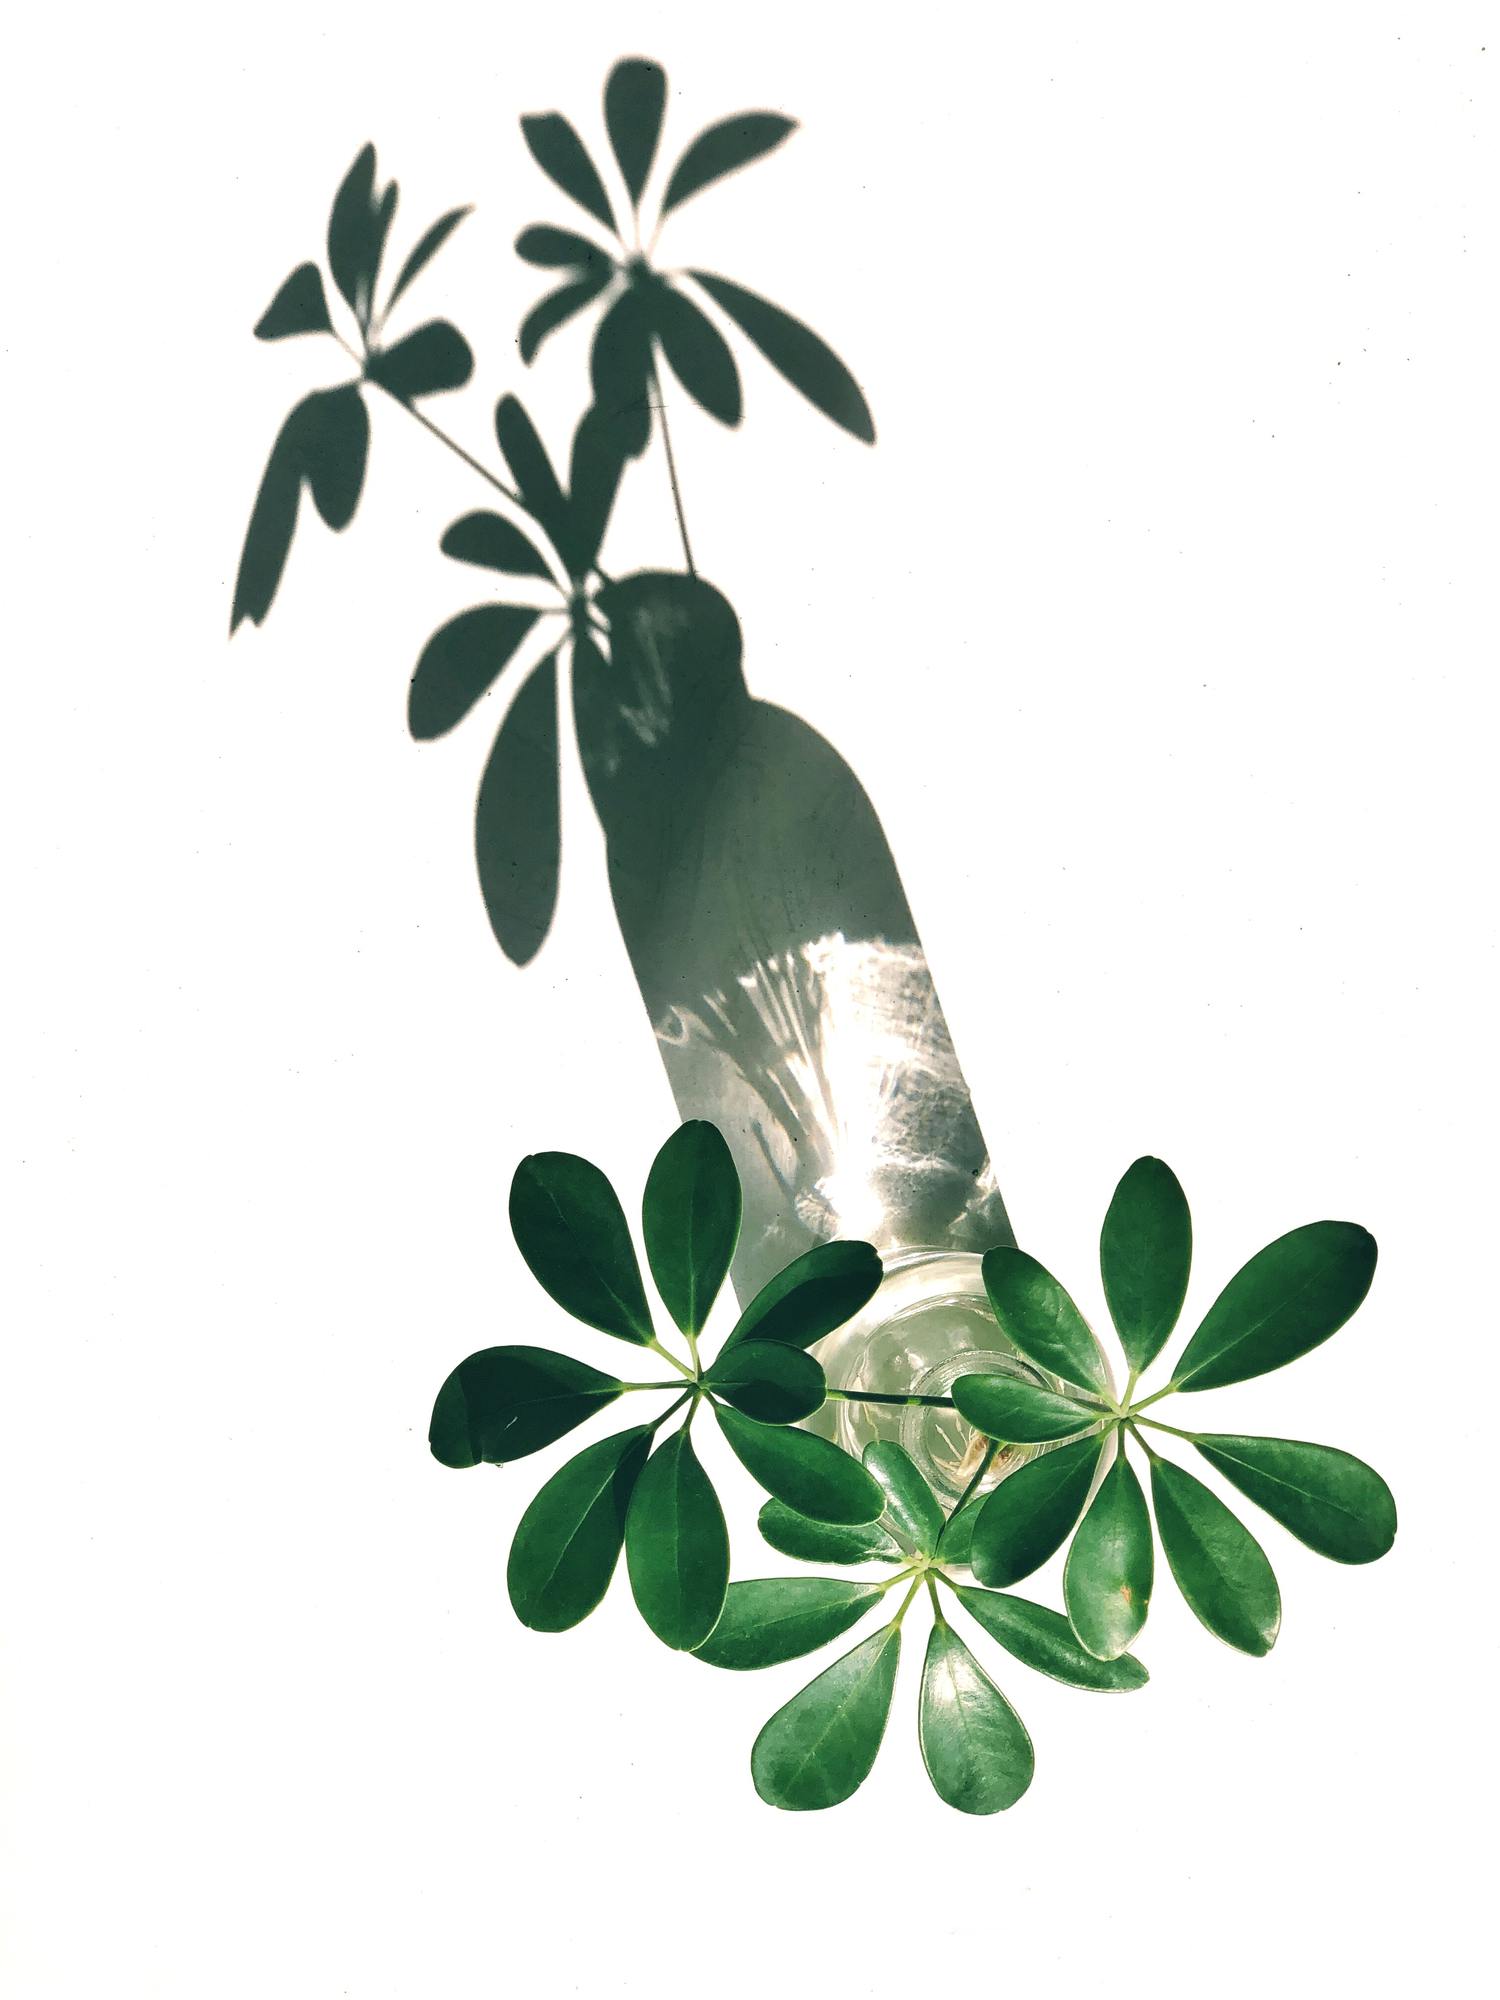
Backlit photography enhances textures, is fresh and natural, allows profiles to be highlighted as well as creating silhouettes, highlighting translucent elements, etc.
Keep going deeper with these 8 tips to get started in backlight photography, and be inspired by these 23 photos to fall in love with backlight.
THE BOKEH
Here another creative element mixing light and blur that is spectacular. I am not telling you now that Christmas is coming as I write these lines. Bokeh is a technique as simple as it is effective.
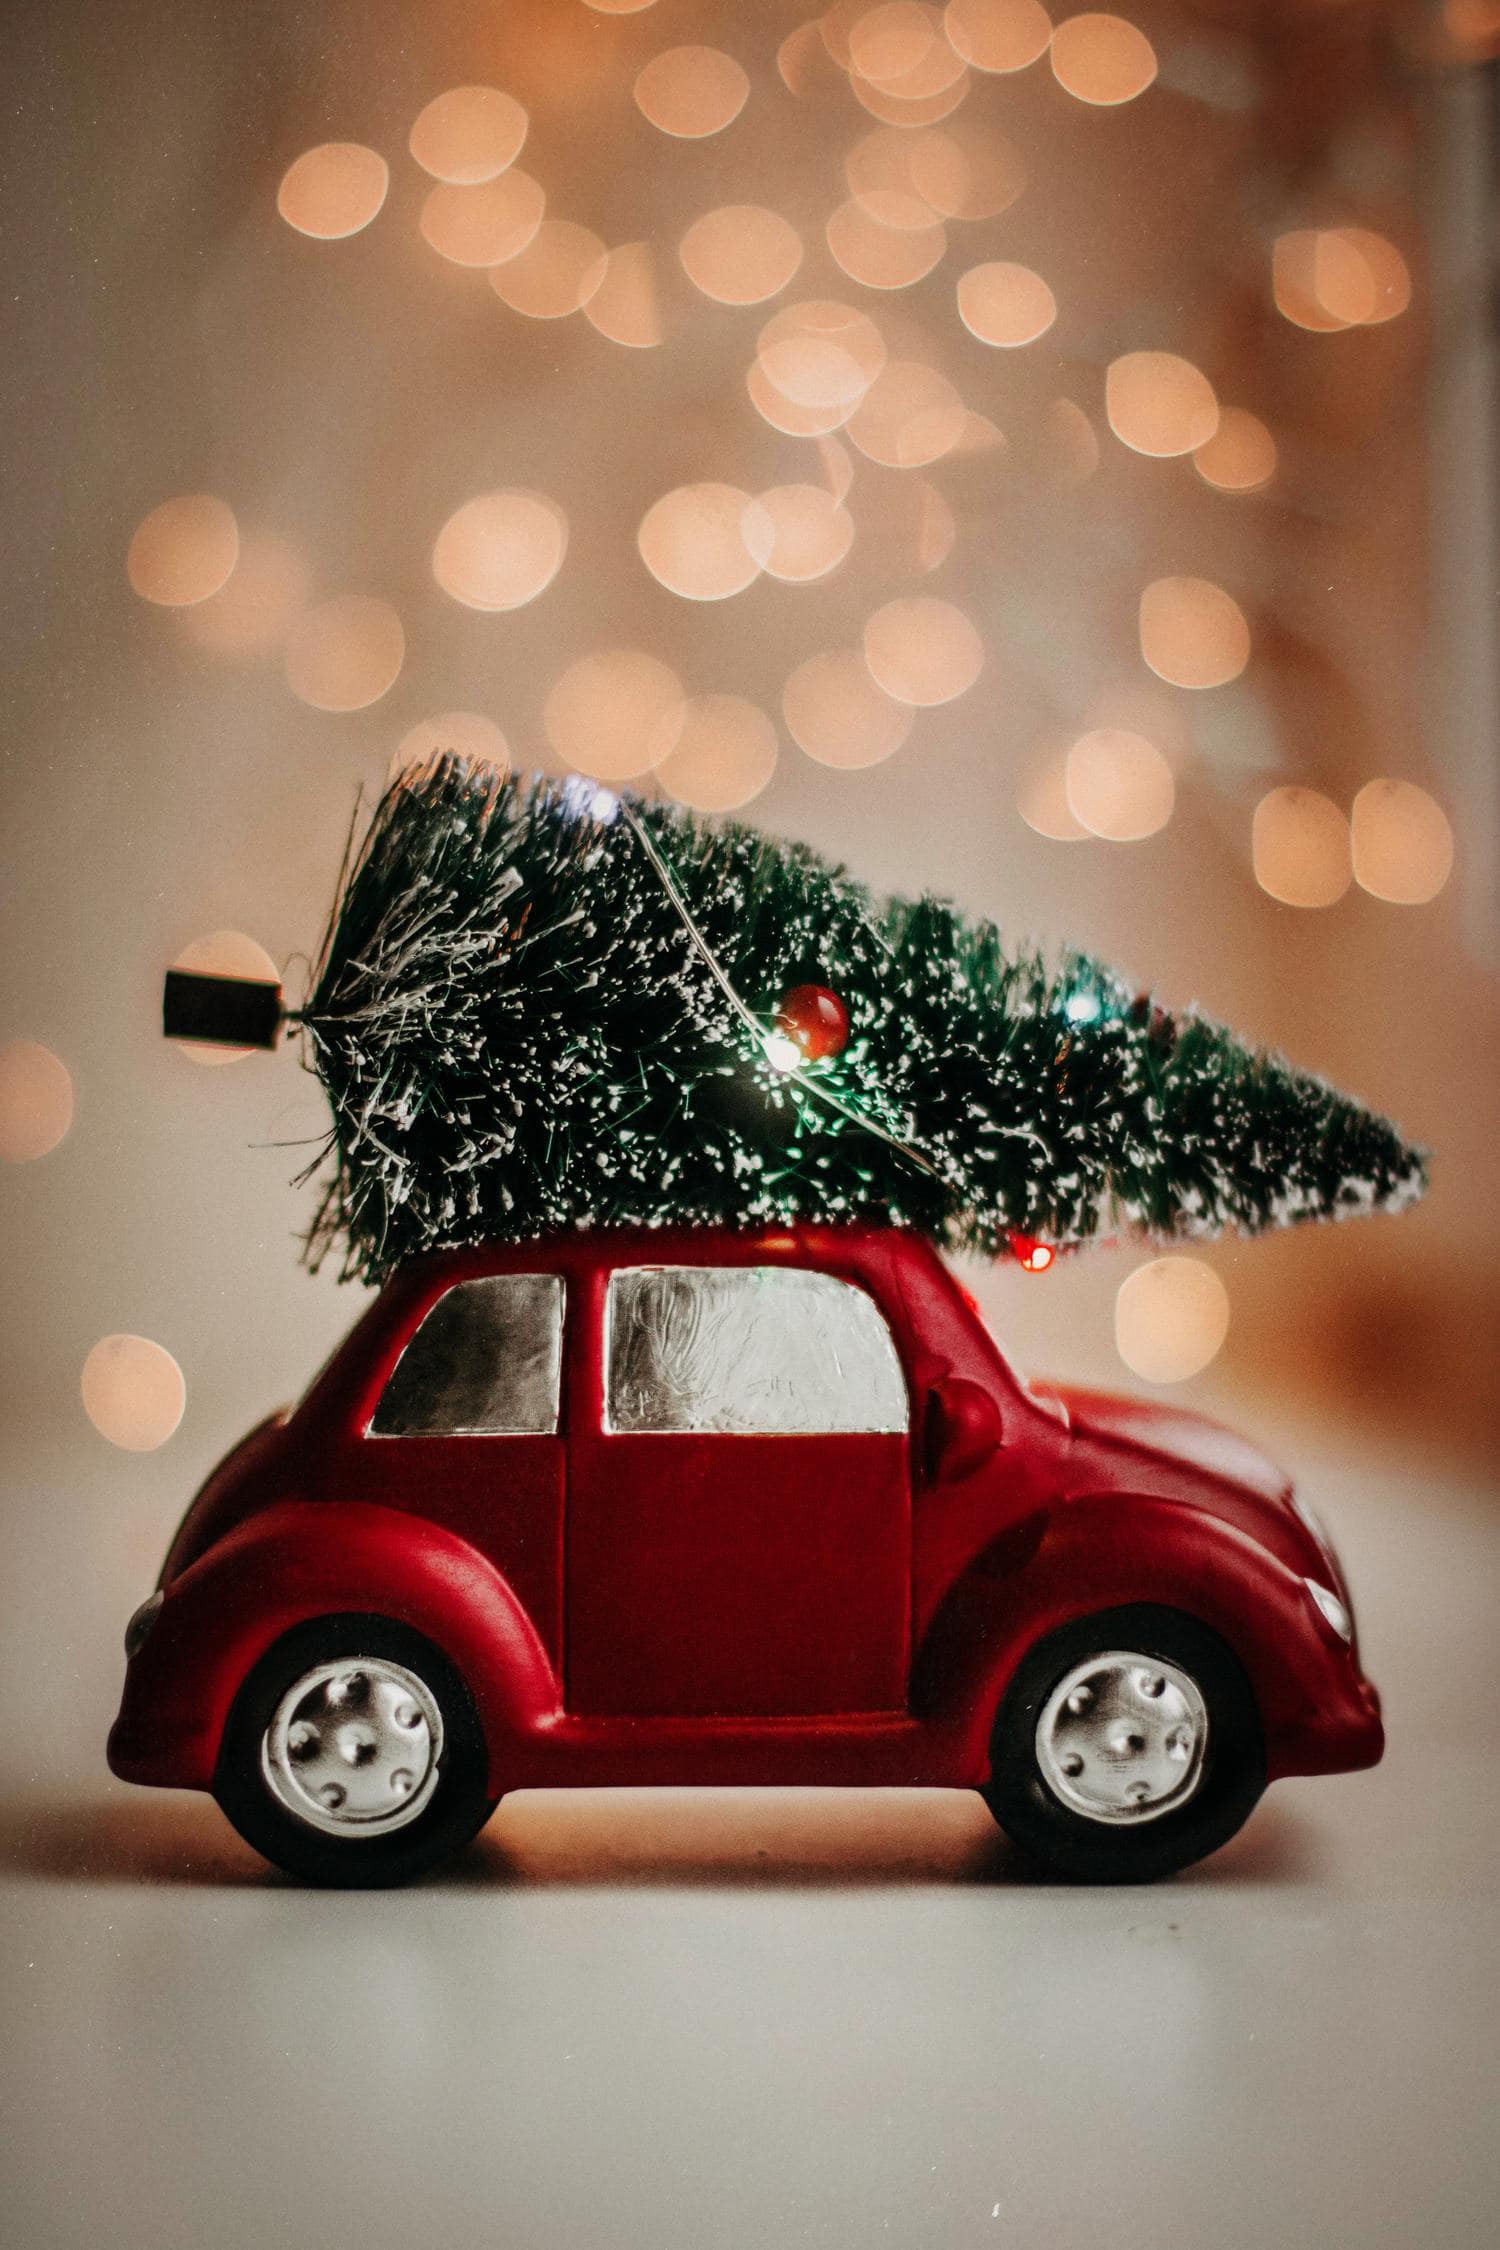
I encourage you to try it by following these step-by-step tips to get a perfect bokeh photograph .
LONG EXPOSITION
The long exposure technique is related to shutter speed, specifically a slow shutter speed. The longer the shutter is open, the longer the movement of what is happening in front of the camera is imprinted on the sensor.
In the following video I explain what shutter speed is and how it affects your photos.
Shutter speed is essential if you want to learn how to get long exposure photos . If you're simply looking for inspiration, check out these 10 Long Exposure Photography Examples .
LIGHT PAINTING
Now that we've covered long exposure, let's apply it creatively by Lightpainting while our shutter is open.
That is, in essence, the explanation of Lightpainting photography . This Lightpainting initiation guide will accompany you in your first steps in this technique, see what amazing images you can get.
HOW TO SHOOT IN LOW LIGHT
Shooting in low light is a real challenge for any type of photographer. These tips will be very useful:
- Take care of the white balance.
- The best format is RAW.
- It uses a spot metering mode.
- Turn on all available lights.
- Get close to a window, see what you can achieve with this type of light .
- Use a tripod.
- Don't abuse the ISO but don't be afraid of it either, sometimes a photo with noise is better than not having a photo.
- Use the brightest lens you have.
- Focus in manual if the autofocus is lost in the dark.
- Activate the focus assist light if you have it.
Do you need any extra advice? Do not miss our tips for shooting in low light like a complete professional, so you will see that you will not get one more dark photo , and season them with these 13 extra tricks to get good low light photos .
LIGHT EDITING IN PHOTOGRAPHY
The most basic editing, no matter how purist you are, should always go through minimal lighting correction. You will find that if you have shot RAW and parts of an image are well exposed, you have a good chance of improving the photo with a few adjustments. I leave you with the tricks that work best for me:
- I recommend that you correct the exposure through the lights and shadows rather than through the exposure itself. The result is much more accurate.
- It controls the contrast through the blacks and whites and not through the contrast itself, for the same reason as before.
- To increase the contrast of the midtones, use the lightness, but do not overdo it.
- Increase the saturation in your colors through the intensity (corrects only the dull tones, while those that already have a good saturation leave them the same).
Whether you use Lightroom or Photoshop or are looking for a developing program beyond Adobe , these basic developing actions will help you perfect your image's exposure.
If you're looking for a visual overview, check out our infographic on basic Develop settings in Lightroom that can also be used by other editors.
BOOKS ON LIGHTING IN PHOTOGRAPHY
In lighting, I think it is important to have a reliable and complete guide to turn to when doubts arise. In this sense, I recommend that you get one of the following recommendations:
- Lightbook: our Ebook on lighting in an easy-to-understand digital format, as we try to make all our articles and to start from scratch.
- Designing Light (Joe McNally) . If you have a solid base and master flash but are looking to improve and in a fun way, this is your book.
- The Record of Light (Michael Freeman) . To delve into all the types of light in photography that exist and how to take advantage of them in the best possible way. It requires previous knowledge but it is essential.
- Without fear of flash (José Antonio Fernández) . If you want to start using flash and you don't even know where to start, I recommend this publication.
INSPIRATION AND CREATIVITY TO WORK WITH LIGHT
Light is an inexhaustible source of creative possibilities. We've already covered the number of techniques you can get by playing with her, but I'd like to leave you with a few more articles that can inspire you when you're feeling a bit uncreative.
Go ahead and practice with these 23 ways to use light as a creative element for when you're not inspired , or these 13 inspiring photographs with light as the protagonist.
I also recommend that you express the creativity that shadows offer you with these 16 tips to achieve splendid shadow photographs and that you let yourself be inspired by these 20 images based on compositions with shadows .
TYPICAL LIGHTING PROBLEMS AND HOW TO SOLVE THEM
Finally, I want you to have a place to turn to solve the most typical problems that arise when working on lighting in photography:
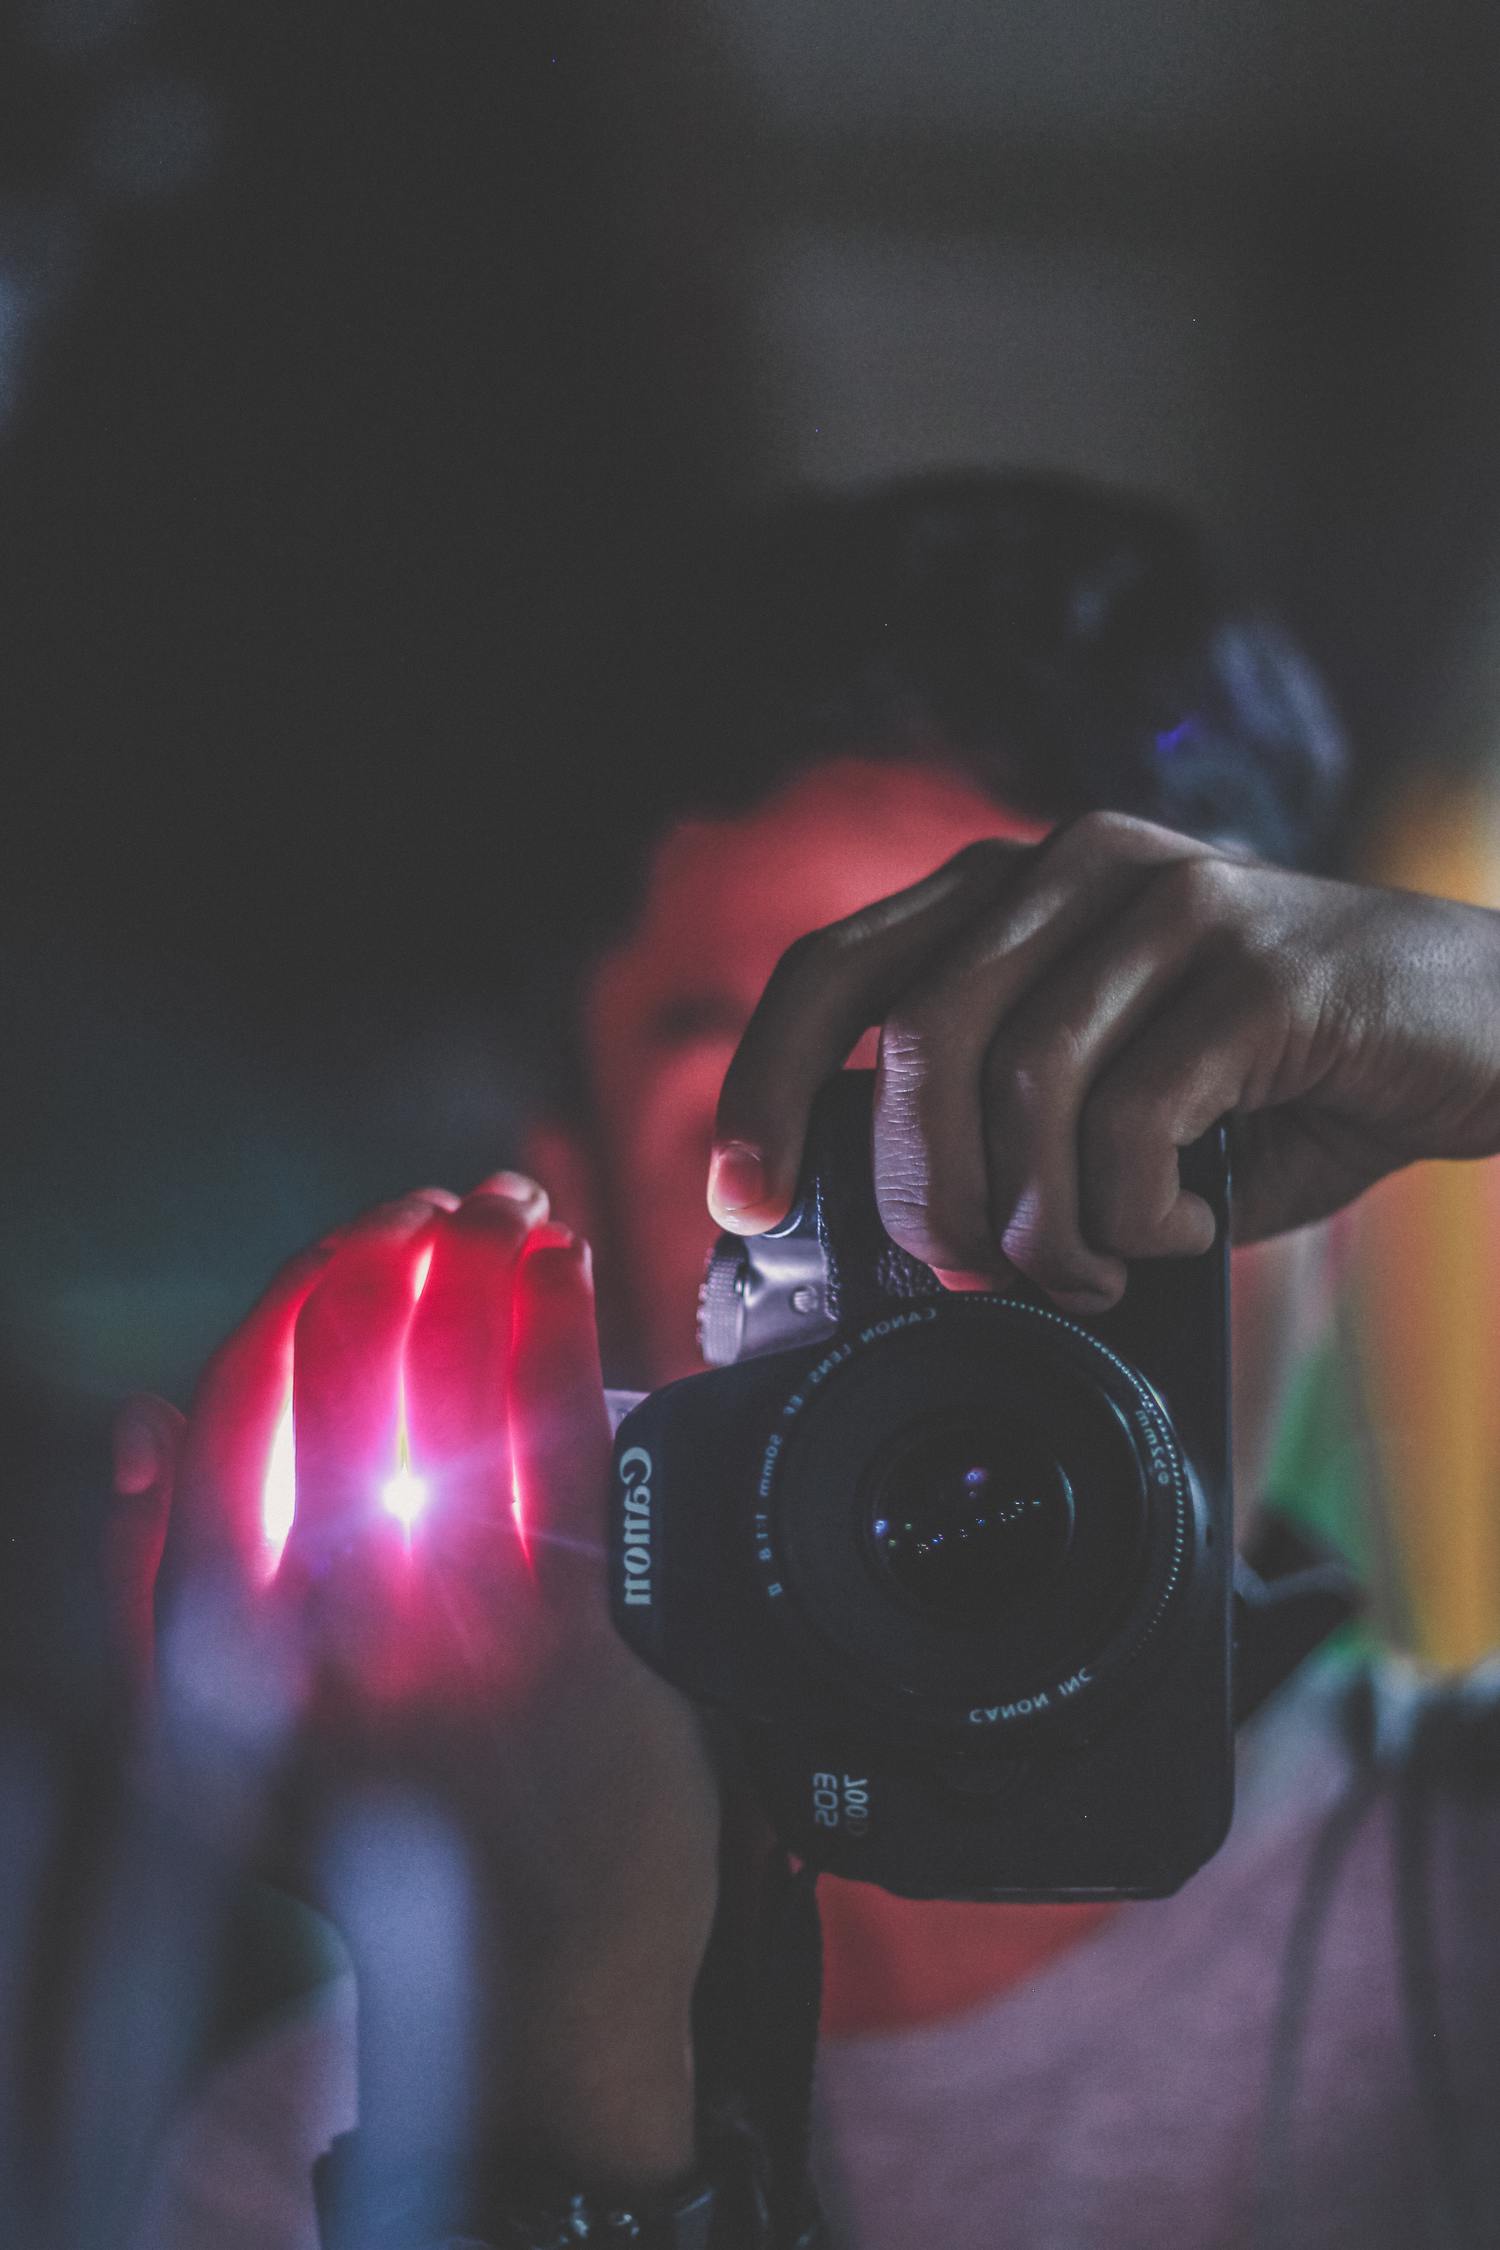
- Stray Light: Stray light is any light that enters the lens in an uncontrolled manner. The one that we have not sought in principle. It manifests itself in the form of flares , halos, flashes or whitish mist-like curtains that are produced when light falls directly on the target. Mistake or creative opportunity? ?
- Incorrect metering mode: If you are shooting a very specific light (for example a dark background and a single light source), a matrix mode will not work correctly for you. You have to know how to choose a mode for each situation.
- Noise in the image: lower the ISO, if you do not have enough light, use a tripod. Trying to recover an underexposed image also generates a lot of noise. Always try to correctly expose the shadows.
- Underexposed image: Open the diaphragm to let in more light, slow down (you may need a tripod to do this), or increase the ISO (carefully).
- Overexposed image: Try increasing the speed, reducing noise, or closing the diaphragm.
- Non-Neutral Cast: Corrects the color cast of the image through white balance.
- Shoot in JPEG: The JPEG format automatically compresses and processes the image in the camera making any type of image editing already done on a poor quality file. If you want to become a genius of light, better always use the RAW format.
- High Dynamic Range: When there is too much difference between the highlights and shadows in an image, the camera is unable to expose both correctly. In this case, you have to know how to give up one of the two or use bracketing or exposure bracketing .
