

In this guide I propose to reveal all the secrets of manual mode. Because when you see a spectacular portrait with a blurred background, a long-exposure night photograph that leaves you speechless, or a landscape with spectacular sharpness...
When you look at all these apparently offline photos, they all have something in common, guess what it is ? Well, the secret is that, to do those incredible magic tricks with light and movement, manual mode has been used.
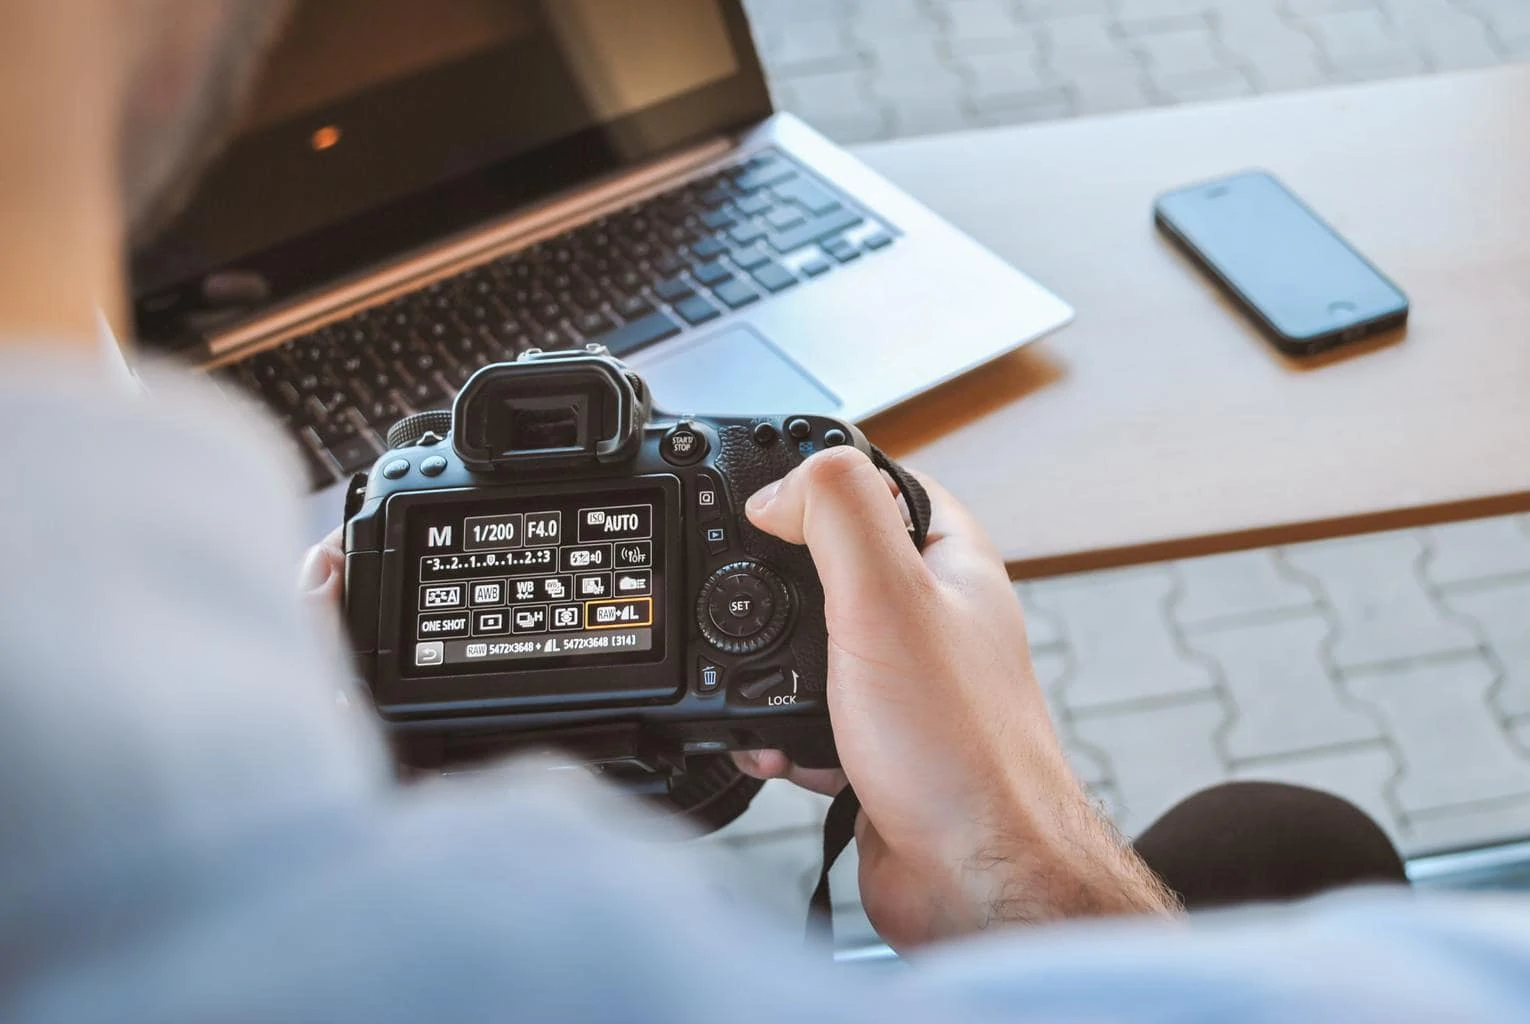
Learning to photograph in manual mode was a before and after for me when I started in the world of photography and surely it will be for you. So open your eyes, relax and get ready to learn how to shoot in manual mode once and for all.
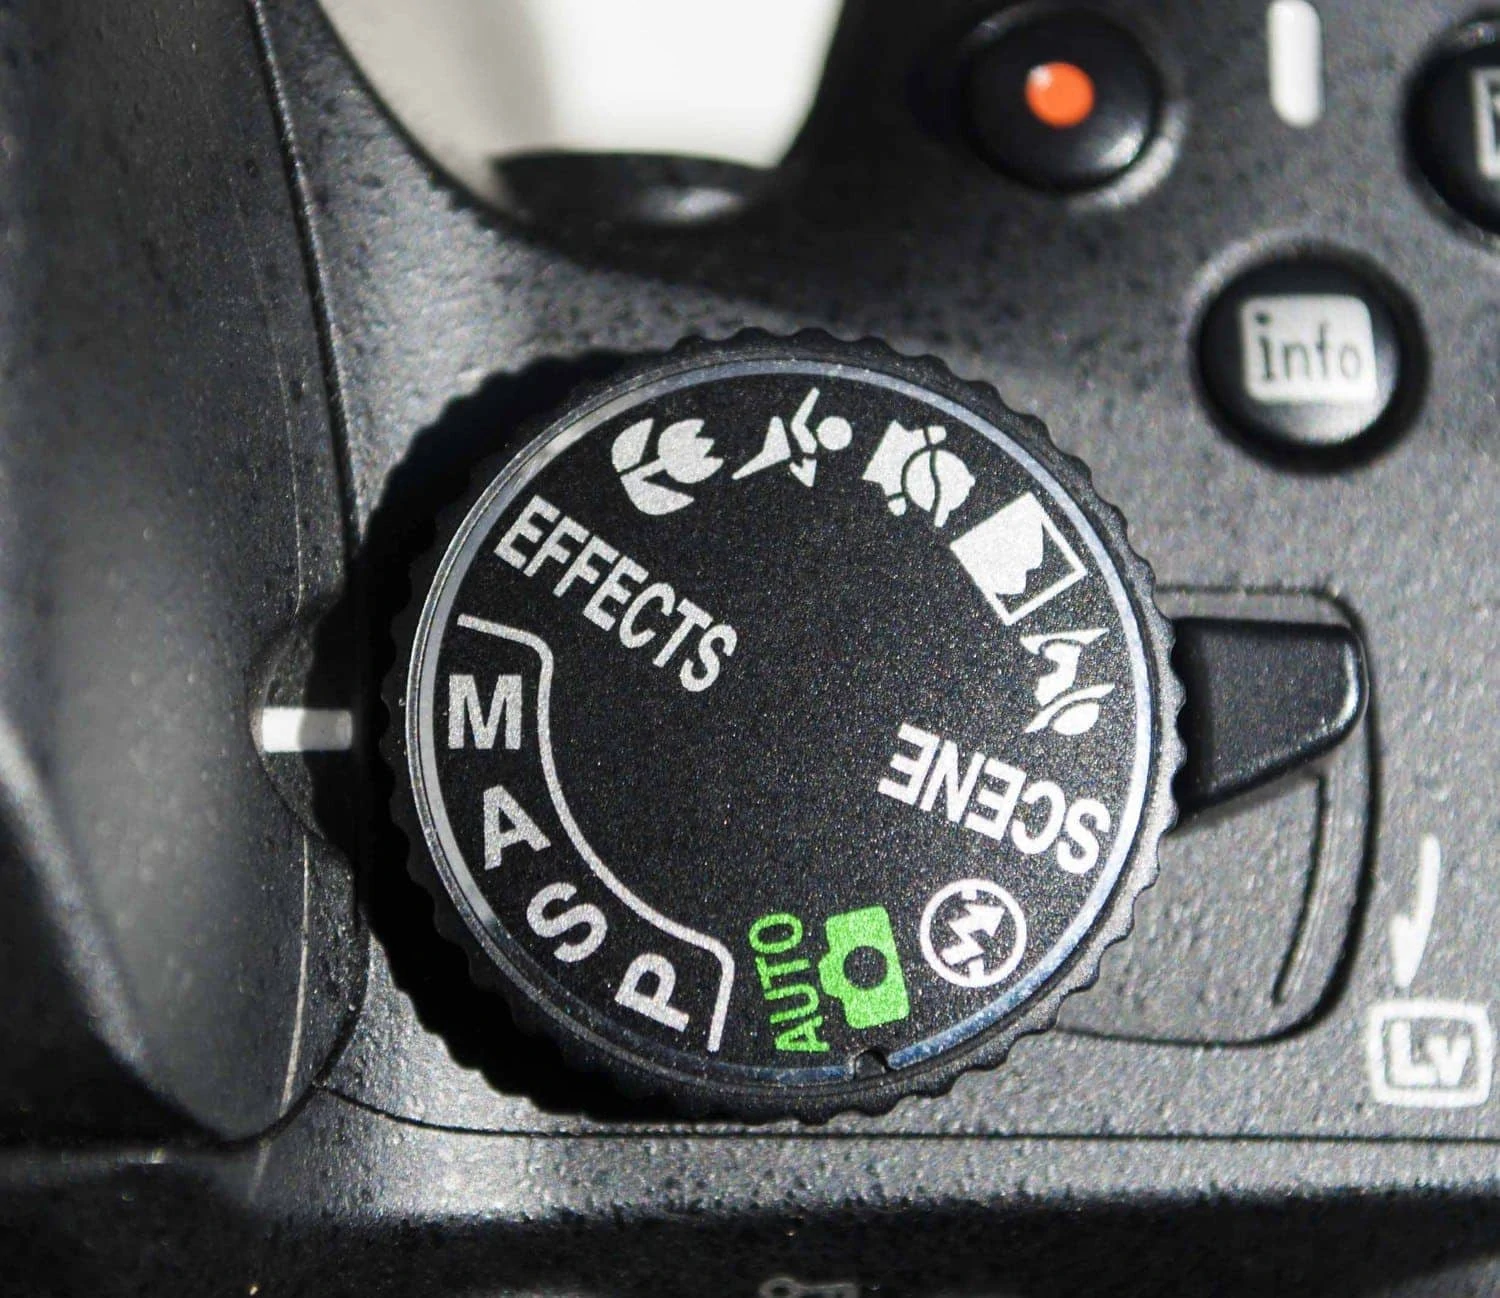
WHAT IS MANUAL MODE IN PHOTOGRAPHY?
The manual mode (M) is the one that allows us to decide all the aspects of the photographic capture: if we want more or less depth of field, more or less sharpness, freeze the movement or capture it, etc. Therefore, it is the most precise way to photograph that we have and the one that gives us the most creative freedom.
Manual mode, therefore, is the answer to any question you ask yourself at the photographic level. If you want to make a long exposure , freeze a drop of water, blur the background of a portrait or a clear landscape from start to finish... everything! you will get it photographing manually.
Now, is manual mode the best way to start photography? Let's say you've always been shooting automatically, or you've just made the leap from your mobile phone to your first SLR or mirrorless camera. Is it advisable to jump directly to manual mode?
I leave you the answer in this video and it has to do with the semi-manual or semi-automatic modes.
WHAT IS THE EXPOSURE TRIANGLE?
Whether learning how to shoot in manual or semi-automatic mode, the first and most important thing you need to know is how the exposure triangle variables work . Once you master it, you will see that there is no photo that can resist you. Let's see what it is.
As you can see in the graph above, the exposure triangle is made up of three variables: ISO , aperture , and shutter speed. All these variables have in common the ability to contribute or subtract light depending on how we use them. On the other hand, each one has a "secondary effect" associated with this ability to add or subtract light.
I tell you.
SHUTTER SPEED
Shutter speed is how long the shutter stays open letting light through to the sensor (where the image is printed). The longer this time is, the more light enters the sensor. On the other hand, if the shutter remains open for less time, less light reaches it.
As a "side effect" to the shutter speed, we find that:
- At fast speeds (the shutter opens and closes rapidly) the movement of the scene is "frozen". It is useful, for example, when we want to photograph someone running, a drop of water, or any situation that we want to “freeze”.
- On the other hand, at slow speeds (the shutter remains open for longer) we achieve that all movement that occurs during this time is printed on the image. Imagine light trails from cars, or the silk effect in rivers, for example.
In most cameras you also have the "Bulb" Mode. This mode refers to the shutter speed, but for those speeds that exceed the maximum established in each camera, which is normally around 30″. Once this time has passed, the camera offers you this completely manual method in which you must open and close the shutter "manually". It is mainly for very long exposure night photography.
We explain here in detail what the Bulb mode is.
Going back to the shutter speed, in this article you can go deeper because we explain everything very, very detailed (and very easy to understand), but if you prefer another type of format with more images and less text… inside video!
DIAPHRAGM APERTURE
The aperture of the diaphragm is also directly related to the entry of light from the lens to the sensor of our camera.
The diaphragm is located in the objective and depending on the value that we indicate, it will let more or less light through. The aperture of the diaphragm is established by the letter f/ and the maximum and minimum aperture values depend on each lens.
The more open the diaphragm is, the more light passes to the sensor (and the f/ value is lower) and the more closed the diaphragm is, the less light we let through to the sensor (and the f/ value is higher).
- The larger the diaphragm opening, the more light, but at the same time the depth of field is reduced (the area in focus in the image is smaller). Ideal, for example, for portraits and any photo in which we want a great blur.
- The smaller the diaphragm opening, the less light but at the same time the depth of field is expanded (more focused area in the image. Ideal, for example, for landscapes.
You can go deeper into the diaphragm opening in this complete article.
ISO
The ISO is the level of sensitivity of the sensor to light. The higher the ISO value, the more sensitive it is to light (for example, when we need light for night or indoor photography). The lower the value, the less sensitive to light (for daylight images with natural light, for example).
As a "side effect" of the ISO value, we find:
- At a high ISO value, more light is capable of capturing the sensor, but at the same time, more noise appears in the image (less sharp). Tip: Ideally, you should find out at what ISO value your camera stops giving acceptable results in terms of sharpness, and try not to exceed it.
- At low ISO, the sensor captures less light but maintains a sharper image. That is, the lower the value, the sharper (it would be approximately around 100 ISO).
You want to know more? I recommend our most complete article on ISO in photography.
THE STEPS IN PHOTOGRAPHY AND MANUAL MODE
Summarizing what I have explained to you so far, exposure is controlled through three variables: aperture, shutter speed, and ISO.
Now, how are they related to each other? Well, through what in photography we call "the steps". We have them very well explained in this article, so I won't go on too long but, above all, the steps in photography are the way in which the three variables of the exposure triangle are related to each other to find a correct exposure. Basically it is a matter of compensating between the three variables, the addition or subtraction of light that we do with each one of them. For example, going up one light stop is going from ISO 100 to 200 or going from an f/4 aperture to f/2.8.
For example, starting from an image with a correct exposure, if I open the diaphragm because I want to blur the background of my portrait more, by doing so I will be letting more light in, which means that, if I do not correct this "extra" entry of light, the image will be overexposed. To correct it, I will play with the other variables: ISO and/or speed. In this case, I can take the opportunity to lower the ISO to obtain more sharpness in the image or, if I already have it at a minimum or I need more shutter speed, I can take the opportunity to photograph at a faster speed.
Learning the relationship of the three variables is synonymous with learning to shoot in manual mode. There is no more secret than that. So I recommend that you stay at this point for as long as necessary because here is the key to photography in manual mode.
Are you still not clear? Think about balance, everything that you "unbalance" on the one hand (by adding or subtracting light) becomes unbalanced and, therefore, you must balance it in some way. If you subtract a point of light on one side, you simply have to add it on the other ;). It's easier than you think!
At this point I advise you to take the camera and practice seeing the relationship of the three parameters in your exposure. Do several tests: open the diaphragm and compensate first with the speed, then with the ISO. Then play with the speed and compensate with the aperture, then with the ISO, and so on. Enter here something with a somewhat ugly name, but really simple: the Law of reciprocity. In this article we explain it to you very easily and with examples to learn how to balance the exposure triangle. An essential read.
Wow, you don't have the camera at hand… well, I have the perfect solution! Did you know that there are photographic simulators with which to practice without a camera and without leaving your chair? What are you waiting for to try them?!
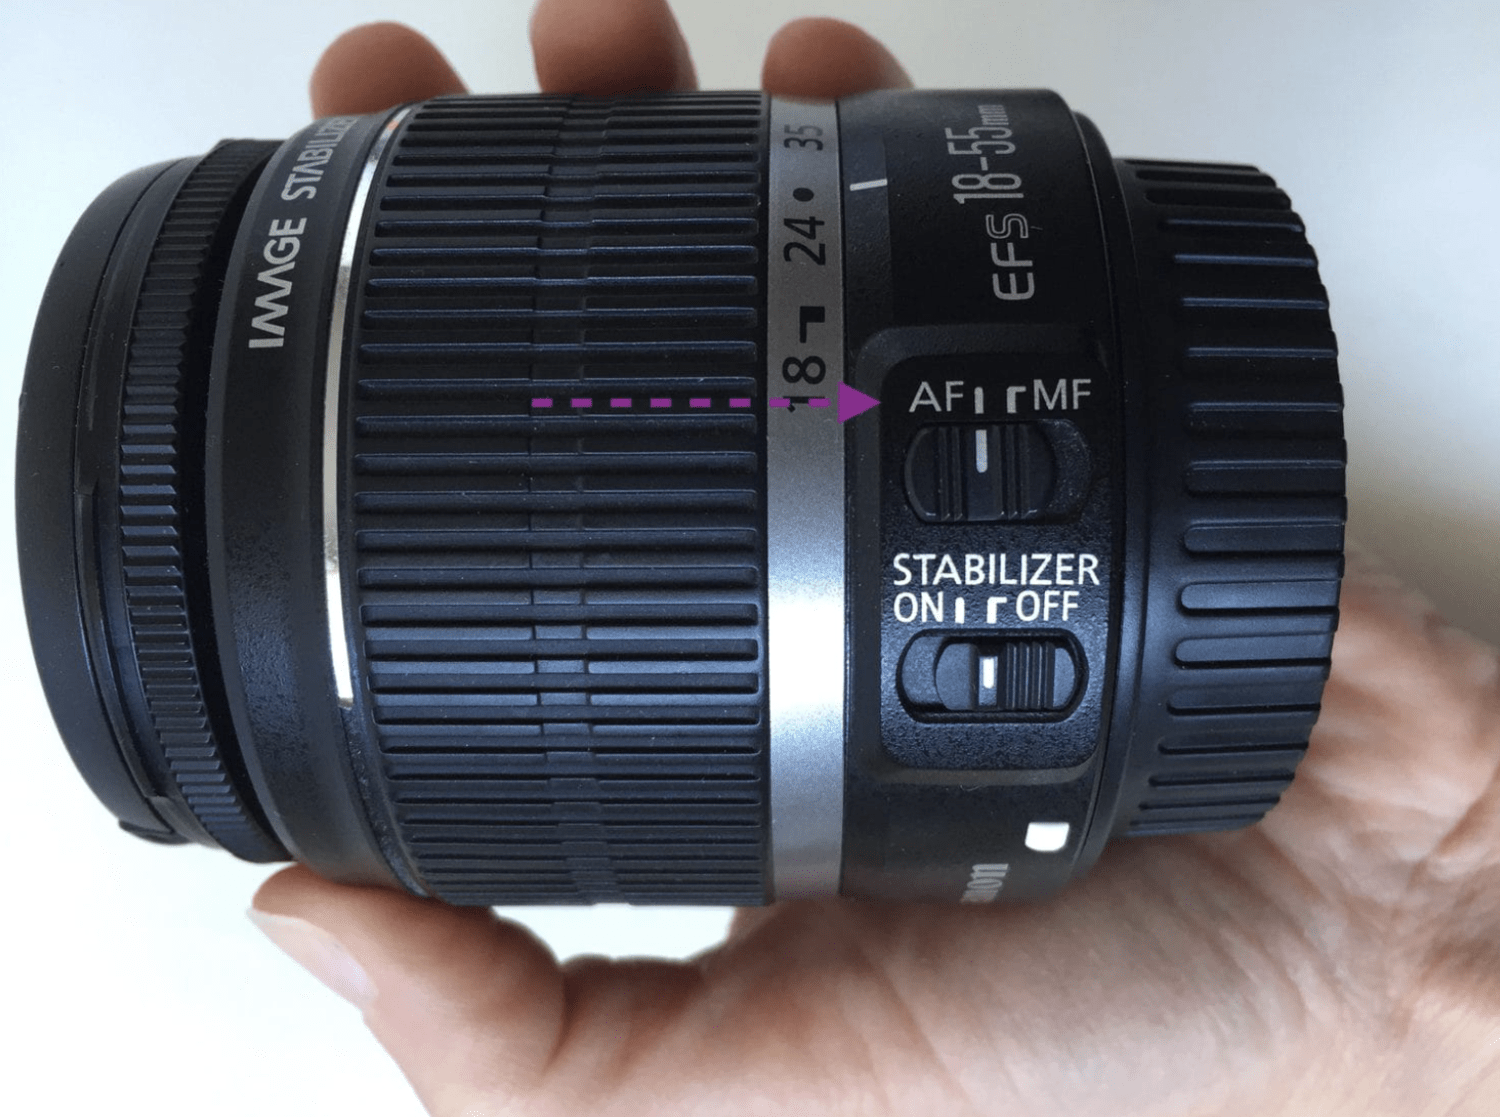
FOCUS IN MANUAL MODE
Focus problems are surely some of the problems that most drive photographers headlong and, although cameras are getting better in this regard every day, there are still times when autofocus is not the correct solution.
In these situations I recommend using a manual approach:
- When there is little contrast, the focus is lost and it fails to focus.
- When there is very little light.
- When you exceed the minimum focus distance of your lens.
- When you want to focus drops of water on a glass.
- When you want to focus, for example, some specks of dust.
You can switch to manual focus , usually on the camera lens itself (MF).
TRICKS TO LEARN TO USE MANUAL MODE
If you are clear about the functions of the aperture, speed or ISO, it is time to start tinkering with manual mode. I do not advise you to start practicing at a decisive moment, in front of the most important photograph of your life. Do it calmly, when you don't really need that photograph in front of you, even at home, from your comfortable sofa.
Defining moments will come with practice; It can be very frustrating to lose a great photo to the pressure of shooting manual when you haven't mastered it yet, so without pressure, don't go shooting your best friend's wedding in manual mode if you haven't mastered it yet, it would be a total disaster. .
That being said, there are a few tricks that are going to help you on that learning curve that you started by reading this article on manual mode. My first piece of advice is to apply the 7×7 rule, I explain what exactly it is in this article.
You will find another 6 methods that I give you to photograph in manual mode in this other article and if you are more of a visual memory, I have an exclusive infographic for you with tricks to learn how to use manual mode that you will love.
There is no exact recipe, what I can assure you is that you can only learn with practice and perseverance. That is the most important part.

MANUAL MODE PROBLEMS
Some problems that you may encounter when photographing in manual mode, and which are to blame for many failed attempts, have much simpler solutions than you might imagine a priori .
Here are 6 of the most typical problems you'll encounter shooting in manual mode (with their solutions) .
SEMI-AUTO MODES
If you have taken a look at the article that I linked to in the previous section, you will have been able to see that one of the errors of manual mode may be precisely believing that using it is always the best option. While I'm a strong advocate of manual mode for your photography, I don't think it's the best mode to “always” shoot. I may love coffee (and I drink a lot), but it's not the only thing I drink and in any circumstance. With Manual Mode the same ? .
There are situations that require great agility when shooting in which the manual mode would not be the most convenient, such as street photography , for example. For this we have the semi-automatic modes, which allow us to find an intermediate point between the precision of a manual mode and the speed of an automatic mode.
I tell you all this about the semi-manual modes in more detail.
SEMI-AUTOMATIC MODE WITH APERTURE PRIORITY
Depending on the brand of your camera, you will find it under the abbreviation A or Av. If in doubt, always look at your camera's user manual. You can take a look at our camera encyclopedia, where it is very likely that you will find the manual of your camera to download it , I hope it helps you.
That being said, let's see how the aperture priority semi-manual (or semi-automatic) mode works. In this case, you are going to indicate to the camera a diaphragm opening with which you want to photograph. The camera will automatically compensate that data with a certain speed to get a correct exposure.
Simple, right? So you can control the blur while your camera compensates for speed.
SHUTTER-PRIORITY SEMI-AUTO MODE
Speed priority mode is identified under the abbreviation S or Tv. In this case, you are in charge of indicating to your camera what speed you want, and your camera will adjust the diaphragm aperture values itself to achieve a correct exposure.
You can go deeper if you need it, in my article on semi-manual modes or in this other one, where we explain that, as you already know, there is life beyond automatic mode ?
BEST COMPACT CAMERAS WITH MANUAL MODE
We already know that EVIL and SLR cameras come standard with manual mode, so if you have a camera of the previous type, you won't have a problem. If you need recommendations on the best SLR cameras for beginners , I recommend the link article with my favorites and if you are looking for a mirrorless, do not miss what we consider the best EVIL cameras .
Now, if what interests you is an ultra-light and compact camera with good features, you may wonder, are there compact cameras with manual mode ? And the answer, my friend, is yes (I hear applause around there ;P) and some with very good features, too. These are my recommendations for compact cameras with manual mode:
- SONY DSC-HX60
- PANASONIC LUMIX GX80
- PANASONIC LUMIX TZ70
- PANASONIC LUMIX TZ57
- SONY CYBER-SHOT RX100
- CANON POWERSHOT SX740 HS
This list of cameras is taken from my article on the best compact cameras. In it you will find specific information on each of them, such as price and benefits. So if you are interested in a good compact with manual mode, be sure to take a look.
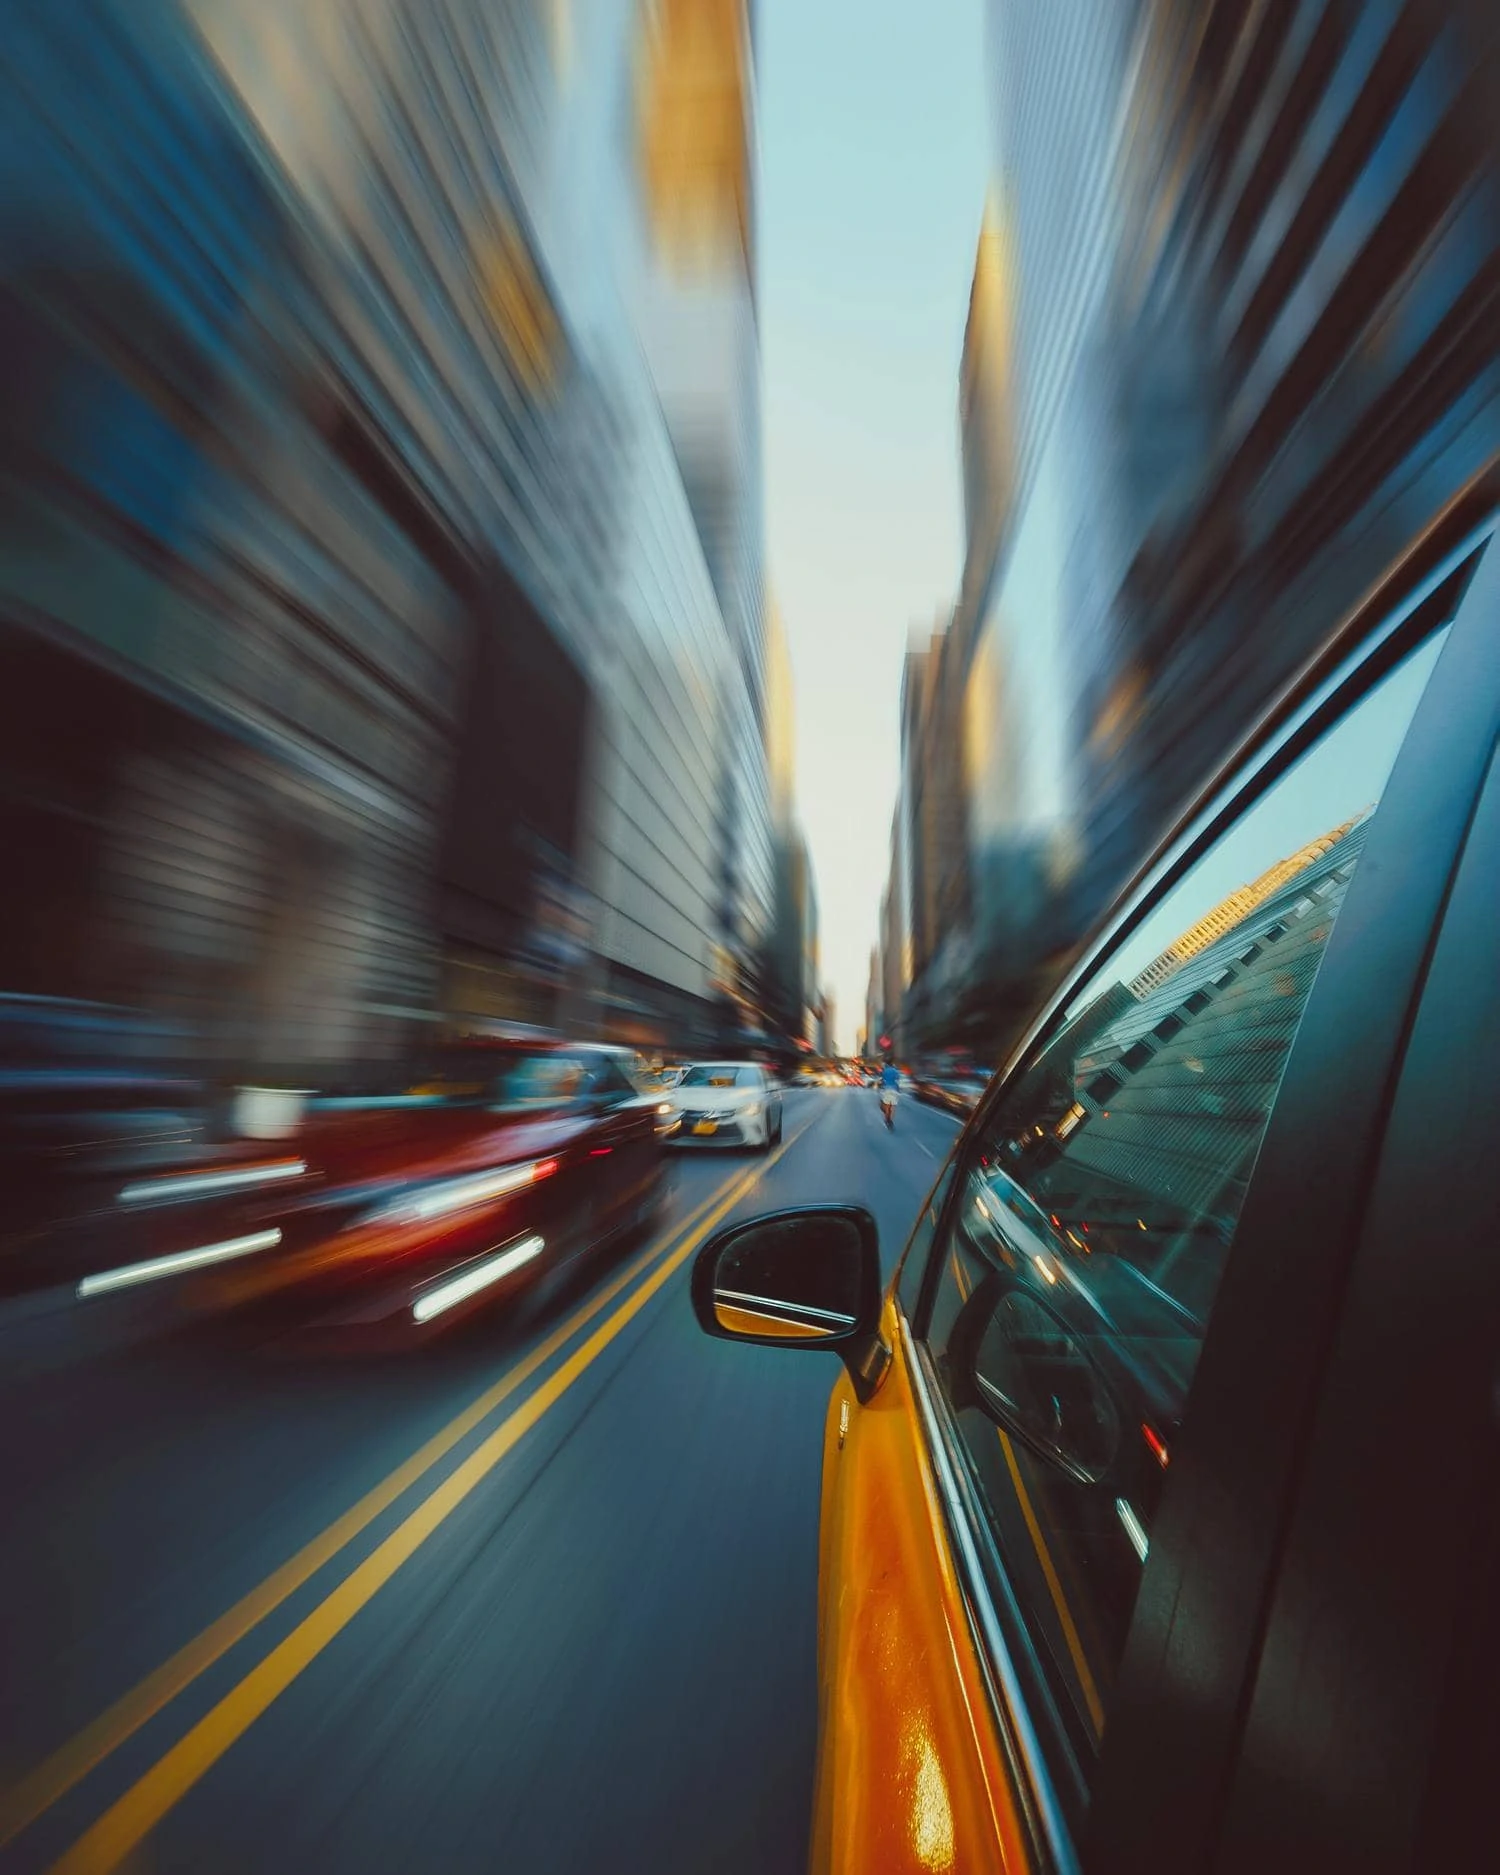
TECHNIQUES THAT YOU WILL ONLY ACHIEVE WITH MANUAL MODE
If I still haven't convinced you 100% to use it, take a look at the spectacular photos that I show you below and that are achieved with manual mode (and only with it).
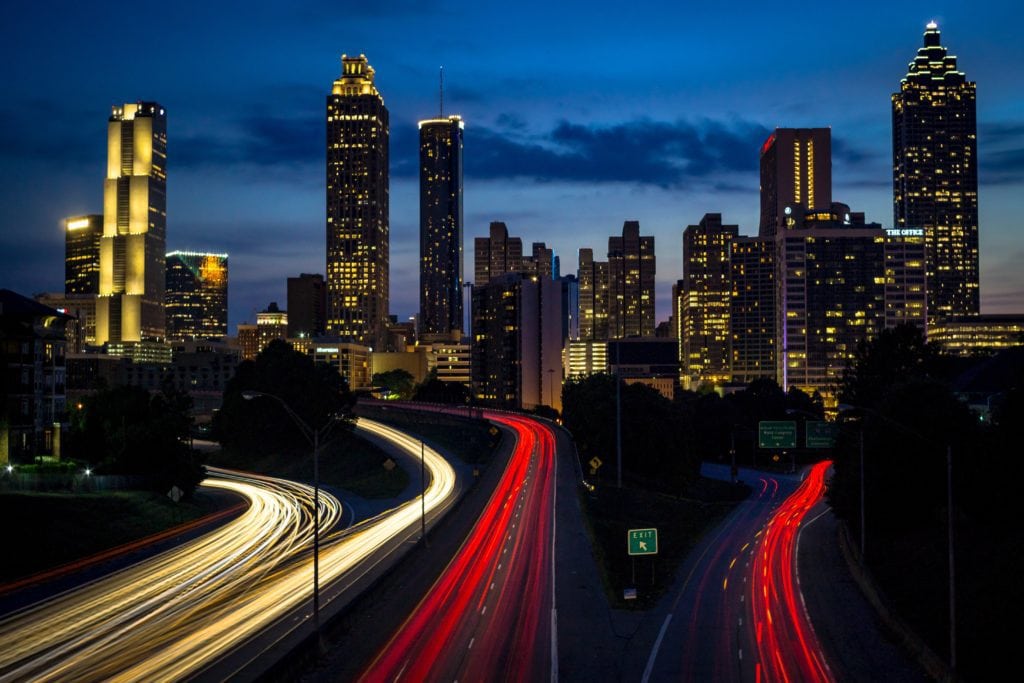

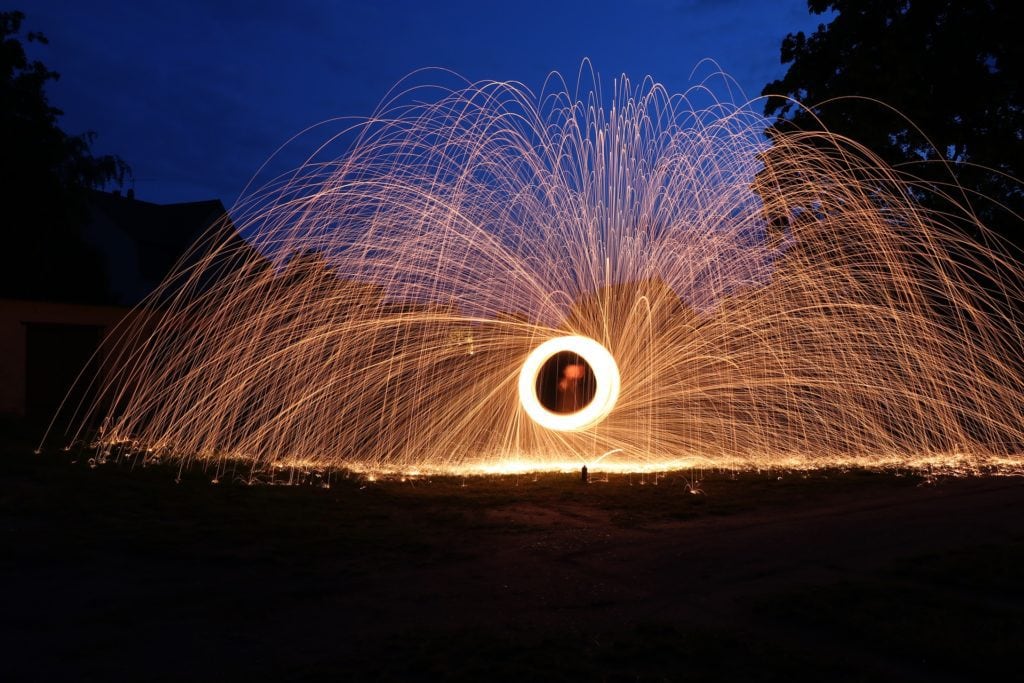

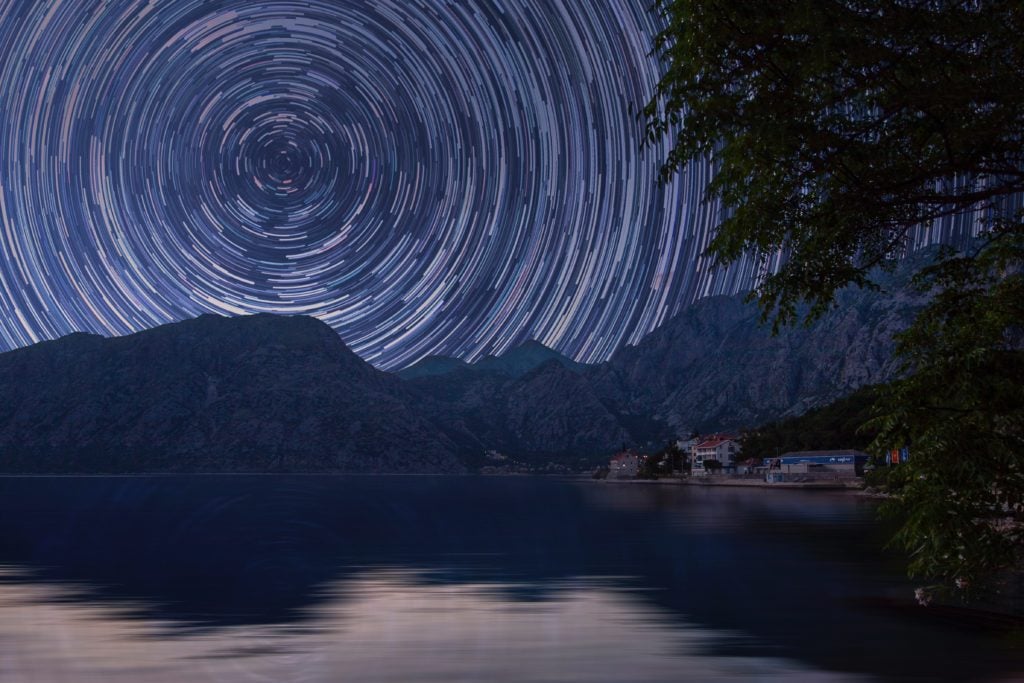
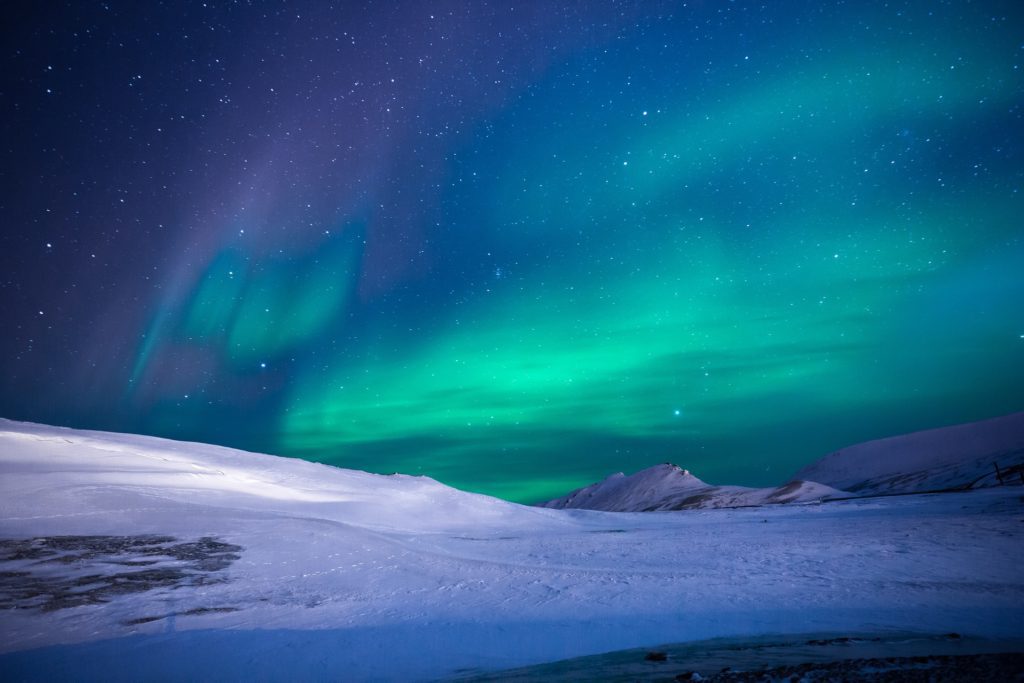
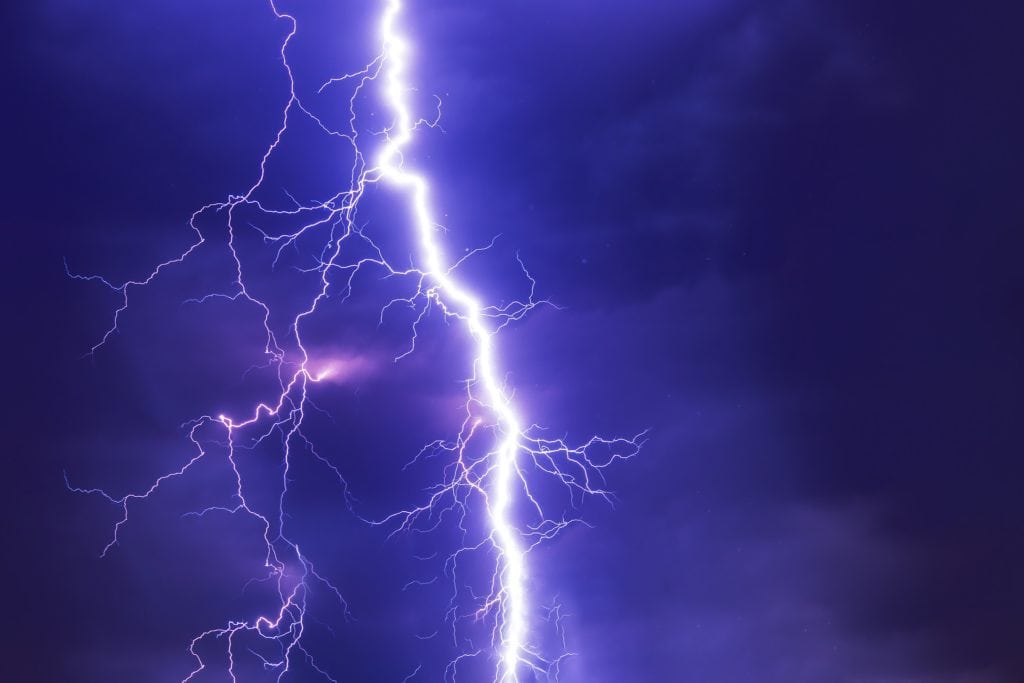


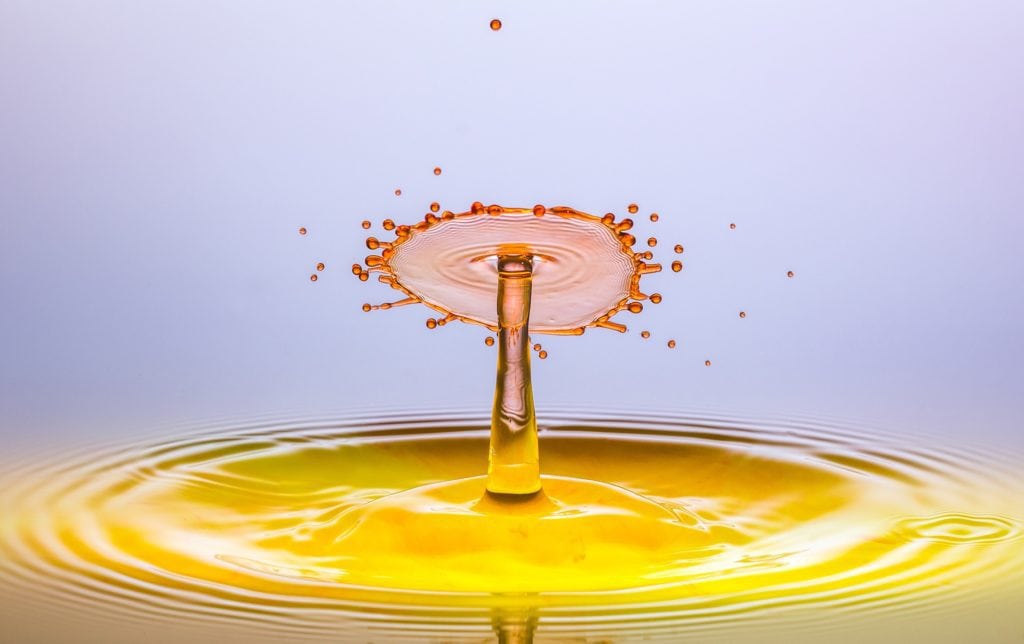

Surely now I have convinced you, right? They are quite a show!
Well, these are some of the techniques used, they link you to the articles that we have dedicated specifically to each of them, with tricks, tips and/or tutorials:
- light painting
- light trails
- Northern Lights
- Good heavens
- silky effect
- zooming
APPLICATIONS FOR YOUR MOBILE CAMERA WITH MANUAL MODE
Today there are numerous mobile applications that integrate manual mode, both for iPhone and Android . This means that you can photograph with your smartphone in manual mode and practice all these techniques that I just told you about.
Within this complete guide that I prepared on mobile photography you will find a good selection of them, as well as very relevant information if your thing is photography with a smartphone or if it serves as a complement to your main camera.
RECOMMENDED BOOKS ON MANUAL MODE
A lot has been written about manual mode, although not always in an understandable or specific way ? . I suppose you've already realized this, that's why, from the team, we created an affordable publication, for all audiences, an ebook on the manual mode very much in line with our articles on the blog, one of our best sellers , in fact. Complete, easy to understand and simplified, a book that will bring you closer to the fascinating world of photography in manual mode .
If you know of a specific and affordable book on manual mode, I encourage you to add it in comments. Honestly, I have not found any on the subject that I can share with the peace of mind that it is in an understandable language.
CONCLUSIONS
Manual mode is a bit like flash, when you don't know it, it terrifies you. You think that it is not for you, that this is for professionals, because you have tried it a couple of times like this, fiddling without rhyme or reason and, of course, everything has turned out badly. Normal, imagine driving a car like that out of nowhere, having skimmed through without ever having practiced before…
How do you think you would do it?
Now, would you give up? I don't think so. The manual mode is the same, always learn the theory with the camera in hand, please practice, dedicate a while to trial and error on each of these topics. Every minute that you invest in learning the concepts that I have tried to convey to you above, will be the best minute invested in your entire photographic process.
Because manual mode is going to change your life. Yes, just as you hear it. If photography is your passion, manual mode is going to be your way of expressing it, giving shape and life to your ideas. So please, practice, read and reread this article as many times as you need until you say "got it", "got it".
And don't think you're going to need your whole life to get to that moment. It is much simpler than you think, although sometimes it is difficult to see it with the naked eye.
