
![MATERIAL TO LIGHT YOUR FIRST PHOTO STUDIO WITHOUT RUINING YOURSELF [UPDATED]](https://photographychef.com/wp-content/uploads/2023/01/MATERIAL-TO-LIGHT-YOUR-FIRST-PHOTO-STUDIO-WITHOUT-RUINING-YOURSELF-UPDATED.jpg)
One of the desires that almost all photographers who begin to take their first steps in this art have is to set up their own photographic studio. Having ample space for the art to flow sounds almost idyllic, doesn't it? This wonderful dream can be much closer to reality than you imagine. Have you heard about the Strobist philosophy? Did you know that the material to light your own studio is much more accessible than you imagine?
You don't have to wait until you are a professional who earns thousands of euros to start setting up your own photographic studio, since the material necessary to illuminate it is much more accessible than you might imagine. As the well-known saying goes: “Don't leave that photographic studio that you can set up today for tomorrow”. And don't leave reading this mega guide until tomorrow to know all the aspects related to lighting in photography, because what you find in this mega guide will be very useful for you to master the light in your images.
THE STROBIST PHILOSOPHY
Back in 2006, a photojournalist named David Hobby started, perhaps unintentionally, a revolution in terms of lighting in photography.
From his blog, called Strobist, he began to explain to all the amateur photographers the different lighting techniques with which he was able to achieve in each of his photographs that he later sold to the newspapers, but emphasizing, instead of the equipment, in practical knowledge. Thus, with just a few flashes and diffusers, he has managed to bring the amateur photographer closer to professional photography.
Strobist stopped being just a blog to learn how to light, it became almost a whole philosophy.
Although the necessary equipment to light your photo studio is important, you should not lose sight of the fact that the most important thing is the way in which you use your ingenuity and your knowledge so that you can turn the photographs you have in mind into reality. That's where the Strobist philosophy comes to life.
The fact that the equipment and materials necessary to set up a top quality photographic studio are very expensive and at the same time huge and heavy, does not mean that you cannot achieve an enviable quality using equipment with somewhat more modest benefits. That's what I'm going to show you today.
LIGHT SOURCES TO ILLUMINATE YOUR PHOTO STUDIO
Next, I have prepared a brief list of the different light sources that you can use and the various photographic accessories that will help you shape it to your liking.
CONTINUOUS LIGHT
Continuous light is any light source that “shines at all times”. This type of equipment, such as a fluorescent lamp, a tungsten lamp, a led reflector, a Lume Cube or a halogen spotlight, etc. It will allow your subject to be constantly illuminated regardless of whether or not you fire your camera (as opposed to the flash that activates when you fire it). This is its main advantage, since, being its continuous light, it allows you to observe in detail how the light falls on your model, the shadows that are formed, etc. In any case, they are large, heavy equipment that generates a lot of heat, and therefore, a lot of energy consumption. Except the Lume Cube ?
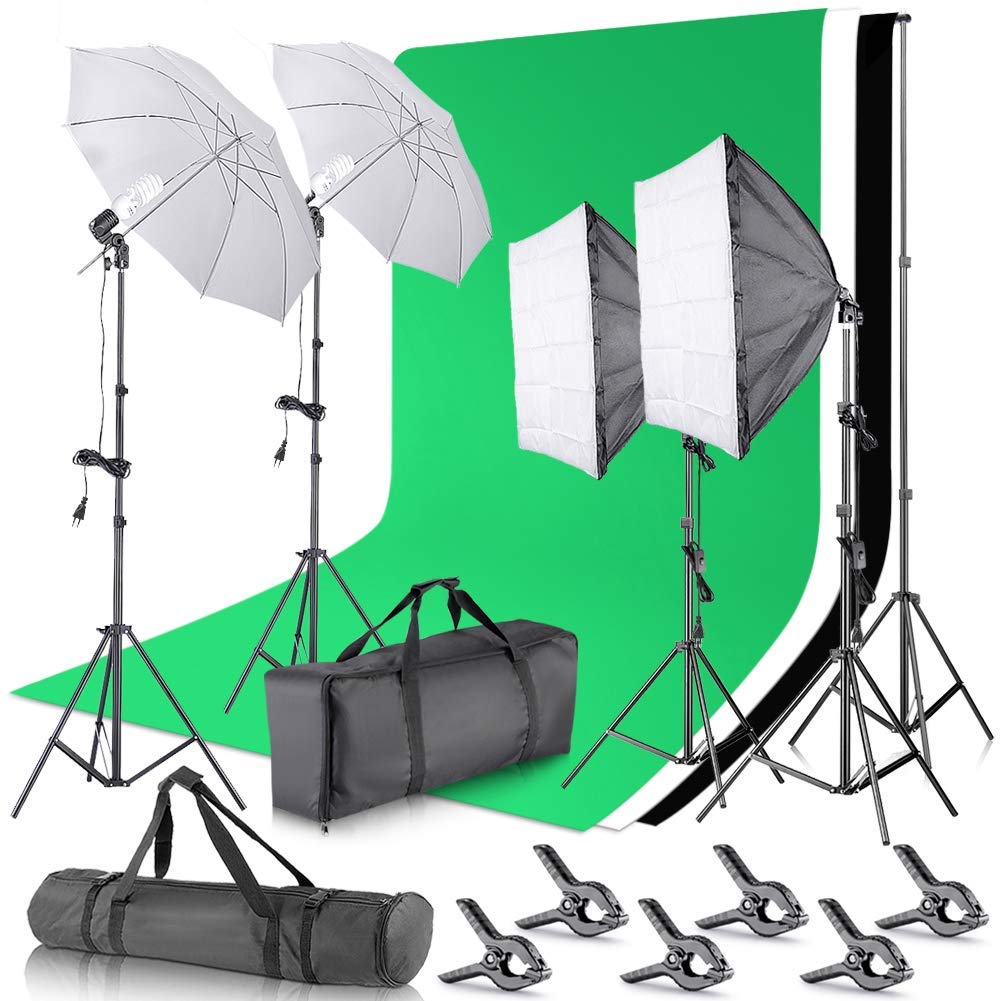
Contrary to what it may seem to you, getting a pair of continuous light bulbs is not expensive at all, at least when you take your first steps. Do a search on Amazon.es and you will find offers like this: Complete studio lighting kit for less than 200 Euros.
EXTERNAL FLASH
It is the most powerful, compact and versatile light source, since due to its size, it is easy to move and you can shoot it directly on your subjects or bounce it or diffuse it as you see fit. You can also work with a set of them since, by placing them around the scene and shooting them remotely, you will be able to illuminate it without cables or connection to the electrical network, as with continuous light, although its light may not be as powerful as the latter. .
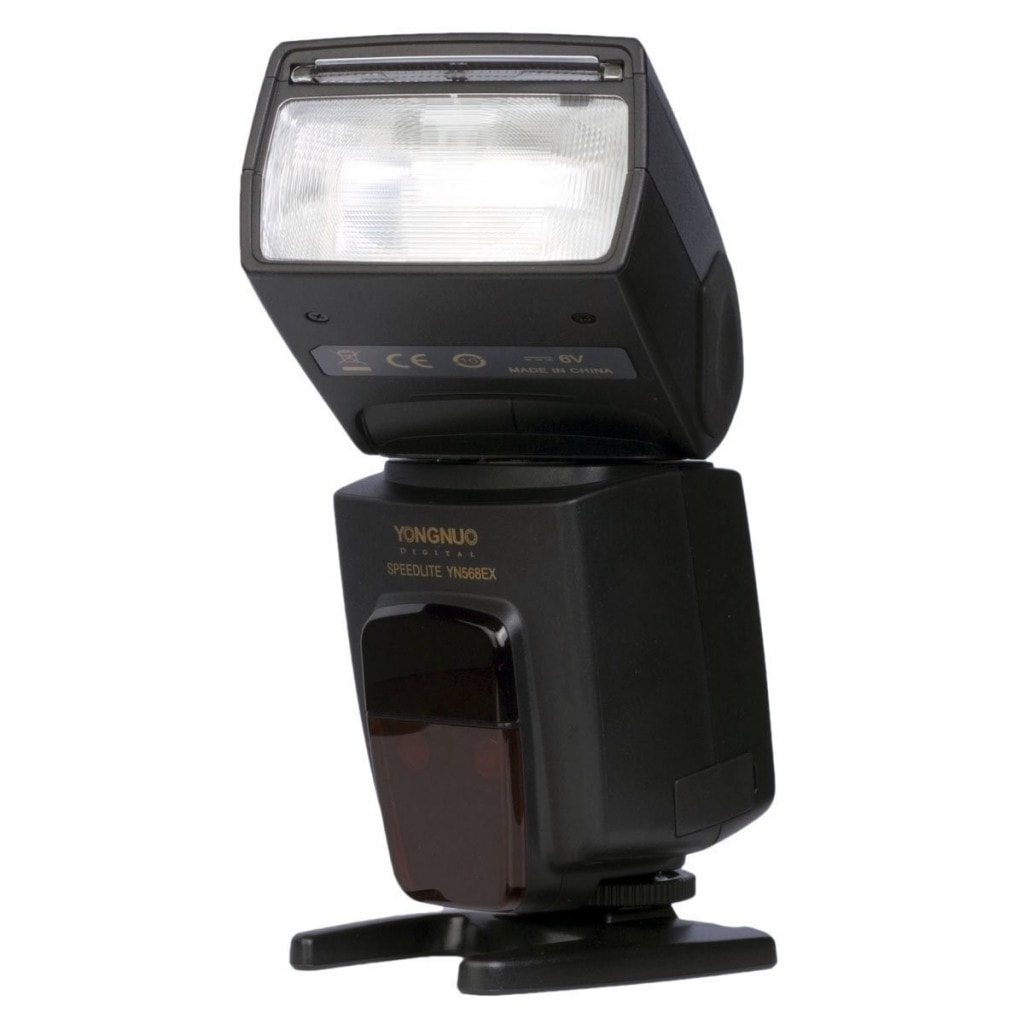
You don't have to buy the most expensive flash from the same brand as the manufacturer of your camera, it doesn't have to be new or the latest model on the market. There are many alternatives, from the "big brands" as well as from other manufacturers with which you can obtain excellent results, although they may not maintain the same functionalities. YONGNUO YN-560 IV Speedlite flashIt is one of those alternatives that is as accessible as it is reliable.
Once you get excited, here's a guide on external flash and here our recommendations for buying a flash .
STUDIO FLASHES
These are more powerful than external flashes and are as large, heavy and not very portable as continuous light bulbs and can be with or without a built-in generator depending on the size of the studio. However, their power and versatility make them ideal for light shaping in the studio. It will only be enough that you place one of the many accessories available in front of it (diffusers, honeycombs, jellies, etc.) so that you can easily achieve the effects you are looking for. They are reliable, durable and very robust lights, so investing in them will not be a bad idea.
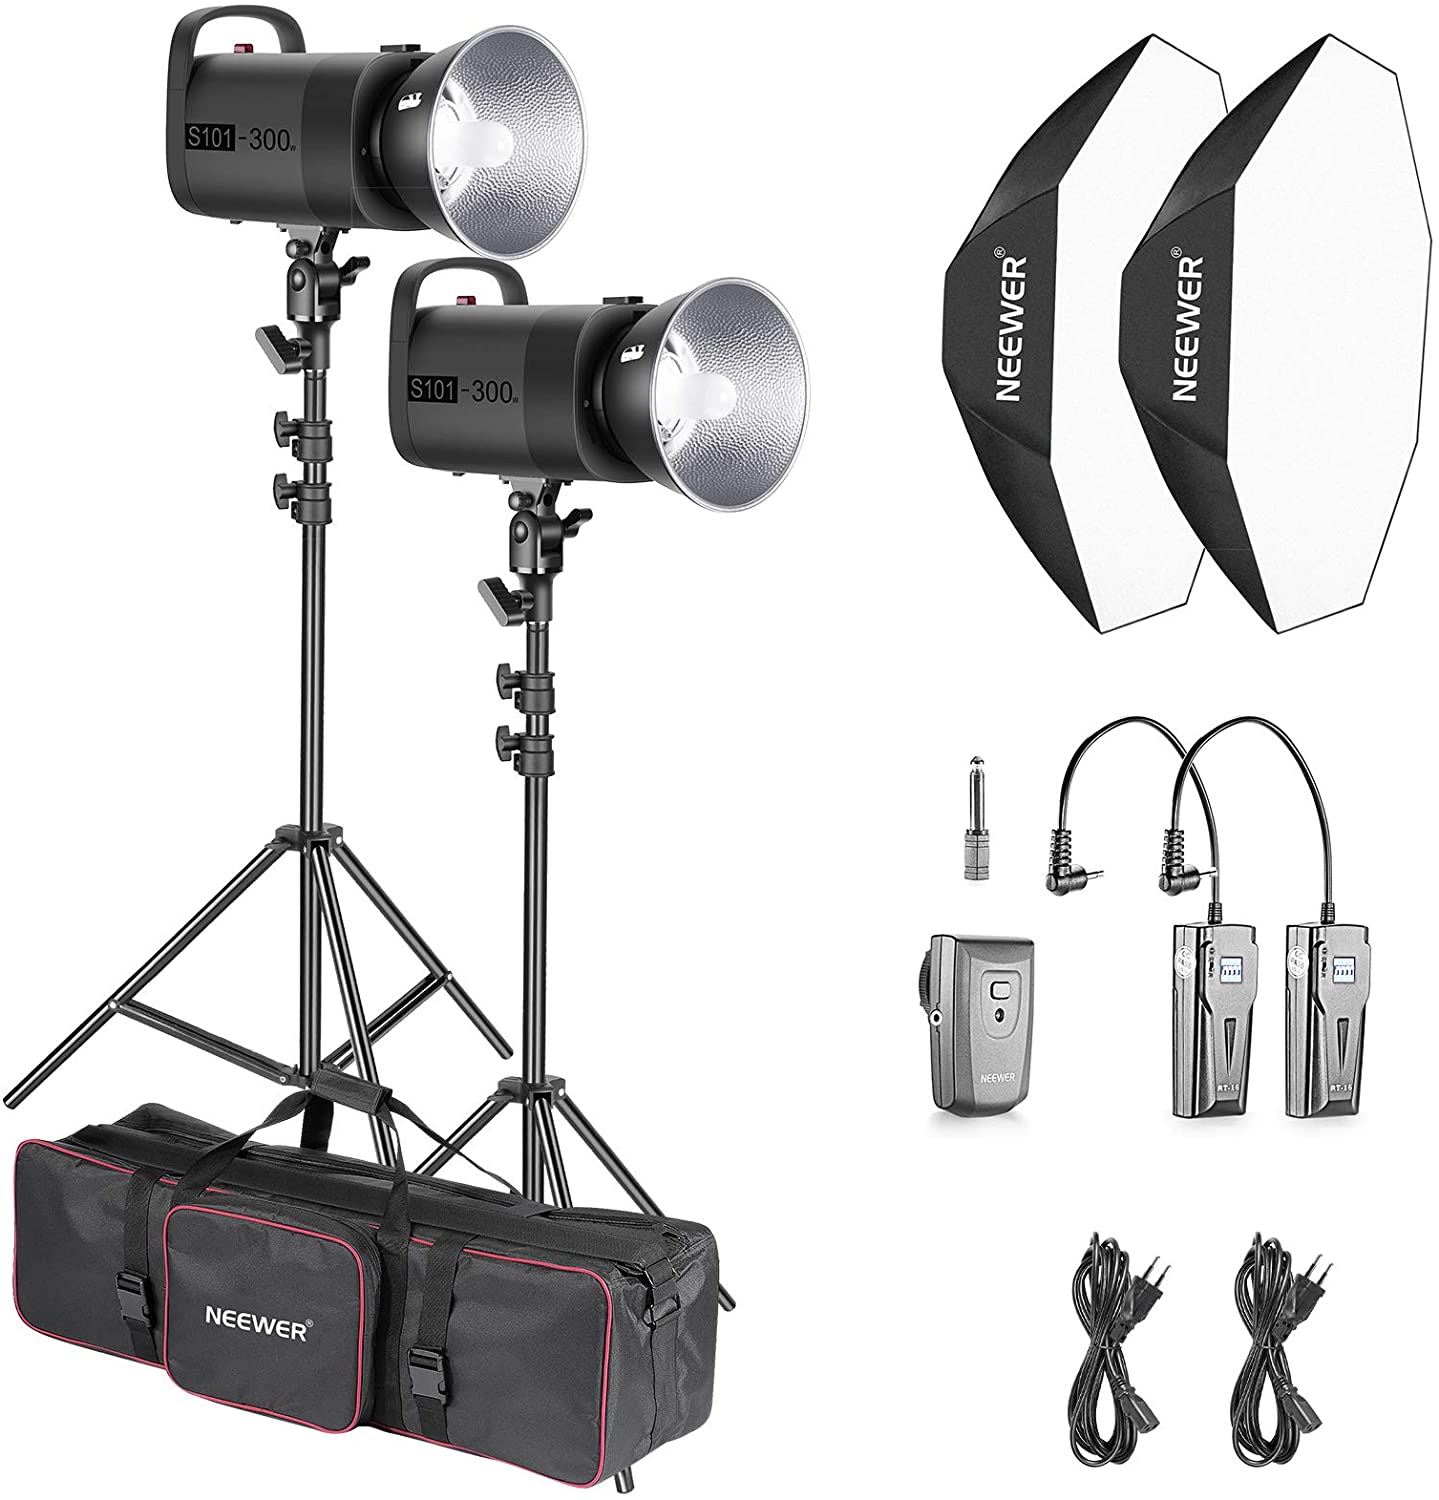
These flashes, compared to the previous ones, are somewhat more expensive and you can find them starting at 200 euros and reaching several thousand. In any case, if you search a bit you will find very accessible options. If not look at these: 2 flashes of Neewer 600W for less than 400 euros. Not bad to start!
MODELING LIGHT
Flashes have a disadvantage: it will be very difficult for you to judge the final aspect that a photograph will have, when you illuminate it with a flash, since it will not illuminate the scene until it is fired. That is why many studio flash heads come with lamps that emit continuous light with the same light effect as that emitted by the flash. In this way, you will be able to work on the scene even if the flashes have not yet been fired.
In any case, this light is not as powerful and does not have exactly the same properties as a flash, but it will be really useful when working in the studio and save hundreds of wasted photos.
So far you have seen some of the main ways for you to light up your photo studio. But this is not all, since not only the generation of light is important, but also its manipulation.
ACCESSORIES TO ILLUMINATE YOUR PHOTO STUDIO
If you are looking for photographic accessories, whatever they are, this is the guide you need. Here we are going to focus on very useful accessories when it comes to lighting your first photographic studio:
REFLECTIVE SCREENS OR REFLECTORS
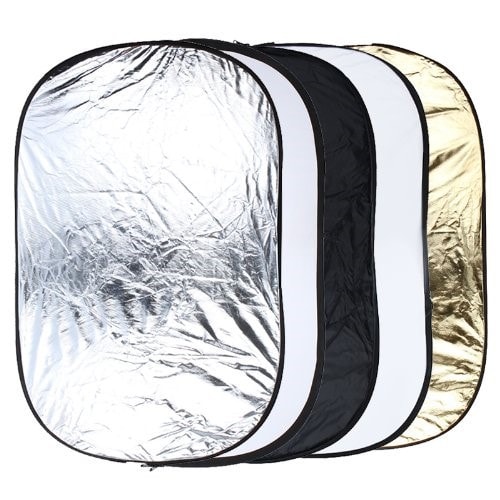
These screens are widely used when modeling light as they will allow you to reflect, intensify or reduce it. Depending on the material with which its surface is made, the light will be reflected in one way or another: it will change its color, its direction, its intensity, etc. There are several types: white to scatter the light, gold to achieve a warmer light, silver for a cooler light, black to absorb it.
They are really cheap: a 5-in-1 set on Amazon can cost you around 15 euros. Here you have one Andoer brand for about 15 euros. You can even make them yourself. I eat? With this tutorial in which we tell you how to make your own reflectors step by step.
LIGHT WINDOWS
Ideal for product photography , light windows or "softbox" are an accessory that allow you to soften the light from the flash or light source you are using. By placing it in front of these, they make the light that passes through it more diffuse and natural. You can also direct the light since, having only one translucent side, the light is concentrated there. Depending on the material with which they are made, their size and the distance at which they are placed from the subject, the light will be more or less natural, that is, more or less diffuse.
To achieve natural results working in a studio, a light window will be essential. But don't worry, they are not expensive at all: you can get yours with a few euros. If not look at this light window: Neewer.
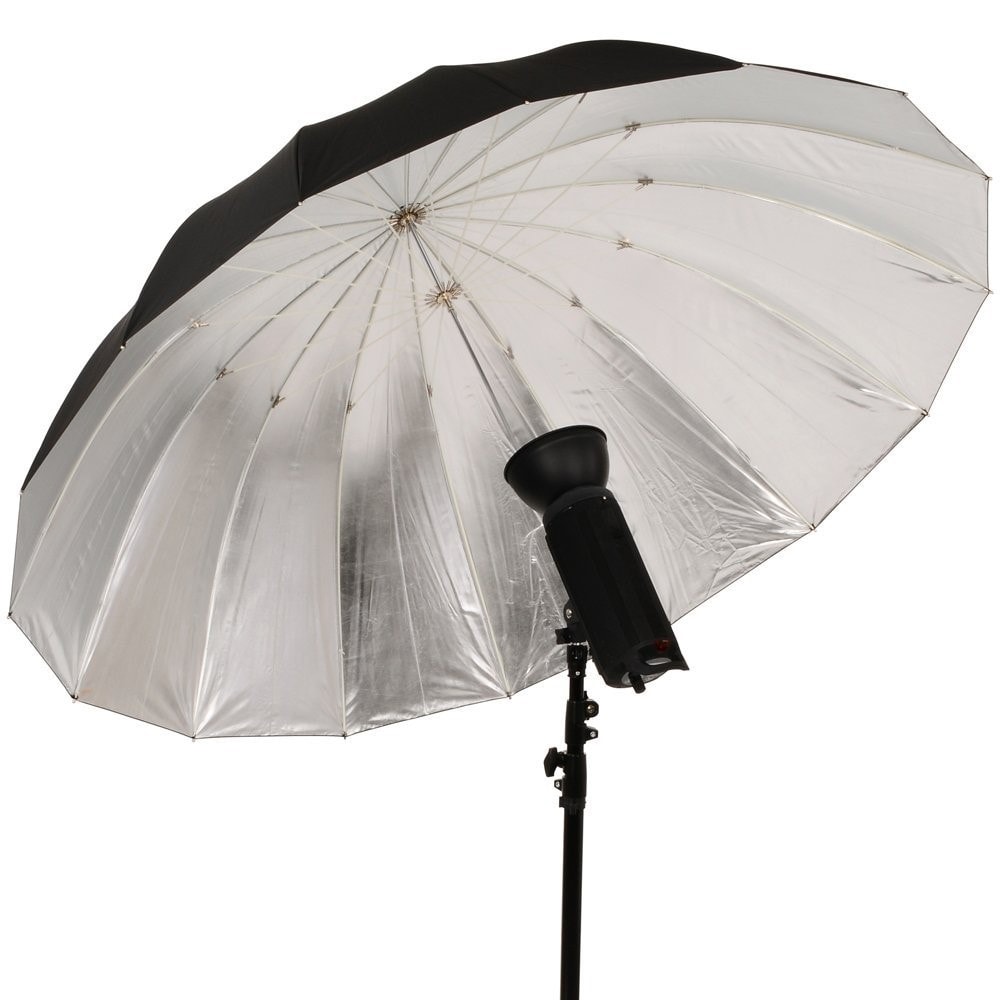
UMBRELLAS
Parasols or “umbrellas” allow you to bounce the light from the flash off them so that the “light spot” is much wider. In this way, the light will reach your subject in a much softer and more natural way. Depending on how close or far you place the flash from the umbrella, the hardness or softness of the light will vary, so it is important that you not only have an umbrella, but also a support that allows you to alter that distance.
Like the reflective screens, you will find them in various colors: white, silver, gold or translucent. The white and translucent ones allow softer lights to be achieved, while the silver or gold ones concentrate it.
Again, getting one of these will not be expensive at all: you can find a kit of two umbrellas for less than 40 euroson Amazon.
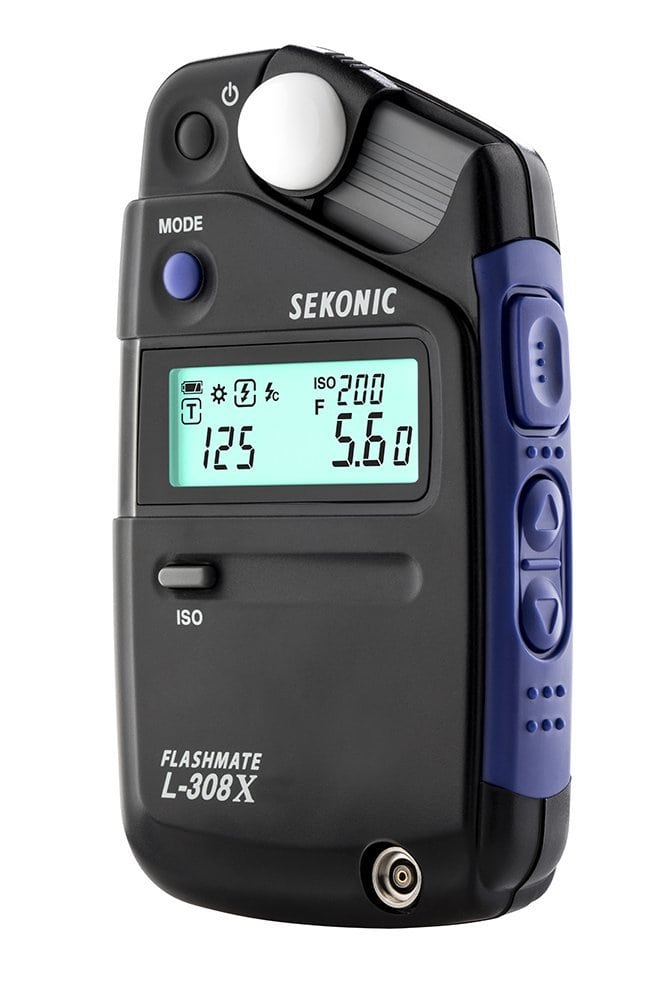
PHOTOMETER
The photometer is nothing more than an exposure meter like the one your camera has to measure the light of a scene, but handheld. You will be able to measure the light that falls on a subject or the light that said subject reflects towards the camera with one of these spectacular devices in order to carry out a correct measurement and exposure of all your photographs in the studio.
The camera's built-in exposure meter is not always capable of correctly calculating (in fact, it rarely does) the values of "the amount of light" to take a shot, either due to its own faults or, for example, due to working with many flashes, so having a handheld photometer is very useful.
Although they are somewhat more expensive, it will not be impossible for you to get yours. You can find a Sekonic L-308X Flashmate offer for just over 200 euros.
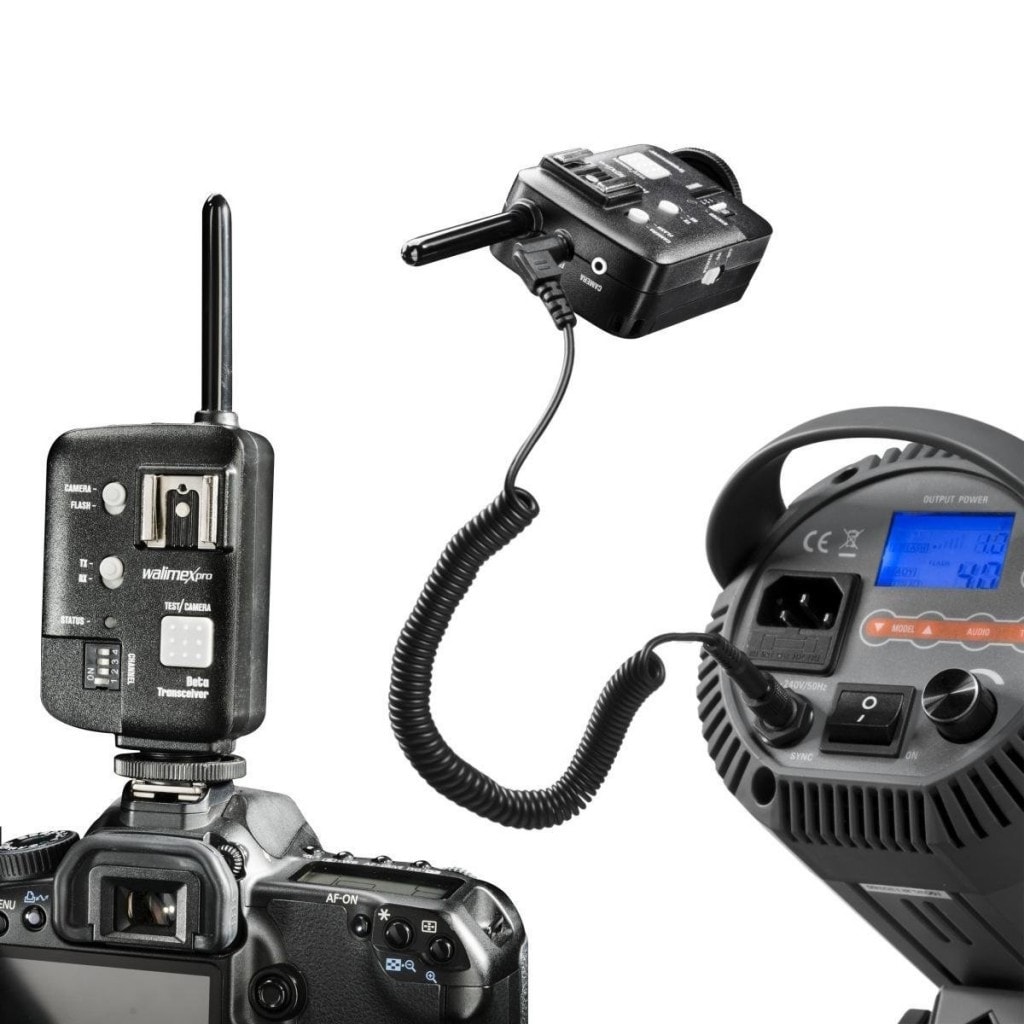
FLASH SPOKES
The radios are nothing more than a remote trigger, but instead of being for your camera, they are for firing a flash. They are placed on the camera's hot shoe and allow you to shoot one or more flashes in a controlled way, being able to vary their position as you wish. They are very useful for working with flashes in the studio since not all of these have the option of synchronizing them by photocell and even so, they do not always work as well as they should with said system and also to be able to direct and shape the light in all directions. without the limitation of being on your camera.
Yongnuo RF-603 N II N3 flash radiosThey are reliable and very cheap: approximately 40 euros.
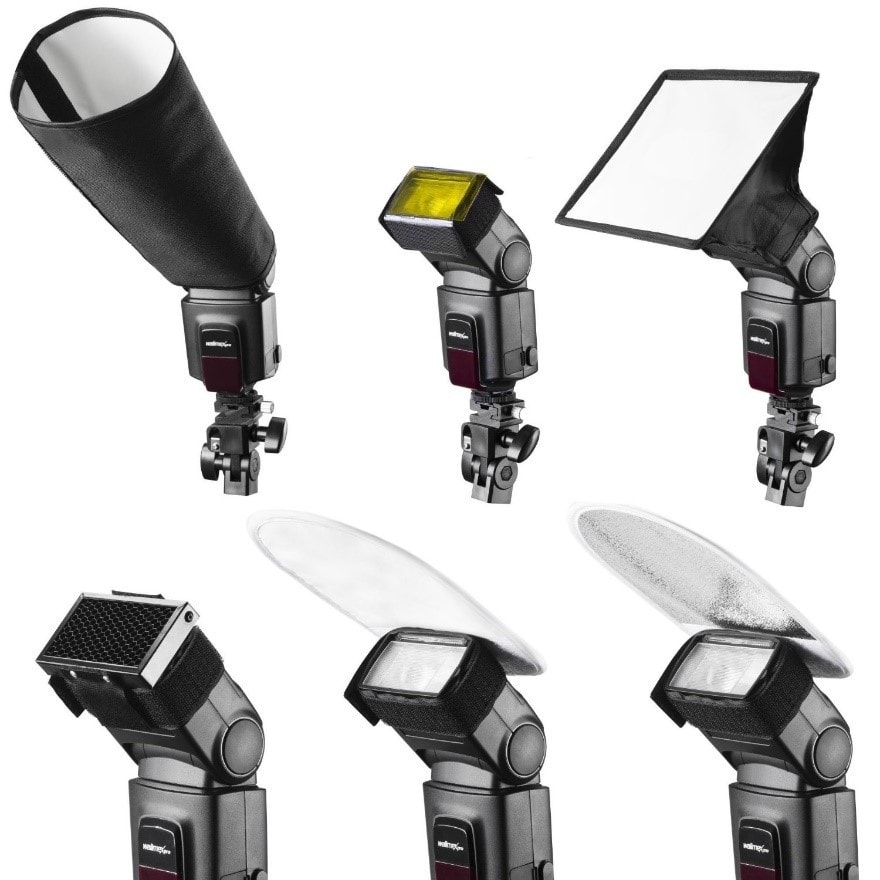
DIFFUSERS
Diffusers are , they are accessories that you can use to make the harsh light from a flash or spotlight become softer or more punctual. There is a wide variety of diffusers on the market that you can use to shape the light from your flash to your liking, since each one of them will allow you to achieve a different effect.
For example, on Amazon you can get a complete set of 6 pieces of these Walimex brand diffusers for less than 30 euros.. Not bad at all, right?
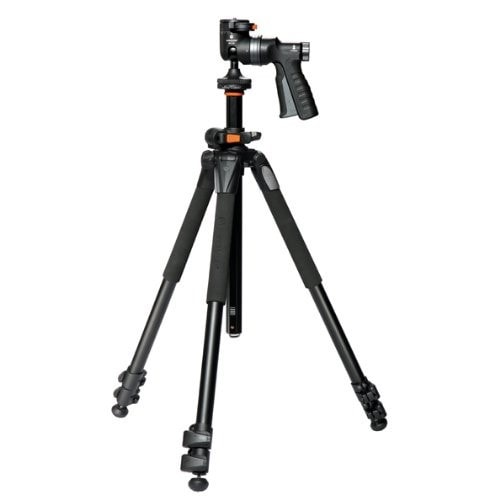
TRIPODS
Tripods are not only useful to achieve greater stability in each of your shots or so that you can work more comfortably on them, they will also be of great help to arrange all the lighting elements in your studio. Using a flash mount, you'll be able to attach a flash to these along with its diffuser or light window to trigger them remotely. Tripods will always be the solution. There is a wide variety of brands, prices and models and depending on the use that you are going to give it will be the level of investment that you must dedicate to these, in this guide we help you find the ideal tripod .
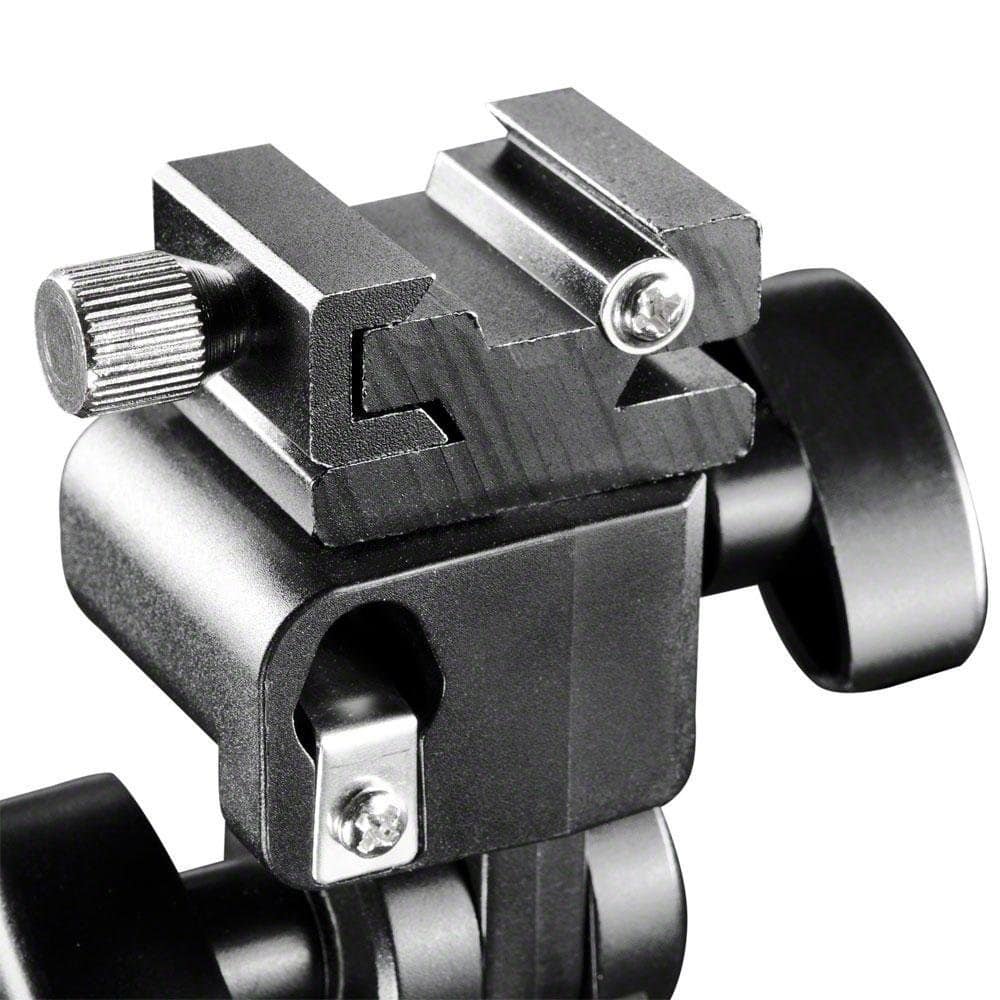
FLASH MOUNTS
These supports allow you to not only place a flash directly on a tripod or other support, but also allow you to place an umbrella or reflector umbrella next to it. If you work with several flashes, this accessory will be essential when it comes to triggering them remotely to be able to work more comfortably. You can get these adapters by investing very little money. A mental Walimax support costs 25 euroson Amazon, and it will save you more than one headache.
JELLIES
These are sheets that are placed in front of the light source to, for example, change its color. Experimenting with its use will allow you to achieve amazing results. Of course, finding the perfect combination will require some practice. They are not expensive at all since you can make them yourself with almost any element of translucent color such as acetate or cellophane paper. More info in our article on DIY photography .
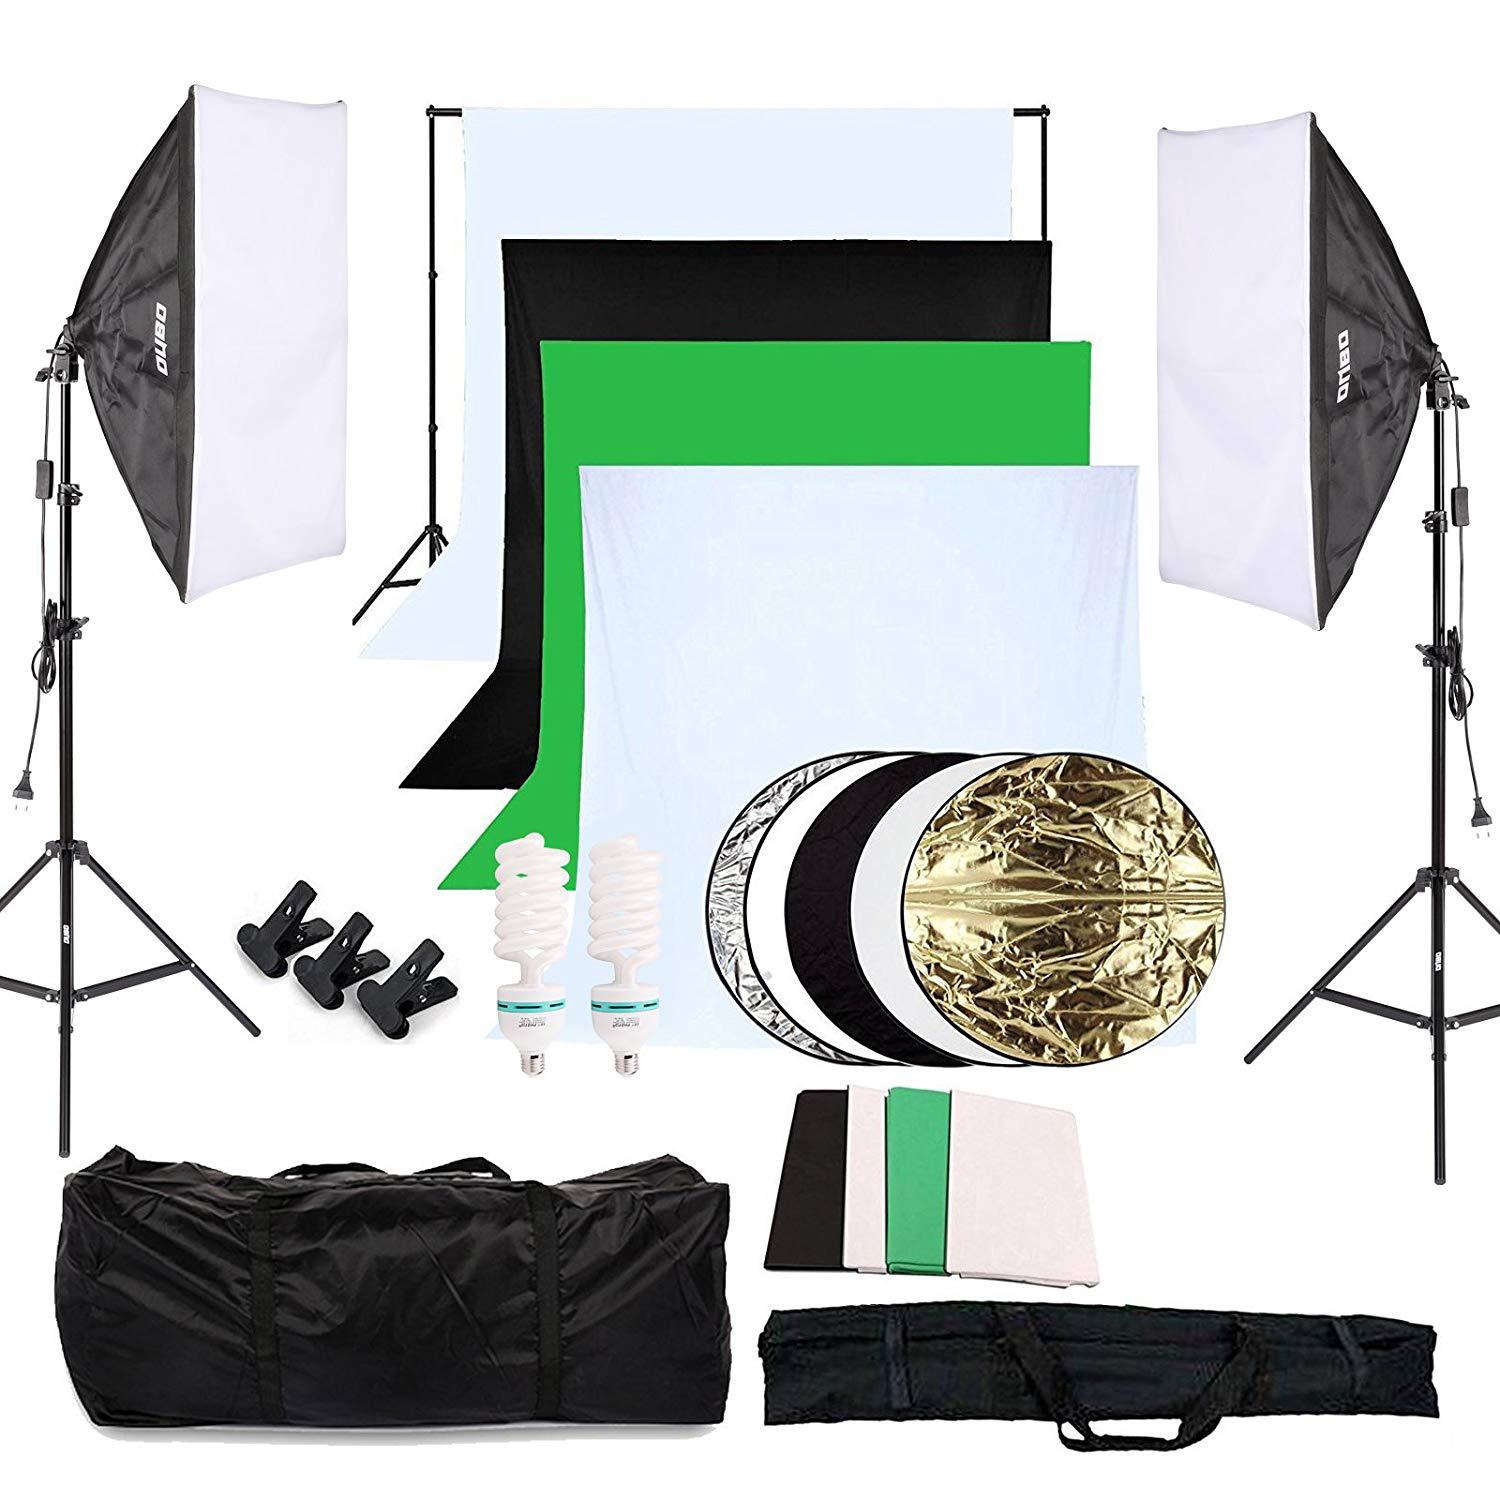
THE COMPLETE KIT TO LIGHT UP YOUR PHOTO STUDIO
Now that you have a more defined idea of what materials are necessary to light your photo studio, all you have to do is choose the way in which you will equip yourself to have it ready to take your photos: assemble it in parts or buy it all together?
There is a great variety and range of prices in terms of photographic equipment. If you want to build your studio little by little and as you experiment with each of the materials, I have already given you some reference prices, but if you can't wait , you can also choose to buy a complete kit.
On Amazon, a kit of these characteristics for you to start taking your first steps in studio lighting will cost you around 200 euros..
I have chosen all the teams as a reference. Before making your purchase, take the time to delve a little deeper into its specifications to assess whether or not it will really meet your expectations.
So now you know, the material to light your studio may not be as expensive as you would have imagined at first. It only remains for you to think about what types of photographs you want to take, how you plan to do it and with what equipment, and then read this article again and go shopping.
