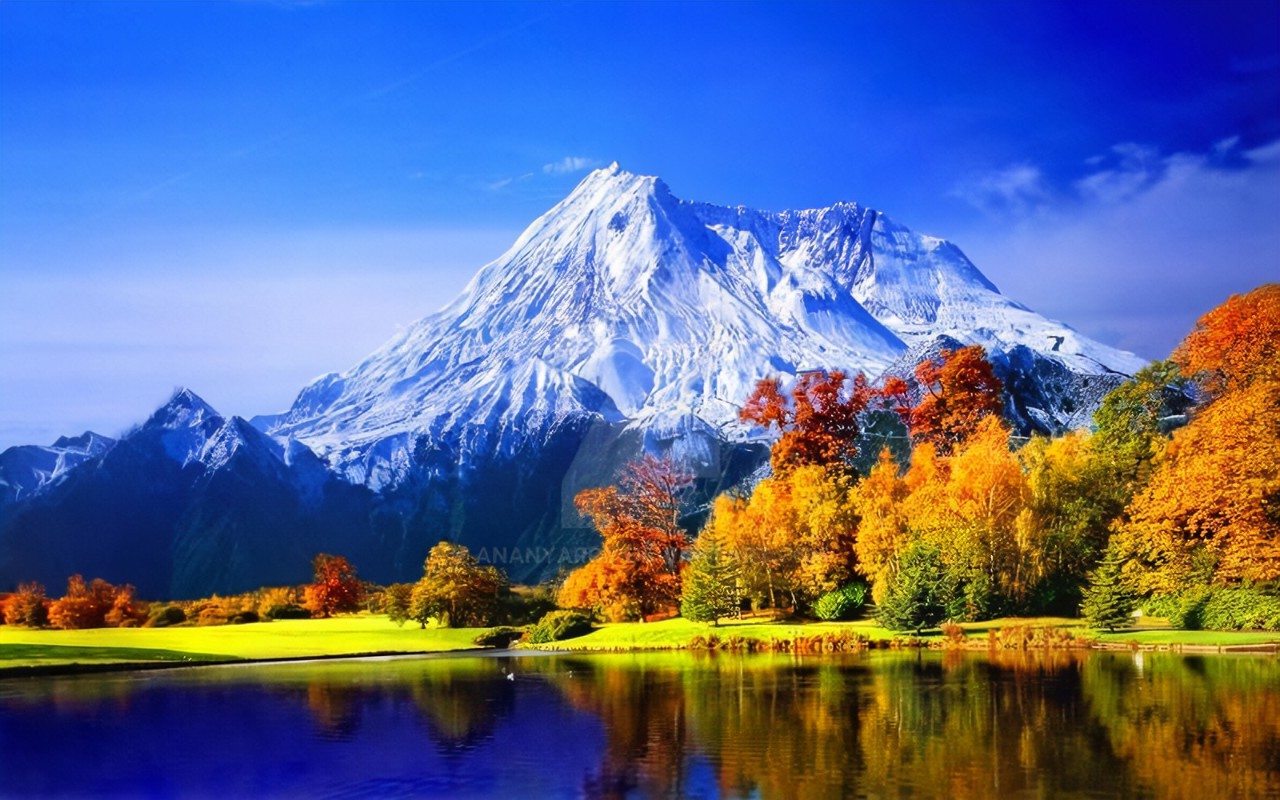
We live on a planet that is the envy of the Cosmos. Any alien would kill to spend an afternoon here and photograph, with his camera, the wonders that Earth holds. The nature that surrounds us is full of fascinating places and amazingly beautiful moments that cry out to be immortalized, turned into photographs that one day will bear witness to what this planet once was.
I say this because the footprint of Man makes the future of the plane uncertain.
Tomorrow I don't know. Today you can still grab your camera, go on a hike, and come home loaded with rewarding nature photos like the ones I'm going to show you below.
Today's is an inspirational article par excellence. I want you to feel the irrepressible desire to photograph nature when you read it . I confess that behind these lines I have the firm intention of touching your sensitive fiber, moving you, getting into "the monkey" of photographing nature, reaching your cerebral amygdala and activating your most basic emotions regarding the Earth, regarding this dated treasure of expiration in which we have been lucky enough to live.
In today's article I am going to show you examples of nature photos that will leave you spellbound, excited and breathless. What you are going to see next will make you feel like a complete alien who has just landed on a new planet and is seeing things for the first time that he could never have imagined.
Also, I do not want this article to remain in an ephemeral "contemplative" moment. After reading it, I want you to feel the torrent of passion running through your veins and start planning your next photographic outing to take photos of this nature that I am going to show you.
To do this, next to each photograph I am going to include a small guide on how the photo was taken and how you too could capture a similar one. Obviously I'm not going to take the photo for you, I'll let you enjoy the experience of spending a morning or afternoon taking the photos yourself. But I am going to give you a hand: under each photo I will leave you some clues about how the photo was taken or what aspects you have to take into account when taking a similar photo. Just to serve as a starting point.
18 NATURE PHOTOGRAPHS EXPLAINED IN DETAIL
Enough small talk. Here are 18 photos of nature, fauna and flora, belonging to the planet that climate change deniers and the great industrial oligarchies will end up destroying.
For now, this is what it looks like.
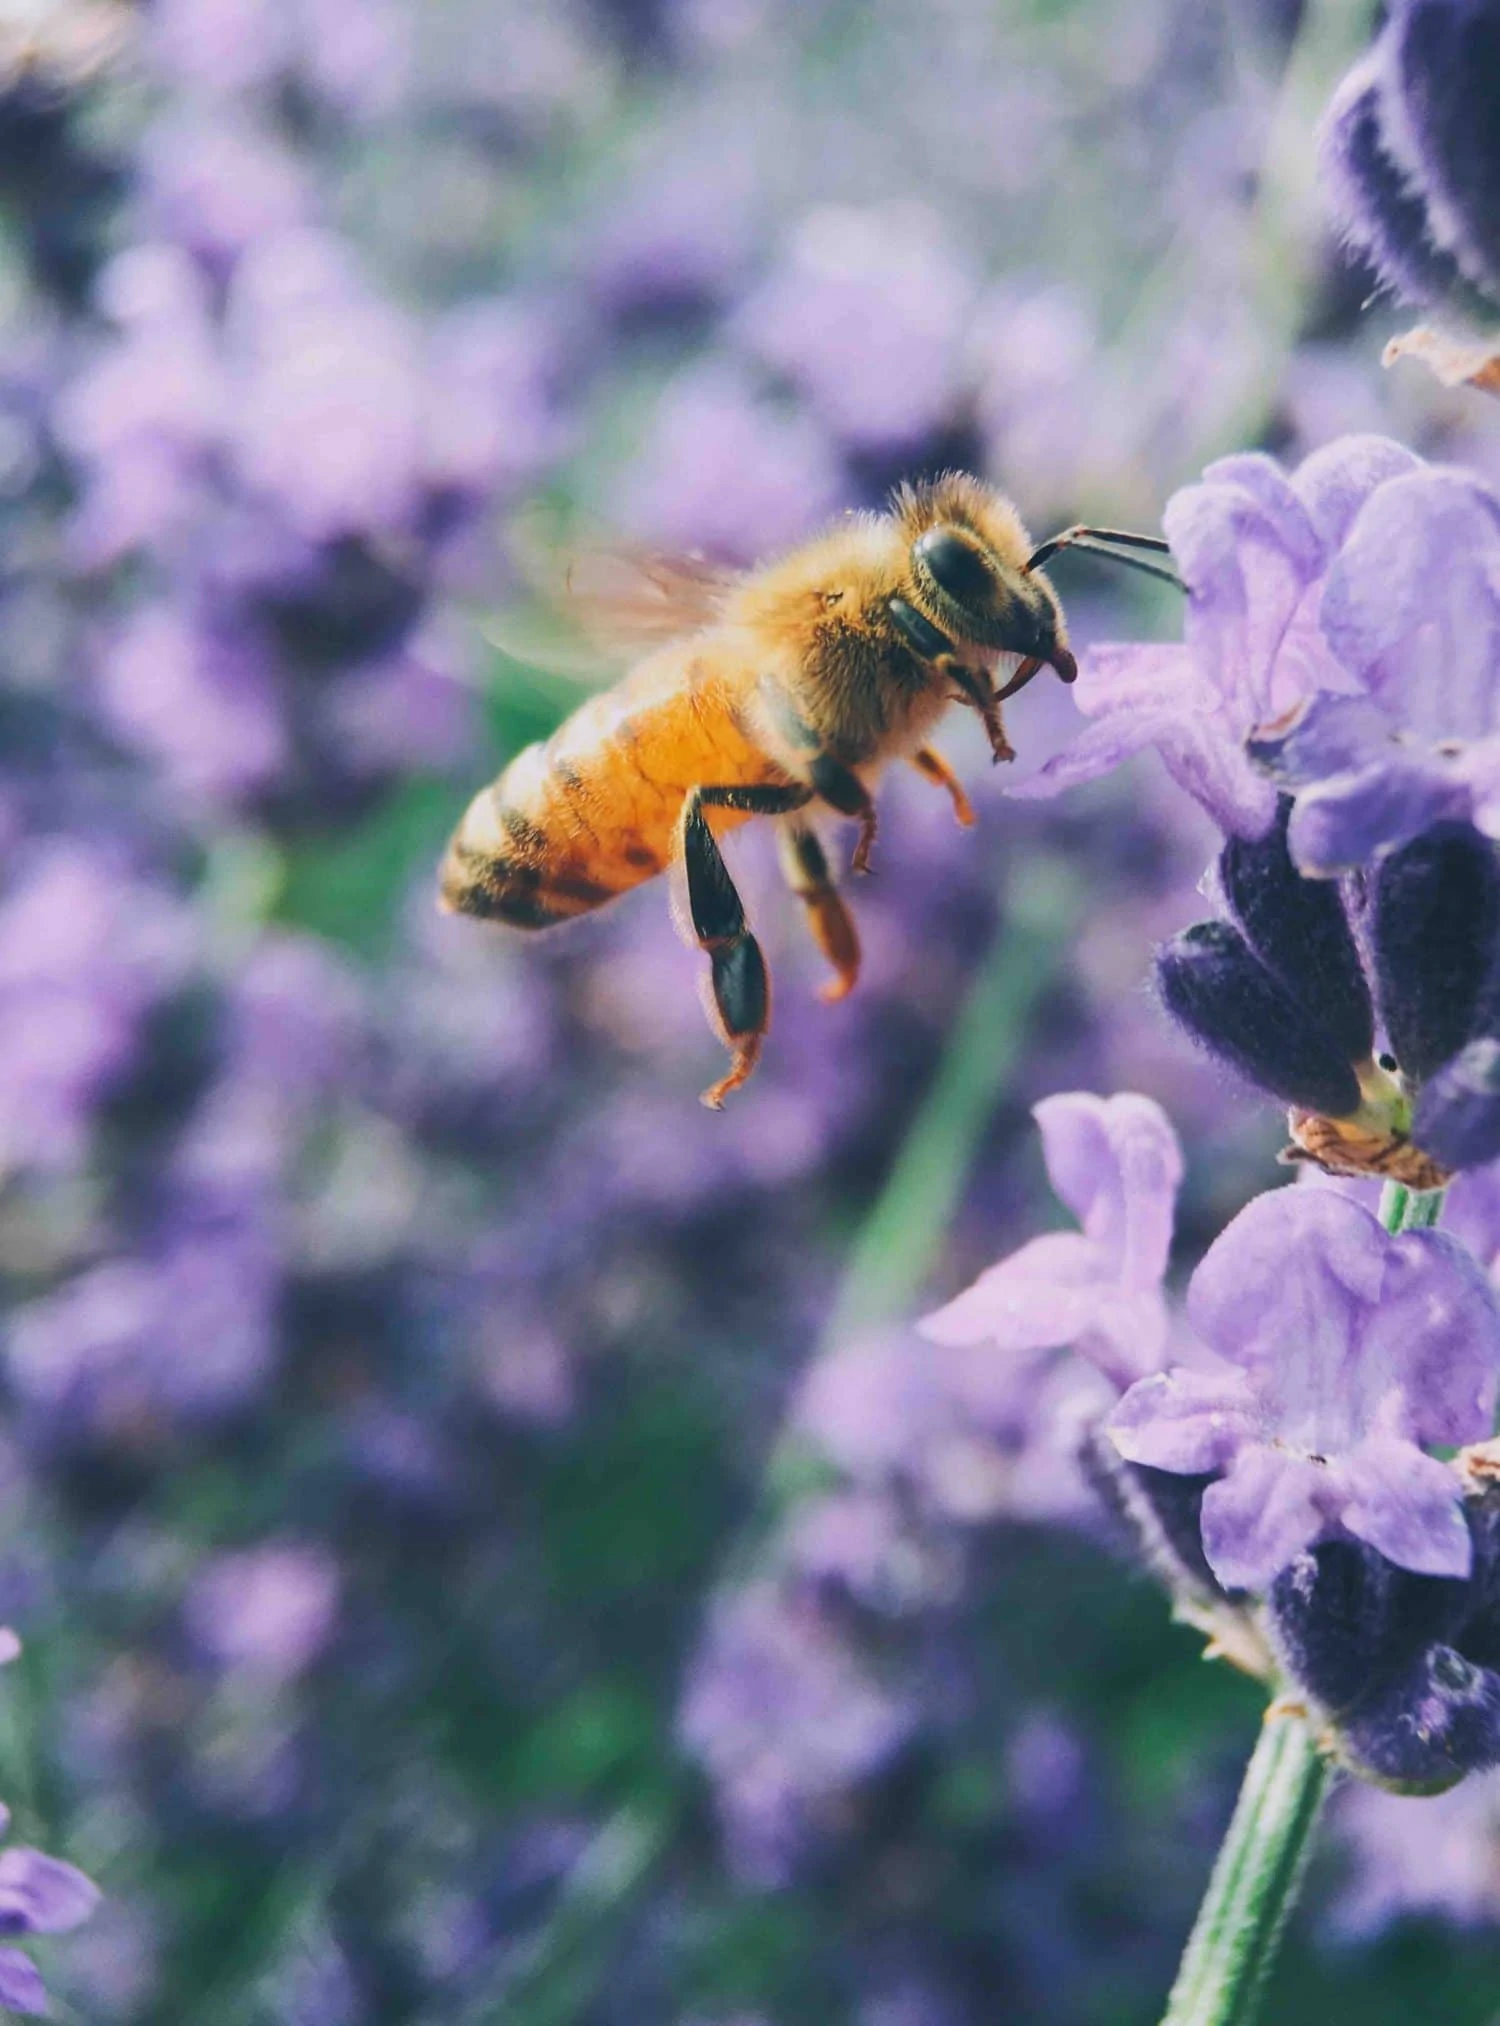
Let's start with something strong: the photo you see above was taken with an iPhone to which a macro-type lens-accessory was attached, one of those that you can get on Amazon for less than 10 EUR. Mind blowing right?
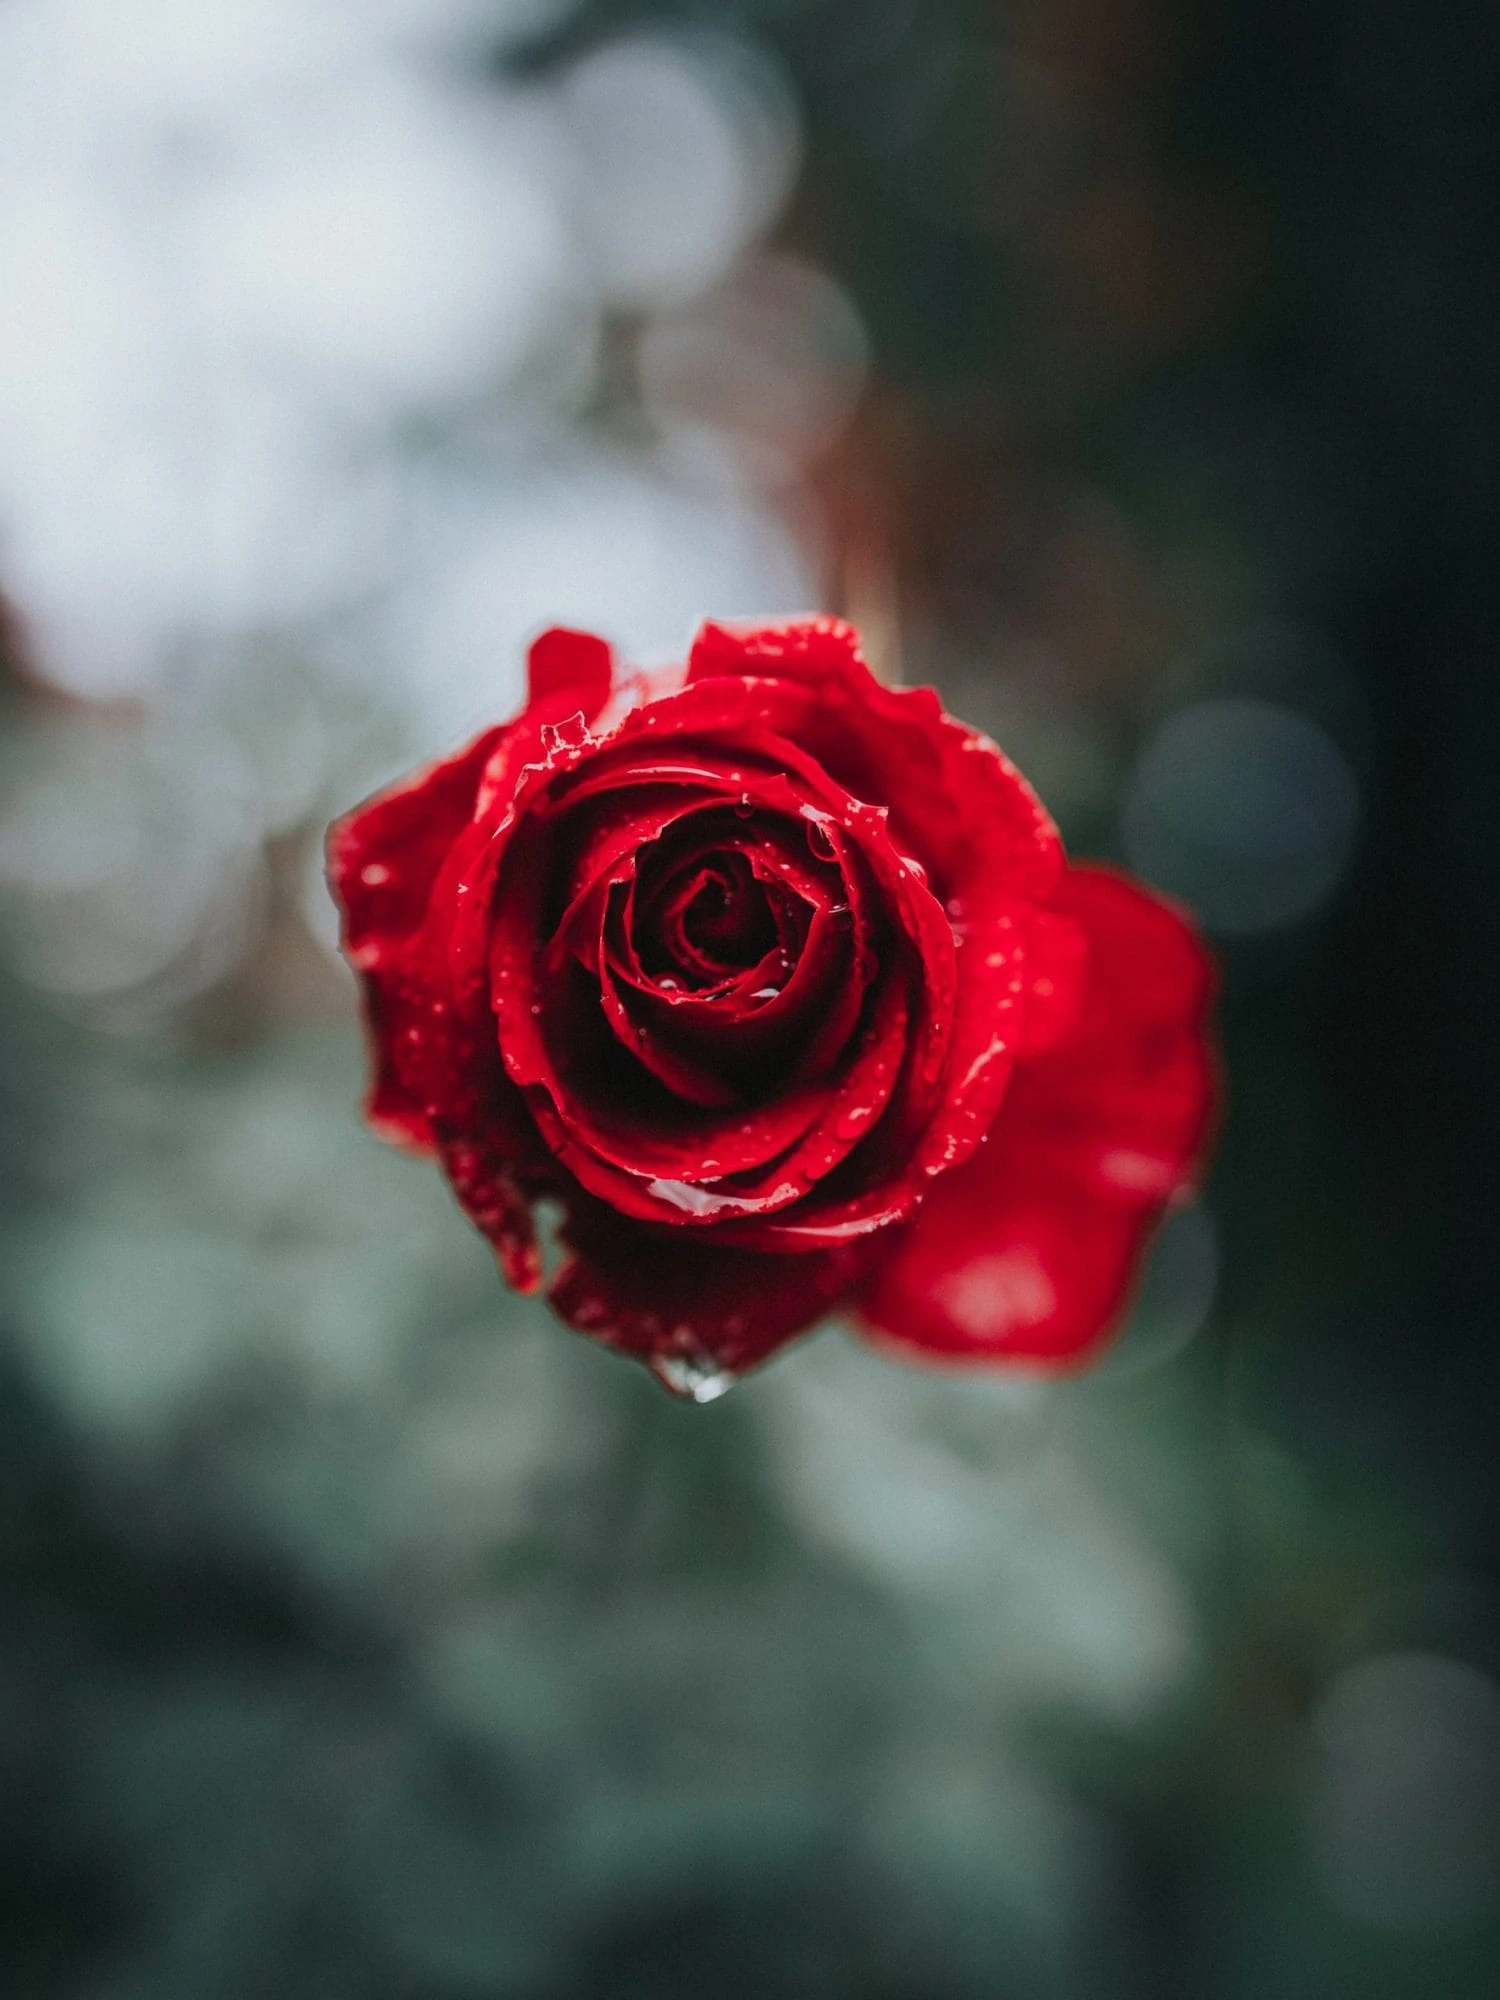
How many times have you pointed your camera at a rose and felt lacking in inspiration or creativity? Look at the photo above, it is the typical rose that you can find in any park next to your house, but look at the game that the photographer has created:
First, the photo is taken with a large aperture lens, f/1.4 or f/1.8, hence the spectacular background blur. On the other hand, look at the drops of water on top of the rose. It could be because of the rain, but a well-known trick in professional circles is to spray water (with a household spray) on the rose before photographing it.
Finally, notice the bi-color contrast, red/green, that the photographer has achieved in this photo of a rose, elevating the photo to the category of "painting" from my point of view. A delight for the sense of sight.
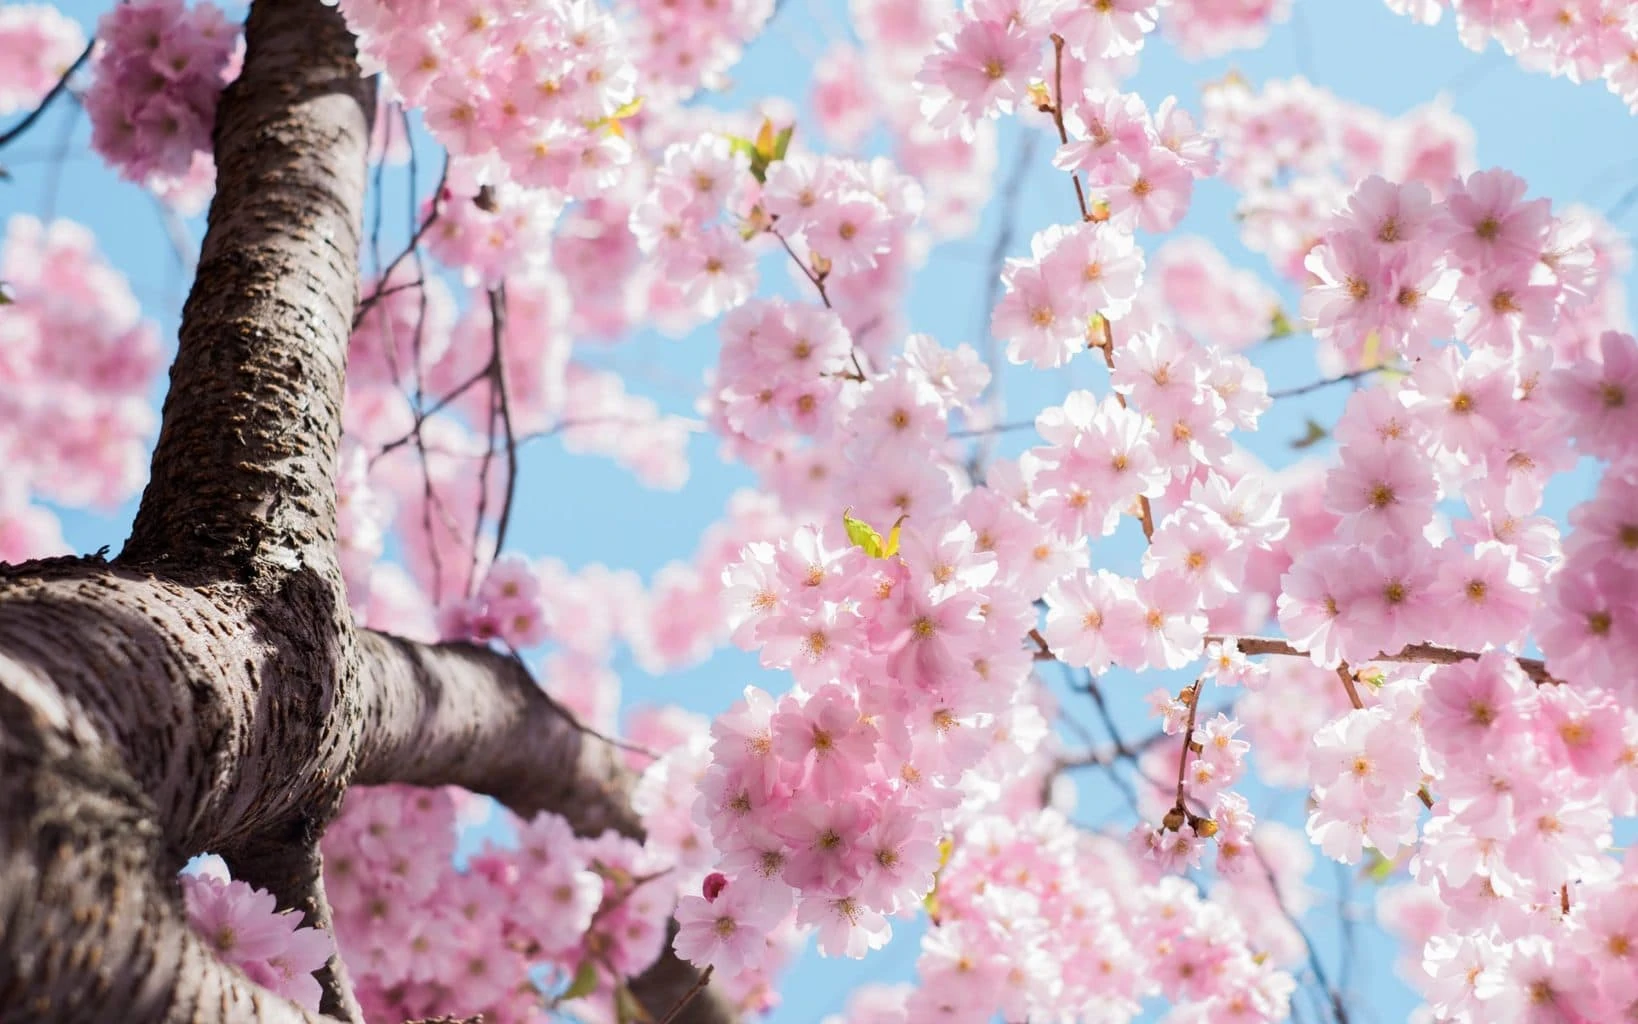
For those moments when you have a beautiful almond or cherry blossom tree in front of you but you don't know how to photograph it. One of the less common angles in tree photography is the Contrazenith angle, also called Nadir.
You stand under the tree, stick the camera to the trunk, and explore the view you get through the viewfinder or screen.
If you also shoot in RAW, you can later develop the photograph digitally and, perhaps, give the color or contrast a little more joy.
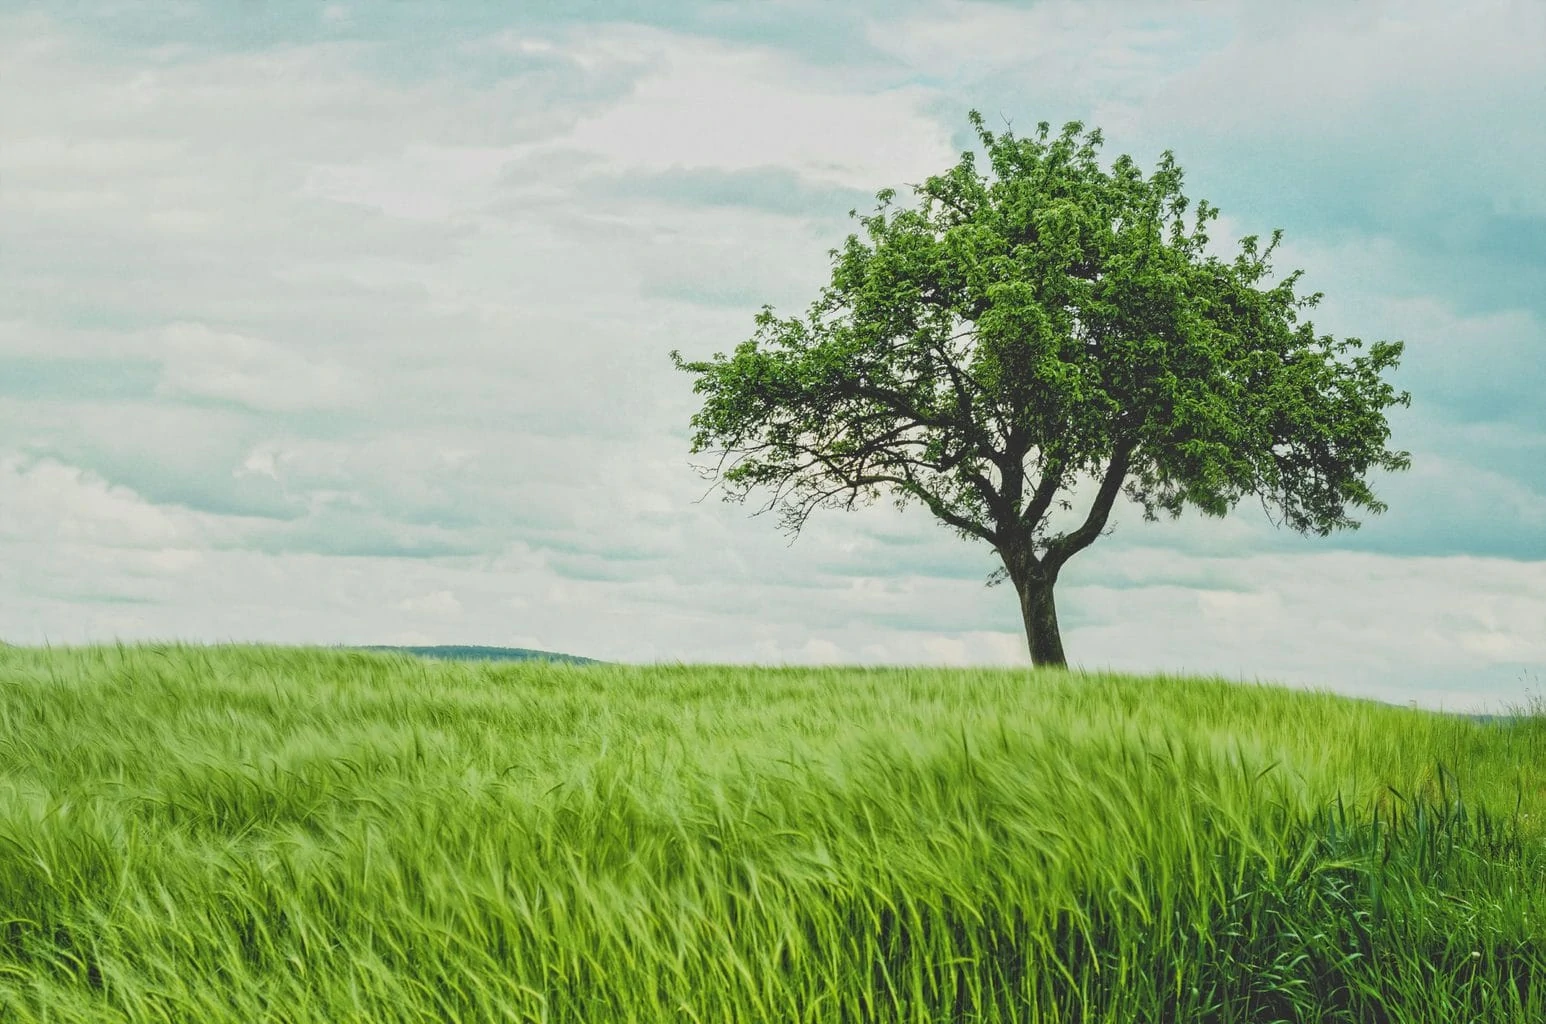
This photo is a classic of nature photography, and yet it never loses its magic. Locate a field area near where you live, you will surely find a tree with which you can portray a concept similar to the one in the photo above.
Do you want a trick? Sometimes it is not easy to find a completely "lonely" tree, but if you get out of the car and explore the place on foot, you realize that you can isolate a tree from the rest of the trees simply by positioning yourself, or by shooting at a specific focal length (with more zoom for example).
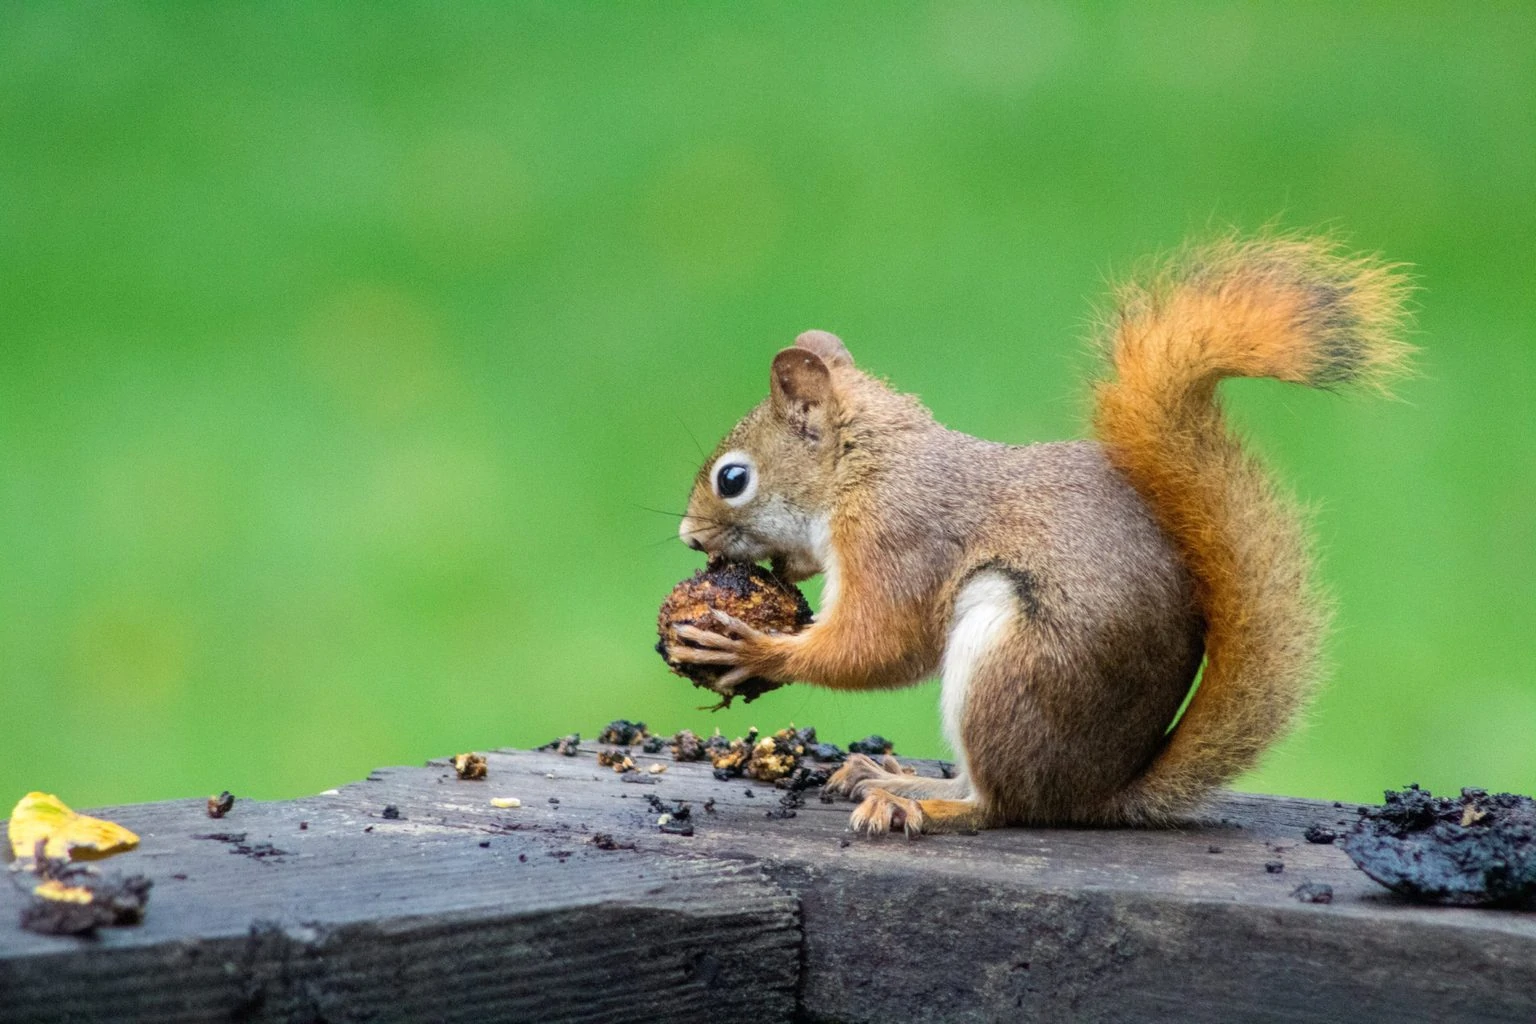
No self-respecting nature photo gallery can be without its squirrel. If you'd like to photograph one, you need to go out with a good telephoto lens (100mm and up). If the lens has an optical stabilizer (VR, IS), turn it on.
To photograph squirrels you obviously have to go to a park with trees, but the key is spending a lot of time looking for nothing but squirrels. That of going for a walk in the park and at times I photograph a flower, at times a tree, at times a selfie and I look to see if I catch an animal along the way, it doesn't usually work very well, since you immediately get tired or overwhelmed. But if you plant yourself in the park or forest with the firm objective of photographing squirrels and you do it with patience, your visual acuity is sharpened and you are more likely to find the squirrel you are looking for.
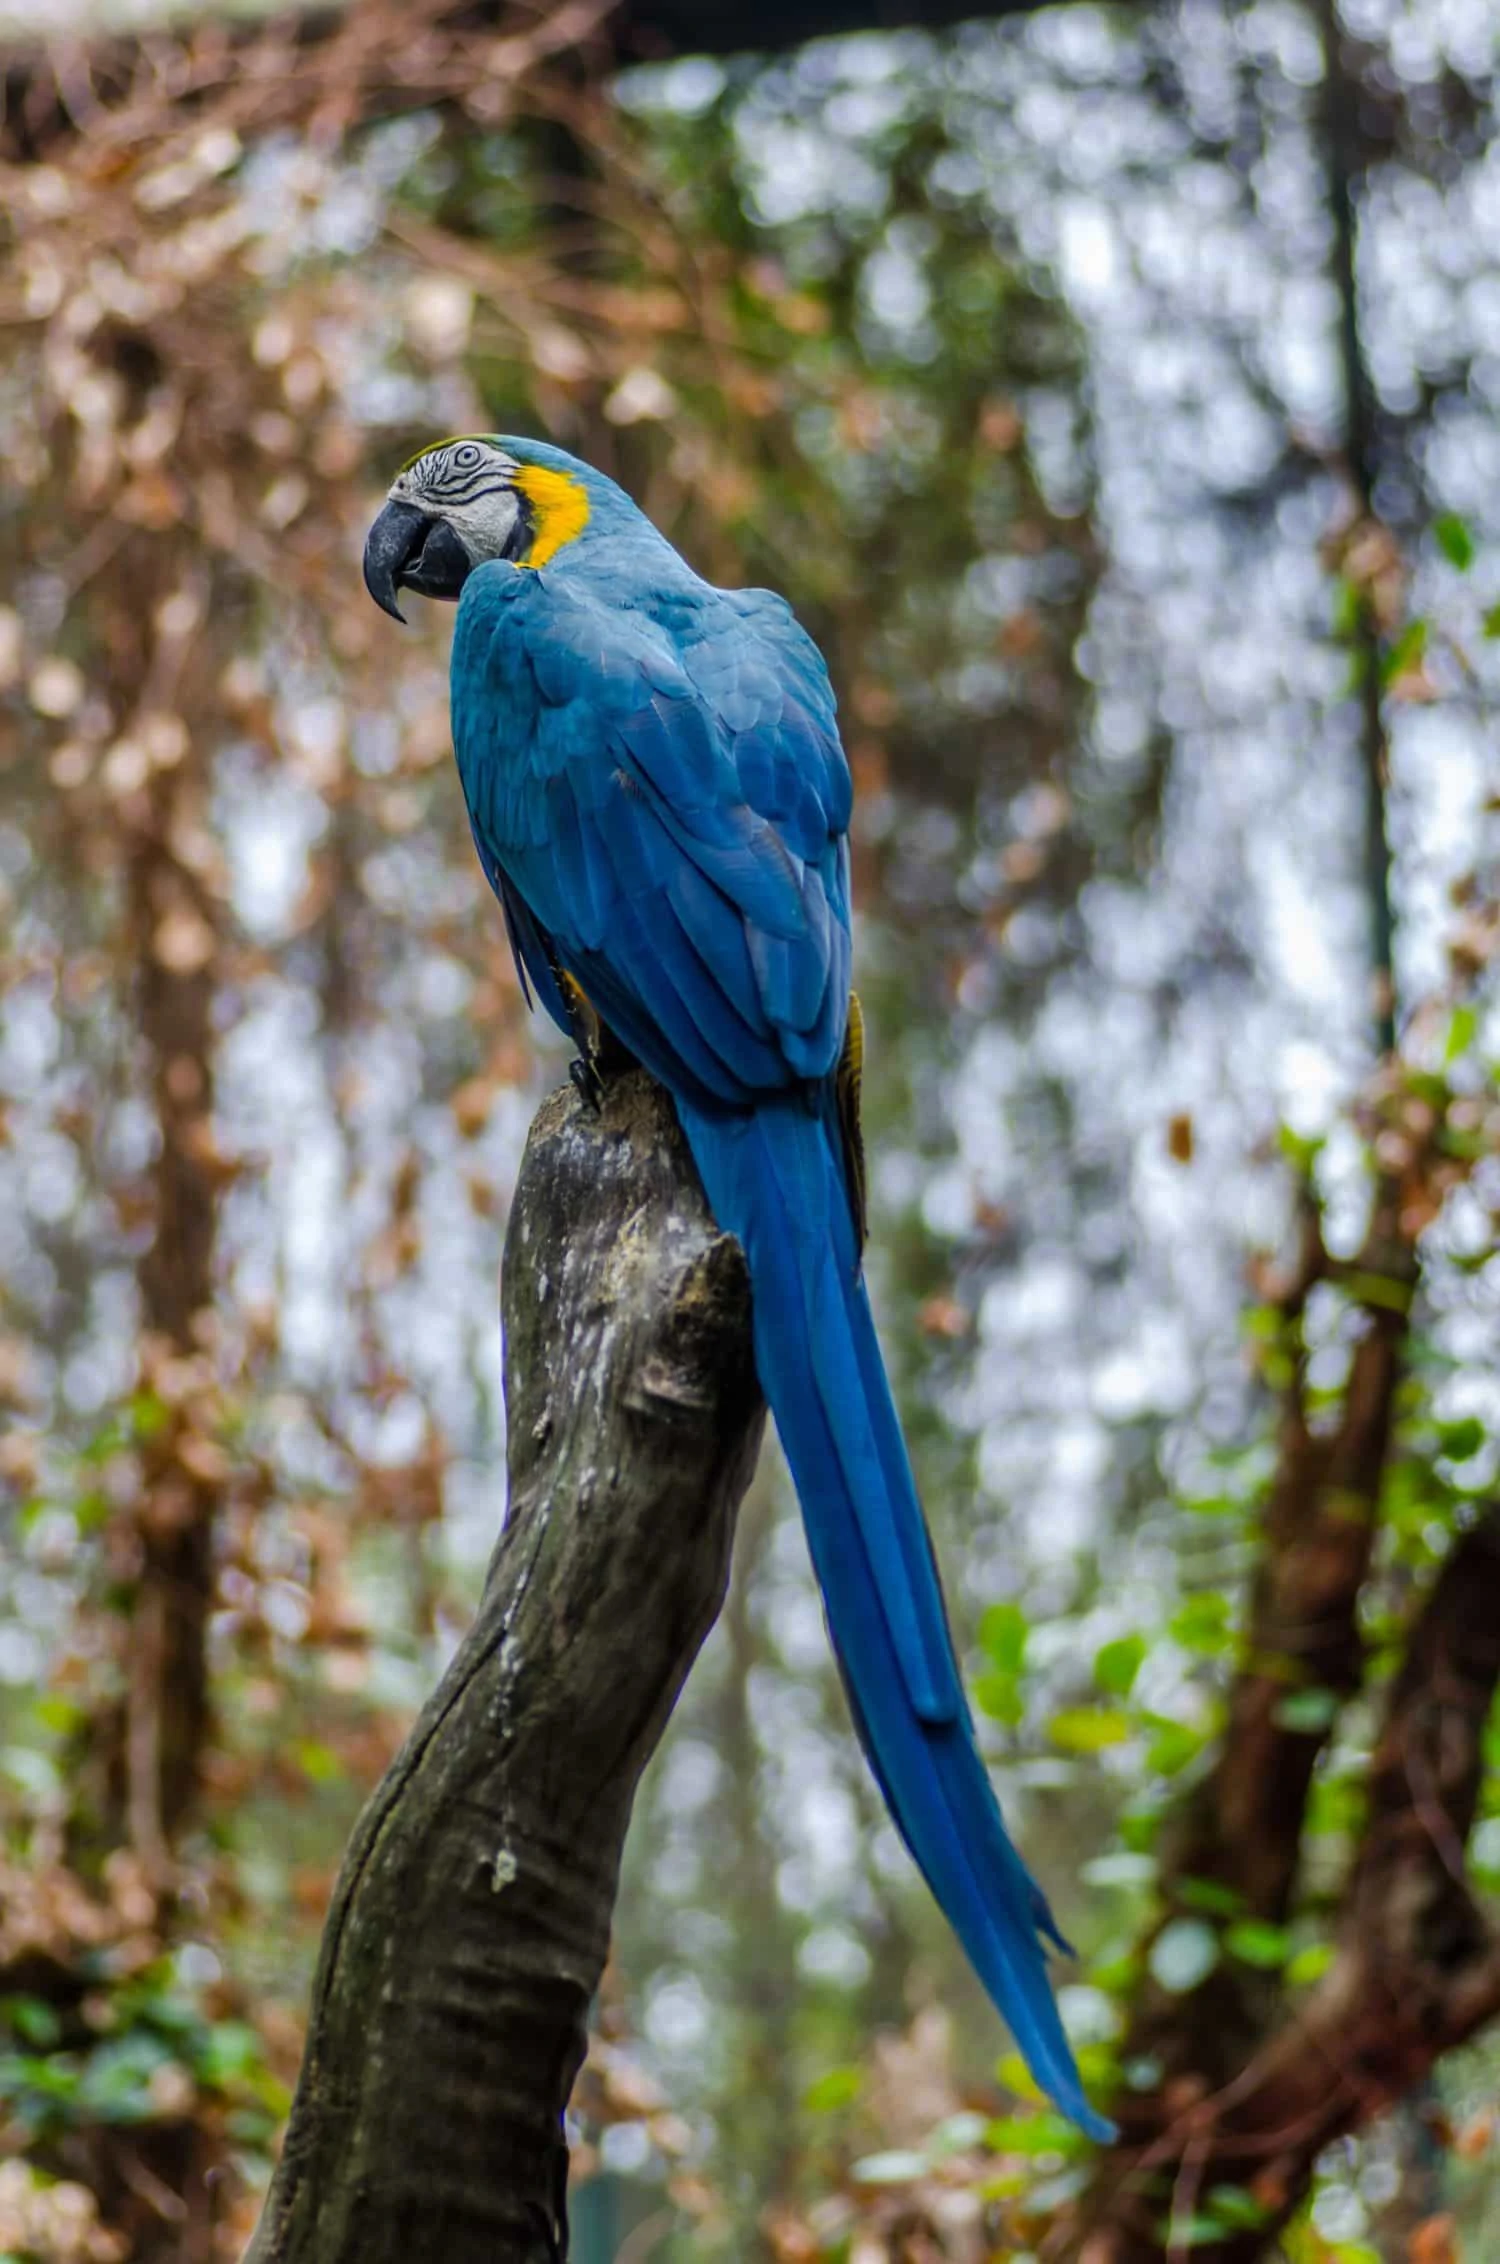
Photographing a macaw or parrot and making it the protagonist is almost a guarantee of success. Can anyone resist the spell of that fur and the vividness of those colors?
If you want to photograph a parrot, your safest option would be to go to a zoo or a wildlife park where you will have close access to a multitude of animals. Arm yourself with a good telephoto lens and try to work with rather long focal lengths.
If you are going as a family, great, but two things:
- Organize yourself in some way so that you can focus on the photo for a while without interruptions. It's wonderful to be able to enjoy a family day at the zoo but to get a decent photo you need to mentally focus on the subject of the photo, spend time on it, patiently lurk for several minutes until you can capture that photo. If you go with children, the ideal is that there are more adults in the group to allow you some time of artistic "disconnection".
- It is better to go on days when there are fewer people, so you will receive less nudges while you are looking for that perfect photograph.
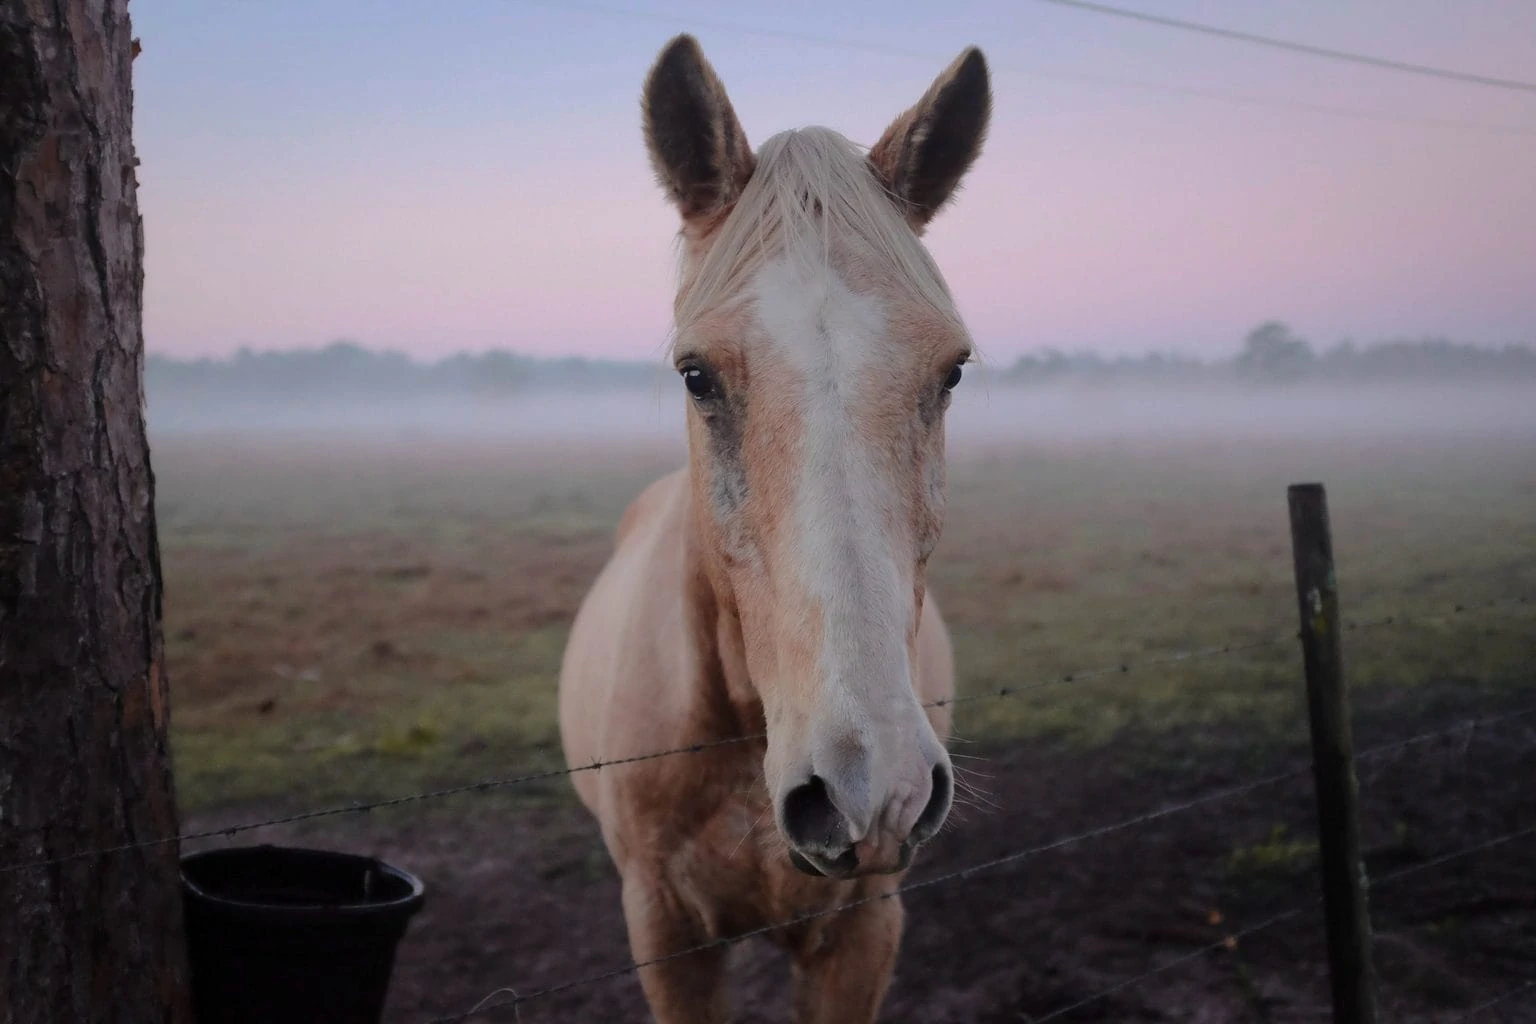
If the zoological gardens overwhelm you and the crowds stress you out, why not plan a getaway to a rural place with the family or with some friends? If you get up early you can enjoy a relaxing walk and the opportunity to run into a photogenic horse willing to pose for you.
Morning walks through the countryside will also allow you, depending on the time of year and the weather conditions in the area, to be able to enjoy the morning mist with which you can add a touch of mystery to your nature photography, just like in the photograph above.
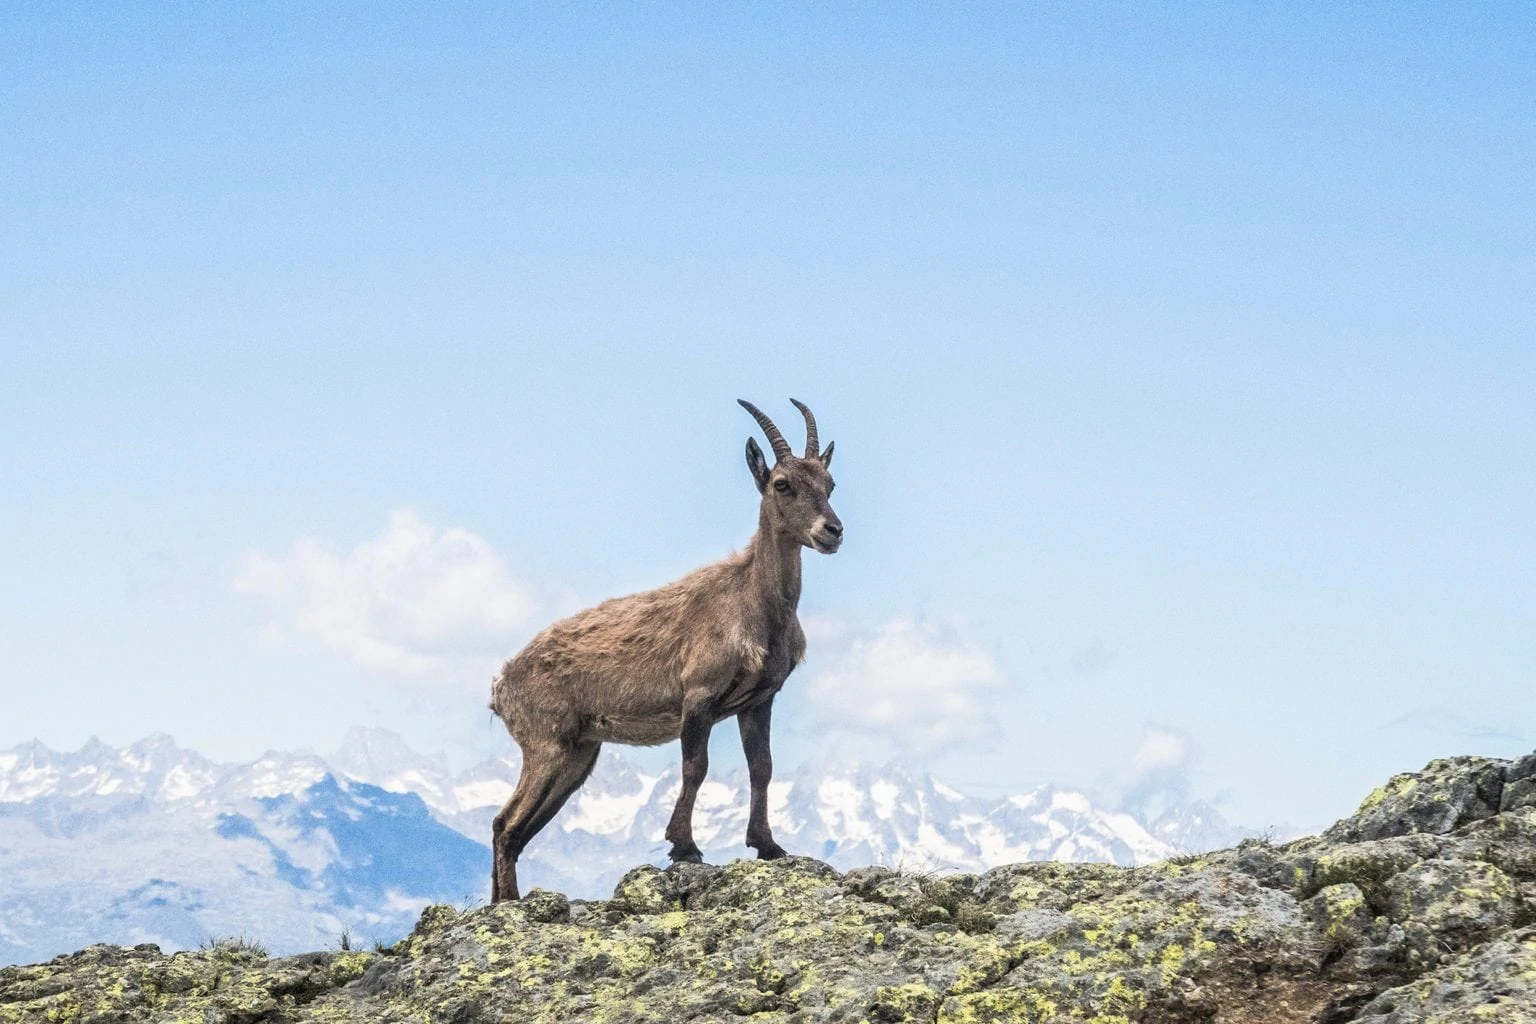
I'm not going to deceive you, you don't take this photo by chance one day while you're going to the grocery store. But if you like hiking or doing mountain routes, you can combine it with your other hobby as a photographer and be able to get emblematic photographs like the one you see above.
The goat photo above requires the following ingredients:
- Telephoto.
- Position yourself in favor of sunlight or, at least, not against the light.
- Obviously you do not take this photo "in passing". It has to be part of a photographic "excursion" or at least one (hiking/mountaining) excursion where you stop and spend a long time working on this photo.
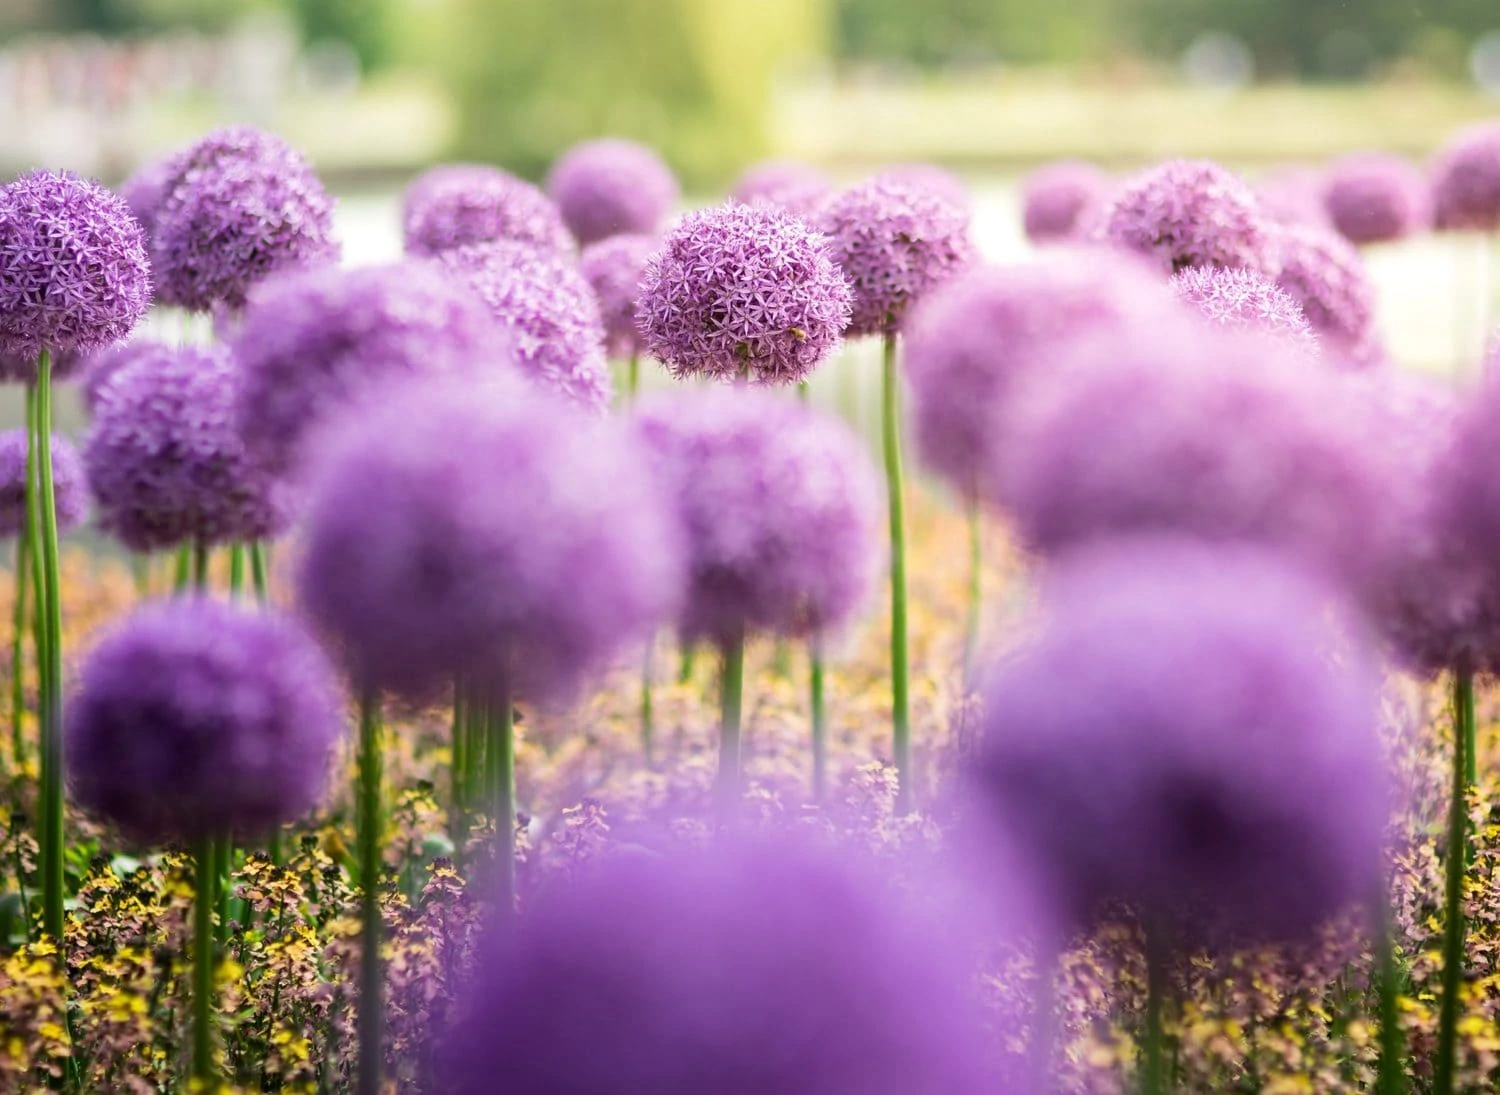
Normally when we see a group of flowers together, the first thing that occurs to us is to photograph them from above all together, in a zenithal angle. Afterwards, we look at our camera screen with disappointed eyes, and then we crouch down to take a macro-type photo, a very close-up of one of the flowers.
The photo above is a creative way to portray an element of nature that would normally come off as bland or boring. There are many things happening in this photo that I want you to pay attention to:
- Relatively open plane. It is not the typical closed close-up on a single flower. On the contrary, we photograph the whole, thus transmitting the idea of the group, of the environment, society, community.
- Very small depth of field. We achieve this by opening the diaphragm of the lens to its maximum (f/ value as small as possible). Thanks to this, the photographer is able to focus on a single flower, leaving all the others out of focus. As a result, whenever we look at the photo, our gaze inevitably goes to the flower in the center for the first time, not because it is in the center, but because of the focus it has.
- This game of focus and blur, coupled with the height from which the photo was taken, gives the viewer a feeling of "immersion" difficult to achieve otherwise. You see the photo and you feel that you are there, lying on your stomach, resting your elbows on the ground and enjoying the moment in first person.
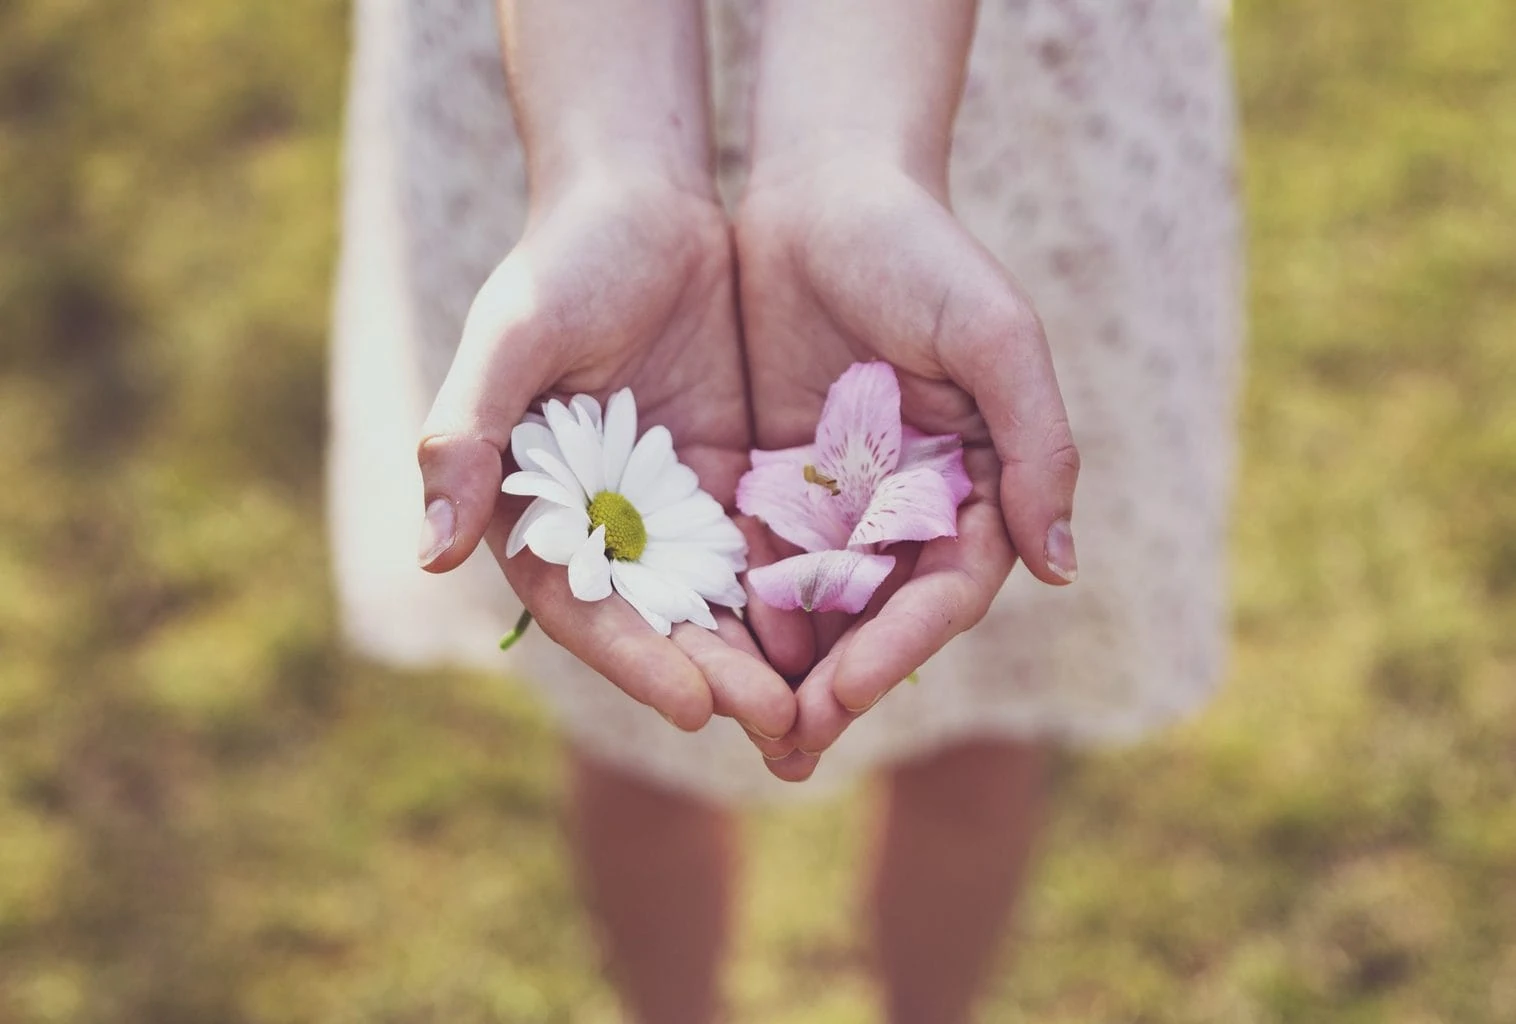
Magnificent photo that illustrates a human-nature connection. Placing a person in a natural environment mixing in the composition natural elements with parts of the person's body usually give very gratifying results at the story level and emotional level.
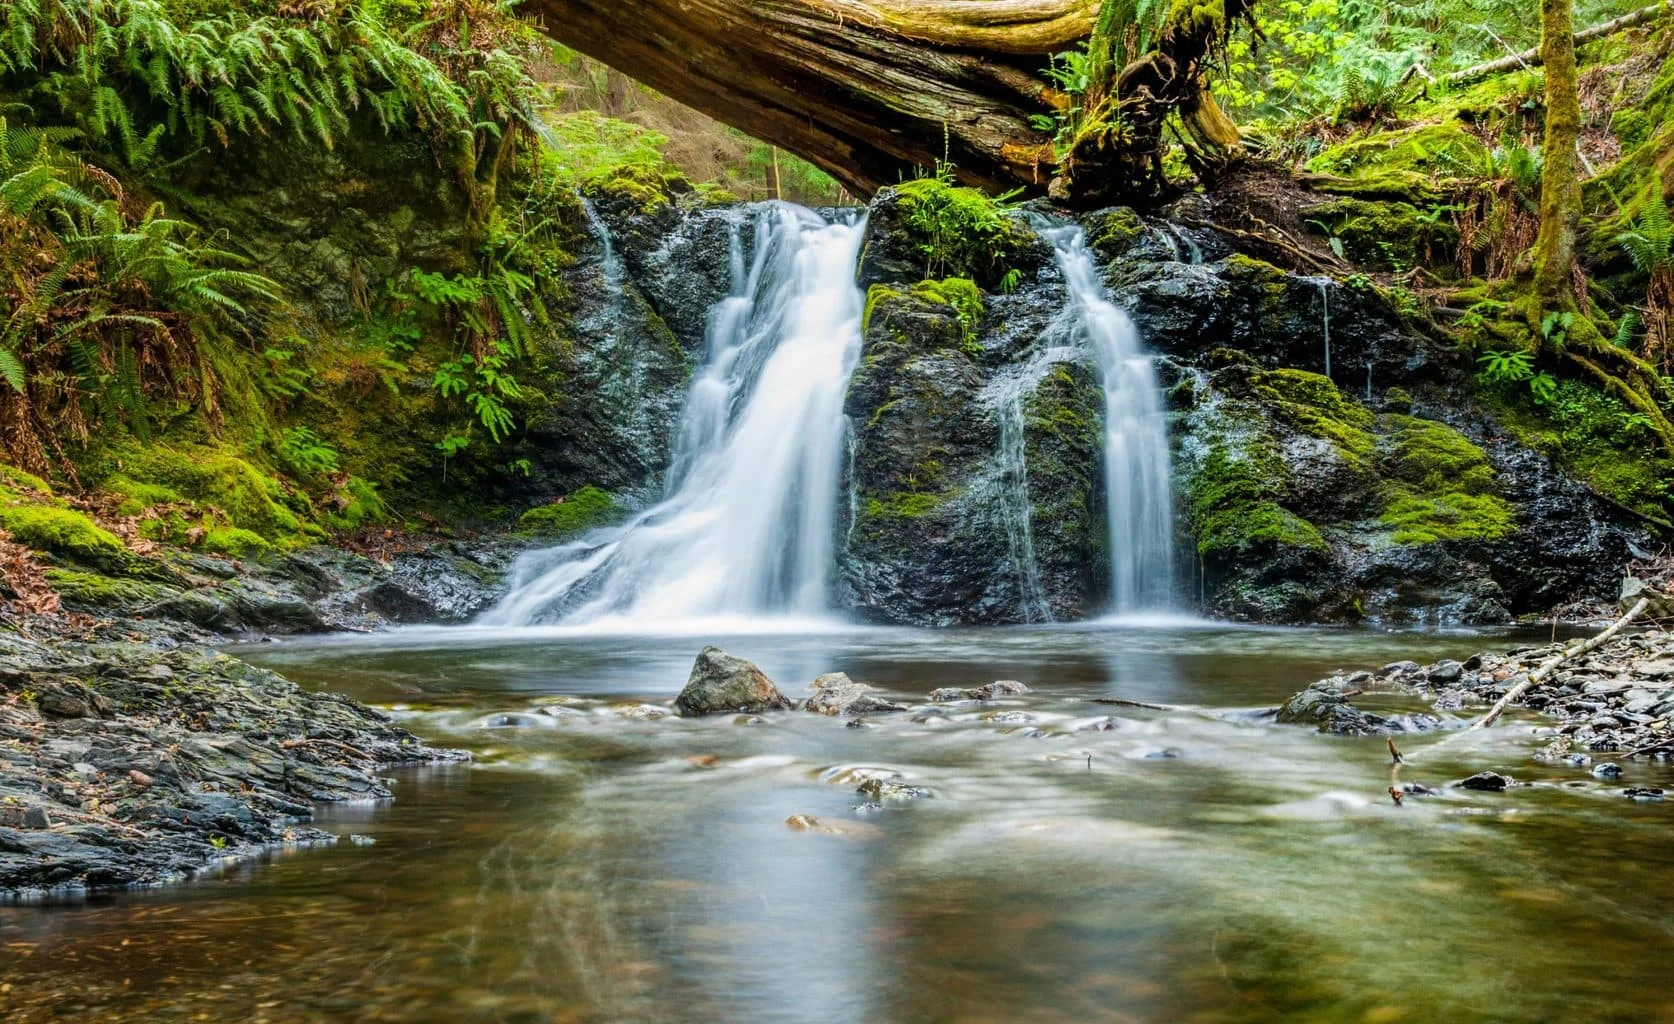
What you see above is a river with a small “silk effect” waterfall. An impressive photo, without a doubt, but not so much that you can't consider it yourself, no matter how humble your photographic equipment may be.
Let's break down the "making of" of this photo so you understand what's behind it. You will see that with some patience it is quite easy to get a decent result:
- We locate a small stream or river where we can walk in boots without endangering our physical integrity. The photo can be taken even if there is no waterfall, but it is clear that a small waterfall will improve the final result.
- We planted a tripod, there, in the middle of the water. Can you put a tripod in the water? It depends on the tripod, but in general it is usually possible. Just make sure you wash and dry it well as soon as you get home so it doesn't deteriorate over time.
- We look in our backpack for the objective with the shortest possible focal length. A wide angle type 18mm or even 14mm will give us a spectacular vision.
- We will attach a Neutral Density filter (ND Filter) to the objective. They are available on Amazon at very cheap prices. Make sure, though, that you buy an ND Filter with the right diameter for your lens.
- We set our camera to shoot in RAW + JPG and in manual "M" mode.
- We set the mode dial to manual, set ISO to minimum, aperture around f/11 – f/16, and a relatively slow shutter speed. We'll start with a shutter speed of 1/2 second (half a second). We shoot, and we are looking at the result. If we need to slow down the shot, we will try slower speeds, like 1 second, 2 seconds, and so on.
- From this point it is a matter of testing different shutter speeds until the desired result is achieved.
- To shoot I recommend using a remote shoot (they are sold very cheap on Amazon and in photography stores). If you don't have one, try your camera's "delay shot" option. This way you make sure that the camera does not move during the shot.
- Wait a minute because this photo is even more youthful: in the case of the photo you see above, the photographer has subjected it to significant post-processing and editing. This goes by taste, there are people who do not like that the photo is too "edited" on the computer, others enjoy it more. In any case, the photo you see above owes part of its "magic" to the developing and editing work that the photographer applied afterwards: the photographer increased the saturation of the photo, raised the whites (look how white the water in the waterfall), he darkened the blacks (note the very dark holes in the tree trunk), he played with the contrast and possibly with the tone of the green making it more vivid.
There you have it, the step by step photo. Now all you have to do is plan an excursion to a river and experience the "silk effect" it has been said ? .
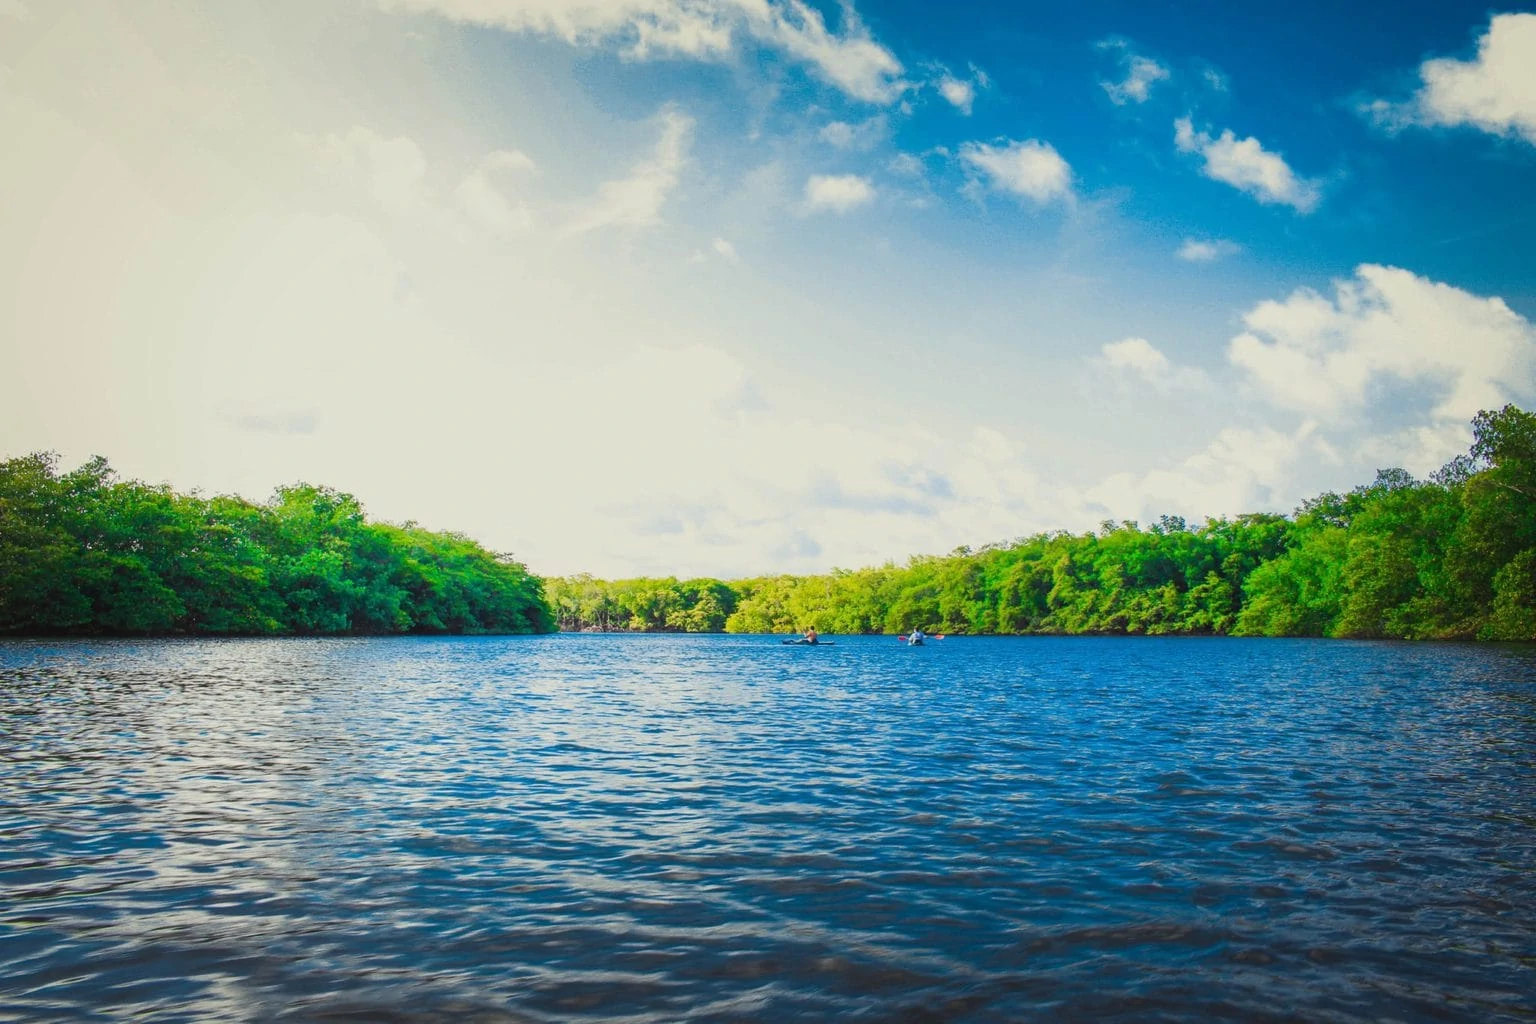
In nature photography, digital development is of key importance, and if not, take a look at the previous photo. Thanks to the use of programs such as Lightroom, the photographer was able to enhance the contrast of the sky and clouds, give a more vivid tone to the green of the trees, and accentuate the blue of the river or lake water.
When you're out shooting in nature try to shoot your most "important" photos in RAW + JPG. This will allow you to develop them in Lighttoom or another digital developing program and be able to explore various creative avenues.
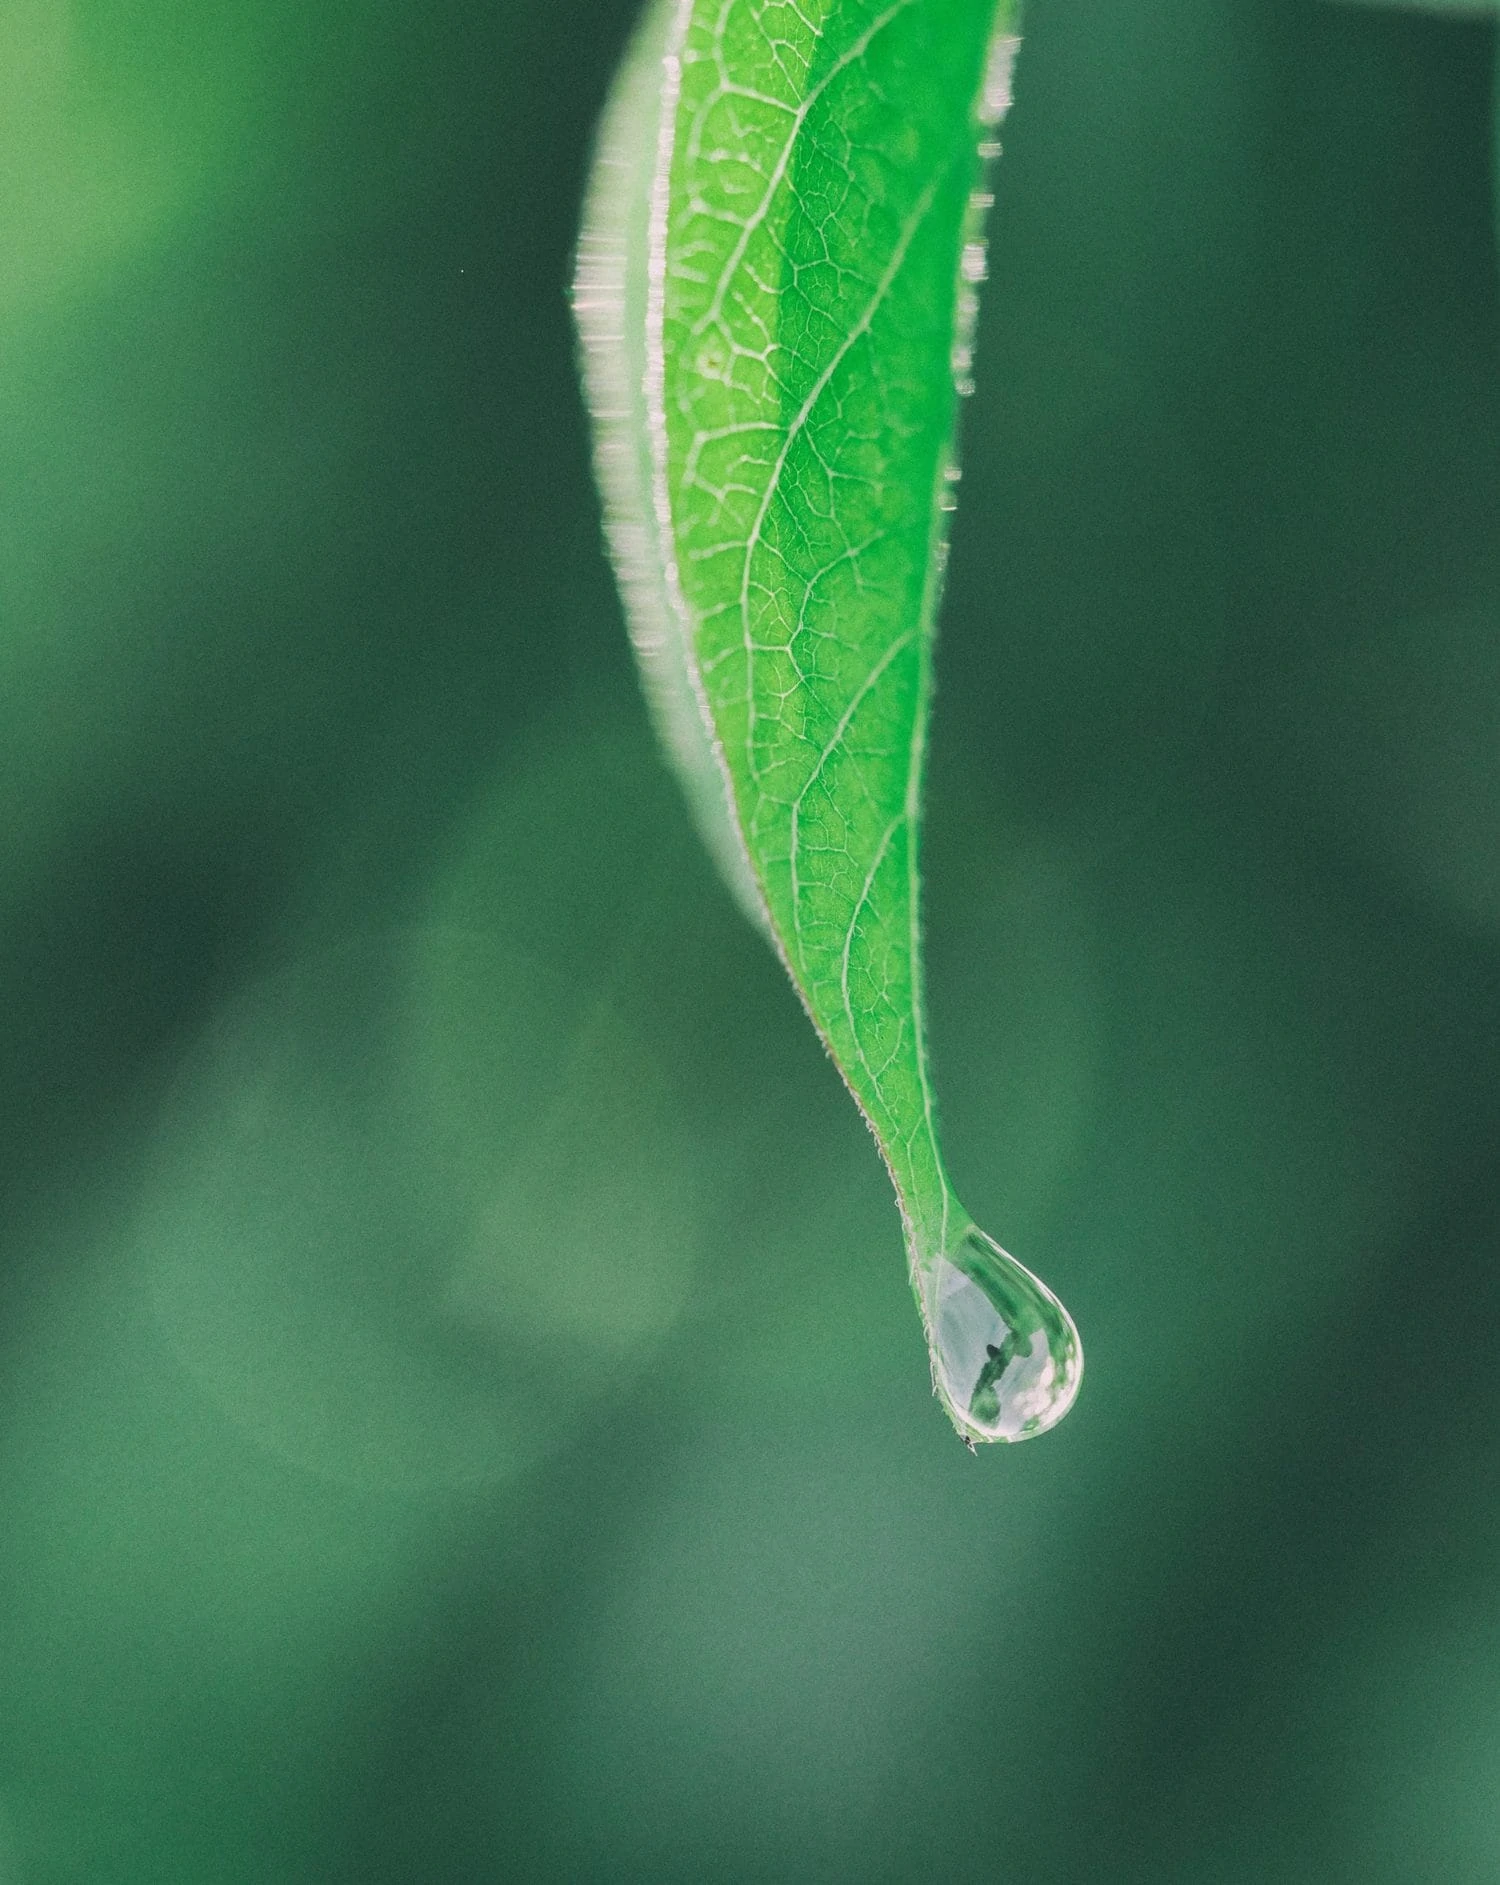
Typical SPECTACULAR photo that you can take in the middle of a moment of boredom and lack of creativity.
Set your lens to the widest possible aperture (reduced f/ value), locate a leaf on a tree, and manually place a drop of water on top of the leaf and let it slide off. You will need to practice a few times until you find the right point.
You can use a sprayer, a syringe without a needle, or any household utensil that allows you to deposit a drop of water on top of the leaf.
The result, as you can see above, is simply bestial.
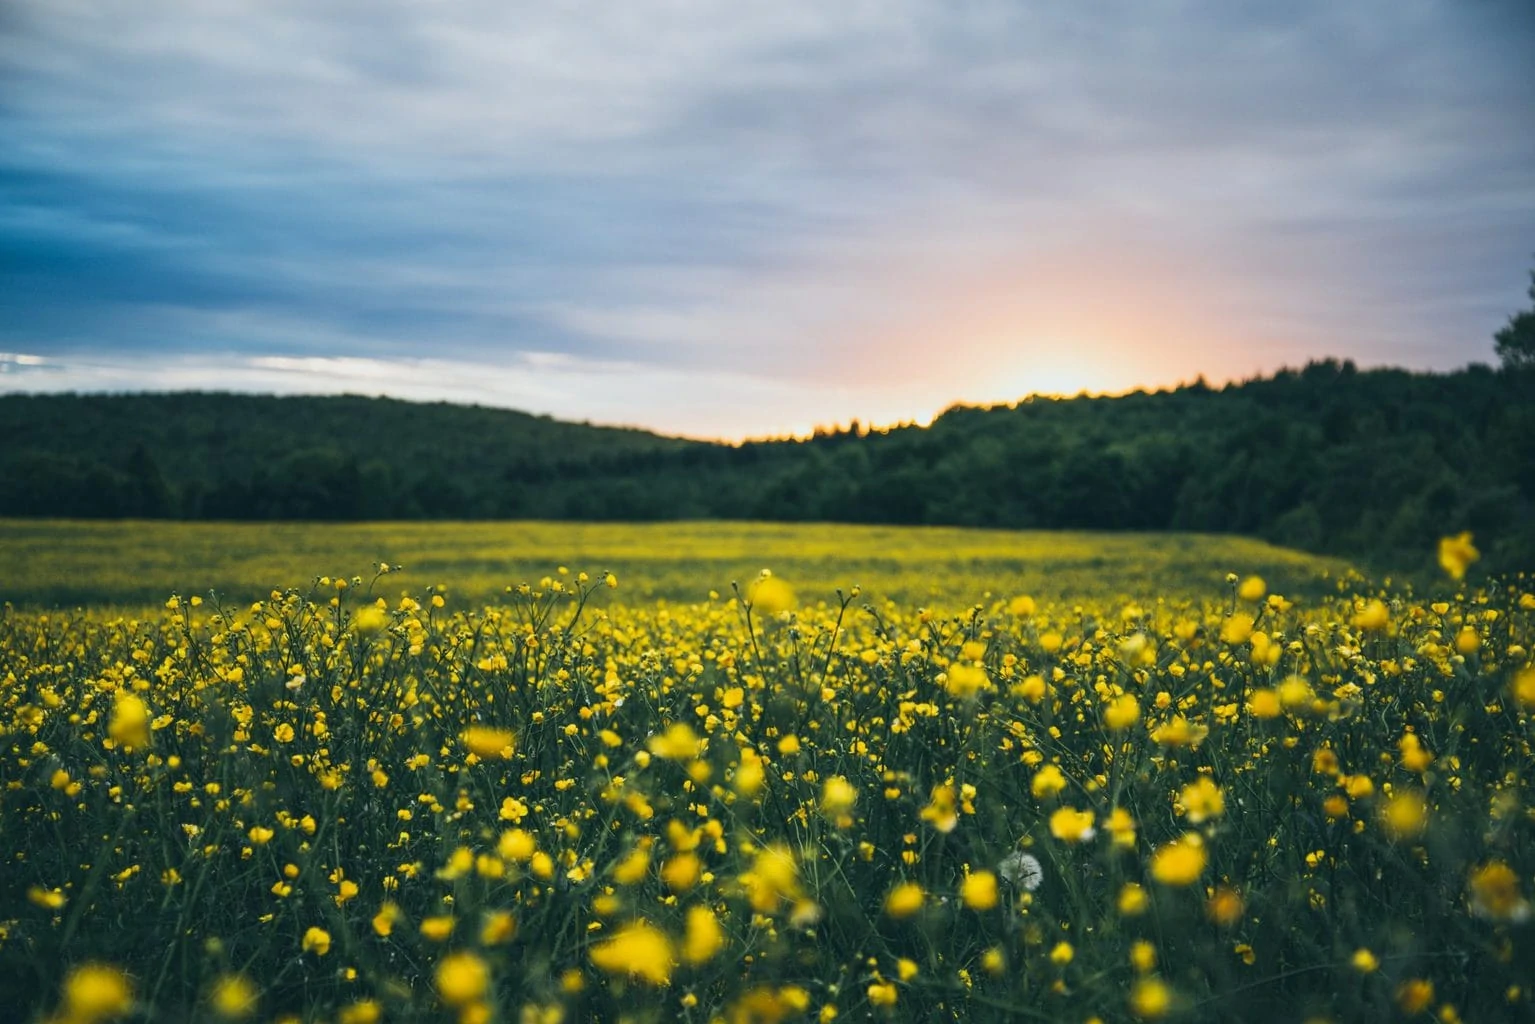
This photograph exemplifies a good exercise in good nature photography obtained in an environment and at a time when, initially, there was not much interest.
If you wonder how the author of this photograph was able to turn the situation around, here are some clues:
- Cloudy day. This has allowed us to achieve an interesting sky with a dramatic point.
- Sunset time. This allows us to add a new dimension of color (orange tone in part of the frame), in addition to being able to direct the viewer's gaze towards a specific point in the photo.
- Small flowers in the foreground, forest in the background, and the sky above. 3 essential layers, arranged horizontally, and that give the photo a successful composition "by layers".
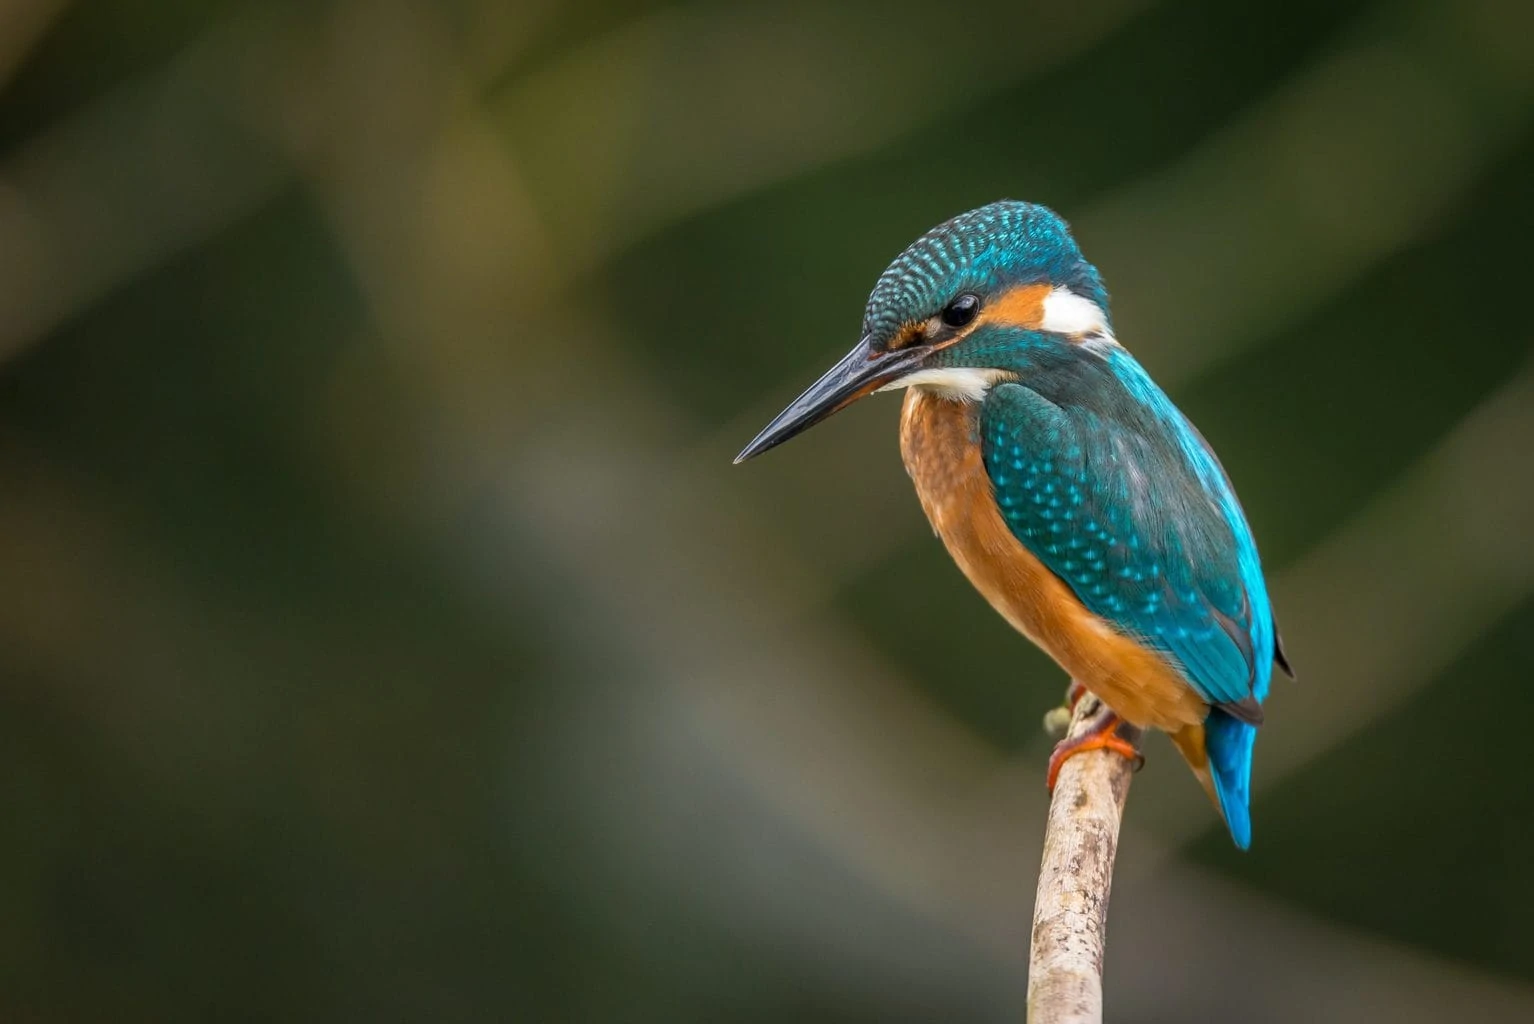
If you like bird photography, you definitely need to go to a zoological garden or a bird observatory, there you will find an infinite variety of living beings with wings, of all colors and for all tastes.
To get a photo similar to the one you see above, you will need to be equipped with a good telephoto lens. On your camera select mode “M” on the mode dial (Manual). If you feel a bit insecure in Full Manual mode, you can try Aperture Priority mode (“A” on Nikon, “Av” on Canon and other brands).
If you want to get a blur similar to what you see in the photo of the bird above, you should set the f/ value to the minimum. Activate the image stabilizer on your lens or camera, and select continuous or "burst" shooting mode. When you shoot, try to take a few photos with each shot. Although this way you will end up with too many photos, the truth is that this will allow you to review all of them later, one by one, delete the ones that have come out blurry or out of focus, and keep the best ones.
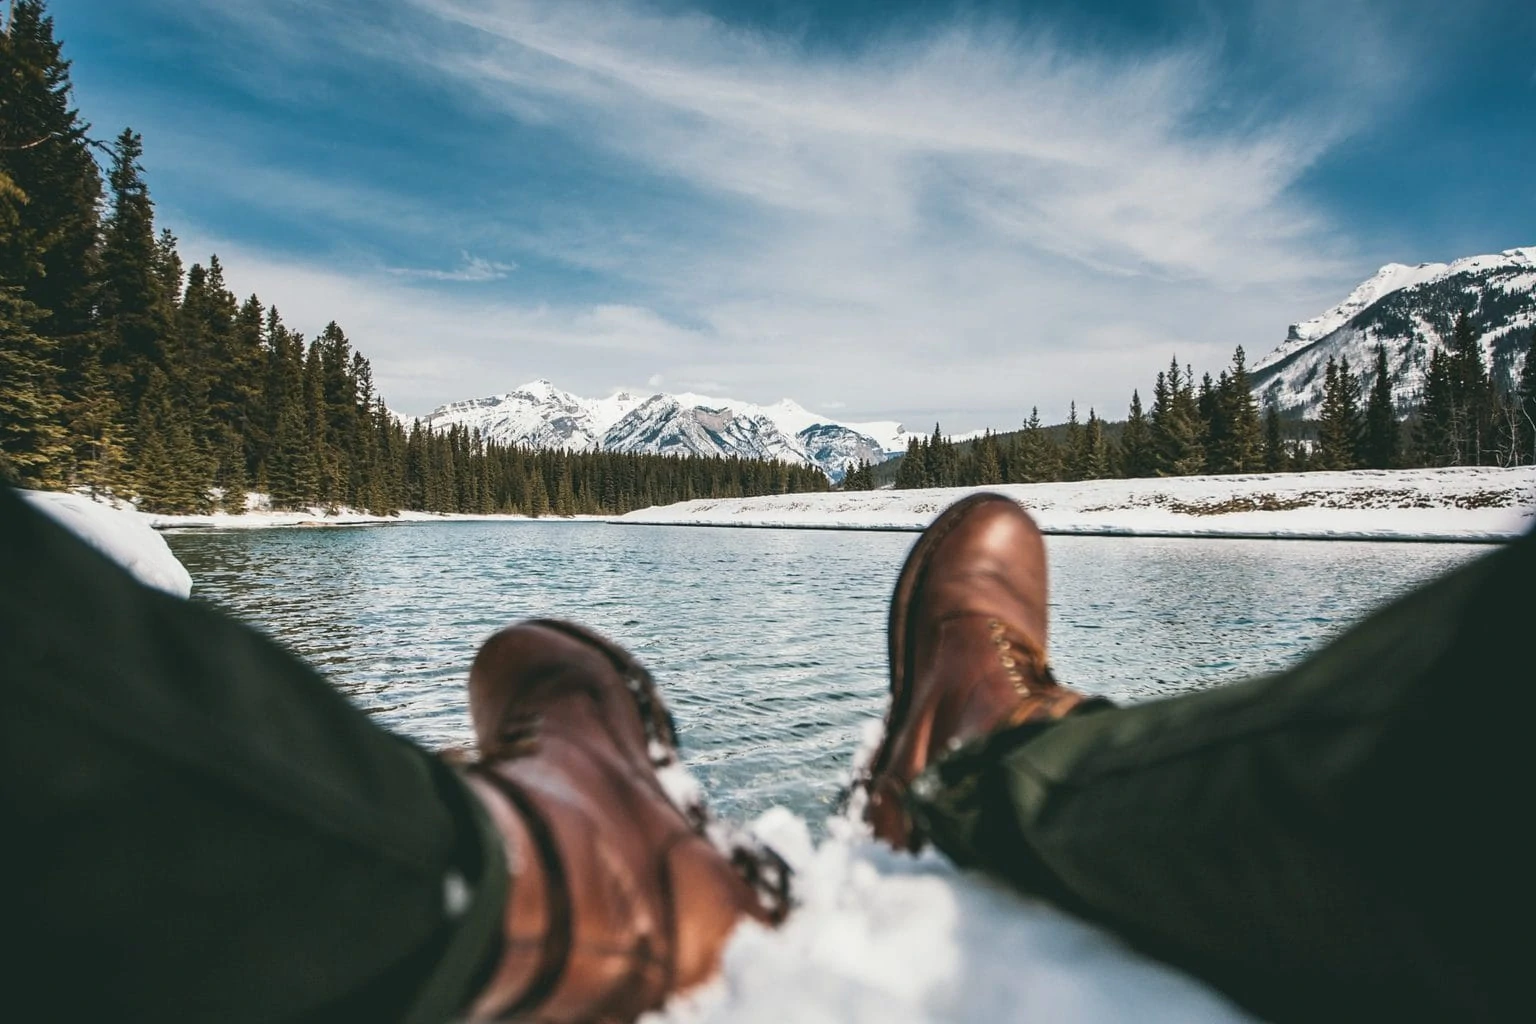
I adore this type of nature photography in which a human element breaks in and shares the limelight with the landscape. The idea itself is very simple to execute but most of the time that we are holding the camera looking for the perfect frame for the landscape in front of us, it does not occur to us to introduce ourselves as an additional compositional element.
In addition to the introduction of the human element in a natural environment, in this photo there is another peculiarity, and it is the angle. The photo was taken from the gentleman's crotch (how embarrassing to explain this!). As a result, we have a photograph with a first-person view or a POV (Point Of View, in Spanish Point of View). The photo does not show you a landscape. It physically transports you to him. You see the photo and you automatically imagine being that person in that place.
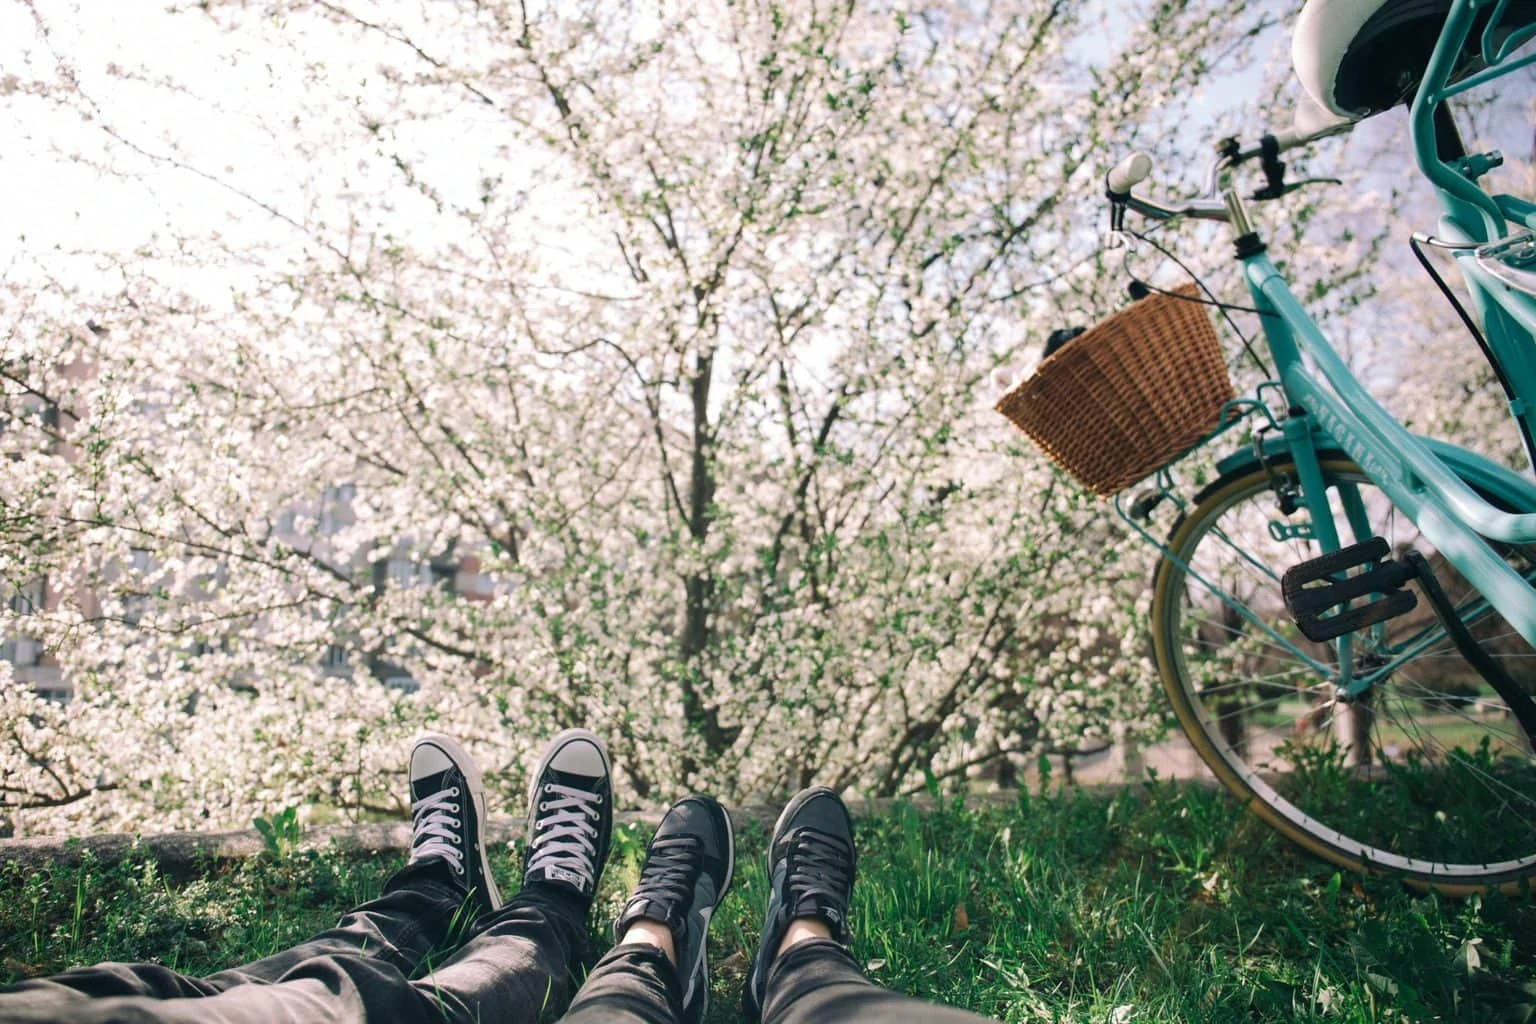
Another example of that person-nature connection that I was talking about in the previous photograph. This photo has a very evident level of improvisation (see for example the unevenness of the grass), but that does not detract from it because it manages to tell us a story with a very accomplished level of aesthetics.
Imagine the same photo, same frame, everything the same, but without the legs of the couple. It would have been one more photo of a simple tree in any park.
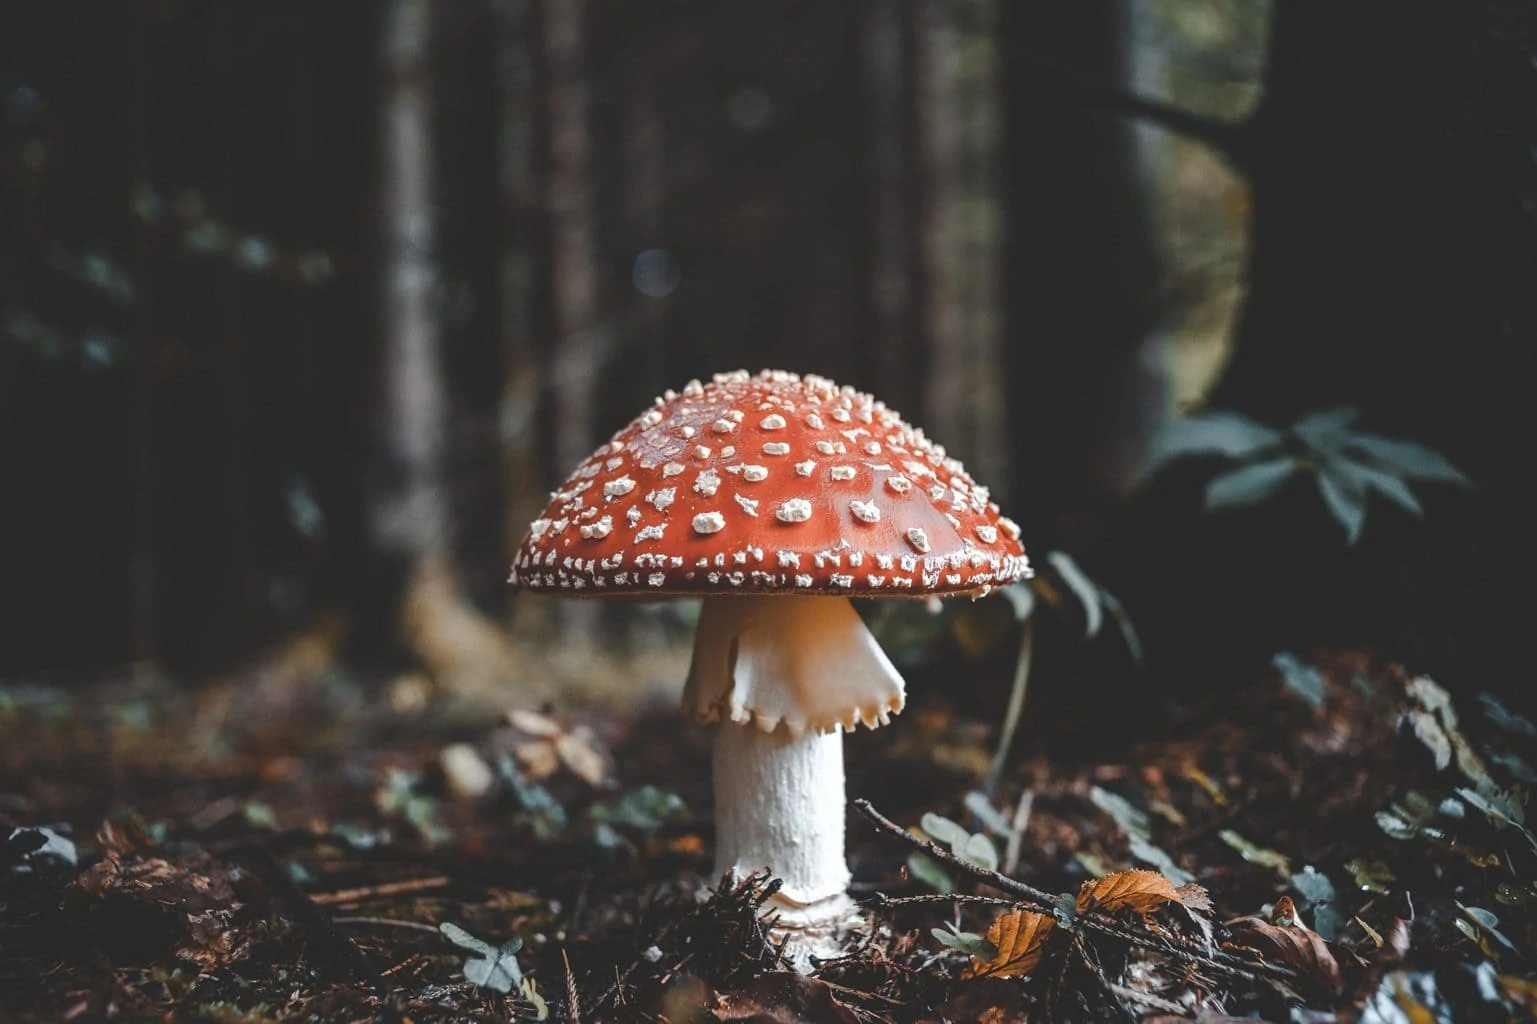
Mushrooms are a great subject for woodland and nature photography. It brings the advantage of being an inanimate living being. It is virtually impossible to get a blurry or shaky mushroom photo.
If you want to get some interesting mushroom photography results, use whatever lens you have with the largest aperture (I recommend the King of lenses, the 50mm f/1.4, although the f/1.8 will also give you decent results) and put it, obviously, at its widest aperture (small f/ value). This will allow you to get a blurred background giving a lot of prominence to the portrayed mushroom.
What you have just seen is a tiny selection of nature photos taken by amateur photographers that you, my dear reader, have nothing to envy. My purpose with this article was to inspire you but above all to show you the process behind each one of these photos, and to show you that getting incredibly beautiful photos can be relatively simple, you just need to know the ingredients, the cooking times, and be one of the who enjoy portraying the world from behind the viewfinder.
While I am closing this article, I ask you not to leave it here. Your relationship with nature photography should not end on these lines. Go back up, look at the examples of fauna and flora that I have left you, take out your notebook or your mobile, and WRITE down which of these photos you plan to practice and when you plan to do it. It is not nonsense to aim, believe me, it is the only way you have to commit yourself to yourself and to be able to achieve amazing advances.

