
Night photography is the magic of the unknown, of reinventing reality, of seeing through our camera scenes that we are unable to appreciate with the naked eye. Is there anything more fascinating than this?
Today, sitting here writing this mega guide, I have proposed to bring you light in the dark. An ambitious project, you may think, but what would a human being be without ambition? Would we have reached the moon without it?
Well, less ramblings, I leave you with this guide in which you will find everything you can think of on this exciting subject: material, technical advice, tricks and inspiration until saying enough. So that when night falls, you become the night photographer you've always dreamed of being.
Attention, important, this is a very complete article at all levels, and it is possible that you cannot or do not want to read it in one go. I recommend that, before continuing, you save it in your favorites folder. So you can turn to him whenever you have a question or query related to night photography.
RECOMMENDED EQUIPMENT FOR NIGHT PHOTOGRAPHY
In night photography there is no room for improvisation in terms of material. You must go well prepared for your night sessions, because once there, if you are missing something essential or if you are simply cold, say goodbye to good results ;).
This is the equipment that I recommend for night photography. It would be a great idea to make a good checklist before leaving home so you don't forget anything :
- Camera with interchangeable lenses.
- A wide angle lens.
- A telephoto lens (if you want to photograph the moon).
- Sunshade to prevent glare.
- Tripod.
- Remote shutter release (ideally with intervalometer).
- Dark clothing (and if appropriate, layered).
- Appropriate footwear.
- Spare batteries (several).
- Memory cards.
- Photo backpack with different compartments (ideally waterproof). In this buying guide I tell you how to choose the best backpack for your camera.
- Flashlight: if you have a headlamp, better than better, so you will have your hands free.
- Mobile phone at 100% battery.
- Flash, colored gels or the light elements that you want to use if you are going to illuminate the scene or do Lightpainting.
- Folding chair, after several hours you will appreciate it.
Do you already have your list? Read on, we are going to delve into the most important night photography equipment.
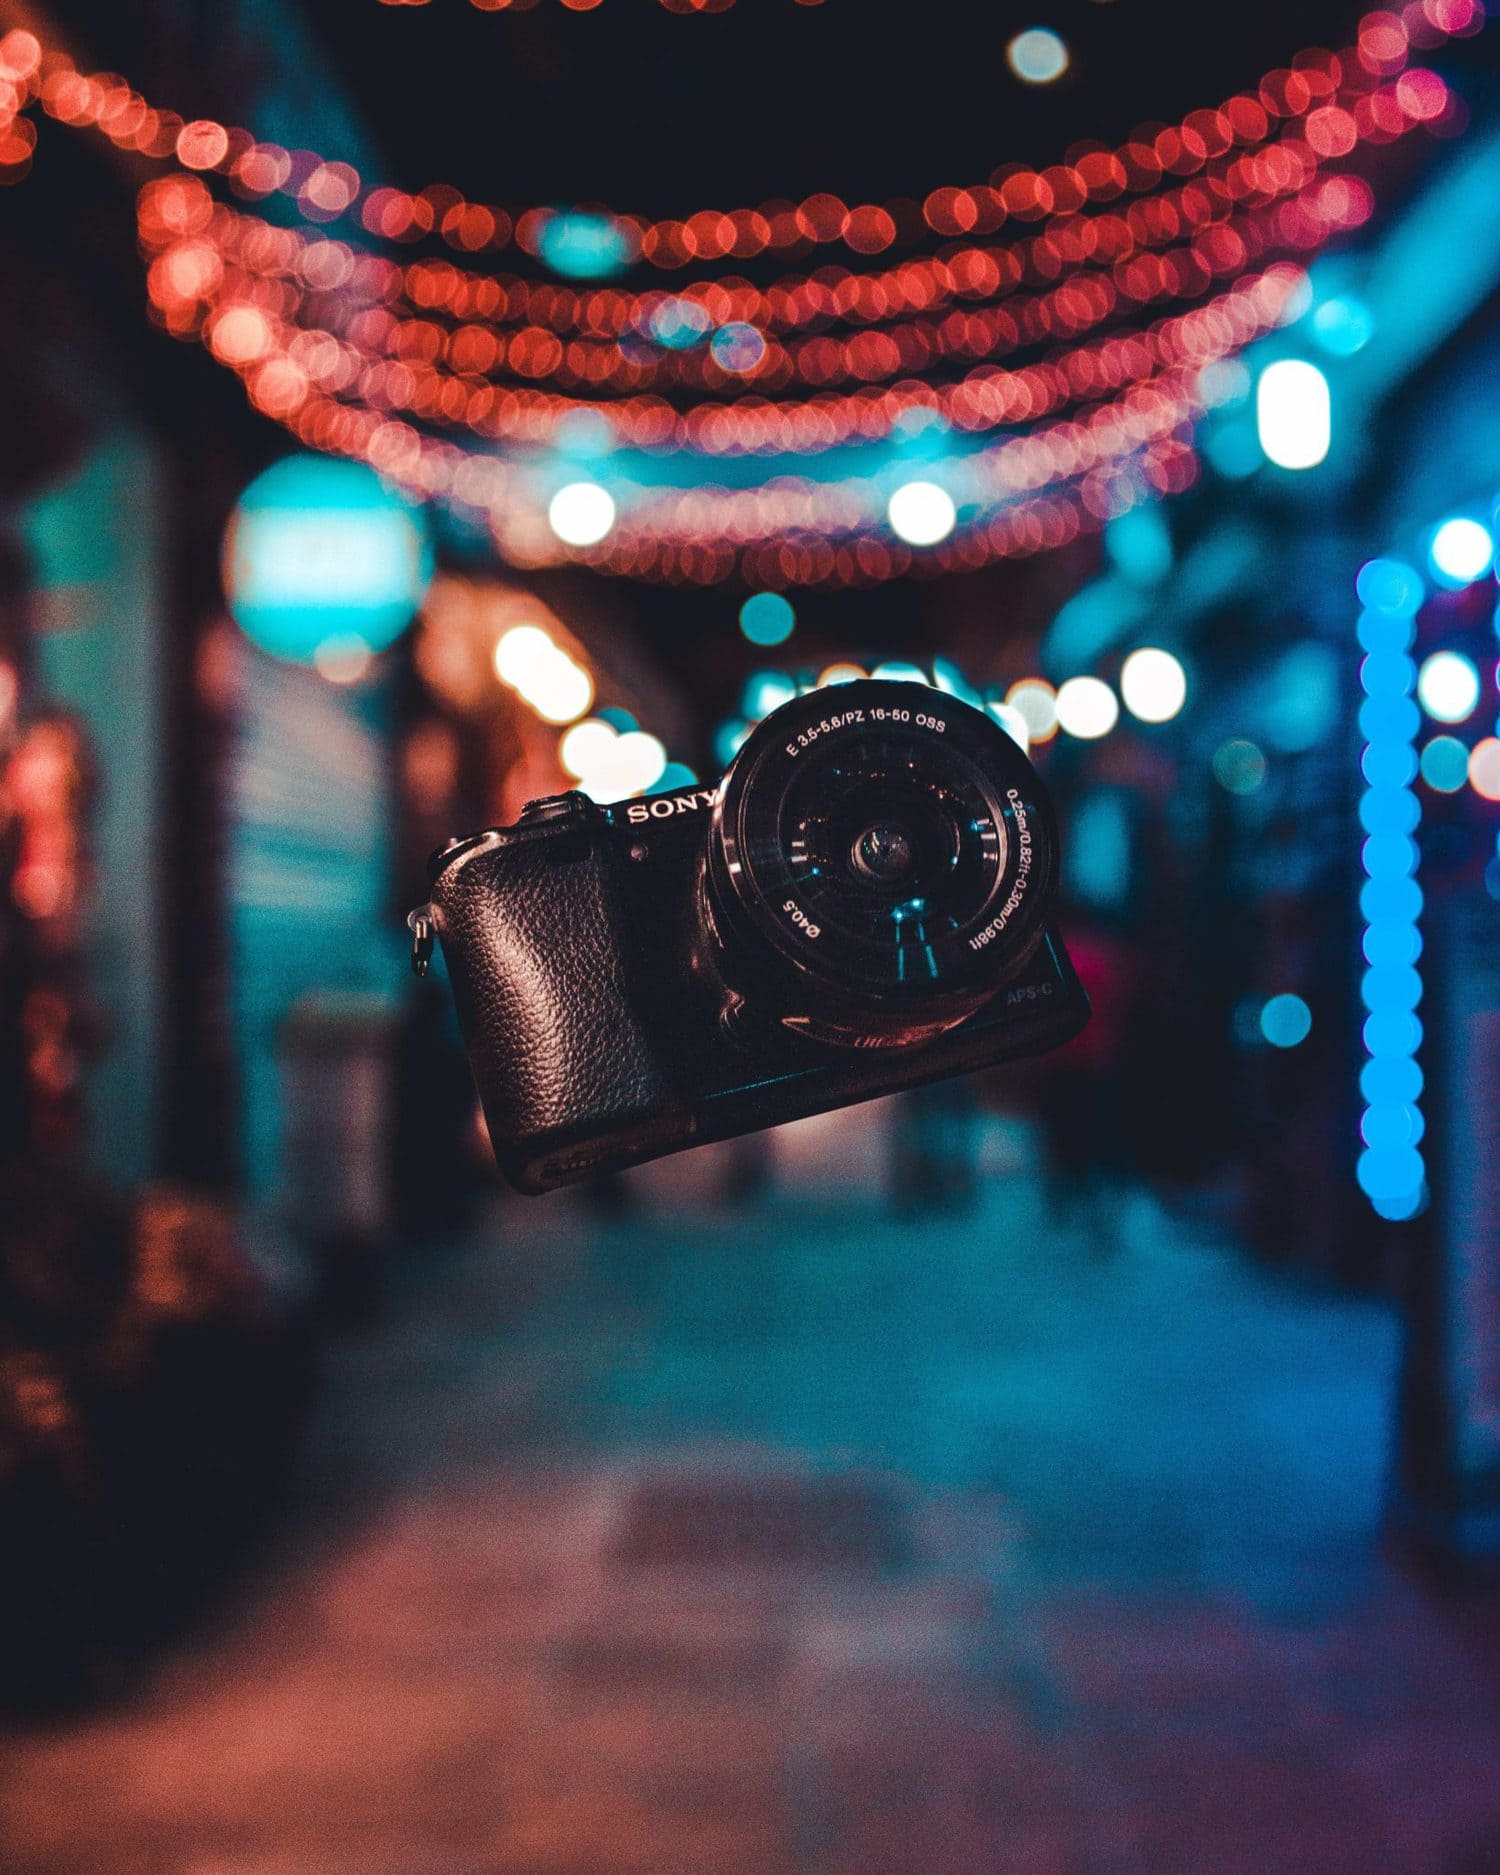
CAMERAS FOR NIGHT PHOTOGRAPHY
If night photography is your passion, there are cameras that will give you better results to get your photos at night.
In general terms, I recommend that you look at:
- A camera that has manual settings.
- That it has RAW format.
- That it has Bulb Mode .
- The larger the sensor, as a general rule, the better.
- ISO sensitivity: that responds well to high ISO ranges (at or above 6400).
- Have a noise reduction option.
- Rear LCD screen with adjustable brightness.
- Live View mode.
- Intuitive menus to quickly photograph in the dark.
- Robust construction, if possible, sealed.
- And, of course, with interchangeable lenses so you can take advantage of it in other types of photography too ?
Do you need more light on the subject? Discover our 14 recommended cameras for night photography .
That being said, do you have a camera that doesn't meet half of the above points? Don't let that stop you. If there is something more important than the camera, that something is you and after you, what I tell you in this (short) inspirational video:
OBJECTIVES FOR NIGHT PHOTOGRAPHY
As I was saying, after you, night photographer, the most important thing is optics. Without a good lens, there is no good camera. If you put a crap lens on a camera "cucumber " , the result is equal to zero ?
If you have to invest, my recommendation is that you do it in good optics for night photography. My advice in this regard is very simple:
- The brighter, the better.
- You need a wide angle focal length. If your camera is not Full Frame or Full Frame (Fx), make sure it is still a Wide Angle after the conversion or crop factor .
Simple, right? Don't worry, I'm not going to leave you like that, if you're looking for a good lens for night photography, we've already done the research for you on the blog, don't miss out on our recommendation regarding the best lenses for night photography.
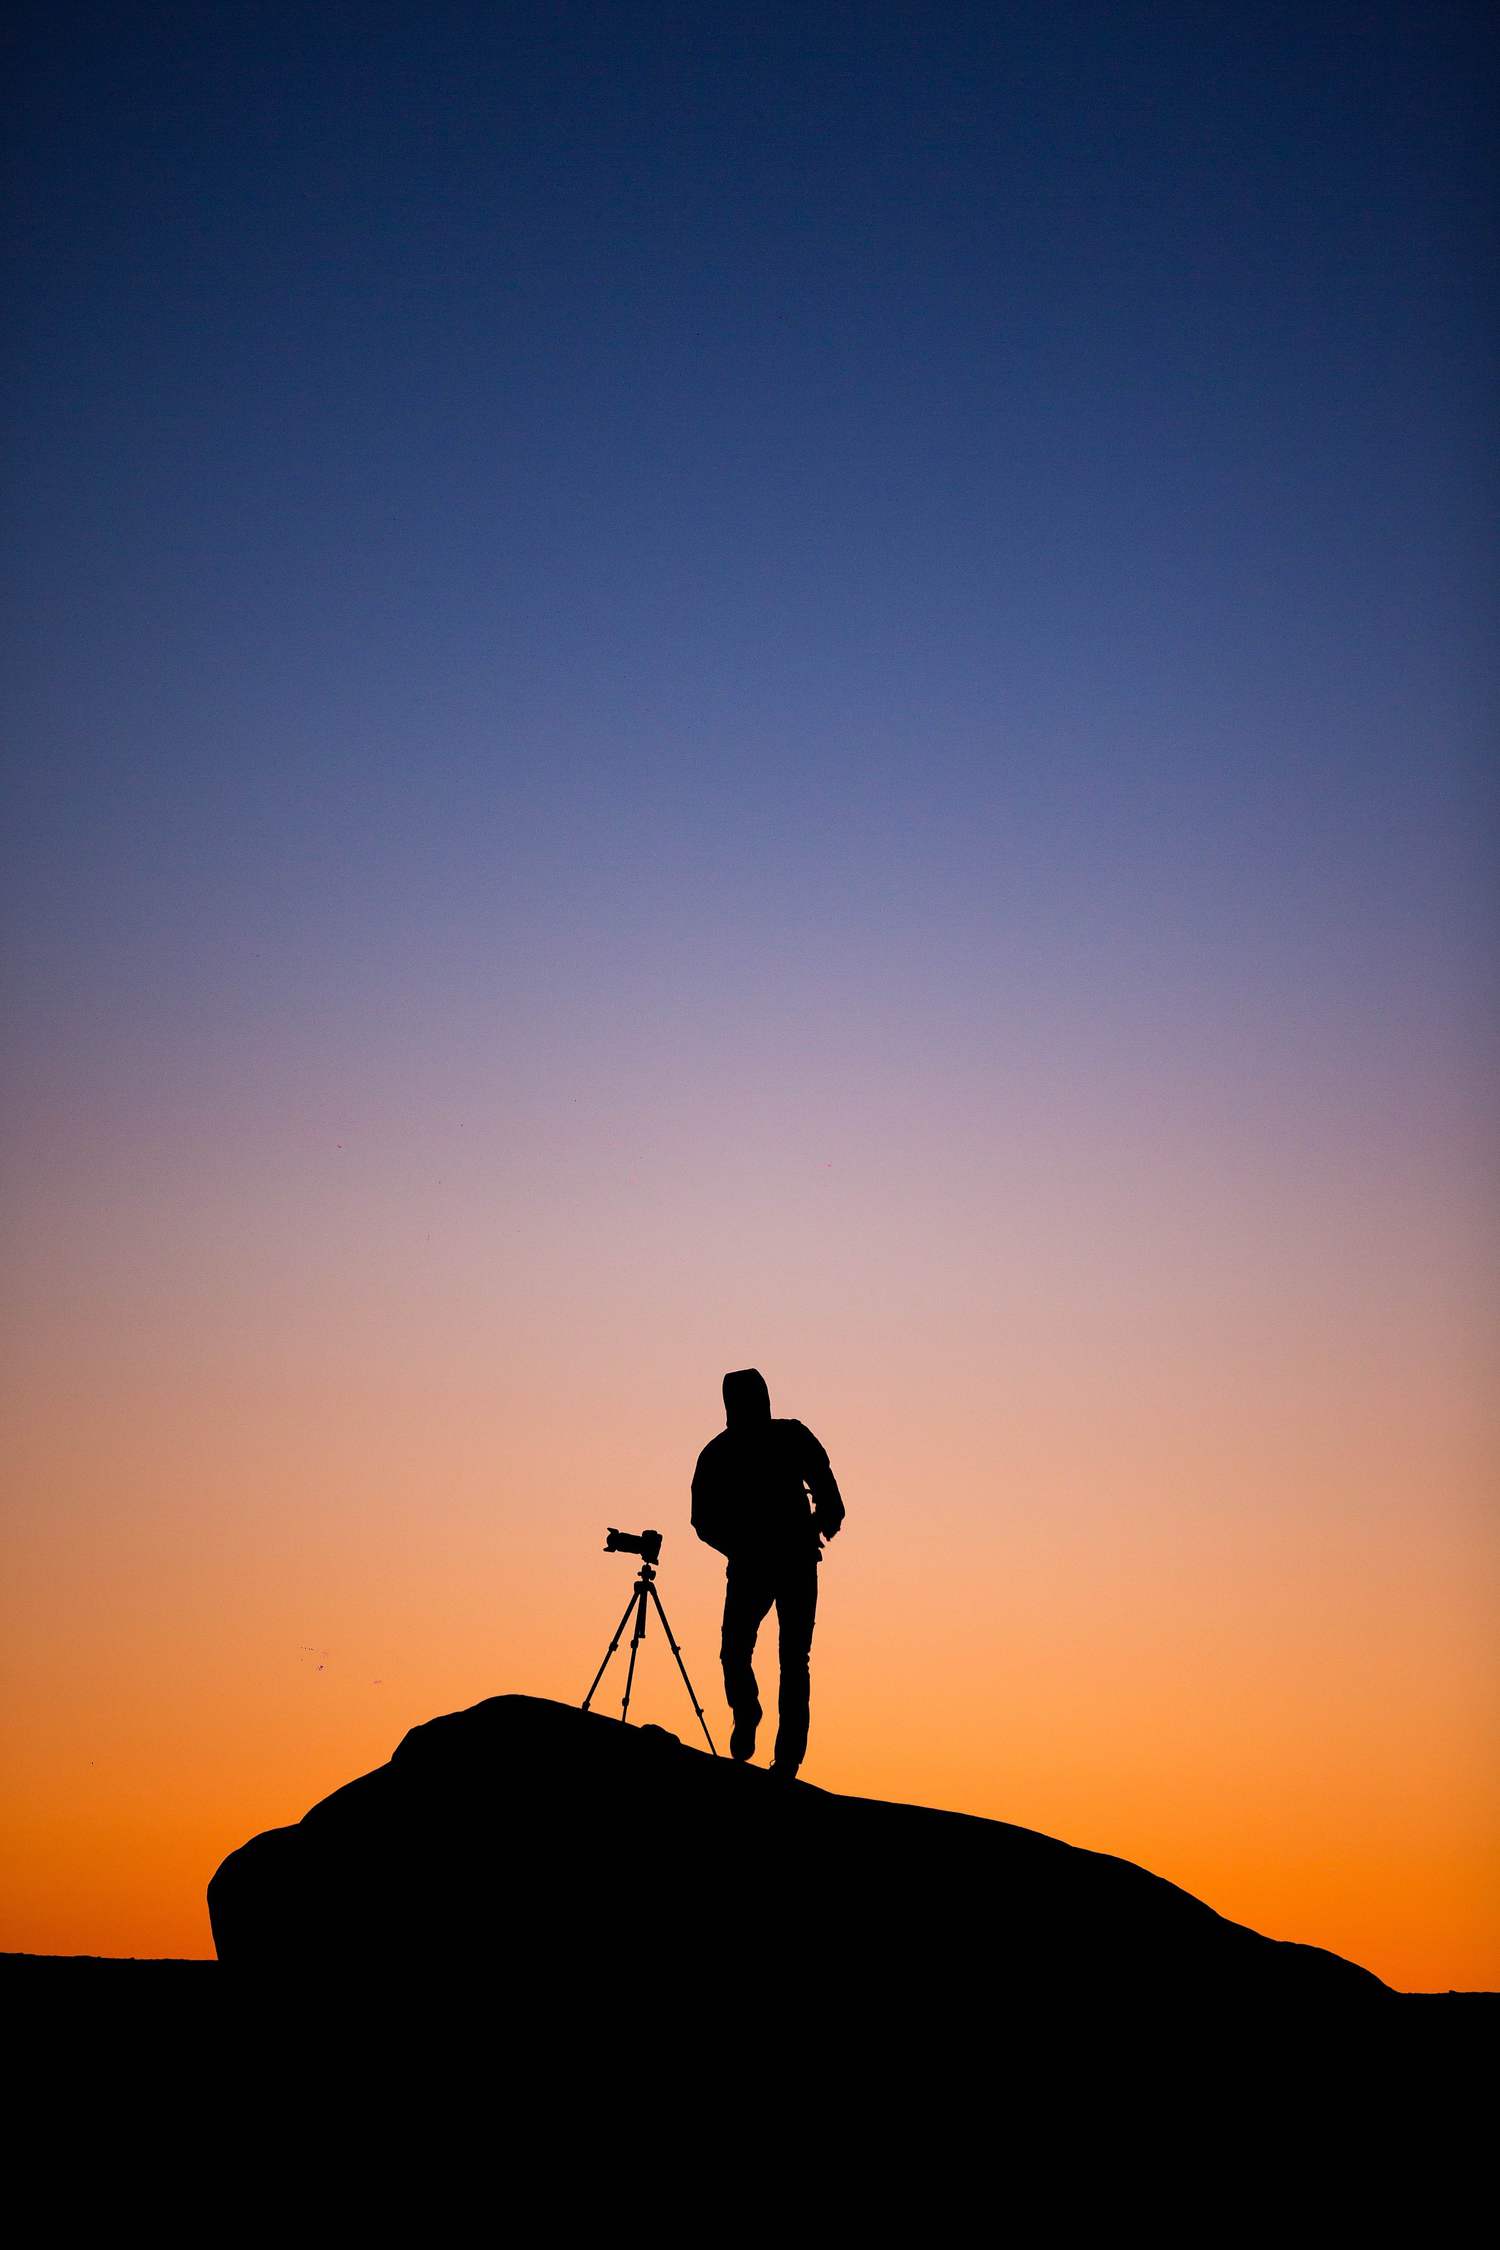
THE TRIPOD, THE ESSENTIAL ACCESSORY FOR NIGHT PHOTOGRAPHY
I dare to assure you that you are not aware of the importance of having a good tripod until you consider doing night photography. It is in the dark where the lack of stability can play tricks on us. Even more so if you are in the middle of a mountain where there is wind, or the ground is not exactly smooth.
A good tripod is one of those investments that you don't regret, for photography in general and for night photography in particular. These are the characteristics that you should look for when getting a good tripod for night photography:
- Sturdiness
- The leg sections
- The material and finish of the feet
- head type
- the middle bar
- construction material
- The maximum weight you can carry
- The maximum height of the tripod
To expand the information, I leave you with this article where we talk specifically about how to choose a tripod for night photography .
OTHER ACCESSORIES FOR NIGHT PHOTOGRAPHY
Night photography allows you to add high doses of creativity to the scene. Not only because of its ability to portray aspects that you cannot appreciate with the naked eye, but also because of what you can do with accessories . An example, the lanterns to play with the lighting of certain parts or to paint with light.
FLASHLIGHTS FOR NIGHT PHOTOGRAPHY
The more you get into night photography, the more you want to model the lighting of the scene to your liking, I'm sure. This type of lighting is usually done with different types of flashlights.
These are my recommendations regarding flashlights for night photography:
- Have at least one of warm tones.
- Another of cold tones (LED).
- Have flashlights of different intensities (power is measured in lumens) to be able to illuminate a portrait or larger elements such as cars or buildings.
- That allow to focus or expand the light.
- Some allow a filter holder to be added to add colored gels.
Don't be scared, you don't have to have it all day 1. You can start with one and expand as you need or see what you like best ? .
In this article you will find some recommendations regarding flashlights for night photography and other related accessories , take a look.
HOW TO TAKE PHOTOS AT NIGHT
Let's go with some very simple tips for your night photos. This photographic discipline requires patience and dedication, but it compensates you with spectacular results.
I personally would advise you:
- Learn to use your camera during the day perfectly. That is to say, that you know where each function is, that you feel comfortable operating the dials, that you memorize where the shutter speed, the ISO button or the aperture of the diaphragm are. At night, everything becomes a little more complicated to manage ? .
- Soak up some theory before you head out on a star hunt or that nighttime photo of your dreams. This guide can be a good way to put you in context, but later I will leave you with some books that can help you too.
- Prepare your check list with all the necessary material and review it well before leaving home. There is nothing worse than arriving, setting up camp and running out of battery or having forgotten your tripod.
- Take everything well organized in a good backpack with compartments.
- Leave little room for improvisation.
- The best time to photograph is the blue hour if you are going to include buildings and artificial lights. However, if you want to photograph the stars or the milky way, you will need a little more darkness. In addition to taking photos at night, you should be away from a large city because light pollution will prevent the camera from seeing the stars well. This implies, of course, that you cannot take photos with the moon, full or otherwise.
- Prepare the session from home: locate the exact place where you are going, check the light pollution, the phase of the moon or the exact place where you will see the Milky Way. Everything you need for the type of photography you want to do.
- Go accompanied. Both for Lightpainting and for any type of night photography. For safety, for comfort and because it is much better to spend the time you dedicate to your photos in good company ? .
- Arrive at least an hour before sunset to study the terrain well and enjoy sunset prices ? .
That said, I recommend that you expand the information with our 100 quick tips for night photography .
NIGHT PHOTOGRAPHY: TECHNIQUE
A minimum technical knowledge is basic to take this type of photography. These are images that you will never achieve in Automatic Mode, not even in a semi-manual mode.
The night photo technique requires that you work in Manual Mode and that you have a certain command of it. Or that you get down to work to master Manual Mode.
Now yes, let's talk about the minimum settings that you should know to practice night photography:
- Always set RAW format. It is the one that will give you the best result in image quality since it is the one that houses the most information.
- The minimum shutter speeds for night photography are around 15s -30s and even more depending on what you are going to photograph. That is why I insist that a tripod is essential.
- Learn to focus in manual mode since autofocus often fails in low light situations. To do this you can help yourself with a flashlight that points to the place where you want to focus.
- Knowing how the hyperfocal distanceworks is basic.
- Activate the histogram of your camera and check it, do not trust what you see on the screen. Ideally , the histogram should be to the right to avoid the underexposed areas, which are the ones that generate the most noise.
- Turn on highlight alert to see overexposed areas and correct exposure if necessary.
- Set the maximum ISO value with which your camera offers sufficient quality. You will have to do several tests varying the ISO and expanding to the maximum. Don't worry, you only have to do it once ? . Once done you will know what is the maximum ISO value that your camera supports with good image quality.
- Balances the white balance.
- Do not use filters, they reduce the sharpness of the image.
- You can use the noise reduction function of your camera but keep in mind that the time will double: if you take a 5 minute exposure, with noise reduction it will take 10 minutes. Never use it for circumpolar or interval shooting.
- Use Live View mode to focus. It is the most precise mode and with which you will achieve the best results.
Here's an extra dose of on-the-ground advice:
EXPOSURE CALCULATION
Perhaps this is the most complicated part since night photography is done with low sensitivities, 100 or 200 ISO at most.
The ideal is to get the exposure right the first time without having to take many long exposure photos that will overheat the sensor. For that, the trick is to start with a very high sensitivity, open the diaphragm as wide as possible, and calculate the exposure for the sky.
Suppose that for ISO 6400 and f/2.8 gives us an exposure of 30 seconds, using the reciprocity table we will have the following:
- ISO 6400 > 30 sec
- ISO 3200 > 1 minute
- ISO 1600 > 2 minutes
- ISO 800 > 4 minutes
- ISO 400 > 8 minutes
- ISO 200 > 16 minutes
If you are going to photograph with a more closed diaphragm, f/4 for example, you should continue increasing the exposure, twice for each diaphragm stop that you close.
If you have a handheld flash and set it to illuminate objects close to ISO 200 and f/2.8 you can create some spectacular photos. By extending or cutting the exposure you can lighten or darken the sky.
NIGHT AND LONG EXPOSURE PHOTOGRAPHY
There are many types of night photography, but one of the ones that most often attracts our attention is long exposure.
Don't you know what I'm talking about? Check out these 10 examples of long exposure photography . One pass, right?
HOW TO ACHIEVE A LONG EXPOSURE PHOTOGRAPH
It's very simple, long exposure night photography is achieved by combining a very slow shooting speed with some movement of the scene. They can be the headlights of a car, but also the movement of the stars or the sea.
In this video I explain what shutter speed is. If you need to know more about her, take a few minutes to see it. If not, you can keep reading ? .
At this point, maybe you need a simple tutorial where I explain how to achieve a long exposure photograph step by step and with its starting settings? Well, you have it here , so you can get some impressive long-exposure photos.
Do you want more long exposure? Anything more concrete? Ask, ask, for example...
- How to photograph car light trails? Done!
- Are you more interested in fireworks? Learn to photograph them step by step and with these tricks .
- light painting? stars? Wait a bit, I'll dedicate a section to them below.
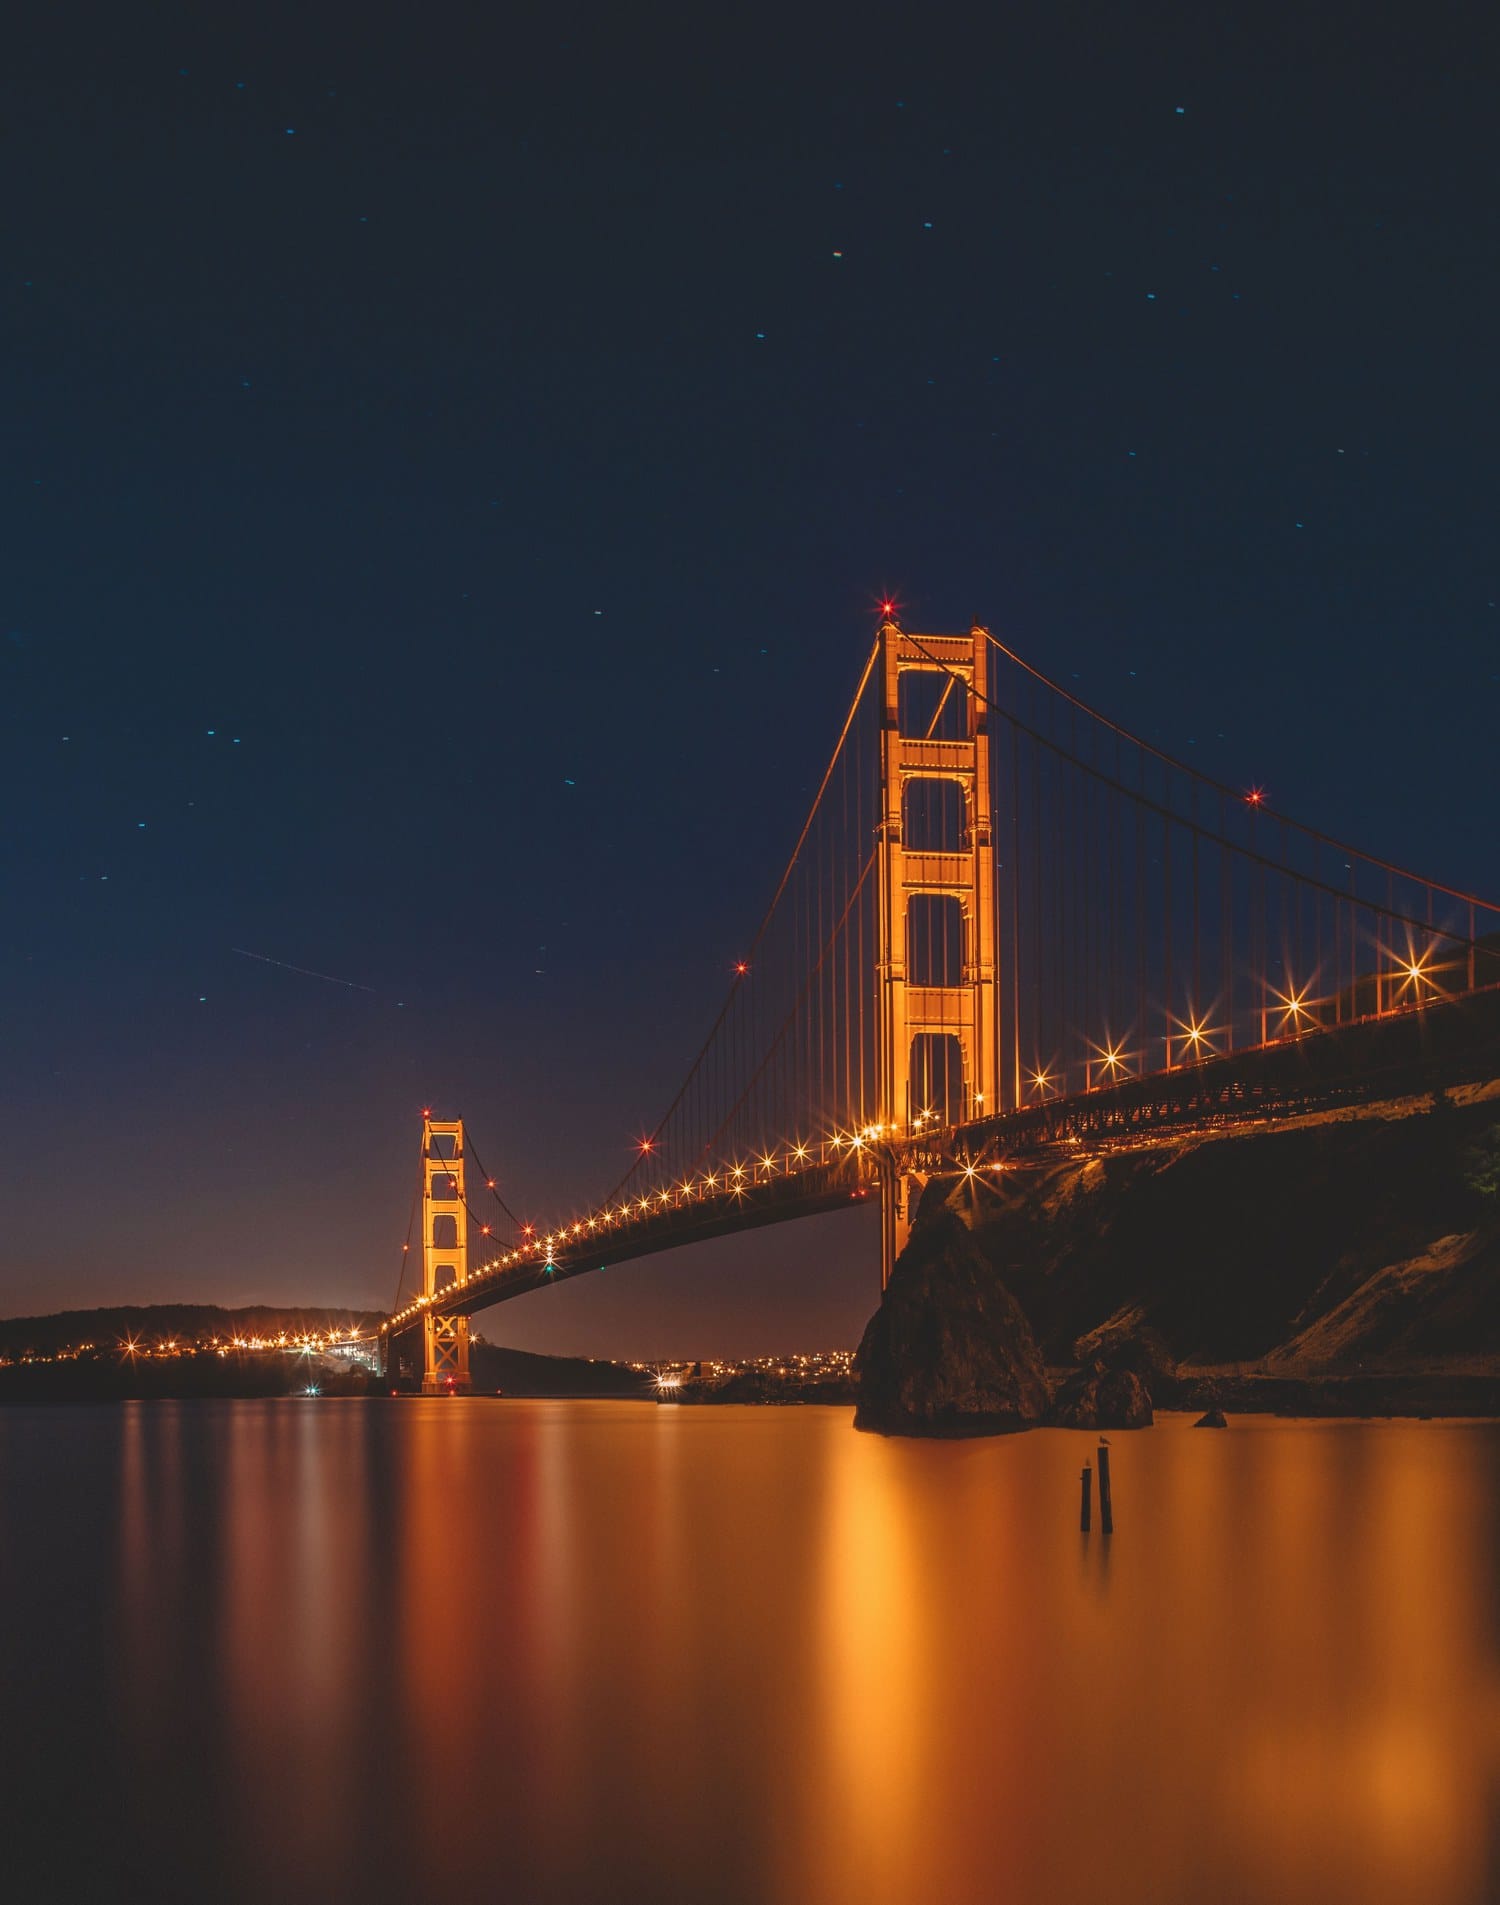
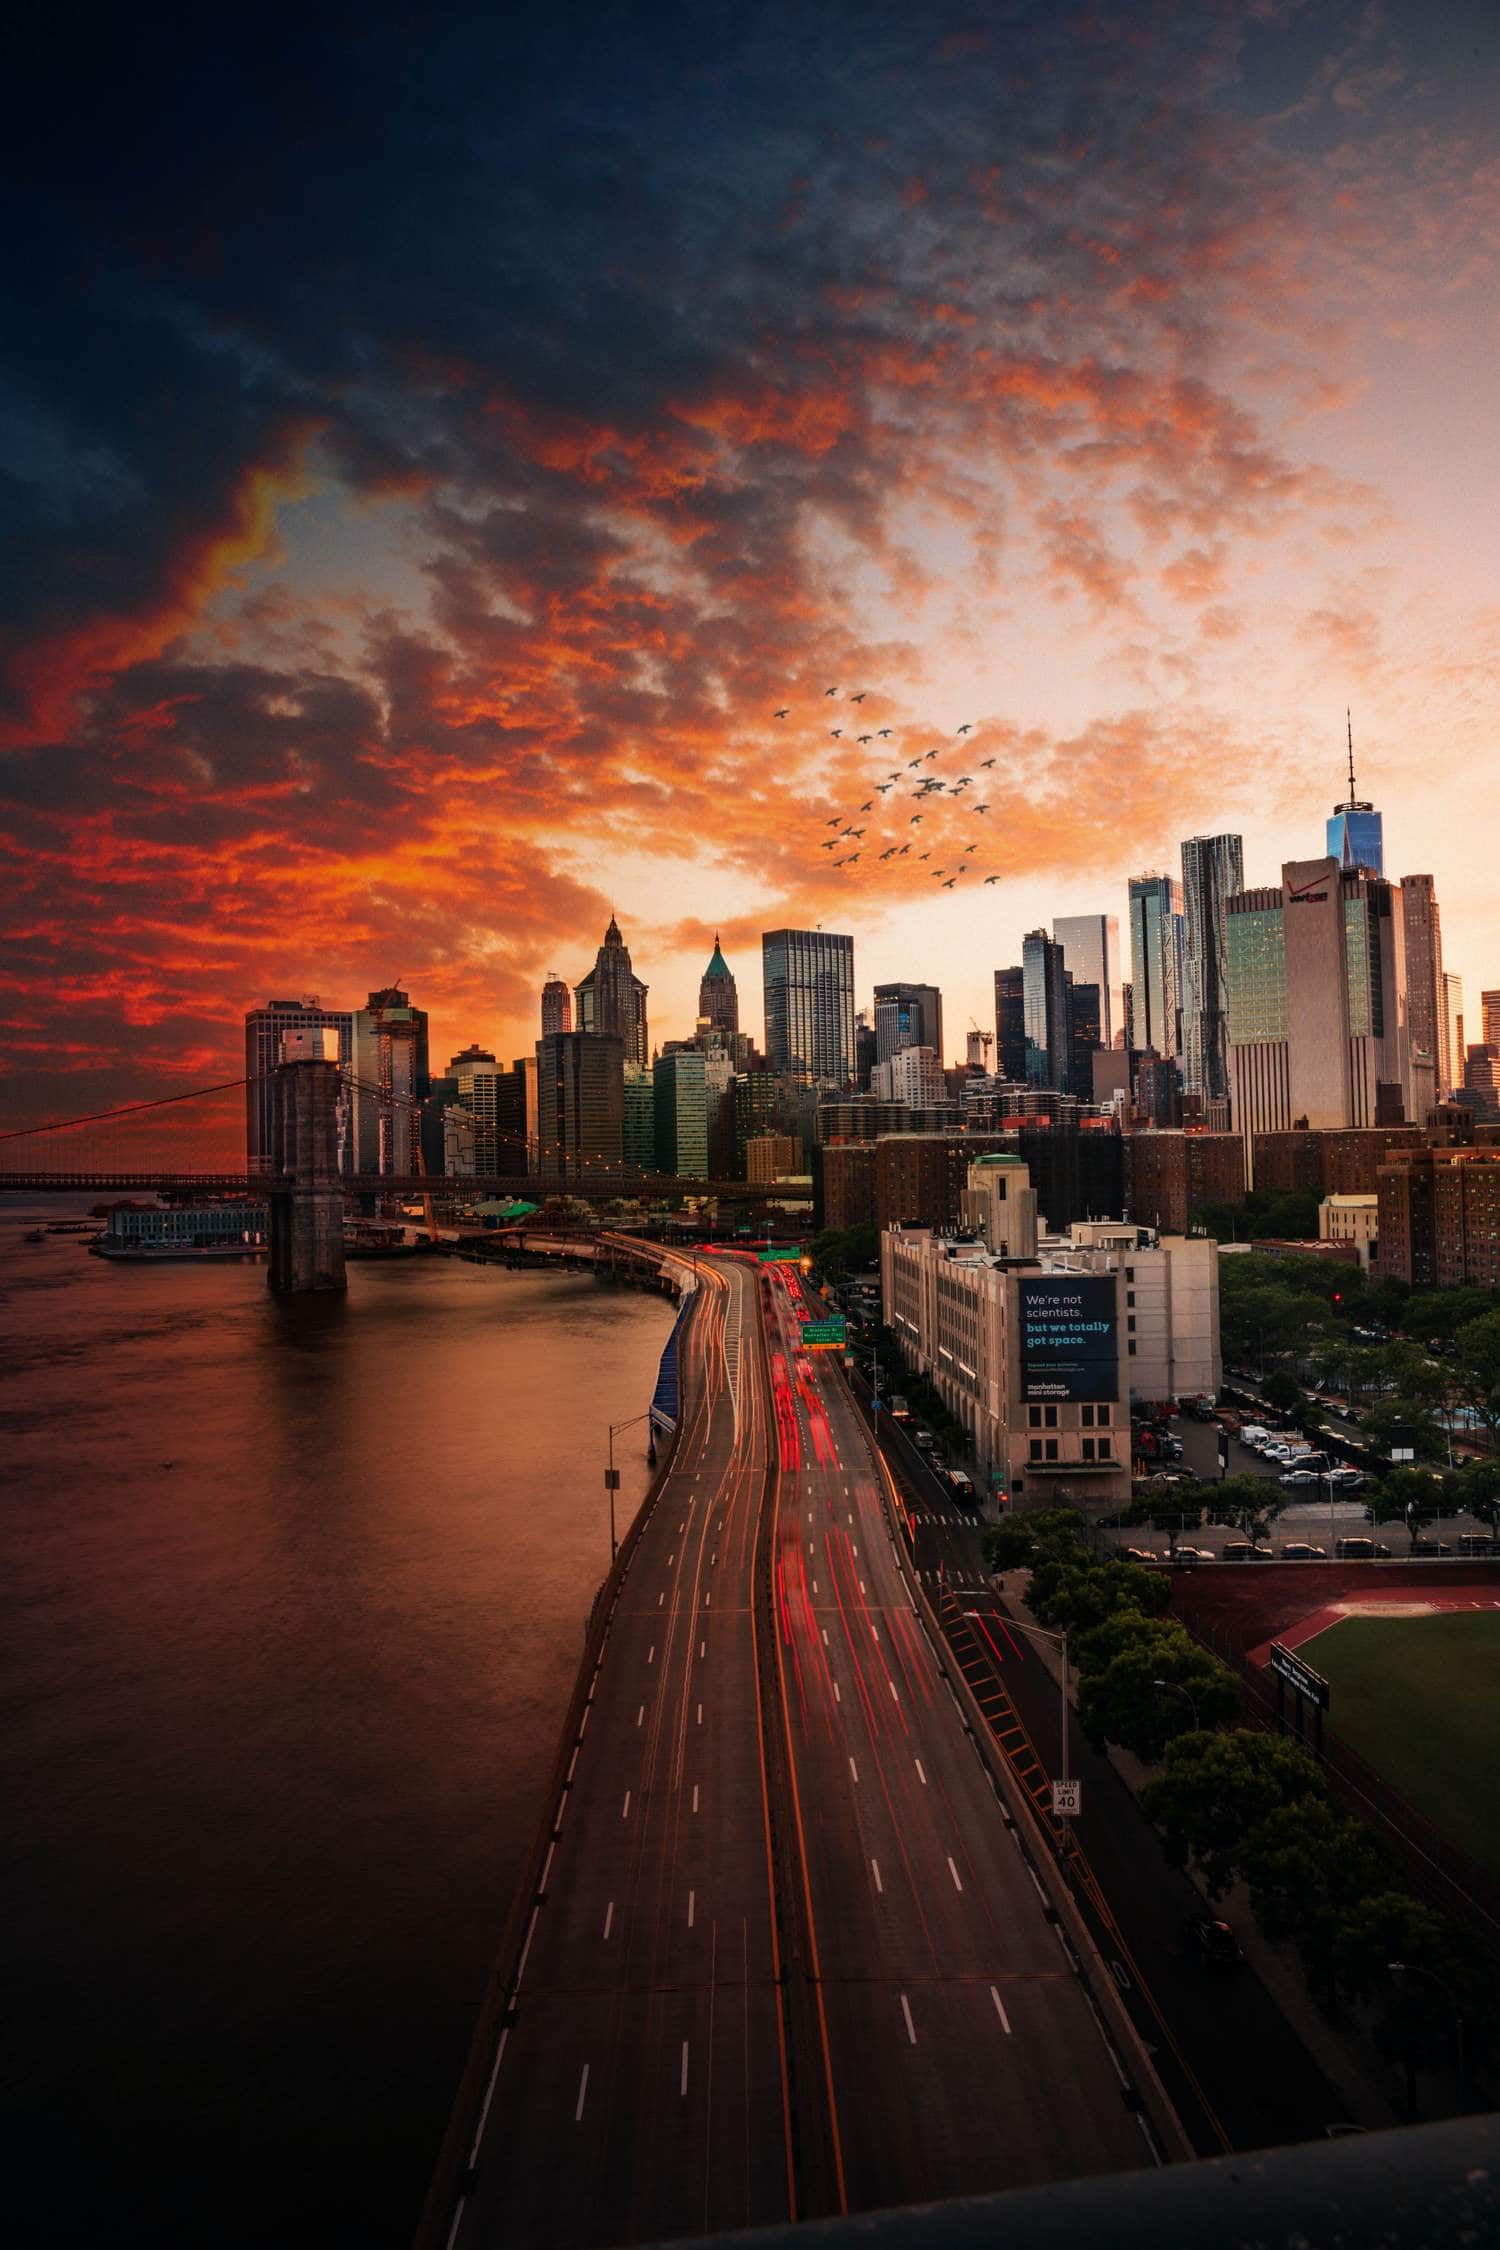
URBAN NIGHT PHOTOGRAPHY
Urban night or city photography has something that catches. Cities at night are completely different from how they are during the day and offer you a lot of photographic possibilities.
You can start from these general tips for urban photography and continue with these other specific ones for urban night photography with some trick that I think will be very useful for you. will you accompany me?
- I start with a trick for urban night photography that you will love: you will make the lights of the streetlights look like stars if you close the diaphragm a lot ? .
- Closing the diaphragm will also offer you more area in focus in the image or depth of field.
- To compensate for the lack of light, use a good tripod.
- Keep a low ISO if you have a tripod, just use slow speeds to compensate for the lack of light.
- Be careful with underexposing, because it generates a lot of noise in the image.
- At the other extreme, you can open the diaphragm wide and play with the bokeh. You do not know what it is? Discover here how to achieve an impressive bokeh in a very simple way.
- Play with the long exposure.
- The blue hour is the most photogenic for urban night photography. It doesn't last too long, so don't fall asleep ;). You can find inspiration for your blue hour images here.
- Look for bold and interesting points of view.
- If your camera loses focus due to darkness, focus manually.
- Take care of the color temperature through the white balance .
Have you been wanting more? Dig deeper into how to photograph cities at night in this article.
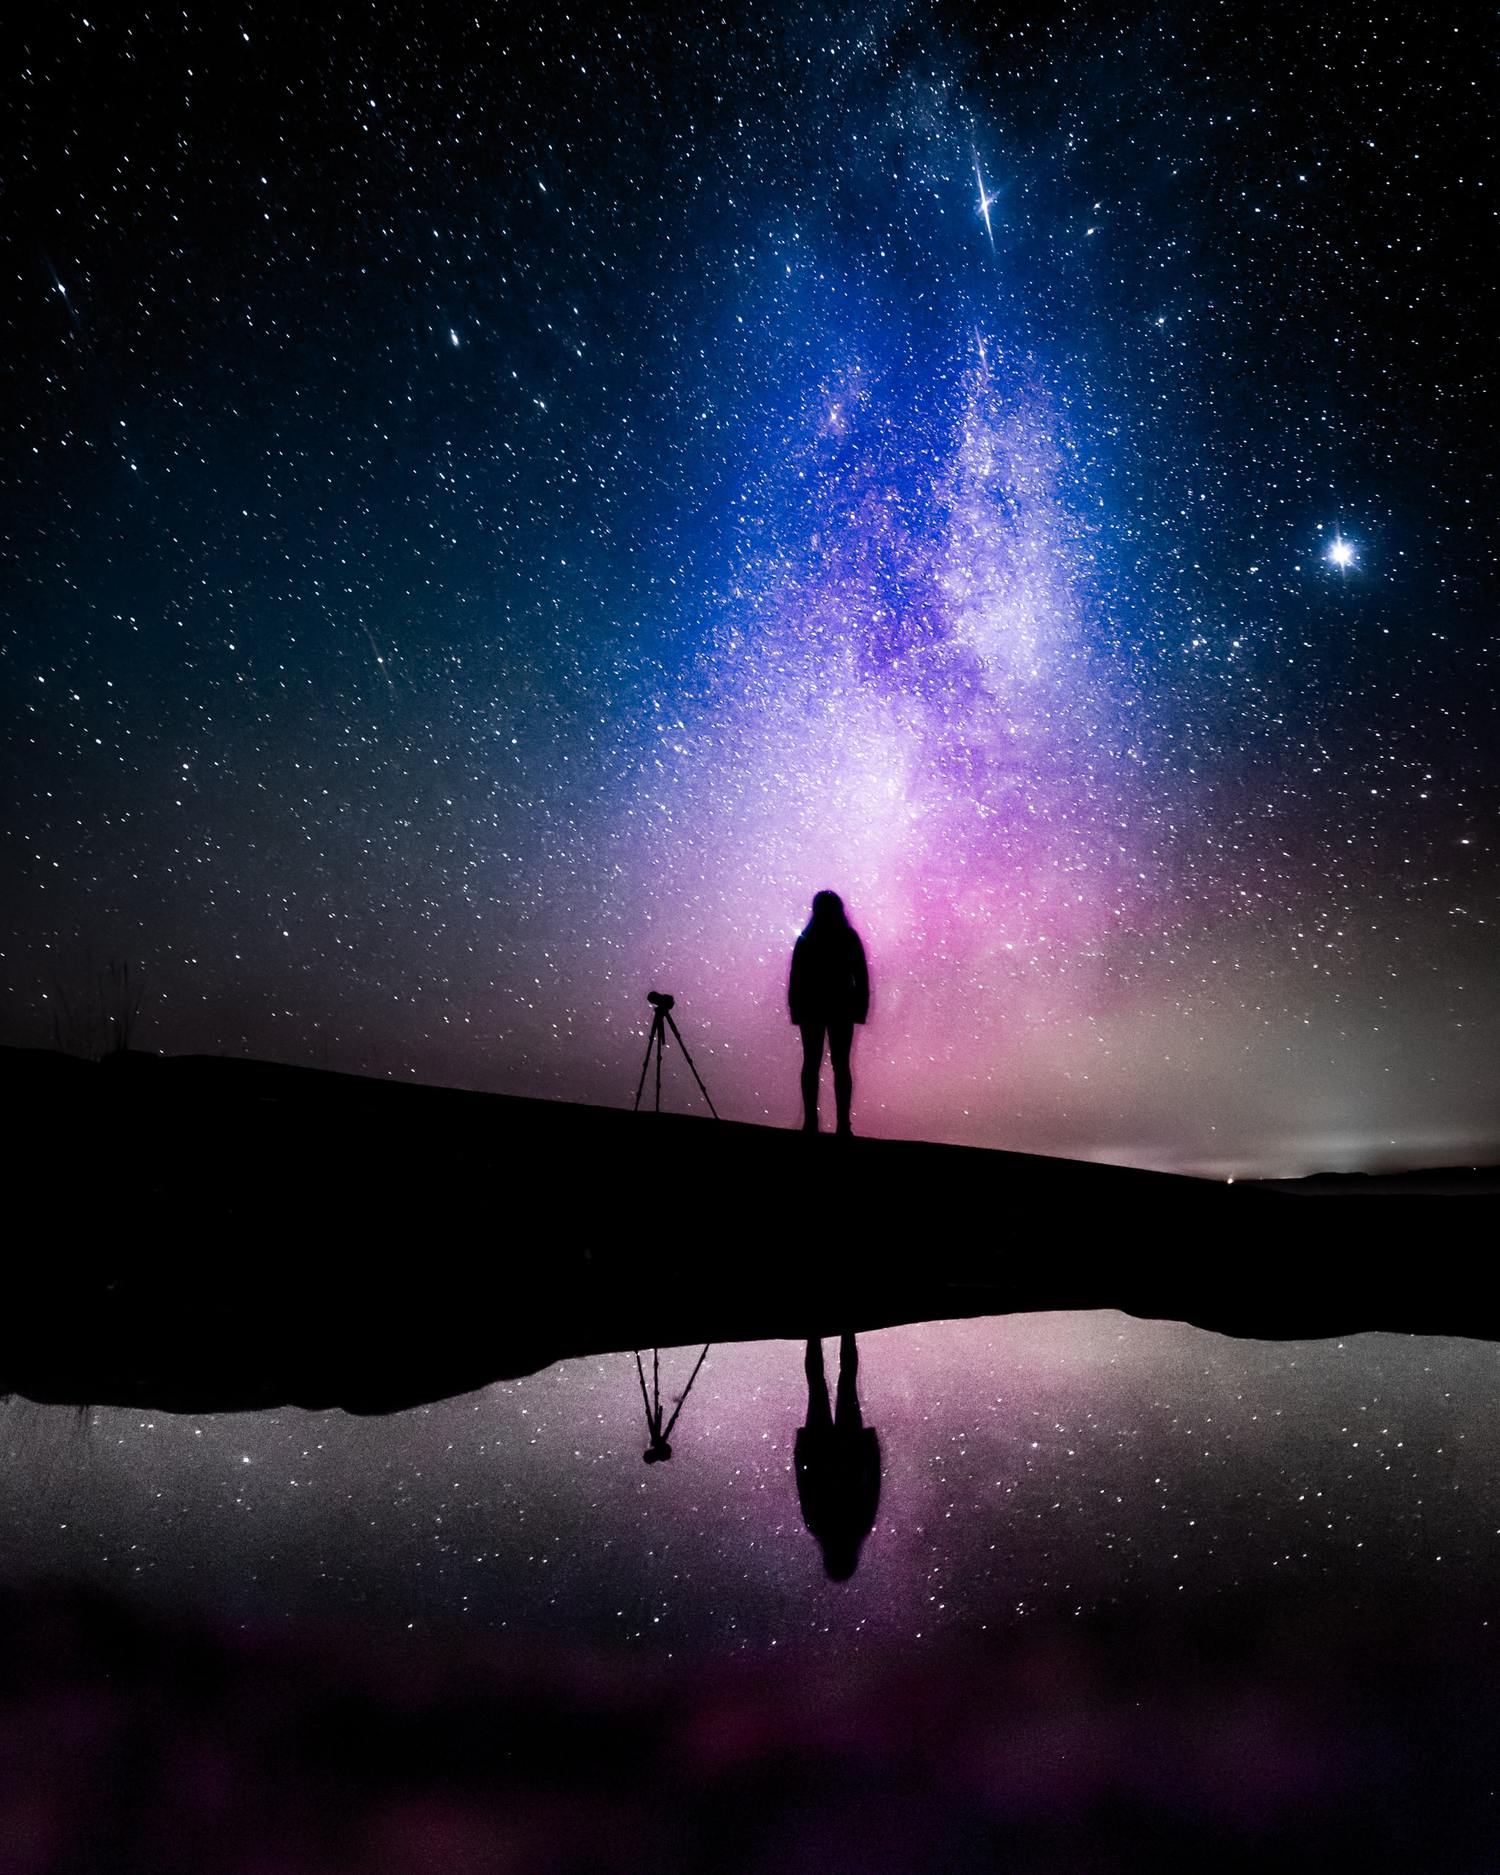
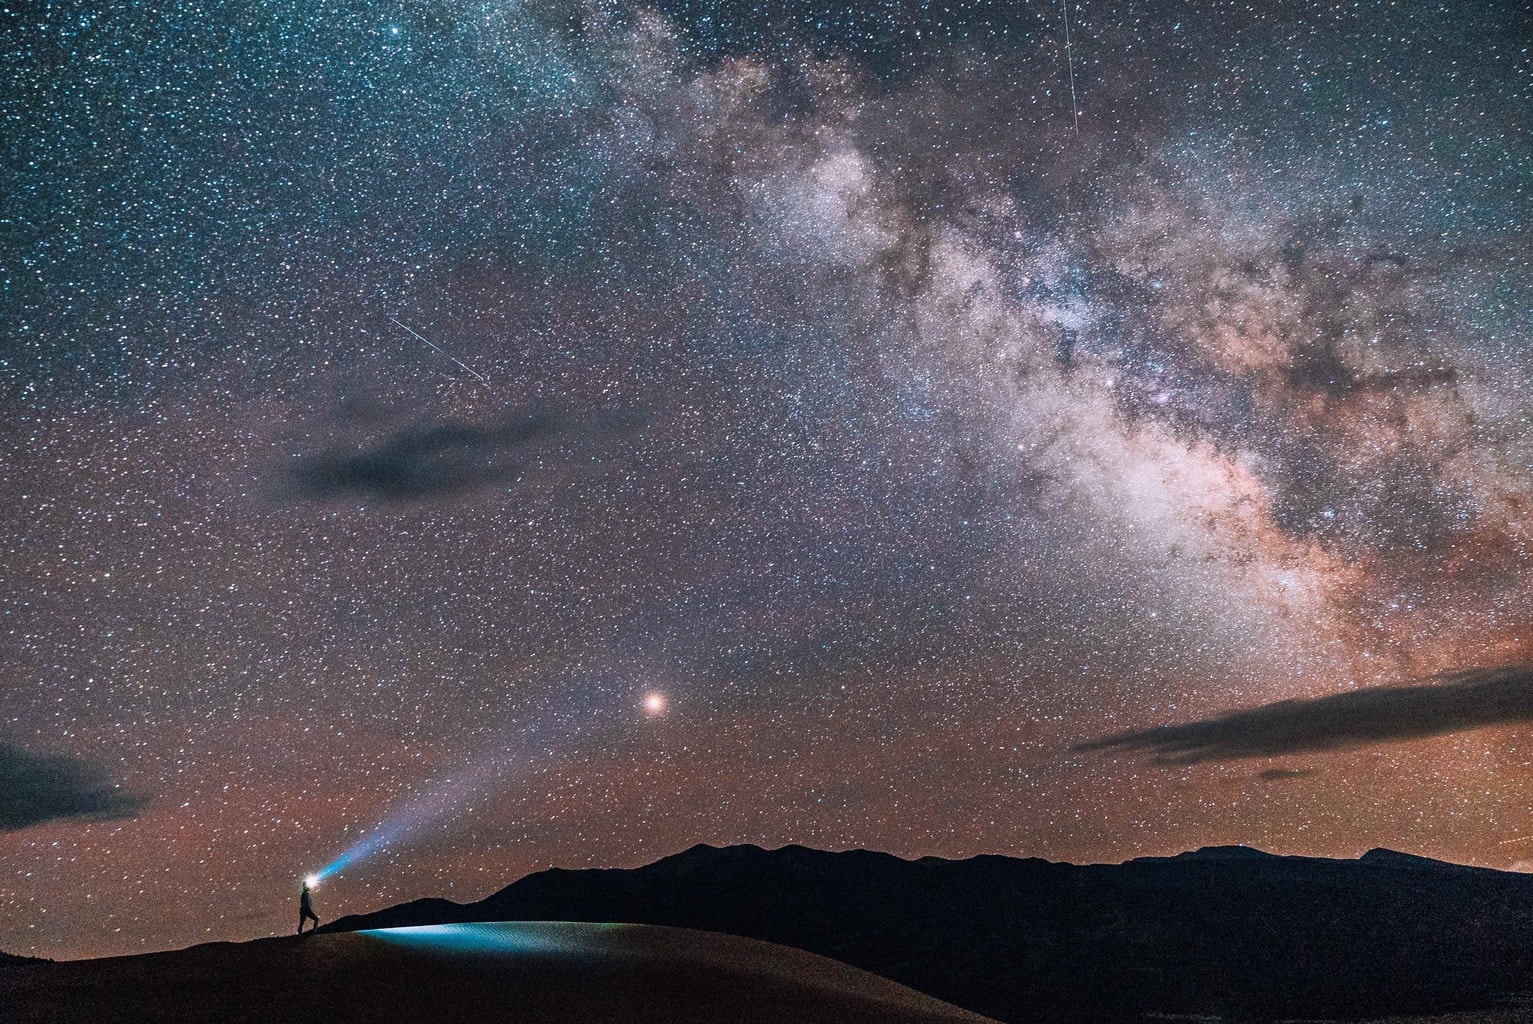
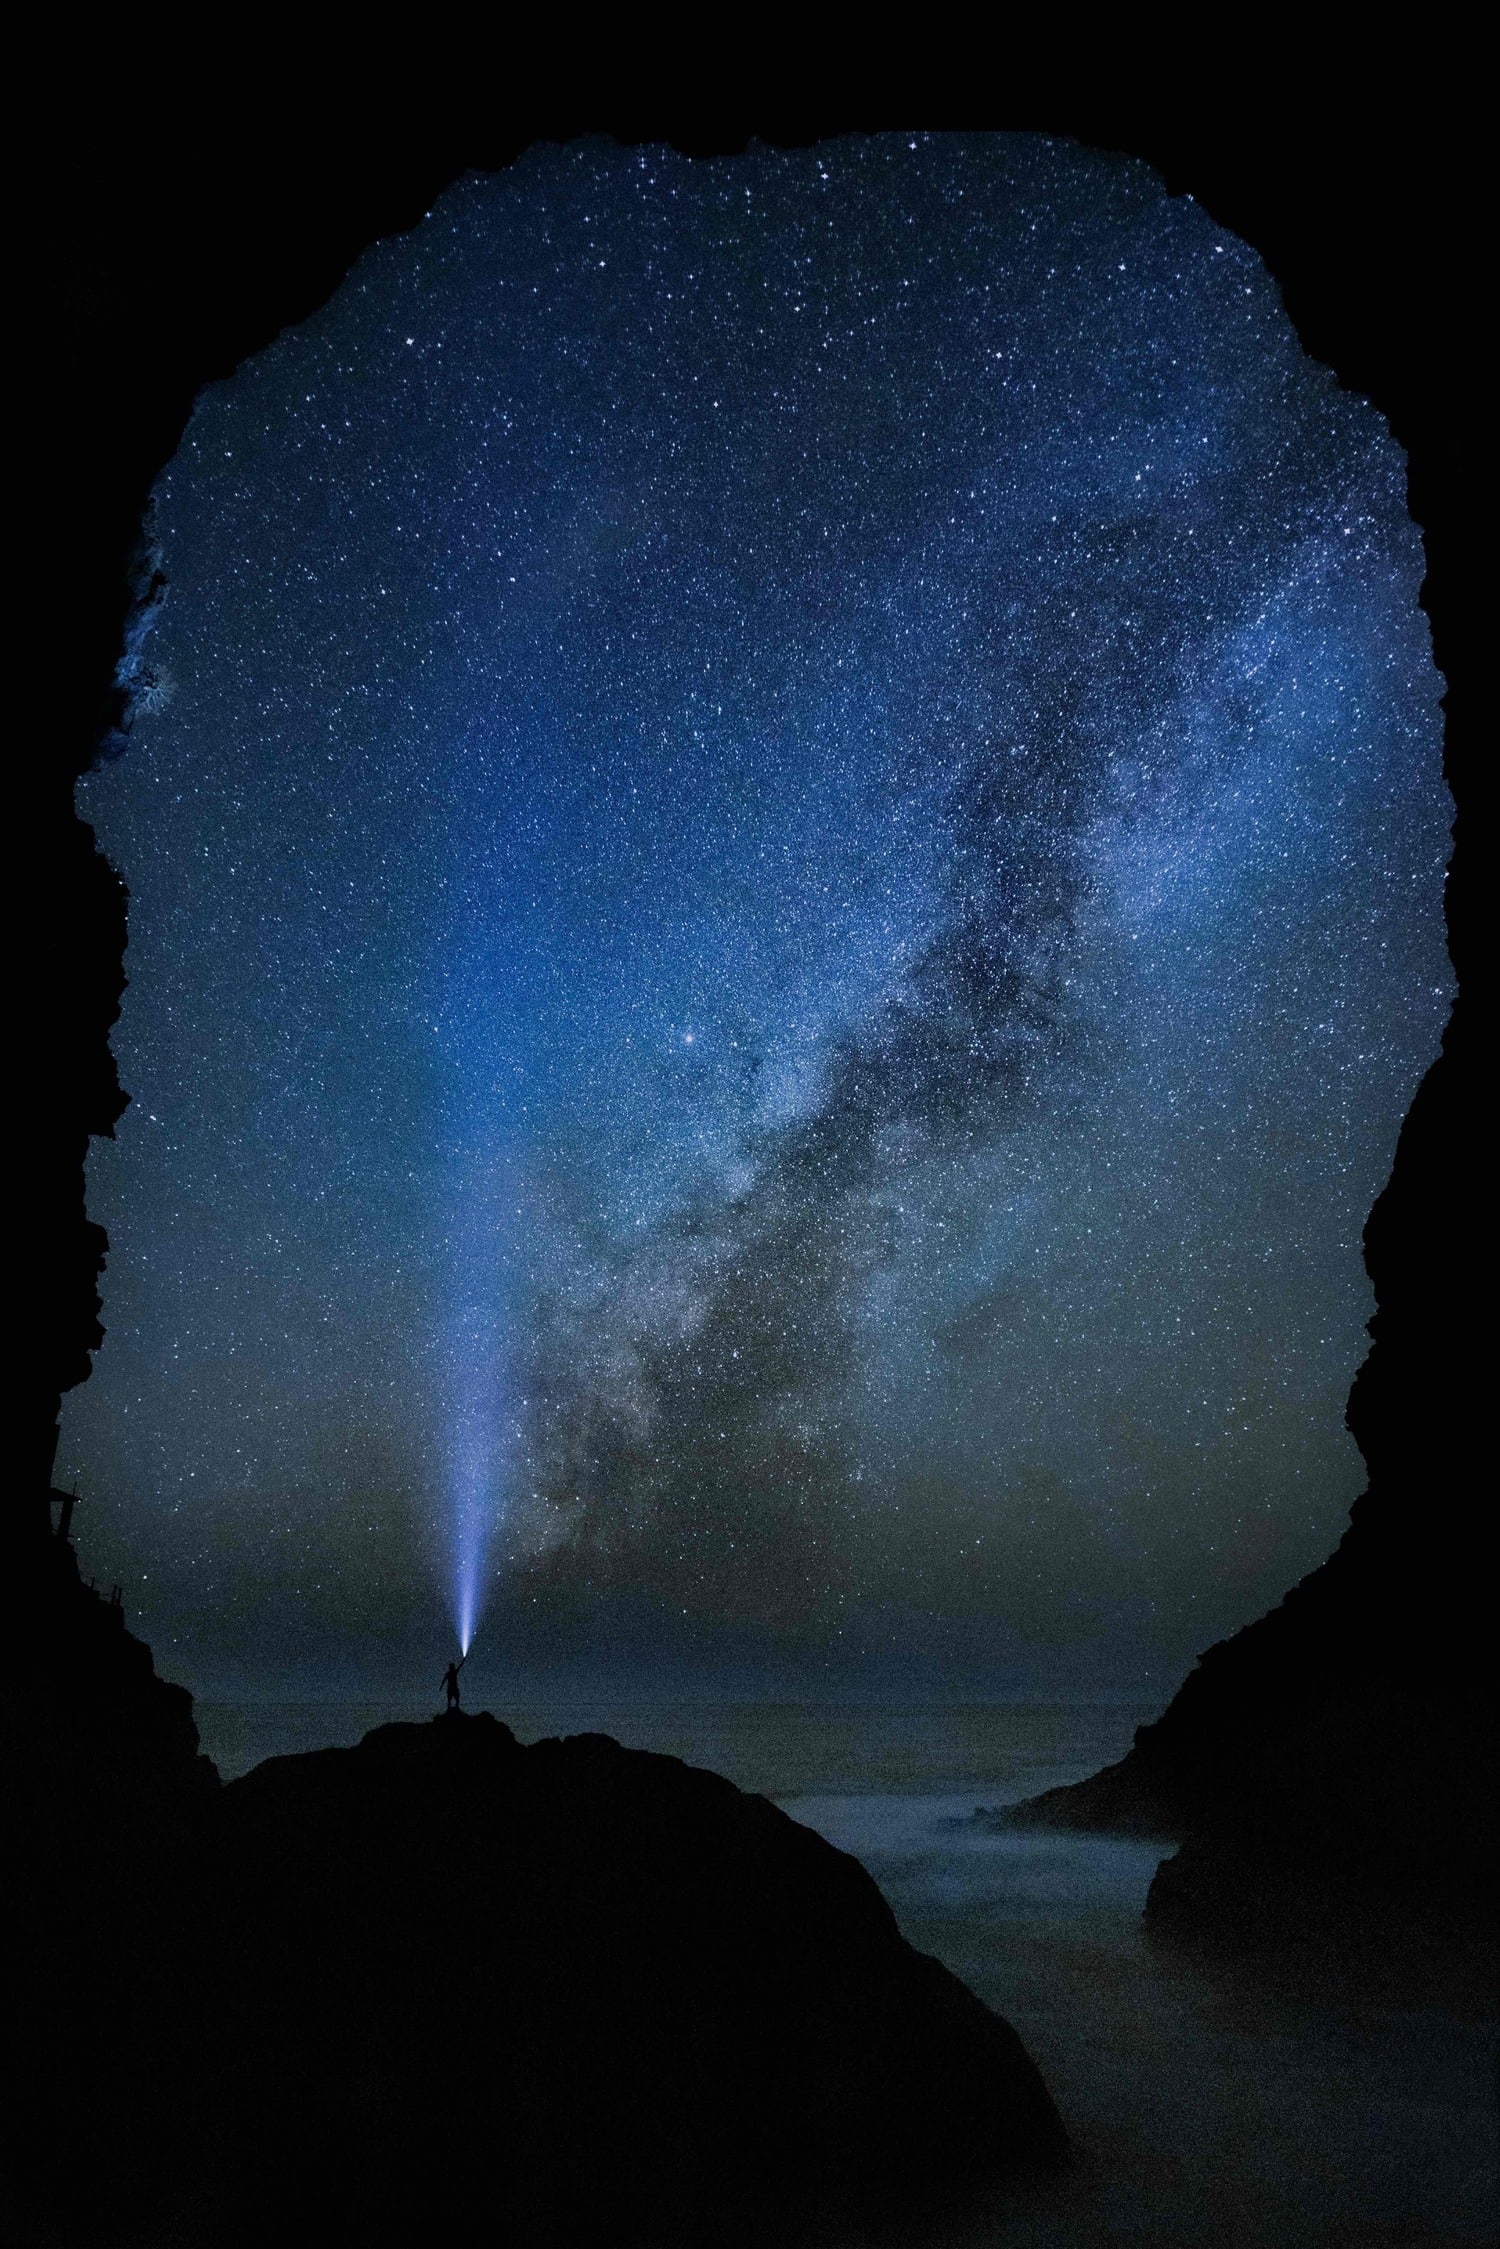
STAR NIGHT PHOTOGRAPHY
When we think of night photography, one of the first things that comes to mind is star photography, right? No doubt it is because the night sky is fascinating.
Is there a better plan than stretching out to contemplate a sky full of stars? Yes, of course, photograph it and take them home ? Back in the day I explained how to photograph a sky full of stars in a super simple way and step by step, so now is a good time for you to take a look ?
Is a meteor shower expected on the horizon? We have also written about it in our complete guide to successfully photographing your next meteor shower.
HOW TO PHOTOGRAPH THE MILKY WAY
Milky Way photography is another must for most night photographers, surely for you too.
To photograph the Milky Way you need:
- Prepare the session in advance. This implies locating the best place and the best day.
- Take into account light pollution, ideally there should be none at all.
- A wide-angle lens, a tripod, a remote shutter release, and a tripod are the basic equipment to achieve these types of images.
- Of course, also the moon phase. I recommend you photograph the Milky Way on a moonless day.
- Find out if the Milky Way is well positioned in the sky on the day and place you have chosen. Later, in this guide, I will leave you the best applications to find out in a simple way, do not panic ;).
- Establish some general starting parameters, which can be: f/2.8, ISO 3200 and speed 25s. From here, look at the image and correct based on the result.
- Focus in Manual Mode, preferably hyperfocal. Failing that, focus at infinity.
- Consider the composition of the photo.
Do you want to achieve a panoramic photograph of the Milky Way? Wish granted.
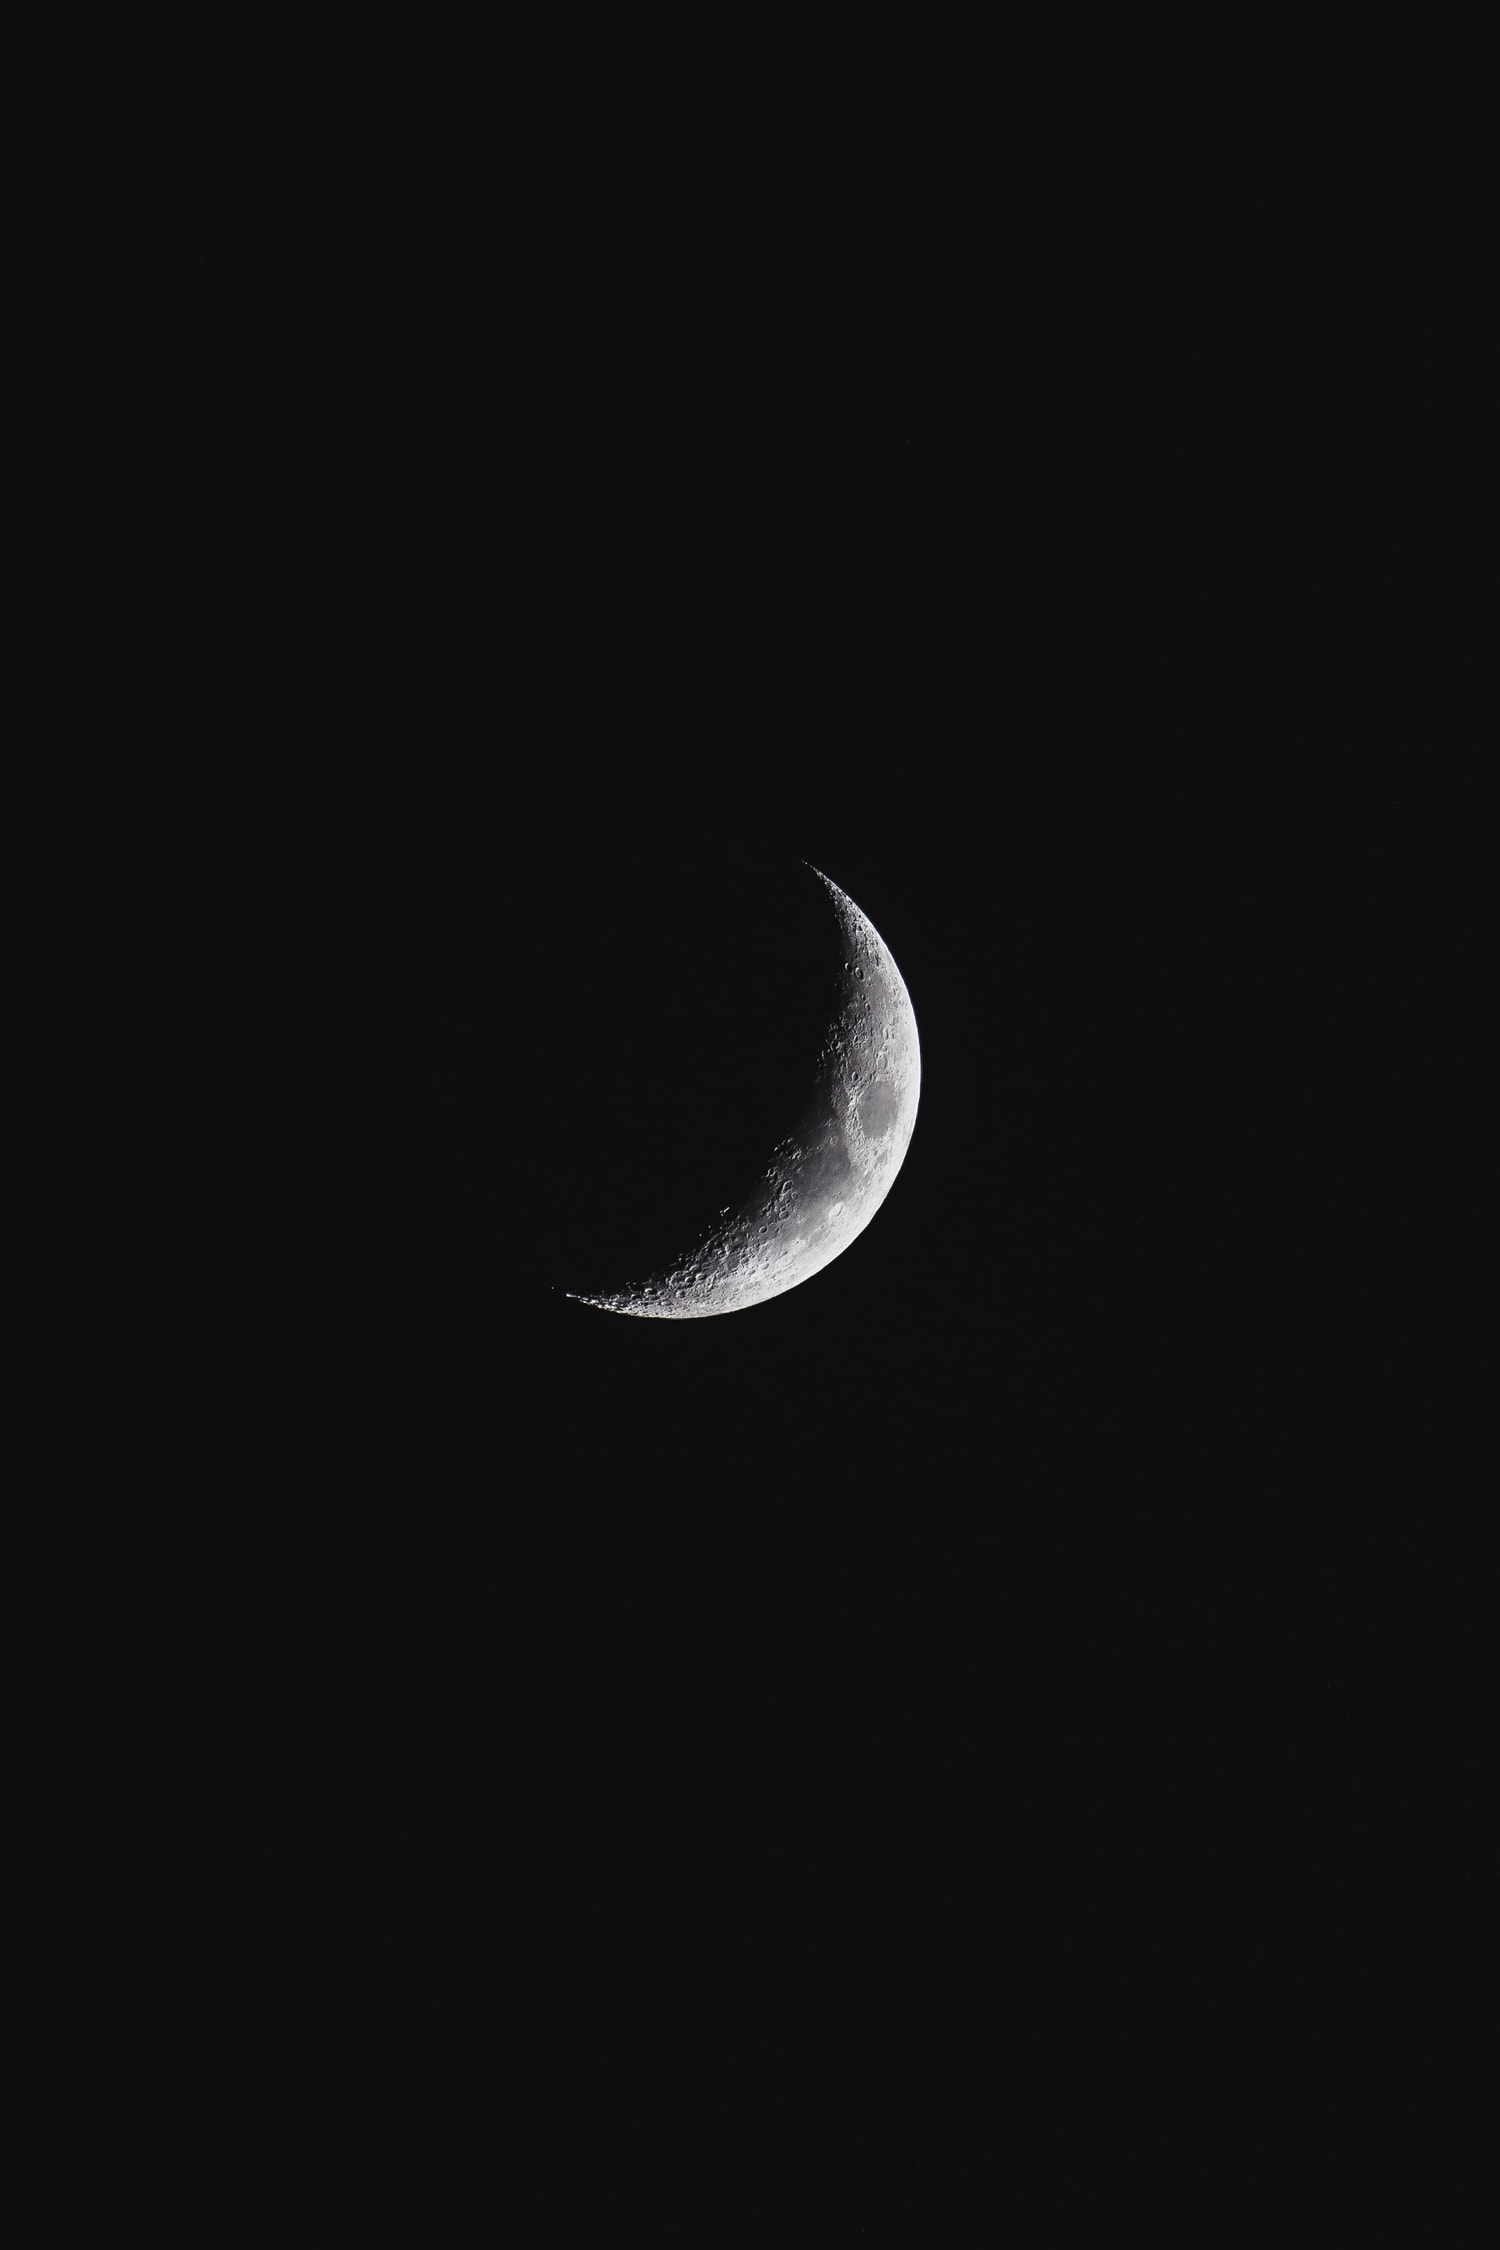
HOW TO PHOTOGRAPH THE MOON
We continue with our nocturnal queen, protagonist of dreams, sleeplessness, stories and the most fascinating legends.
Photographing the moon is a fantastic way to practice night photography, it allows you to gradually familiarize yourself with this discipline, with handling your camera in the dark, with the material or the necessary applications.
And it is that, friend, photographing our satellite offers spectacular results with these simple steps:
- Find out the moon phase.
- Find a good place.
- Image composition is important.
- The darker the better.
- This time, you will need a telephoto lens.
- And of course, tripod and remote shutter release.
- You will need to shoot in spot metering mode.
- It uses a medium diaphragm aperture.
- Set your ISO to the minimum.
- Locks the mirror for added stability.
- Check the photos 100%.
With our 13 tips for photographing the moon, you will be able to delve into each of the above ideas. Also, you can click here if you have been wanting to know more about astronomical photography .
NORTHERN LIGHTS PHOTOGRAPHY
If there is something that is capable of captivating me more than a sky full of stars, it is the northern lights. You know what I'm talking about, right? Of this wonder:

I bet photographing auroras is on your bucket list ? . Well, you are in luck, because we are fascinated by them, which is why we dedicate a super complete article that will answer all your questions: where to find them, when, with what equipment and with what specific settings. Here is the complete guide to photographing the Northern Lights.
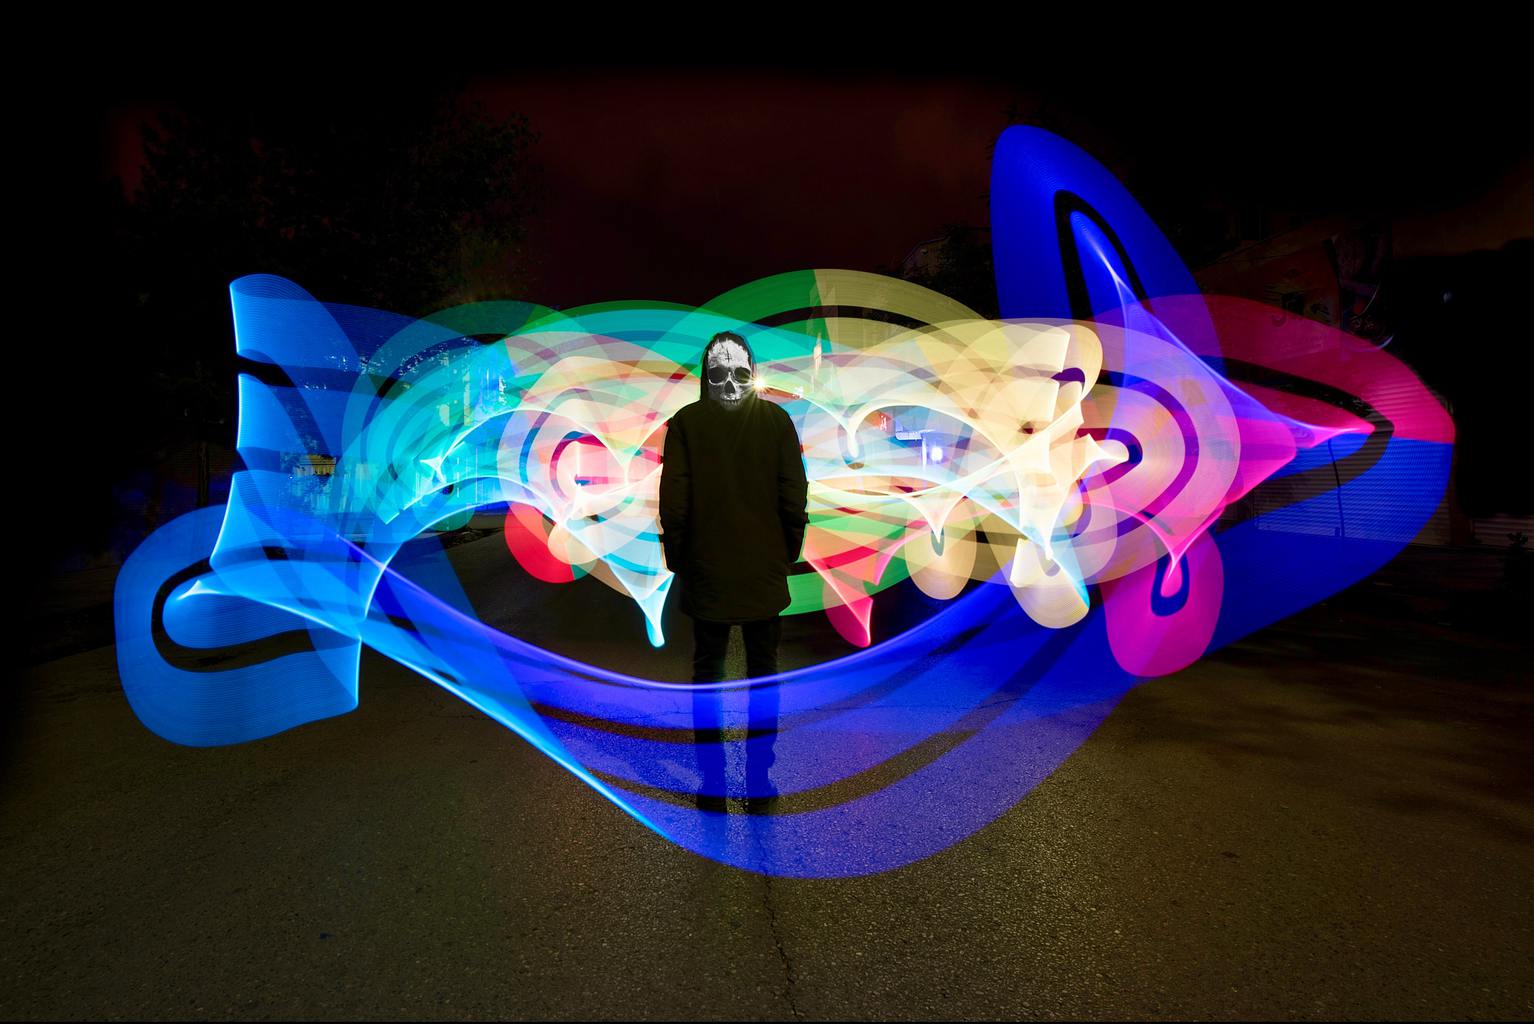
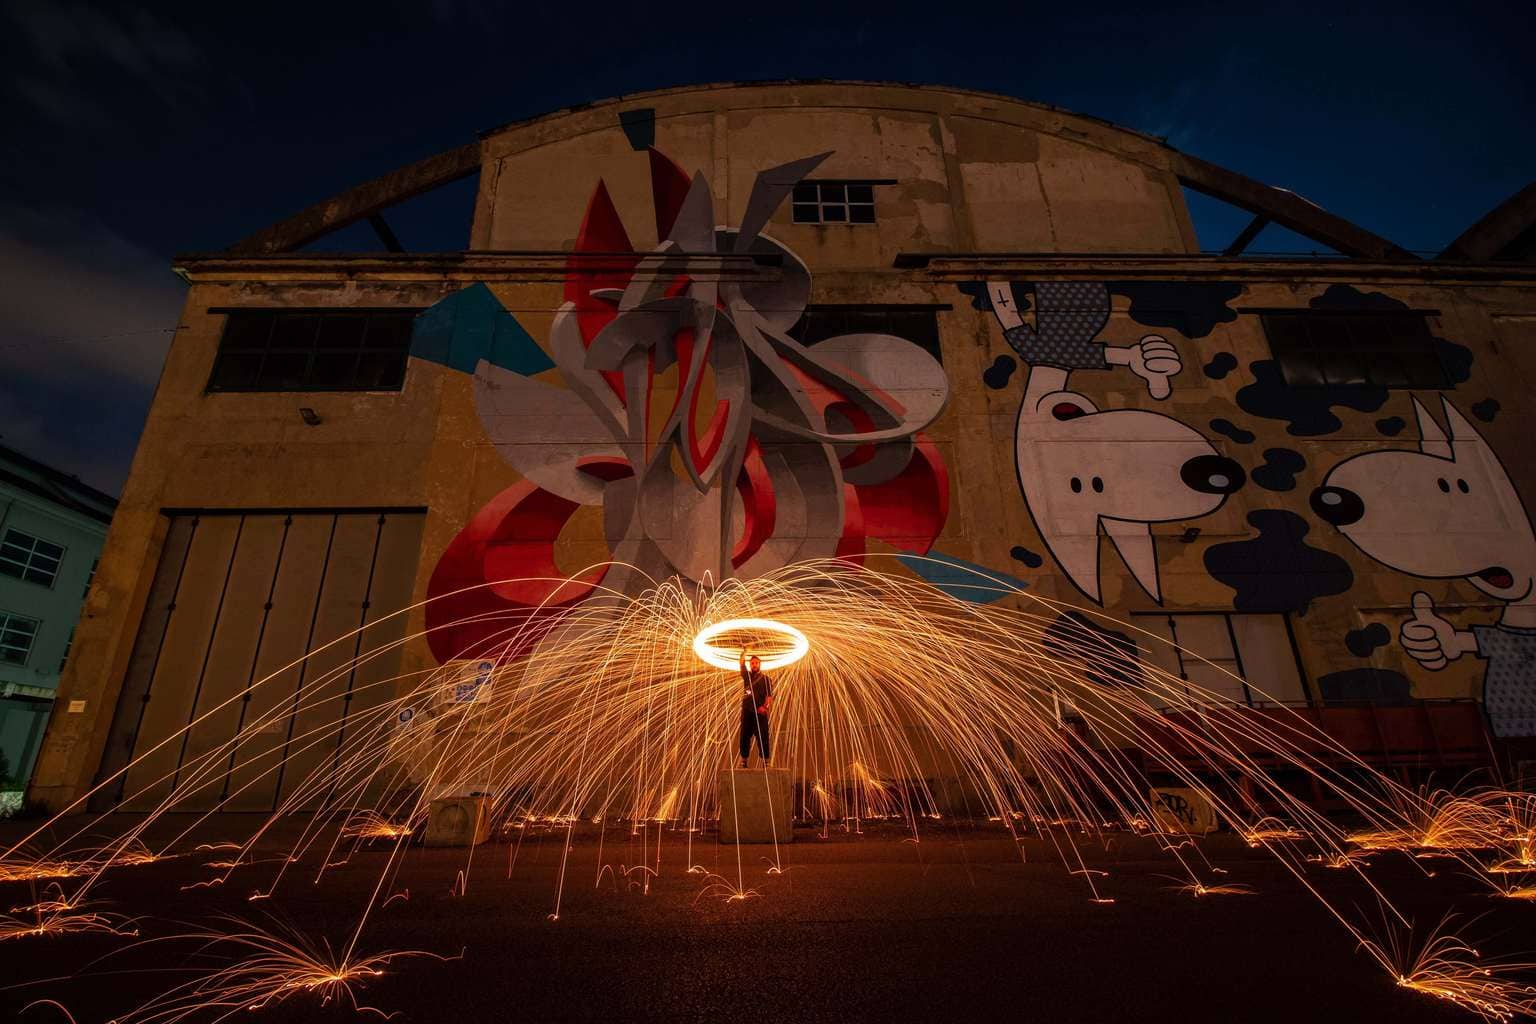
PHOTOGRAPHY LIGHTPAINTING (OR DRAWING WITH LIGHT)
Lightpainting or painting with light, if I'm honest, I think it's a great plan to share with your best friend or your partner and not only have a good time, but also get amazing photos.
For a few hours you will become a painter without a brush with the whole world as a canvas. A painter of light capable of achieving everything he can imagine.
Here are my tips to get you started in the fascinating world of Lightpainting or, what is the same, of painting with light:
- Basic equipment: camera with manual settings, flashlights, tripod and preferably a wide angle lens.
- You should photograph manually with long exposure (low speeds).
- Be clear about the image you want to obtain before you start taking photos.
- A helper is almost essential.
- Manual focus.
- Work in RAW mode.
- Start by setting the aperture to f/8 and vary depending on the result.
- ISO to minimum.
If the Lightpainting technique has piqued your curiosity , do not start practicing without having read the initiation guide on how to take your first Lightpainting photograph . Then get inspired by these examples of Lightpainting photography.
NIGHT PHOTOGRAPHY OF AN ABANDONED CAR
The creative possibilities that night photography has, added to the beauty of the celestial vault or phenomena such as the auroras, are endless.
As an example, the impressive night photography that you can do with an abandoned car . Did you like it?
Keep reading because there are (still) more surprises ? .
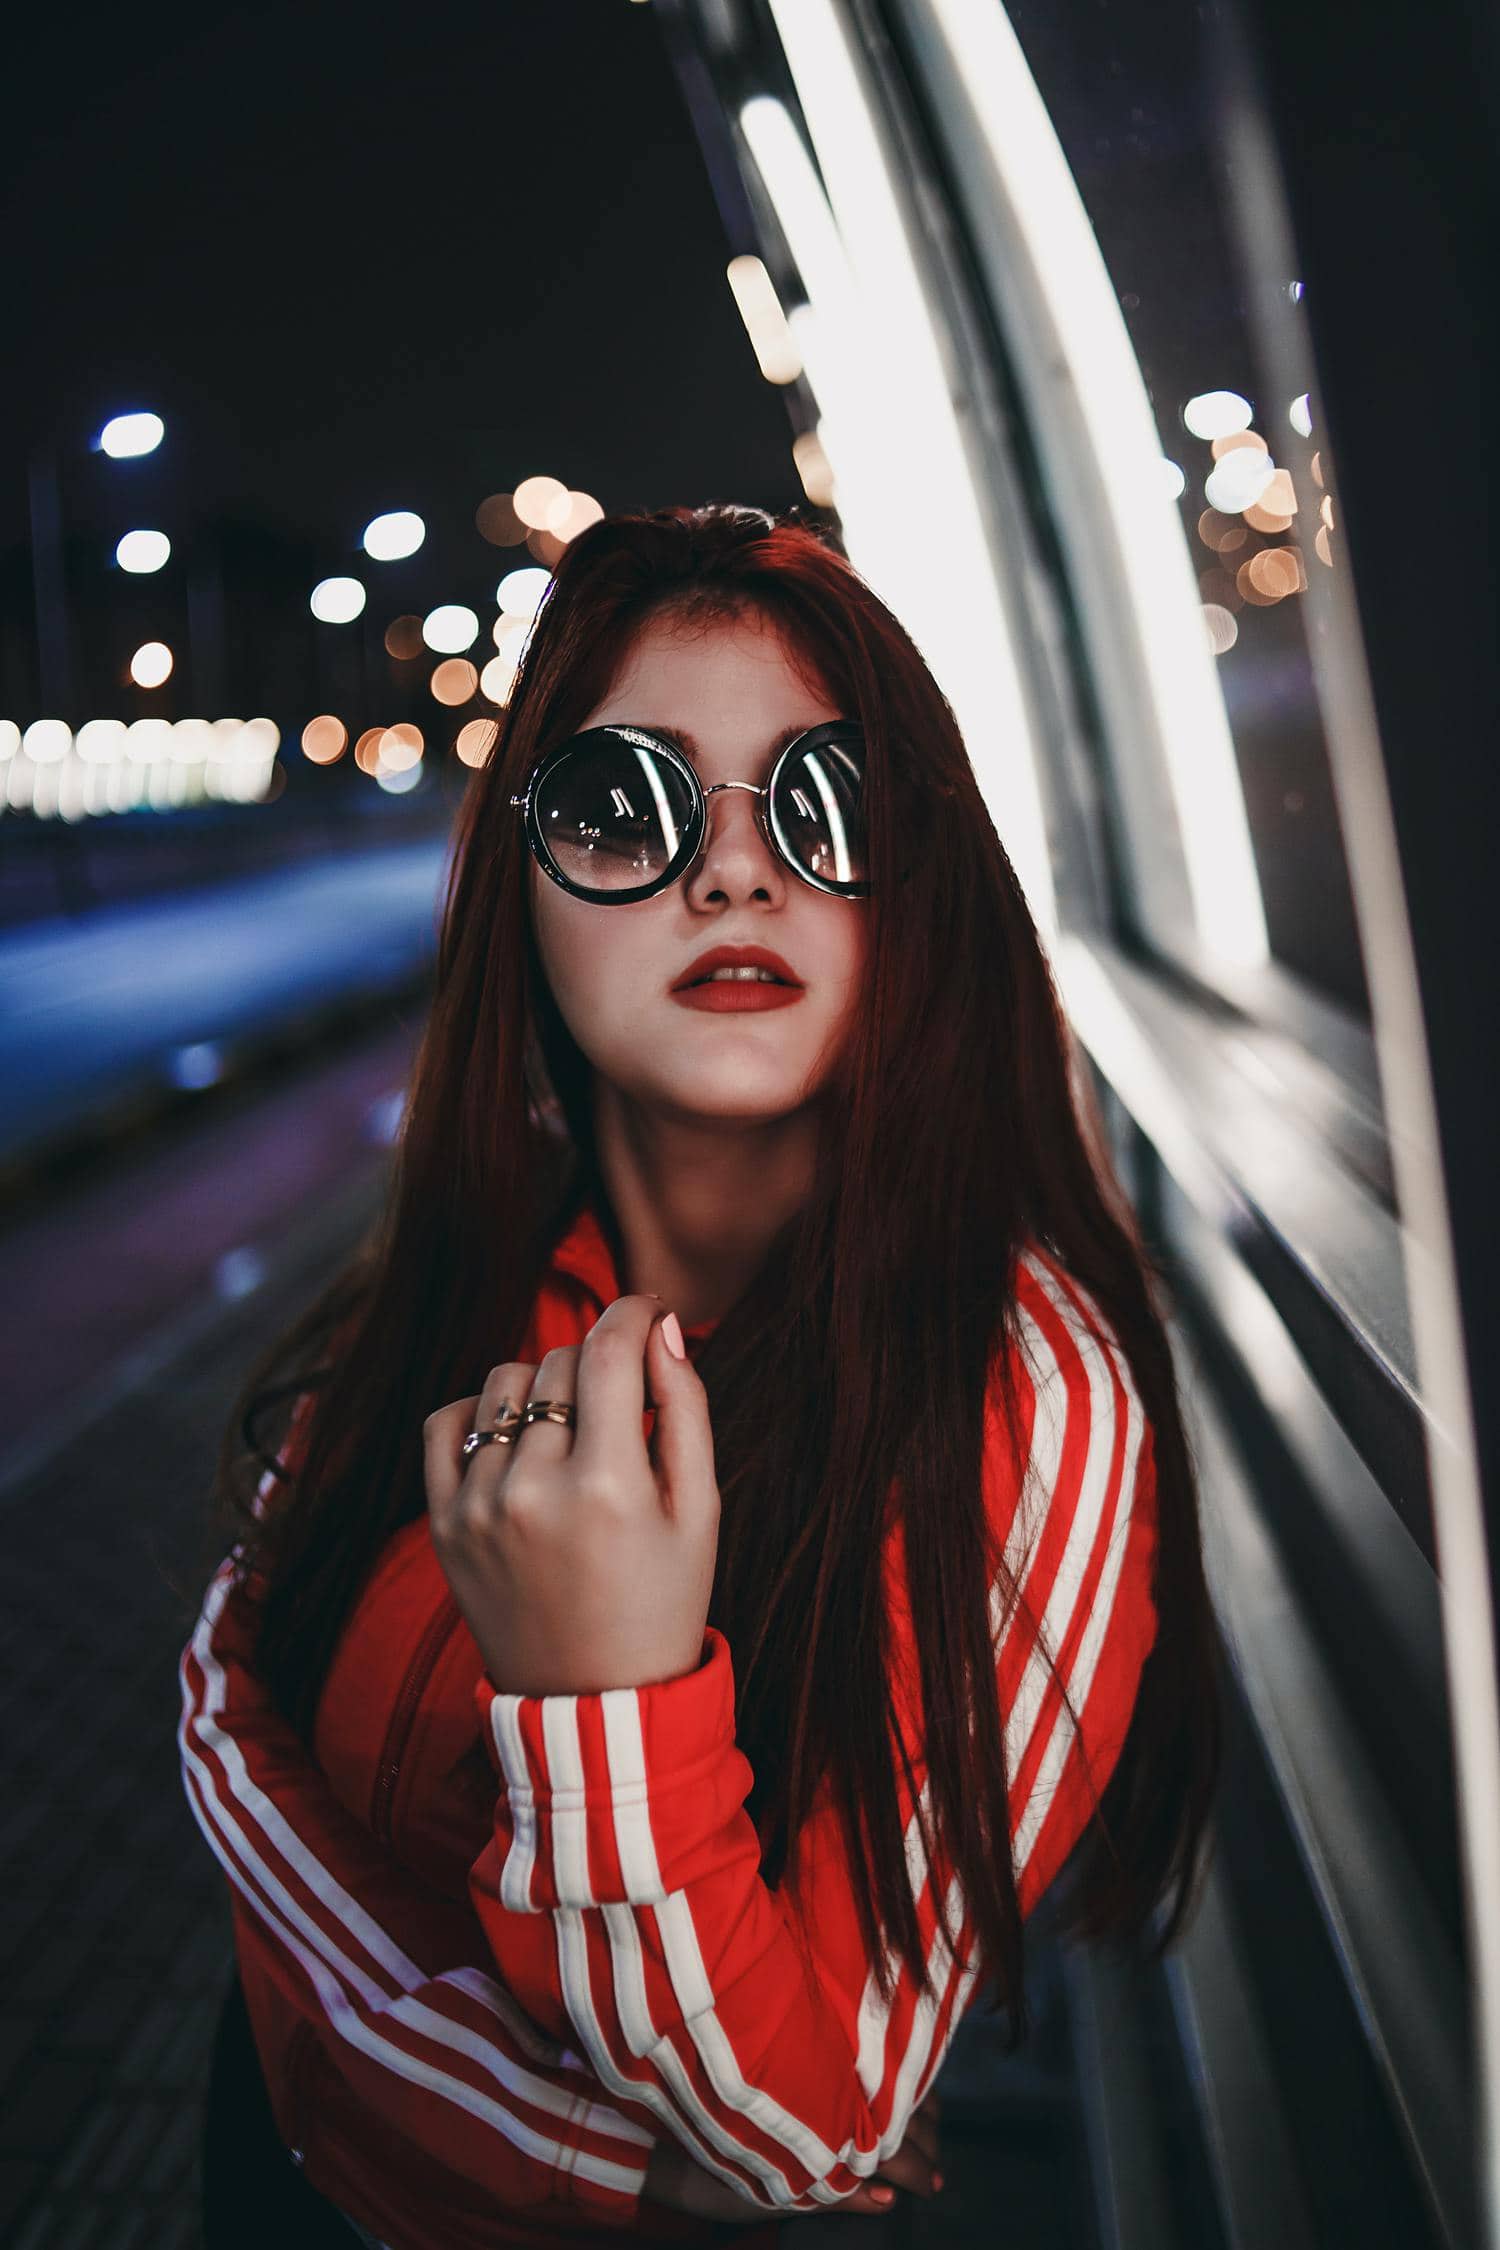
NIGHT PORTRAIT
Portraits at night? Well yes, not everything is that diffuse and soft light of the sunset that everyone falls in love with ? . Night portraits are very powerful visually, capable of conveying a story.
At night you have very different lights with which to illuminate your portraits; with super interesting color casts that you can find in shop windows, with neon lights, near streetlights, etc. You can even achieve perfect background bokeh.
Are you wondering how to take a good night portrait without flash? Here you have the answer to all your questions.
HOW TO COMPOSE A NIGHT PHOTOGRAPH
Composition in night photography does not, in general, have any established norm. First, because, as we have seen, it covers an infinite number of different topics: cities, portraits, stars, the moon, cars...; second, because you always have to add your personal touch, your style and your art. The rules, sometimes, are to be broken (although you have to know them first ? )
What I am going to give you are some general tips on composition in night photography that I would like you to think about when you are in the dark of night and cannot see much further than the light of your flashlight ?
- The human element: provokes a genuine interest in the viewer in addition to providing the sense of scale of the landscape or place that you are portraying.
- Even if you want the sky to be the protagonist of the image, you should not forget what is around you.
- Trees, rocks, buildings, etc. They are ideal companions for your astronomical photographs. They add interest to the scene and help you tell stories with your image.
- The reflections in lakes, puddles, etc., can be good allies in your night compositions as well.
- Light is one more compositional element and one of the most important. When lighting a landscape or playing around with existing lighting, keep that in mind.
- The point of view: vary it, look for angles and consider different images, many times it is what can make your image succeed or not. Be daring and see if you like the result ? .
APPLICATIONS (APPS) FOR NIGHT PHOTOGRAPHY
The best photography apps will make your life so much easier as a night photographer, that you won't know how you could have lived all this time without them, nor how those who did survived before they appeared ? .
photo pills(paid): I am of the opinion that a good one is better than several regular ones. For night photography, one of the most complete applications is this, without a doubt. It allows you to locate, record locations, moon phases, sunrise, sunset and magic hours, the Milky Way, points of interest, hyperfocal tables, etc.
The Photographer's Ephemeris (Paid): Another great application for your outdoor and night photographs at the height of the previous one, and with an impeccable journey through time and that its users always rate it excellently. It allows you to locate, has augmented reality, has maps, calculates distances, locates the Milky Way, sunrises and sunsets, and much more.
Although you can find other applications that do some of these functions separately, these are the most complete you will find. My recommendation would always go to one of the two above rather than having a bunch of apps for everything.
Light Pollution MapIt will be very useful to know the existing light pollution around the world.
I also recommend Dofmasterto calculate the hyperfocal distance if for whatever reason you do not have an application that offers it.
RECOMMENDED BOOKS FOR NIGHT PHOTOGRAPHY
This complete guide on night photography will give you what you need to situate yourself and be able to take your first steps, but if you want to go further and delve into a specific topic, take a look at one of these publications:
- If you like the clear and accessible style that we use in this Blog, you will surely like our book Night and Long Exposure Photography for the Hobbyist Photographer . In it you will find everything you need to understand how night and long exposure photography works and start practicing it in first person: camera and objectives, accessories, planning the photographic trip, recommended times, camera settings, formulas, apps, tricks and endless resources.
- Night and light photographyby Lance Keimig.
- night photography. landscapes at nightby Glenn Randall.
- Astrophotography. the night landscapeby Javier Martinez Moran.
- creative night photographyby Namor Pastor.
- landscape astrophotographyby Manel Soria and Roger Eritja.
INSPIRATION FOR YOUR NIGHT PHOTOGRAPHS
If you have been wanting an extra dose of inspiration, I recommend that you take a bath with these impressive night photographs that we have compiled for you. What better way to end a mega guide like this than to see what you can achieve after reading it?
There is nothing I like more than having been of help to you, so I hope it has been like that and that you are encouraged to enter the wonderful world of night photography. As difficult as it may seem to you, I am convinced that if you use this guide and practice enough, you will have guaranteed success.
