
Grain and noise in photography are often spoken of as if they were the same. However, they are not exactly, although they may seem so at first glance. We are going to talk about this today, the difference, how to avoid one or add another and why. Interested? I think so, so here we go.
WHAT IS NOISE IN PHOTOGRAPHY?
In photography, digital noise is made up of uncontrolled pixels that do not have the color or brightness that they should because a correct exposure has not been made, either due to errors in the shot or due to lack of light.
That is to say, it is the interpretation that the camera makes of the light that it is not capable of capturing.
Noise is usually more evident in dark areas and makes the photo appear dirty , loses sharpness. In certain types of photos, it is very annoying.
That is why it is something that causes many headaches for some photographers.
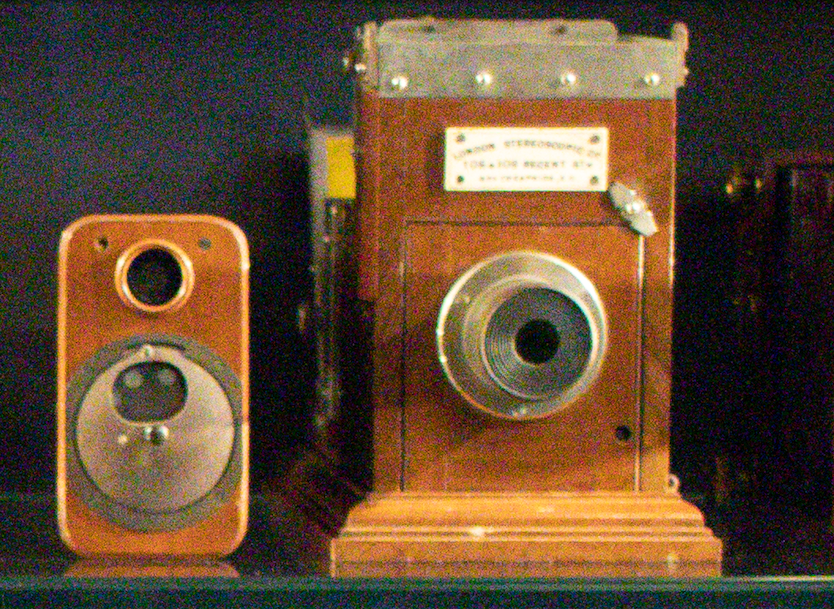
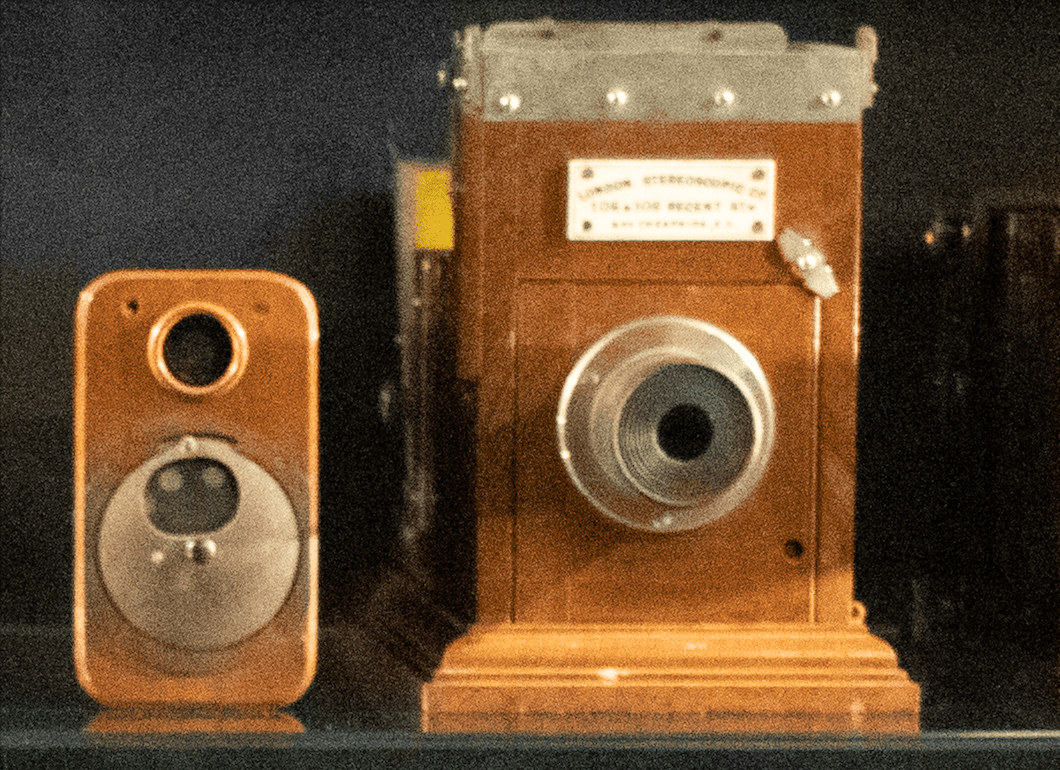
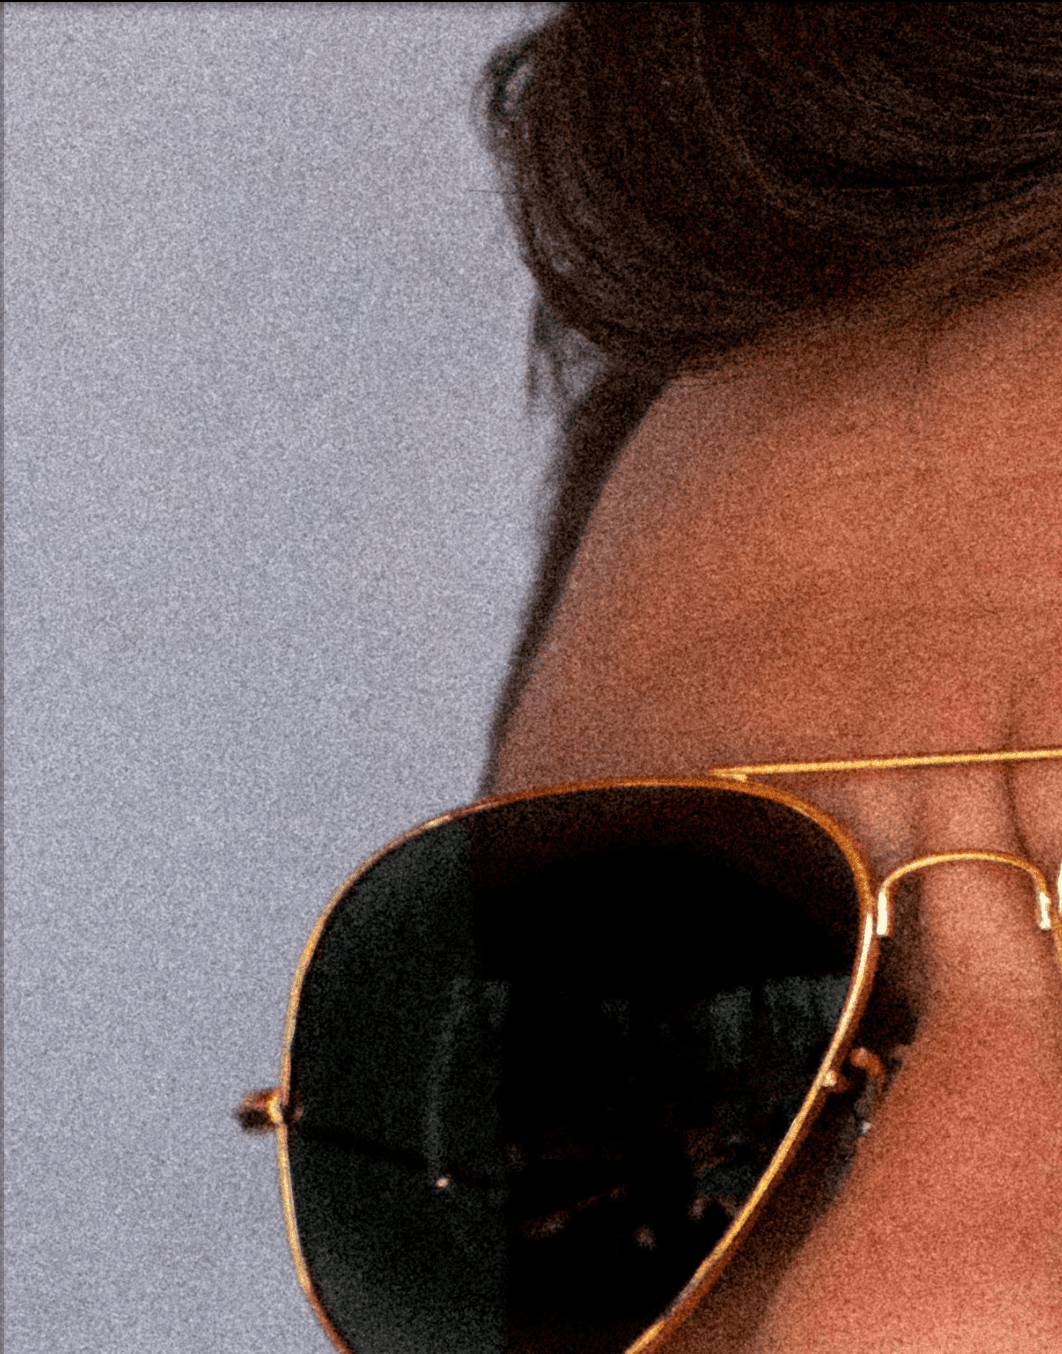
This is an example of a photograph taken at 25600 ISO where noise is evident even without zooming in, however, on the right I leave you a zoomed in detail so you can see it better.
TYPES OF DIGITAL NOISE
There are several types of digital noise in photography that you can see heremore depth.
I am going to tell you about the ones that you are most interested in learning about, because they are the most frequent and the ones that you can avoid or reduce.
- Luminance noise. It is most noticeable on surfaces that should be of a uniform color and shows up as variations in lightness. It is usually more evident in areas that are or should be smooth.
- Color or chrominance noise. It is represented by colored dots that are randomly distributed throughout the image.
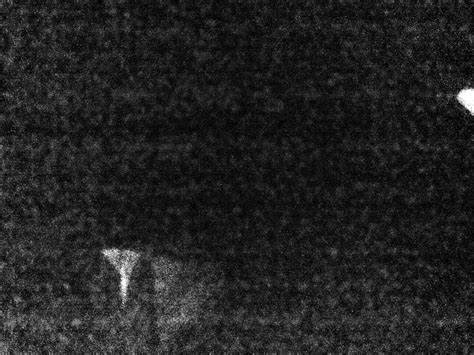
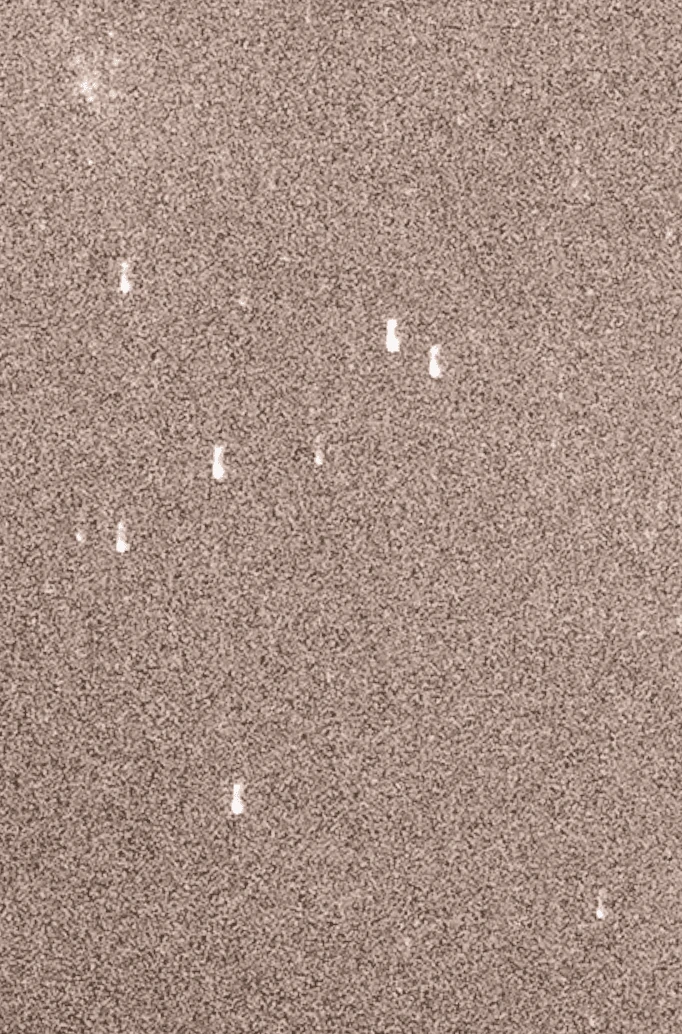
- thermal noise. This appears when the sensor gets too hot, for example, in long exposures. In the following image we see the noise resulting from a long exposure , in this case about 500 seconds, after other long exposures.

- Gaussian noise. This type of noise appears above all in photographs taken with small-sensor cameras, for example, with simple compacts or smartphones. It is similar to the luminance but it is distributed equally throughout the image. Here is an example of a photo taken with a mobile phone.

By the way, if you use your phone to take photos, you will love knowing the mega guide to photographing with your mobile, with all our tips and tricks, which we publish for you on the blog.
WHY DOES NOISE APPEAR IN PHOTOGRAPHS?
There are several reasons why noise can appear in our photographs, these are some of them:
- Low quality or old sensor
- Broken or damaged equipment
- Sensor heating from long repeated exposures
- High ISO values
- Improper exposure and measurement
- Lack of light in the scene
HOW TO AVOID NOISE IN YOUR NEXT PHOTOGRAPHS?
To prevent noise from appearing in your photos, you have several options.
In this article we tell you more about the ISO in photography and how to avoid noise . For now I will leave you with some basic notions:
- The most important thing is to make a good exposure.
- Avoid long exposures or allow the sensor to cool down.
- Use low ISO values, but not necessarily to the minimum, but to the minimum that allows you to expose correctly.
- Right the histogram .
- Use the noise reduction feature of the camera (when convenient, not by default, in some cases it is counterproductive).
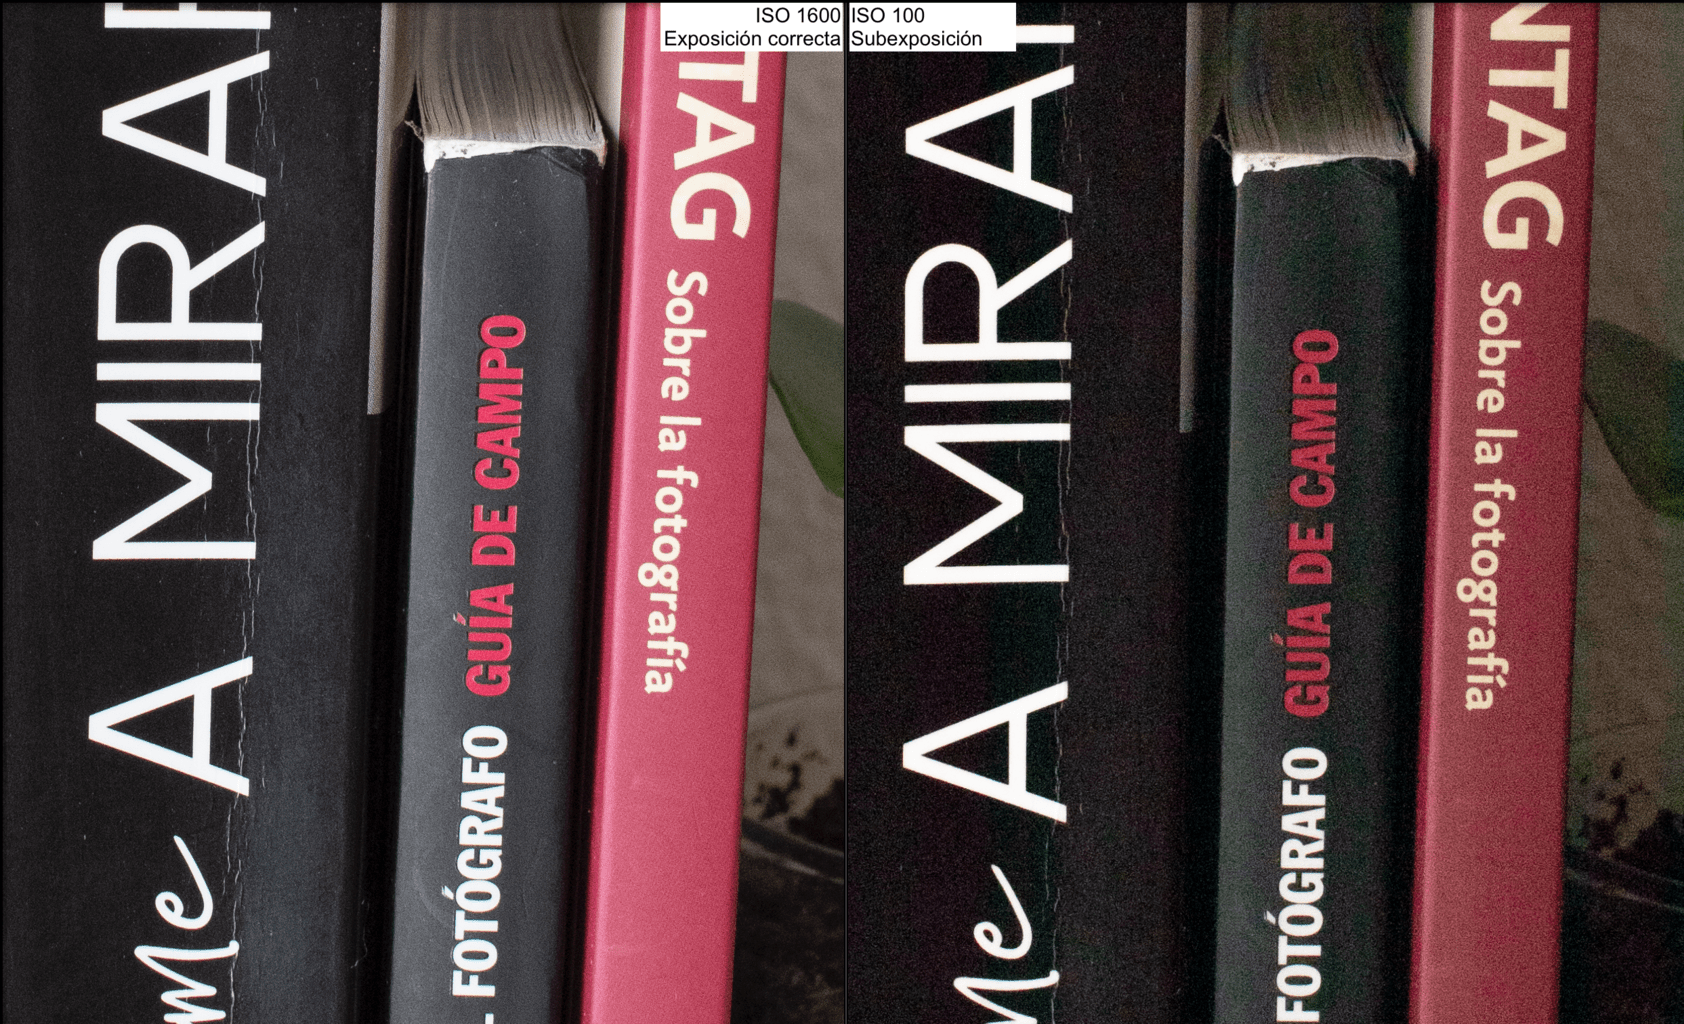
So that you can see how important a good exposure is, let's see it with an example.
I'm going to take a photo correctly exposing using a high ISO (1600), and another underexposing to use a minimum ISO (100) and recover in editing.
Now let's see an enlargement, on the left the image taken with 1600 ISO, on the right the one that was taken at 100 ISO and recovered the exposure in the processing.
Now even more expanded.
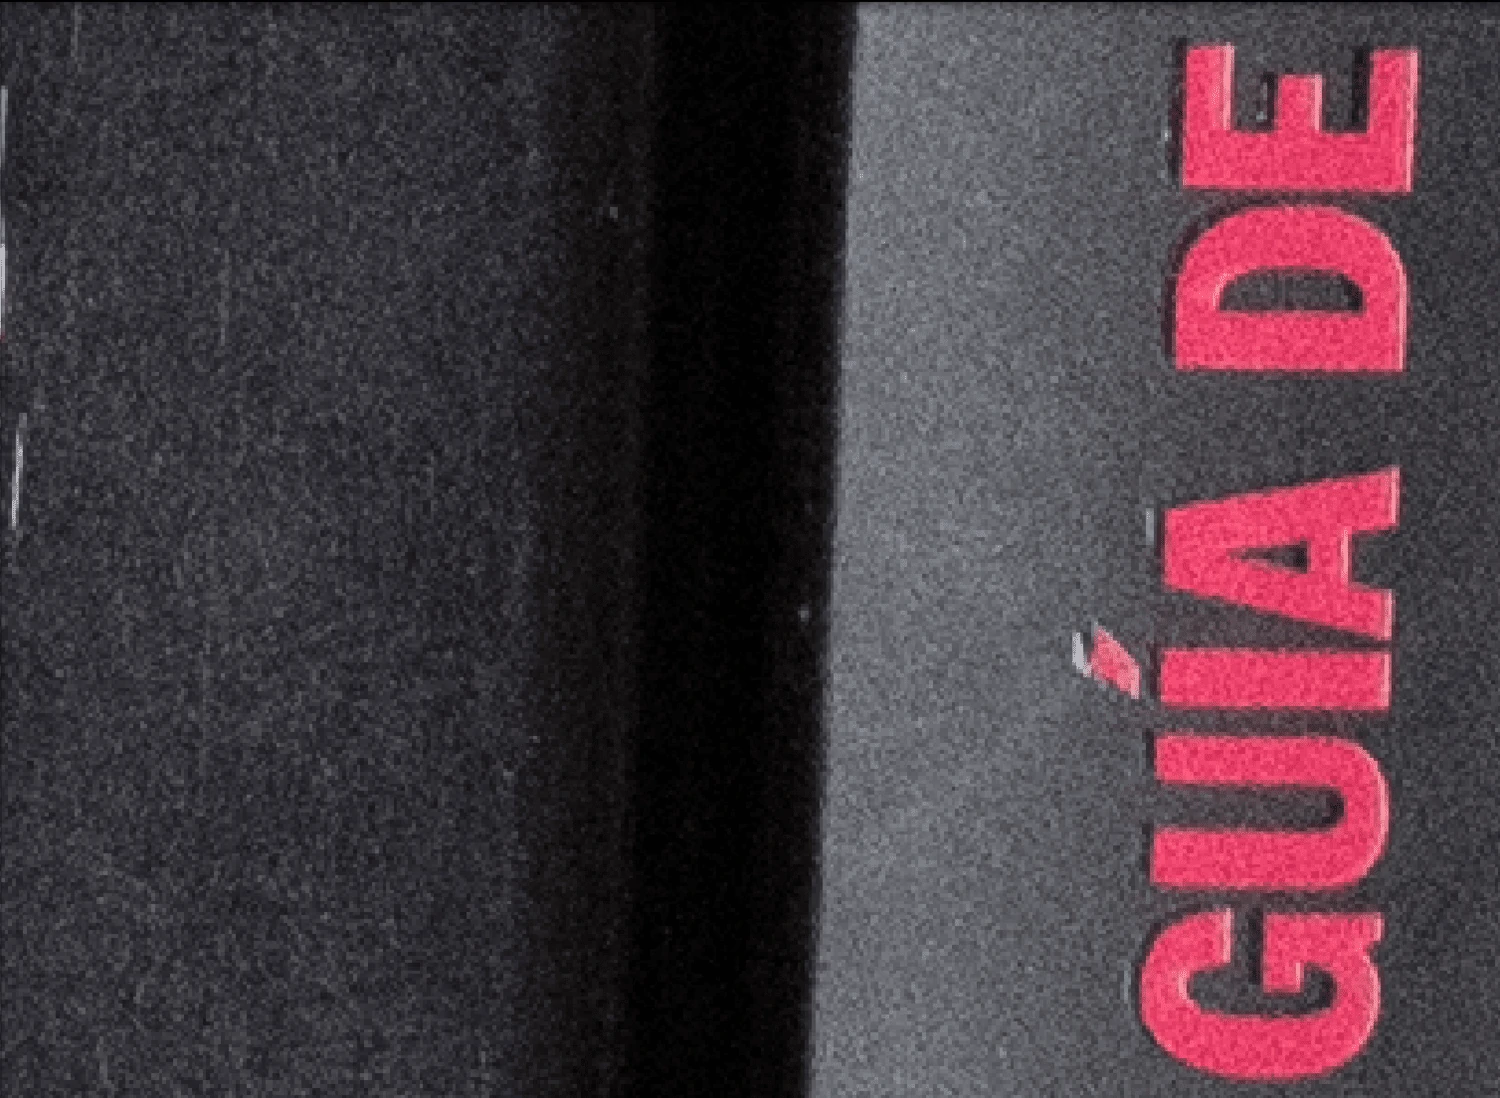
It seems magic, right?
Well no, it's just a correct exposure. So don't be so afraid to raise the ISO value (knowing the limits, of course).
HOW TO REDUCE NOISE IN A PHOTOGRAPH?
The most effective way to reduce noise is to avoid it at the time of shooting. This is synonymous with a lack of information, so it is not easy to make it up, you can only hide it a little.
However, sometimes it is not possible to avoid it. Good because we have made a mistake and we want to solve it (don't beat yourself up, we are learning and we are human). Either because the photo has a special value or because we want to recover it for whatever reason.
In these cases, we can use photo editing programs.
Starting, yes, that miracles do not exist. Some photos can be improved, but the insurmountable cannot be saved.
The easiest noise to eliminate with an editing program is chrominance noise, although, like everything else, it has its effects and color fidelity is lost.
Another of the effects when it comes to reducing noise is that a lot of sharpness is lost, so it is not highly recommended to abuse this reduction if you do not want your photos to look like fakes .
HOW TO REDUCE NOISE IN YOUR PHOTOS IN LIGHTROOM?
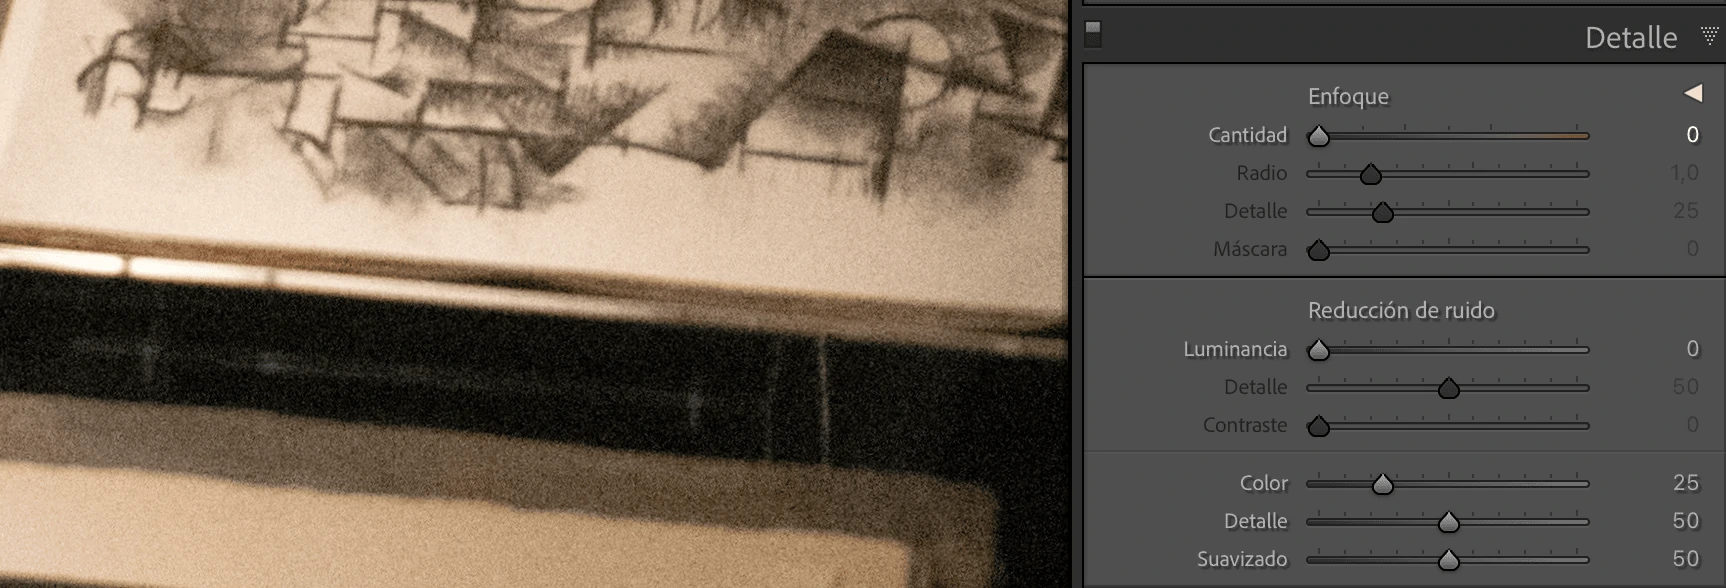
Let's use this image taken at ISO 6400 to see how to get rid of annoying noise in a photo.
And here a detail of the noise level.
Inside the Develop module, you'll find the Detail panel . The two types of noise that you can reduce in Lightroom are:
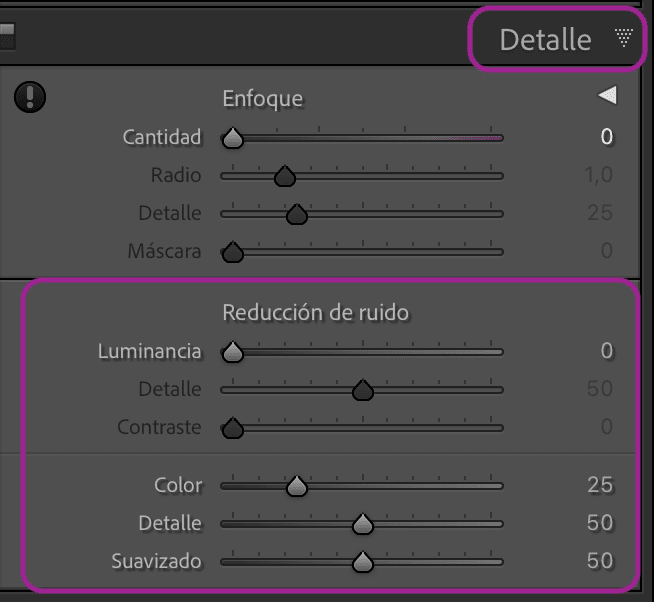
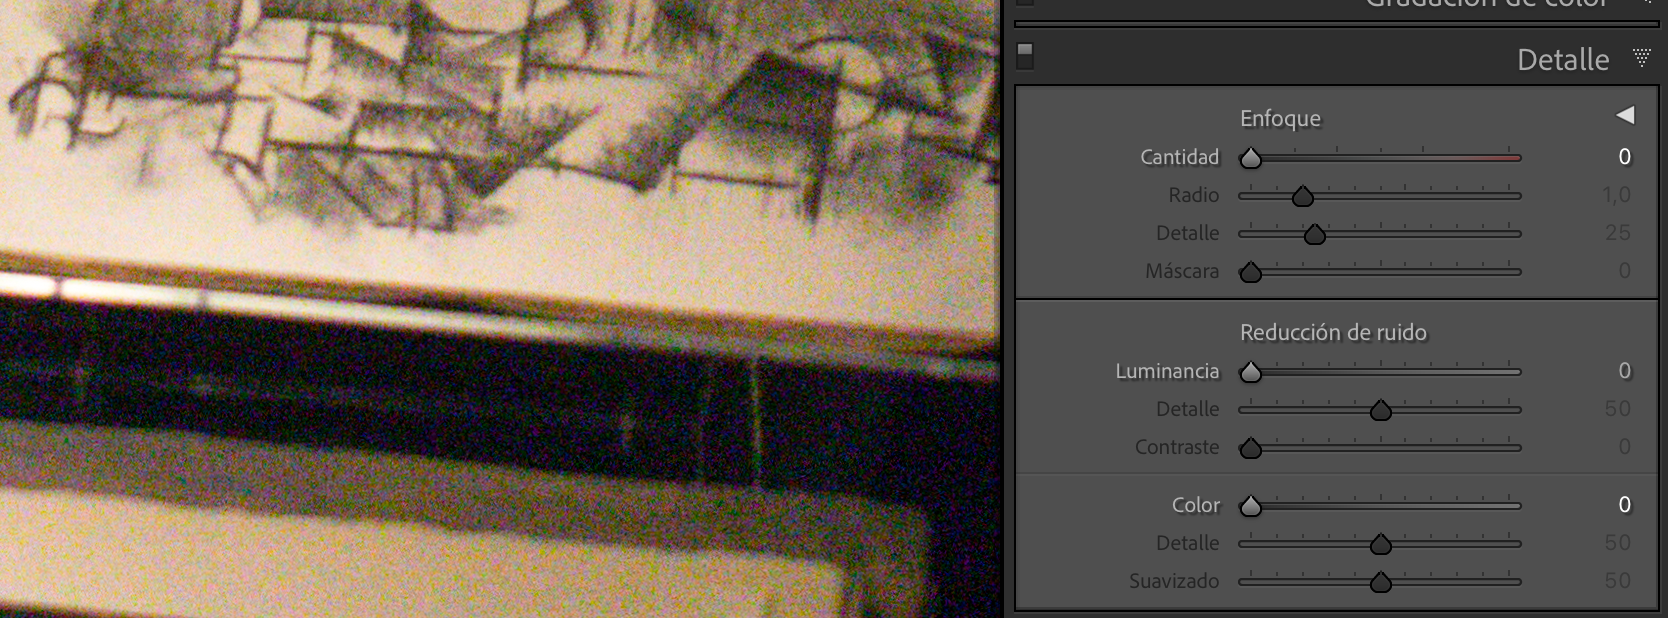
- Color Noise: as we have already mentioned, they are specks of color that appear randomly in the image. It's very easy to remove them, just adjust the Color slider , which is 25 by default.
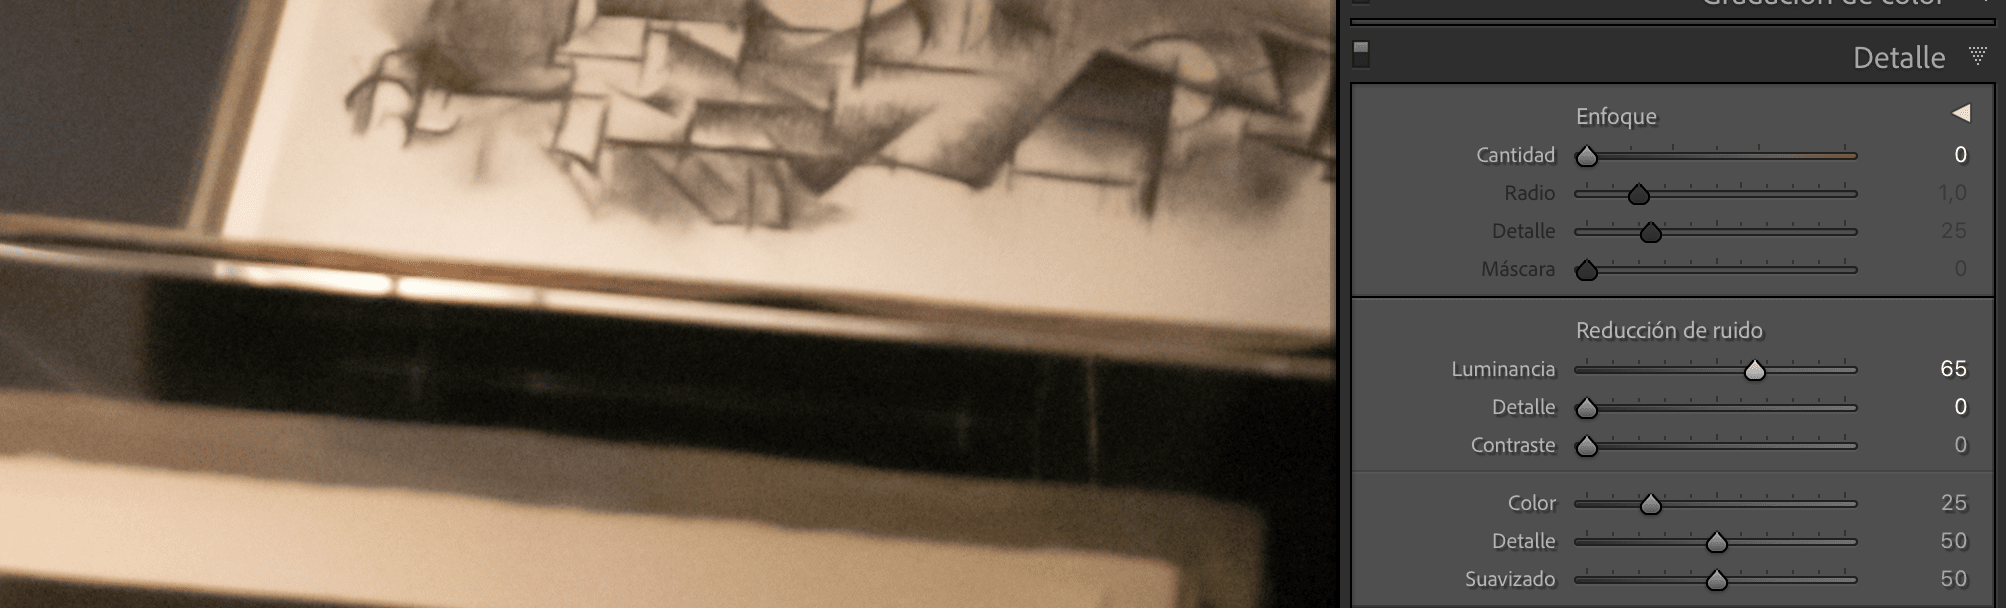
- Luminance noise: in this case the issue is a bit more complicated, because as you move the Luminance slider to the right, the noise disappears, at the same time that detail is lost.
- Luminance: Makes the grainy disappear
- Detail: recovers to some extent the sharpness that is lost when raising Luminance
- Contrast: Reduces the plasticy effect produced by the other two settings.
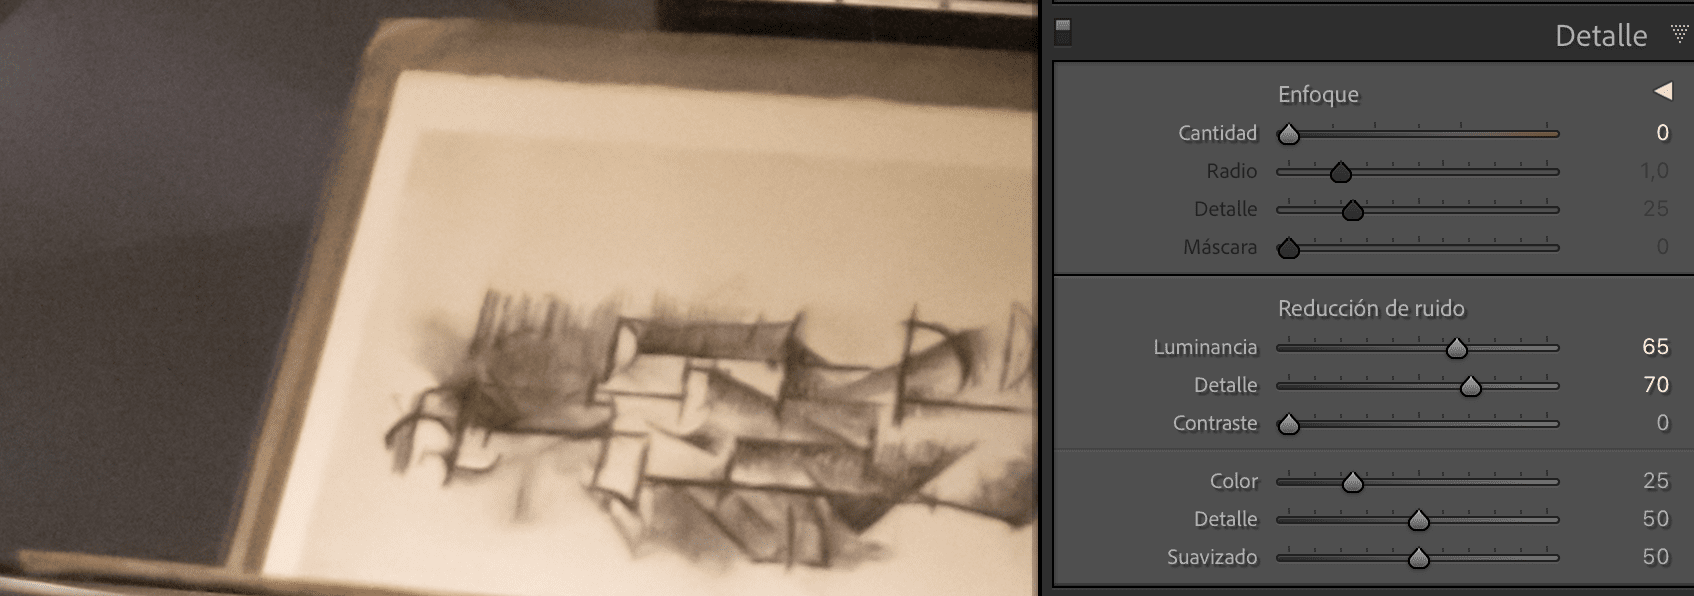
And this would be the result. It looks better, right? What has been easy?

Given the noise, we are going to see the grain, what it is and how it influences your photographs.
WHAT IS GRAIN IN PHOTOGRAPHY?
Grain in photography is related to film from analog cameras . The reels were composed of silver halides, the larger the film, the greater the sensitivity these films had. The size of these halides determine the grain size.
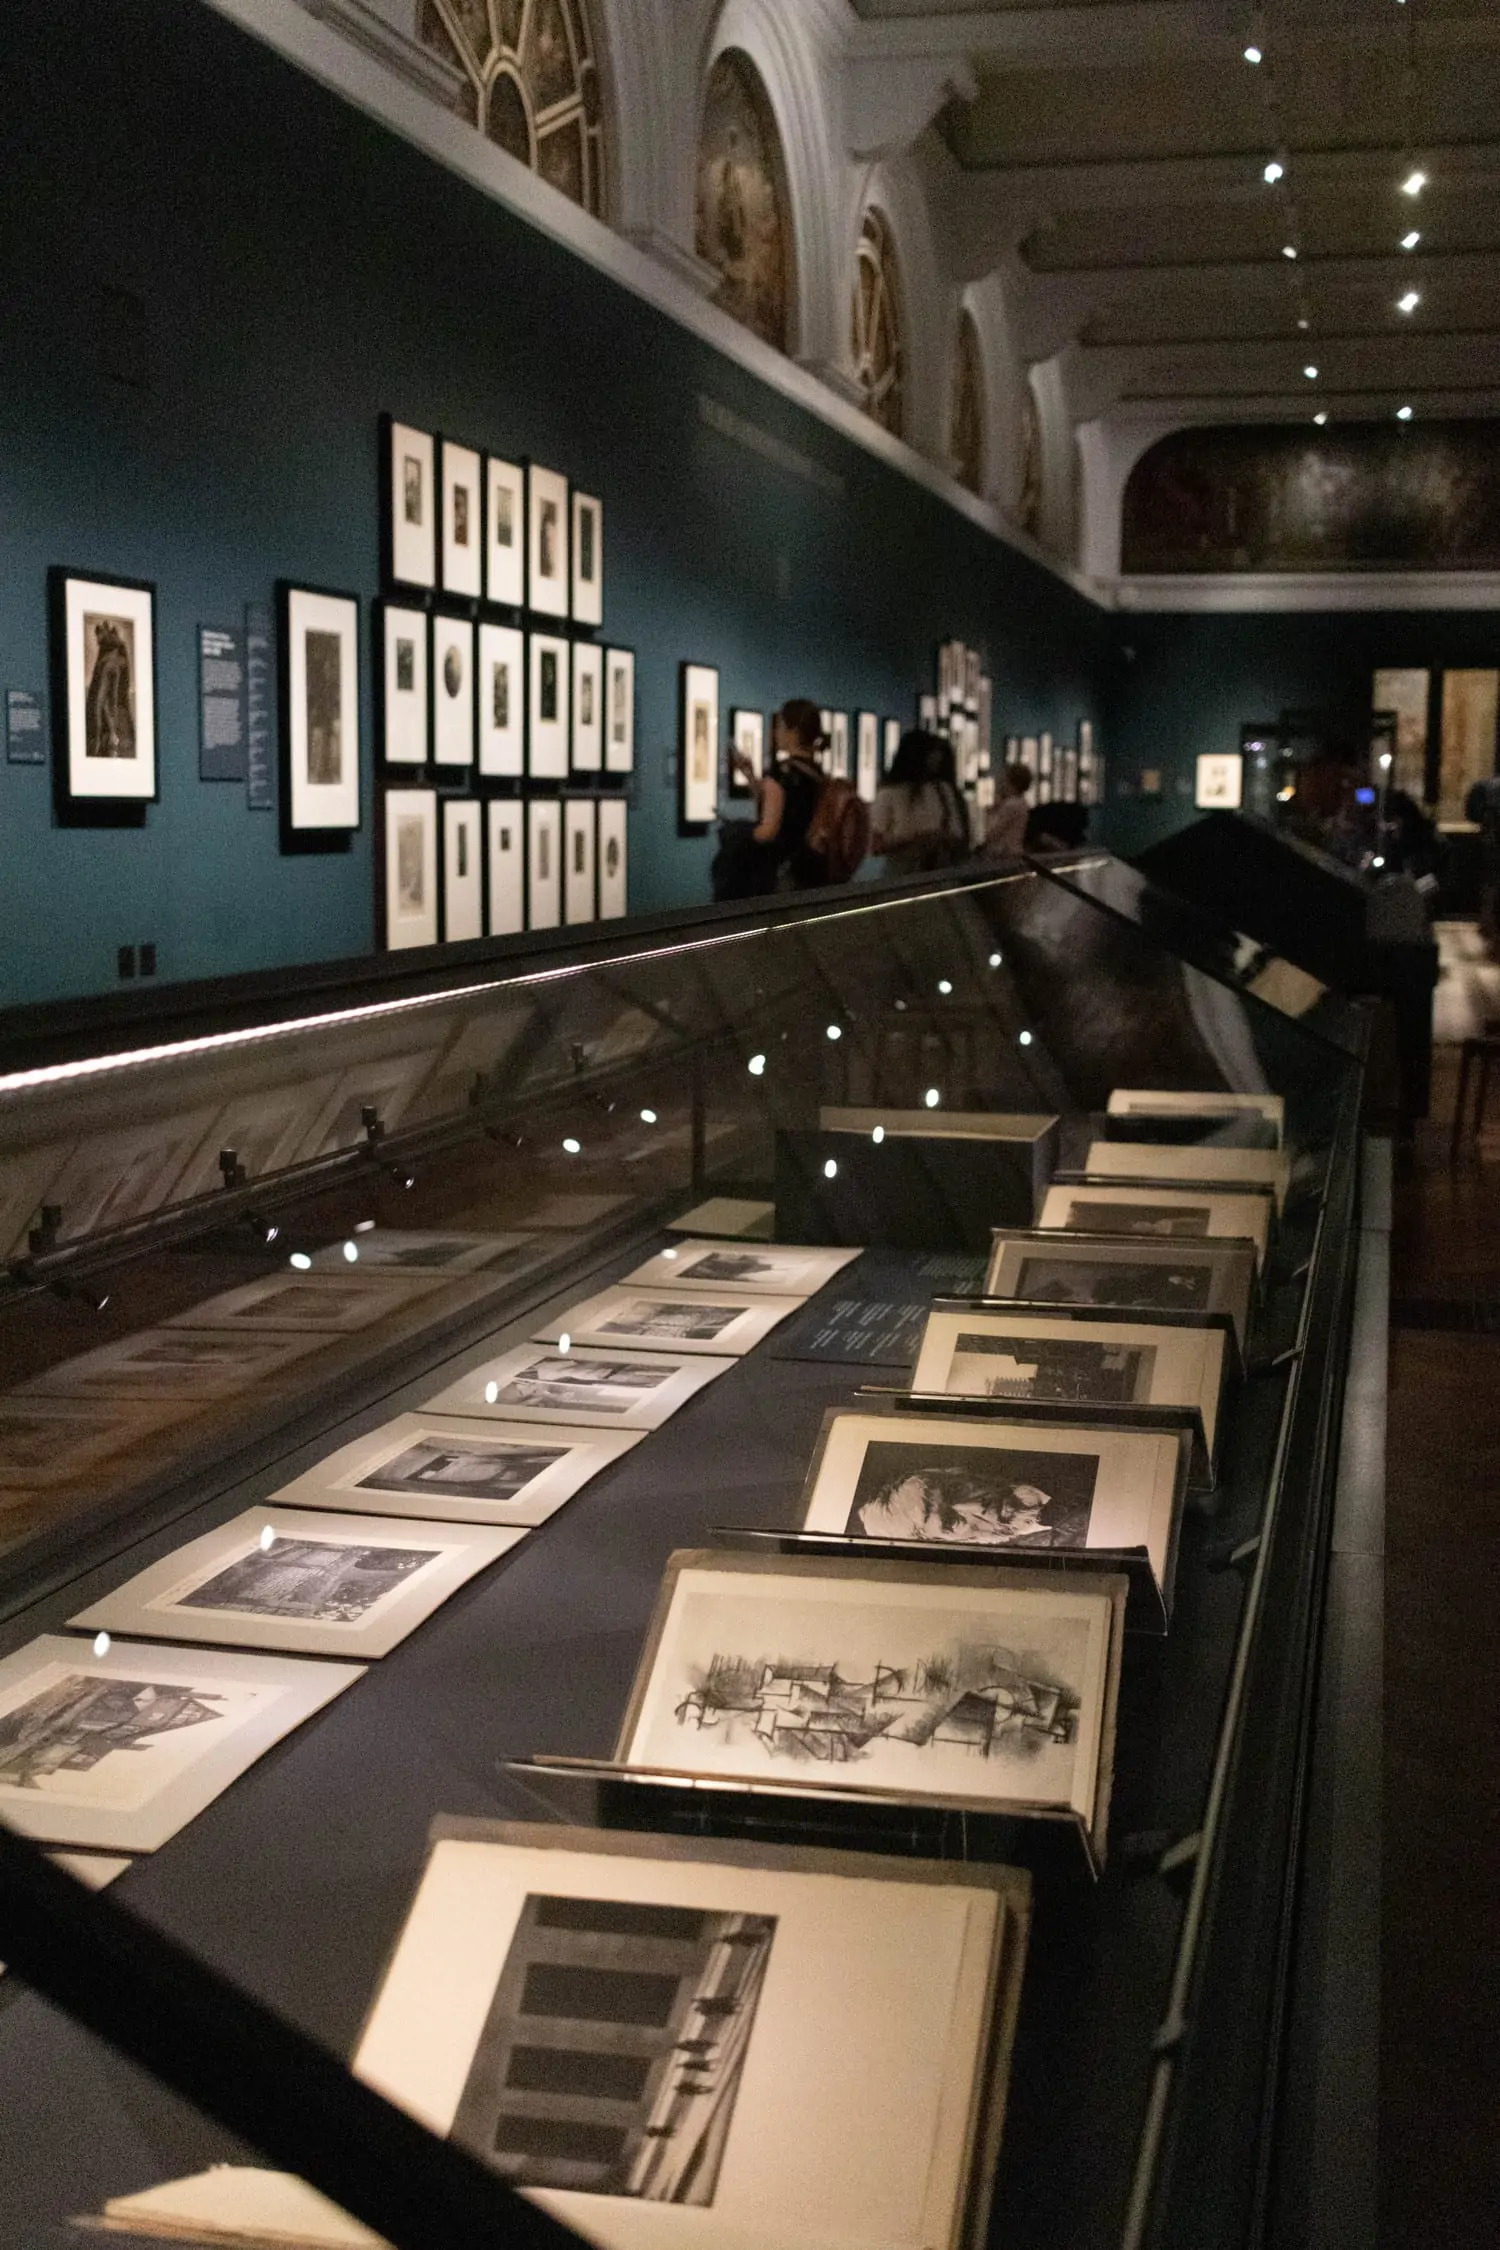
This is a photograph (with "true" grain) taken on analog film. It is a portrait of Gerda Taro.
I speak of "real" grain because currently the grain is added in processing to add texture. In digital cameras, grain does not exist as such, but is part of the editing process.
And it is that, by adding the grain, the photos acquire another meaning. With this, the photographs evoke another era, are impregnated with nostalgia and different sensations.
It is a way of adding style or aesthetics to a photograph. He has a specific intention.
Contrary to noise, which is something that sometimes has to be assumed because we have no other choice, the grain is a choice.
Let's see an example.
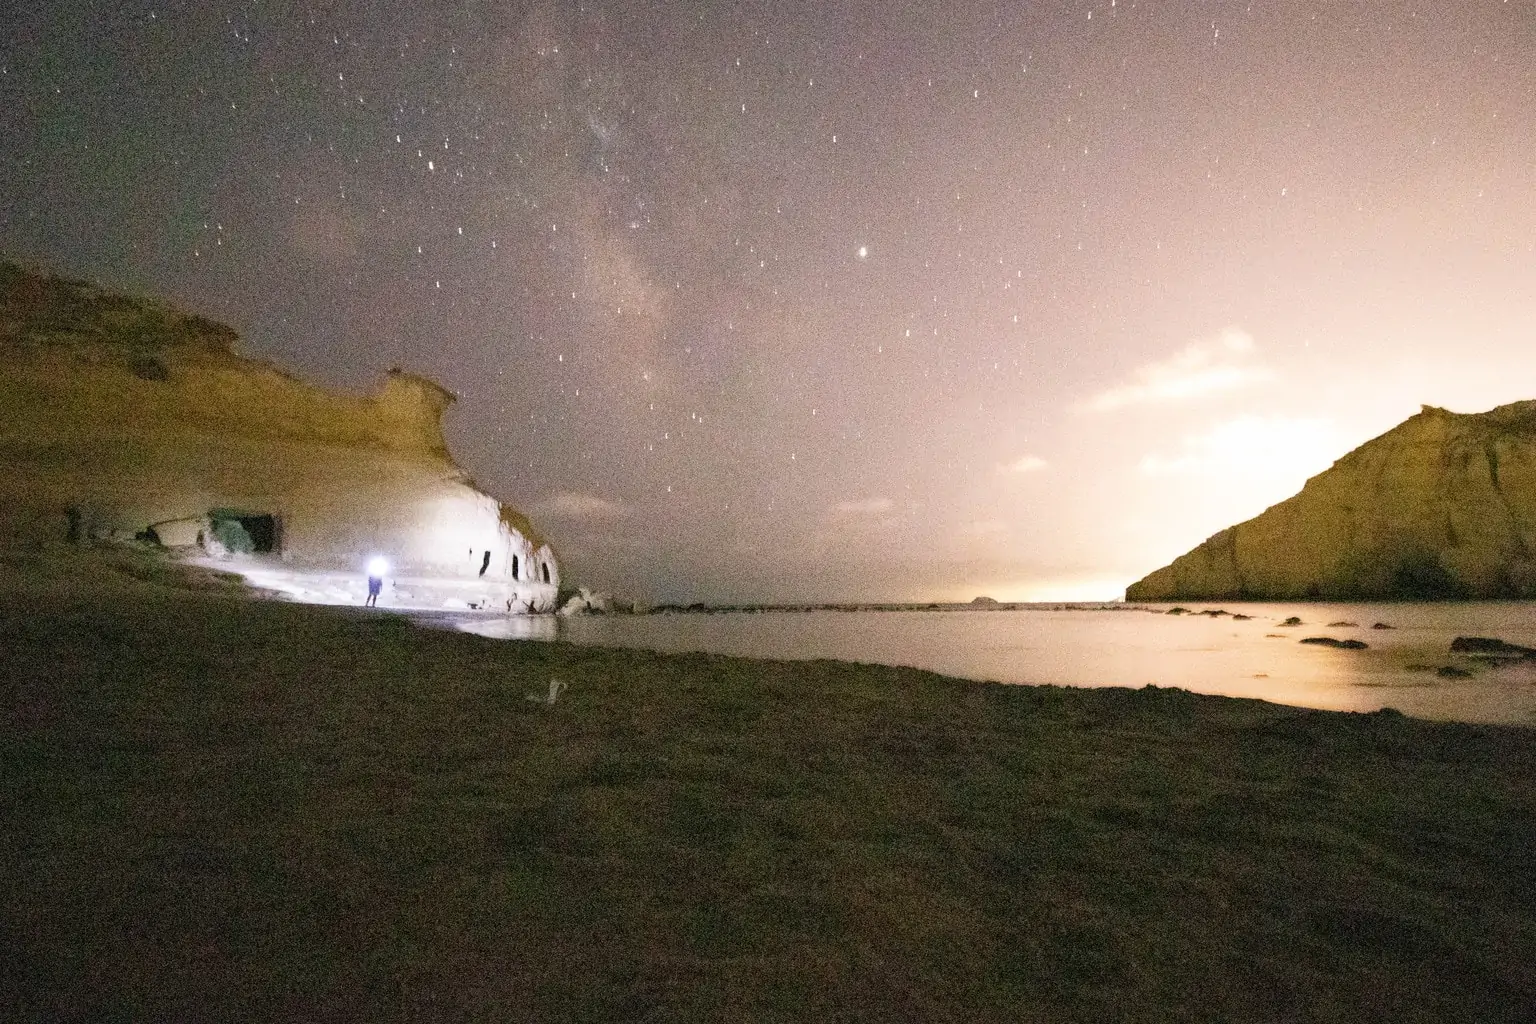
The image of the lighthouse on the left is the original as it was taken. In the right image, in addition to modifying the color, grain has been added.

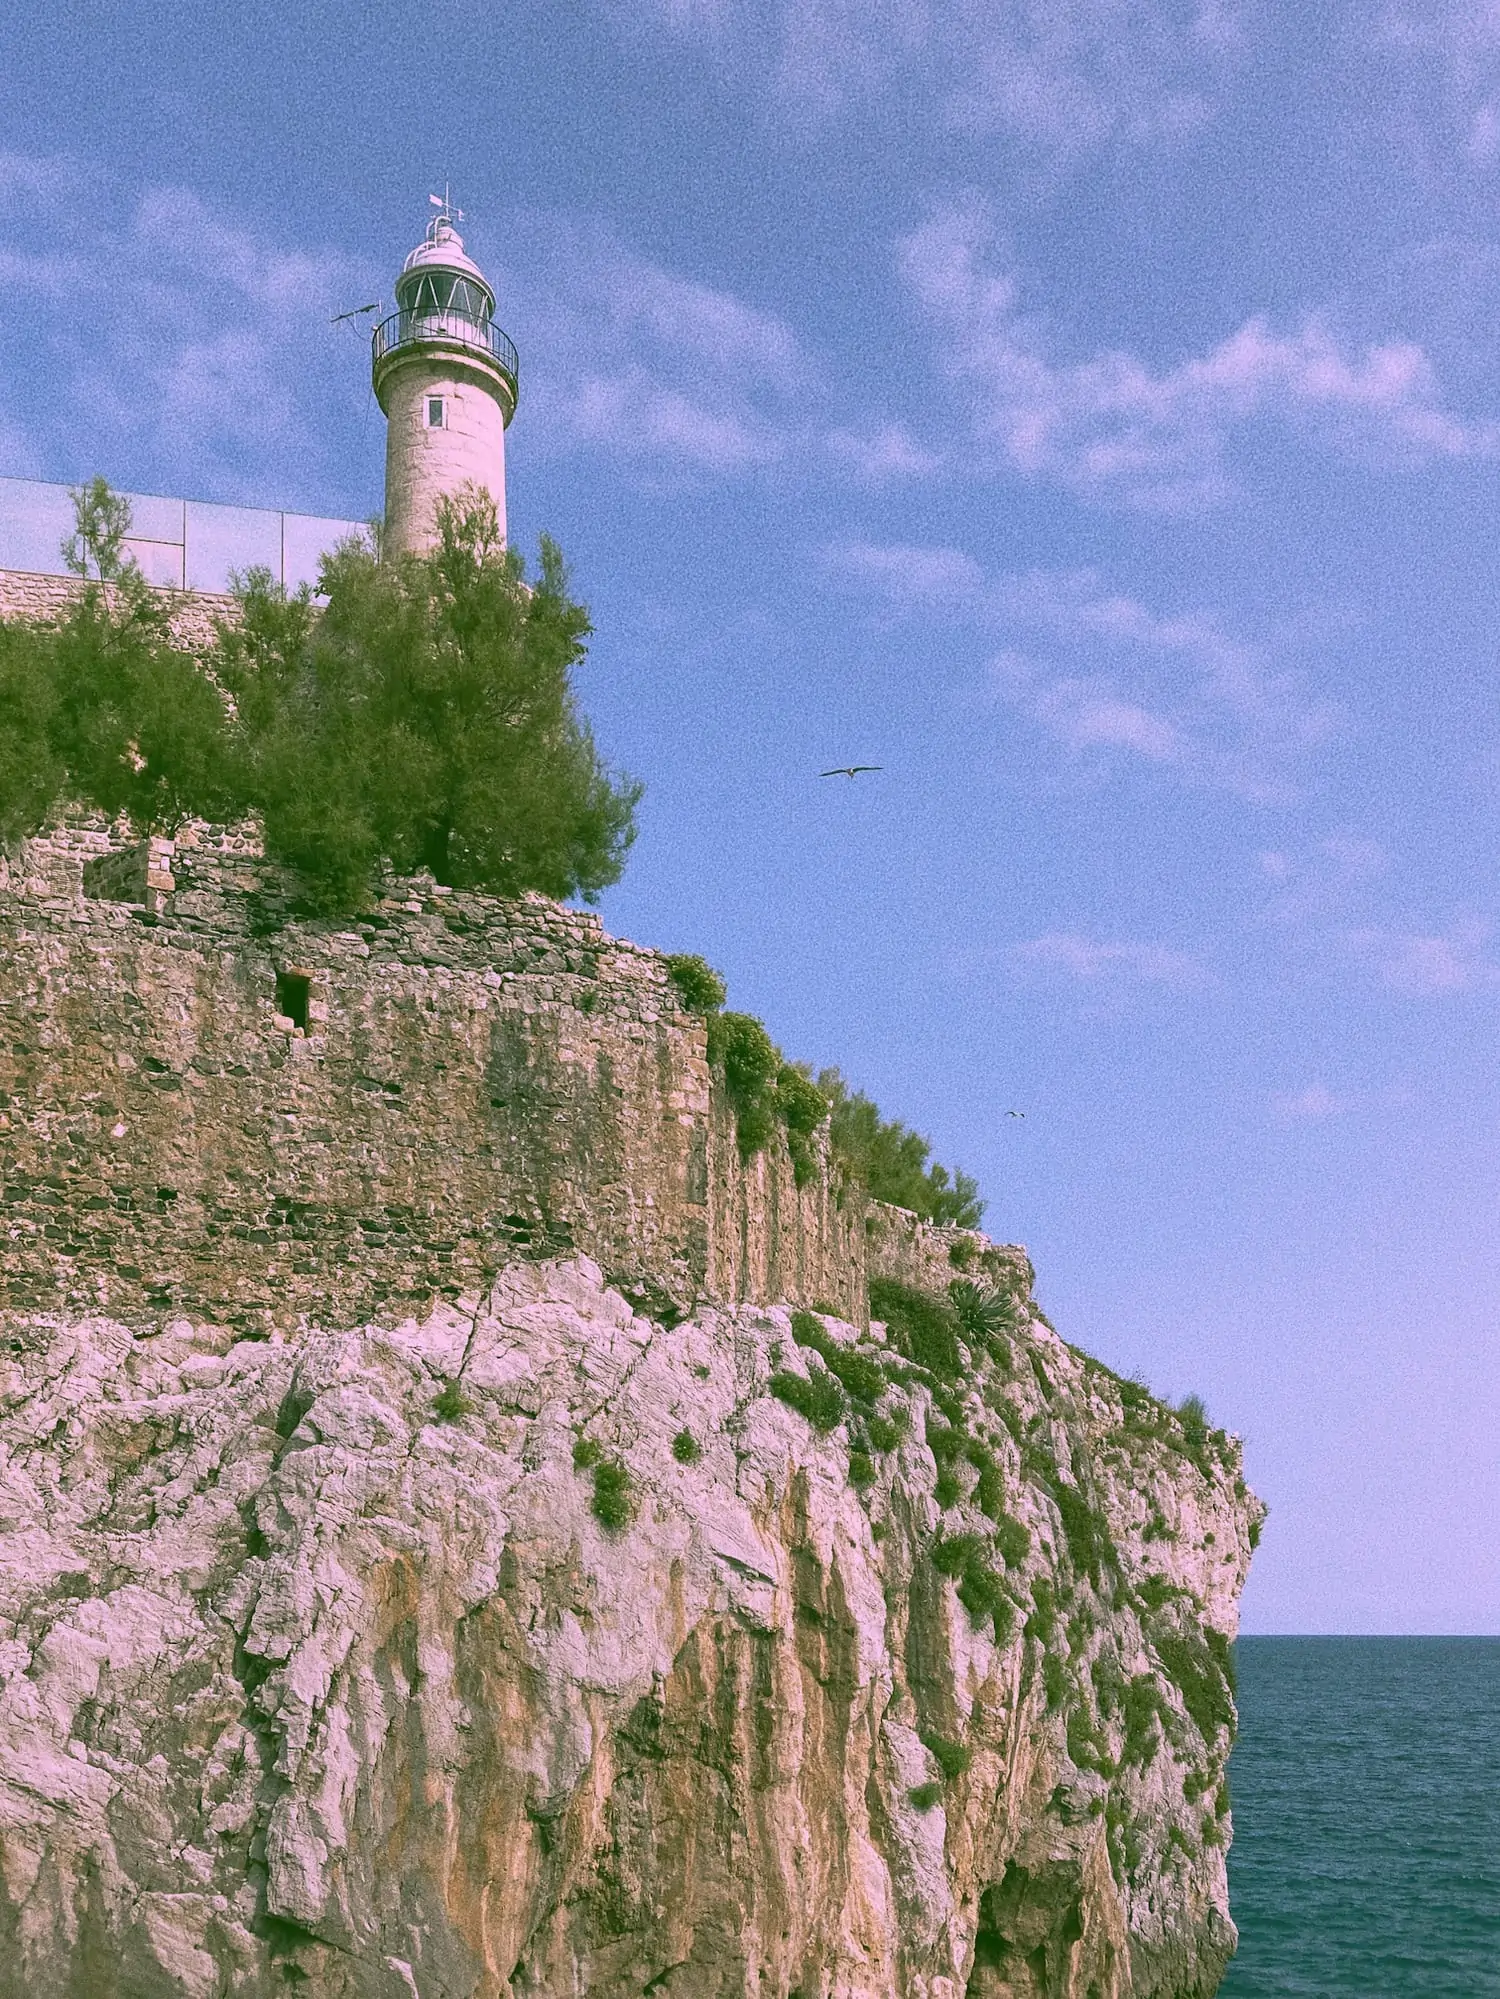
Don't they look like they're from different times? Do they evoke different sensations? The grain reminds us of photographs from other years.
HOW TO ADD GRAIN TO YOUR PHOTOGRAPHS?
As I told you before, adding grain to a photograph gives it texture, style, nostalgia, a vintage effect, etc. It is another way of using visual language to evoke emotions and sensations.
We even associate grain with documentary photography since it was when they had to freeze movement in low-light situations and, therefore, had to use higher-sensitivity films.
Today I'm going to show you how to add the grain with Lightroom and with two other free applications with which it is very easy to do it: Snapseed and VSCO.
HOW TO ADD GRAIN TO YOUR PHOTOS WITH LIGHTROOM?
In Lightroom it is not that adding grain is more difficult than with the other applications, but it is not a free program.
If you have it or you are going to get it great, if it is not the case, resort to any of the following two options.
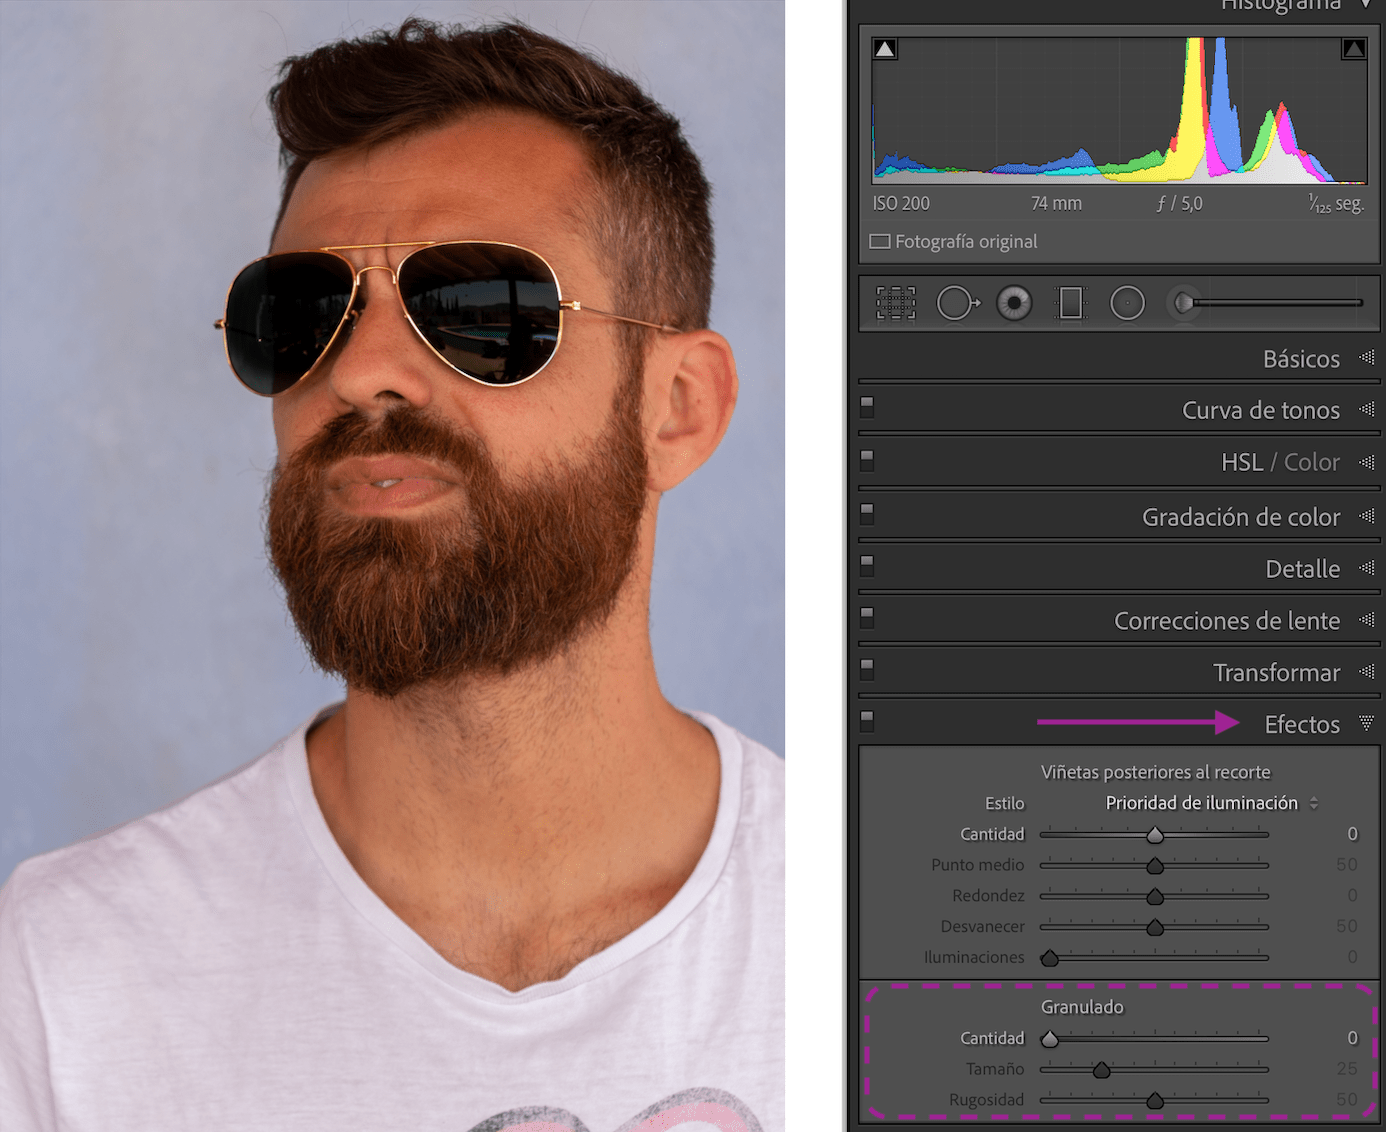
To add grain with Lightroom follow these steps:
- Go to the Reveal module
- In the Effects panel , inside the Grain tool , move the Amount slider to the right. With this gesture you control the amount of grain you want to add. With the value 0 it runs out of grain and to the right you increase.
- The Size and Roughness sliders will become active .
- Adjust the Size slider which, as you might guess, controls the size of the grain. If you go above 25, a bluish color is added, it is something that the program does so that the noise reduction is better.

- Adjust the Roughness slider . To the left the grain is more uniform, to the right the grain is more uneven.
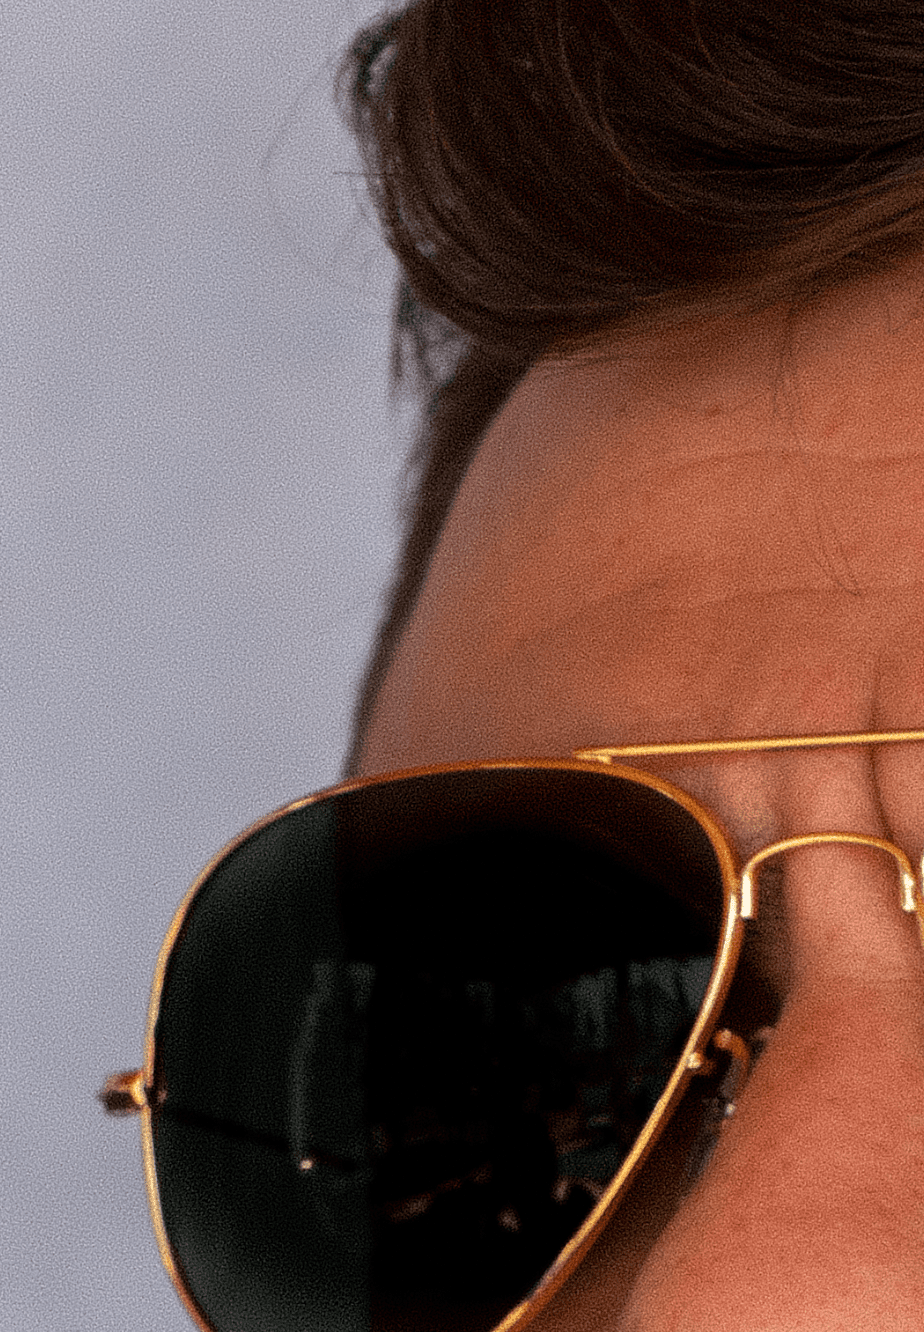
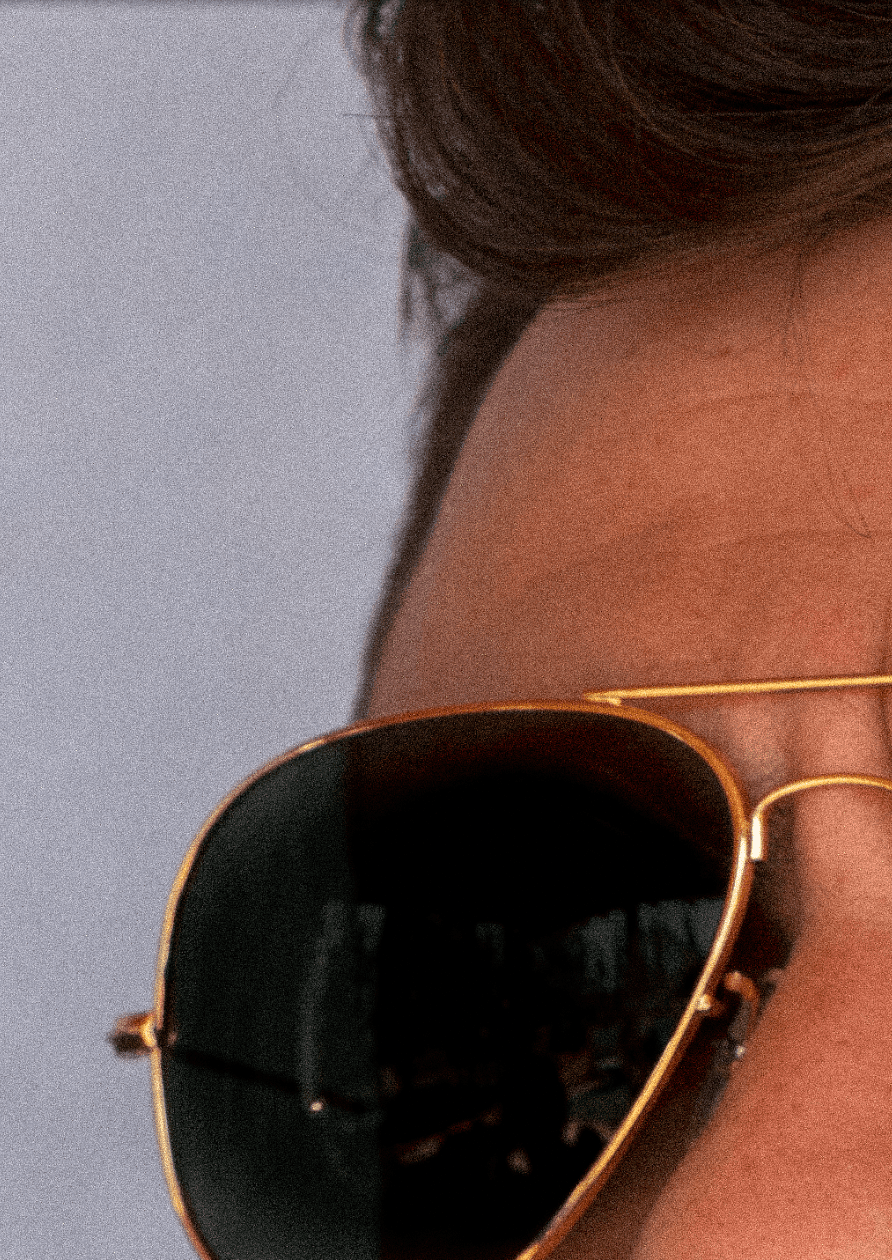
And now if you want to finish giving a total retro touch you can always edit in black and white, but that already depends on tastes, here we leave it in color, yes, with a slightly more vintage color ?

HOW TO ADD GRAIN TO YOUR PHOTOS WITH SNAPSEED?
The first thing you have to do is open your image in the Snapseed app ( iOS/ Android) and then follow these steps.
- Select under Tools > Film Grain .
- Choose style, you have several to choose from.
- Adjust style intensity (more intensity towards +100, less intensity towards the left or the value 0; and the texture.
- The higher the texture value, the more grain.
- Ready to export the image.


If you want to know more about how to edit your photos in Snapseed , click on the link that we have a tutorial for you.
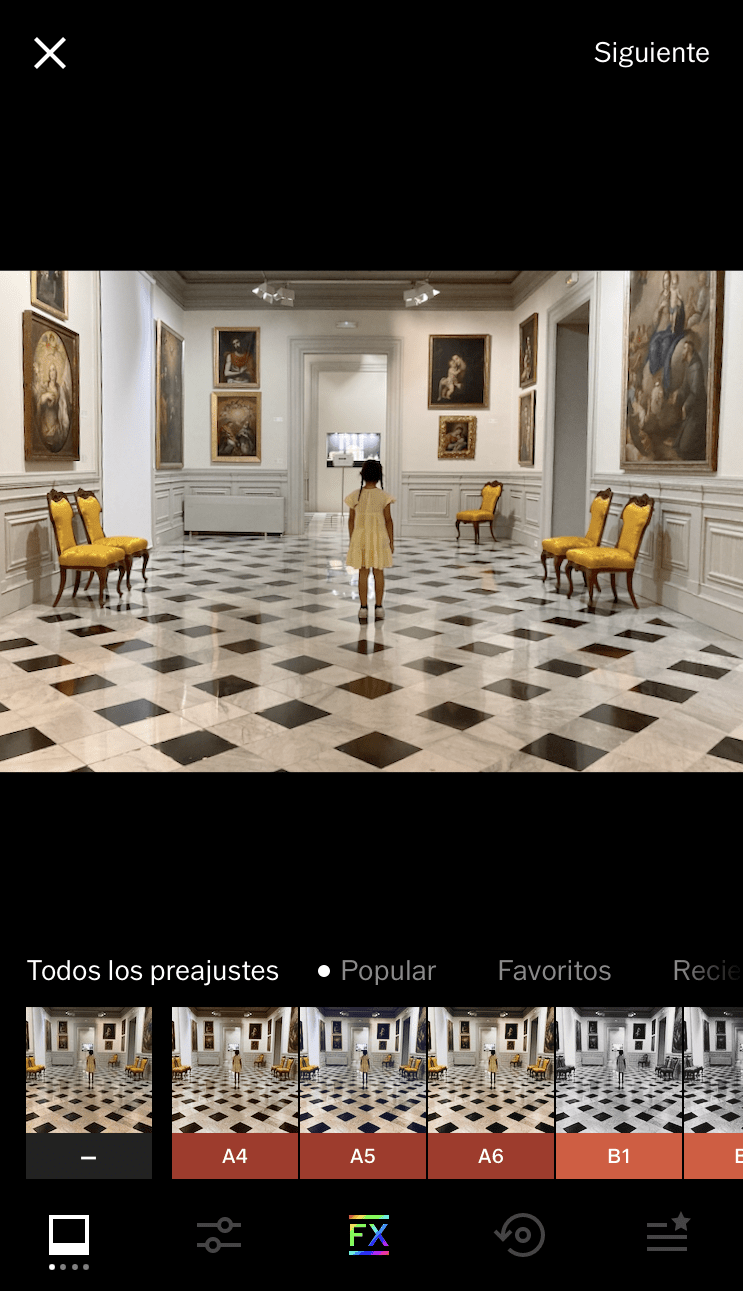
HOW TO ADD GRAIN TO YOUR PHOTOS WITH VSCO?
I think the most complicated thing is to be clear about what you want to have with your image and, consequently, add more or less grain because, as you will see, adding grain in VSCO is also very easy, only three steps:
- Open image in VSCO.
- Select the grain tool inside the edition.
- Move the cursor to the right until it is to your liking.
 -->
-->
