
As a photographer you are presented with challenges every day, doubts, concepts, variables that you learn to solve and overcome constantly. But if photography is "painting with light", how are you going to paint with light if you do not have it? How are you going to survive (photographically speaking ) to such a situation? Well, as the saying goes ... If Muhammad does not go to the mountain, the mountain goes to Muhammad, so if there is no light, you will have to create it. Don't worry, I teach you how, and you won't need to be a "chosen one" to get it.
INDOOR
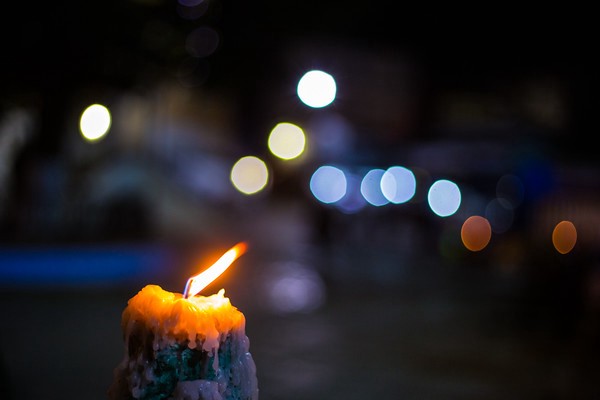
Approach the windows, open them, open the curtains, raise the blinds, let the sun or clarity come in whenever possible. If you do not have it, light the lights you consider or put some candles. Of course, be very careful with the white balance if you do not shoot in RAW , since each type of light transmits a different hue to the image.GET A GOOD EXTERNAL FLASH
Although natural light is the most recommended and admired, the truth is that knowing and knowing how to use the flash will open a new field of possibilities. Many times we do not use it or do not value it due to the ignorance we actually have about it. Normally, we begin to use it through which it is incorporated into our camera and yes, let's not fool ourselves, the results are usually quite disastrous. However, the flash has many strengths that will save you many times when you have low light, or where you need some added creativity . If you want to get started on it, here are a couple of tricks that will make you see the flash in a very different way Remember that the combination of lights can also give you good results, have you tried mixing flash and natural light or flash and continuous light? We should not always choose between them, luckily.CREATE THE LIGHT THROUGH THE EXPOSURE TRIANGLE VARIABLES
Not everything is lighting candles, opening windows or buying flashes. Light can also (and should) learn to create it through any of the vertices of the " exposure triangle ", the name by which the three main responsible for exposure in an image are known. Surely they sound to you:ISO
The ISO is the sensitivity of your camera (or sensor) to light. The higher it is, the more sensitivity, and therefore more light you will have to take your picture. However, the higher it is, the more noise in the image (worse quality), so it is a factor to consider.DIAPHRAGM OPENING
The diaphragm regulates the amount of light that we allow to pass to the sensor, through our objective. The more open it is, the more light will enter through it (just as a human iris opens in the dark to capture more light), which will allow you to photograph in low-light scenes. However, there is another variable to consider: Depth of field. The more open the diaphragm, the lower depth of field or area focused on the image.SHUTTER SPEED
The last variable of the exposure triangle is the shutter speed. High speeds freeze the movement, since the shutter occurs quickly, exposing the image on the sensor for a very limited time. It allows us to photograph scenes with movement and “freeze them” in the scene. Like a drop of water photographed in its fall. Now, in low light scenes, we have the opposite situation. If we want enough light, we must shoot at lower speeds, which keeps the shutter longer open. This means that we will have more light, but also that the sensor is exposed to the movement (own and foreign) of everything that happens in the time in which the shutter remains open. The speed has, multiple applications, I recommend you take a look at this article.LIGHTPAINTING
And since we talk about darkness, speed and light, you will be surprised what you can do simply with a flashlight (or similar), a tripod, a lot of darkness and to be, a good helper. Did you know Lighpainting ? Look what you can get!JOIN A TRIPOD
And speaking of slow speeds, although in general I would always recommend that you carry a small one in your backpack for what may happen ;-), if you also plan to take pictures in dark places in advance, the ideal is that you take a good tripod with you, that allows you to play with low speeds without danger of movement in the image (at least on your part)THAT THE PHOTOMETER DOES NOT FOOL YOU
Learning to measure light well in any scene is essential to obtain correct exposures. Where to measure and how, what values ??I want to prioritize, what elements to highlight, what mode of measurement to use and practice with the preview of the scene in your mind, will help you decide the values ??of the shot. With patience and practice, of courseIF IT DOESN'T SEEM ENOUGH, PUT ON YOUR OWN LIGHTING STUDIO
Here I leave you a complete article on the subject with all the necessary material so that you can set up your own studio in a much simpler and cheaper way than we often believe. Check it outAND FINALLY, IT DOES NOT ILLUMINATE BUT IT WILL BE USEFUL
The approach is an element that you must take into account for the visual that results, and because in low light situations, it will be more difficult to focus, not only because of the lack of light, but because it is likely that often (and due precisely to that lack of light) work with wide apertures of diaphragm, which allow you greater light input, but reduced depth of field. It is in these situations when an automatic focus mode is quite likely to fail. So in this situation I recommend that you try:- Focus on manual
- Use the focus assist light available to most SLRs
- Help you with a flashlight or laser pointer and so on to indicate the point where you should focus. Then block the focus and shoot.
