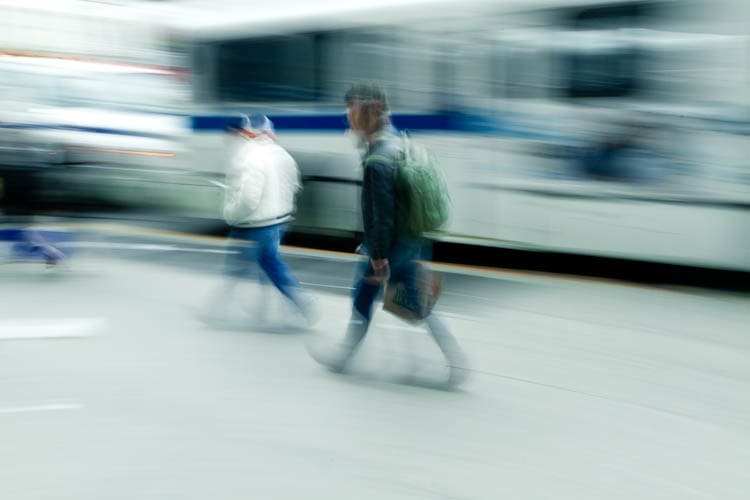
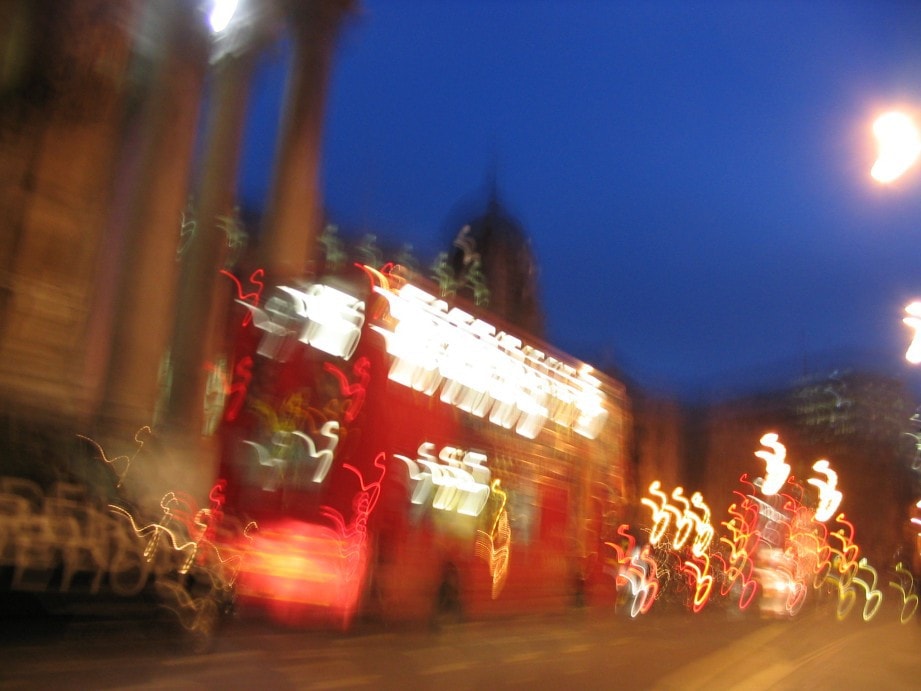
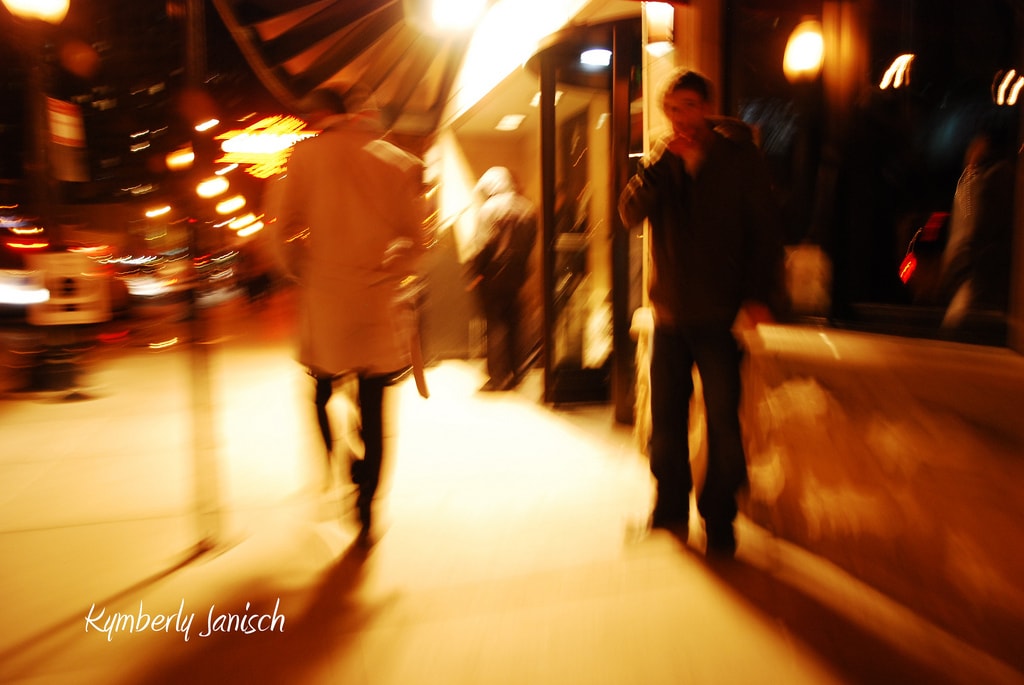
Shaky photos is a common complaint among most hobby photographers. How many photos have you had to send to the trash because they came out shaky? Do you still have the account?
If you also suffer from bloody shaky photos, I invite you to read today's article, in it I 'm going to explain everything I know about shaky photos (it's little, but it's something;)), why they occur, in what situations they happen most frequently, what makes a photo come out more shaky, and above all and most importantly: how to say goodbye to them and never suffer from them again.
WHY ARE SOME PHOTOS BLURRY?

Simply put: shaky photos occur when the subject moves (sometimes small and imperceptible) while the camera is "recording" the photo and the shutter is open.
Reminder: If you are a frequent reader of this blog, you will already know that for a photo to be taken at the moment we press the shutter button, a small door inside the camera opens, allowing light to pass through the lens, it remains open for a very short time (usually a fraction of a second) and closes again. Everything happens very quickly while we hear that "click" of the camera shutter. (By the way, does anyone else like that click or how do I?).
So, if during that brief moment (fraction of a second as I said) our hand moves with the camera and the lens, MOVING PHOTO!
IN WHAT SITUATIONS WILL YOU GET MORE SHAKY PHOTOS?
This blurred photos happen more often in situations where there is very little light or when we use a long focal length (zoom or telephoto).
IN VERY LOW LIGHT SITUATIONS...
When we take a photo in automatic mode, the camera calculates the time (normally fractions of a second) during which the shutter has to be open and the photo has to be recorded based on the amount of light outside. If the camera notices that there is a lot of light (for example, a photo in full midday sun) then it opens and closes extremely quickly, but if it is a photo with very little light (for example, a photo indoors away from the window and with the light off) the camera, in automatic mode, decides that it has to stay open for a longer amount of time in order to capture enough light, otherwise we would have a rather dark photo. If at that moment we are holding the camera by hand or on some unstable surface,

In reality, everything happens quickly, without us realizing it. There are even times when we hold our breath, we try not to move at all, but even so, micro-movements occur in our hand and arm that we don't notice but the camera does, and boom... MOVING PHOTO!
USING LONG FOCAL LENGTHS (TELEPHOTO)
This point is related to the previous point, and it is that generally the more we go up in focal length (80, 105, 200mm...) the less light enters the lens. It is a subject more related to the construction of the objectives and the arrangement of the crystals and the optics that compose them. For now, you should know that the higher the zoom, the greater the possibility of blurred photos .
HOW TO AVOID THE DAMN SHAKY PHOTOS
Here is a series of tips and tricks that will help you prevent your photos from always coming out blurry, or at least reduce the problem:
- Unless you are sure of the result or you are going to use flash, it is best to avoid automatic mode . Switch to manual mode and configure the settings yourself.
- Use very fast shutter speeds . There is a rule that I do not know to what extent it is true or a simple urban legend but a server has tested it and it works perfectly: always use a shutter speed equal to or greater than 1/x, where x is the focal length used . [For example if you shoot at 50mm use a speed of 1/50s or more, if you shoot at 200mm use 1/200s or more] . In any case, whether this rule works for you or not, the important thing is that you know that the faster the shutter speed, the less “moved” the photo will be. Go try.
- If you follow the advice above and increase your shutter speed, at some point you may start to get dark photos. In that case, try to increase the amount of light that the camera receives, you have 3 ways to achieve it: a) either by using larger apertures (f/ value as low as possible); b) raising the ISO sensitivity and c) inserting a light source such as an external flash, a powerful light source, a window or something like that.
- Use a tripod . This would be optimal because with a tripod you really ensure the camera all the stability it needs and in that case you don't worry about the rest. If you use a tripod you no longer need to apply the previous tips of changing the shutter speed, aperture, or anything like that. If you are looking for one, in this complete guide we help you find the best tripod for you.
- Use your camera's timer or a remote shutter release. You have to because, believe it or not, even using a tripod just putting your finger on the shutter button and pressing it produces a very slight vibration that lasts for a few seconds, negatively impacting the camera. Better shoot with one of these infrared remote triggers, or use your camera's timer (2 second delay would be enough).
- Turn on the image stabilizer. This is a feature that some cameras and lenses offer where the camera itself tries to reduce blur. In this article you have more information about image stabilizers , in case you are interested in the subject.


![SAY GOODBYE TO THE BLURRY NIGHTMARE [FOREVER...]](https://photographychef.com/wp-content/uploads/2023/02/SAY-GOODBYE-TO-THE-BLURRY-NIGHTMARE.png)
