
![THE COMPLETE GUIDE TO FOOD PHOTOGRAPHY [UPDATED]](https://photographychef.com/wp-content/uploads/2023/01/THE-COMPLETE-GUIDE-TO-FOOD-PHOTOGRAPHY-UPDATED.jpg)
Perhaps a priori , until now, no one thought from the outset that his dream was to do food photography. I don't know, I think perhaps that we tend to dream of another type of photography that is more obvious , such as advertising, portraits, documentary. Maybe it's because when I imagine one of my dishes it doesn't seem like the most photogenic thing in the world . But the truth is that over time it has been shown that food photography is pure art, pure inspiration, that there are images of food that are capable of taking your breath away, making your eyes bulge, making you salivate or moving your intestines with hunger. .
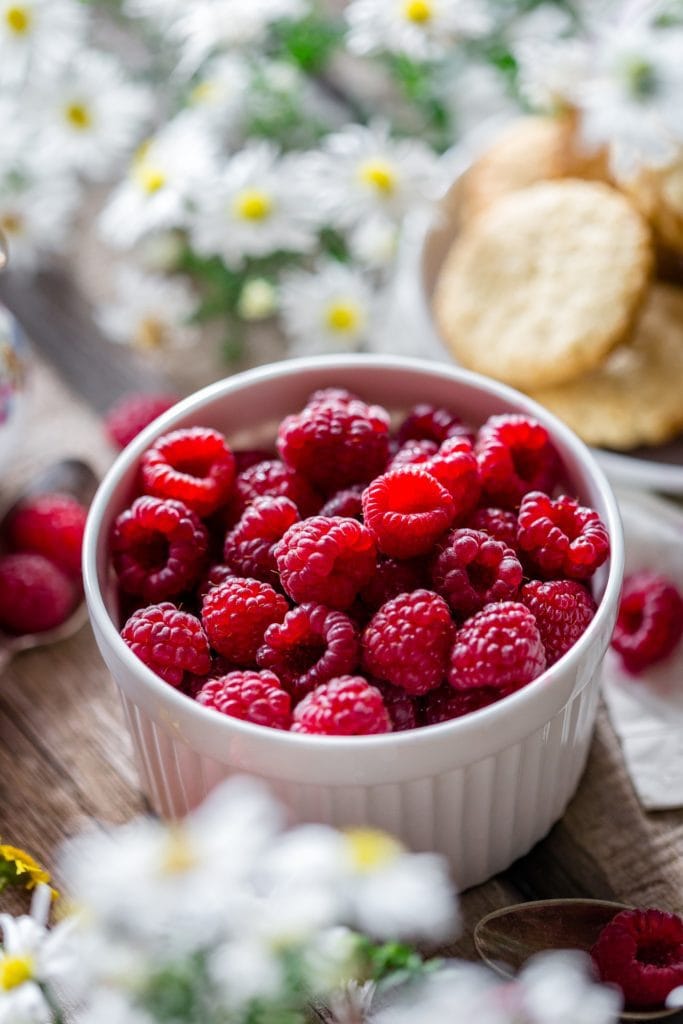
If you are not a big cook or a big fan of social networks like Pinterest or Instagram, you may be imagining the image of a boring and ugly dish on a sun-bleached menu poster. No mate, that was before, now they do real fanciful things, magical compositions and impeccable staging. And you, yes you, who like to cook so much or who are even more lucky that someone does it for you, can achieve, with practice and patience, fully enter this magical world and make us eat with our eyes, sigh watching a cauliflower soup, or get moved to tears with a raspberry tart . Let's see where to start.
WHAT IS FOOD PHOTOGRAPHY?
Food photography is food photography that produces attractive and suggestive images that invite you to consume said food. It is a product photography , focused on food, since the idea is to use it in advertising, packaging, restaurant menus or even cookbooks.
It can also be understood as a still life or still life if its purposes are not commercial.
RECOMMENDED MATERIAL FOR GASTRONOMIC PHOTOGRAPHY
One of the best things about food photography is that you can get into it and try it with relatively little investment. You do not need a photographic studio or too much material that you probably do not have.
CAMERA WITH MANUAL SETTINGS AND INTERCHANGEABLE LENSES
Your usual SLR camera or your EVIL camera would be ideal to be able to photograph in manual mode and make the most of all the possibilities of lighting, focus, etc.
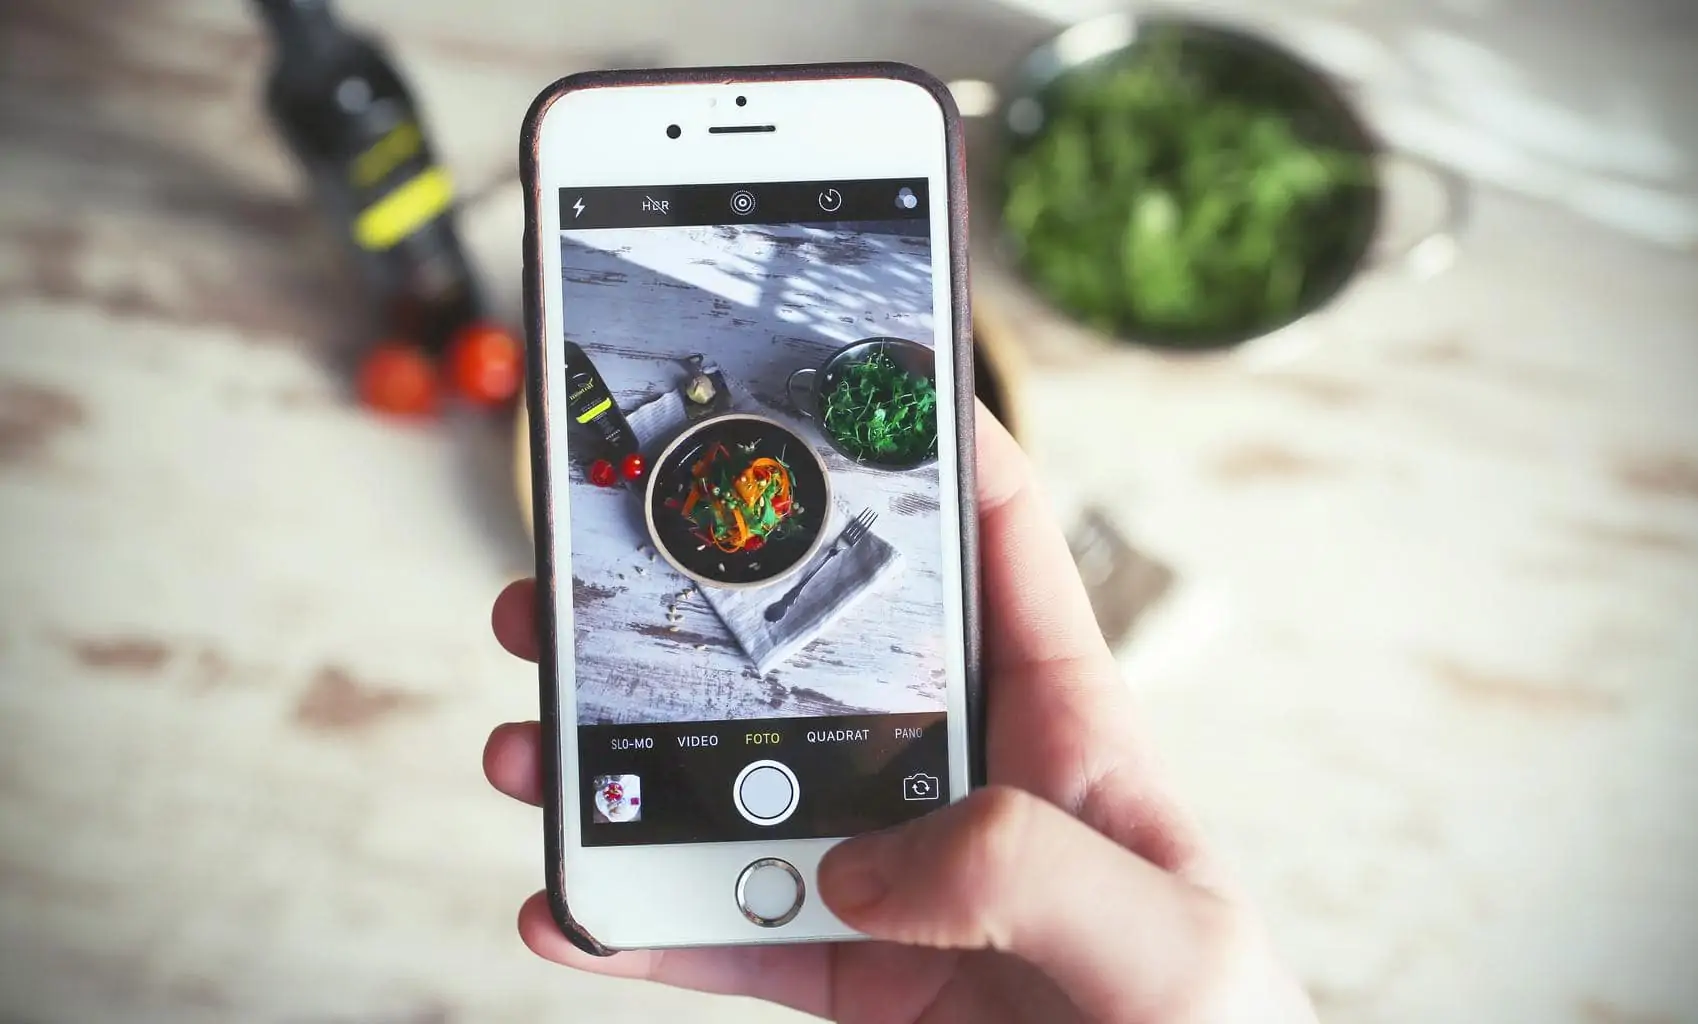
If you don't have one, don't let this stop you, photograph with what you have, many advanced compacts can give you equally good results. Even a smartphone, if you follow these tips and tricks for shooting with your mobile.
TRIPOD
Using a tripod is essential, mainly because sharpness is one of the keys to any type of product photography. Sharpness allows us to see detail in textures and color, absolutely essential when working with food. When we say we eat with our eyes, it's true ? .
The tripod will also allow you to work on the composition properly and slowly. In this way, you will be able to observe carefully through the viewfinder and get up to change and improve what you like without changing the frame or angle.
LENSES FOR FOOD PHOTOGRAPHY
As for the best objective, each master has his booklet , but the ones that probably will not disappoint you are:
- 50mm or medium focal length : It is the king of lenses , the one that most resembles the human eye, and it is usually a very bright optic (f/1.4 of/1.8), which translates into the possibility of playing with depths of field reduced. In addition, it is not as prohibitively expensive as other objectives of the same brightness and will be useful for almost any type of photography.
- Long focal macro lens : A long macro lens (60mm to 105mm) with an f/2.8 aperture would be ideal. They are around 500 to 800 Euros depending on the brand. Here are our macro goal recommendations ? .
REFLECTOR
It can be very useful to have a reflector , depending on what the place where you are going to take your pictures is like. They will allow you to redirect and shape the light, they are very cheap and they will also be useful for other types of images such as portraits.
You have this 5-in-1 set with different features for only €18.99Although any white surface can help you reflect light.
DIFFUSER
A simple white curtain or tissue paper in front of a window can serve as the best study in the world. The curtain will help you to transform hard light into soft light and reduce a possible exaggerated contrast (very rapid transition from light to shadow) of very marked shadows.
CULINARY PROPS
- Backgrounds of various shades. Nothing very elaborate is necessary, with some cardboard, a smooth wall, a piece of wood, etc., it will be more than enough to start. If you are looking for something more elaborate or professional, you can use a cement background like this one., or other types such as woodor marble.
- Diverse tableware : plates of different sizes, designs, old or modern style spoons, casseroles, tablecloths, napkins... You can expand your collection to the point of being crazy ? But make sure they are designs that don't steal the show from the food. Less is more.
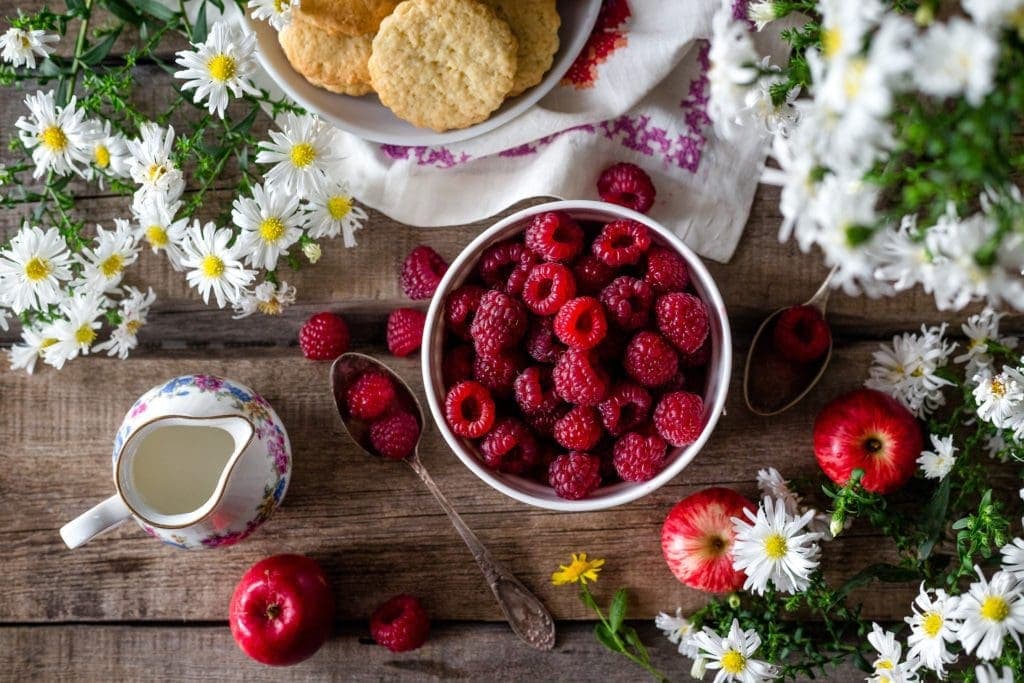
- Wood on which to place the dishes. They are very photogenic, natural, add texture to the image and can help you enhance the dishes. Also slate, marble, etc., will be useful to you (or pull funds as I said before).
- Accessories such as salt shakers, nutcrackers, teapots, coffee pots and other culinary items that can help you complete the story of your plate.
- A water vaporizer will help you to appear fresh in vegetables and fruits.
RECOMMENDED SETTINGS FOR FOOD PHOTOGRAPHY
Although it is impossible to concentrate the number of variables of light, setting and tastes of each one, we can make some recommendations with which to start you until you find your own style or from which to start as a base:
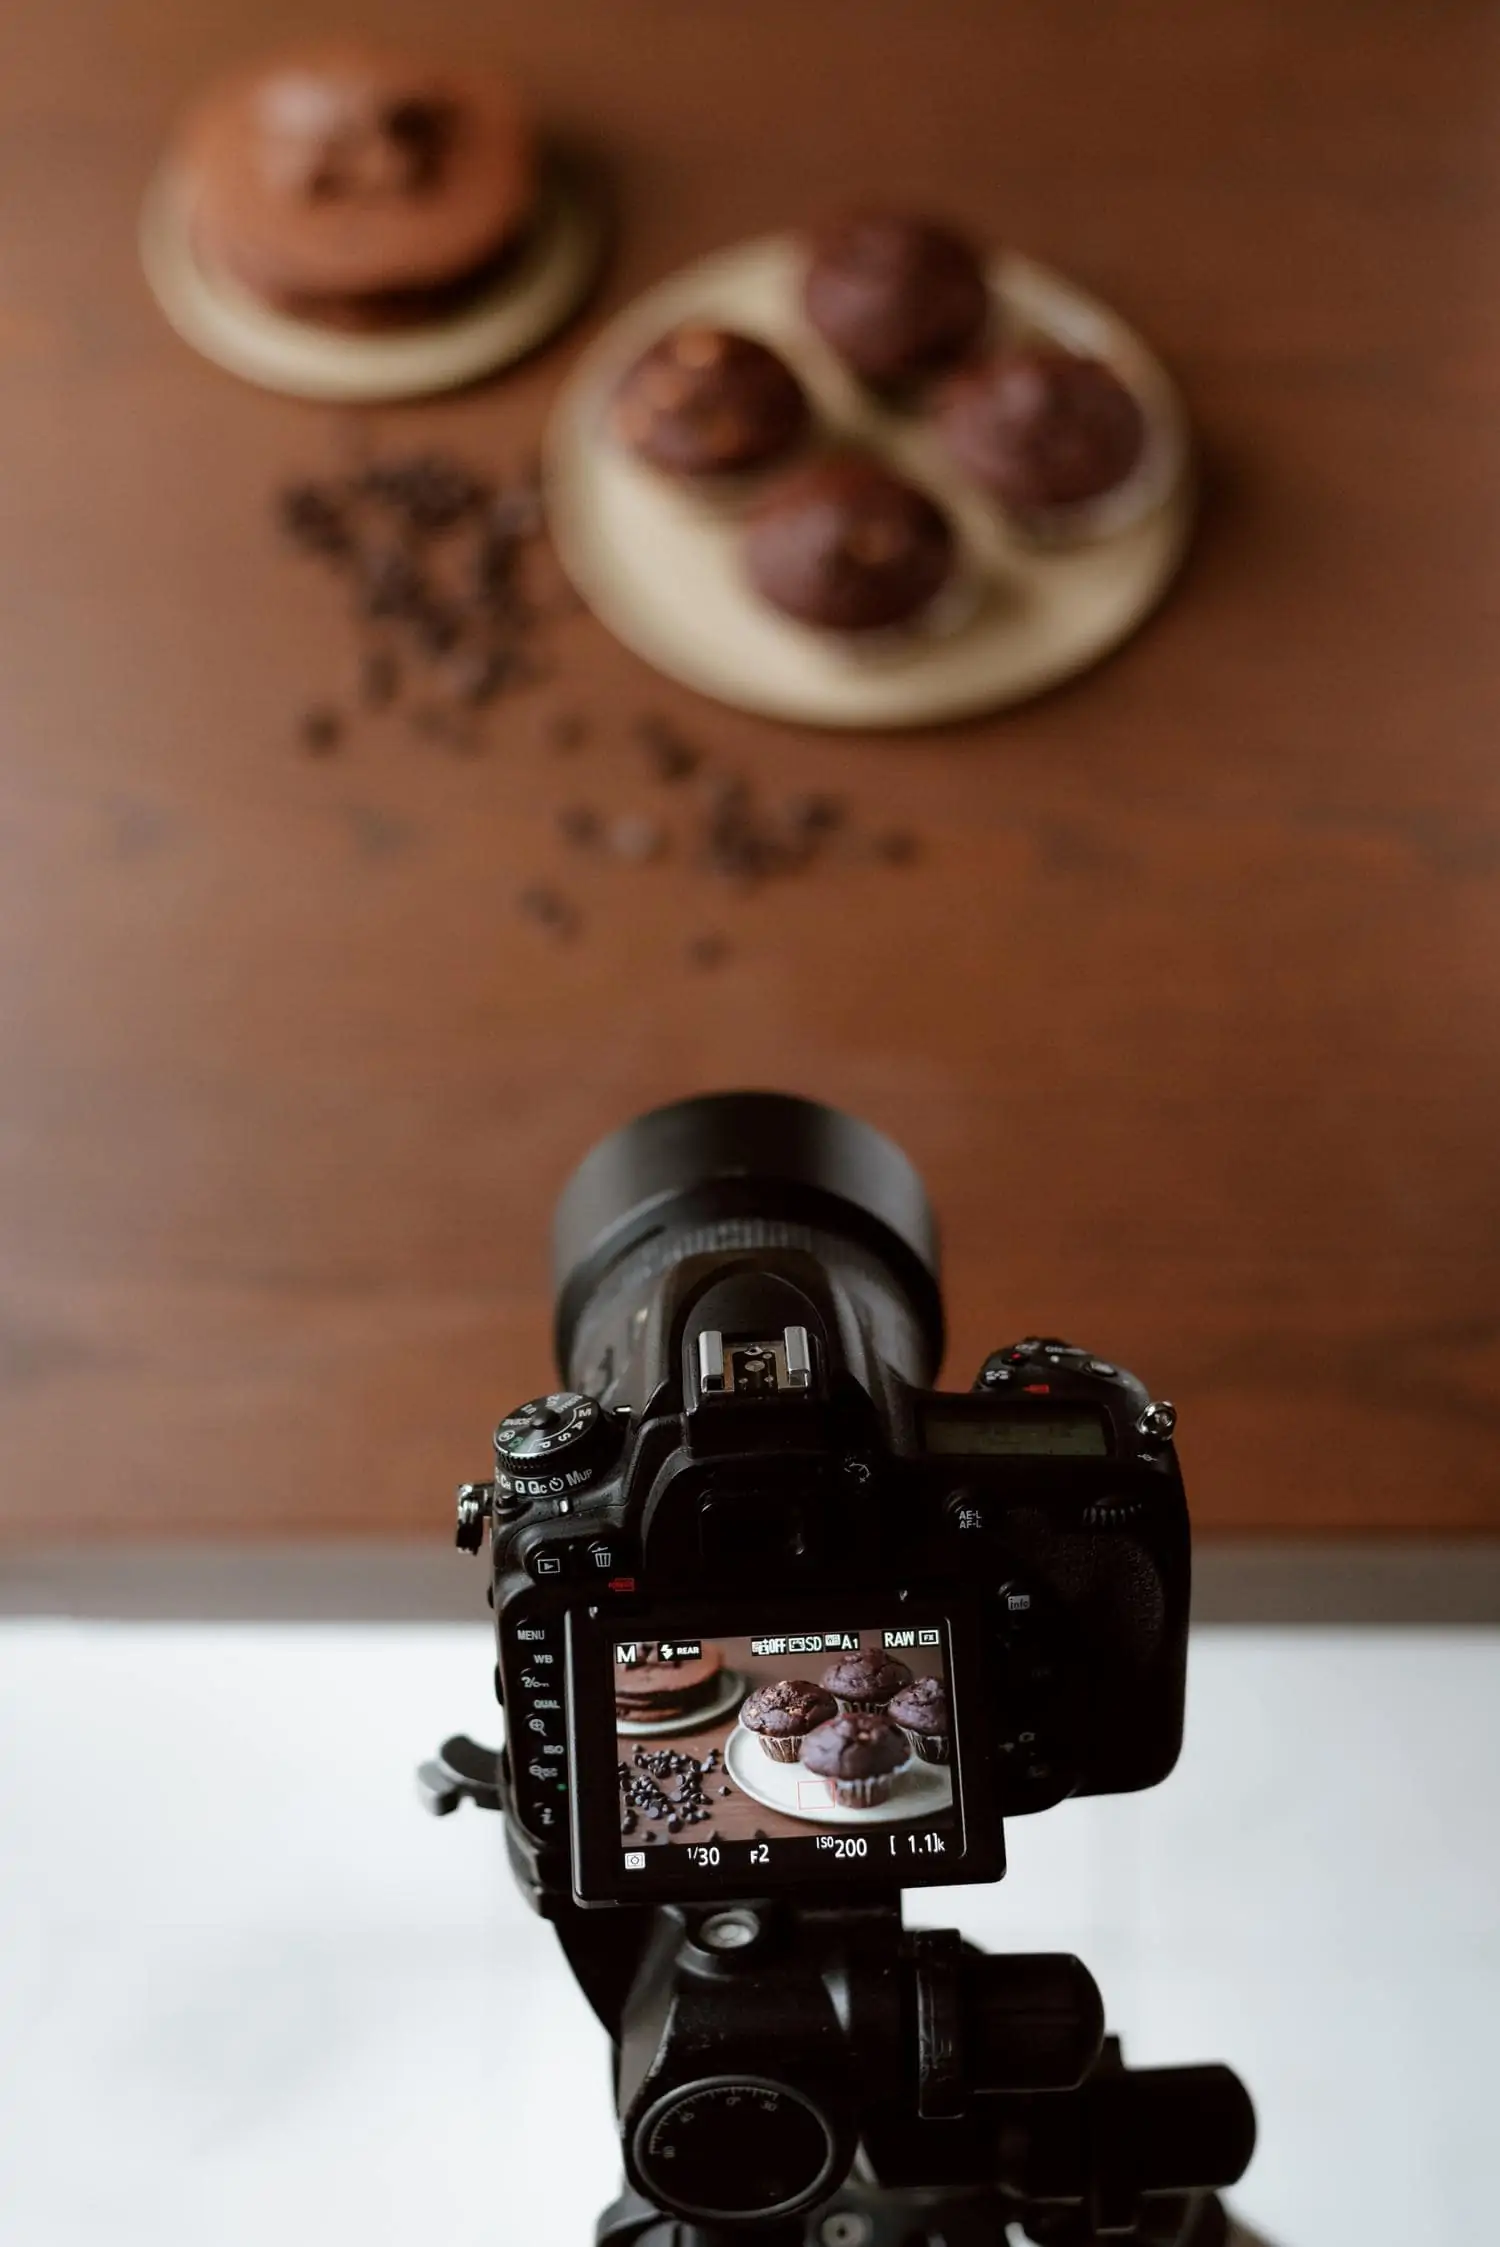
- ISO : an ISO value as low as possible will ensure less noise in the image and, therefore, greater sharpness. This value is usually around 100 or 125, depending on the camera.
- F-stop : To highlight certain parts of the dish, we often use f- stops that allow us to work with a shallow depth of field (low values like f/1.4), in order to isolate and emphasize the main subject, in this case, the food.
- Speed : if you are using a tripod and photographing a static element, in principle it should not be a problem, but if you want to add an artistic touch to your compositions and photograph movement (flour falling, salt, honey, spices... whatever you can think of) then you must remember that to freeze it you will need a lot of light and very high speeds and, to show its path, slower speeds.
- Spot Metering Mode : This is the most accurate and most recommended for shooting still subjects. It is the one that will give you the best results, especially if there is a contrast of lights.
- AdobeRGB color space : it is the one that stores the most color information, and in the case of ingredients and food in general, where everything enters our eyes, color is of vital importance.
- Histogram : don't trust your eyes, the only reliable proof as far as a correct exposure is concerned is the histogram of the image and above all, a good interpretation of it.
- RAW: It 's more than likely that you'll be editing the image after you've made it, so shooting RAW so you have as much information available from the file will ensure better results.
- Focus type : the most suitable for static subjects is the AF-S or One Shot, as it is the most precise.
- White Balance: Controlling the dominant hue of the scene (warm lights can tint the scene orange or cool lights blue or green) is an essential part of food photography. Remember that food should look natural and appetizing ?
COMPOSITION IN FOOD PHOTOGRAPHY
If you don't know where to start, I recommend that you do it by sticking to the rules or standards of basic composition that, to begin with, will give you good results and help you place the elements in an orderly manner within the frame. The most used are:
- Rule of thirds : according to which, the center of interest of an image is located at the intersection caused by the division of the image into three horizontal and vertical thirds. That is where the point of greatest interest in photography is located.
- Negative space : everything that surrounds the main subject in a neutral way (without providing information) is known as negative space.
- Vertical format : I always encourage you to try this format in all photographic disciplines , but if it is almost essential in any of them, it is in gastronomy (among others, of course ? )
- Less is more : compositions crammed with randomly placed elements make the viewer's eye lose itself in chaos. It is better to put few or justified elements in the image, and guide the gaze of the viewer through the lines, the rule of thirds, etc.
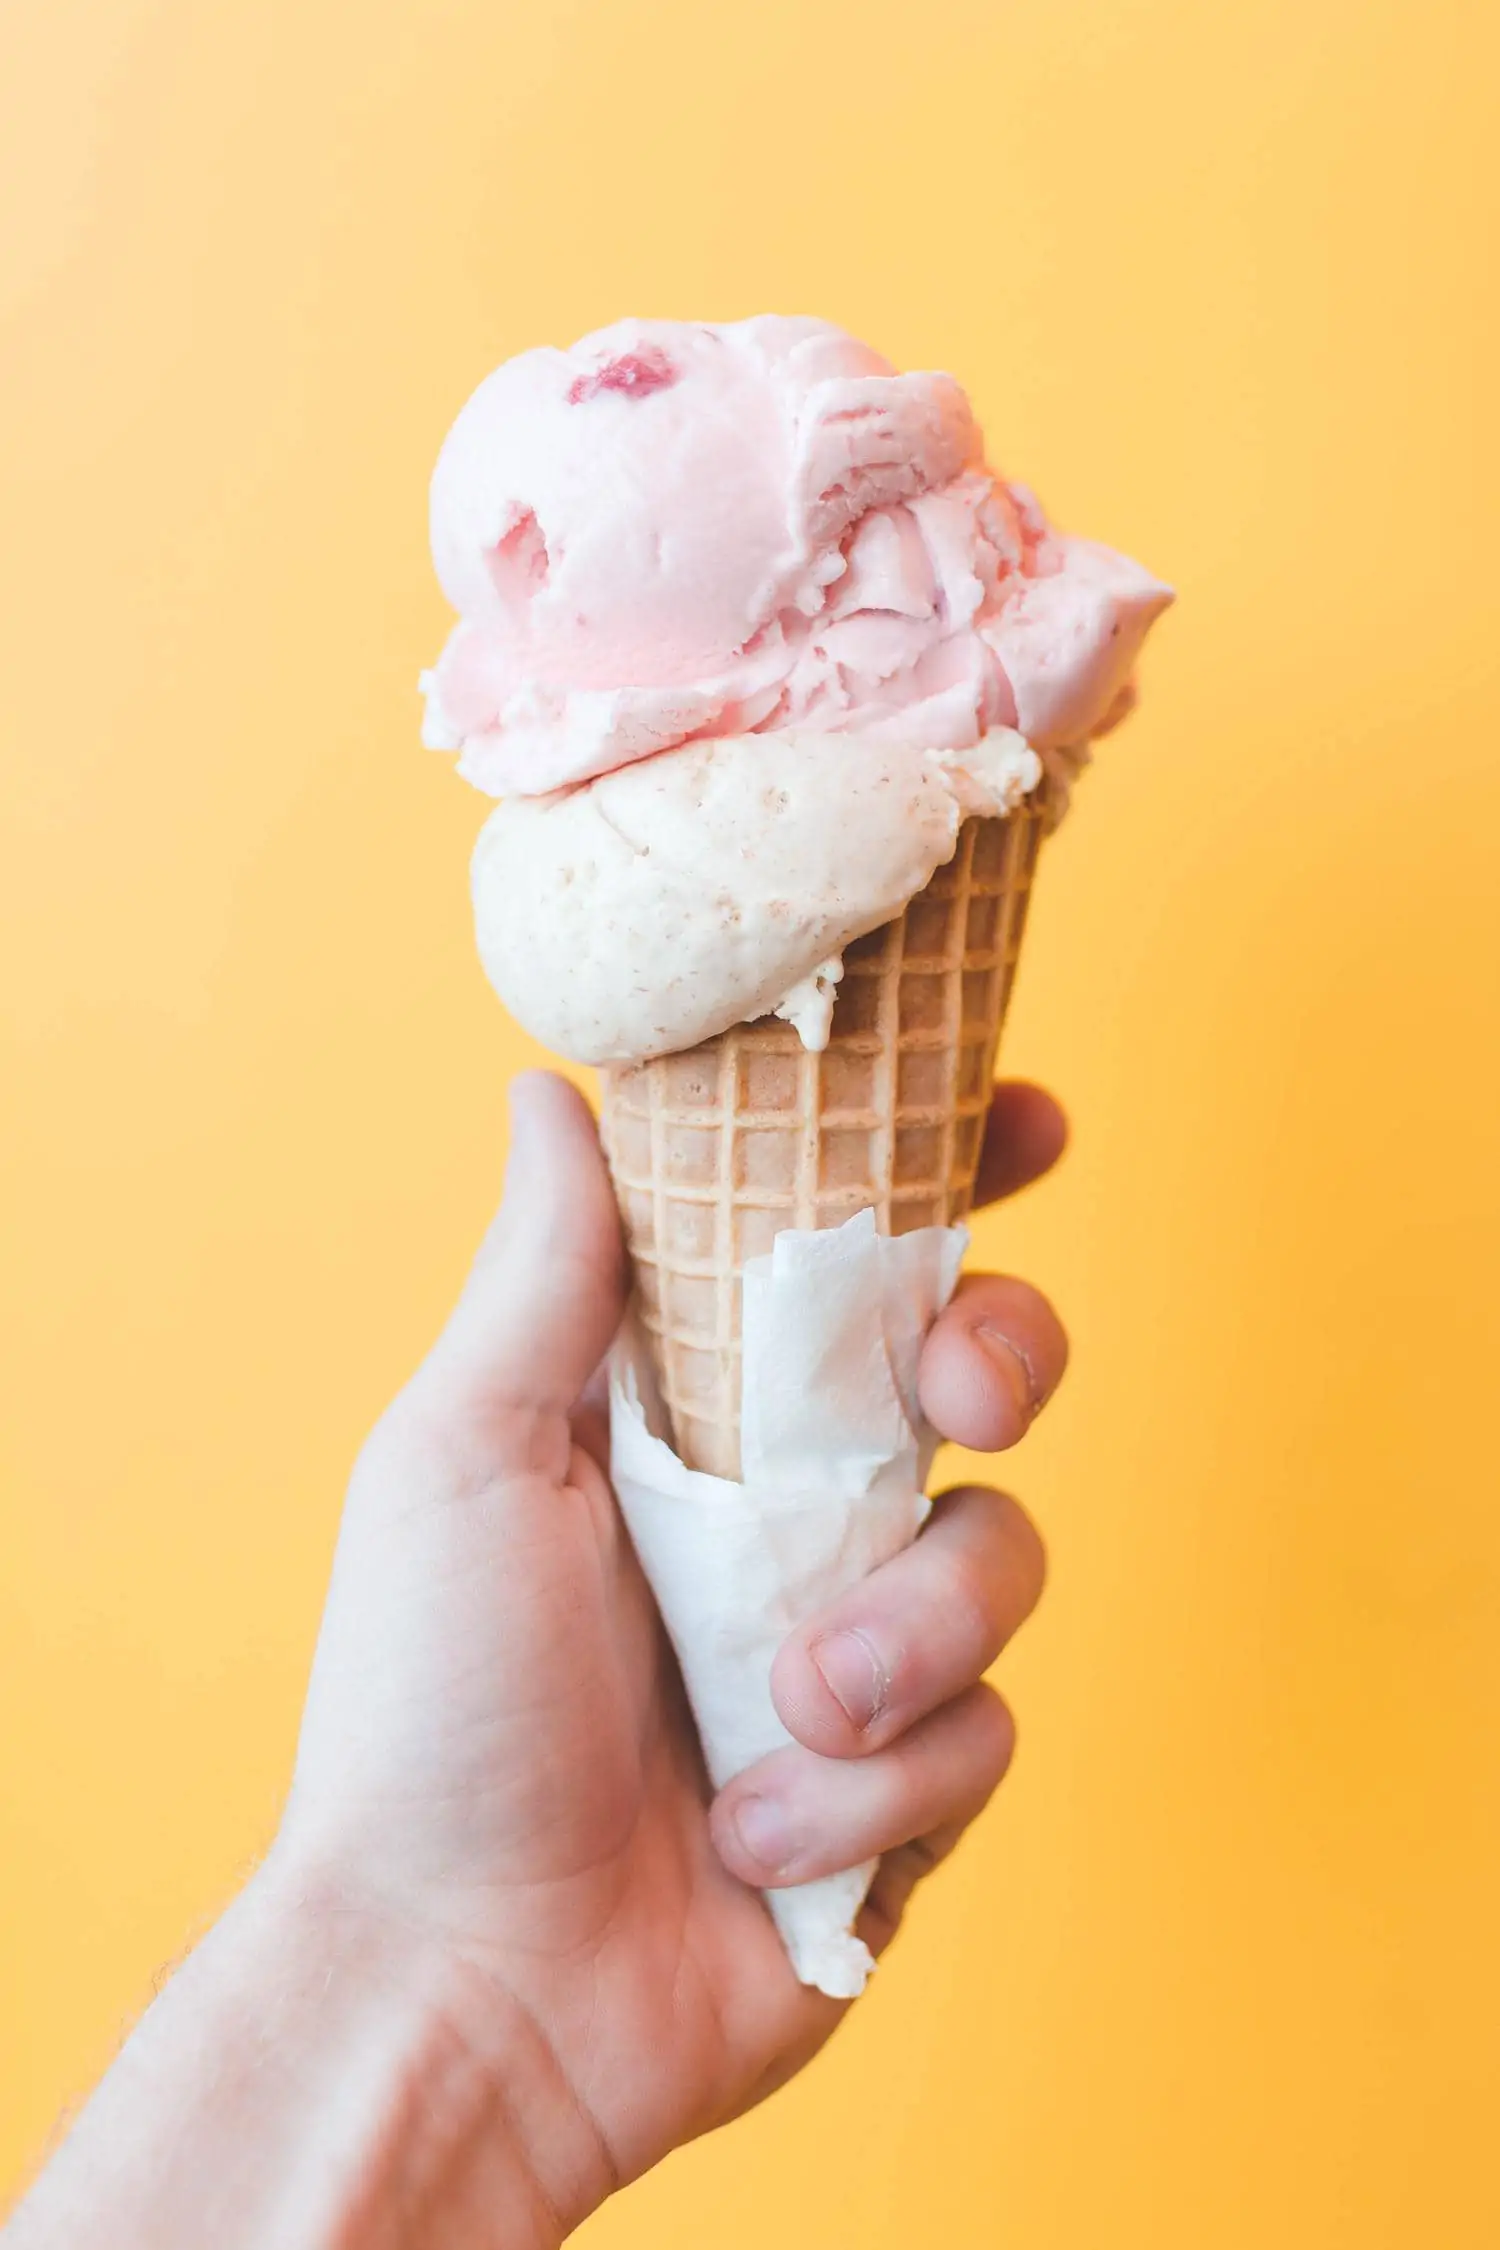
- Human factor : do not forget that in any image in which a human element appears, it is especially important, since it allows us to empathize and suggests closeness .
- Color: it is essential to know how colors work at a compositional level to convey certain sensations.
POINT OF VIEW
It is a field where you can give free rein to your creativity, since culinary photography allows numerous and daring points of view capable of completely transforming an image.
- 45º angle : They say that it is the angle from which we situate ourselves when we prepare to eat, and for this reason we conceive it as a very natural angle.
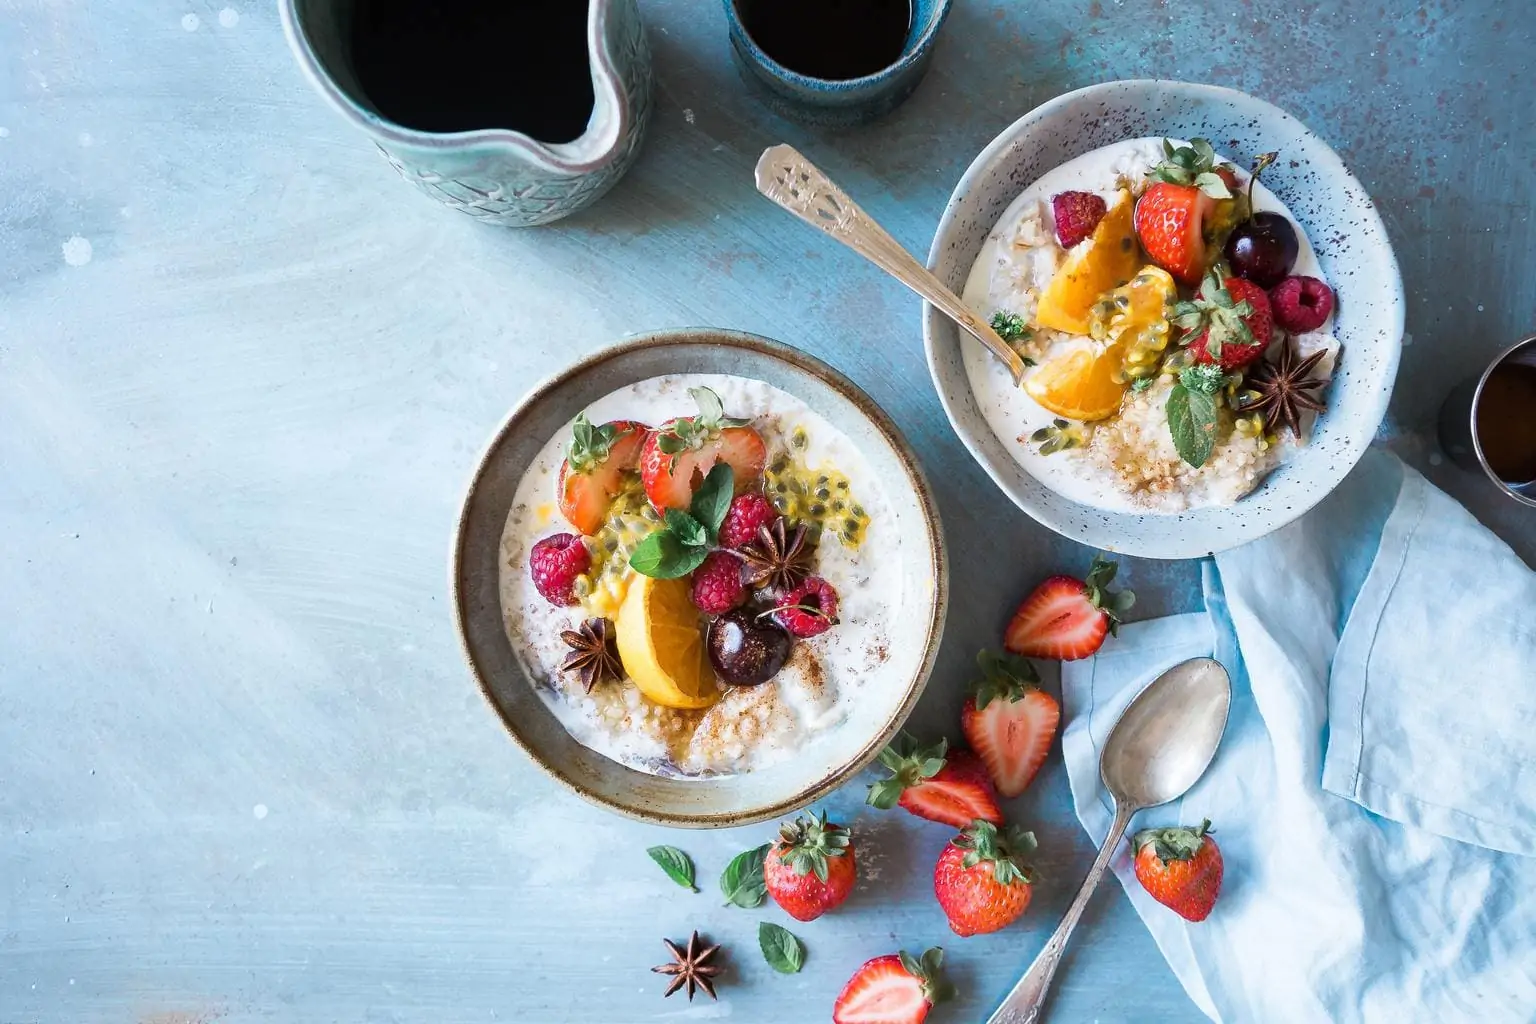
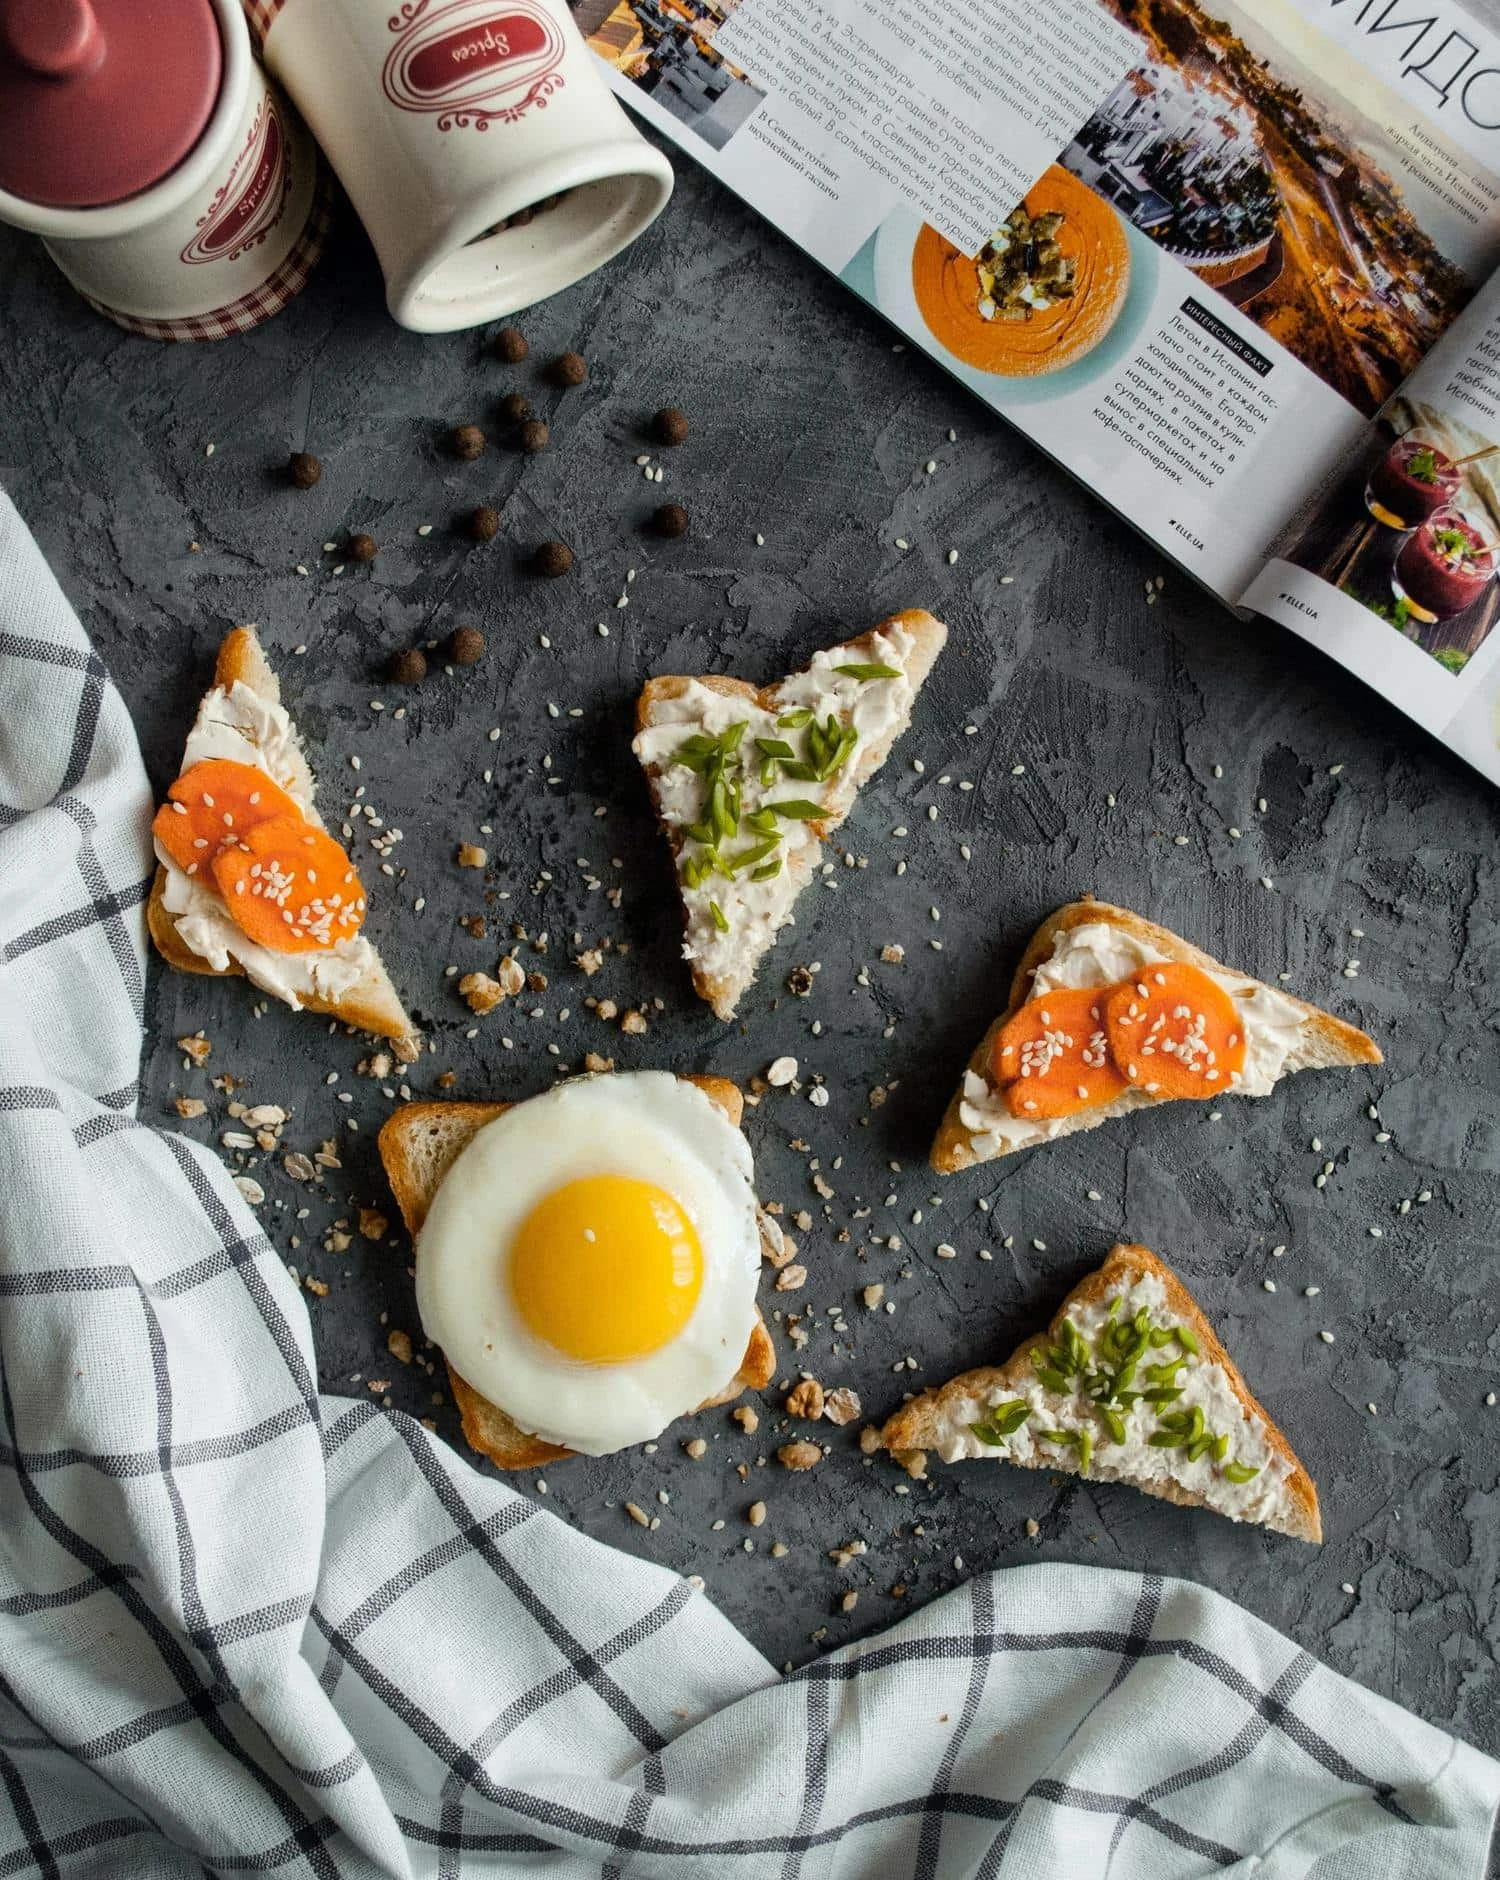
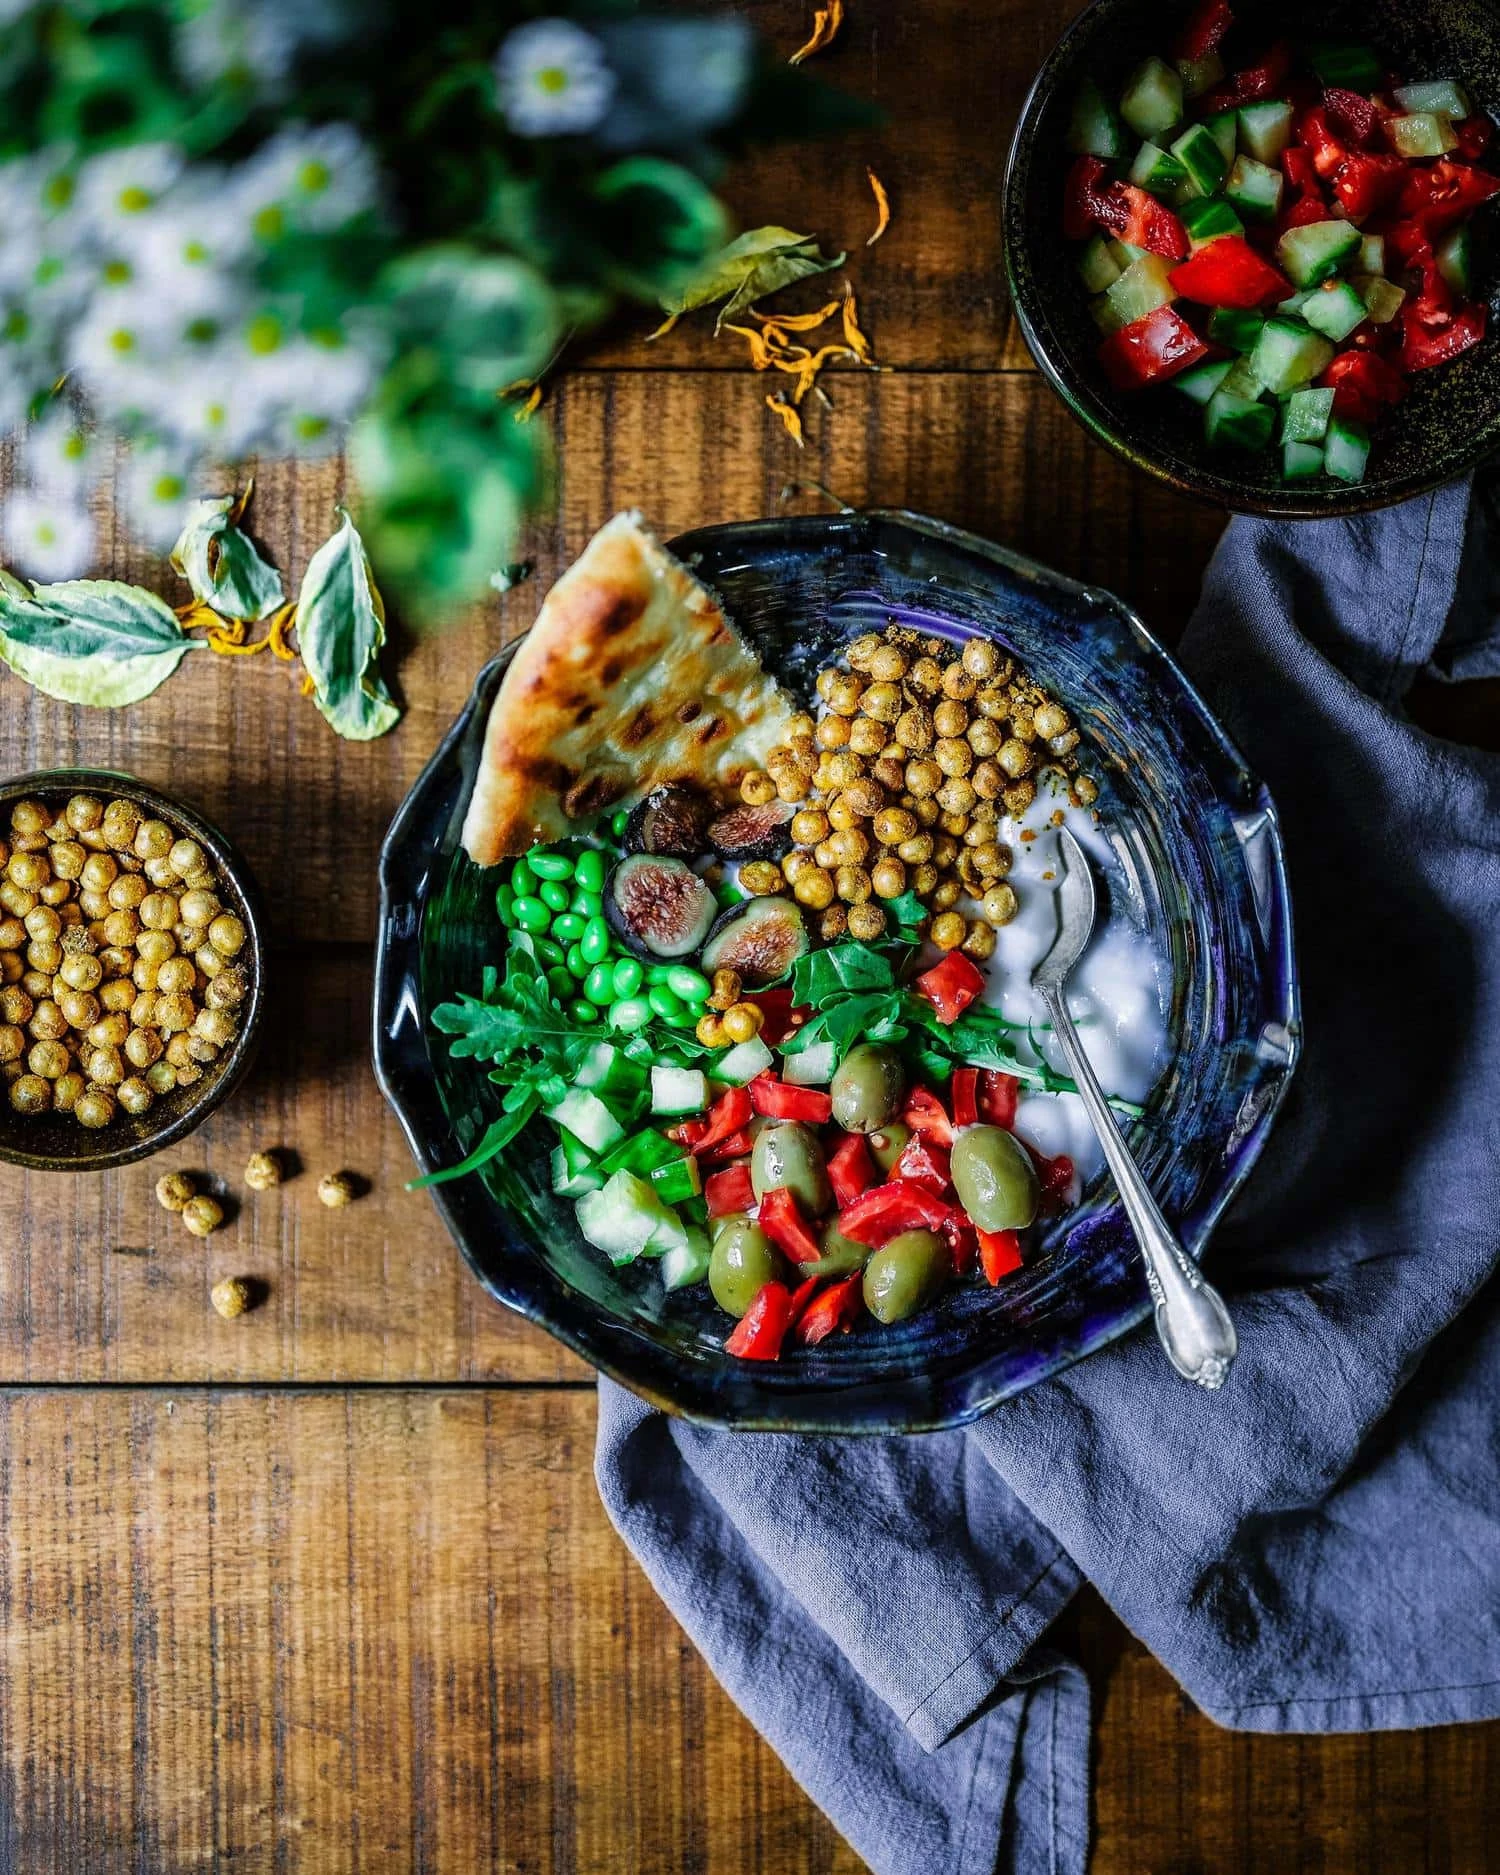
- Aerial : Allows compositions of several elements (or a single one) from a high point of view (completely from above). If you use this point of view, it is very important that you try to have all the elements in focus.
- Normal : Or at the level of the eyes, it offers us a greater sensation of depth to be able to play with the different planes.
Don't make the mistake of taking all your photos from the same perspective. Sometimes going around the table and shooting from different points of view can reveal great photos that from the original perspective did not seem so interesting.
LIGHTING IN FOOD PHOTOGRAPHY
Lighting is key in any type of photography but even more, if possible, in the one where you are able to control and model it at will, such as "studio" images (whether it is homemade or not).
Make sure that the most illuminated is the food that you are photographing, in addition, keep in mind the following suggestions.
- Side light: it is, surely, the most used lighting angle in gastronomic photography, since it emphasizes the volumes and textures of the elements.
- High key and low key: if you go around the net in search of food images, you will see that high key and low key (sometimes under the heading of dark and moody ) are widely used.
- Lighting schemes such as Rembrandt or Split (lateral), will give you good results. Take a look at this article in which we offer schemes for portraits but that you can apply to any type of photography.
- Soft and diffused light: start looking for this type of lighting that is more "friendly" to the elements and more photogenic and easy to use.
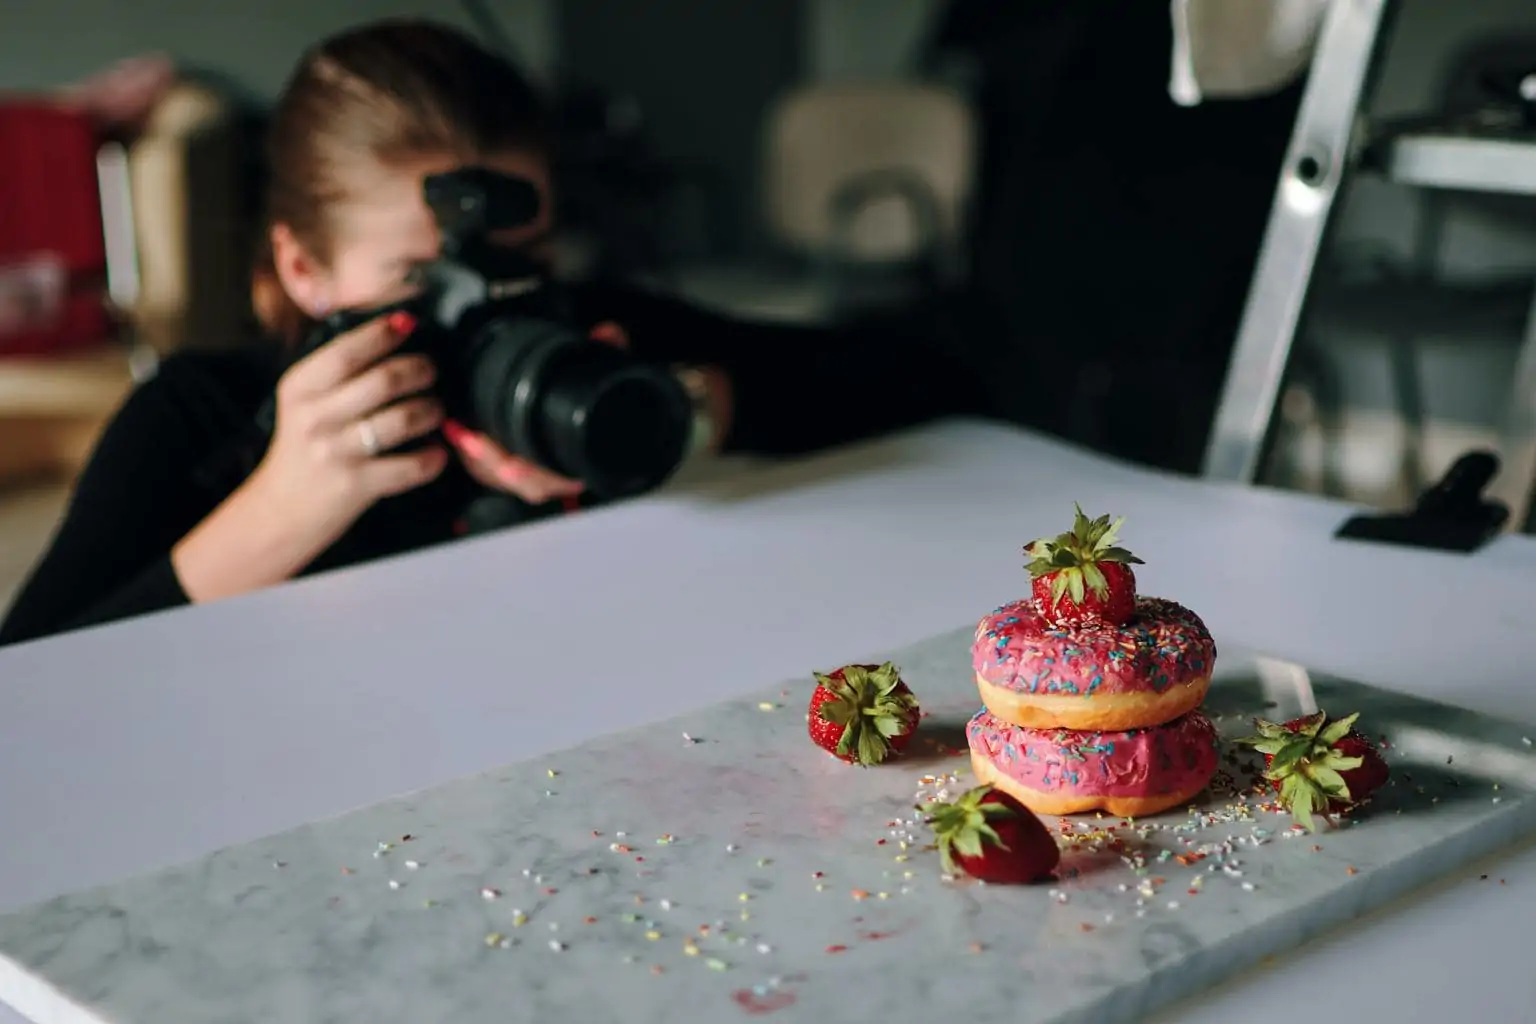
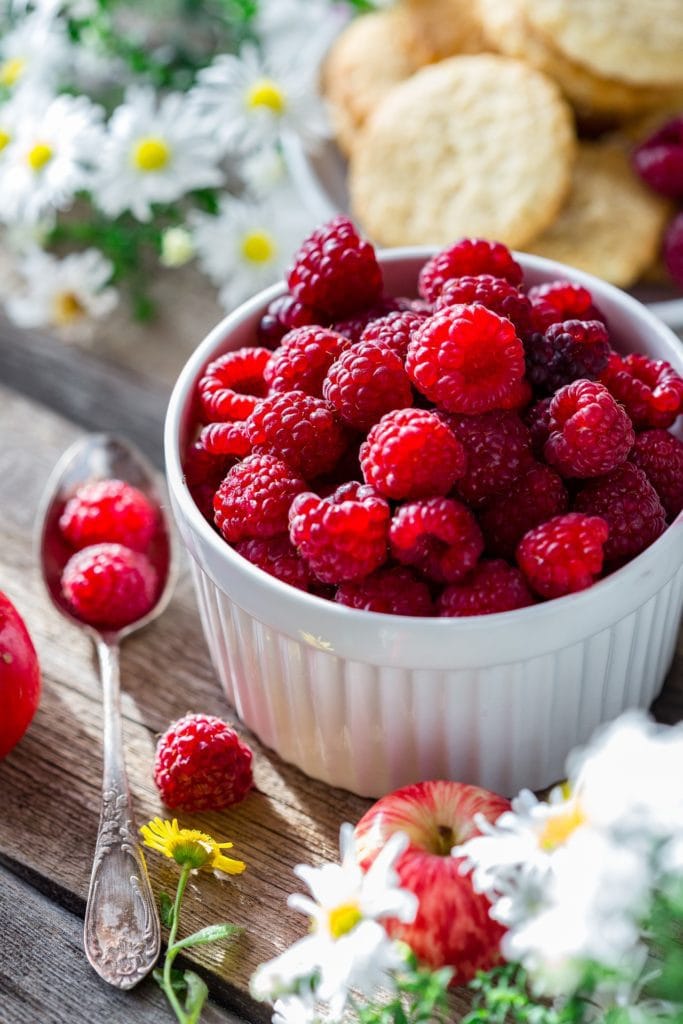
- Natural light: the most photogenic and easy to use and the one that will provide you with the best results. Find the place with the best lighting available, study how the rays of light fall, at what time the best results are achieved, and set up your little lighting “studio” there.
OTHER TIPS AND TRICKS FOR FOOD PHOTOGRAPHY
In addition to the adjustments, the composition or lighting tips that I just mentioned, I leave you with these tricks from Mario's hand to ensure success.
- Be quick. Some parts of the dish can be visually spoiled if you wait too long. For example, if the recipe contains melted cheese, it will become hard in a short time and the dish will start to look less appetizing in the photo. Actually, you need to know what you want to photograph and how you want to do it before it is served, so you don't waste a second.
- Take care of the details. For example, if you are photographing grilled meat, make sure that those grill marks are clearly visible on the meat, this will give it greater appeal and credibility.
- Avoid excesses. Nothing is more unpleasant than the image of a plate full of food to overflowing. In gastronomic photography, small quantities are better accepted.
- Photography with natural light . Always. There are no exceptions. Shoot during daylight hours and shoot near a window. So your dish will get all the prominence it needs.
- Play with the depth of field. For this you need to have a lens as bright as the king of lenses that I mentioned before and use very wide apertures when there are many elements in the image. This way you will focus attention on the food that is the protagonist. On the other hand, if only the food is in the image, it is better that it appears completely or almost clearly. In these cases, use medium or not very open apertures, such as f / 4.
- Some foods are better on a piece of paper on the plate. Recipes with sauce or oily dishes do not allow this rule, but others like sandwiches, hamburgers, nuggets and the like do. They give a genuine and very handmade touch.
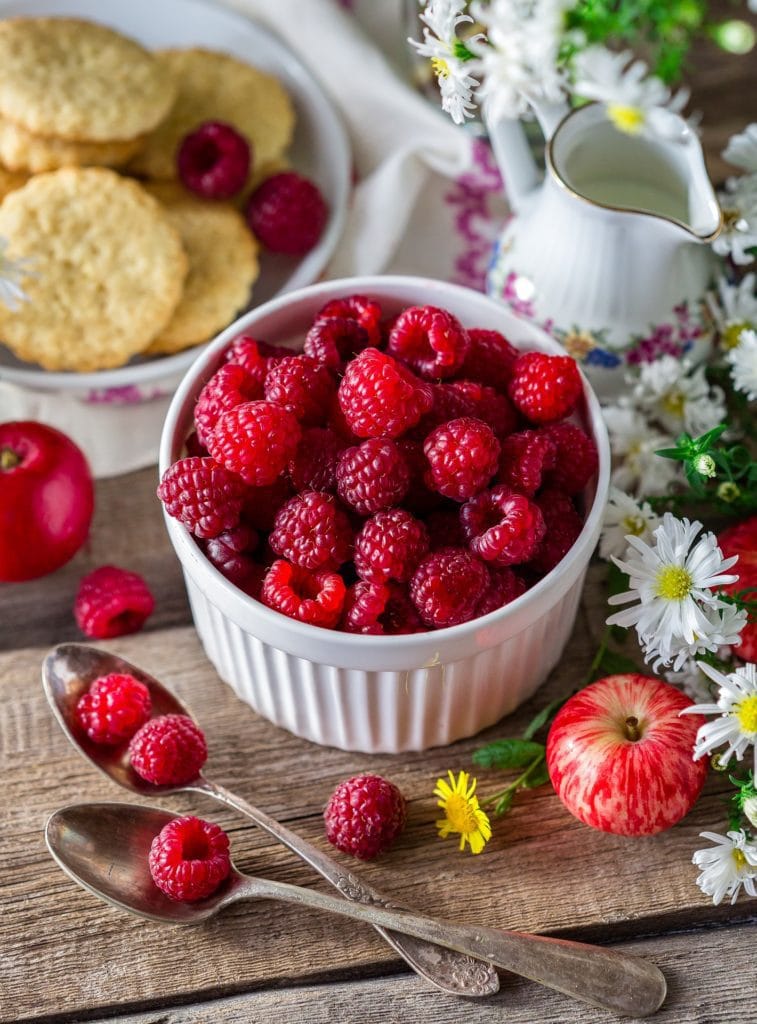
- If possible, place your dishes on a wooden table. Wood looks great as a background in photos of dishes, it transmits authenticity, warmth, tradition and simplicity.
- Do not serve the food on the best plate you have , or bother to unfold that tablecloth with artistic motifs that you have saved for special occasions. Remember that in the photos you want to take the protagonist has to be the food. Therefore, there is no interest in spoiling her moment of glory or dividing the viewer's attention between food, container, tablecloth, etc. You need people to notice the plate, not the tablecloth.
EDITION
The most important thing when it comes to retouching your images is that you remember that food should look like food , that is, an HDR on a tomato may look great to you, but nobody is going to want to eat a tomato in HDR. Editing must respect natural colors and textures at all times, so it is important that all editing focuses on:
- Food should look like food.
- The food must appear fresh and in good condition.
- The texture of food is essential, since through it our sense of touch is activated.
- The colors are very important precisely to convey the good state of the food but also to make our main character stand out.
- The white balance is the dominant tone of the scene, and it helps us to convey coldness, warmth or a neutral tone to the image.
MISTAKES IN FOOD PHOTOGRAPHY THAT YOU SHOULD AVOID
There are some important mistakes that you should avoid and what better than to do it in video format, in this case by David Jilkyns:
INSPIRATION
pinterestand InstagramIt is, surely, where this type of photography has swept the most virulence, but you can find this type of image on practically any social network.
If you're a cook, or someone close to you, or if you're just short of inspiration and want to try something new, I highly recommend giving food photography a try. You can practice at home, at your own pace, without the need for much prior preparation or specific material, and best of all, after photographing it, you can eat it
