Inspiration is capricious and the number 2 enemy of a photographer (the first is laziness ? ). Unfortunately it is not uncommon, it will surely appear several times along your photographic path, but nothing happens ? . The important thing is not to let it settle in our lives, that it teach us something every time it appears, and that we have tools to get out of it when it does.
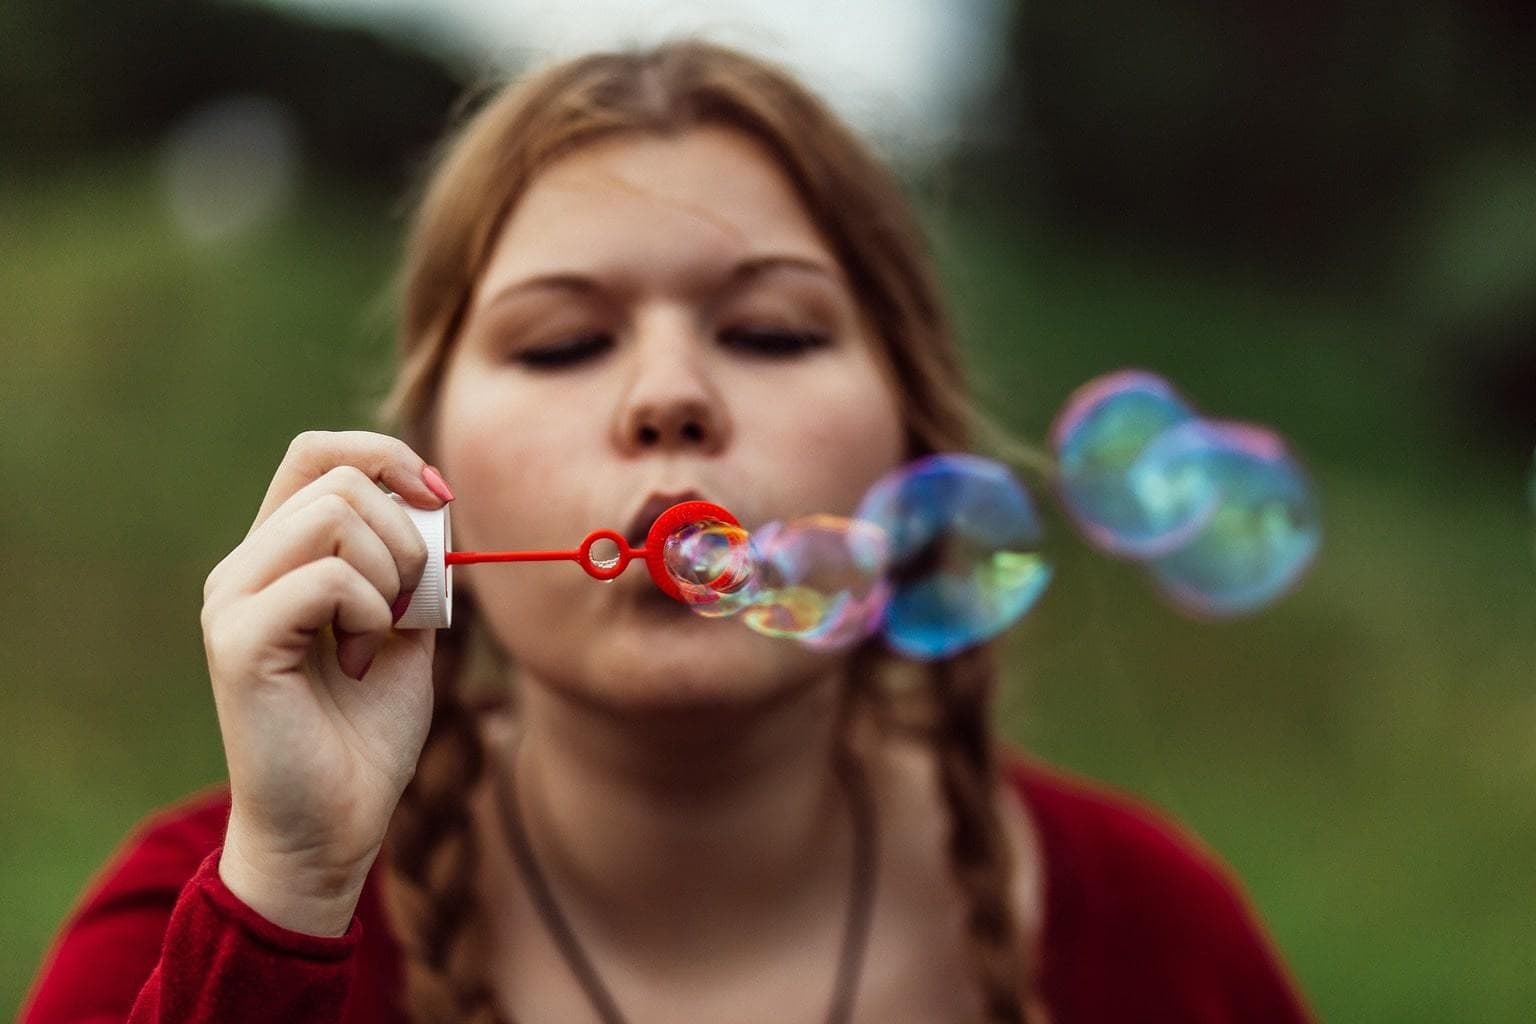
Proposing short-term learning goals and challenges is a wonderful way to break with a lack of inspiration. How about learning to photograph soap bubbles? You don't need great knowledge or complicated logistics, but it can help you work on creativity , your camera settings, not to mention the wonderful images you can get. Do you dare to continue reading? Let's see how it's done ?
THE KEY FIGURE: YOUR HELPER
To begin with, I'll let you know that I can't quite imagine the scene with the soap bubbles without an assistant to make them while you take pictures of them. I'm sure you could do it alone, but it would be a complete stress ? , so if you have someone to help you, much better, so you can focus on chasing, focusing and framing your buttocks, which I'm already advancing requires some agility .
TYPES OF SOAP BUBBLES
Yes, I have not gone crazy, so a priori I can think of at least two types of soap bubbles that you can photograph.
- The classic bubbles made by pomperos and that we have all used when we were little (and not so much), which result in small and perfectly rounded bubbles.
- The bubbles made on a large scale that can be seen in many cities made by street artists of large size and variable shapes.
Just as the first ones are easy to find in any kiosk or children's store, the second ones will have to be made by you. But don't worry, there are many tutorials on the net that explain perfectly how to do it, from the proportions of the mixture (water, dish soap and hairspray gel) to how to make the pompom with two sticks and a string.
Here is a video that shows you.
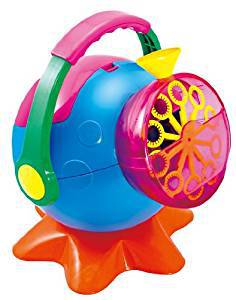
Oh, and if you have children or do children's sessions, remember that you can also get different toys or machines that make bubbles automatically and in large quantities, like this:
And if you don't just rinse with the mixture, or with the large-scale pompero, you can buy it all made, for example this one.
Well, now yes, we are going to see some practical tips for photographing soap bubbles with good results.
THE BOTTOM
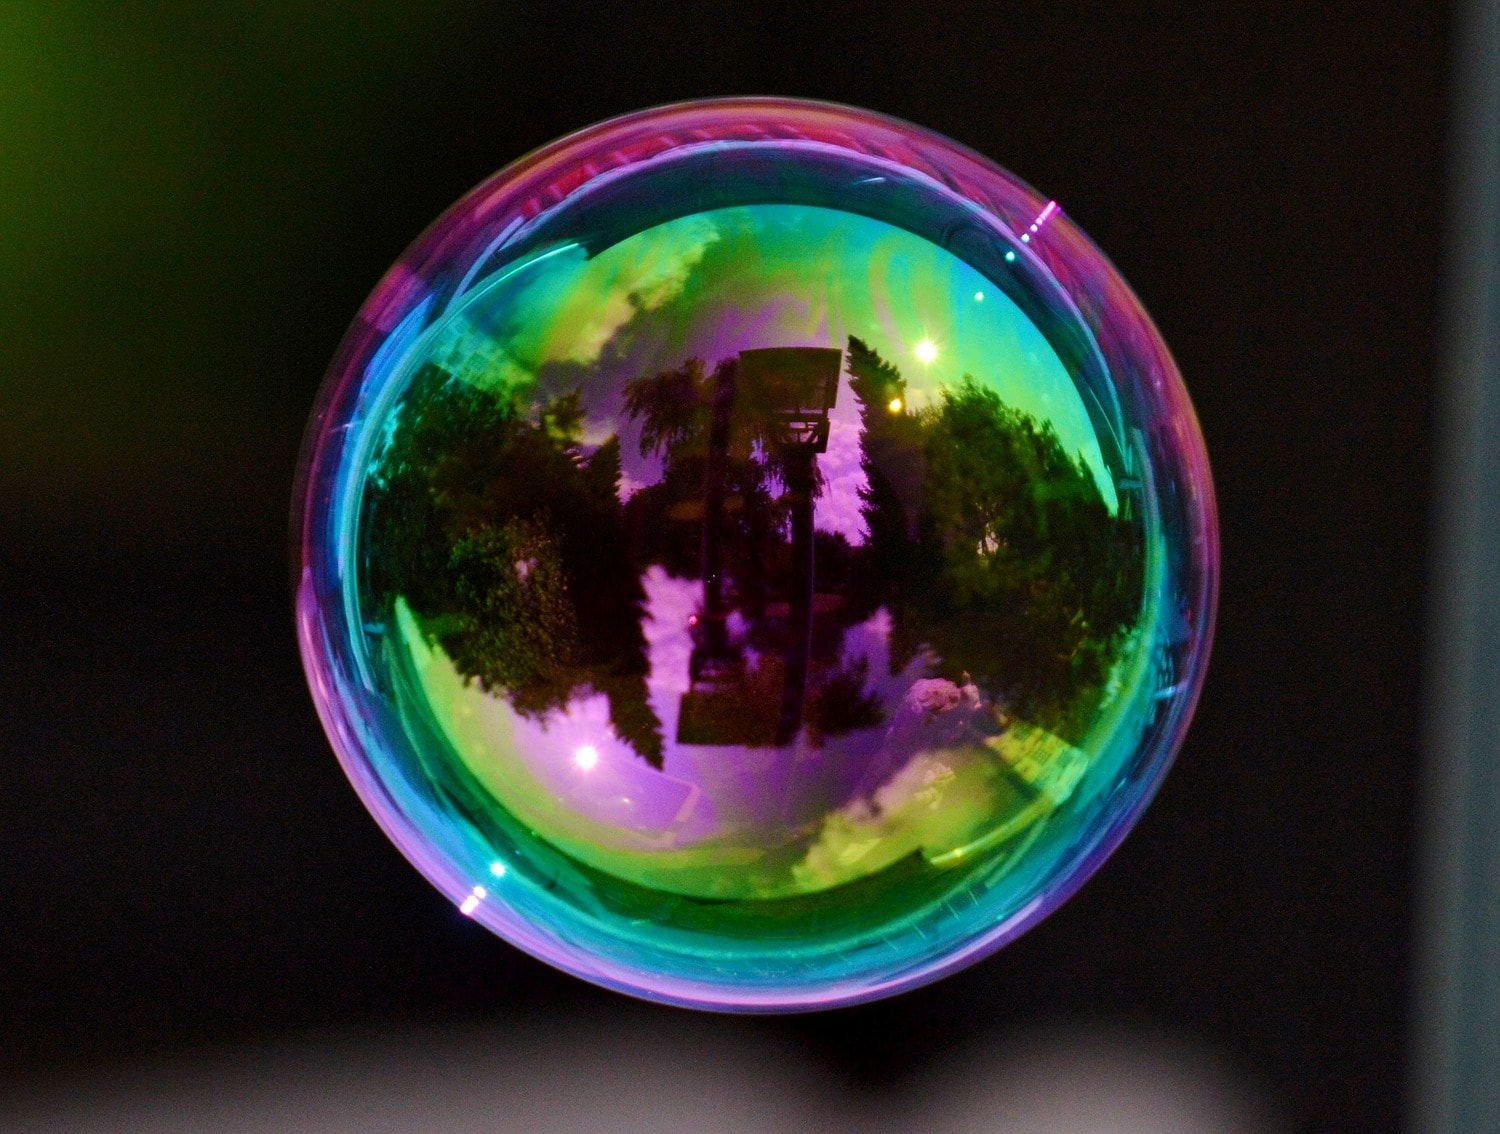
Look for a background that enhances the soap bubble, preferably in a somewhat dark tone so that the contrast is greater and helps you give it prominence.
Also remember the importance of a background without distractions, so before starting your session find a suitable place.
HELP YOURSELF WITH THE COMPOSITION
Negative space can help you compose the image while respecting the role of the bubble.
The rule of thirds , surely you already know it, says that in the image there are some "strong points" where the gaze is directed naturally. Try to use it in one of your images, it will help you order the image and enhance your protagonist.
The odd rule tells us that odd items create the most interest for the viewer, specifically groups of three items.
REFLEXES
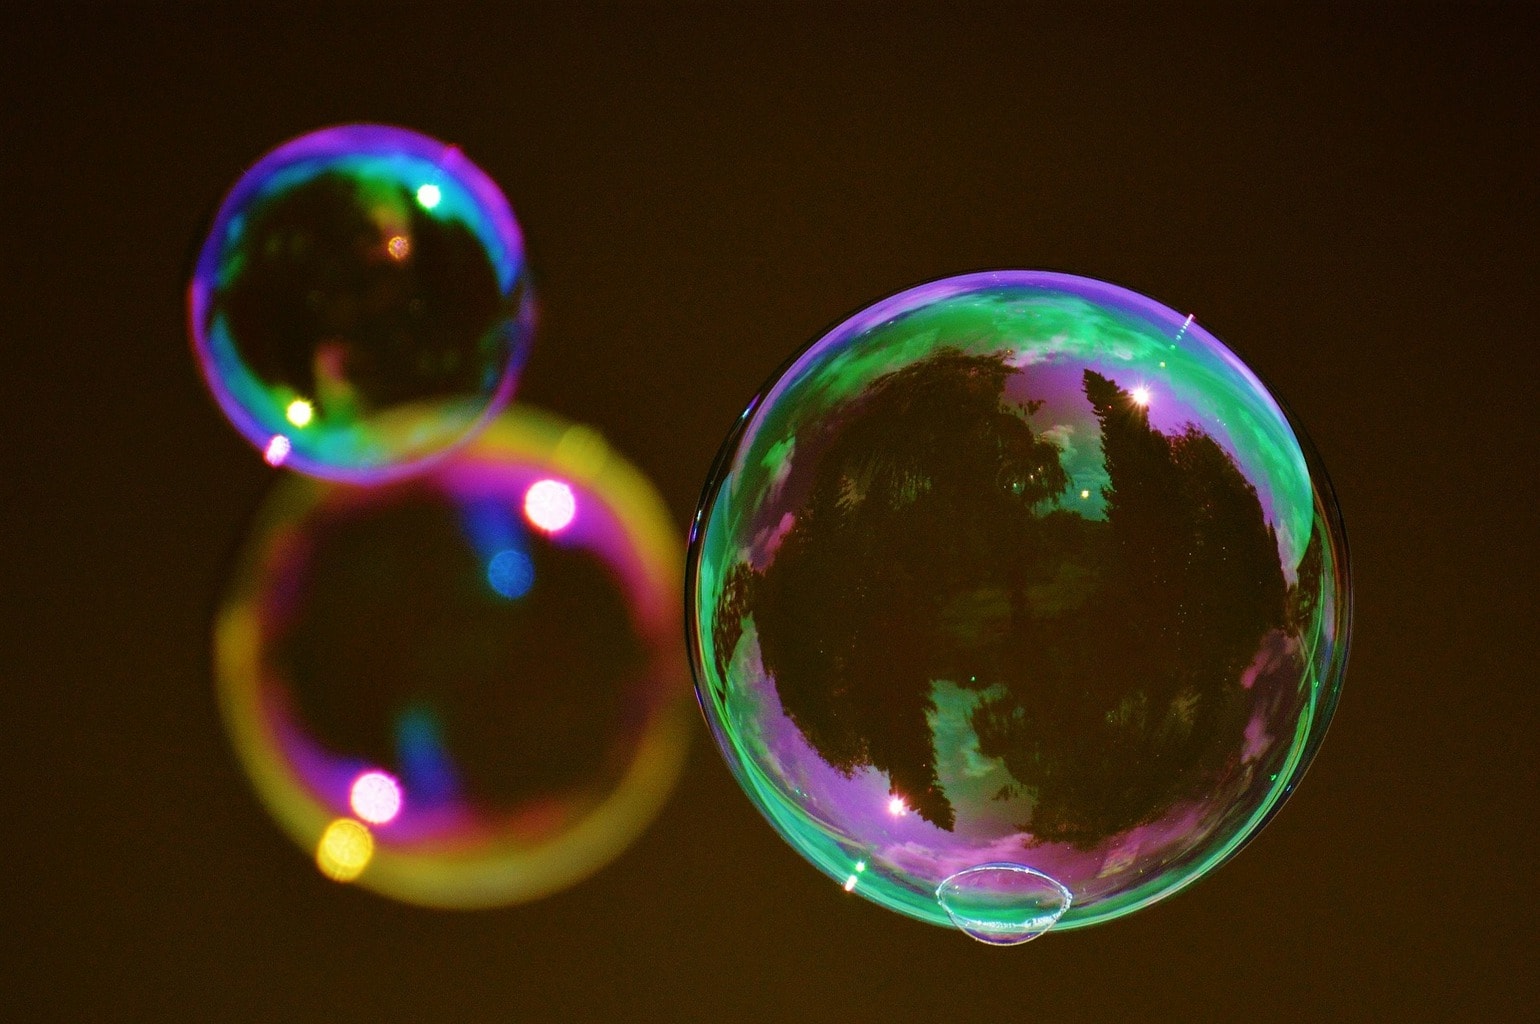
It is surely one of the aspects that will give you the most play when you want to photograph soap bubbles. The rounded and curved shapes of the bubble can create interesting fisheye perspectives.
PLAY WITH THE OPENING
Remember that a wide aperture (small value) relates to shallow depth of field and the ability to isolate the subject of your image from the background with blur.
On the other hand, a closed aperture (large value) increases the depth of field allowing you to focus on the different planes of the image.
ADD A HUMAN ELEMENT
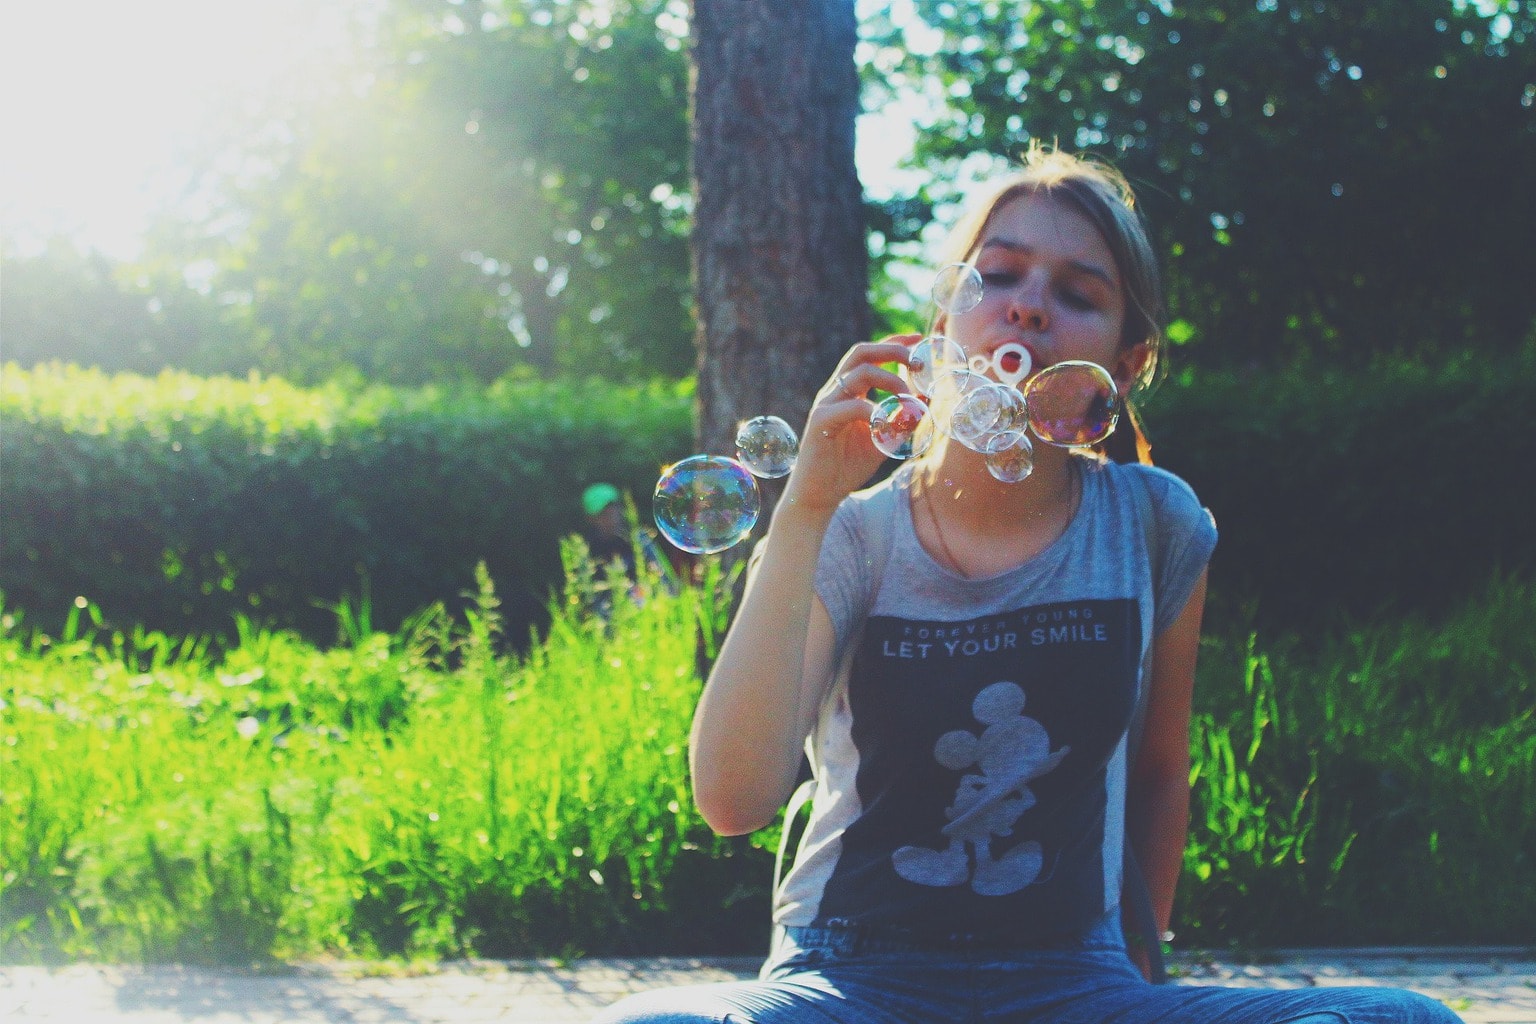
We have already commented on the importance of the human element in photography, how we empathize, create history and narration and add interest through it. Since you already have a helper to make your bubbles… why don't you ask him to model you a bit? ?
SHUTTER SPEED
Since the bubble is a moving element , you will have to take this into account when choosing the speed with which you are going to work. Remember that the minimum speed depends on the focal length you are using (the longer the focal length, the more speed you need), but an approximate speed of 1/250s with a medium range focal length will surely be more than enough for you.
However, do tests with the light you have, and check that the bubble does not move by enlarging the image on the screen before continuing.
SHOOTING MODE
Once you have established your speed, you can set your camera to the semi- automatic option so that it gives priority to speed and makes the aperture adjustments that you deem necessary.
And of course, if you want to work manually , you will be able to control all the shooting parameters yourself and I will always, always recommend this option when you have some ease with your camera ;-).
FOCUS MODE
Since we are talking about a moving element, the best shooting mode would be AF-C or AI Servo , quoting our article Detailed Guide: How to set the focus of your camera according to the Photo you want to take :
They are used to photograph moving subjects. This system will focus on what moves in front of the target and will track it as long as we have pressed the shutter button halfway. Once we decide to take the picture, we just have to press the shutter all the way.
BURST FIRE
This way you will have more opportunities to "hunt" the bubble just at the moment you want or even during the entire process.
BLACK AND WHITE
Give your images a different touch by converting them to black and white too, look for more formal compositions, light, contrast, shadows, etc.
SUNRISE OR SUNSET LIGHT
That it is the most photogenic light is no secret, the laterality of the light rays of the first and last hours of the day will help you enhance the volume of the bubble and fill it with warm tones.
What? Are you already calling your best friend, your partner, waiting for your son to get out of school so that he can give you a hand in your bubble session? TRUE? ? Don't forget that learning new things stimulates creativity and drives away the lack of inspiration from our photographic soul.
I hope you have found it useful and that you share it on social networks so that someone else can benefit from it (Facebook, Instagram, Google+ or Twitter). Thank you and see you soon :-).

