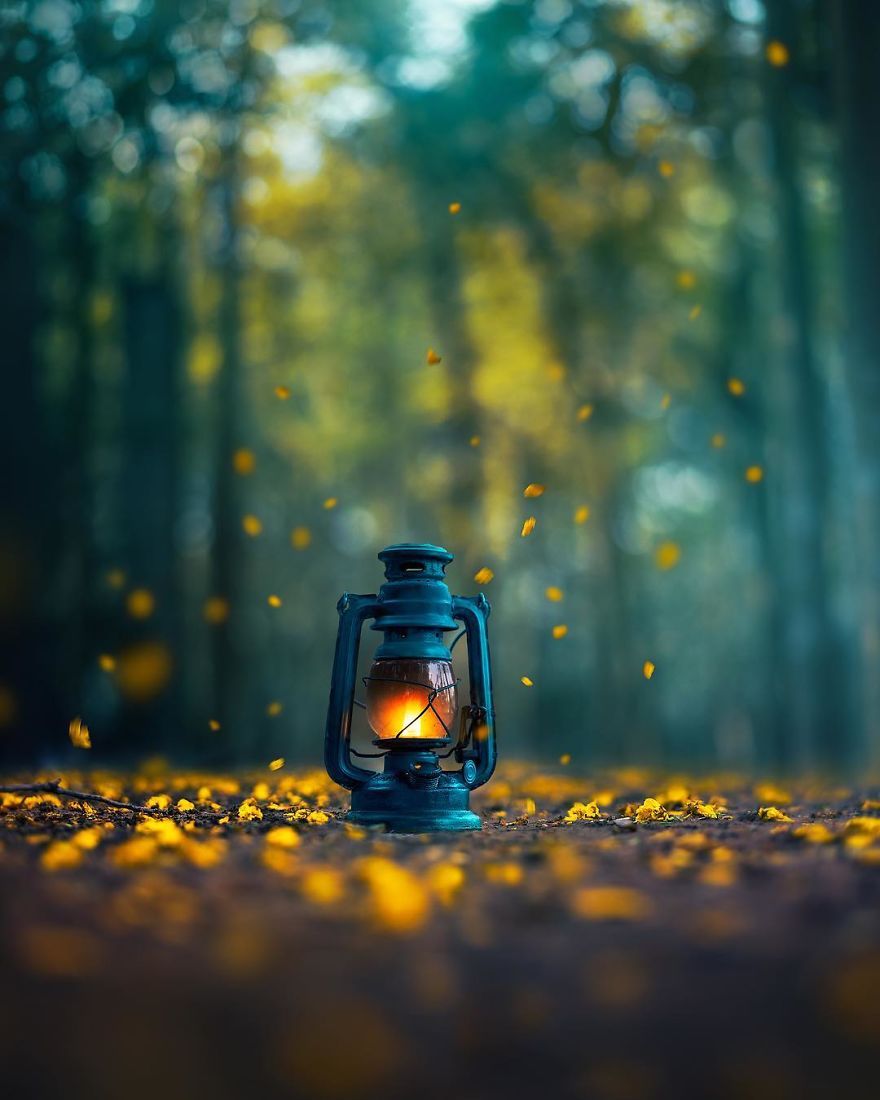
That light is essential in photography, is something that you probably already know. And if you don't know it because you just landed in this world, it's the first lesson you should learn. You should also know that, in addition to being essential, it plays other roles, since working with it you can get more creative images or even transmit some sensations or others. There are different types of light as classified by direction, intensity or quality. Today I will discuss this issue from the point of view of quality, according to which the light can be hard or diffused. My goal in this article is to give you some tips that can help you achieve wonderful images with diffused light. But before continuing, I think it is essential to tell you what is the difference between hard light and soft (or diffused) light.
Hard light
This type of light is produced when the source is small, the smaller and more distant it is, the harder the light it generates. It has nothing to do with quantity, but with the way it affects objects. Hard light produces much sharper shadows and contrasts. The transition between shadows and lights is very sharp. It is used to transmit aggressiveness, strength ... and highlight textures. Here is an example of hard light.
HOW TO GET DIFFUSED LIGHT?
The quality of the light depends on the size and distance of the source, regardless of whether it is natural or artificial light, outdoors or indoors. Let's see how to achieve it in different situations. Natural light- Outdoors: You can get diffused light without any intervention taking advantage of the first and last hours of the day. Sunrise and sunset produce a much softer light than the central hours. Like cloudy or foggy days, it and the clouds work as a diffuser of light. If you have to photograph with a lot of sun, you can use a fill flash or a reflector. You can also look for the shadow of a tree or any other element. Here is an outline of how clouds and fog act as diffusers, and then an example of a portrait with the diffused light of the sunset.
The diffuse light of the sunset
- Indoors: If the sun's rays hit the window directly, the light is harder, so it would be better if you move away a bit or place a completely smooth white curtain or tissue paper on the glass. In this way the light will blur offering you a much smoother result. You can also change the window if you have that possibility. In the example of the baby, a white tissue paper has been placed on the glass to make the diffuser effect and the result is really remarkable.
- Hand flash: If you shoot with a hand flash directed directly against the subject or object you intend to photograph, the light will be very hard and will cause shadows that if you do not intentionally look for them, they will bother you. The trick to achieve a diffused light with this tool is very simple, you just have to bounce the flash on a wall, the ceiling or even if you have someone close to you with a white shirt, because it also serves you This way you will get that the light fades and falls on your protagonist in a less "aggressive" way. Another trick is to use diffusers, which you can find in the store, on the Internet or manufacture them in your home in a very simple and economical way (my partner Iaio tells you here how to do it, you can not lose this!). You can also use umbrella diffusers or reflectors. You may want to take a look at this article .
- Windows of light: The windows of light, are as their own name indicates a "pot" that mimics a window of light, so said very roughly so that it is easier to understand. It would be like having the light of a flash but continuously and more blurred. They are also known as "softbox" and you can find them for less than one hundred euros on Amazon (at least as of today ).
Light windows - Lightboxes: A lightbox is an illusion study for small objects. It is very easy to build and is a good way to get a fantastic diffused light for small things.
Light box The result with the light box


