That light is essential in photography is something that you probably already know. And if you don't know it because you just landed in this world, it is the first lesson you must learn. To do this, you can delve into this mega guide that we have prepared for you on lighting in photography . You should also know that, in addition to being essential, it plays other roles, since working with it you can achieve more creative images or even convey some sensations or others. There are different types of light depending on whether it is classified by direction, intensity or quality. Today I will deal with this subject from the point of view of quality, according to which the light can be hard or diffuse.
My goal in this article is to give you some tips that can help you achieve wonderful images in diffused light. But before continuing, it seems essential to answer this question.
WHAT IS THE DIFFERENCE BETWEEN HARD LIGHT AND SOFT (OR DIFFUSED) LIGHT?
Hard light causes a more abrupt transition between highlights and shadows. While the diffused light makes this transition softer or more subtle. In this graph you will see it very clearly, below I detail both types of lights.
HARD LIGHT
This type of light is produced when the source is small, the smaller and more distant it is, the harsher the light it generates. It does not have to do with the quantity, but with the way in which it affects the objects. Hard light produces much stronger shadows and contrasts. The transition between shadows and lights is very abrupt. It is used to convey aggressiveness, strength... and highlight textures. Here's an example of hard light.

SOFT OR DIFFUSED LIGHT
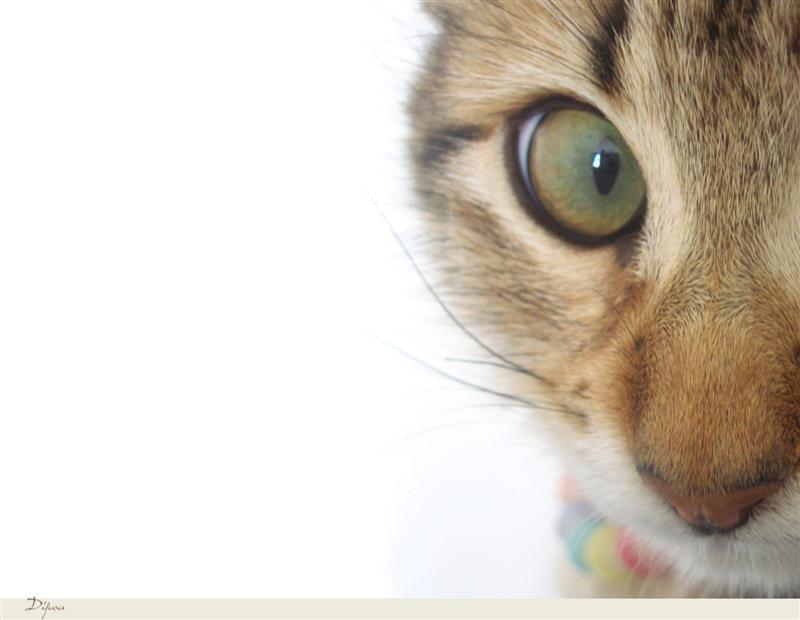
In this case, the transition between light and shadow is more progressive and subtle. It transmits tenderness, sweetness and is much more romantic. The light falls on the objects in a more diffused way and allows to better appreciate the details. It's the kind of light I'm going to focus on today.

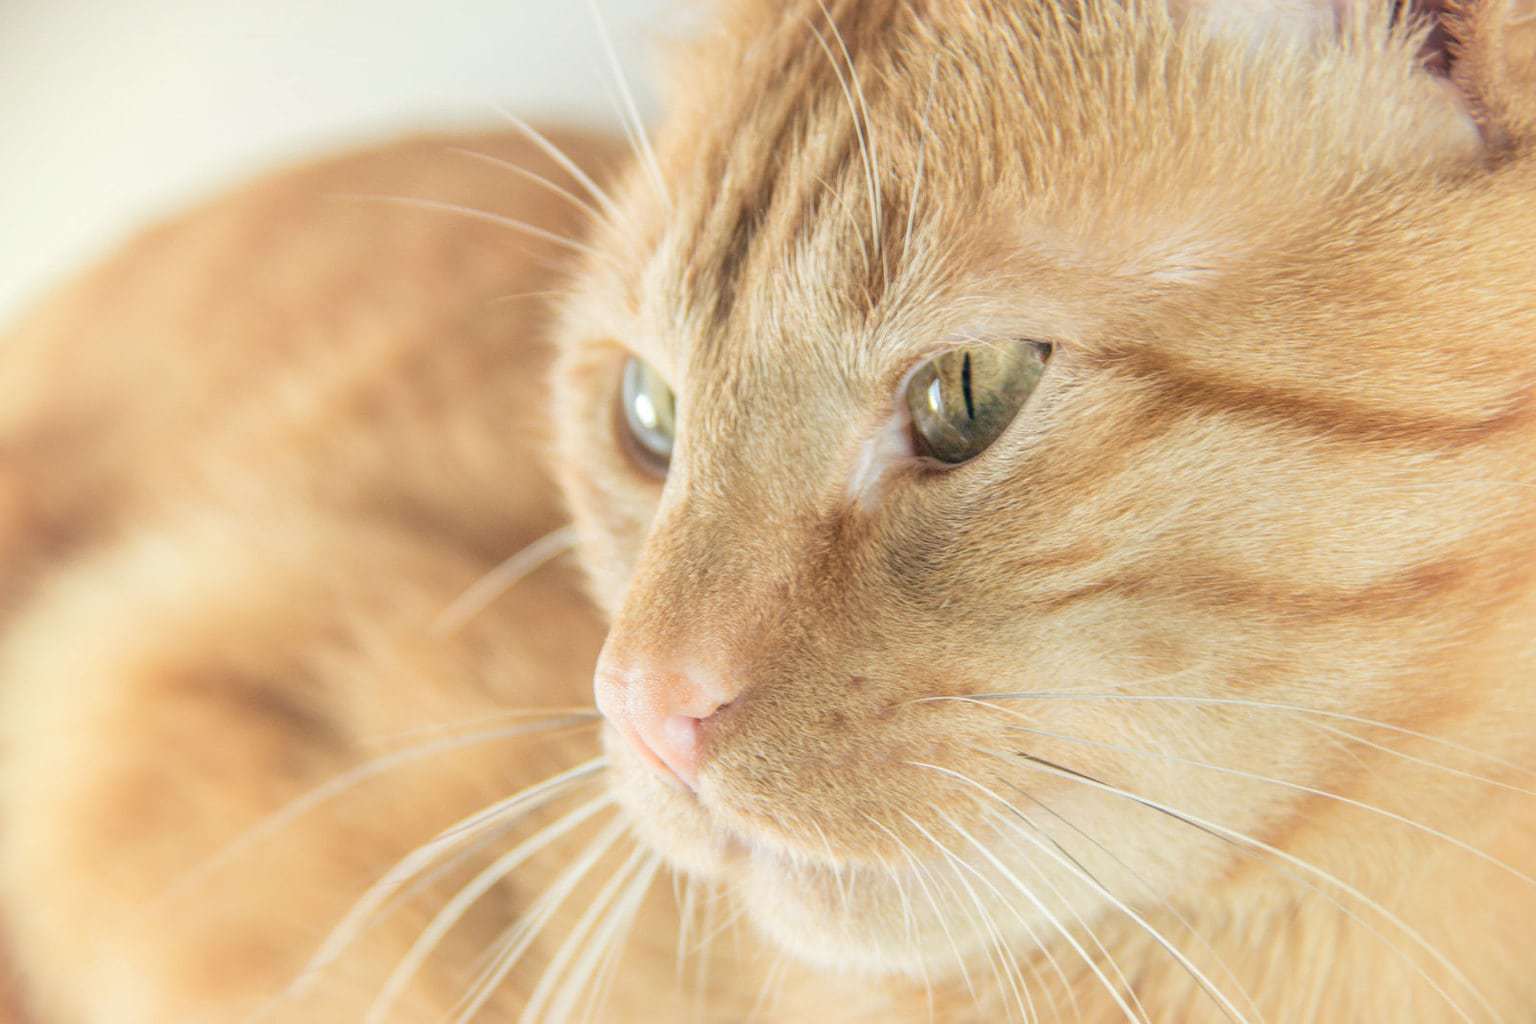
To know if you are facing one type of light or another, if you have doubts, it is best to look at the shadows. If these are very marked and defined, you are facing a hard light. Notice the difference in this image:
If you look at the shadows, you will notice how in the image below, they are much more marked, that is the effect of the hard light.
HOW TO GET DIFFUSED LIGHT?
The quality of light depends on the size and distance of the source, regardless of whether it is natural or artificial light, indoors or outdoors. Let's see how to achieve it in different situations.
Natural light
- Outdoors: You can get diffused light without any type of intervention, taking advantage of the first and last hours of the day. Sunrise and sunset produce much softer light than the central hours. Just like on cloudy or foggy days, since it and the clouds work as a diffuser of light. If you have to photograph with a lot of sun, you can use a fill flash or a reflector. You can also look for the shadow of a tree or any other element. Below I leave you a diagram of how clouds and fog act as diffusers, and then an example of a portrait with the diffused light of the sunset.
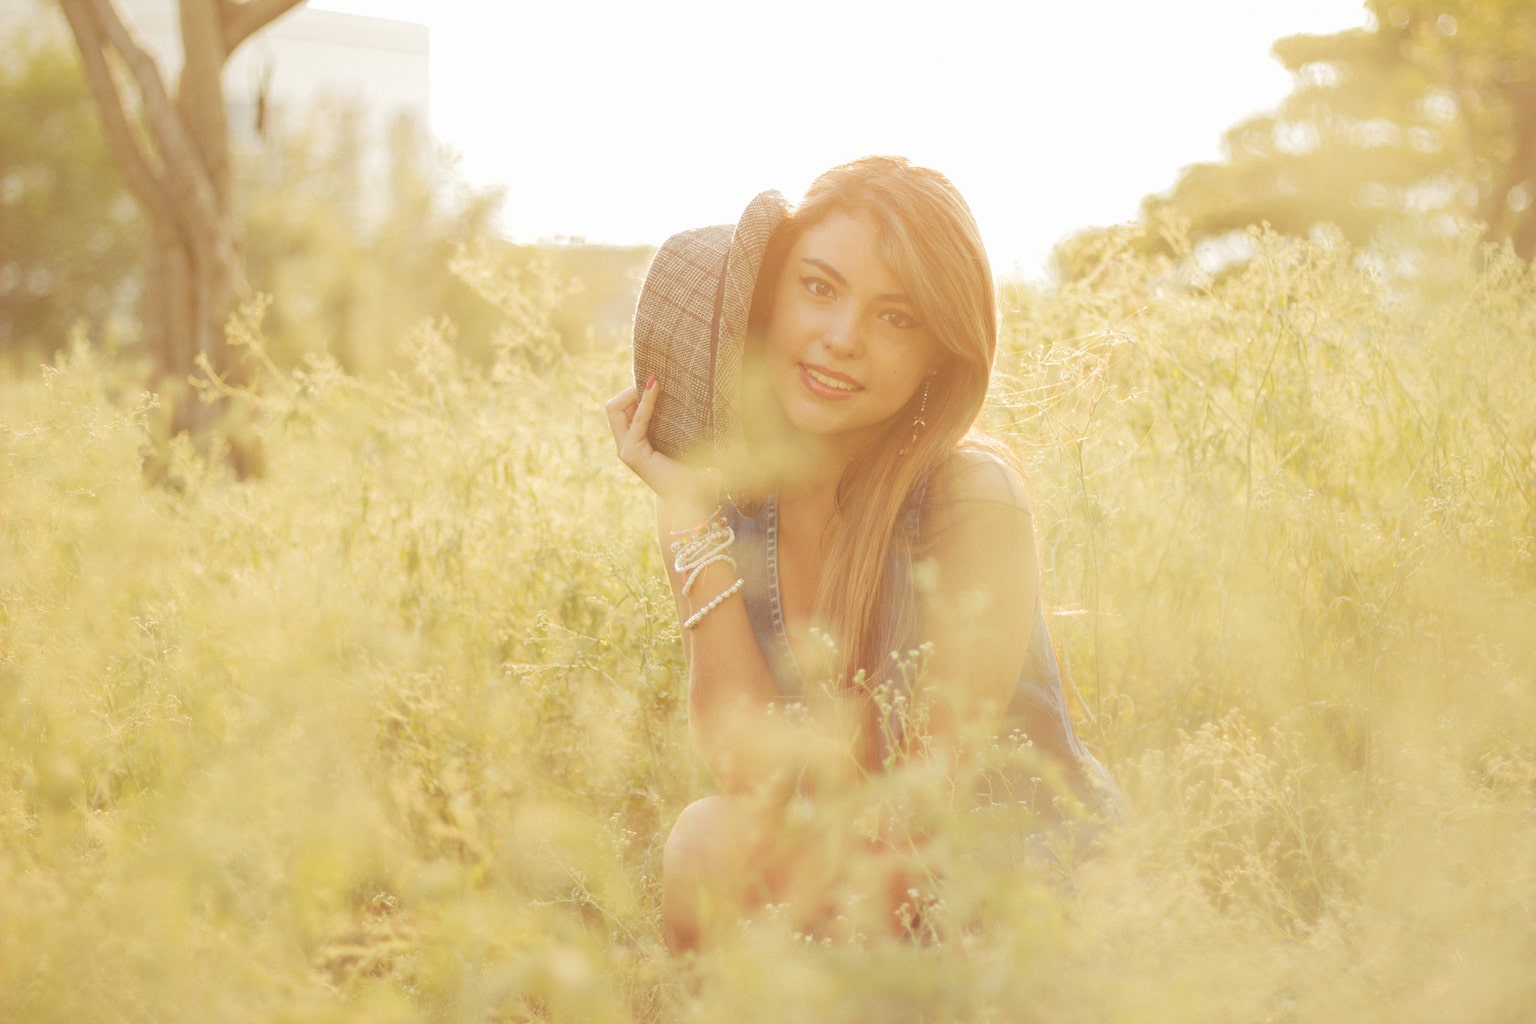
If you look at this portrait you will be able to observe the warmth of this light, the sweetness that it gives off, how it completely envelops the girl without producing unwanted shadows.
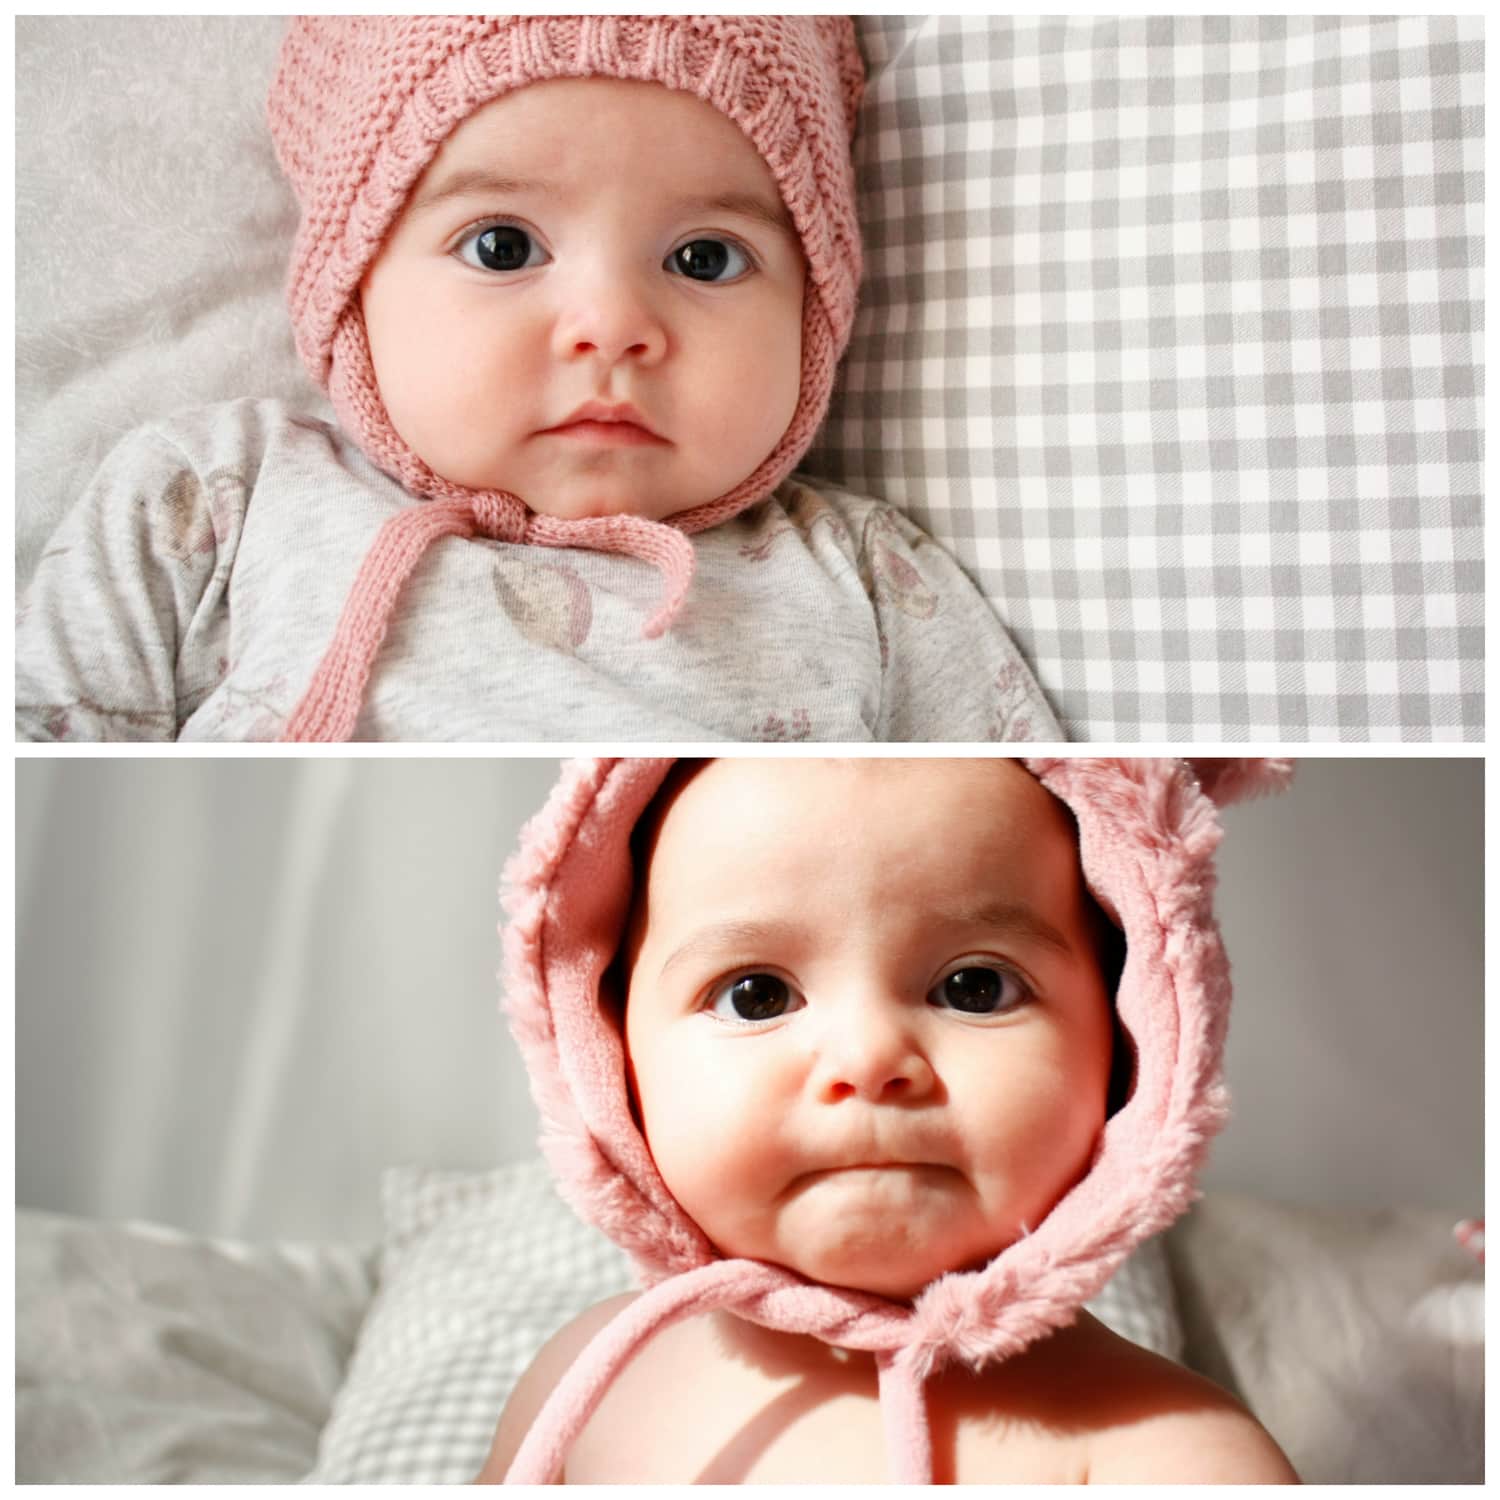
- Indoors: If the sun's rays fall directly on the window, the light is harsher, so it will be better to move away a bit or place a completely smooth white curtain or tissue paper on the glass in front of it. In this way the light will diffuse, offering you a much softer result. You can also change the window if you have that possibility ? In the example of the baby, a white tissue paper has been placed on the glass to have the effect of a diffuser and the result is truly remarkable.
Artificial light
If what you are using is artificial light because you are in a studio, or outdoors at night or in any situation where you do not have natural light, you also have some resources to achieve diffused light.
- Handheld flash: If you shoot with a handheld flash directed directly at the subject or object you intend to photograph, the light will be very harsh and will cause shadows that will disturb you if you don't intentionally look for them. The trick to achieve a diffused light with this tool is very simple, you just have to bounce the flash off a wall, the ceiling or even if you have someone close to you who is very trustworthy in a white shirt, it also works for you ? This way you will get that the light diffuses and falls on your protagonist in a less "aggressive" way. Another trick is to use diffusers, which you can find in the store, on the Internet or make them at home in a very simple and cheap way (my partner Iaio tells you how to do it here, you can not lose this!). You can also use umbrella diffusers or reflectors. It will do you good to take a look at this article .
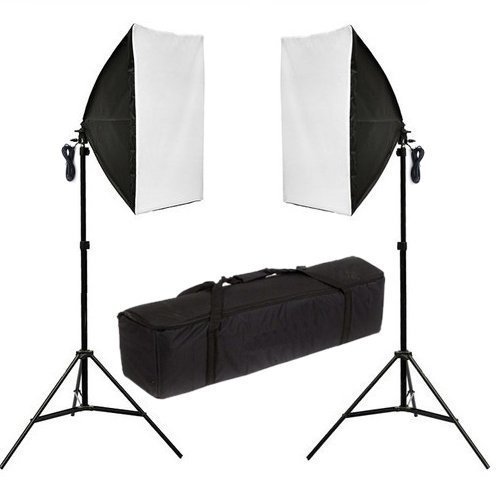
- Light windows: Light windows are, as their own name indicates, a "jalopy" that imitates a light window, said in a very crude way so that it is easier to understand. It would be like having the light from a flash but continuously and more diffused. They are also known as “softbox” and you can find them for less than a hundred euros on Amazon(at least as of today ?).
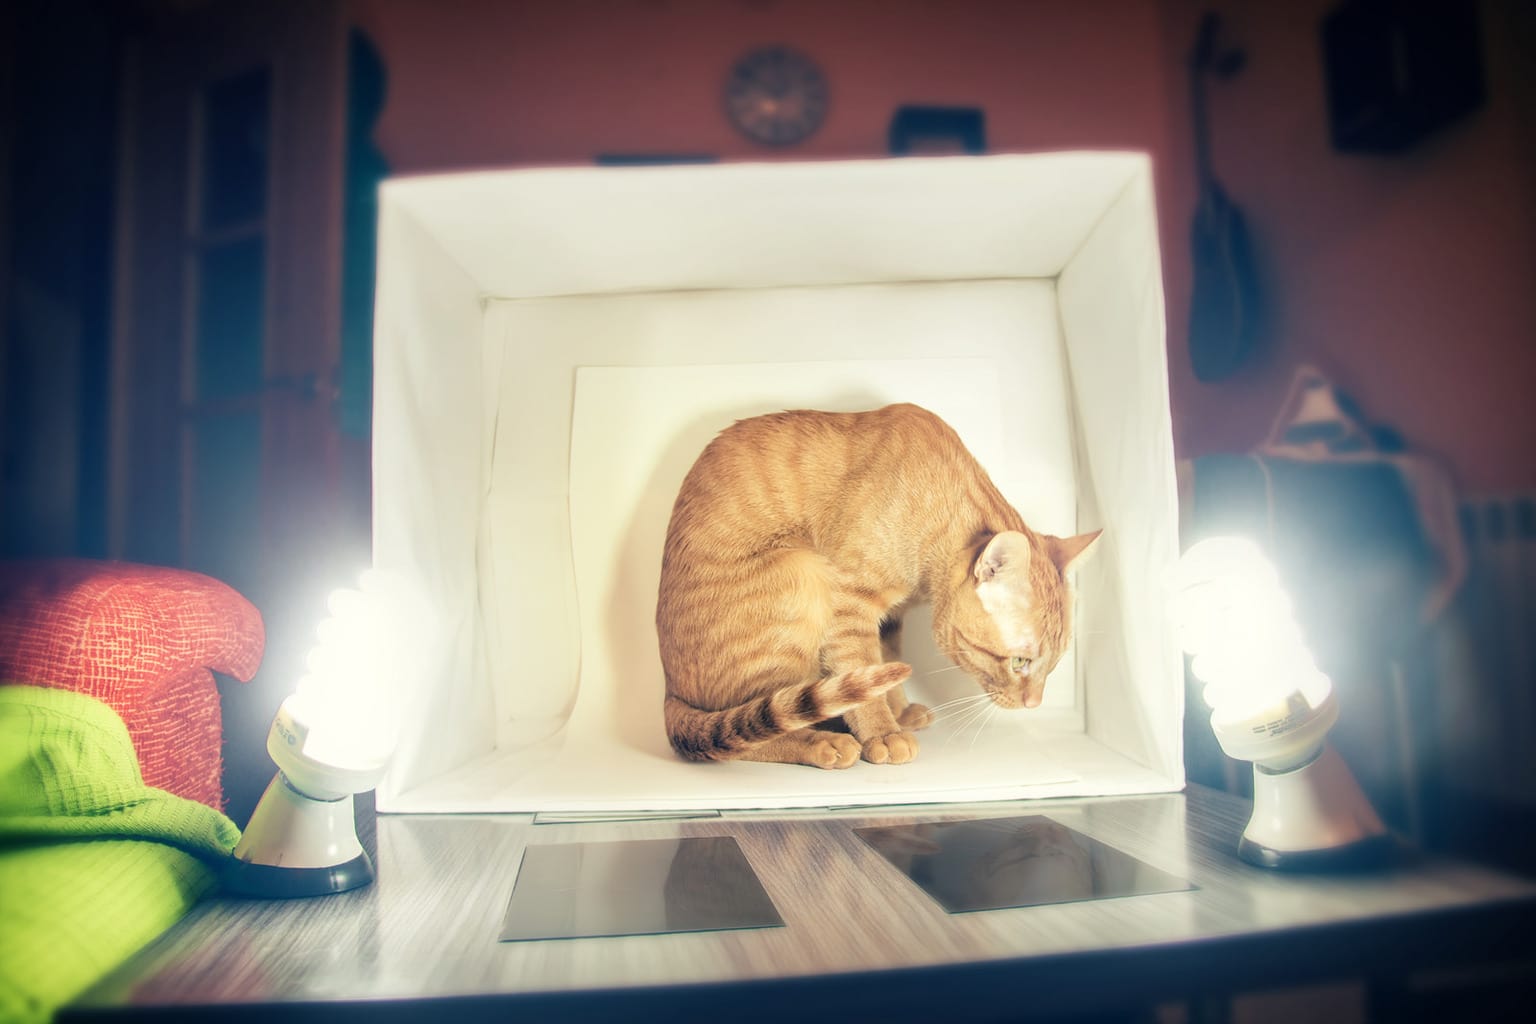
- Light Boxes: A light box is a lighting studio for small objects. It's very easy to build and a great way to get great diffused light for small things.

You can expand all this information here .
WHEN TO USE DIFFUSED LIGHT IN PHOTOGRAPHY?
If you're looking for even, shadow-free light that fully illuminates your subject or object, this is the type of light to use. Not everything in photography is technical, photography is an art and many times what we are looking for are contrasts, shadows, dimly lit parts that suggest but do not show... And other times what we need is to show everything, transmit warmth, sweetness, softness, feelings positive... It is in those moments in which the light has to come from all directions, completely enveloping the protagonist of your image, showing each and every one of its parts, either with a warmer light for a sweeter portrait or with a whiter light so that the product that should appear in a catalog can be seen well. The situations are very different but the objective is the same, that the whole image is illuminated in a homogeneous way.
WHY USE DIFFUSED LIGHT?
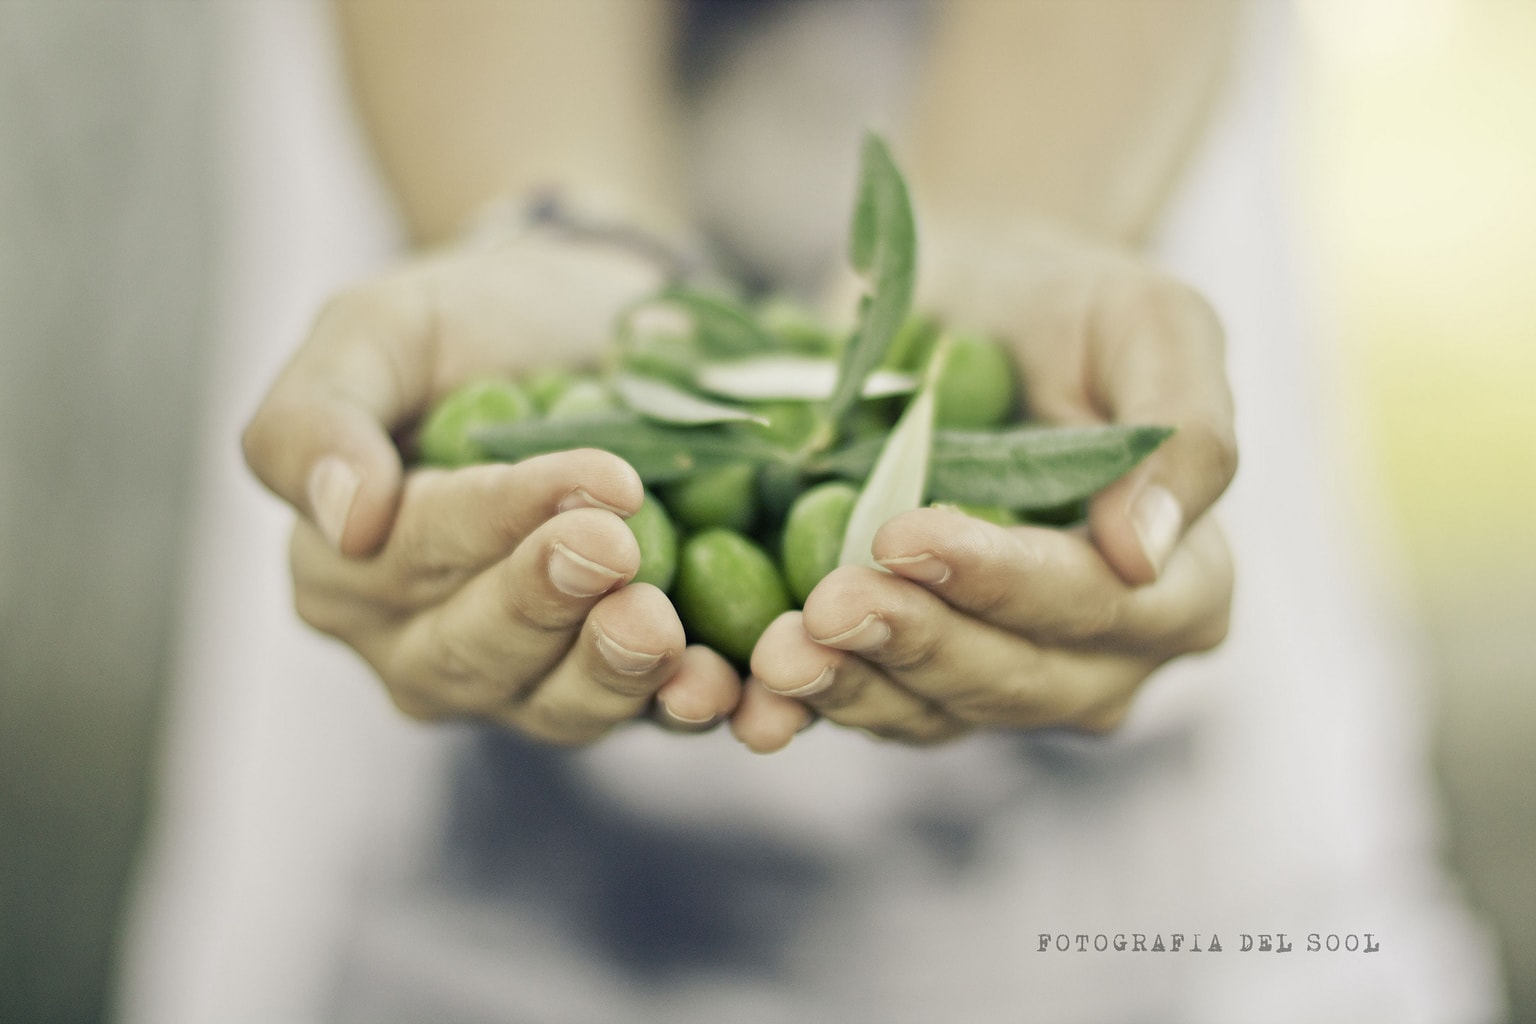
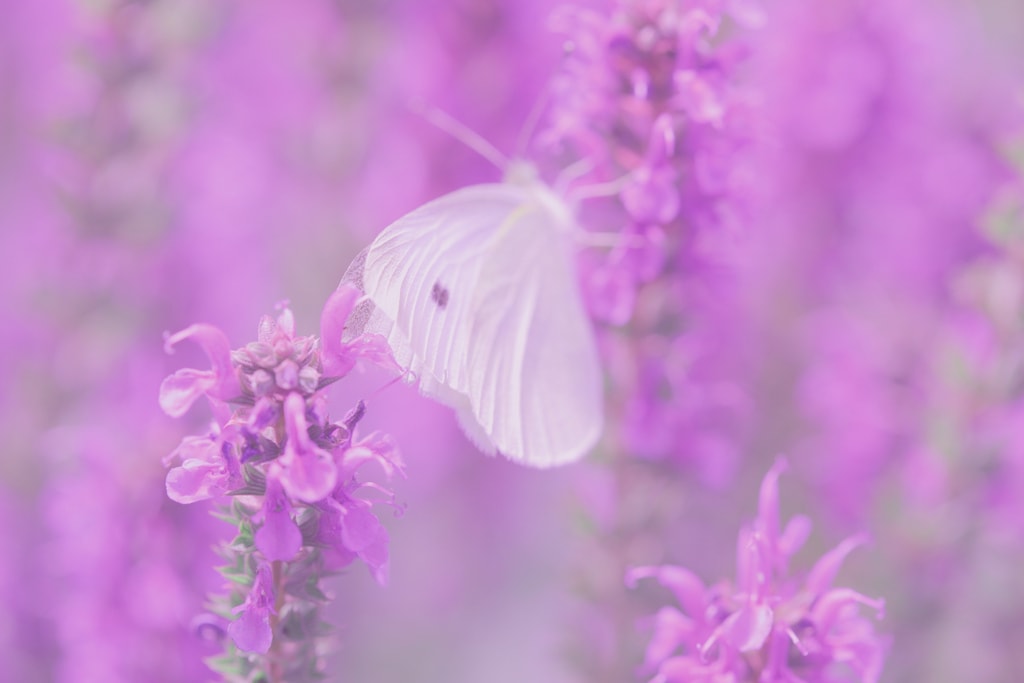
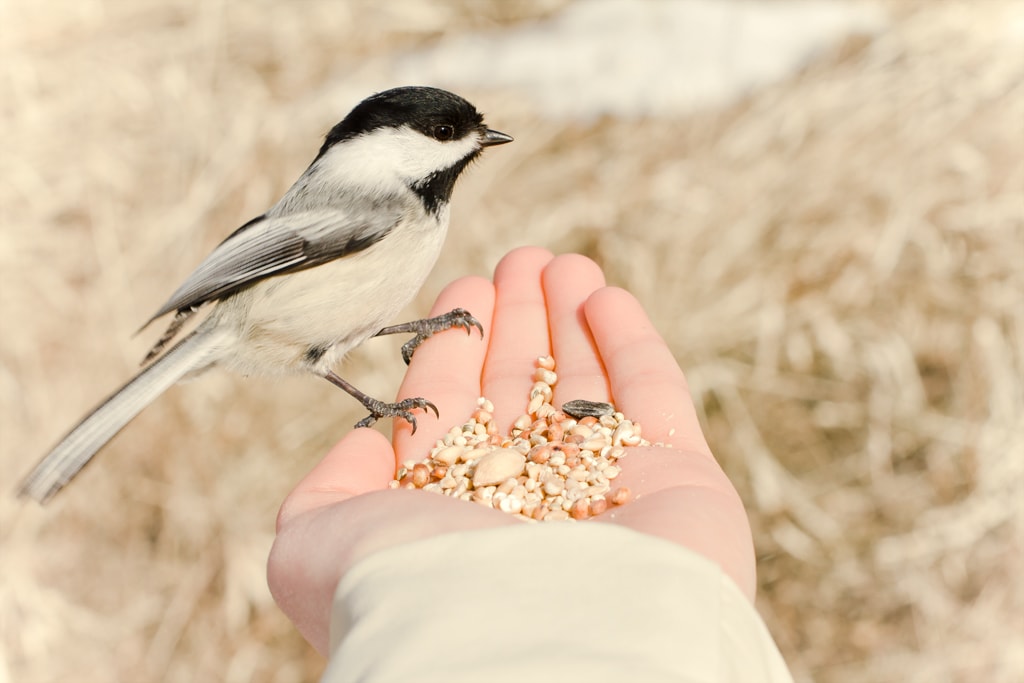
With this question I do not intend to convince you that you always use this type of light, on the contrary. But there are occasions for everything and like any art, you have to try, discover and get to know all the tools or resources you have. My question is rather motivating, since what I want is for you to put into practice what I have told you in this article. If you are reading this it is because you want to learn, grow as a photographer, improve your technique... and for that, you need to practice. It is very good that you read the articles, but if you do not put it into practice, everything is forgotten and it is useless. That's why I'm going to leave you a gallery of images with diffused light, to convince you to practice, so that when you see these photos you want to try building a light box, use a reflector, or go out on cloudy days... ?