
![TIPS FOR PRINTING YOUR PHOTOS [AT HOME OR IN THE STORE]](https://photographychef.com/wp-content/uploads/2023/01/TIPS-FOR-PRINTING-YOUR-PHOTOS-AT-HOME-OR-IN-THE-STORE.jpg)
For all those mortals who simply want to hang an image on the wall, or make an album, a poster, etc., the seemingly simple moment of printing our perfect photos can be very frustrating.
Because maybe we don't know much about printing photos , but we have been lovingly retouching the image, we love its tones, its contrast and the composition that we have achieved after a lot of work.
Everything is perfect and we can't wait to see how it looks on our wall. We put the images on a USB and we go to the nearest printing center, and that's where the drama begins. They tell us about pixels per inch or centimeter, dimensions, finishes... and we have no idea, we see how they touch the photo, they cut it here or there to fit the size of the frame, or we are left with some white edges with which we did not count and, to top it off, when they give us the copies, the colors have nothing to do with what we saw on the computer screen.
In short, a drama that does not improve with the idea of printing at home. It is not that we are experts on the subject, but a minimum, it would be nice to have them, right? In this article I will try to take printing your images from something dramatic to something much more pleasant and satisfying. We see it?
SET THE CAMERA TO PRINT BETTER PHOTOS
To get good quality paper prints, you have to start the process much earlier, even before you get the photo.
- Get the highest quality from the camera: it is important to always work at the highest quality allowed by the camera, then you always have time to crop, compress, etc.
- Set the color space to sRGB : It is the color space that stores more color information. Although we have a specific section on the subject below.
- RAW photography : stores more information and will allow you to make better adjustments in image processing.

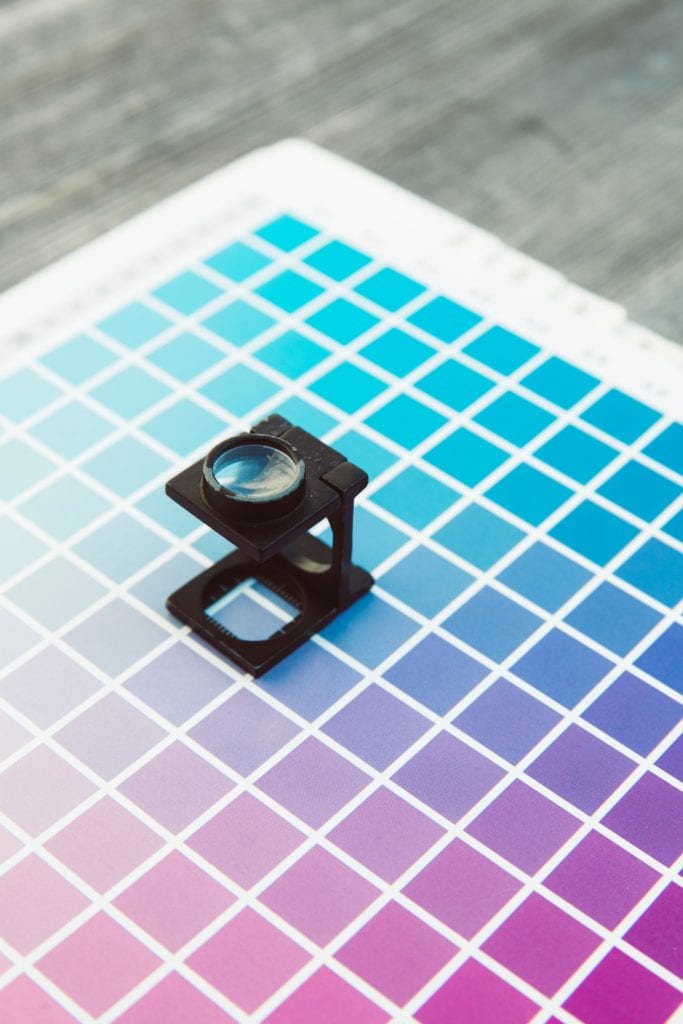
COLOR IN PHOTO PRINTING
This is why the photo on your screen has nothing to do with your hard copy, even if you are printing at home, because each device has its own color profile, which means that each device interprets the colors differently. his way.
It is perhaps, for the hobbyist, the most complex part of printing, because it introduces a lot of rather complicated concepts if you are looking for absolute perfection.
For the mere mortal, one option is to try to unify the different color profiles of the devices involved in the image printing process, which is known as the ICC color profile , especially if you print at home. The ICC profiles, let's say, transmit the information of each color to each of the devices so that they interpret the colors correctly.
Getting fully into what we know as color adjustments can be a complicated and arduous mission. If you come from an Adobe program, and you don't have much of an idea, it's best that you keep the Adobe RGB color space, which has already been tried and tested in many spaces and is the one that works best in general.
Just keep in mind that, as they themselves explain, it is always best to let the publisher manage the colors , not the printer.
CALIBRATE THE MONITOR FOR PHOTO PRINTING
Isn't it true that when you look at an image on a computer screen it has nothing to do with when you look at it on any other device? The contrast, the colors, the blacks… The difference is, in many cases, remarkable.
This is because screens are calibrated differently. That is, they reproduce colors differently.
As a photographer who has spent a lot of time preparing that image between taking the picture, editing, etc. It can be quite frustrating to see all the settings vary from screen to screen, let alone printing.
The solution to this is called monitor calibration and it will be very useful and essential, whether you want to print or not, because it will allow you to see the same result on all the screens you calibrate. Learn to do it step by step.
BASIC VOCABULARY ABOUT THE IMAGE
One of the reasons why we always fail when trying to print photos is basically because the photo store speaks a language that we don't understand. So it all starts with learning the language of photographic printing:
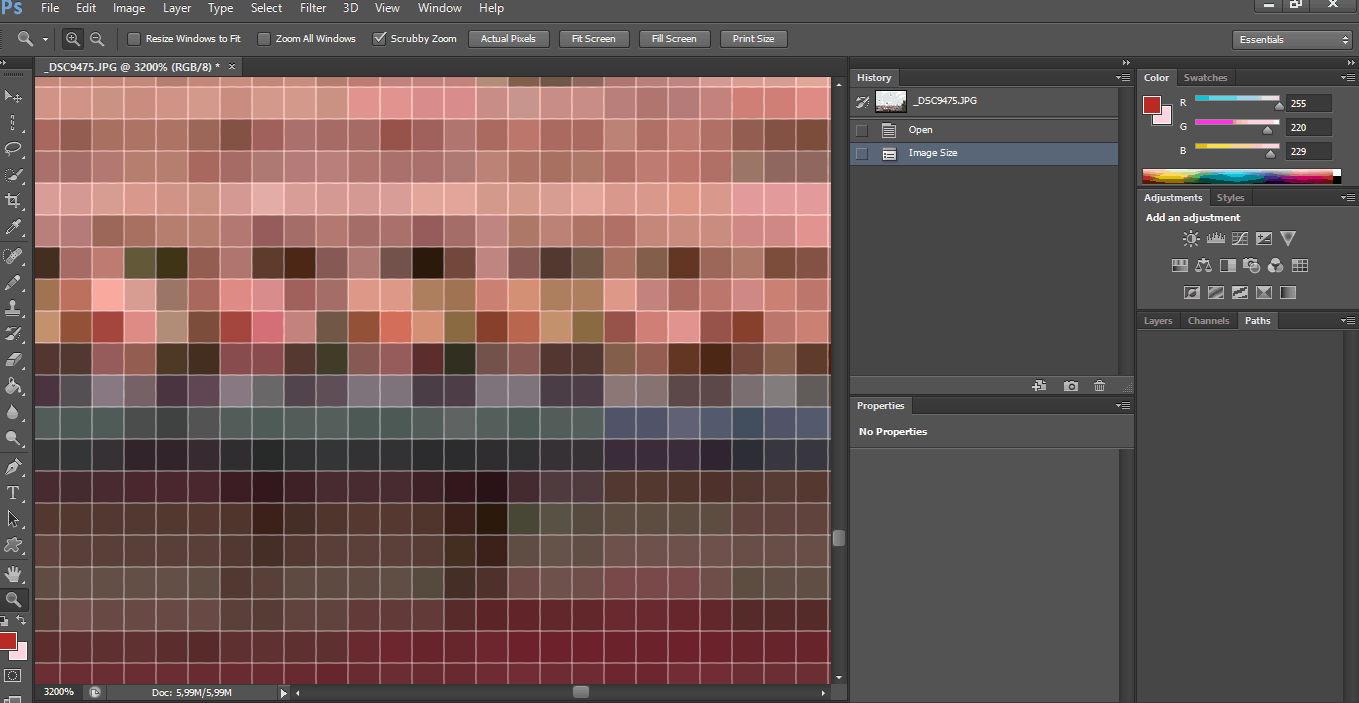
- Pixel: is the basic unit , the atom , or the cell the set of which form an image. Surely you have seen images with poor quality where you can see a few squares throughout the image. That's the pixels. You can also see them if you zoom in on an image as much as possible. Each pixel is of a color, and the sum of all of them gives rise to the image.
- Megapixel: One Megapixel equals 1,048,576 pixels, although we commonly round up to 1,000,000 pixels.
- Ppi (Pixels Per Inch) or dpi (dots per inch): Determines the number of pixels that will be in a given space. In this case, the more pixels, the higher the image quality. Why? Well, the space to "fill" is the same whether you do it with more or less pixels. If you do it with more, they stay smaller, if you do it with less, they need to "grow" to be able to occupy the same space and consequently we lose sharpness.
- Inch: One inch equals 2.54 cm.
HOW TO PREPARE PHOTOS FOR PRINTING
Once we have some basic vocabulary about the image, let's see in a simple way how we can apply it when preparing our images to have good printing results both at home and in the laboratory. For this we must, again, take into account certain basic aspects of the image.
- Image size : given in number of pixels per width and number of pixels per length. For example 1024 x 760.
- Resolution : it is what we have previously discussed as pixels per inch (dpi). A resolution of 300dpi is considered an acceptable resolution to print the image, although from 150-200dpi we can already obtain good prints as long as we do not want large copies.
- File type : JPG, instant printers don't recognize RAW files, so it's best to convert it to JPG once you've finished doing whatever tweaks you like.
- Aspect ratio : the aspect ratio is related to the print size, if you are going to print in a 10×15 size, for example, the ratio should be 3:2 and not 4:3 if you don't want it to be cropped. Here is an entire article dedicated to aspect ratio in photography so you don't miss out.
- Print size : the most common is 10×15. It is the one of most frames and supports and also the cheapest, although most laboratories have many more printing options: 13×18, 15×21, 20×25, 25×30, etc.
Here you have an indicative table that relates the Megapixels to the print size in both inches and centimeters, calculated with a resolution of 300dpi or dpi. You can rely on it to make size and resolution adjustments.
MEGAPIXEL TABLE AND RECOMMENDED PRINT SIZES
|
megapixels |
Print Size (cm) | Print Size (inches) |
| 2MP | 13.2 x 10.2cm | 5.2″ x 4″ |
| 3MP | 17.3 x 13cm | 6.82″ x 5.12″ |
| 4MP | 20.9 x 13.8cm | 8.21″ x 5.44″ |
| 6MP | 10" x 6.5" | 10.02″ x 6.67″ |
| 8MP | 11" x 8" | 10.88″ x 8.16″ |
| 10MP | 12.5" x 8.5" | 12.91″ x 8.64″ |
| 12MP | 14.5" x 9.25" | 14.30″ x 9.34″ |
| 16MP | 16.5" x 11" | 16.40″ x 10.88″ |
| 20 MP | 46.5 x 31cm | 18.3″ x 12.2″ |
| 24MP | 20" x 13.5" | 20.02″ x 13.4″ |
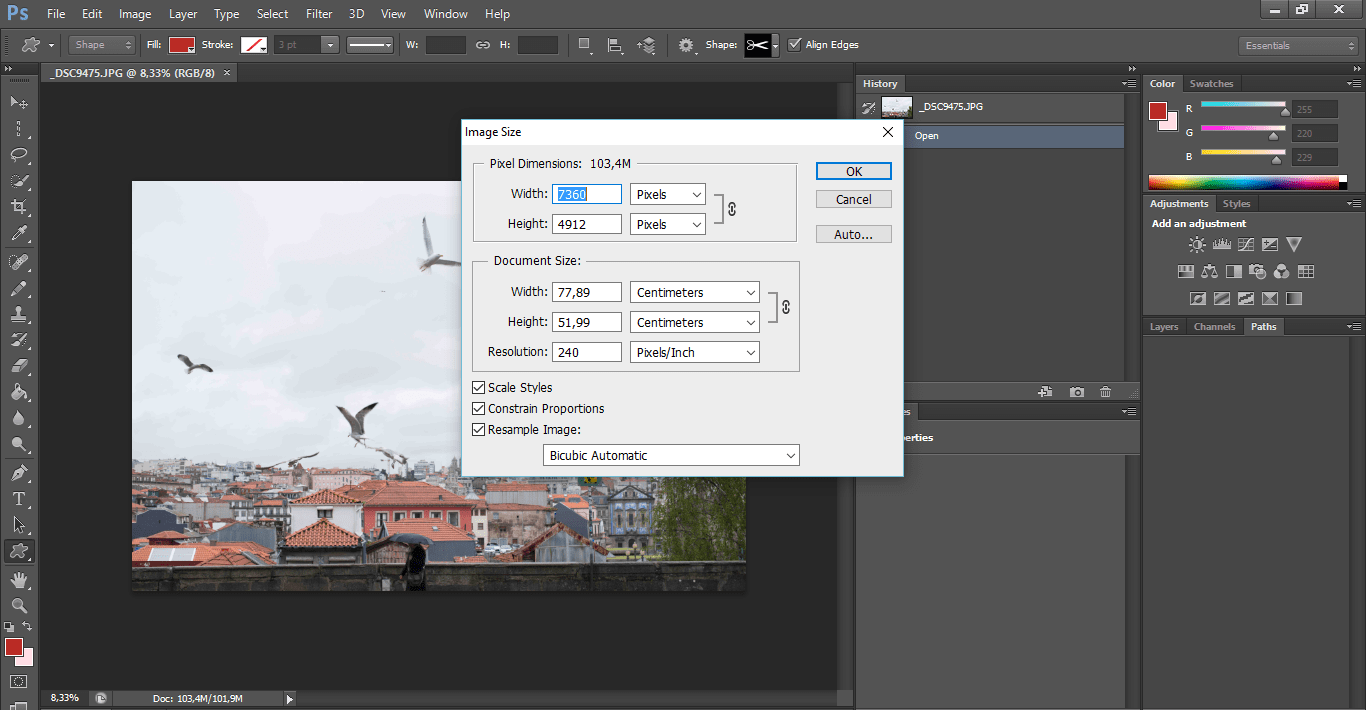
WHERE DO I ADJUST THE SIZE, RESOLUTION AND SO ON TO PRINT PHOTOS?
The best thing is that you do them in your usual image editor. These types of adjustments are usually located or related to the size of the image. Here's an example of where the parameters are located in Photoshop.
As you can see they are located in image size (image size). Inside you have all the parameters that you may need to change to take the image to print (or print it at home): Resolution, Pixels, document size, etc.
TYPES OF SUPPORT TO PRINT YOUR PHOTOS
Not everything is photographic paper, although it is the most common, you have many other supports where you can print your photos: magnets, mugs, canvases, etc. However, more often than not, we want the copies to put them in a frame.
In that case you should always use photo paper of the best possible quality, especially if you want to print at home. Now, what kind of paper, glossy or matte?
- Paper with a glossy finish has a greater depth of color, which is why it is usually the one chosen when developing color photography. This type of glossy finish creates reflections and is less resistant to fingerprints or stains.
- On the contrary, paper with a matte finish is usually more used for printing in black and white, because it has less color depth. It is more resistant to fingerprints and does not generate shine.
Now, for tastes, colors take the test and stay with the one that satisfies you the most, or combine them depending on the effect you want to achieve.
PHOTO PRINTERS
If you are going to print your photos at home, you need a photo printer. In this buying guide you will find tips and recommendations for choosing the best photo printer .
I hope this article helps you to print your photos and, above all, that it has encouraged you to develop those photos that you had in mind.
