TIPS FOR TAKING INCREDIBLE PORTRAITS WITH WATER

TIPS FOR TAKING INCREDIBLE PORTRAITS WITH WATER

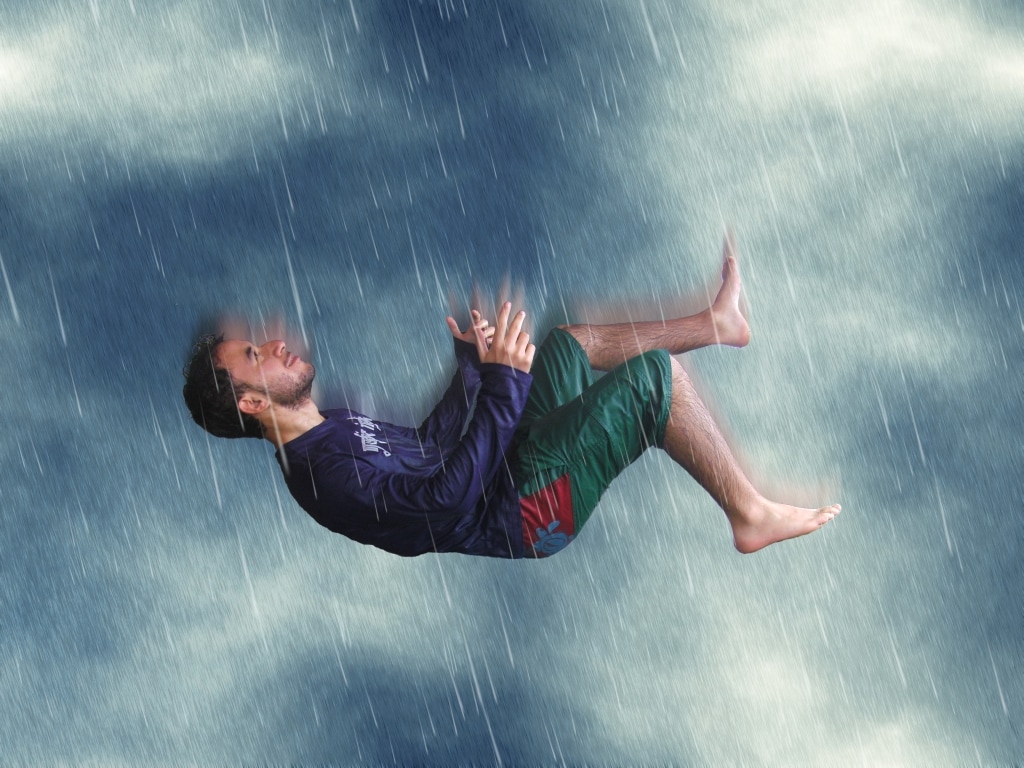
Water is a source of life, relaxation, fun... It is perhaps the most precious asset we have on the face of the Earth (although not exactly the one we care for the most) and the one that inspires many artists in any type of discipline. I have no doubt that at some time you have photographed water in some way, in the sea, the rain, a river, a waterfall, a lake, a puddle, a fountain or even a drop falling into a bucket. Like surely you have made more than one portrait and two. Now I ask you, have you tried to make a portrait with water ? We have dedicated many articles to portraiture, in fact, we have dedicated a mega guide to portrait photography with more tips and tricks than you can imagine (don't miss it).

What we had not done up to now is unite two elements that make us fall in love, the portrait and the water. But the day has come and today I am going to arouse in you a huge interest in trying it (if you haven't already). Yes, this time I'm as sure as it seems ? . Do you dare to discover it?

TIPS FOR TAKING PORTRAITS IN THE WATER

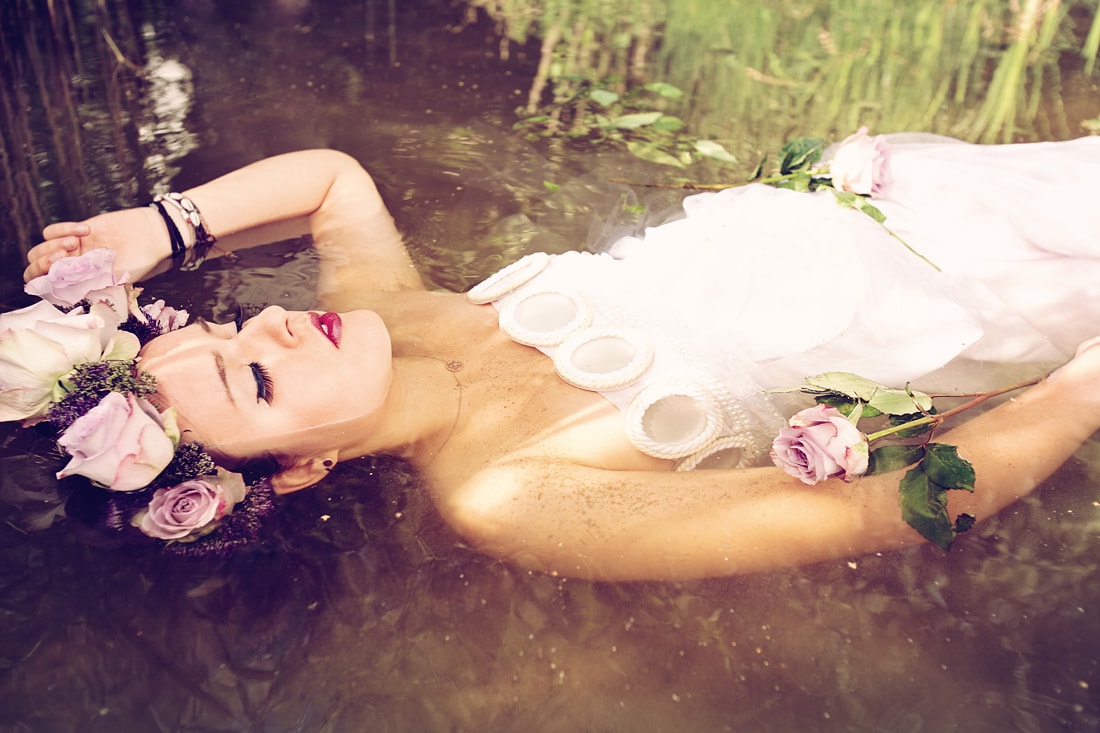
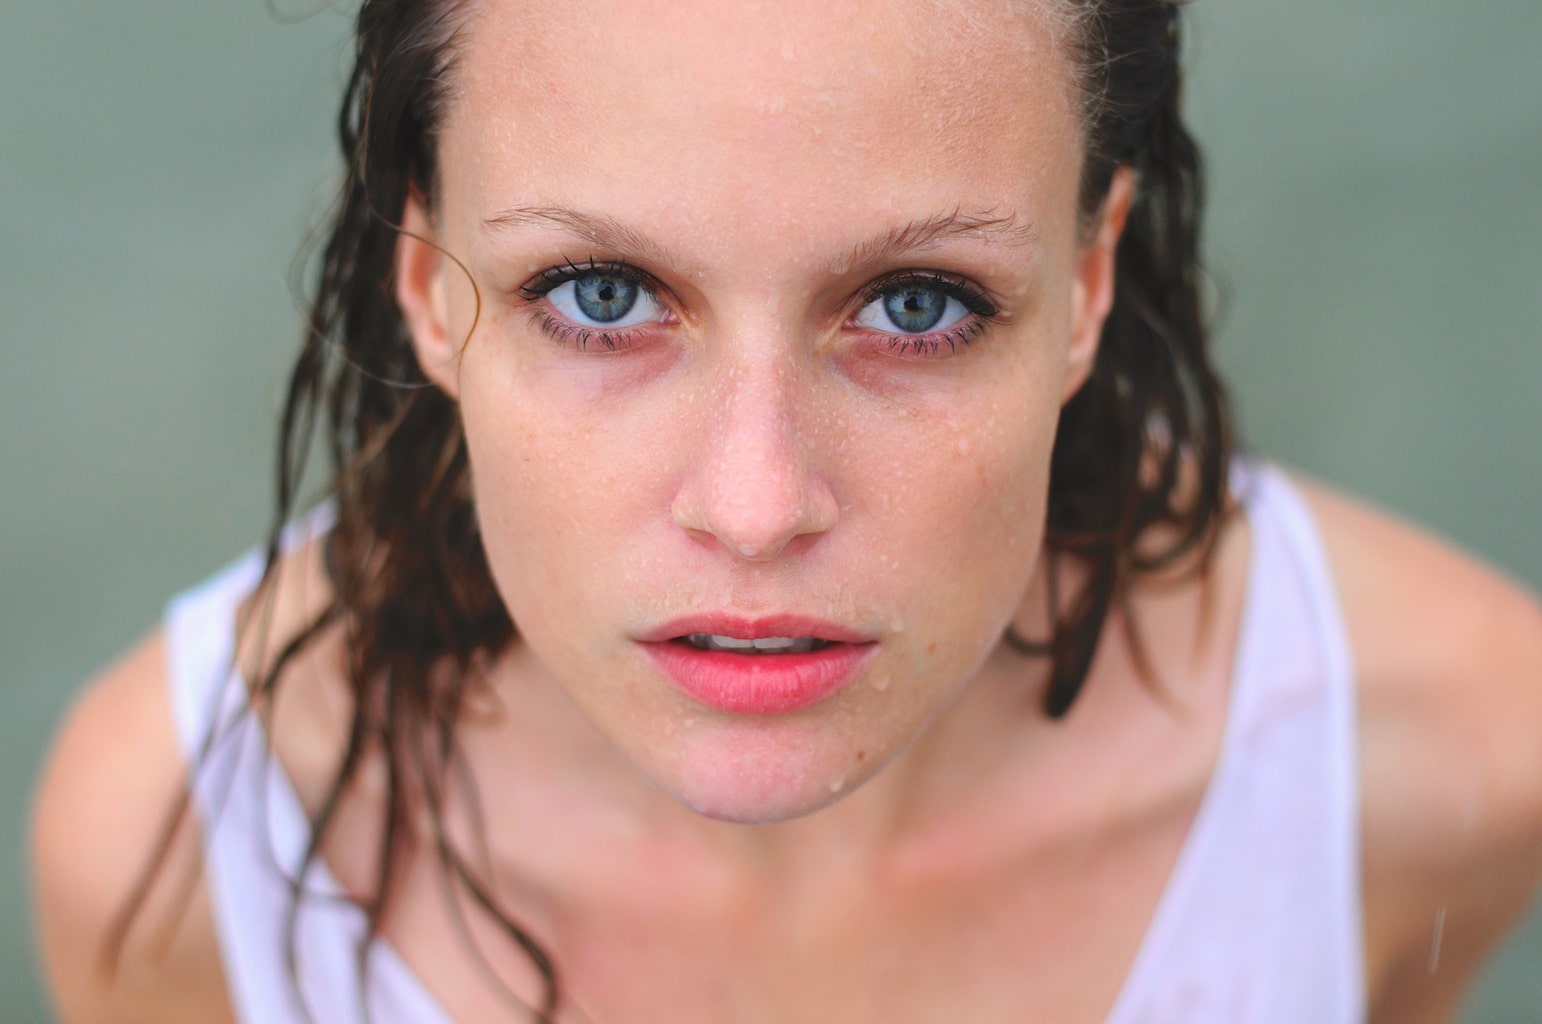
The portrait in the water is perhaps the type of portrait with water as a co-star that you will have seen or even practiced the most. It requires a river, a lake, a swimming pool or a little piece of the sea and someone who offers himself as a model.

1. BE VERY CAREFUL WITH THE CAMERA

This is rule number one. Water is the biggest enemy of digital cameras. I specify digital ones because my old analogue one was swept away by an Atlantic wave and once it was dry, the only damage I found were some colored circles in the developed photographs, which by the way weren't that bad ? . But I assure you that my digital SLR will not be caught in a wave. This does not mean that you leave your camera in a closet every time you get close to an aquatic environment, just be careful. Use the strap to avoid falls, stay away from splashing and if you are on the beach and keep it under the umbrella... pay attention to the rise of the tides!

2. TAKE CARE OF THE BACKGROUND

Water can be a magnificent background as long as you don't include other less desirable elements in it or, rather, distractors that add nothing to the portrait.

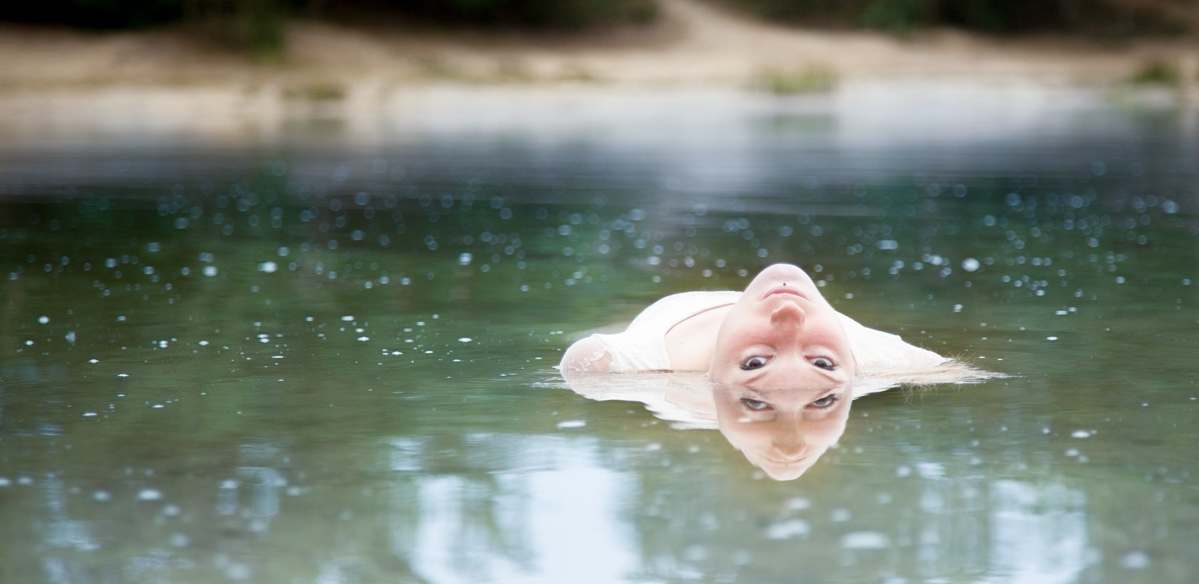
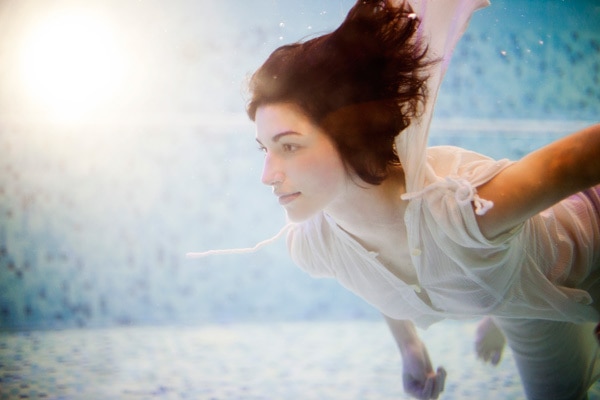
3. CHANGE THE PERSPECTIVE

Look from another point of view than usual, perspective can be a good element of composition , if you don't believe me here are a few examples .
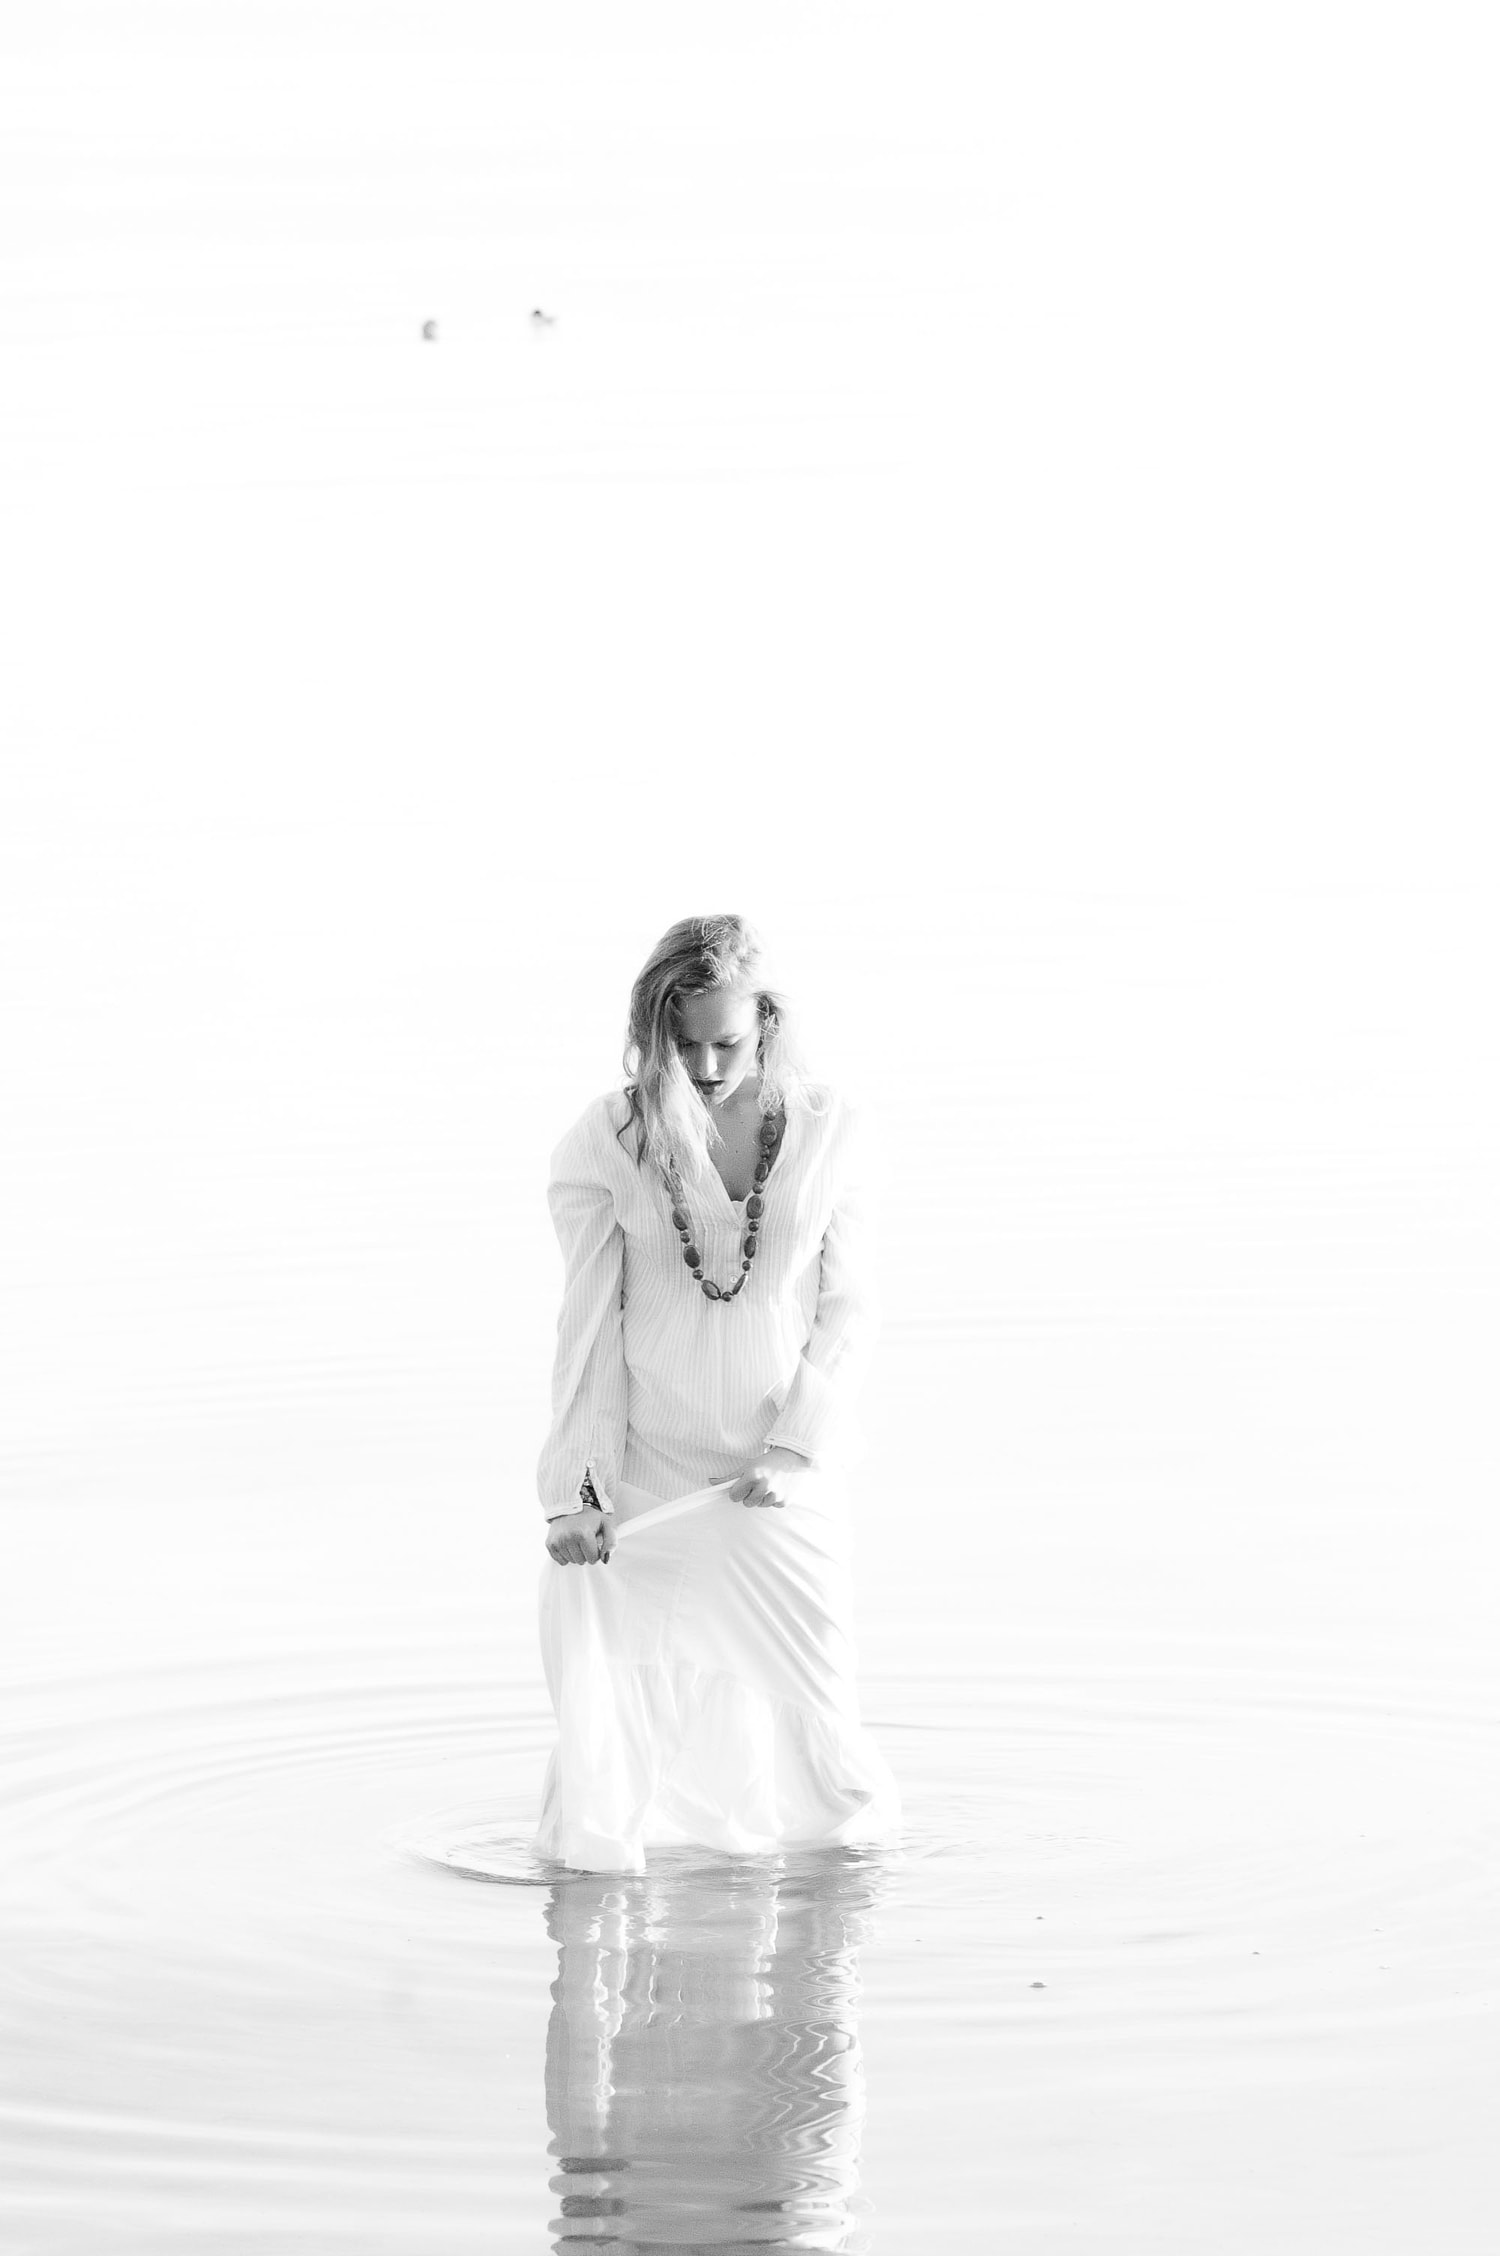
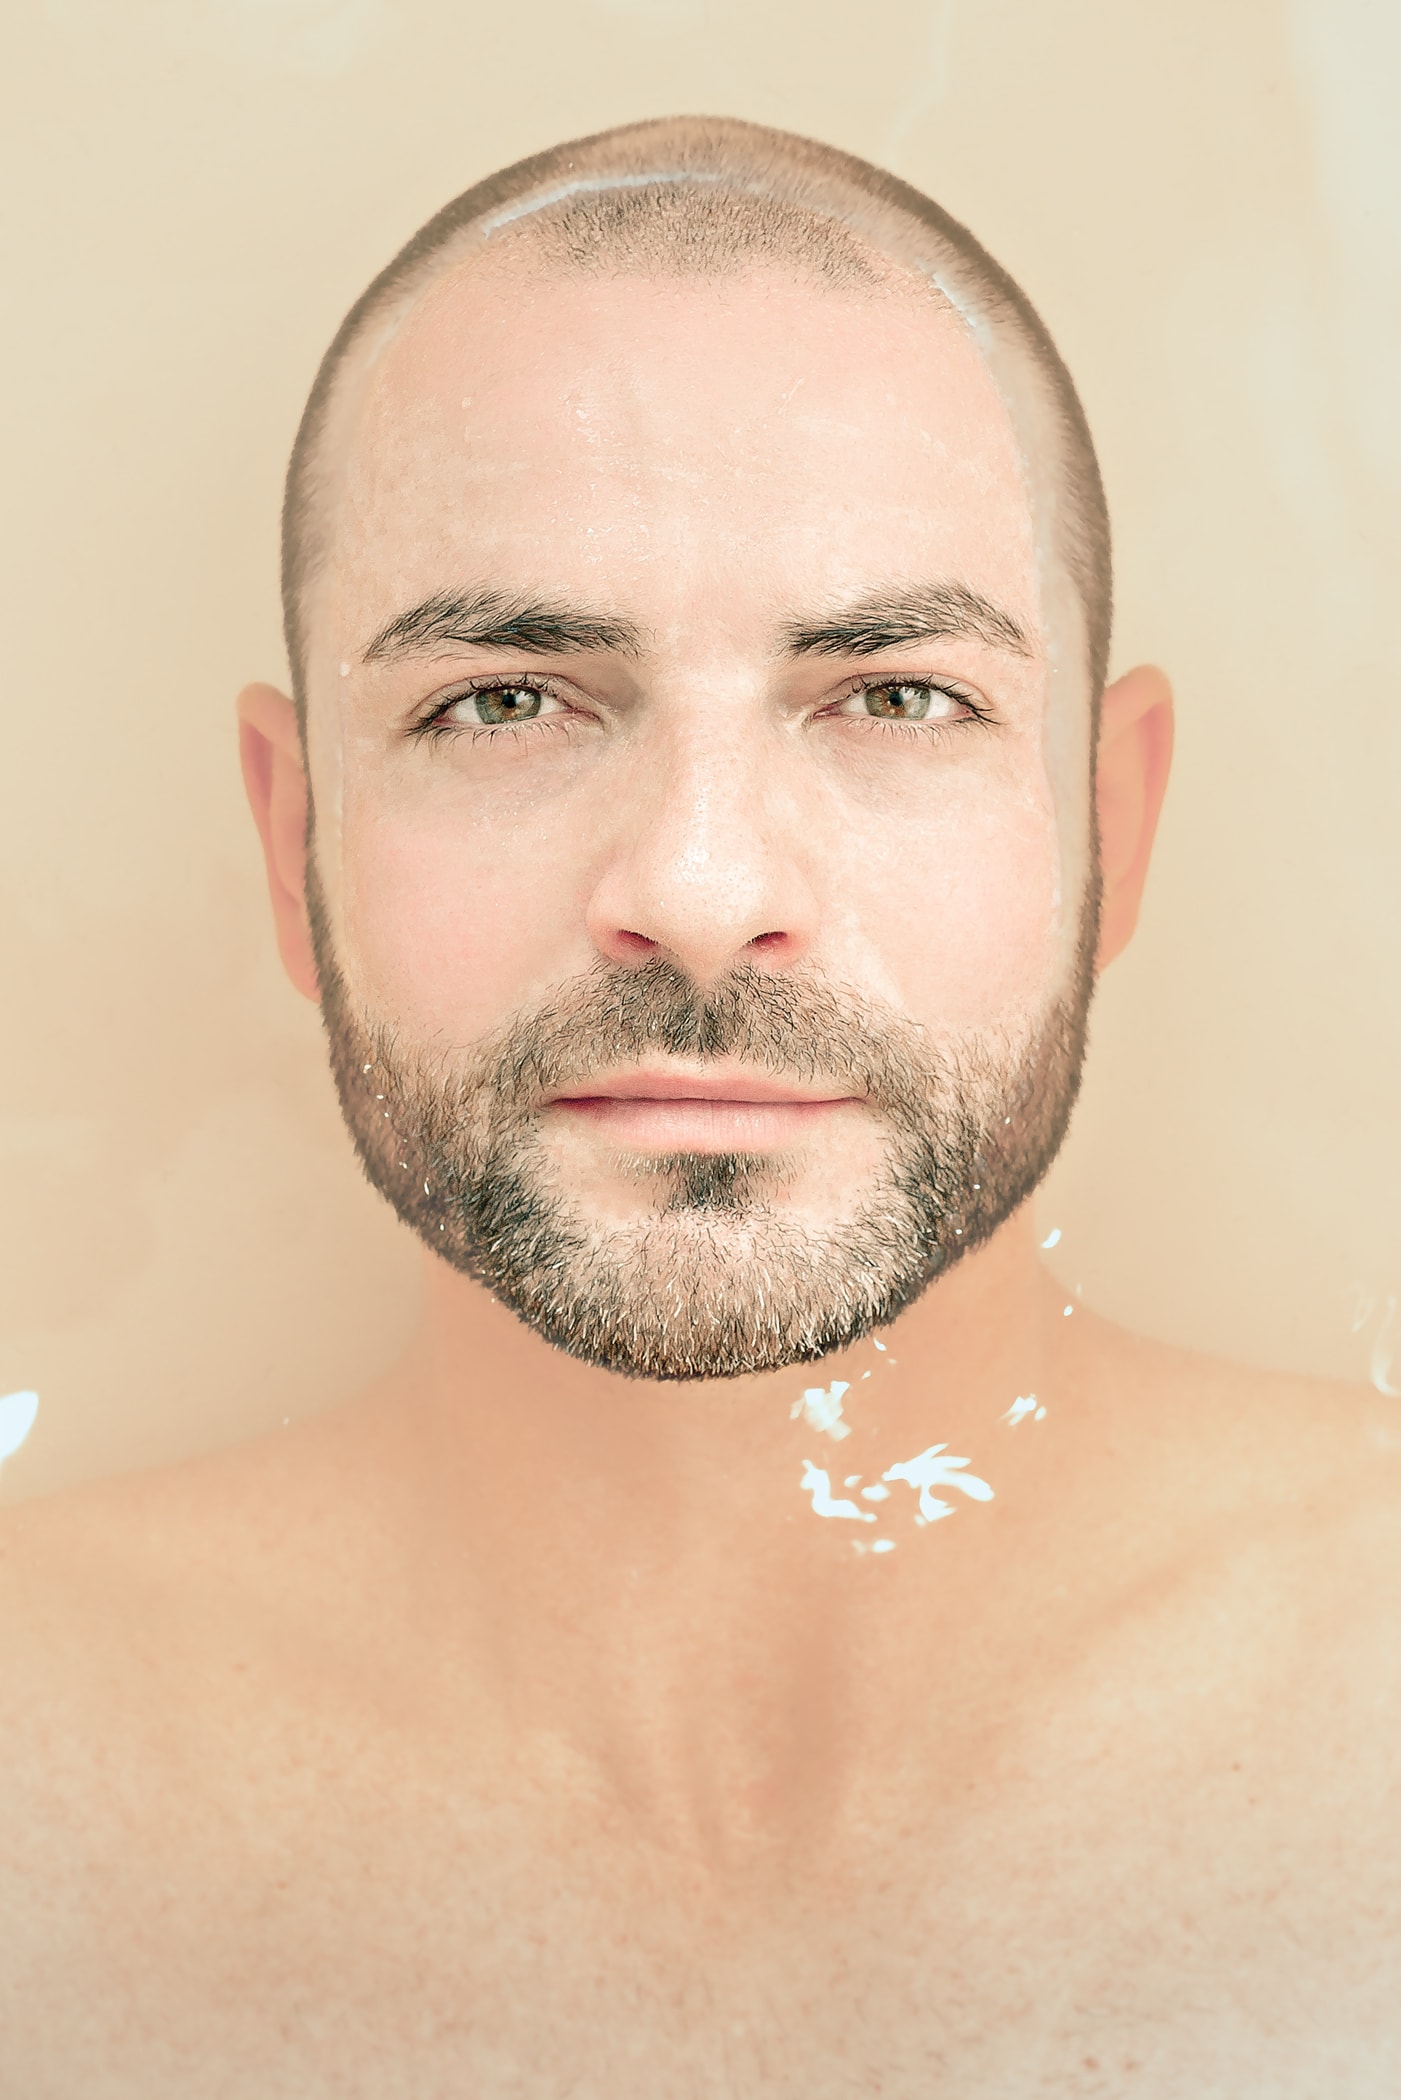
Change the perspective and use the water as a background

4. NATURAL LIGHT

Unless you are in a bathtub (well, not you, your model), you will have natural light and you can avoid the use of flash, so the result will be much better. If, on the other hand, you are in a place with low light, use it, here is everything you need to know about the flash for portrait photography and some tricks for better use of the flash .

Use flash only when necessary

5. DEPTH OF FIELD

Your portrait will be much more impressive if you reduce the depth of field , or what is the same, you work with a large aperture (number f / small).

6. PLAY WITH REFLECTIONS

The water gives you the possibility to capture the reflections, do not miss that opportunity.

play with reflexes

7. DO NOT PUT LIMITS ON YOUR CREATIVITY

Creativity is the best tool you have, beyond the quality of your camera, technique, accessories, etc. With it you can overcome any obstacle, even yourself.

Let your imagination fly

8. TRY BLACK AND WHITE

The beauty of the color of the sea is undoubtedly, or the attractive blue of the swimming pools, but sometimes black and white can offer a very interesting result.

Try black and white

9. FREEZE MOTION

With images like this you can freeze the movement through the water, the splash, a jet, a breaking wave… To do this, use a very fast shooting speed. When using a fast shutter speed, less light will enter, so you'll have to open the aperture more (smaller f-number). If the light is poor and the image is still dark, raise the ISO , but be careful not to go too far and spoil the image with annoying noise.

freeze motion

UNDERWATER PORTRAITS

Holding your breath underwater and putting a "photo face" on top of it is not an easy task, you will have to look for models with aptitudes for it, or what is the same, who have good endurance underwater and who have a lot of patience and desire. And so you don't think that I want to discourage you, I'm going to ask you to visit the pages of these underwater photographers. His photographs are wonderful, I think that until today I was not aware of how much I liked these types of images. Probably now you too will fall in love and want to do something similar… or at least try!

It is true that of the three types of portraits with water that I am talking about today, the underwater portrait is the most difficult. It requires more work, especially if you want to get photographs as polished and professional as the ones in the links. However, the result will make the effort worthwhile. He left you some tips so you can "jump into the pool".

1. PROTECT YOUR EQUIPMENT

And now this aspect is vitally important, since you will have to submerge your camera and it is not something to take as a joke. There are some bags for compact, SLR cameras or even for mobile phones, which are waterproof. For example you are. Although if I were you I would try first if it doesn't leak in a bucket or similar ? .In the following video you can see a session in which they use a similar cover.

these othersthey are somewhat more expensive and also specific to each camera model, although at first glance they seem more secure.

2. PREPARE THE SESSION

It is very important that you plan the session. You will have to have the place, the wardrobe, the equipment, the model… Everything must be well planned. Think about what you want to tell, how and what you need before getting into the water.

3. BREATHING

You will have to spend time submerged, so if you work on your breathing, the session will be less tiring. It would also be convenient for your model to also practice holding her breath while making a "photo face" or simply not making any weird faces. Trick: if you can't get your model to relax his expression, cover part of his face with an arm, hair, cloth...

practice breathing

4. WARDROBE

You may be satisfied with doing a session in a swimsuit, but if you want something more elaborate, choose impressive suits or dresses that can get wet (yes) or that you don't mind if they get damaged.

Sheer fabrics that let light in offer an incredible look, and the lighter the fabrics, the more freedom of movement your model will have.

Prepare the wardrobe

5. LIGHTING

The further from the surface, the less light you will have. Keep this in mind when adjusting the parameters.

take care of the light

6. WEAR GLASSES

Use diving goggles, if they cover your nose much better.

7. GET CLOSER

The further away you are from the model, the more blurred it will appear from particles in the water.

come closer

8. PATIENCE

This type of photography is not achieved in a day and even less in an hour. It requires preparation and practice. I mentioned it at the beginning, it is the one that requires the most effort, but when you control it you will feel so proud of yourself that you will jump for joy and want the whole world to see your photos. And who knows... you might even end up taking "selfies" underwater like this girl.

Underwater selfie

PORTRAITS WITH WATER

The biggest difference between water portraits and water portraits is that here you don't need your model to be submerged, nor do you need the sea, or a lake, or even a swimming pool. You only need water, it can be used from a bucket, a hose or the shower head. Here what counts most is creativity. Although I will give you some basic tips:

1. RATE OF FIRE

The way to freeze the movement of water drops is with a very fast shutter speed.

2. LIGHTING

As I mentioned before, when using fast speeds, less light enters, so you will have to open the diaphragm more, raise the ISO or most likely use an artificial light source.

3. HELPER

Find yourself an assistant to throw the water or the session will be quite complicated for you!!

Find someone to help you with the splashes

4. BLACK BACKGROUND FOR YOUR PORTRAITS WITH WATER

Black backgrounds can help you achieve spectacular results in your portraits with water.

Black background

Maybe this video will interest you:

5. TAKE ADVANTAGE OF RAINWATER

Rainwater can be the perfect complement to water portraits. Here are some tips for capturing amazing rain photos.

Take advantage of rainy days

6. EDIT

If you like it and you control the editing, feel free. Make portraits with water like this:

Don't rule out editing

7. BLACK AND WHITE

Once again, try black and white for more dramatic results in your water portraits. They will also help you fix unattractive backgrounds and achieve more timeless images. But it's better to shoot in color and then go to black and white. This way you will not lose information and you can always revert if you are not convinced.

black and white photography

Finally, if you don't have water... you can always make it up ;). In the end, the important thing is to be creative, practice, test and, above all, put a lot of passion into it!

A little imagination never hurts

INSPIRATION

To get a little more inspiration you can take a look at this Pinterest boardwith a wonderful selection of underwater photography. You can also "dive" around the web and discover other wonderful aquatic images that give you ideas.

I hope I have aroused your interest in "getting wet". If so, get others wet too by sharing on Facebook or Twitter.

We will thank you by writing more articles for you ? Thank you and until next time!

admin

Author content

Leave a Reply