It is curious how, as fans we are, there are things that fascinate us and others leave us indifferent, and how those things, those interests, can vary completely from one to another. There are those with an engineering mind who need to know all the mechanisms, all the nuts, all the exif data , all the camera models, all the news, all the reasons . Then there are those that neither interest nor care as long as the camera clicks when we press the shutter button .
Whether you are one of those who like to shear and walk in technicalities for each part of the image as well as those who tiptoe with the basics to obtain the image you want, I dare to predict that watermarks enter the two worlds. If you still don't know what I'm talking about, read on, please.
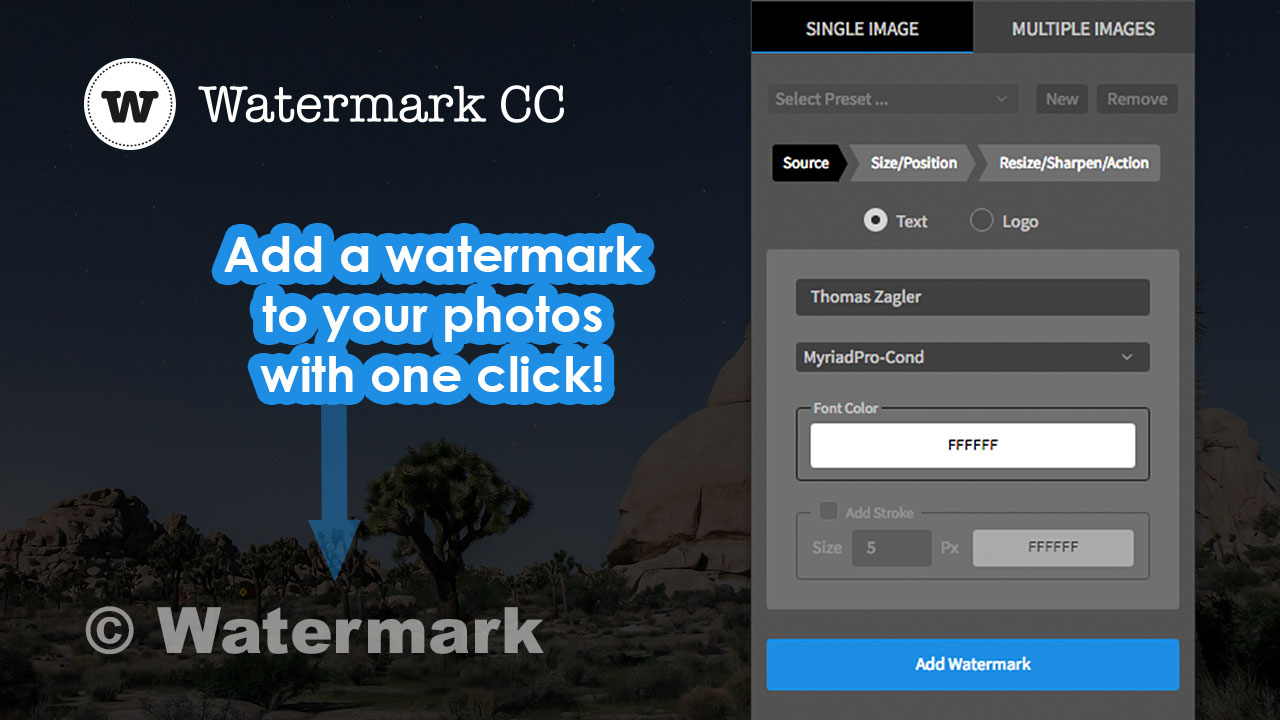
WHAT IS A WATERMARK?
I do not know if you have ever asked yourself what a watermark is or what it might be useful to know, but surely you have seen hundreds of times logos or letters that appear above some of the images that circulate on the network. Well, those logos or names, which can occupy much or a small part of the scene, are used so that, in principle, no one can appropriate the images that contain them, at least not without taking the name of the one or the one He has performed with him.
I explain myself, a watermark, is a signature that is placed on top of the images before sharing it (usually in some social network) and that prevents someone from misappropriating them. That is, a watermark says: Hey, this picture is mine, even if you steal it, it will still be mine, because my name or my logo is part of that image you want to take. More or less that.
THE NEGATIVE PART?
Yes, there is. A watermark, as we will see later, can be made in different sizes. You can make a discreet signature on one side that does not crush the image, or you can make it very large on top of the image. The first one looks prettier, but it won't prevent someone malicious from clipping your image and taking it the same. The second one will probably avoid it, but it will look much worse. That you will have to decide
CREATE A WATERMARK WITH LIGHTROOM
First of all, breathe if you're not an engineering mind, because it's so easy. We will also see it step by step. Go for it.
STEP 1
The first step is to go to the controls in the upper left bar of Lightroom, to Edit-> Edit watermarks, as I show you in the following image.
Step 1
STEP 2
After that, we will go directly to the watermark editor. Within the editor, the first step will be to choose whether we want a text or a graphic (image) as a watermark. In this case we will choose text (upper right area, where it indicates Watermark Style). Here we can write what we want our brand to be. In this case we could put a Copyright, a website, our name, the name of our company, what you think is convenient for your images.
Step 2
STEP 3
Once we are satisfied with our phrase, we will go to the text options, on the right side of the panel. There we can modify:
Font : Arial, Times, etc.
Style : Bold, italic, normal, bold italic
Alignment : Right, center, left
Color: Various
STEP 4
We can also activate or not the "shadow" options. That will create a shadow of our watermark and different options to modify it:
Opacity : Controls the opacity of the shadow (more or less transparent)
Offset : You can separate it from the main letters through this option
Radius : Allows you to focus or blur the shadow
Angle : Allows you to rotate the angle 180º around the watermark
Shadow options
STEP 5
The following section allows us to modify the watermark itself, size, opacity, location, etc.:
Opacity : As with the shadows, determines the level of transparency of the letters
Size : More or less size by moving the cursor from right to left
Box : You can move it horizontally or vertically through the image
Anchor : You can place it in 9 points of the image
Rotate : To move it vertically, upside down, face down, etc.
STEP 6
Once we were satisfied with the result, we would give it a "save" and a box would appear to name the watermark we just made as a "new preset" of Lightroom, which we can choose in the future whenever we want.
Your watermark is already created! Simple, right? Now, you have it saved so you can add it whenever you want to your images. To do this, we always do it in the last phase, when exporting the image . If you want to see the final result, you will have to export it first.
STEP 7
For the final step, we choose the image in which we want to add our wonderful watermark and go to File-> Export.
To export
This dialog box will open where we will look for the option «Watermarks». The drop-down will appear the one that we created a moment ago (or several if you create several versions), we choose it, export and go.
When you go to look for your image, wherever you export it, it will appear with your watermark.
ADD AN IMAGE
Do you remember that at the beginning we chose between text and image as a watermark? Let us recover that moment of transcendental decision and say that in the end we seem to insert a very cool logo as a signature . To do this we would repeat Step 1: Edit-> Edit watermarks, and we would be back in the watermark editing box . Here we would choose the option " graphic " in "watermark style" (top right of the box).
We will open a search engine for images directly from our computer. There we will choose what we think. For example, I looked for a specific one to exemplify this article that represents a goal and its diaphragm opening.
Insert image as watermark
Once selected, we would open it and we could modify the watermark effects just as we would with a text watermark (only opacity, size, box, anchor or rotate, that is, the "final" part of the panel). edition).
Add image as watermark
Once satisfied, we save, rename and follow the same steps we have commented for the watermark with text.
What do you think? Easy, right? Would you share it so that more people can benefit from this information? Thank you very much for reading here, until the next article.