
Surely more than once you've tried to get a black background for any of your photos, right? You might want to make a portrait or have become fond of object photography, or even advertising. And it is very possible also, that after buying a brand new cardboard-black fabric, you have placed your protagonist in front, you have taken the photo and you have realized that in reality, that background that you see so, so black, in your image, does not look black. Maybe dark gray yes, but black, no no.
And it's frustrating, because black backgrounds allow us to highlight and contrast the main subject, and they are very elegant, what do you want one for? Let's see how to do it.
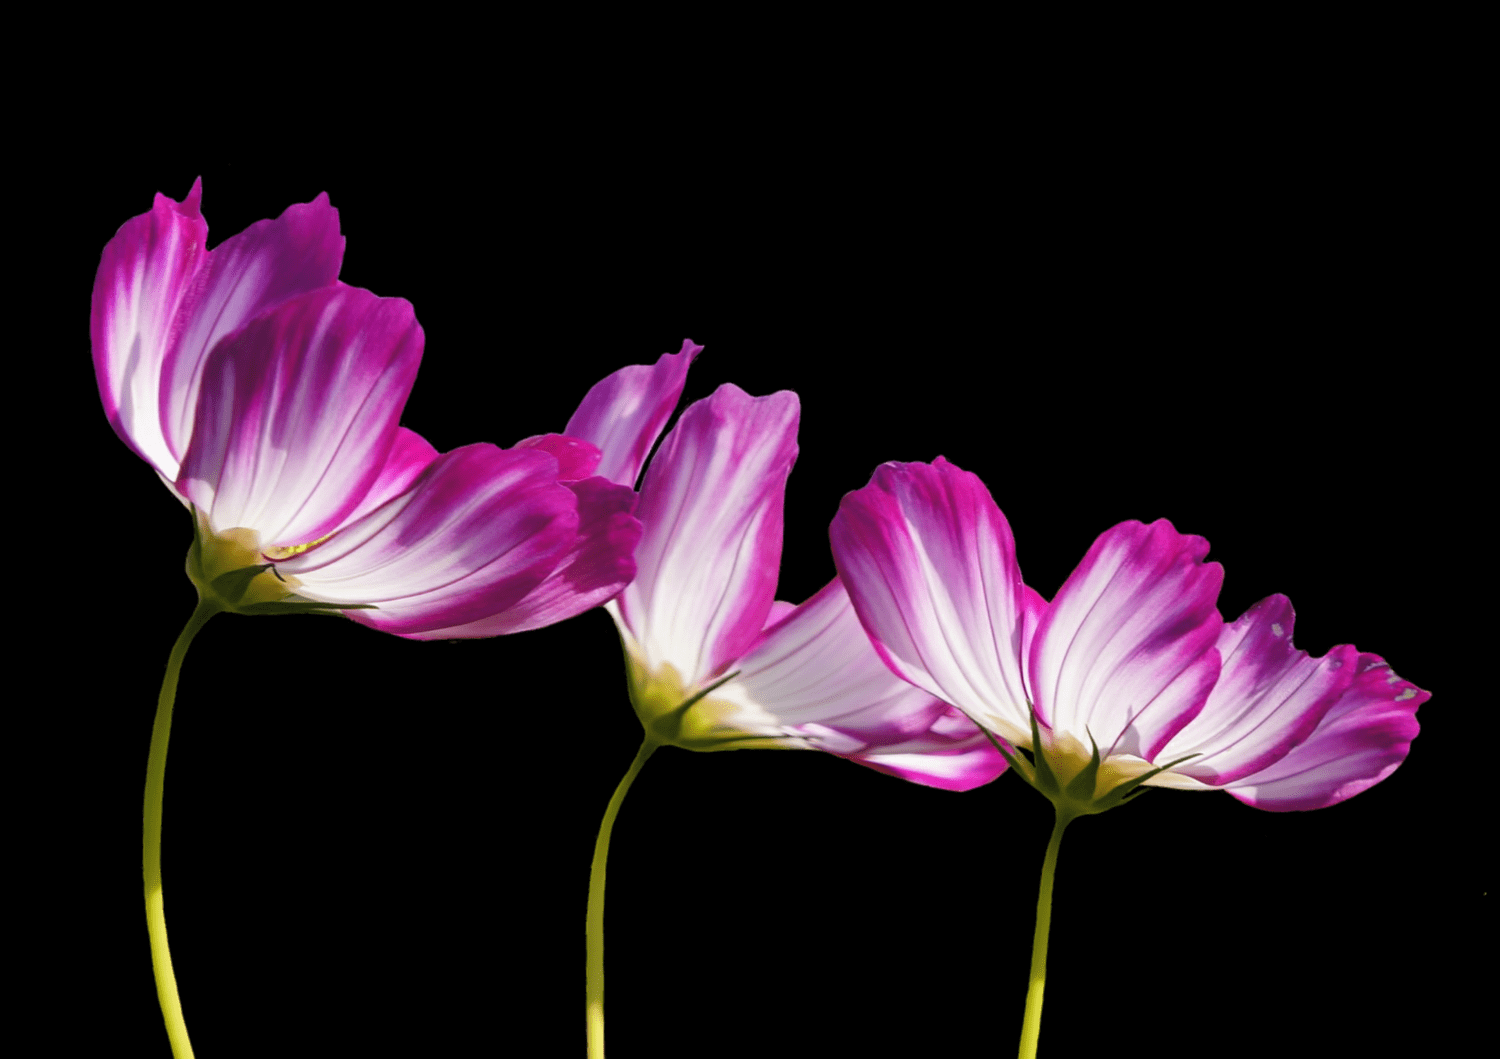
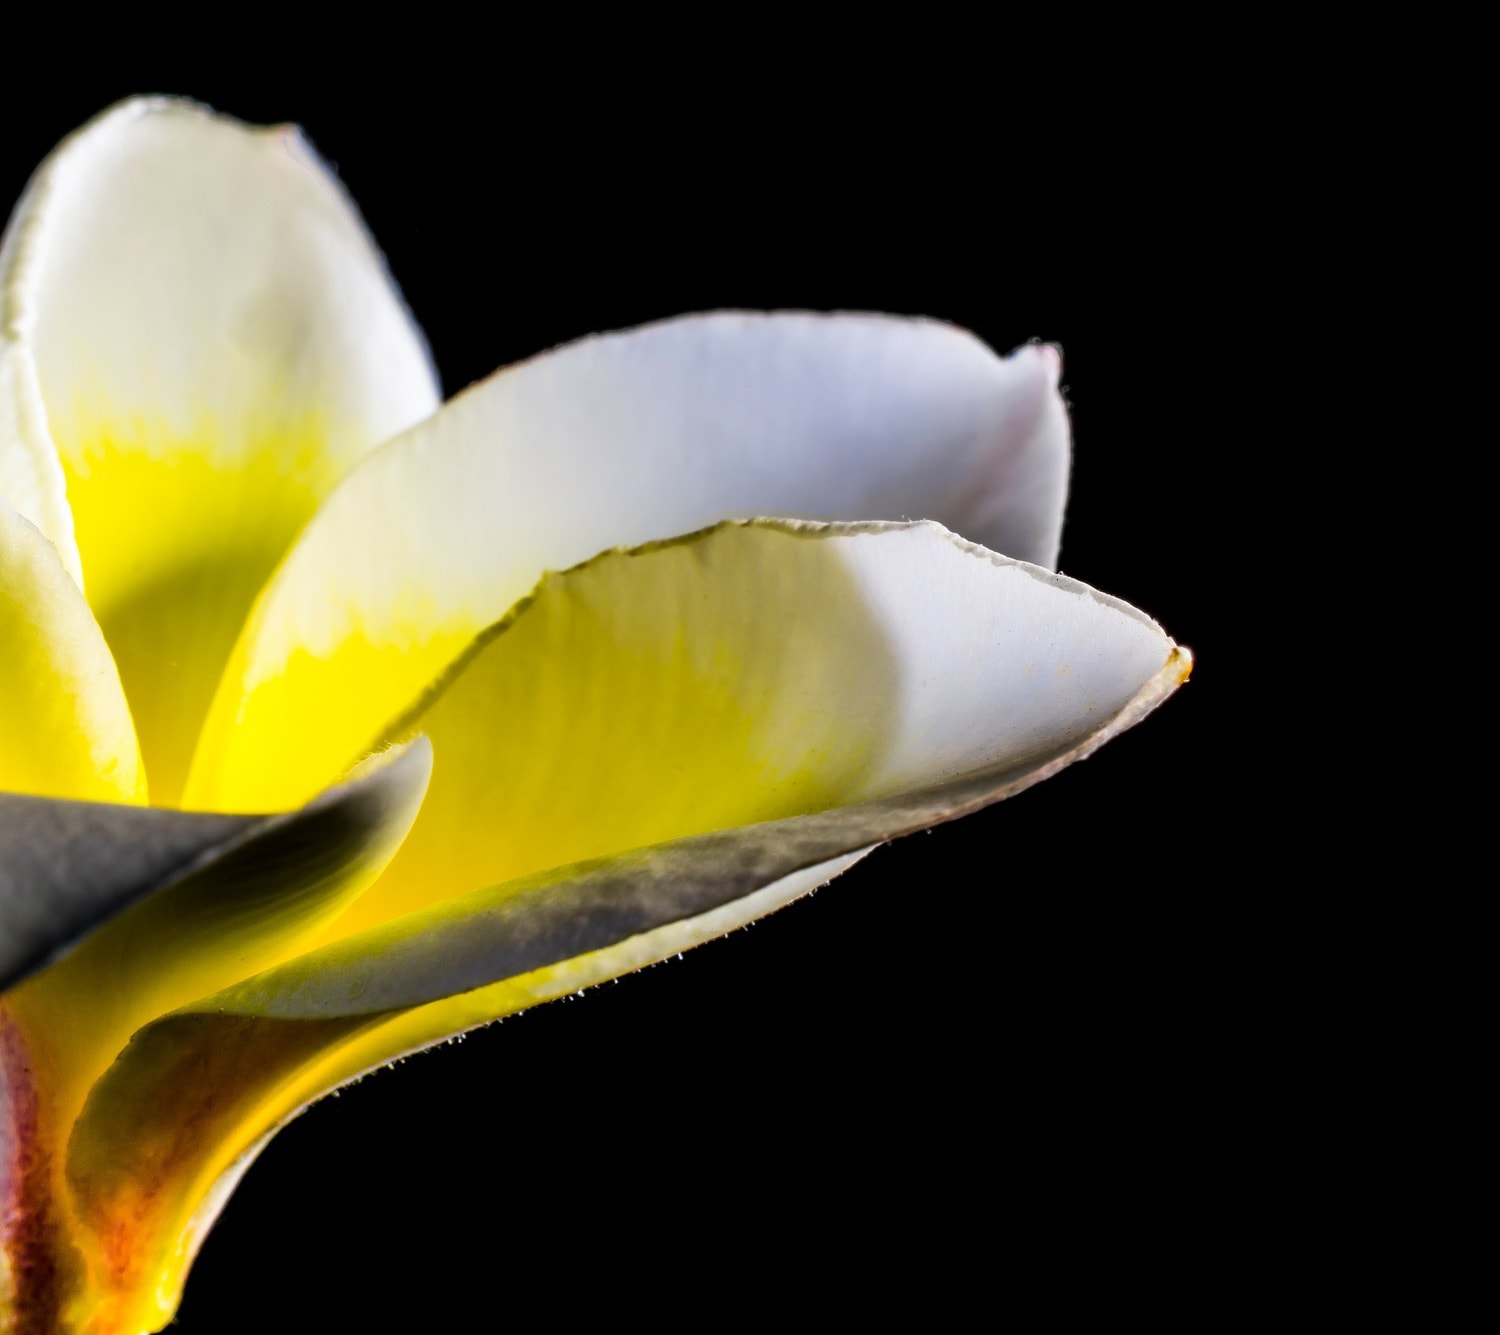 Getting a black background is not always so obvious
WHY DON'T I GET MY BACKGROUND BLACK?
It is curious that having a black background you cannot capture it in your photo, right? What basically happens when we do not get a black background, is that the illumination of the foreground (main subject) and the background (background or ambient light) are not well differentiated . That is, they are mainly too close to each other and end up mixing. This can be for several reasons:- The foreground and background are too close.
- The flash has too much power and ends up illuminating both planes.
- In short, because the illuminations of both planes are too similar.
SOLUTIONS AND ADJUSTMENTS TO MAKE YOUR BACKGROUND BLACK
- Keep the main subject (foreground) in the background as much as you can, so you will prevent the flash from lighting it.
- If you cannot move the background away or it still does not appear black enough, try to bring the light source closer to the main subject or foreground, so you will need less power from the flash to illuminate the foreground and consequently less illumination will reach the background.
- Close the diaphragm to have less ambient light and the main subject well focused (more depth of field). The main subject will illuminate it with the flash.
- Reduce exposure time to turn off the background.
- Use a low ISO , so you will retain good image quality and have less ambient light.
- Work in RAW, so you can readjust or fine-tune the adjustments you need to improve your image.
NECESSARY MATERIAL
These types of images are designed to work with flash , since controlling their flash and intensity is easier than if we do otherwise. However, it is possible to achieve it provided you get enough lighting difference between the foreground and the background.- External flash : It is with which you will get better results, since you can control the power or directionality of the flash.
- Integrated flash : It does not allow you to control the directionality of the flash, so it will always be frontal.
- Continuous light source : If you don't have flash, you can do it with some continuous light source such as a table lamp or even a flashlight.
- Dark background : While it will help to achieve a black background, it is not essential. Following the steps above and as long as you get enough difference between lights and shadows, you can get black backgrounds even with those that are not. Although all help is little, so if you have one, do not hesitate to use it.
EDITION
If you have a good base and have achieved a good result in the original image, you can finish perfecting your image in the edition with good results. Depending on the image you can:- Darken the shadows
- Increase black
- Increase the contrast
- Make adjustments to the lights
- Increase or reduce targets
- Retouch the exhibition
- Saturation
SUMMARIZING
The main reason why, despite having a black background, we fail to capture it in our images, is because there is too much ambient light that reaches that background or, in other words, the foreground light (which is what we are interested in exposing correctly) and the second, they are too similar. From this reflection, what we have to do, is to ensure that the difference in light between the foreground and the second is high. We will do this by trying to turn off the background, through the aperture of the diaphragm (closing so that less light enters), the speed (higher to allow less light to enter), separating the foreground from the bottom so that the flash does not illuminate, or bringing the light source closer to the foreground (so that it does not illuminate the background). And remember, if there is enough difference between the foreground and background light, you won't even need a dark background to make it black. I know that sounds strange, but when you do the test according to the parameters you will see how you get a wonderful black background even without having it. What do you think? Have you ever tried to get a black background without good results? Following the steps above you will surely get it. Black backgrounds are a great resource for portraits, for objects, still lifes, for advertising photography, etc., so don't stop practicing until you get it, you'll see that the results are great. I hope you found it useful. If so, please do not hesitate to share it so that someone of mine can benefit from its content. Thanks and see you next time.