
Mario's Note : We continue with the series of Initiation Guides. On this occasion Iaio Atamián brings 13 tips and tricks that will help you improve your photos of the moon or launch yourself in that type of photography if you had never tried it. From the beginning of humanity the moon has been the object of the greatest fascination for the human being. Light source among so much darkness, the moon has become one of the most wonderful elements that decorate the celestial landscape that surrounds us, and one of the most coveted objects by photographers, when thinking and taking their photographs. Have you ever tried to take a picture of the full moon on a clear night in search of capturing its magnificence? You've made it? Do not worry, in today's article I will show you everything you need to know so that you can make not only incredible portraits but also to start using this star when composing your photographs.
PHOTOGRAPH THE MOON
Although it may seem like a relatively simple task, obtaining the best results when photographing the moon is not easy at all. Before starting, I recommend that you take a look at the following articles that will be very useful to make the most of the advice that I come to bring you today:- As in most cases, photographs of the moon are taken at night, I recommend you read: Introduction to night photography .
- Although it may not appear, the moon moves very fast so you must make a correct measurement and exposure to find the ideal shutter speed. I recommend that you take a look at how to get long exposure photographs and the following examples of light measurement modes .
- Much more difficult than photographing the moon is photographing a starry sky, so if you follow Mario's advice in the article: how to photograph a sky full of stars , photographing the moon will be much easier.
- In low light conditions, it is very likely that your photographs will move if you do not take the necessary precautions. Do not worry, if you read the following article you will not have any problem: how to avoid photos moved in 6 easy steps .
WHAT EQUIPMENT DO I NEED?
- Camera : to take some good photos of the moon, it is not necessary to enter the dilemma of which camera you need: SLR or compact , since with either you can get good results. What you can not miss is a good zoom. If you don't have a target TV, you can borrow one or even rent it.
- Tripod: for more stabilizers that bring the current cameras, if you want to get the best results, ideally you will get a good tripod to gain stability. You can borrow one or run to a store to get yours, but first, do not forget to read the following article where Mario explains how to choose a worthwhile one: the tripod that your camera would like to have .
- Remote control: ideally, since you are going to work with very long focal lengths , it is that you use a remote control when shooting your camera and thus avoid that, when you press the shutter, you accidentally move your camera. Anyway, you can use the "shooting delay" mode that all cameras bring in their menu, and thus avoid being in contact with it at the time of shooting.
MOON PHASES
Before going out to make the best portraits that anyone has ever done to the moon, you must first know what stage it is. Why? Imagine crossing a field to reach a lake, plant the tripod, set up your camera and after a few hours of waiting, you realize that there is a new moon. Almost any daily calendar marks the moon phases, but if you do not have any at hand or do not feel like going to look for it, here is a page where you can check in which phase the moon is or will be coming soon: Spanish lunar calendar . Be careful to look at the lunar calendar of your geographical area when planning your next photos.NOW, 13 STEPS, TIPS AND TRICKS TO PHOTOGRAPH THE MOON
Then I leave a series of steps with their corresponding advice so you can get the best results when making a photographic book to the moon:- Find out what phase it is in: as the protagonist of this article is the moon, the first thing you need to make sure is that it is visible and in a phase that you find interesting to portray it. You can do it in full moon, or when it grows or decreases. It seeks to achieve the greatest visual impact.
- Find a good place: the moon will be there, always above your head, the problem is where you are going to stand to be able to portray it. Find surfaces that allow you to work comfortably with your equipment and where you can firmly support your tripod.
- The darker the better: although you can take incredible photographs of the moon by day, first try it in the ideal conditions: in the dark of the night. Likewise, it is not the same to perform them in a city that reflects a lot of their light in the atmosphere, than in the middle of a field. You must configure your device according to the place where you are going to take the shots.
- Prepare your equipment: once you have chosen the place, mount your tripod so that it is as stable as possible. If you don't know how to do it, here's a little help: how to properly mount a tripod . Be careful to take flashlights with you, since in the dark of the night you may lose some of your equipment, if you are not careful enough.
- Remote control or delay mode: in order to avoid that by pressing the shutter button you end up moving the entire camera, use a remote trigger or set the camera to “delay mode” in 5 or 10 seconds, so that you can move away from she with enough tranquility and without throwing anything away.
- Use the spot metering mode: since the main character of the shot is the moon, configure your camera to measure the light in a timely manner . This way, you can correctly measure the moonlight for the scene with your camera.
- Maximum focal length: to achieve the closest approach, use the maximum focal length that your “zoom” lens allows. The focal length is measured in millimeters and this will depend on the lens you are using or on which your compact digital camera or bridge is built. Whatever your camera, zoom to the fullest and try to focus to infinity.
- Medium aperture : to capture the greatest amount of detail on the lunar surface, it is advisable to use medium diaphragms. If the aperture of your lens diaphragm goes from f / 3.5 to f / 22 using a diaphragm at f / 8 uf / 11 would be ideal. When you close the diaphragm, you will let the less light into the sensor but the depth of field will increase.
- Sensitivity to a minimum: when working in low light conditions, minimizing, as far as possible, the ISO sensitivity will help not only to reduce the noise of the photograph, but also to achieve a very black sky.
- Not too fast, not too slow: the shutter speed should not be fast enough for the picture to come out completely dark, or so slow that, as a result of the movement of the moon, I end up drawing a white trail on the sensor. You must find the balance between sensitivity, aperture and shutter speed to achieve correct exposure. You can start shooting at 1/125 ”and increase or decrease the shutter speed as you see fit.
- Lock the mirror for greater stability: SLR cameras work with mirrors that allow you to visualize the scene through the viewfinder before they rise and thus allow the light to reach the sensor. When the mirror is raised, it can generate vibrations in the camera. Use the Live View mode if you notice trepidation in your moon photographs.
- Check the photos 100%: once you have taken the shot, do not be satisfied to see that the viewfinder shows it clearly. The small screens of the cameras can fool our eyes, so I recommend that you view the photographs at 100% zoom in order to verify their sharpness.
- From the viewfinder to the computer: once you have downloaded your photographs, you can retouch them, reinforce the lights and shadows, improve the contrast, crop them, etc. using the editing software that you handle best . Anyway, it is very difficult to achieve a good photograph in the edition, if it was not taken correctly, so redo all the previous steps if you are not satisfied with the results.
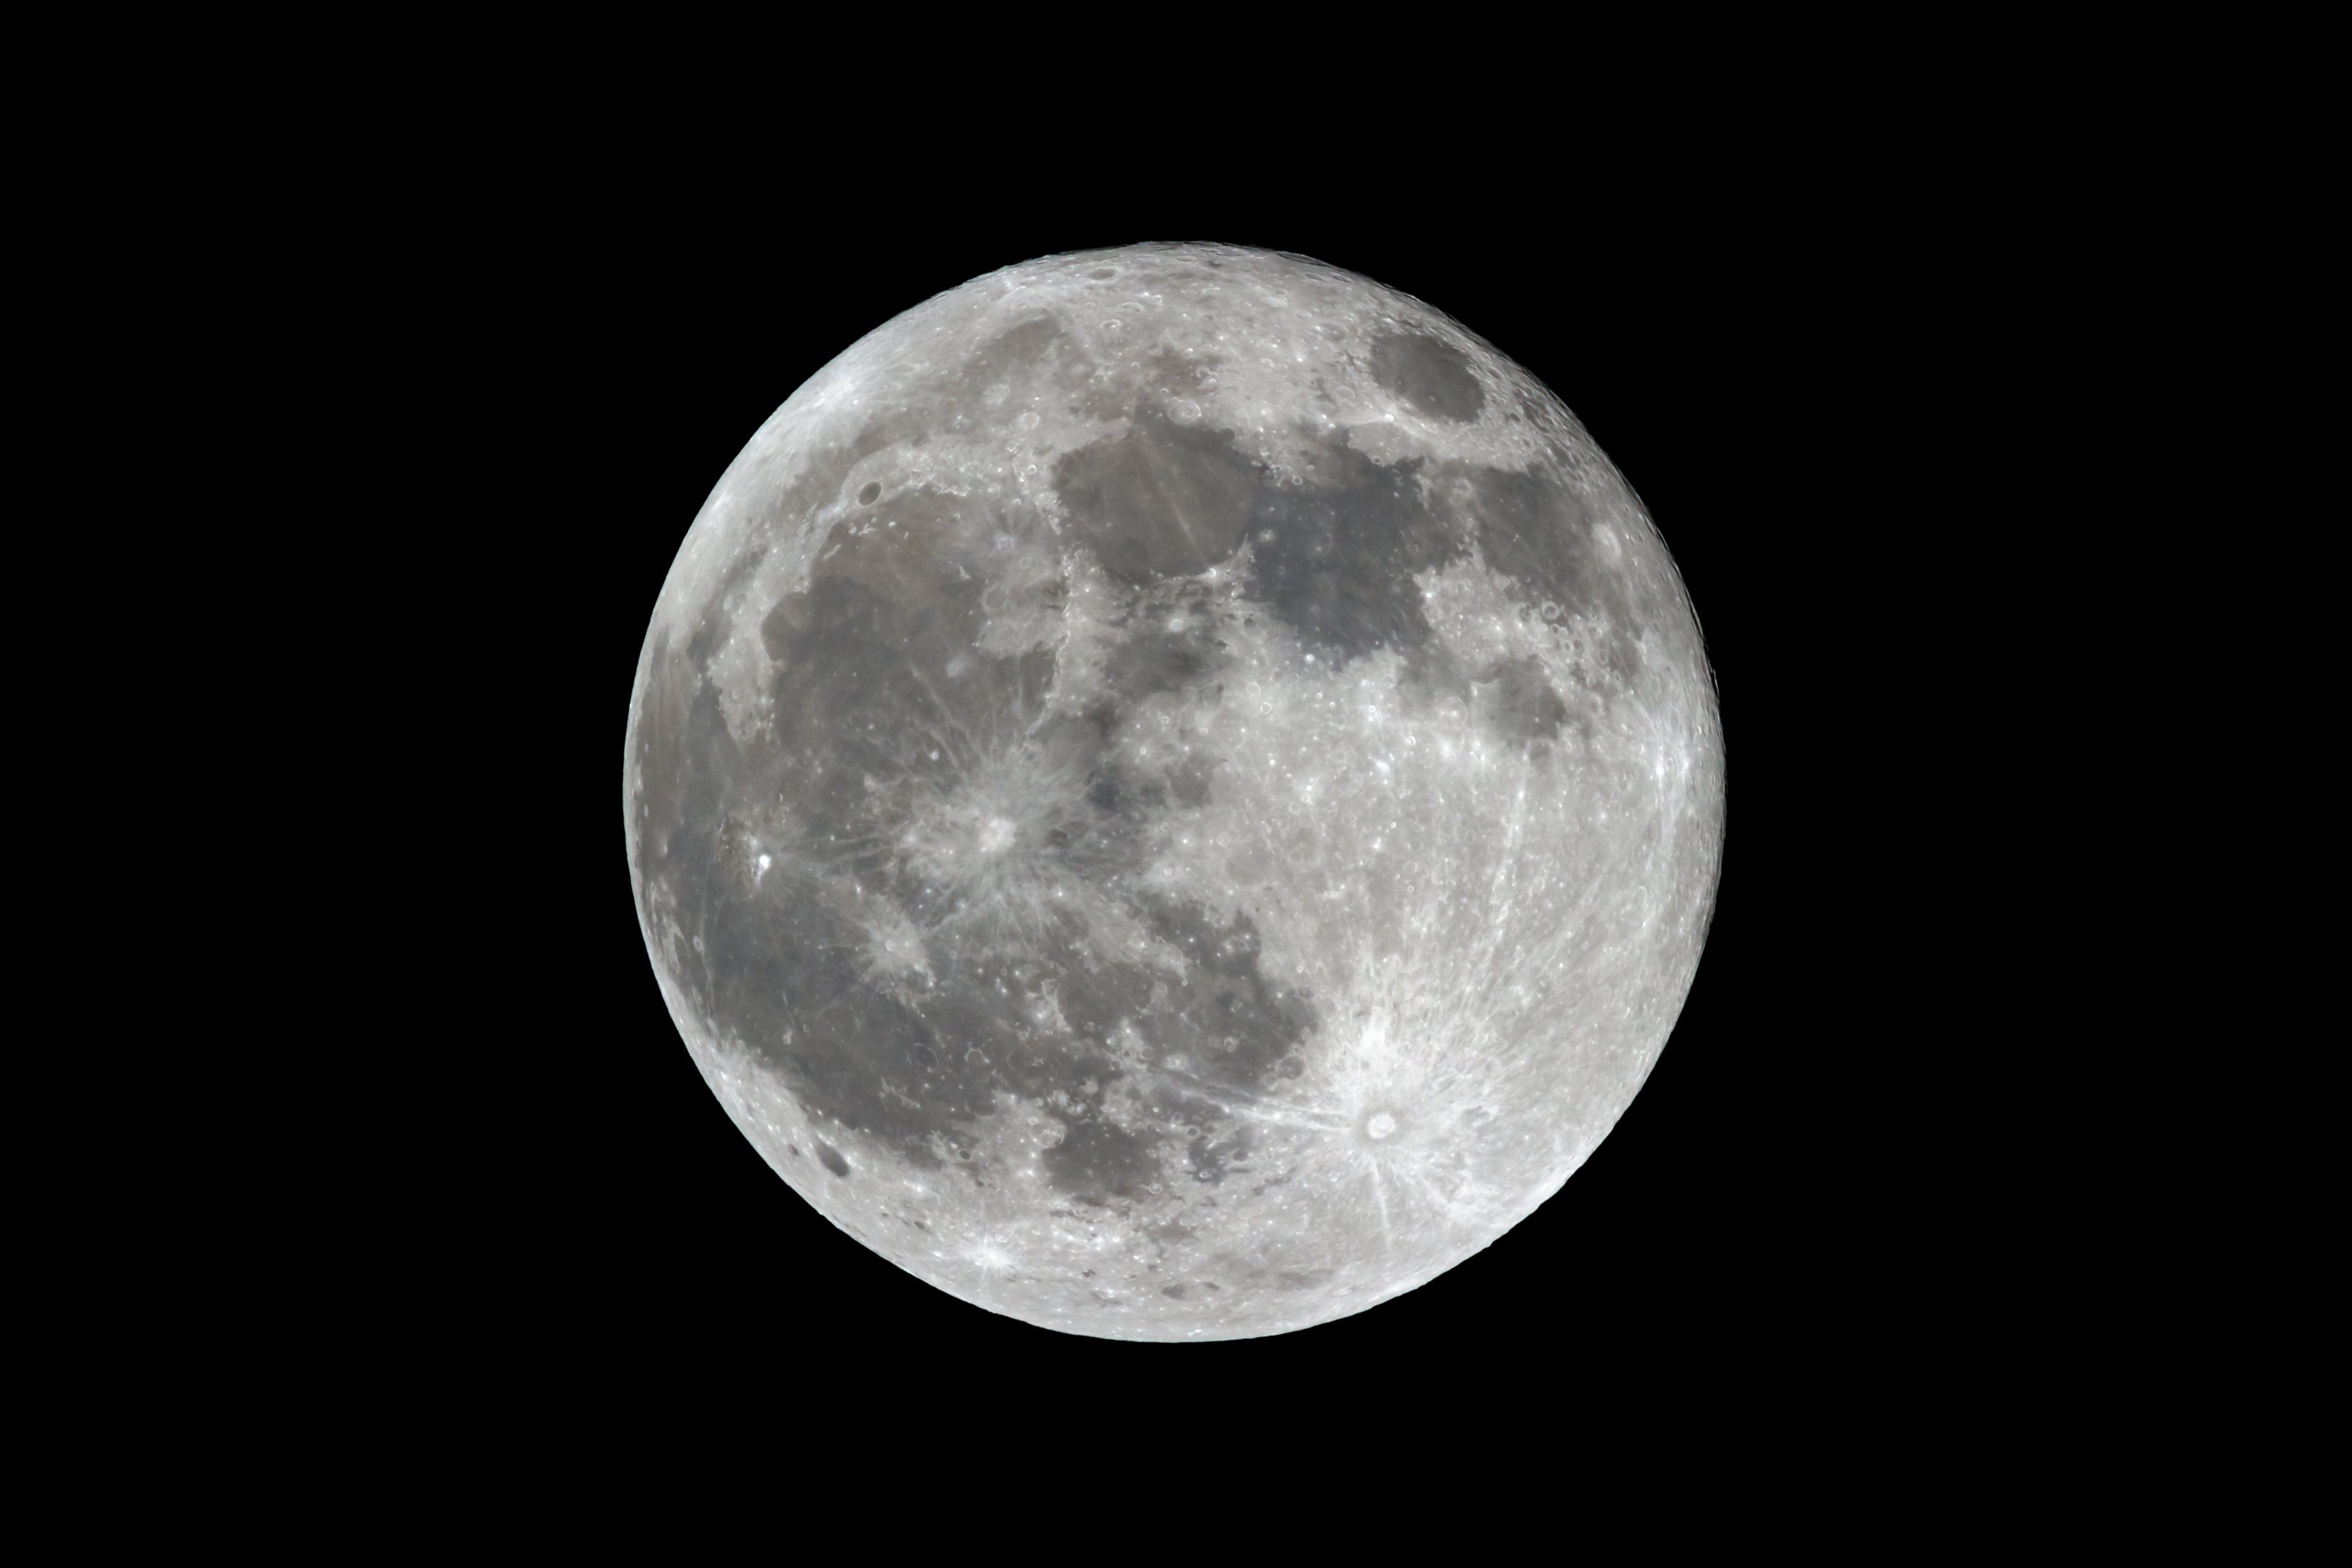
THE FINAL RESULT
THE MOON AS A COMPOSITIONAL ELEMENT
Most likely, at first, you just want to take a good picture of the moon with your brand new camera to show off in front of your friends or expand your file, but soon, and as you gain more and more knowledge, you will begin to See the moon as a means to transmit or reinforce a message. As I mentioned in the article on how to capture and transmit the movement , “A photograph is really impressive not only when a good composition is achieved or if the subject or object is attractive enough, but what differentiates a good photograph from an exceptional , is the sensation that manages to transmit to the observer. ” The moon helps to reinforce the message, to convey a sense of atmosphere and place in the photographs, its light stains the dramatic scenes and its presence alone carries any photograph with emotion. The climate that it generates, the light that it reflects, the feelings it transmits have made it a means for your photographs to take a leap in quality. Here is a gallery of images that you can use as a source of inspiration: You no longer have excuses for not going out tonight, camera in hand, to capture that beautiful star called the moon. I hope you liked the article. Do not hesitate to practice and spread it, please. Thank you