9 TIPS AND TRICKS TO IMPROVE YOUR PHOTOGRAPHIC COMPOSITION
9 TIPS AND TRICKS TO IMPROVE YOUR PHOTOGRAPHIC COMPOSITION
Mario's Note: I am pleased to welcome Caro Musso, new contributor to the Photographer's Blog. Caro is, like you and me, lover and passionate about photography, as well as a wealthy author. Among his publications is his novel The young woman with honey eyes . Starting today, Caro will participate with a weekly article which I hope you like and use.Welcome Caro!How are you going to make good photos? You have it very difficult. Yes, already. You have a very outdated camera that you are even ashamed to take in front of other people, you lack the appropriate lenses, you do not have a remote trigger, or flash or tripod. And what about postprocessing, you don't have Photoshop or any decent photo editing program. How were you going to take good pictures?Wait. There is a free, light thing that you don't need to buy, nor does it require you to carry it in a backpack or anything like that. A TRUSTLY powerful thing, one of the very few things over which you have absolute and total control. Something that allows you to greatly improve your photographic results, with the same outdated camera you complain about. It's called "Composition."Why is the composition so powerful? Very simple, a wonderful scene can lose all interest in a bad composition and, nevertheless, an object totally devoid of interest can become very suggestive if a good composition is made.Today I bring you 9 tips and tricks (with specific examples) related to the composition, which will help you succeed with your photographs.
9 TIPS AND TRICKS OF PHOTOGRAPHIC COMPOSITION
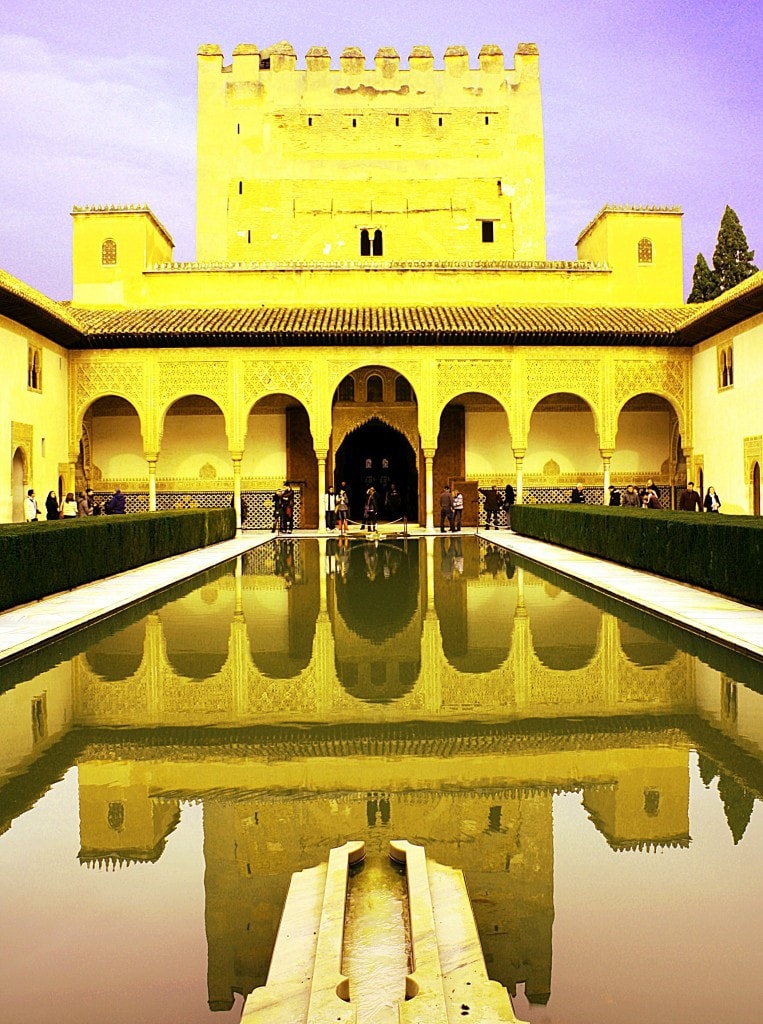
The first thing we have to decide is what our center of interest is and the frame we want to give to photography, horizontal or vertical. The same image can transmit different sensations according to the frame we give it. The horizontal usually gives a feeling of spaciousness or serenity, while the vertical is more dynamic.Now let's see the rules and advice that you always have to keep in mind.1) Rule of thirdsThis is the most important of all and is derived from the famous golden ratio.Divide the image into three thirds both horizontal and vertical and will result in four intersections of lines.These intersection points are known as strong points and that is where we should place the object of interest so that our photography has a greater impact. Trick: If you activate the grid of your camera it will help you to make a good framing from the beginning and not have to resort later to the editing programs.The girl here is the center of interestHere, as in every portrait, the center of interest is the eyes2) Law of the horizonNot only for landscape photos in which we have a horizon, but also for any line of the image that helps us divide the composition into two distinct parts. Draw two imaginary lines that section the image into three equal parts and place the horizon in the upper or lower third according to what you want to highlight. If you have a spectacular sky, you can place the ground line in the lower third and leave the upper two thirds for the sky. Never leave the horizon line in the center unless what you are photographing is a symmetry.And do not forget that the ideal is that the horizon line is completely straight.As in this composition the interest is in the sky, the horizon is better in the lower line.In this image, what is intended to be highlighted are the spikes, so the horizon is placed on the top line.In this photo we look for symmetry, for that reason, in this case the horizon line is located right in the center. 3) Law of the gazeIt is very important to leave space in the area to which the person, gaze or object is directed, otherwise it will give a feeling of "squeezing", as in the first photo.Law of the gaze - Incorrect compositionLaw of the gaze - Successful composition since sufficient space was left to the left of the frame, direction towards which the subject looks4) Beware of the proportion of objectsSometimes we photograph a huge monument with a person in front of you who barely sees it. Ask him to get closer to the camera, he doesn't bite!Big ben5) The lineshelp us to direct the viewer's gaze to the object of interest and also to transmit greater or lesser dynamism, depending on whether they are vertical, horizontal or diagonal. But be careful, they should focus attention and not distract it.The lines in the photographic composition6) Pattern EffectPlay with the repetition of elements to give a sense of relationship to the different parts of the image.Pattern Effect7) Use natural framesA window, a door frame, or vegetation can help frame your object of interest creating a greater impact.Natural Frame 8) Fill in the frameFill in the frame with the protagonist and eliminate everything that bothers the image, approach if necessary and do not leave empty spaces, unless you intentionally use the opposite technique of the negative Space . This is used more in black and white and above all transmits calm, loneliness, isolation ...Too much white space at the topHere we have approached a little more filling the frameHere we see an example of intentionally sought negative space.9) Change the height and perspectiveTry to bend over or shoot the photos from a higher angle and see how you like it better. If you take all the standing photos, they will have less impact. To photograph children or pets, get at eye level.Perspective with "normal" resultHere, with a slight change of perspective we have managed to improve the resultDo not forget that the rules are sometimes to be broken, but first you have to know them and have a concrete intention to skip them.And now ... to compose!