

Although its name is scary, "Double Exposure" photography , I don't know of a photographic technique that has inspired photographers as much as this one. As an amateur photographer, it would be a shame if you let this topic go by, because of how difficult it might seem to you, wasting the GIANT flow of creative photographs that you could achieve thanks to this technique .
As always, I promise to try to make this article easy to understand. I will also try to convince you to do your first "double exposure" immediately after reading this post. Please, let it not be another "article that I read and leave it there for as long as it touches" . You read this today and play today.
Let us begin.
EXPOSURE WHAT...?
In photographic jargon and in this context the word "exhibition" means "photography", neither more nor less. I know that with these words I am going to provoke more than one purist who will want to go into the most technical details of what an "exhibition" is, but guys, we are talking soon to simplify the concept and that we all understand each other. Exposure here is "Photography". Double Exposure is… double photography .
WHAT CAN I ACHIEVE WITH THE DOUBLE EXPOSURE TECHNIQUE?
Anything. With double exposure the creative possibilities in photography multiply. Everything you could photograph before you can now do by combining it with any other subject, object or motif: ghostly body effects, reflections, silhouettes interwoven with each other. The possibilities are endless.
Double exposure not only allows you to achieve compositions that are impossible to achieve with a single photo, but even with it you get photos that you could not even imagine. While you dedicate yourself to producing a double exposure, many times you are the first to be surprised by the message, story or feeling that is captured by the combination of both photos.

If a photo is worth a thousand words, imagine two. In my opinion, double exposure is something very close to non-verbal poetry. It is something very visual that can produce feelings or emotions in the viewer that are not always easy to describe in words.
HOW TO TAKE DOUBLE EXPOSURE PHOTOS?
Originally, with analogue cameras, double exposure was achieved by shooting two photos in a row, one after the other, without passing the film or reel. The same space of the film or negative was used to shoot two different photos. One on top of another.
With today's DSLRs there are mainly 2 ways to achieve a double exposure:
- Shooting the 2 photos separately and later merging them using Photoshop or any other photo editing program .
- Using the function called "Double Exposure" or "Multiple Exposure" of your camera. Not all cameras offer this extra feature, but some do. This function allows you to take a first photo from the camera itself and then superimpose it on a second frame and shoot, obtaining a ready-made Double Exposure as a final result. In some cameras you have the possibility of merging the 2 photos once they have been taken. I know that the Nikon D3100 , D5100 or D7000 are some of the cameras that offer this function. For all three cameras the option appears in the retouch menu under the name "Image Overlay"(or look at the user manual, for the D3100 page 158, the D5100 page 181, D7000 page 256). On the D7000 you can also use the "Multiple Exposure" menu option, from the shooting menu .)
Cameras from other brands also have it, but I couldn't tell you which models they are.
Your camera does not include this function of "merging" photos. You also don't have Photoshop or let's say you haven't mastered it to the point of being able to merge two photos into one. What do we do?
If you have an iPhone, an iPad or an Android phone or tablet, you can ? There are endless applications, many paid but some free, that you can download to your mobile and from there create your double exposure works.
I am not going to recommend any in particular because I have not used any, but if you go to the AppStore or the Google Play Store and search for "Double Exposure" or in English "Double Exposure" you will be surprised by the number of applications there are.
TIPS FOR A SPECTACULAR DOUBLE EXPOSURE
Now comes the interesting part. Remember that here the artist is you. The camera or editing programs are a simple "tool", but the creator of the photograph is you.
Here are a few tips that will shorten your learning path and get you started producing stunning photos right out of the box . Tricks and tips that most photographers who are well versed in this matter already apply and that I would like you to know about now:
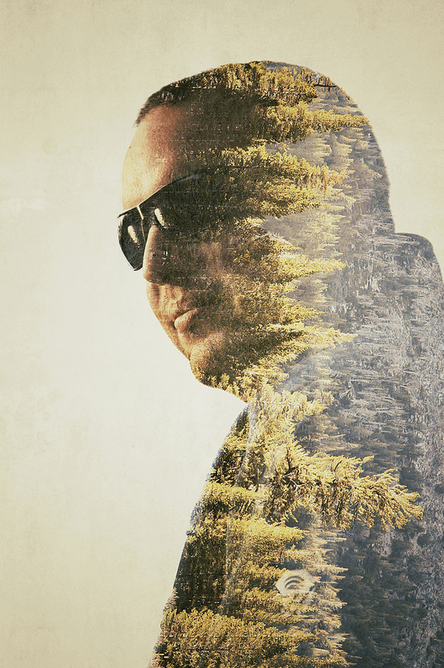
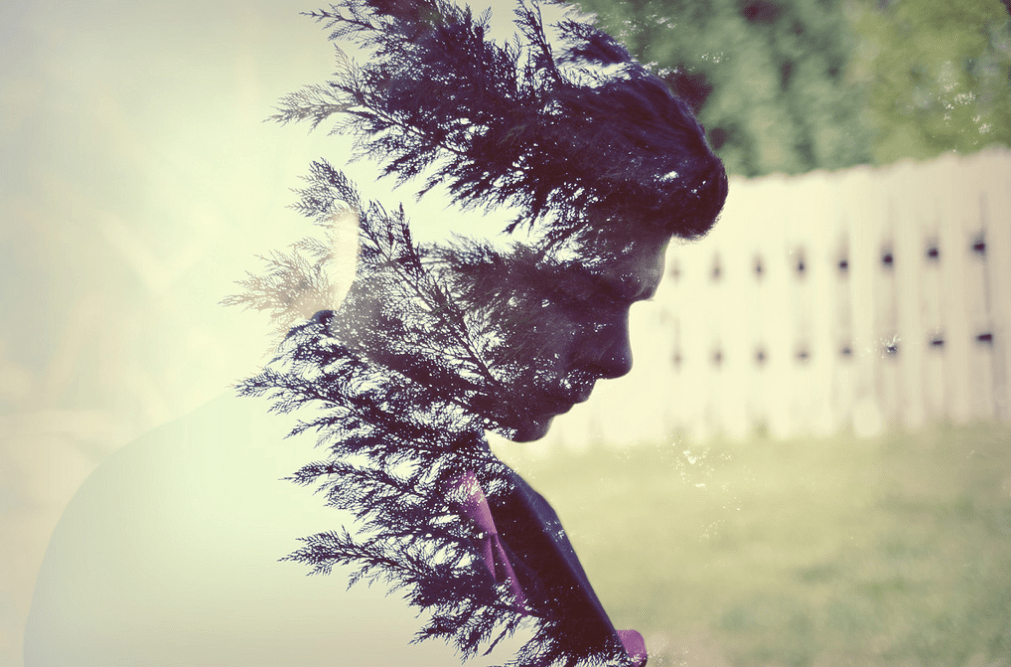
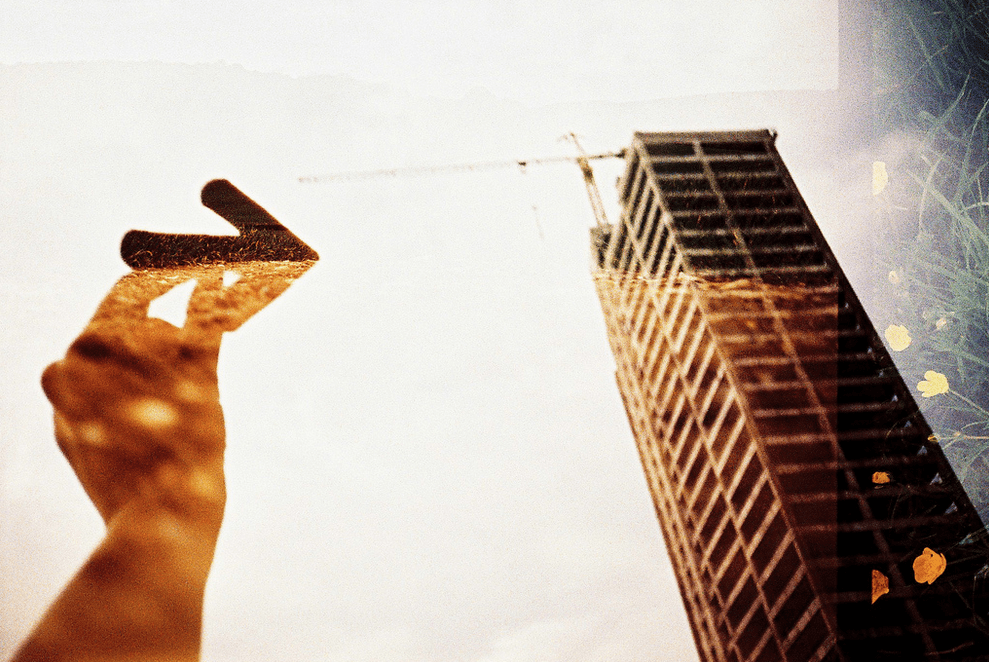
- Try to always include a human or animal factor in the composition. One of the two photos must contain a person, animal or animated living being. The other photo may contain an element of nature: trees, flowers, vegetation, etc. Basically we are fusing something alive that has emotions and facial expressions, with something static that is nature, a pattern, something that serves as a background. It usually gives very good results.
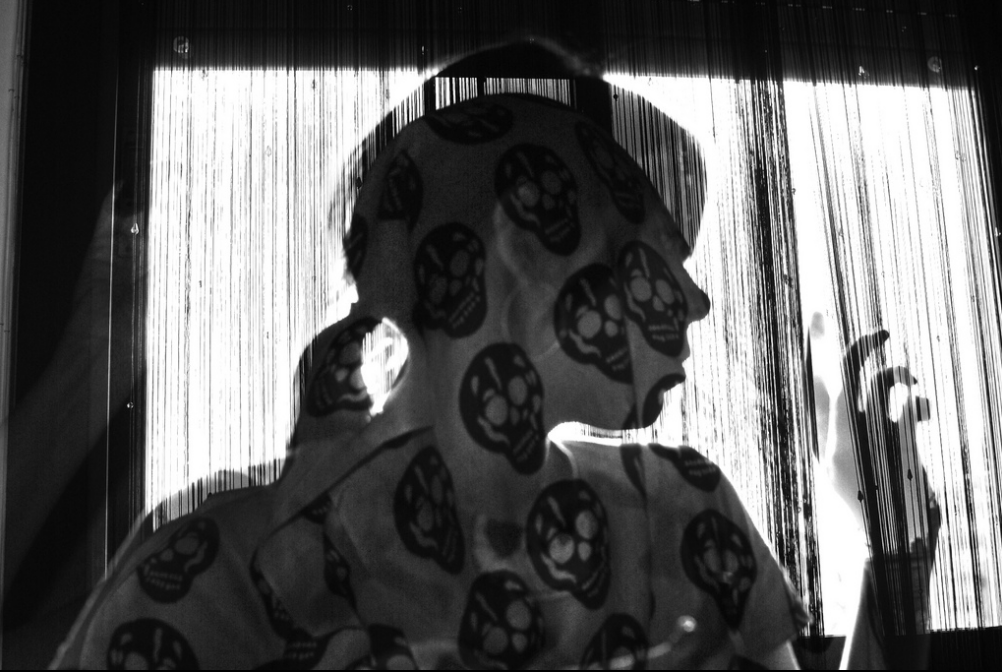
- The photo in which the subject, person or animal appears, try to shoot it against the light. The more "silhouetted" appears and the "darker" the person appears, the better result you will get.
- The second photo, the one of the environment, nature, wall or trees, shoot it with a correct lighting level. You don't need it to be underexposed. The idea is to create contrast between the first (dark subject) and the second (well exposed environment).
- As it is about merging 2 photos, be careful not to fall into a final photograph that is too full of colors. To avoid this, try to keep a minimum number of colors in each of them. The first photo that does not have more than 2 predominant colors, and the second one, maybe 1 or 2 colors at most, predominant. Assemble everything keeping in mind the predominant color (or 2 colors) that you want the final photograph to have.
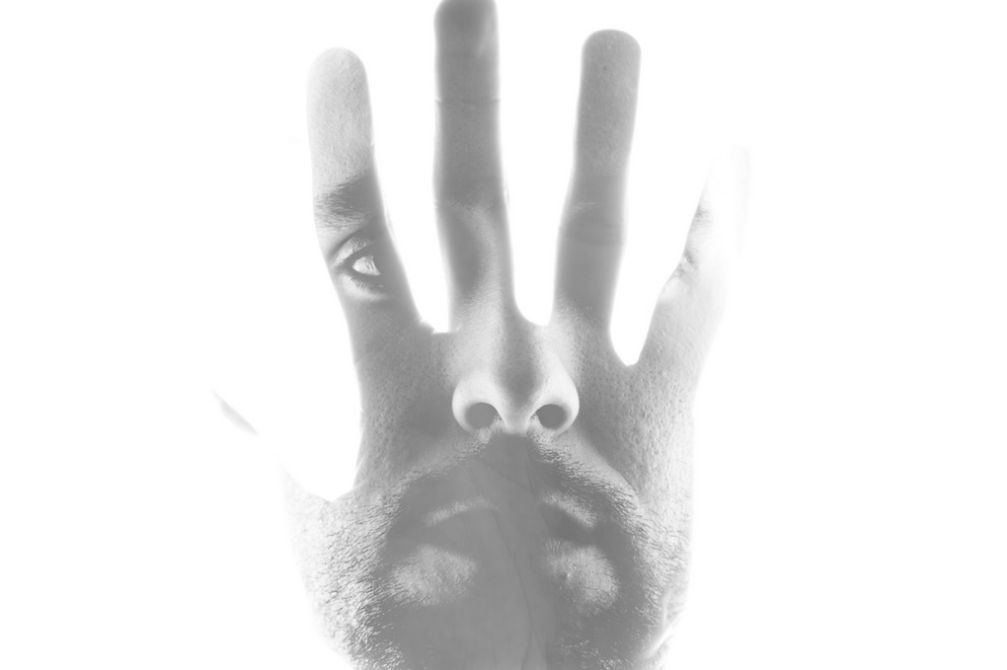
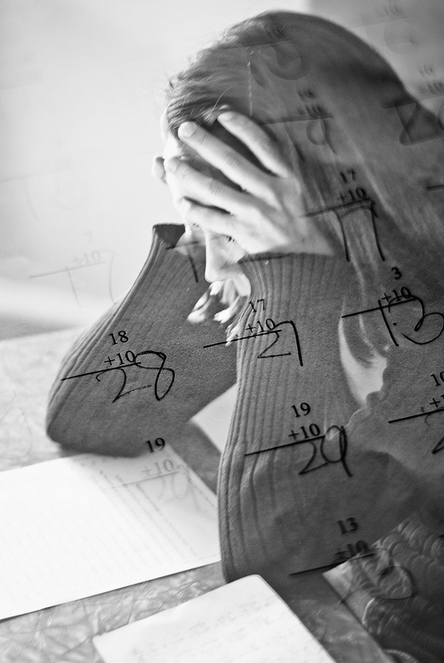
- If it is too difficult for you to eliminate the excess of different colors, how about we work the photo with the idea of producing something in Black and White?
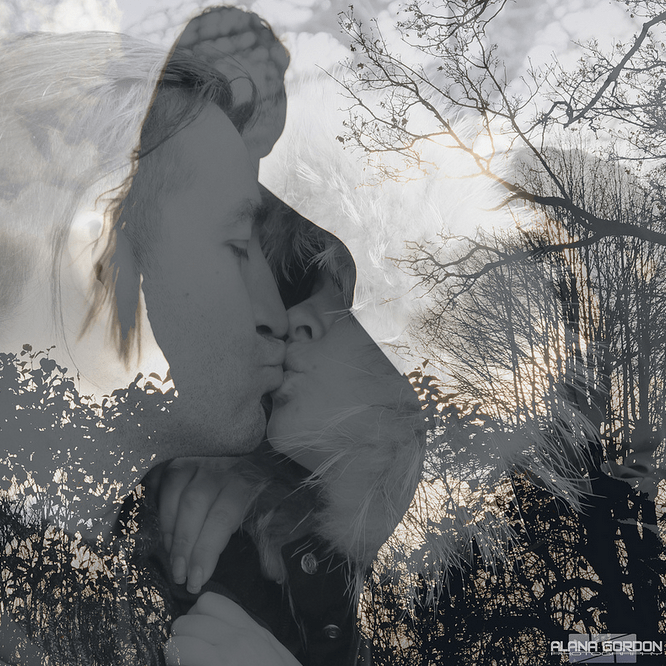
- The orientation of the two shots does not have to match. You can reverse the direction of a photo (from horizontal to vertical) in order to merge it with an originally vertical one. (See previous photo example, in which vertical trees have been photographed in the background).
A LITTLE INSPIRATION
Finally, I need you to feel a little inspired, to feel and perceive the beauty of Double Exposure photography. Your mouth is going to water:


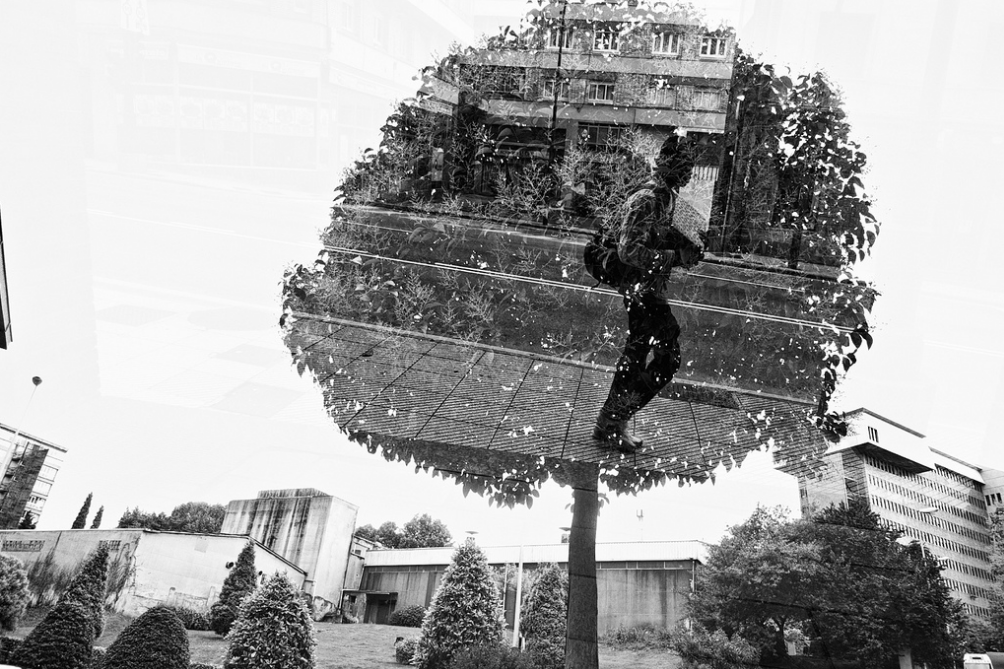

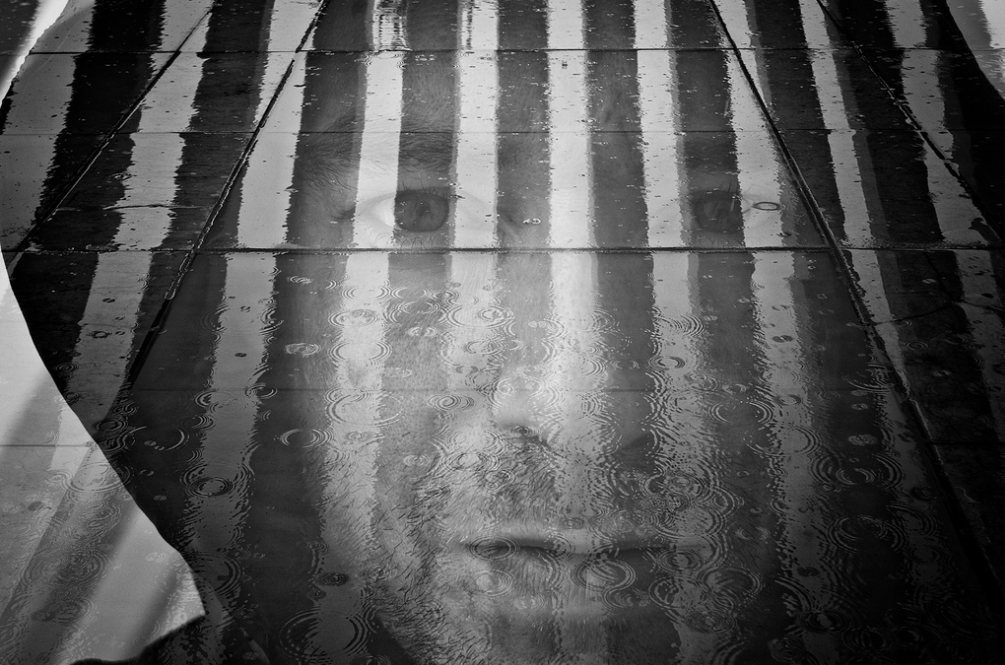

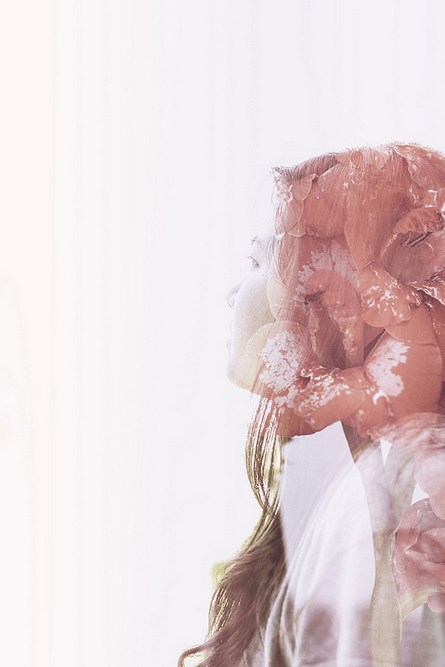
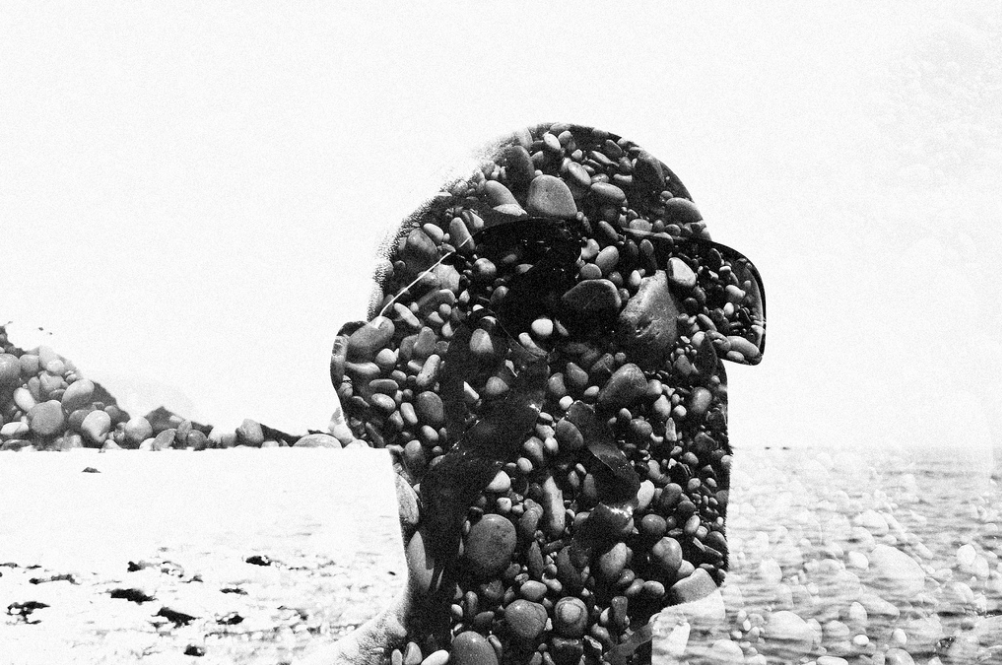

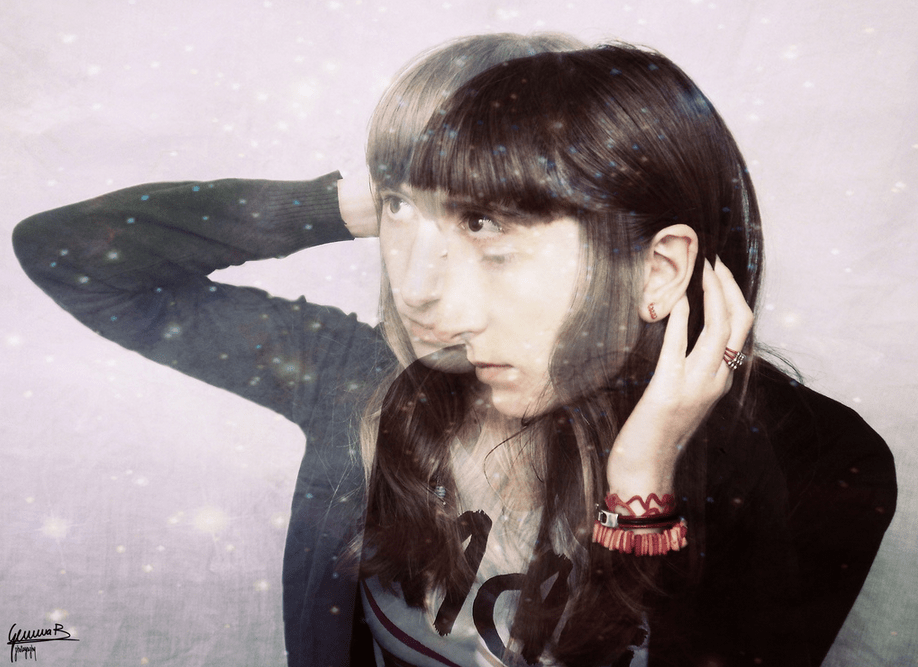
They are photos that other mortals have taken and that you too, with a little practice, can achieve and even surpass.
