
Perhaps you have heard of urban photography and street photography and have probably even thought that they are the same thing. Sometimes labels are seen as something negative, but on other occasions it helps to understand concepts and to know where we want to go. In fact, for years both have been one and the term is often used interchangeably, but today I am going to tell you what urban photography is and how it differs from street photography. Because with the new styles they have been separating more and more, although they continue to meet at many points.
The idea with this article is not to catalog, label, or judge, or anything like that, but to open new doors to creativity, give you new photographic ideas so that you can spread your wings and fly whatever cities let you and wherever your imagination takes you. .
To delve deeper into street photography, do not miss the mega guide that we have prepared for you with all the tips and tricks of Street Photography.
Now, let's go to the mess with the urban.
WHAT IS URBAN PHOTOGRAPHY?
Urban photography is one that is carried out in the urban environment, within cities and that pursues an aesthetic and creative purpose, but requires a careful technique. Capture urban elements, architecture, objects or even urban landscapes.

WHAT DIFFERENCES ARE THERE BETWEEN URBAN PHOTOGRAPHY AND STREET PHOTOGRAPHY?
The main difference is that urban photography pursues aesthetics and street photography pursues the message. While the first is more demanding in terms of image quality, in the street the emotion or the story it conveys prevails more.
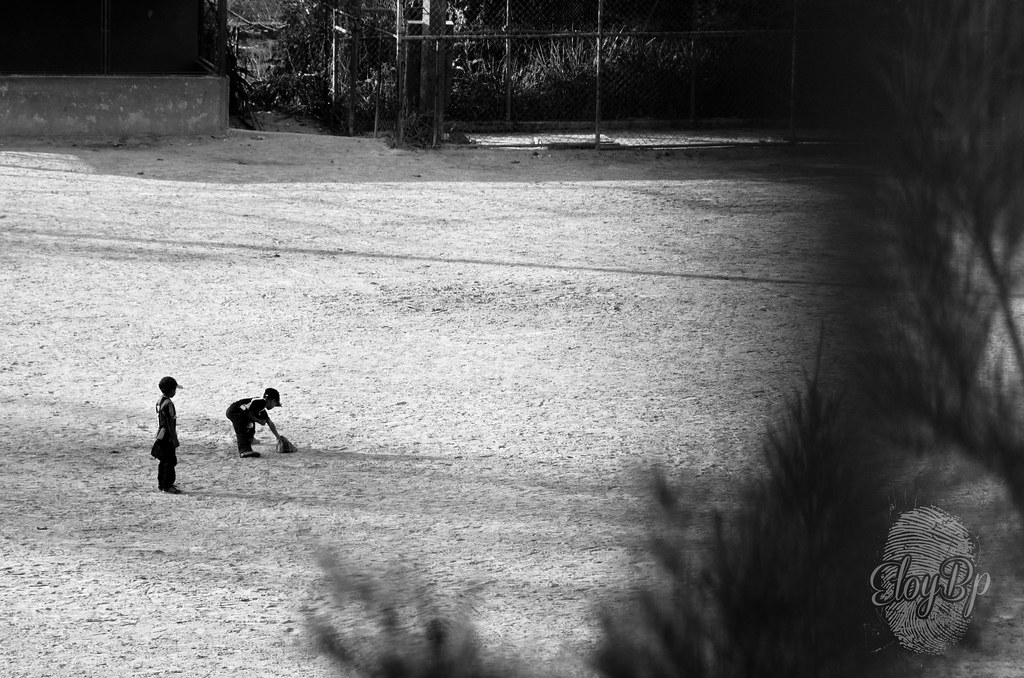
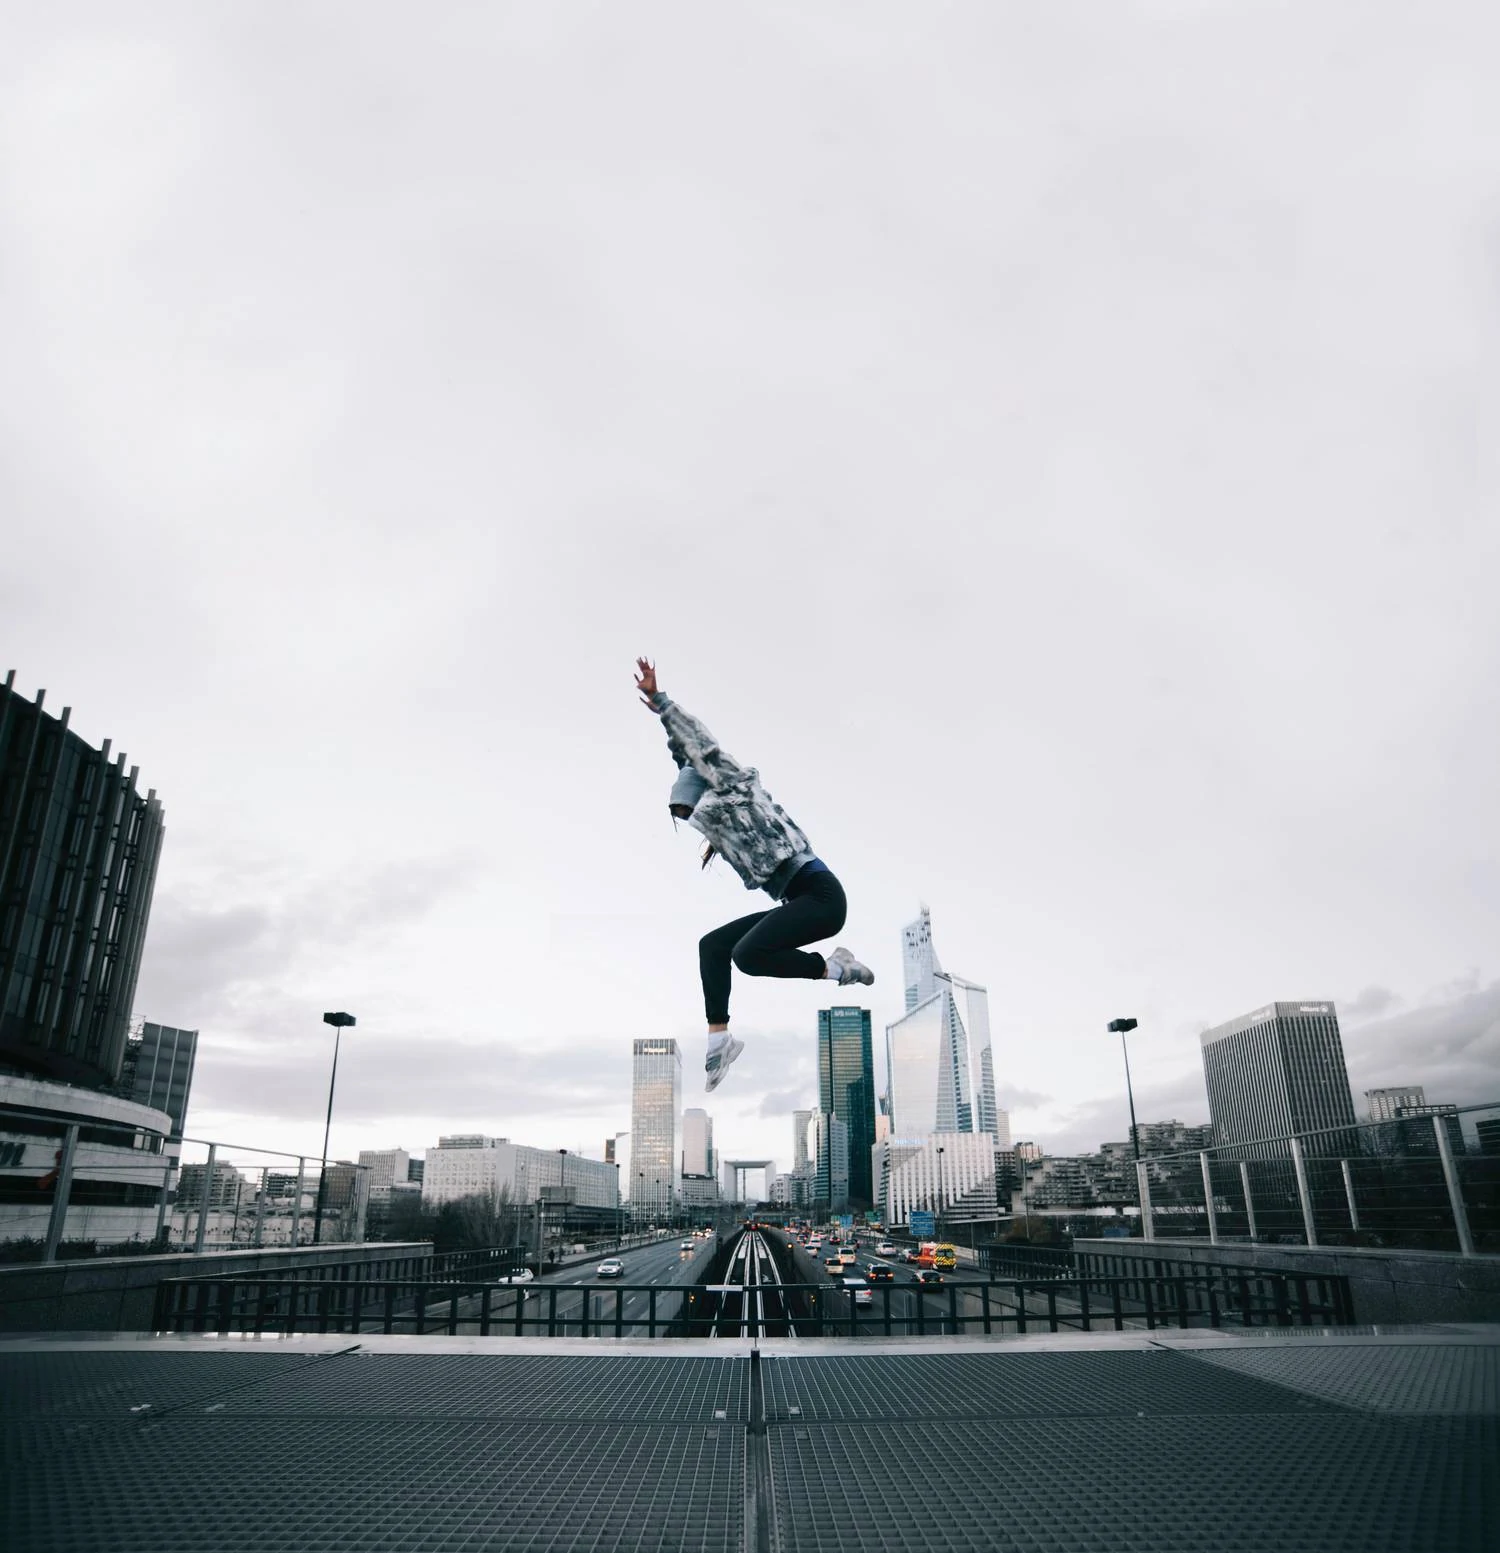
Other important differences are that an urban photograph can be prepared, while a street photograph cannot. An urban photo could be more of a street photo, but not a street photo . Street photography is spontaneous and natural, the photographer must never influence the moment or the scene, but rather capture what is happening.
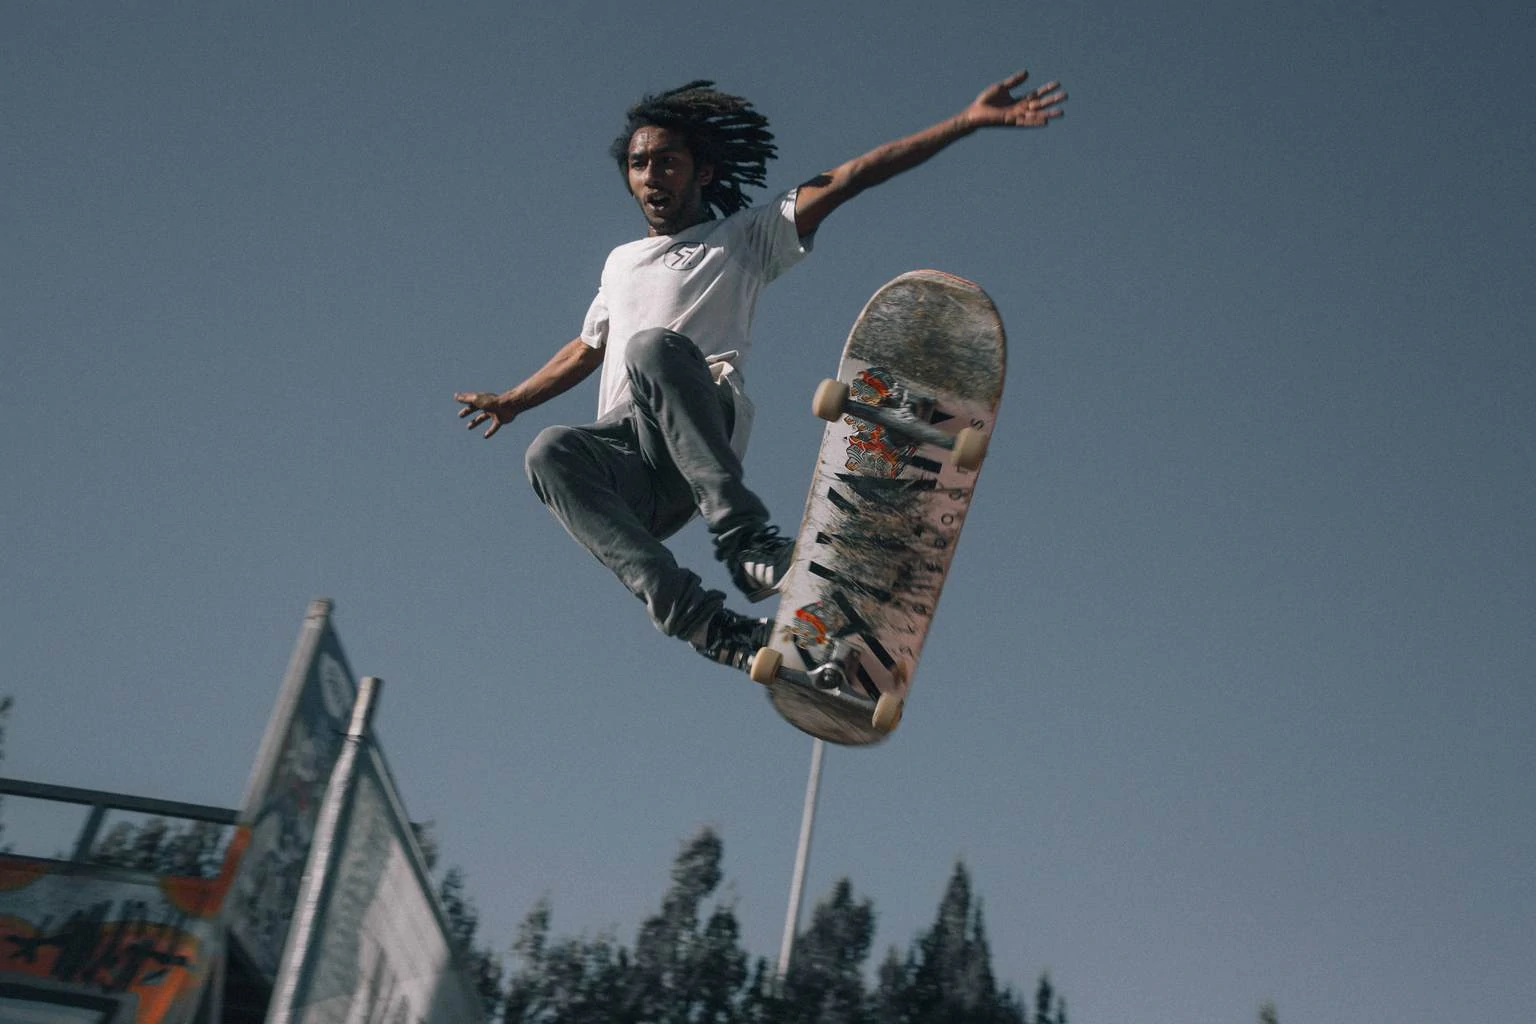
For example, if you catch a person jumping a puddle naturally, it would be street photography. If you have your colleague jump over the puddle to shoot from the best perspective, achieve the ideal frame and with the most spectacular jump, then it is not street photography, but urban photography. In street photography, the only preparation is to anticipate the situation, in urban photography you can manipulate the scene at will to achieve the image you have in your head.
For example, this jump has nothing to do with the famous photograph by Henry Cartier-Bresson that marked the decisive moment. Which is not to say that it is not a well-executed, creative, attractive and interesting photo. It's just a different style with a different goal.
From all this it can be extracted that urban photography places more emphasis on equipment while street photography accepts any camera, regardless of the image quality it offers, as long as the photo is capable of pinching your stomach.
URBAN PHOTOGRAPHY EQUIPMENT
As I was saying, in urban photography, being the aesthetic purpose, it requires a greater demand in terms of image quality. Let's see what is the recommended equipment for the urban photographer.
CAMERA FOR THE URBAN PHOTOGRAPHER
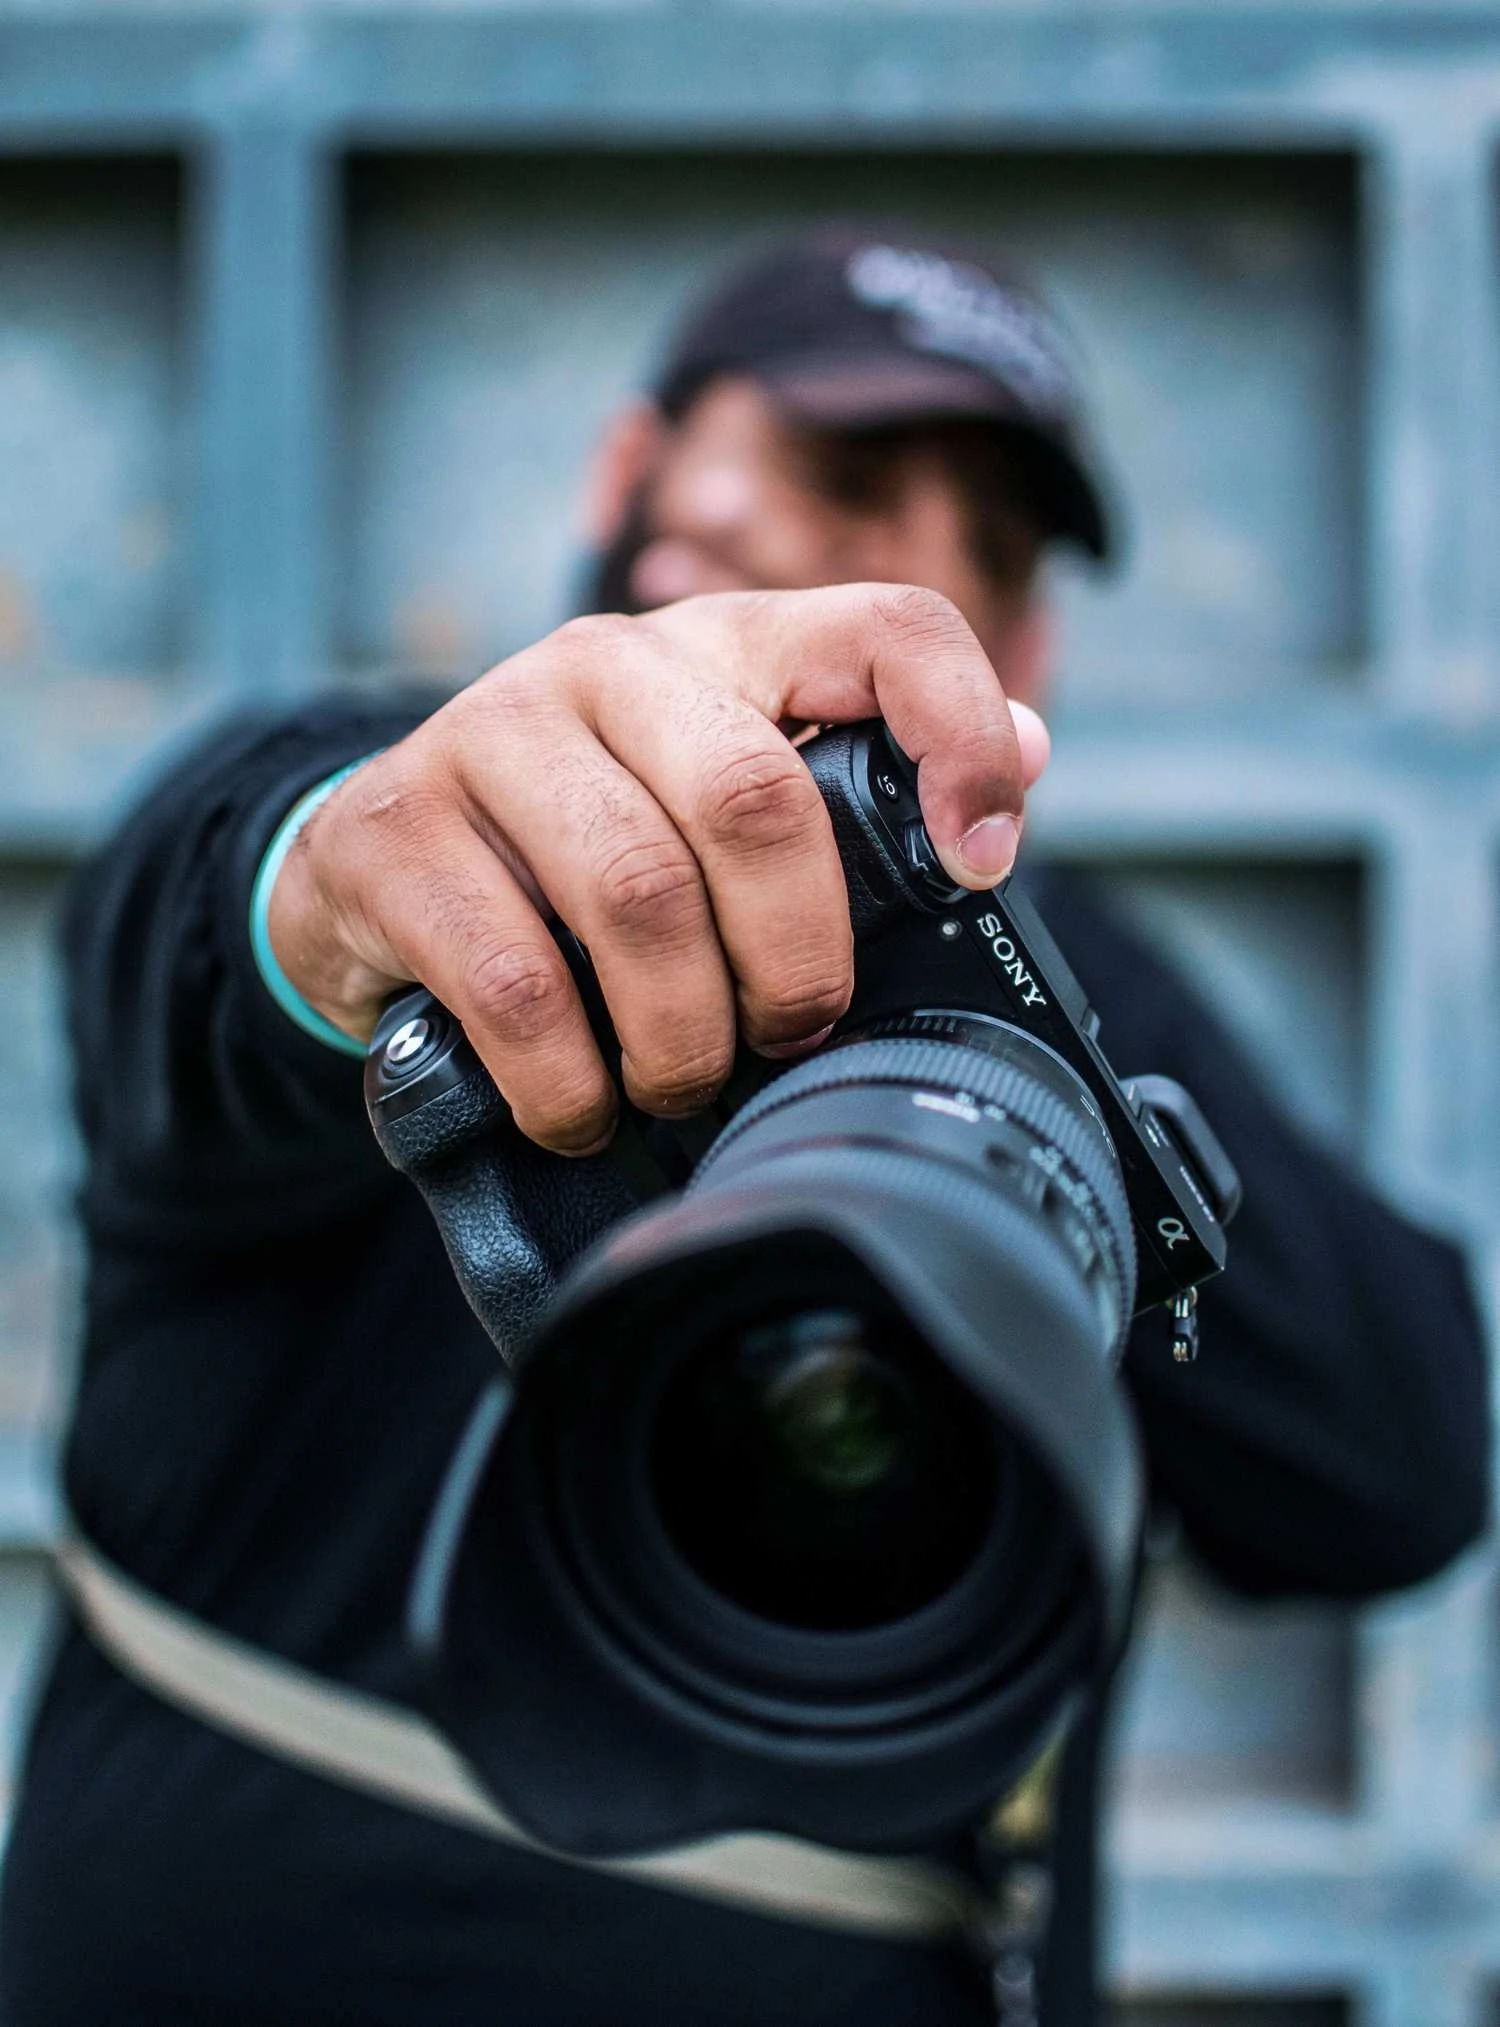
The cameras recommended for the urban photographer are those that allow you to photograph in manual mode and control all the parameters to achieve exactly the photograph you are looking for and to be able to unleash your creativity.
That is, mirrorless (or mirrorless), SLR and advanced compacts. Is a mobile worth? It depends on the mobile and how you use it ;P
Having a camera with manual controls, what will allow you to express your creativity will be the objectives.
OBJECTIVES
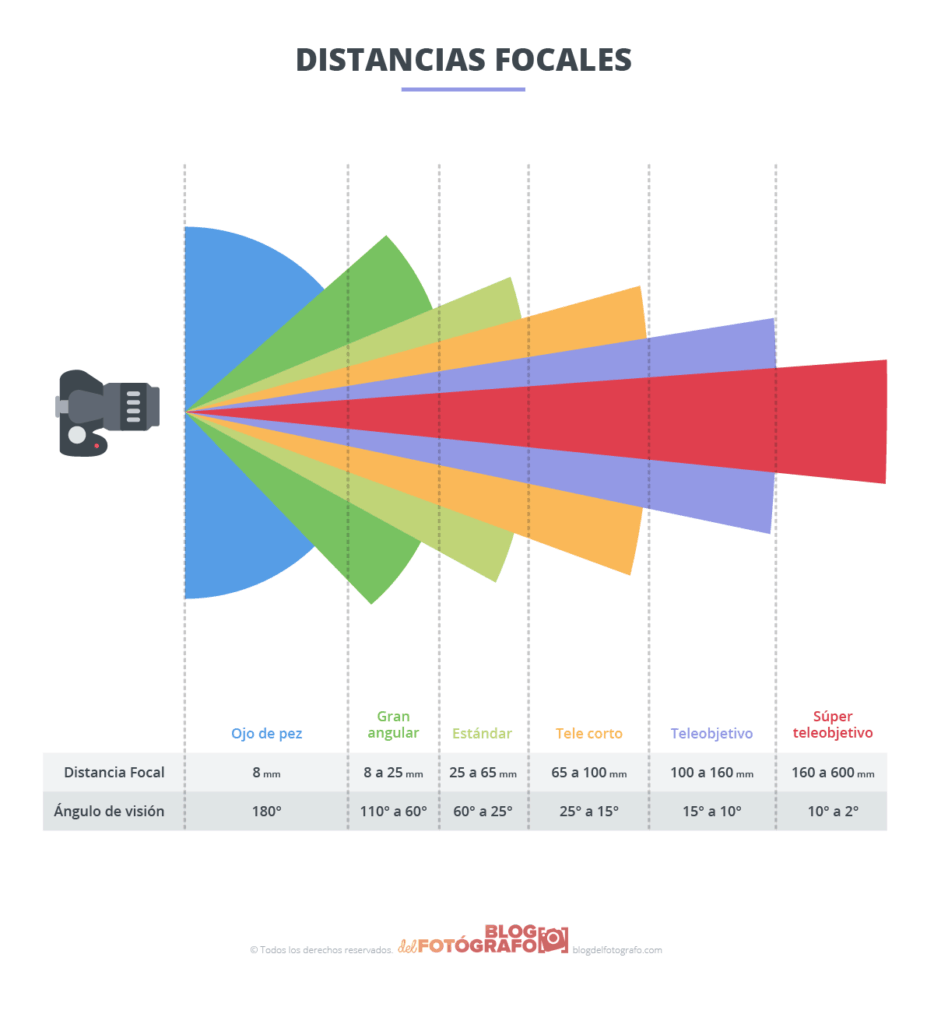
Any objective can be used for urban photography because in this case creativity has no limits and it doesn't matter if you distort reality, because here fidelity and spontaneity is not the objective but rather, as I said, the end is more aesthetic.
From the fisheye type lens with those characteristic effects to telephoto lenses that compact the planes and make it appear that two skyscrapers are next to each other to jump over them when in reality they are hundreds of meters away.
The important thing is that you understand the concept of focal length and know what you can get from each of them. Because it will not be the same that you want to capture details than large urban scenes.
On the other hand, also take into account the luminosity, since the brighter the objective, in addition to being able to capture more light, you will be able to achieve greater blurring of the background.
You also have the possibility of using fixed or zoom optics. Everything will depend on your style and the type of photography you like to do. If you have any questions regarding the objectives in this article you can solve them all.
ACCESSORIES FOR URBAN PHOTOGRAPHY
When it comes to limiting creativity, accessories can be a great ally. They are not essential, of course, but depending on what type of images you are looking for, they can be very useful and even necessary.
- Tripod and shutter. To achieve night or long exposure images and capture movement. The tripod is essential, the shutter is to avoid shake, although you can use the delayed release of the camera or an application to shoot from your smartphone if your camera allows it.
- Polarizing filters. The city is littered with glass and other reflective surfaces. If certain unwanted reflections bother you, with a polarizing filter you can keep them at bay.
- Extra battery and cards. This is a recommendation, but everything will depend on the sessions you usually do and your needs.
- comfortable strap To walk around the city looking for the best snapshots, the ideal is to wear a comfortable one, choose the strap that best suits your needs and tastes.
- Backpack. While in street photography the ideal is to go with the camera and go, in urban photography sessions it is likely that you will take more than one lens, the tripod and even the flash, if you like its effects. In this case, a comfortable backpack is always welcome.
- Flash. It is not essential either, but it is another resource to achieve spectacular and most creative images. Of course, I am talking about external flash, we are clear about it, right?
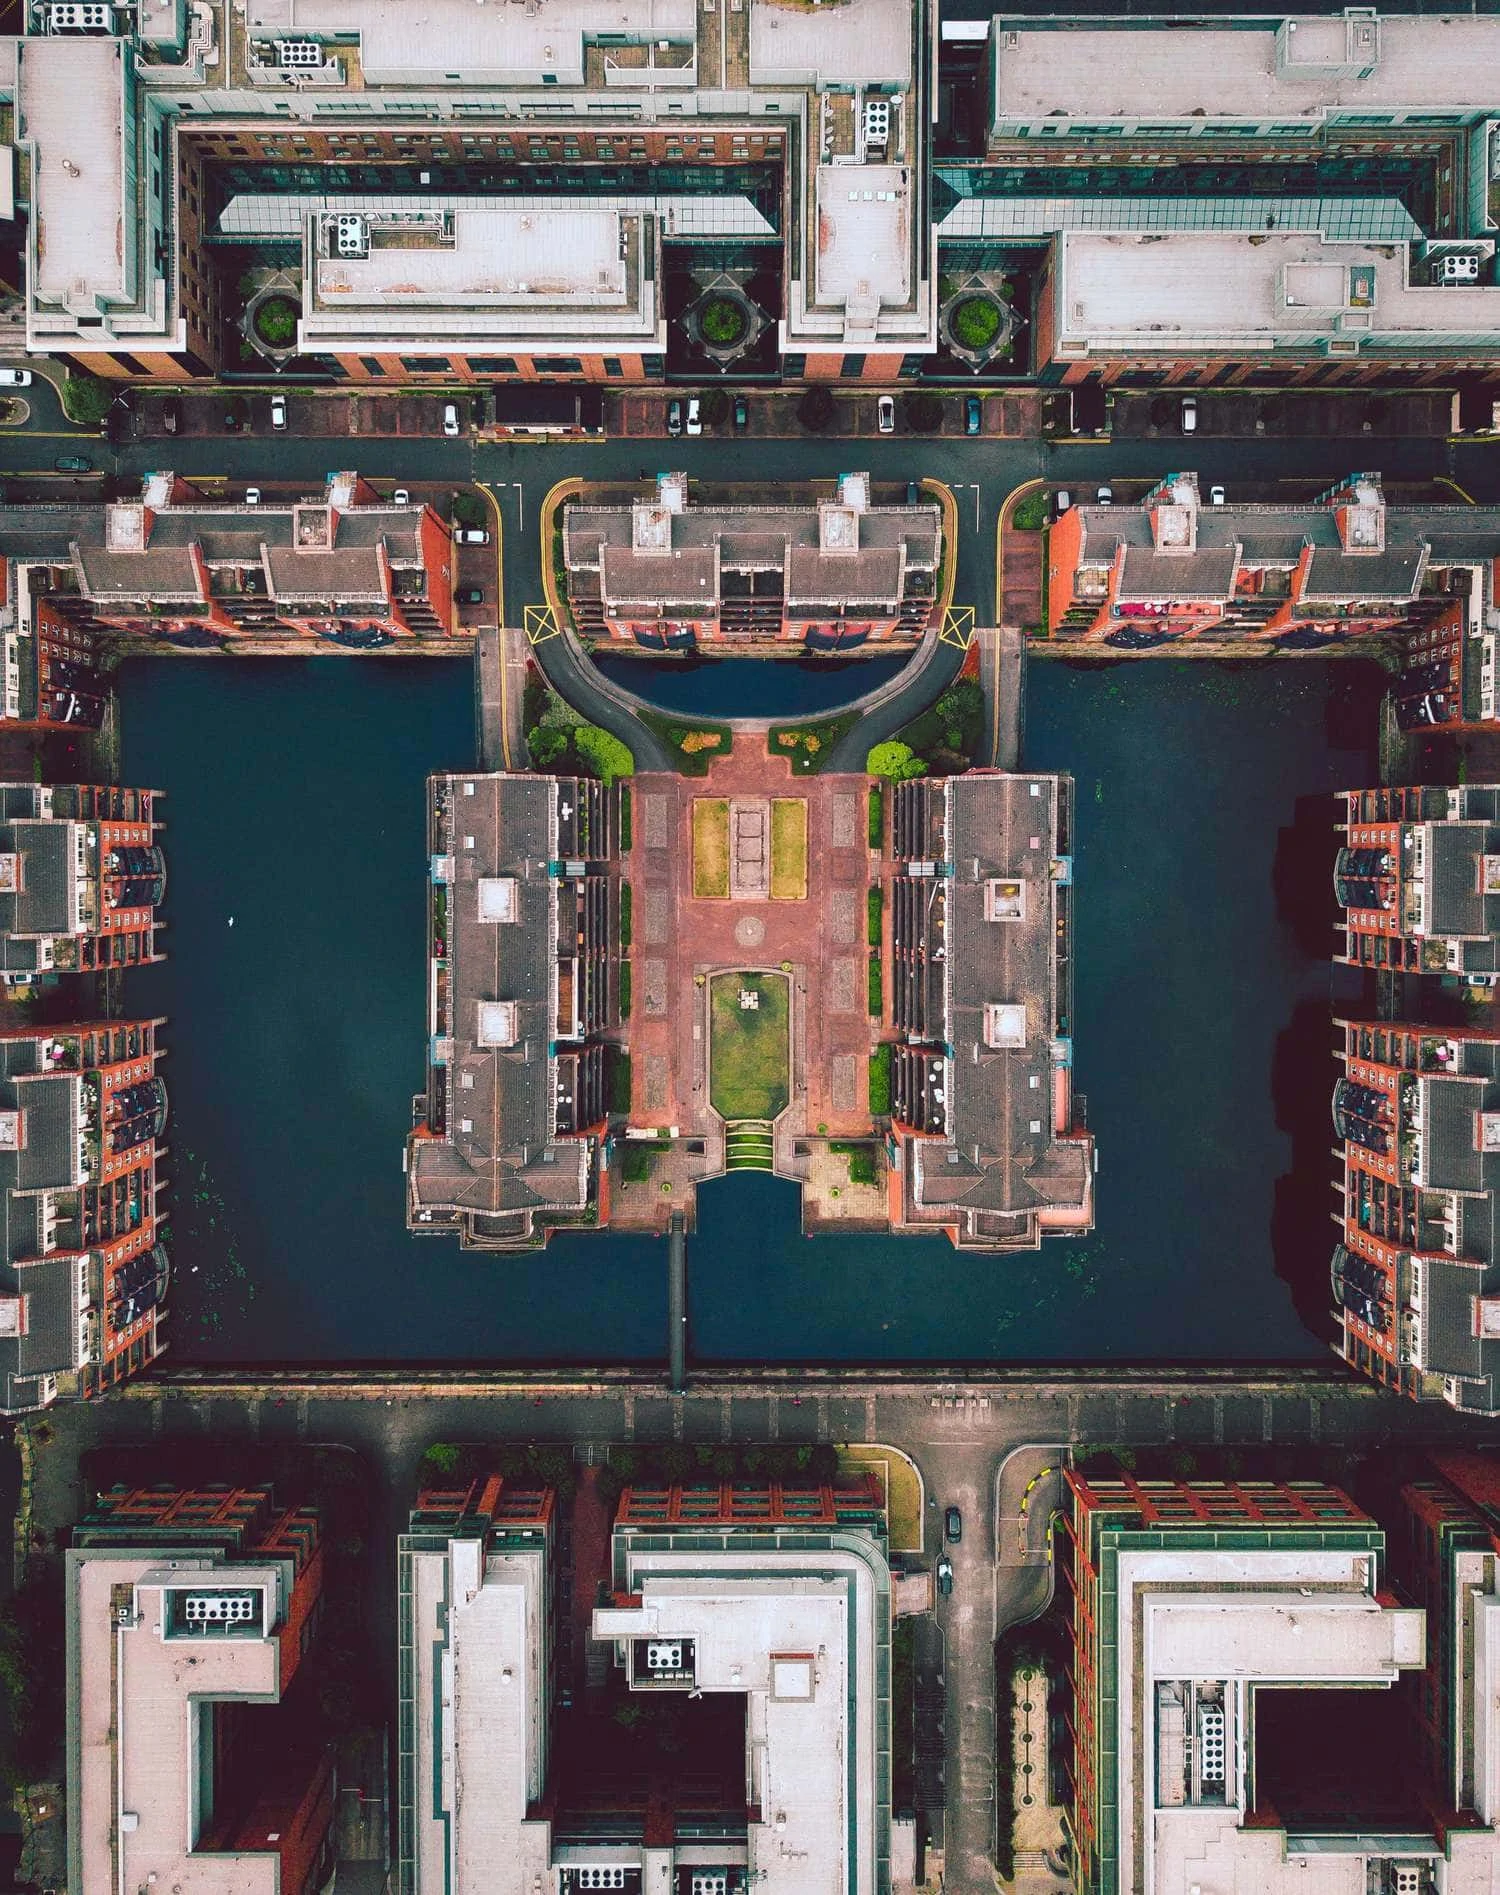
- drone. If you have one or are able to purchase one, it can be an incredible experience for capturing urban scenes. But don't use a drone without reading this first.
TIPS FOR URBAN PHOTOGRAPHY
In this section I am going to tell you about some of the aspects that you should take into account when taking urban photography, at the same time that I introduce some tips that will be very useful for you.
LIGHT
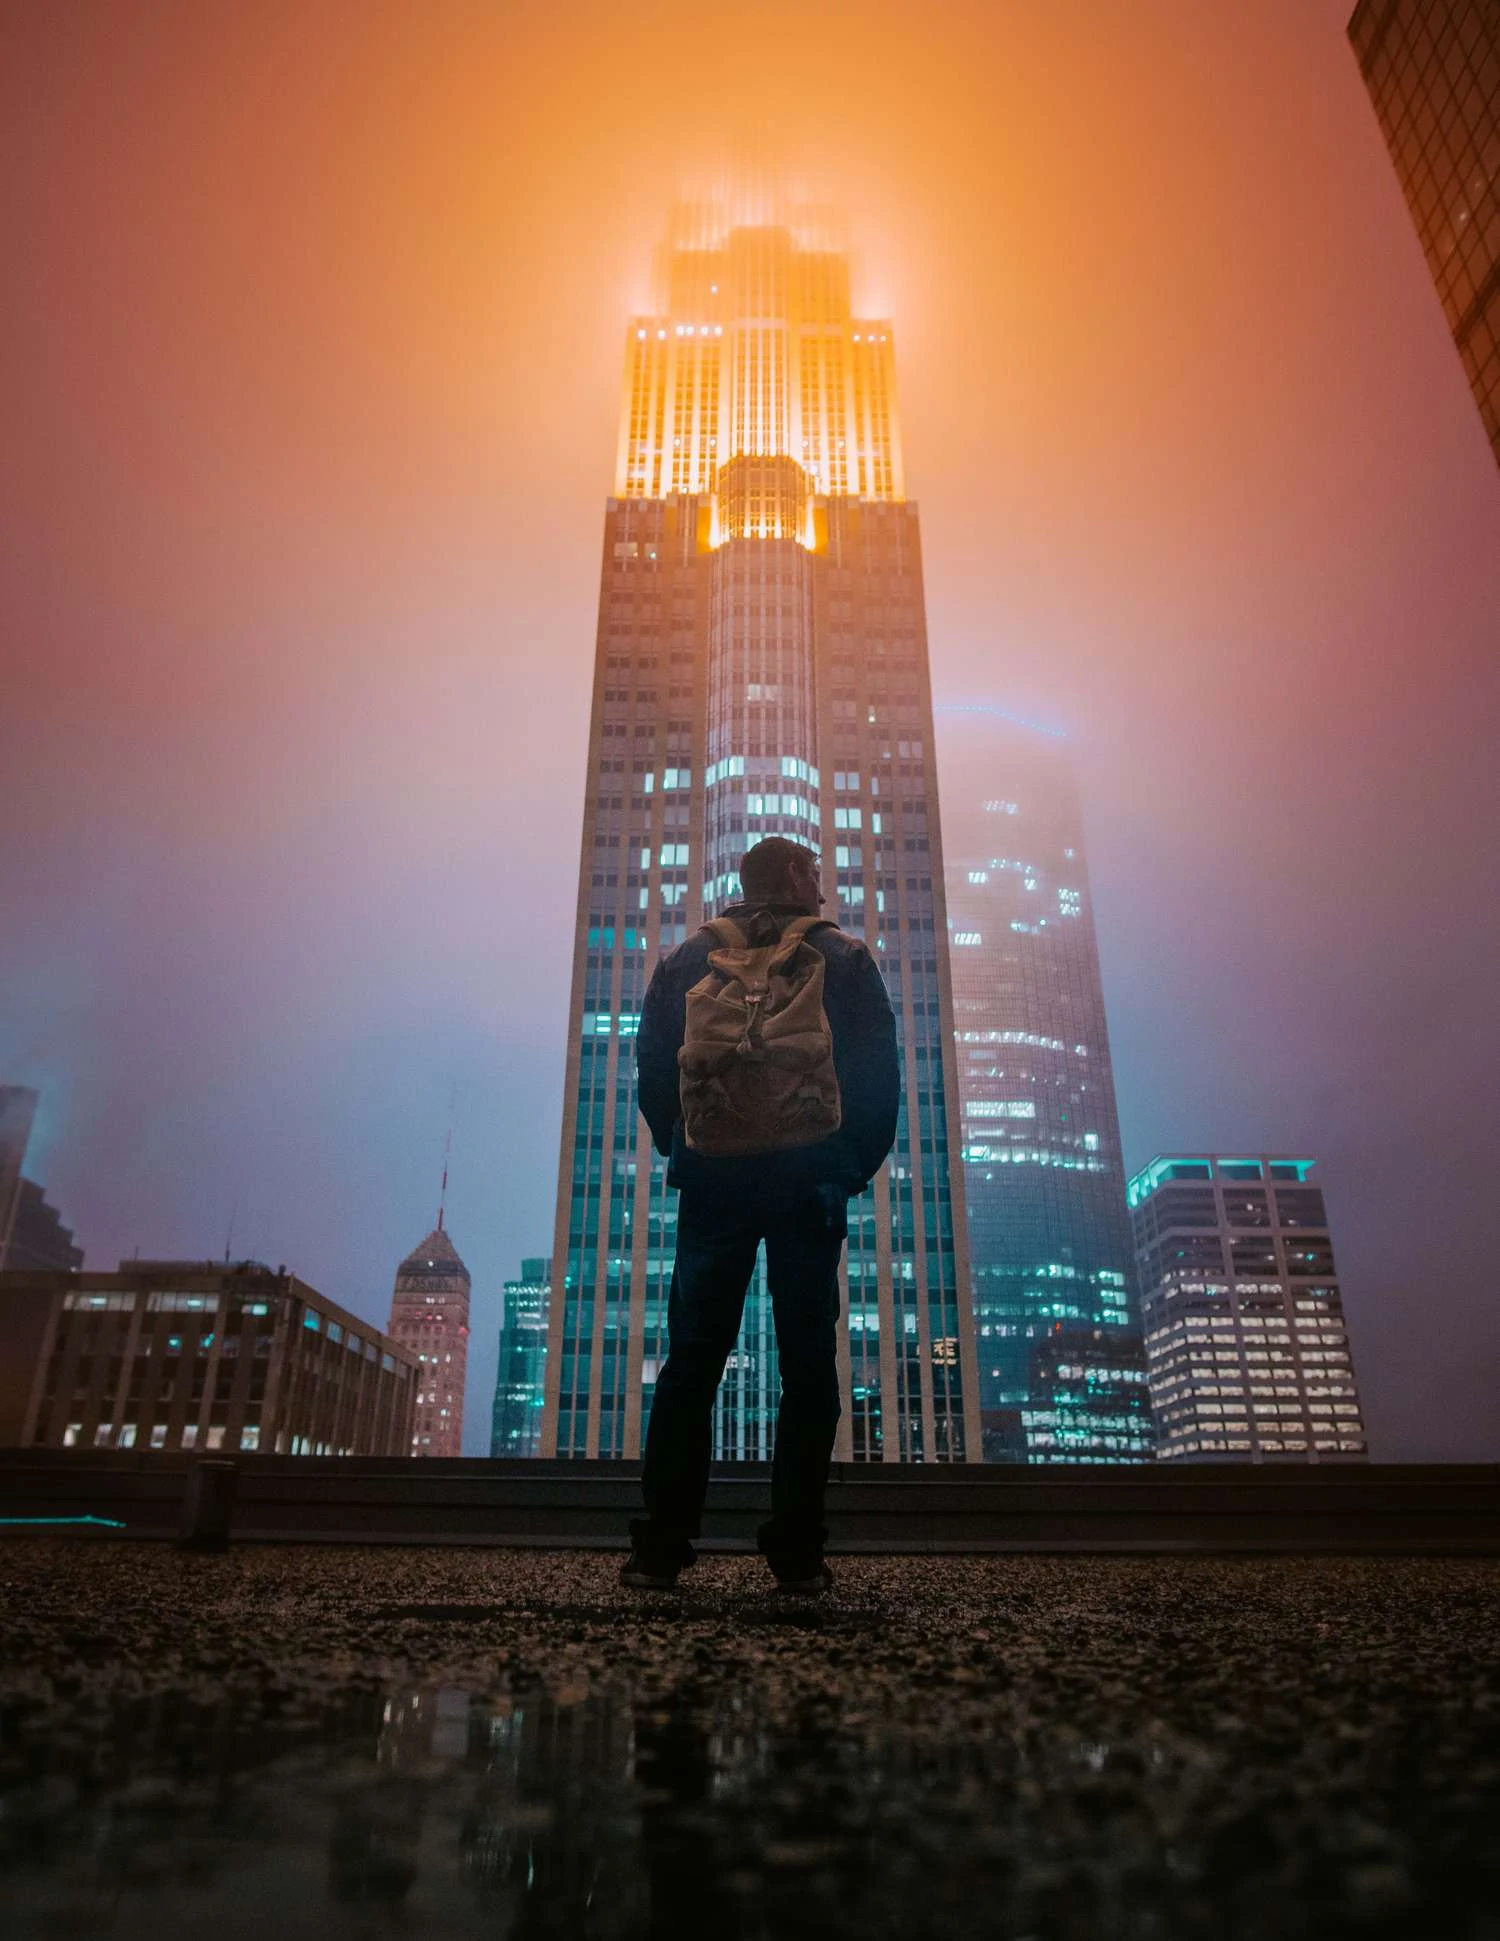
Depending on the time of day you can achieve very different images. Sunrises and sunsets bring you warm, sidelights, and so does the blue hour, a spectacular time for street photography where the blue of the sky contrasts perfectly with the artificial lights. The photographs at this time are impressive.
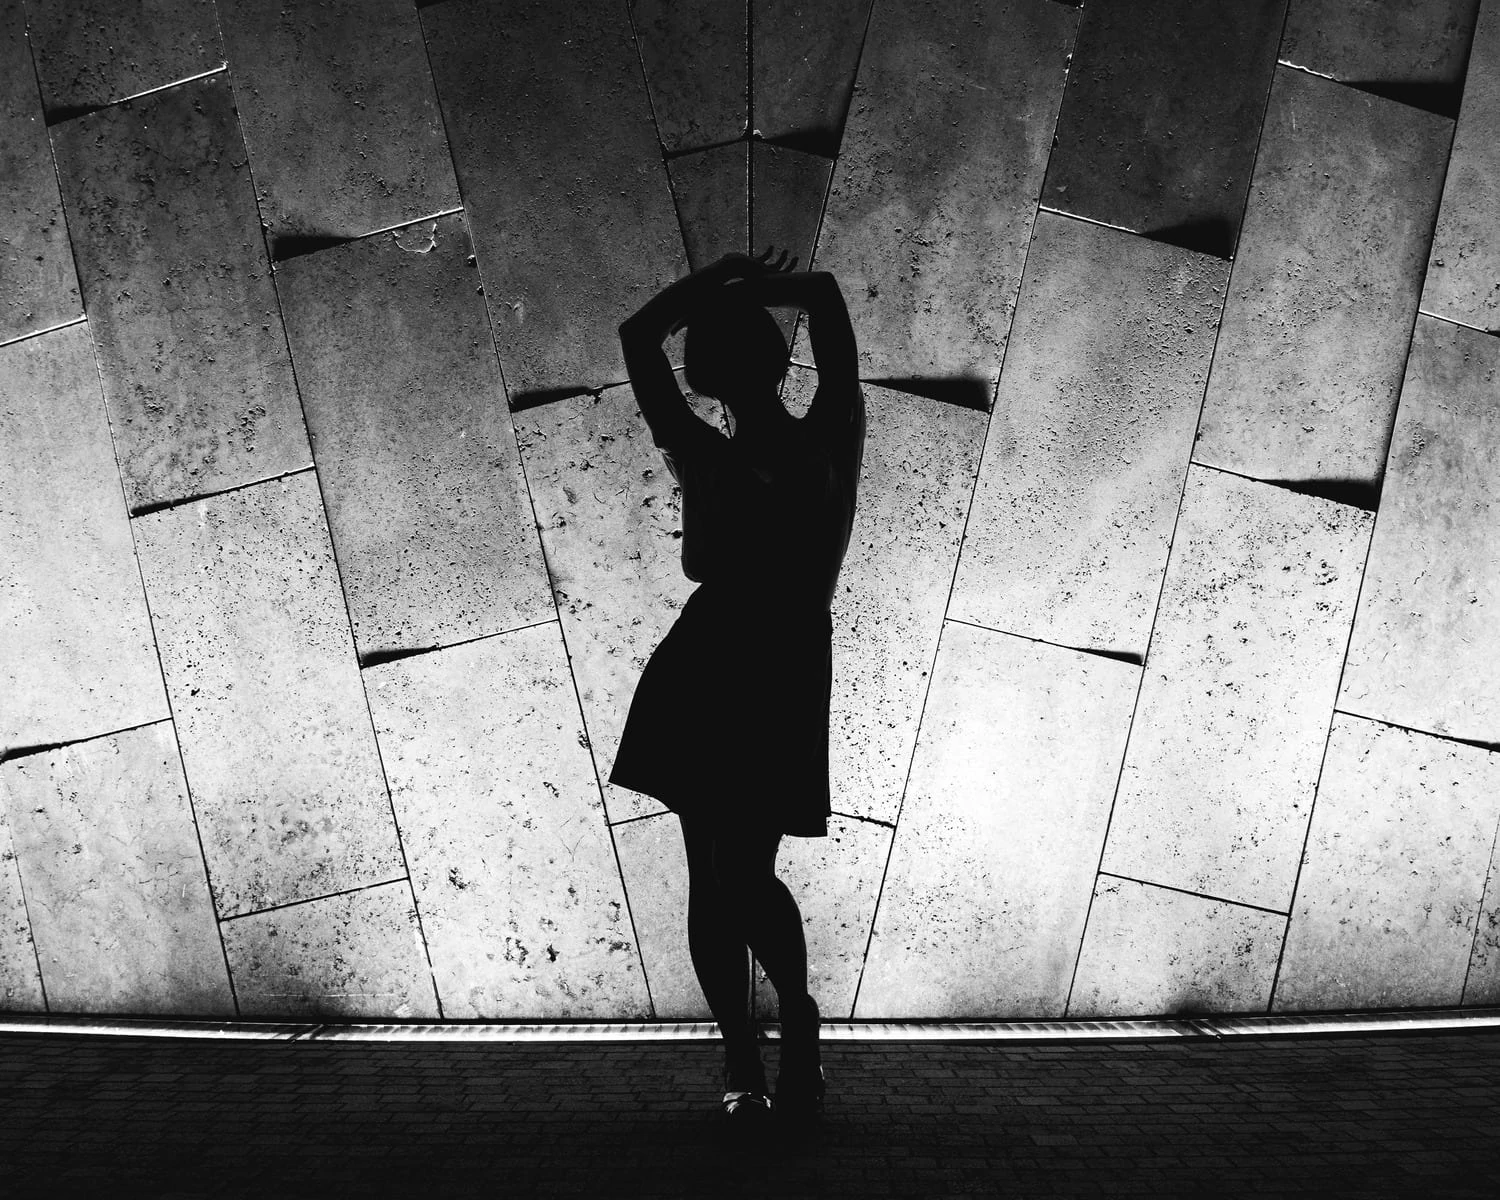
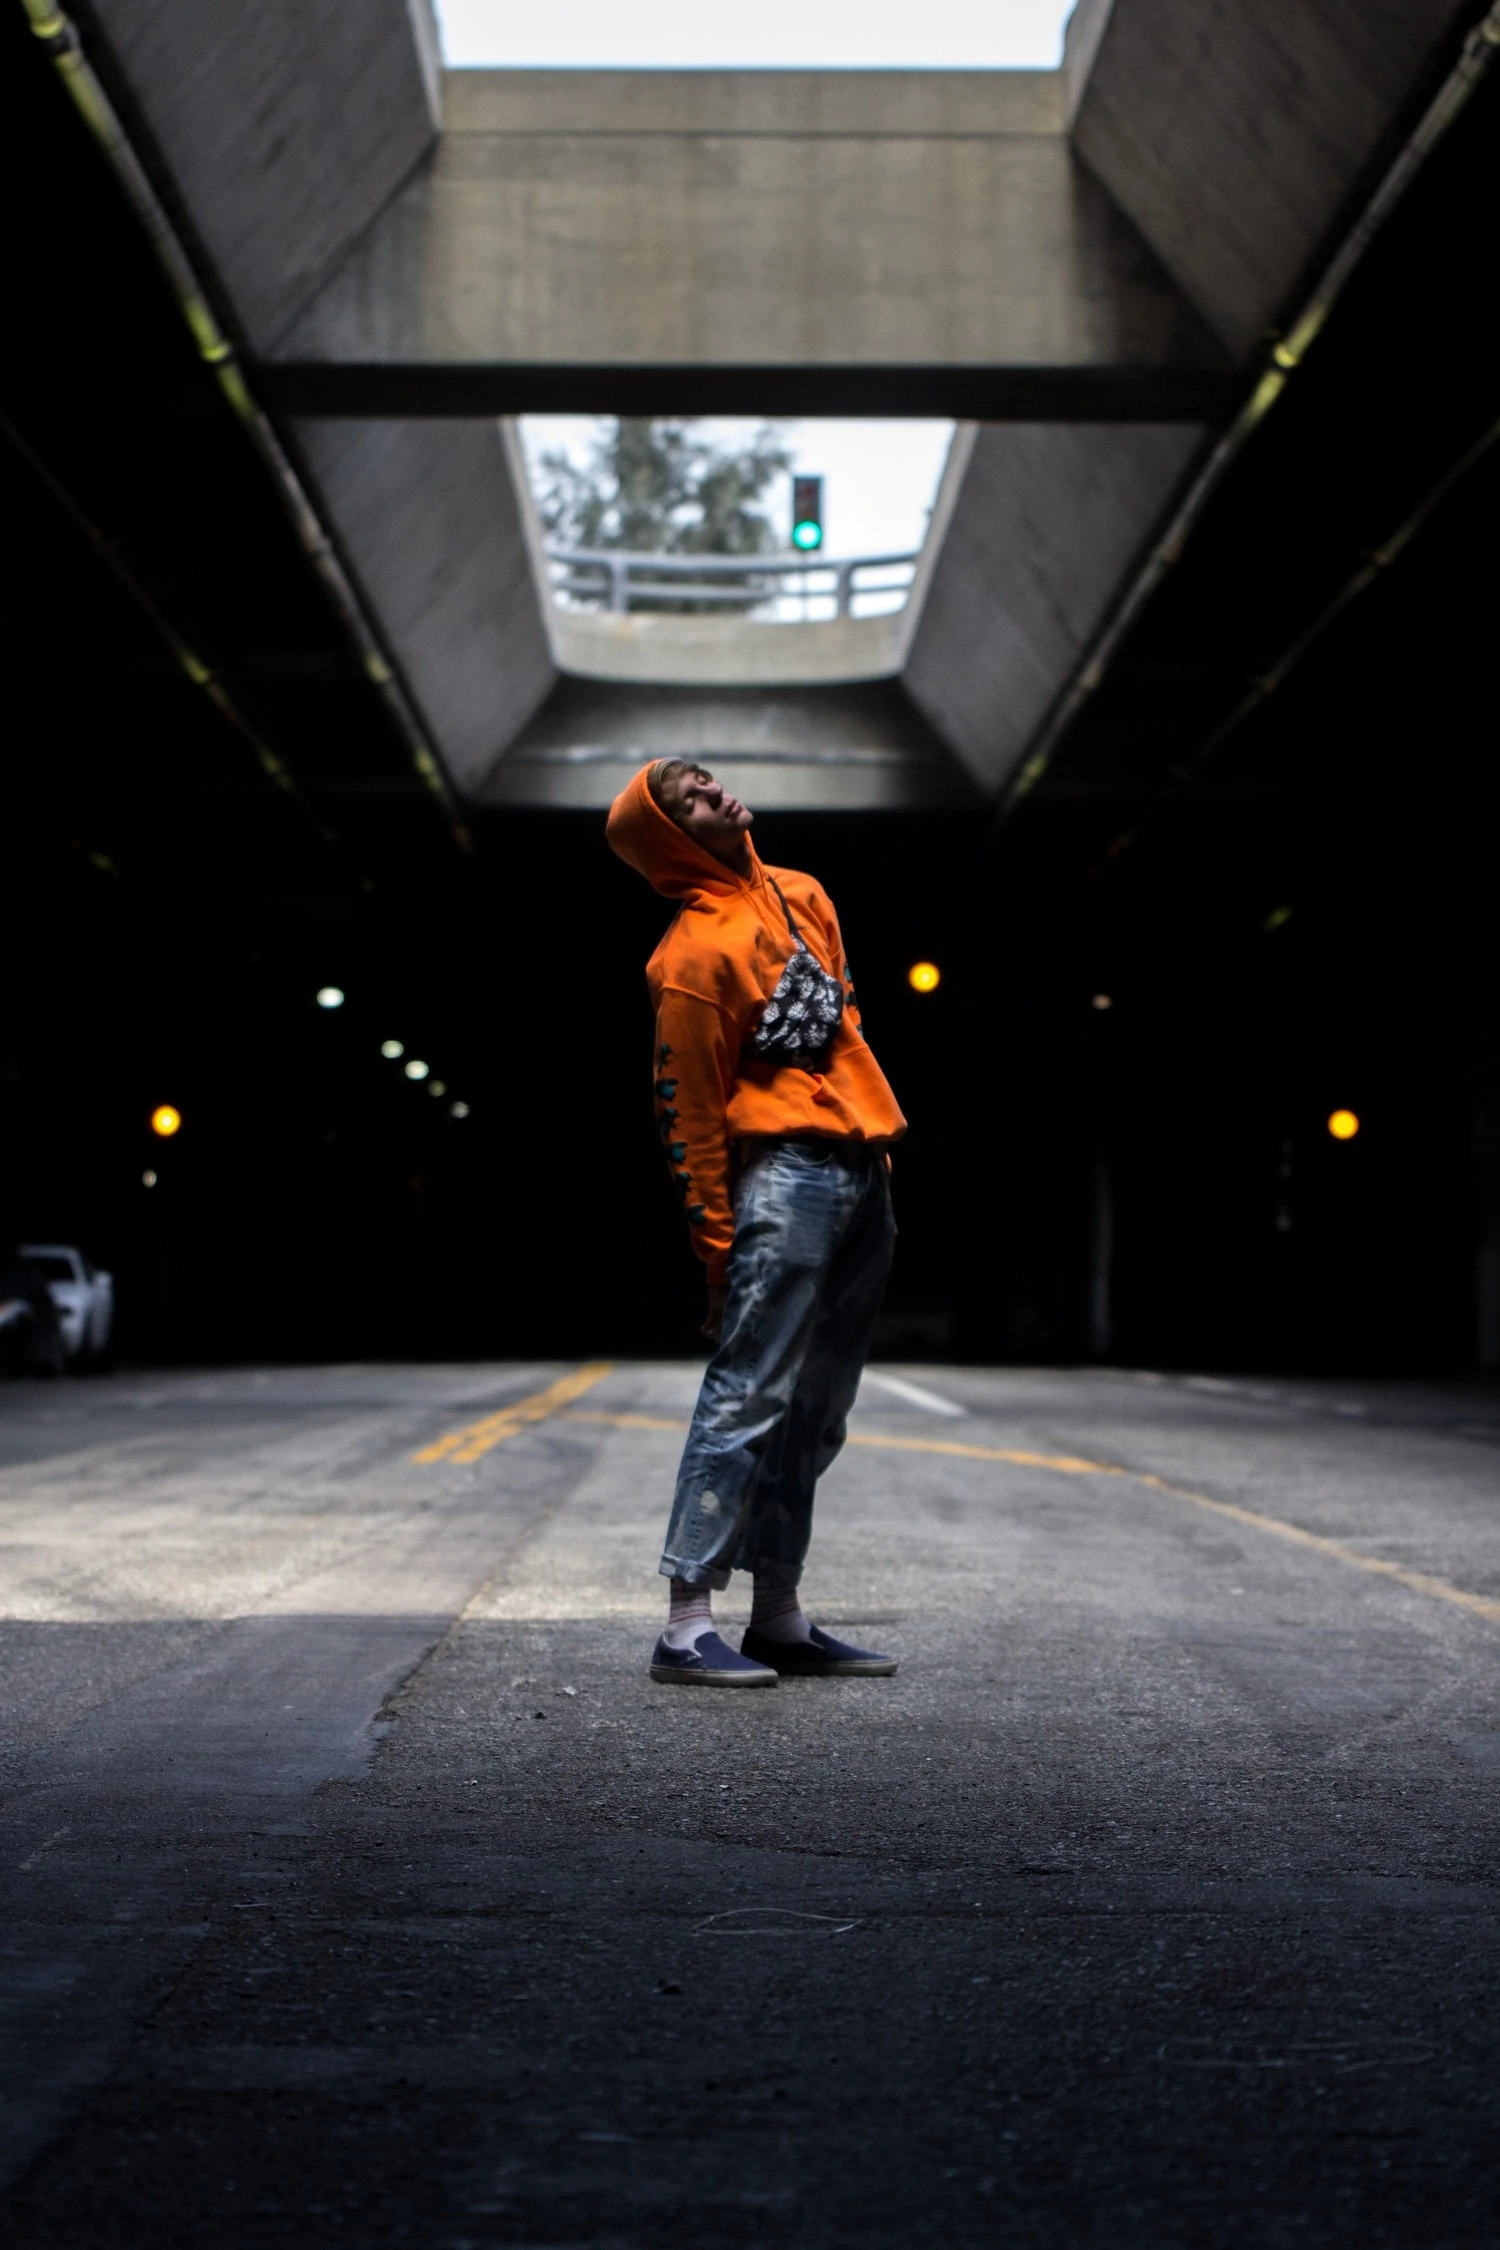
Backlighting is another type of photography that you can achieve when the sun is lower. Moment to achieve silhouettes or flares that add warmth to your images.
On the other hand, the central hours of the day allow you to capture shadowy and high-contrast photos and this harsher light also makes colors appear brighter and more saturated.
Knowing how light behaves and planning your urban photography sessions taking into account the type of light will help you achieve the most impressive images and reinforce the message you want to convey.
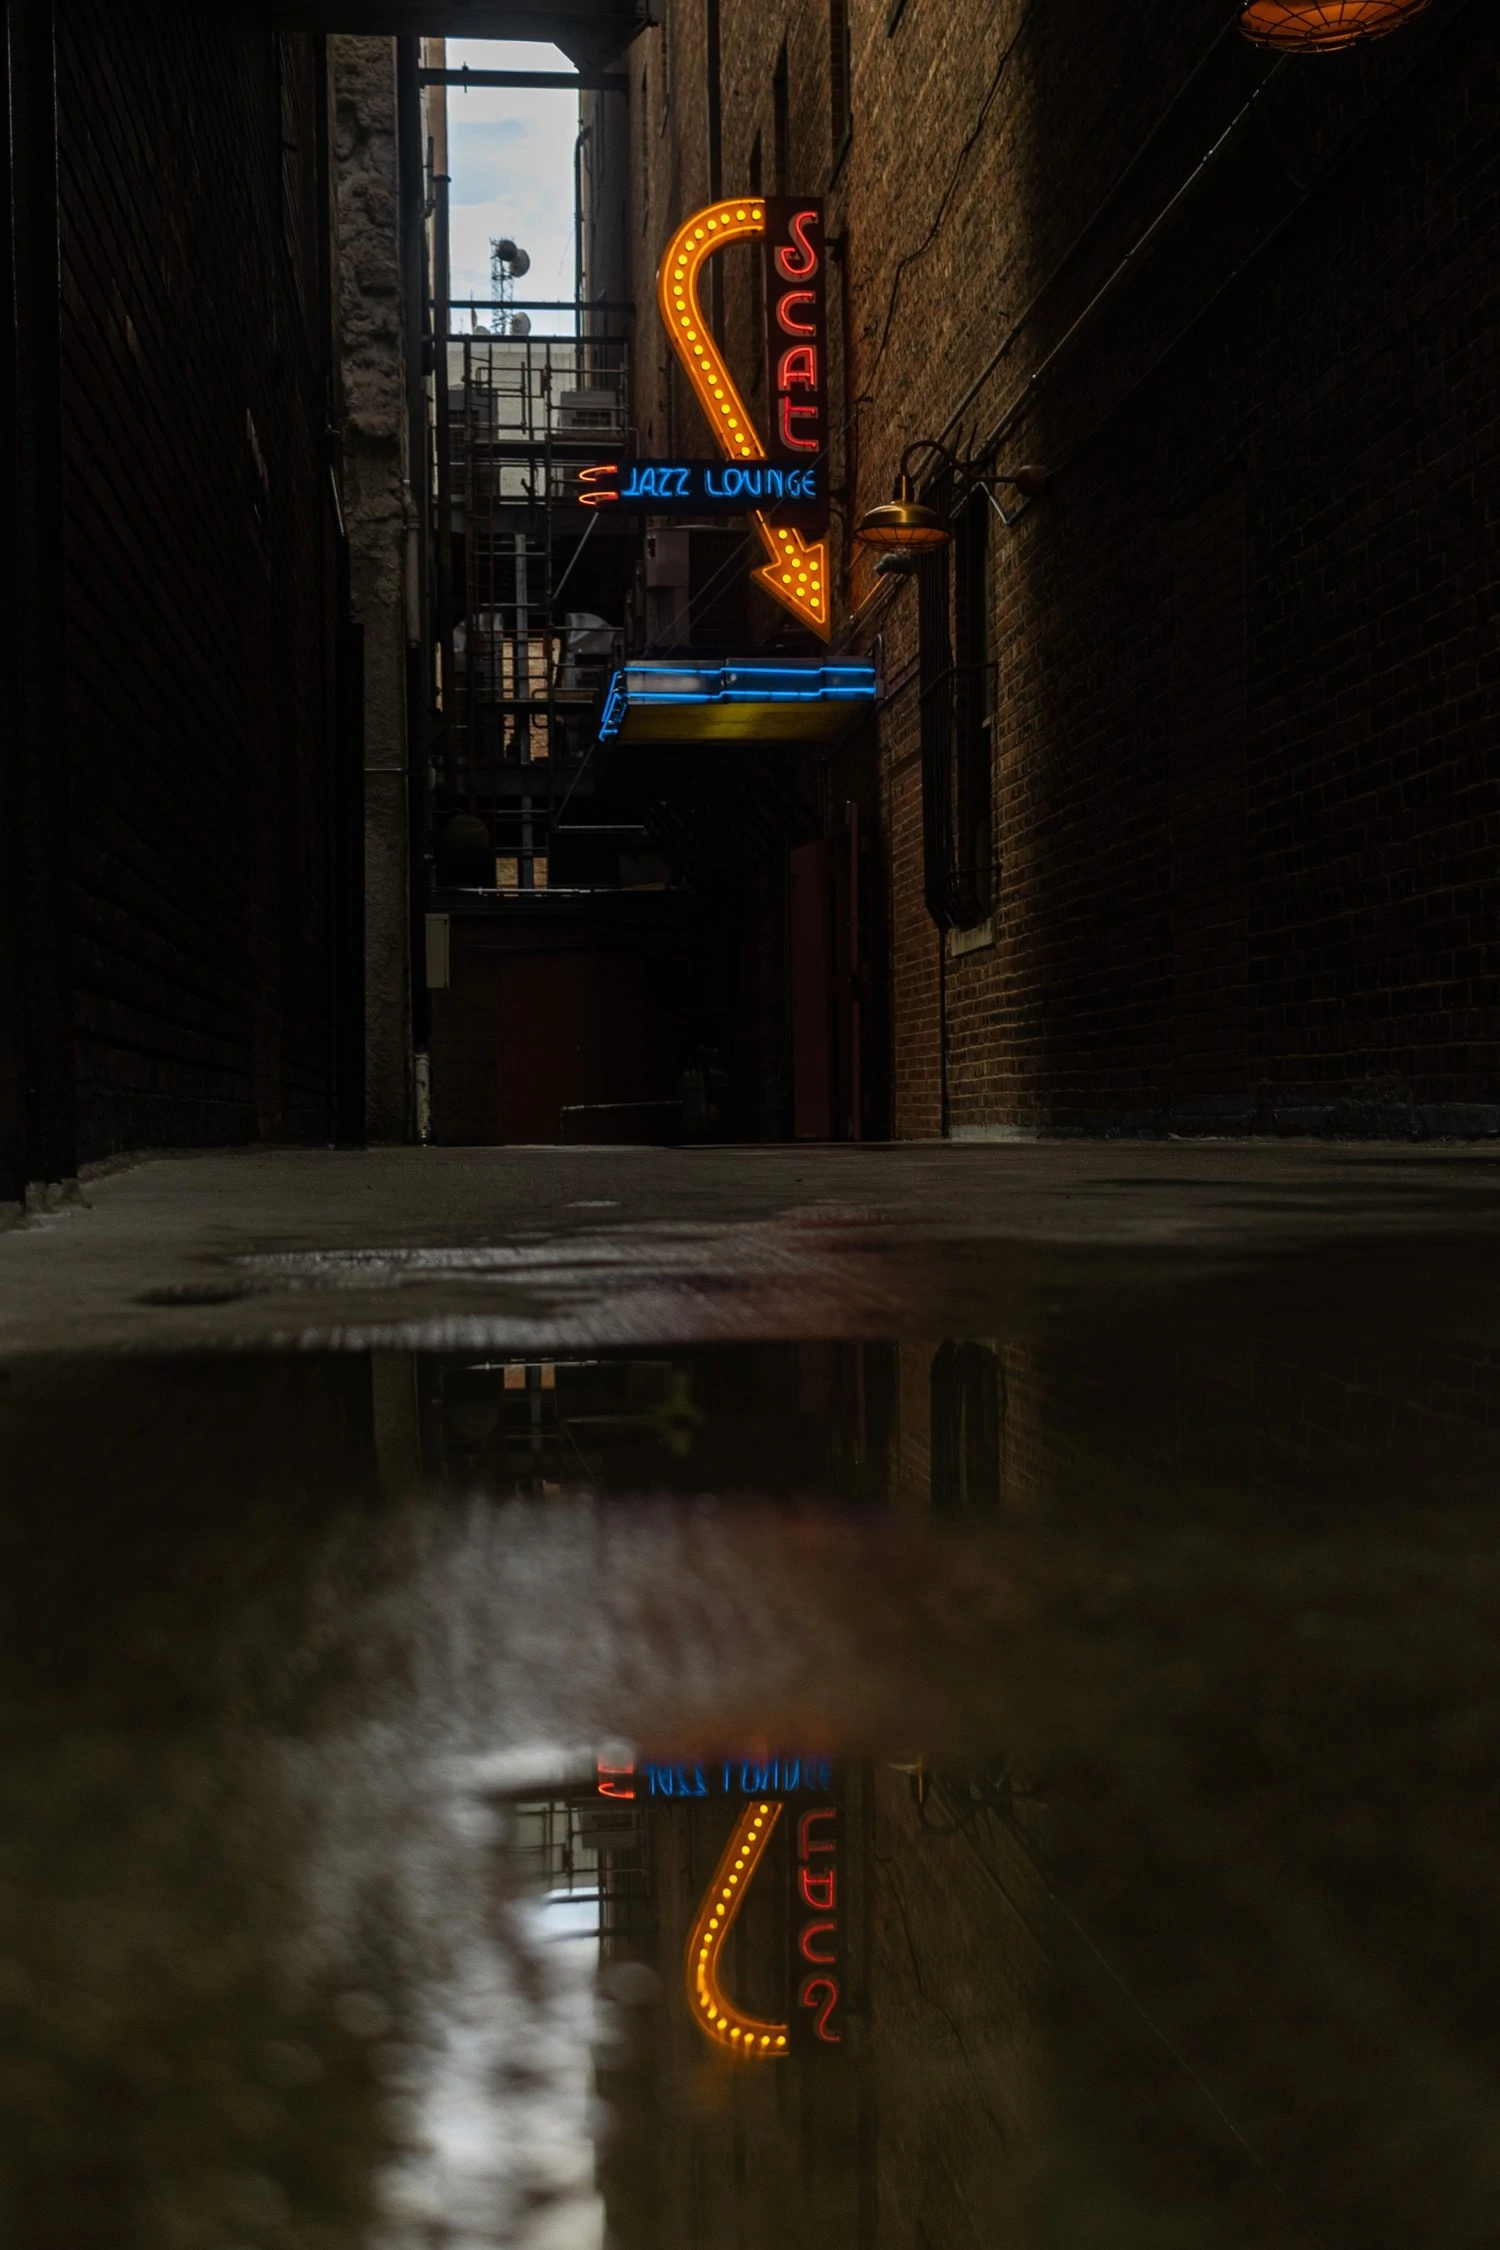
And what happens when night falls? Do you put away the camera? Not at all, friend! Another world of possibilities opens before you: car lights, signs, neon signs, illuminated buildings and shop windows, etc. And if you surround the light with darkness it will shine even more. Time to achieve incredible effects if you already mastered the external flash.
COMPOSITION IN URBAN PHOTOGRAPHY
The composition is essential in urban photography, the way you place the elements within the frame will help you give them more or less prominence. A good composition can be the difference between the viewer stopping to enjoy your image or passing by.
You have certain resources to capture the viewer's attention or give prominence to the center of interest. These are the most used compositional resources in urban photography:
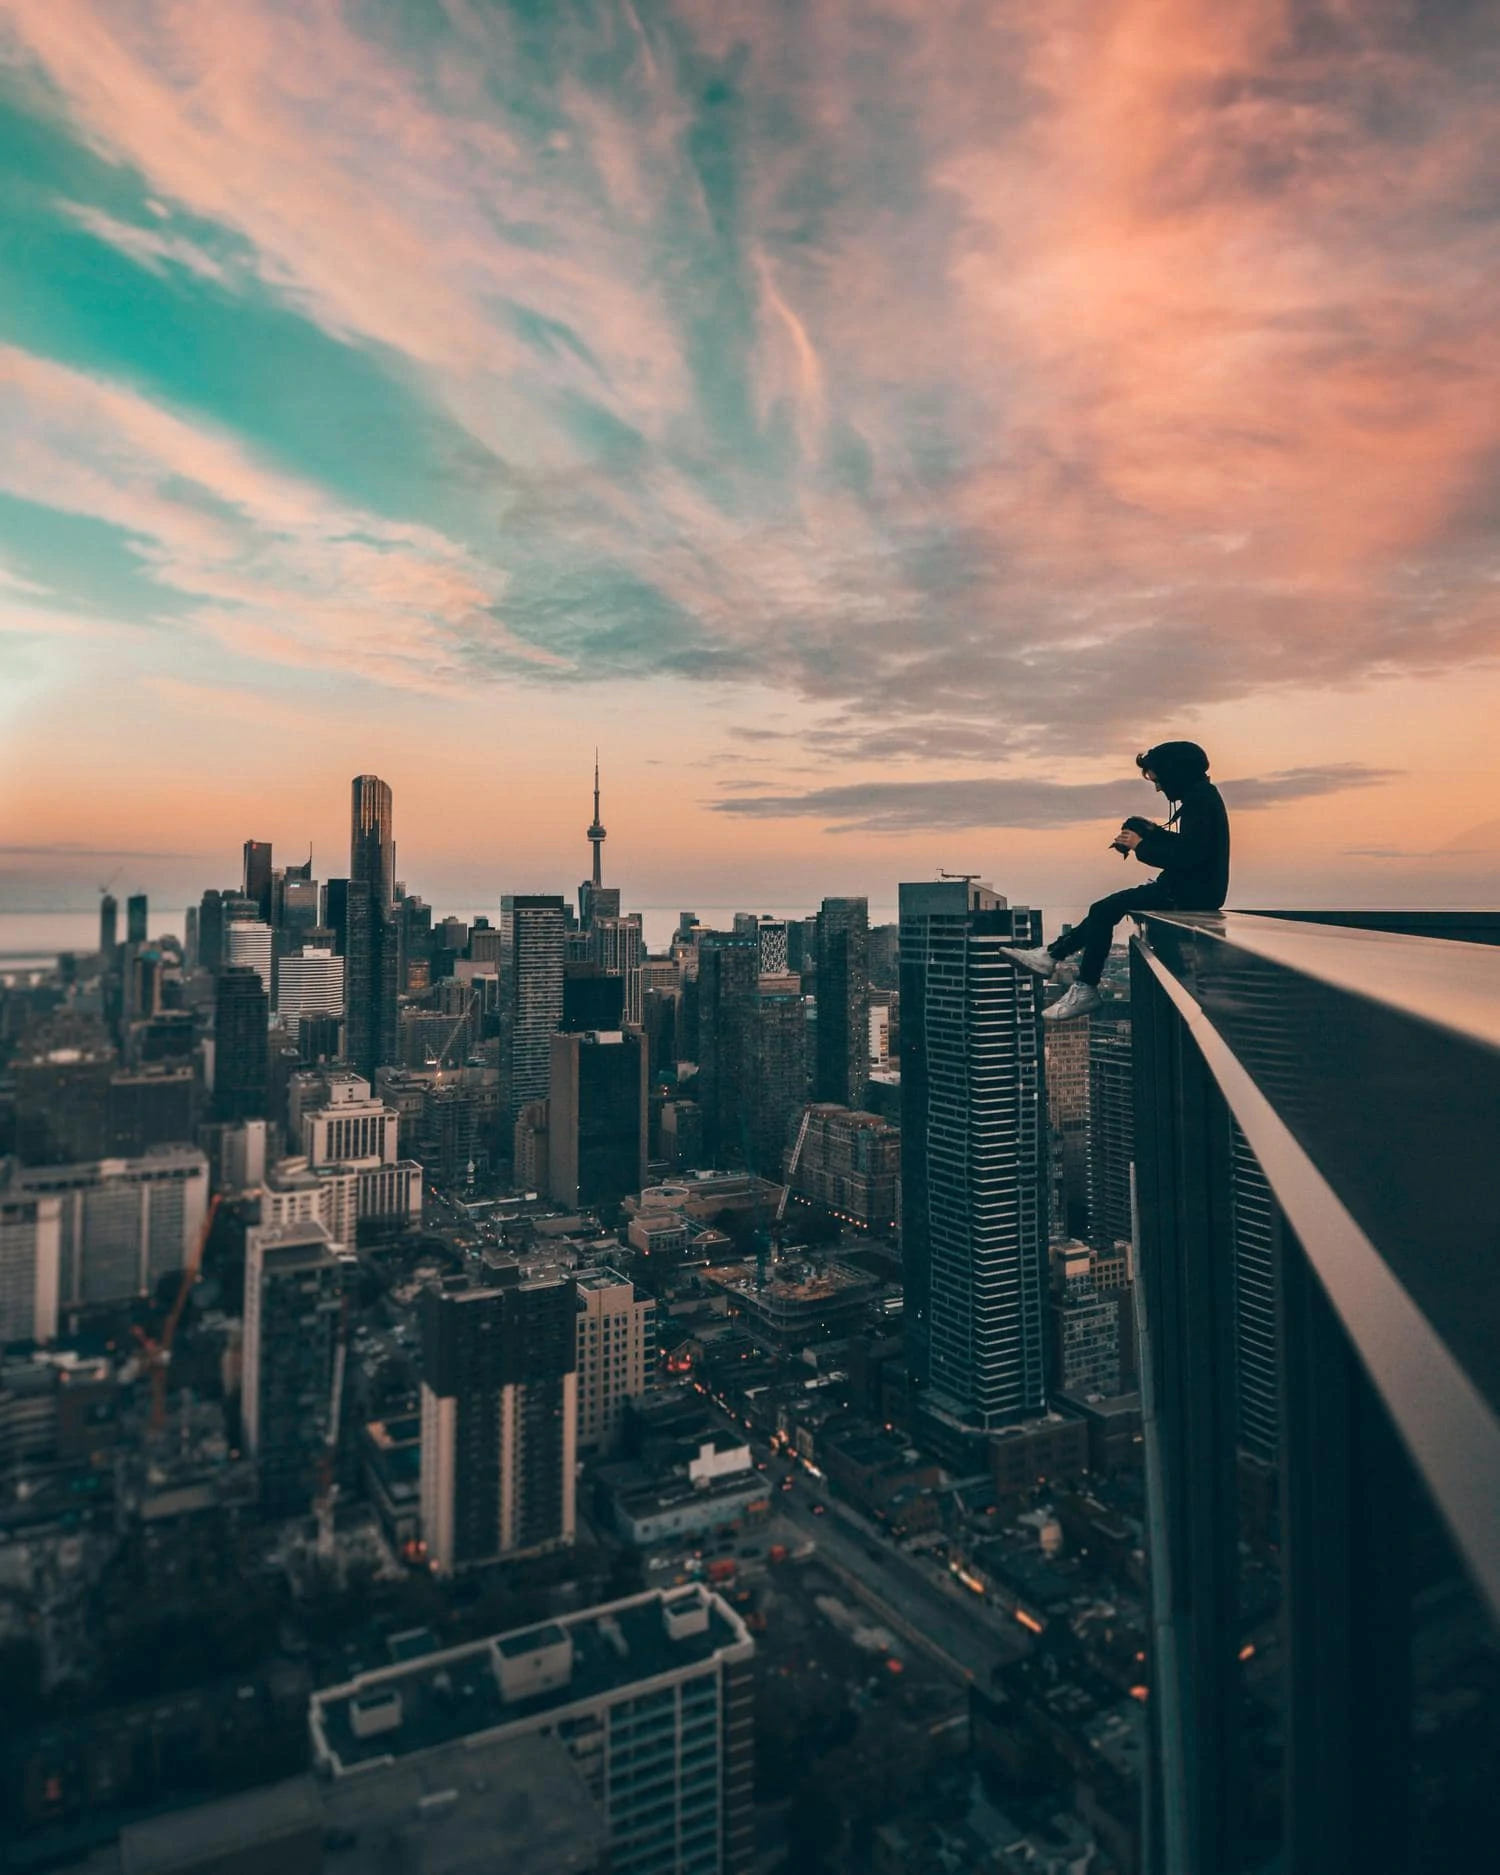
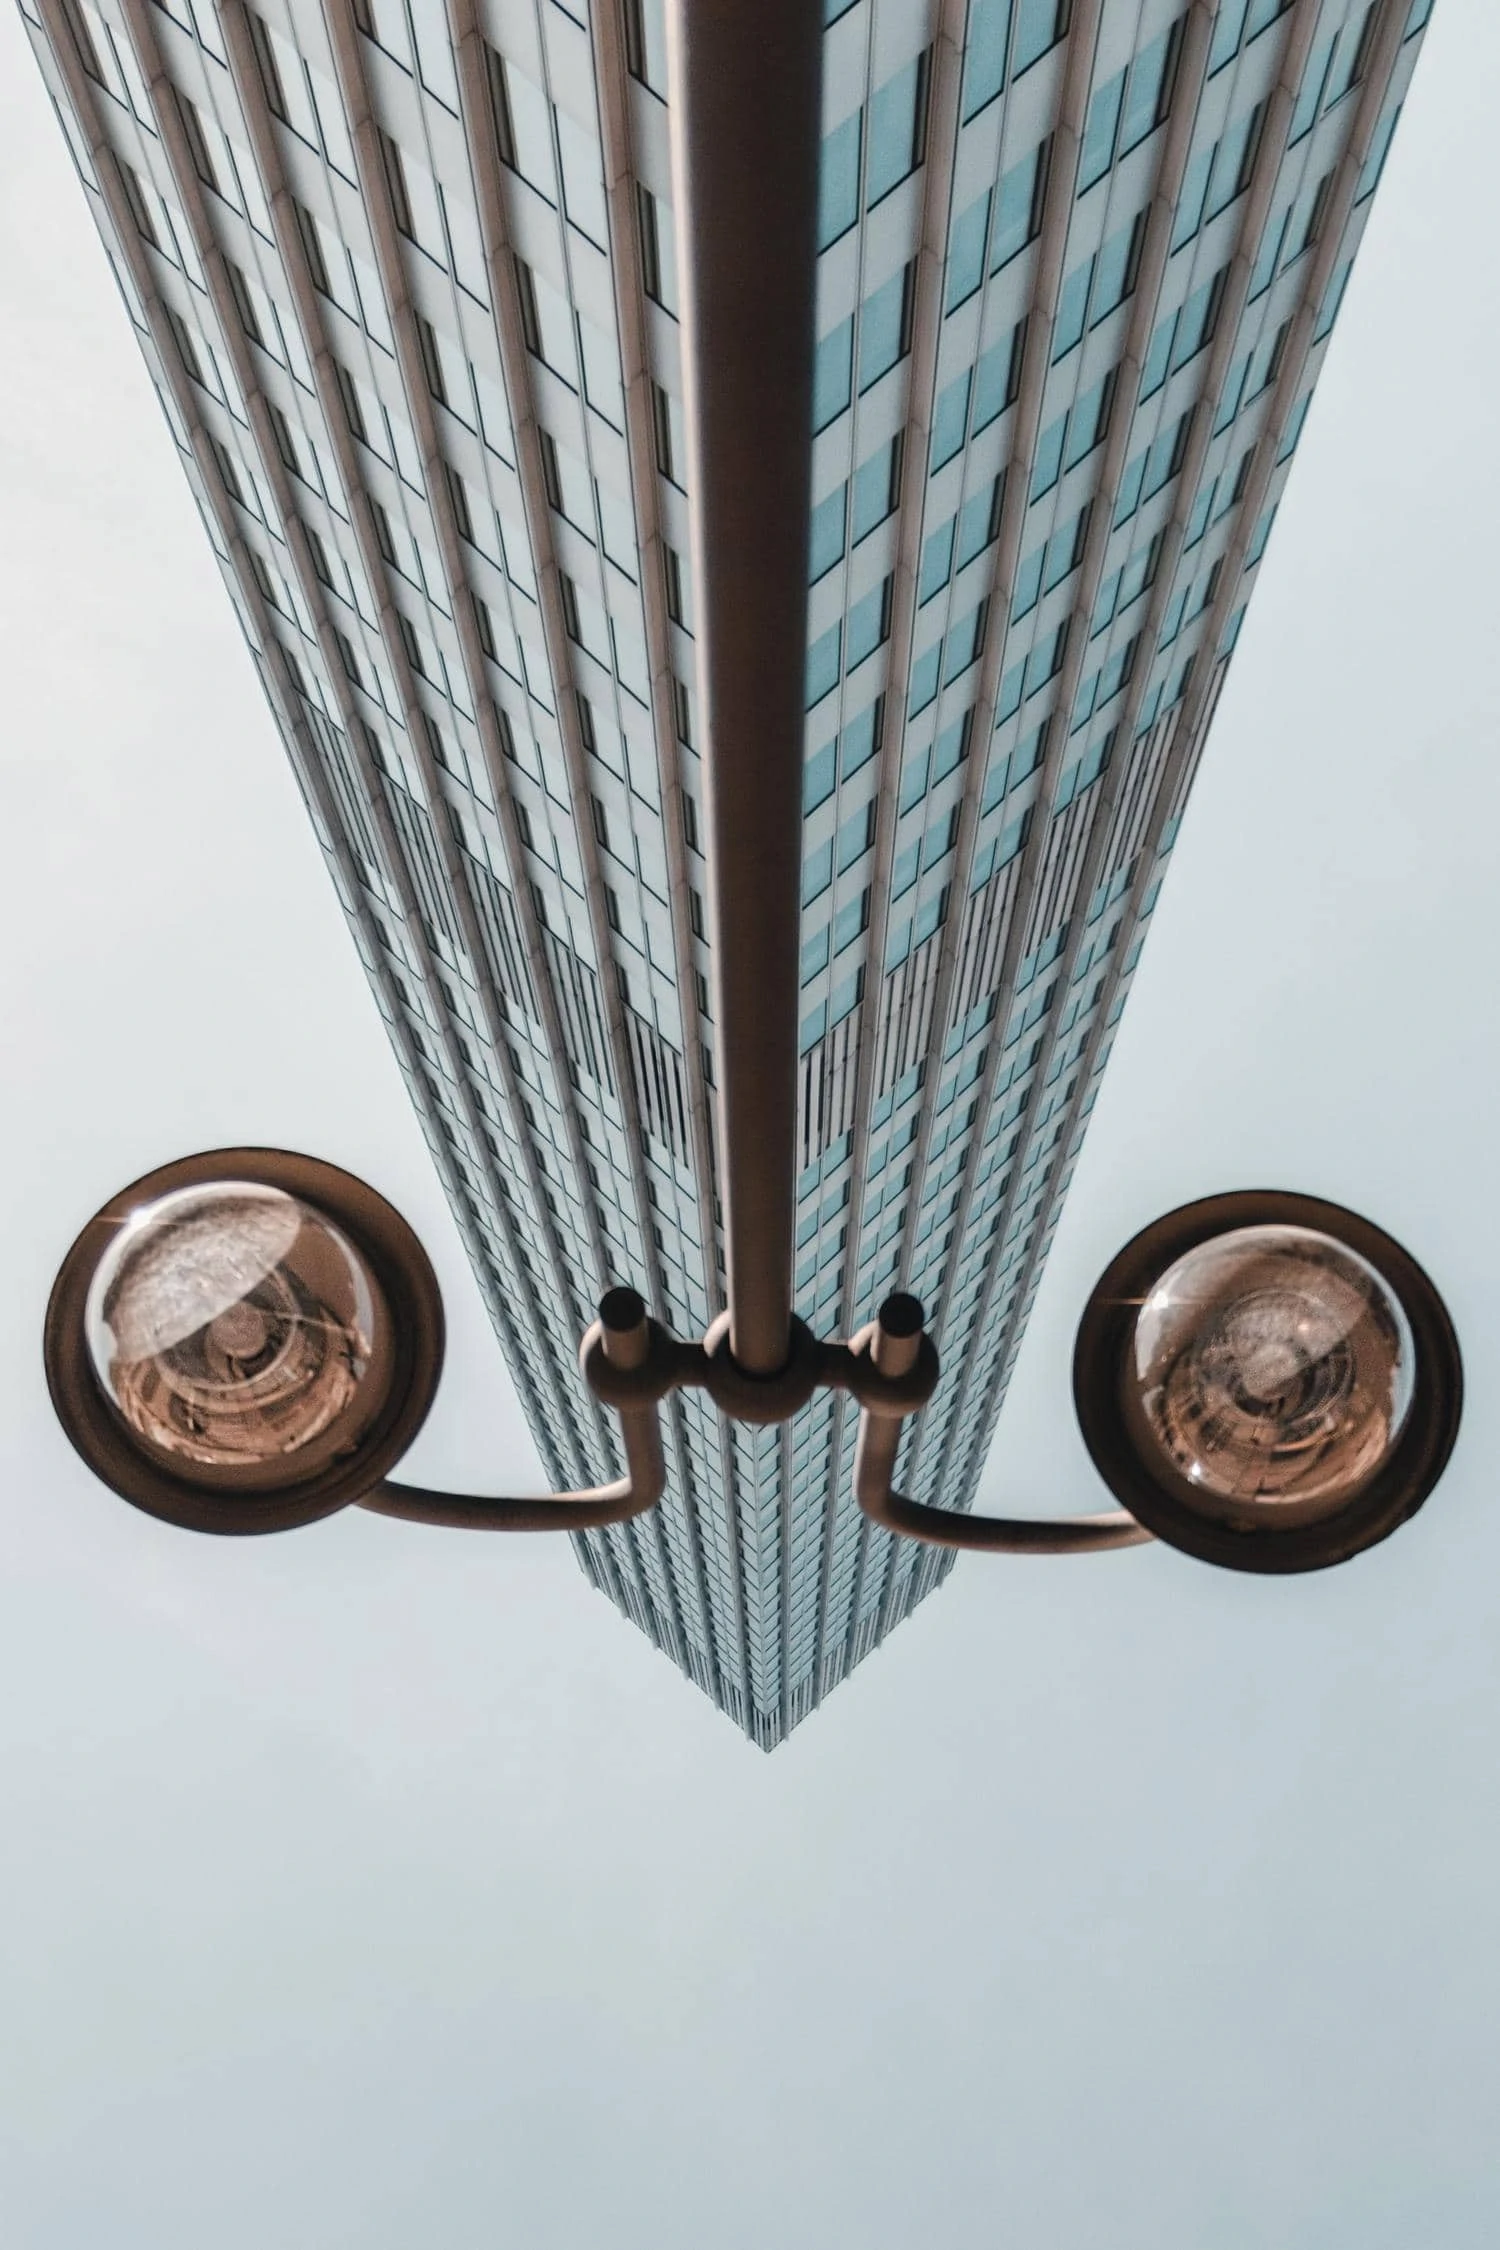
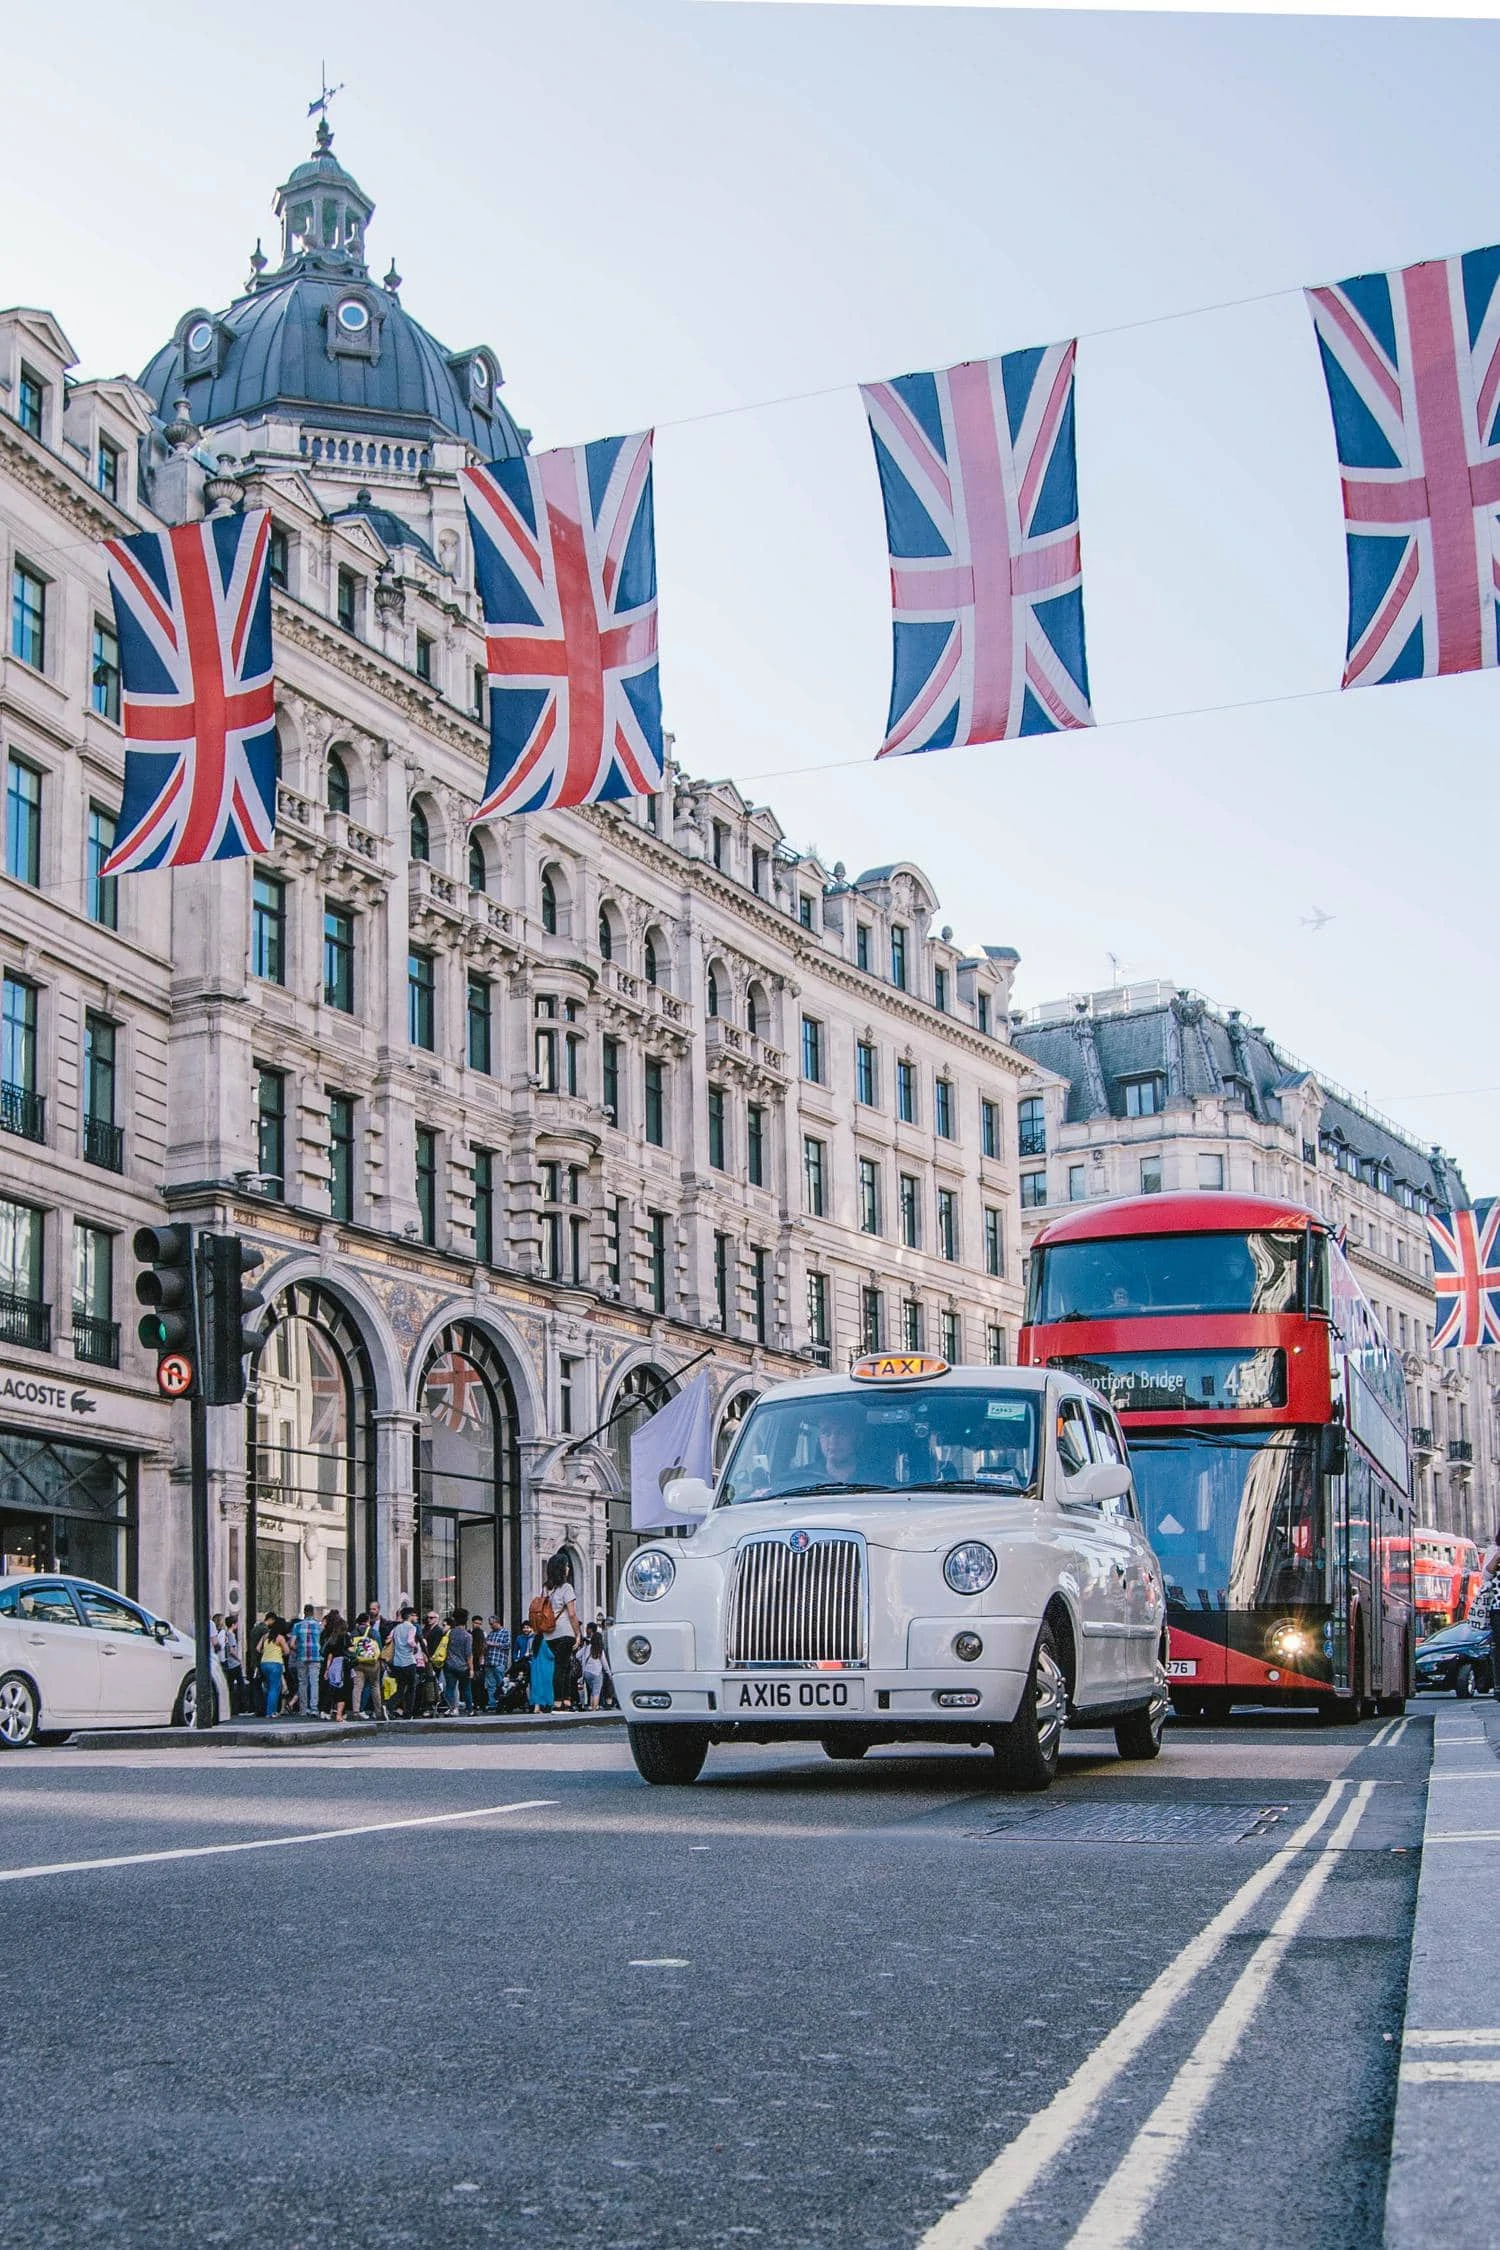
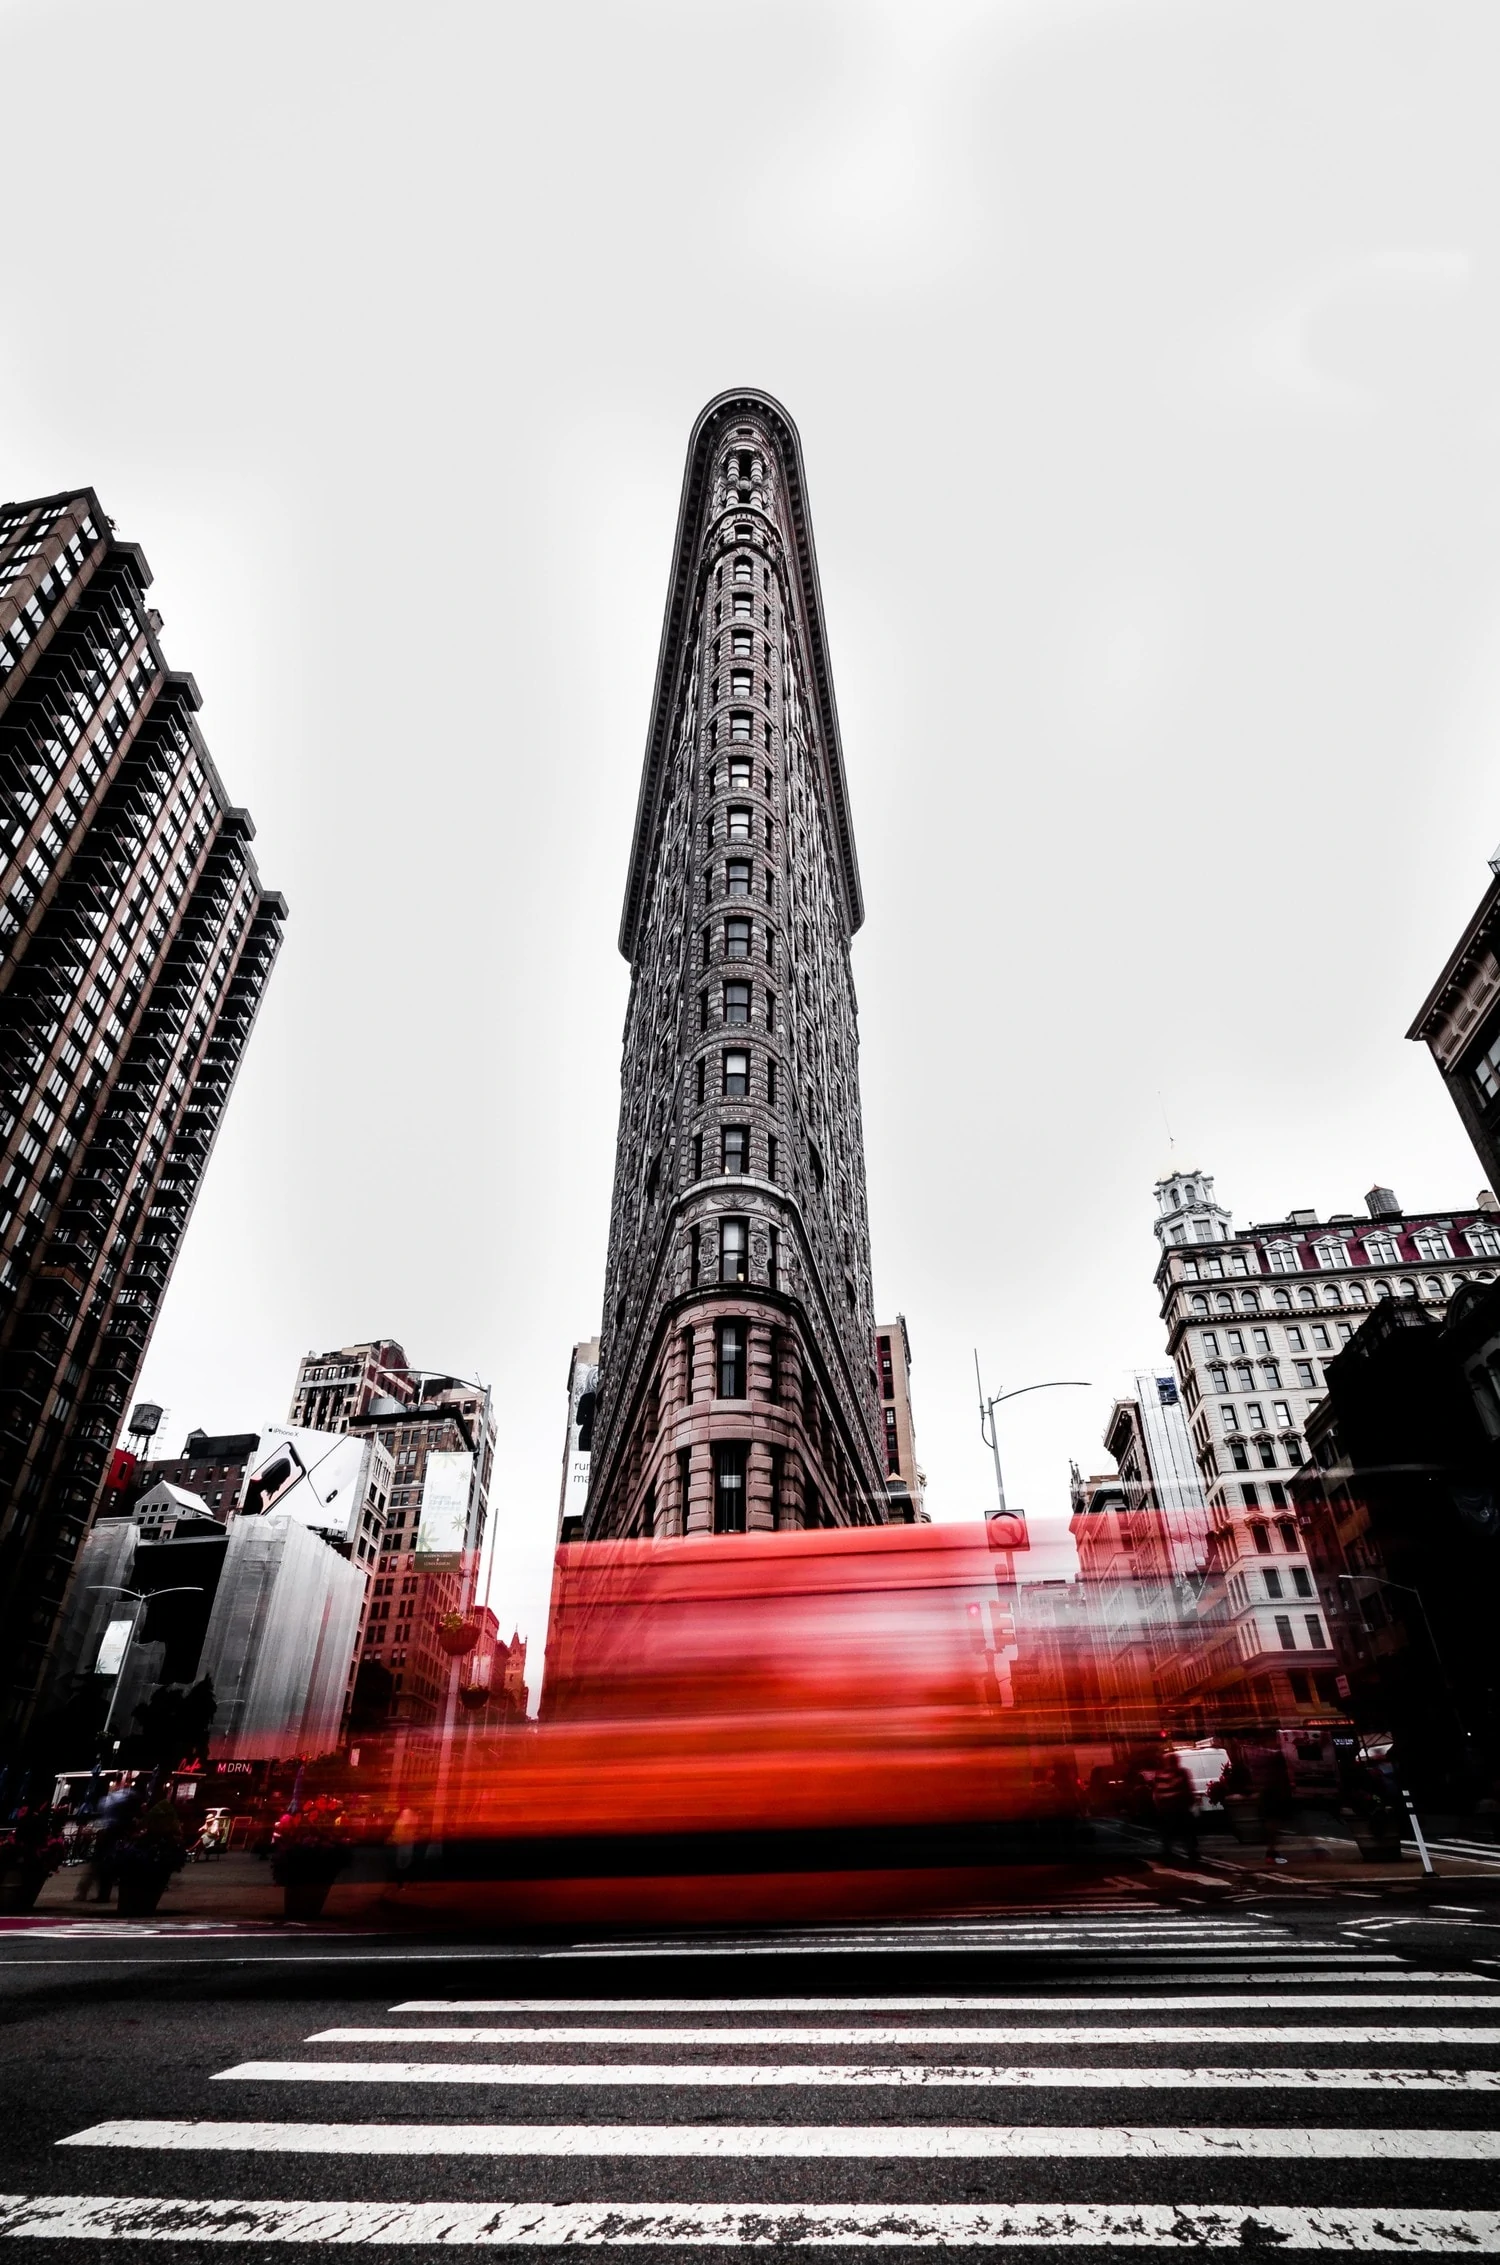
- framing. The vertical framing is more dynamic, it helps to emphasize the height of the buildings and to transmit more force. The horizontal provides greater stability.
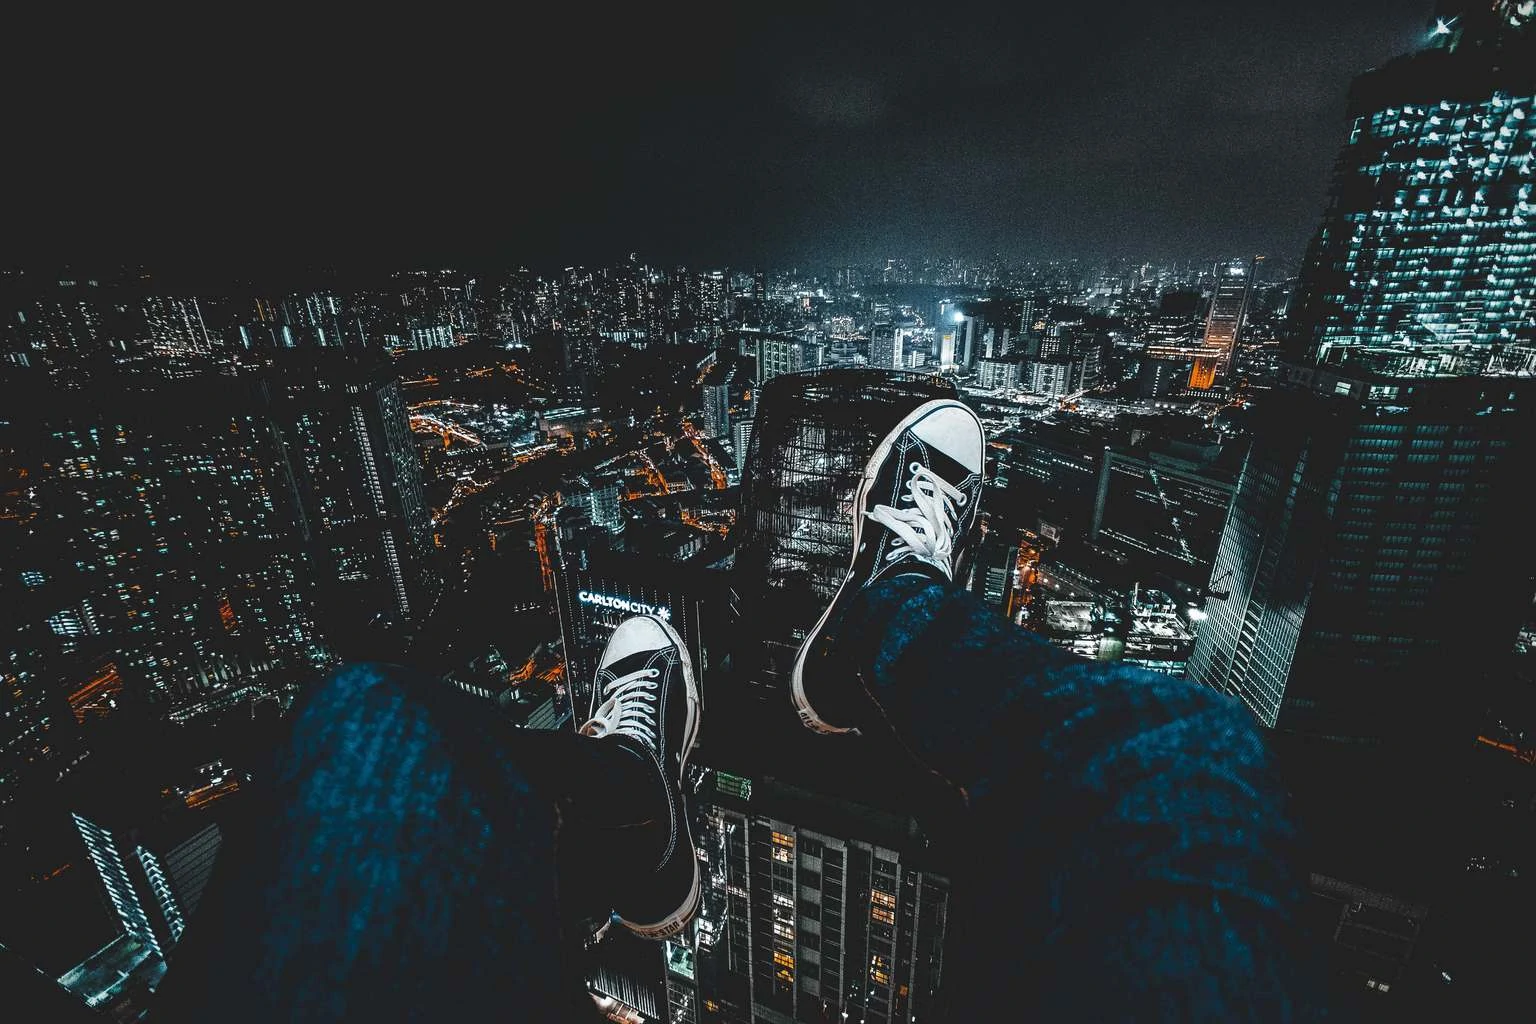
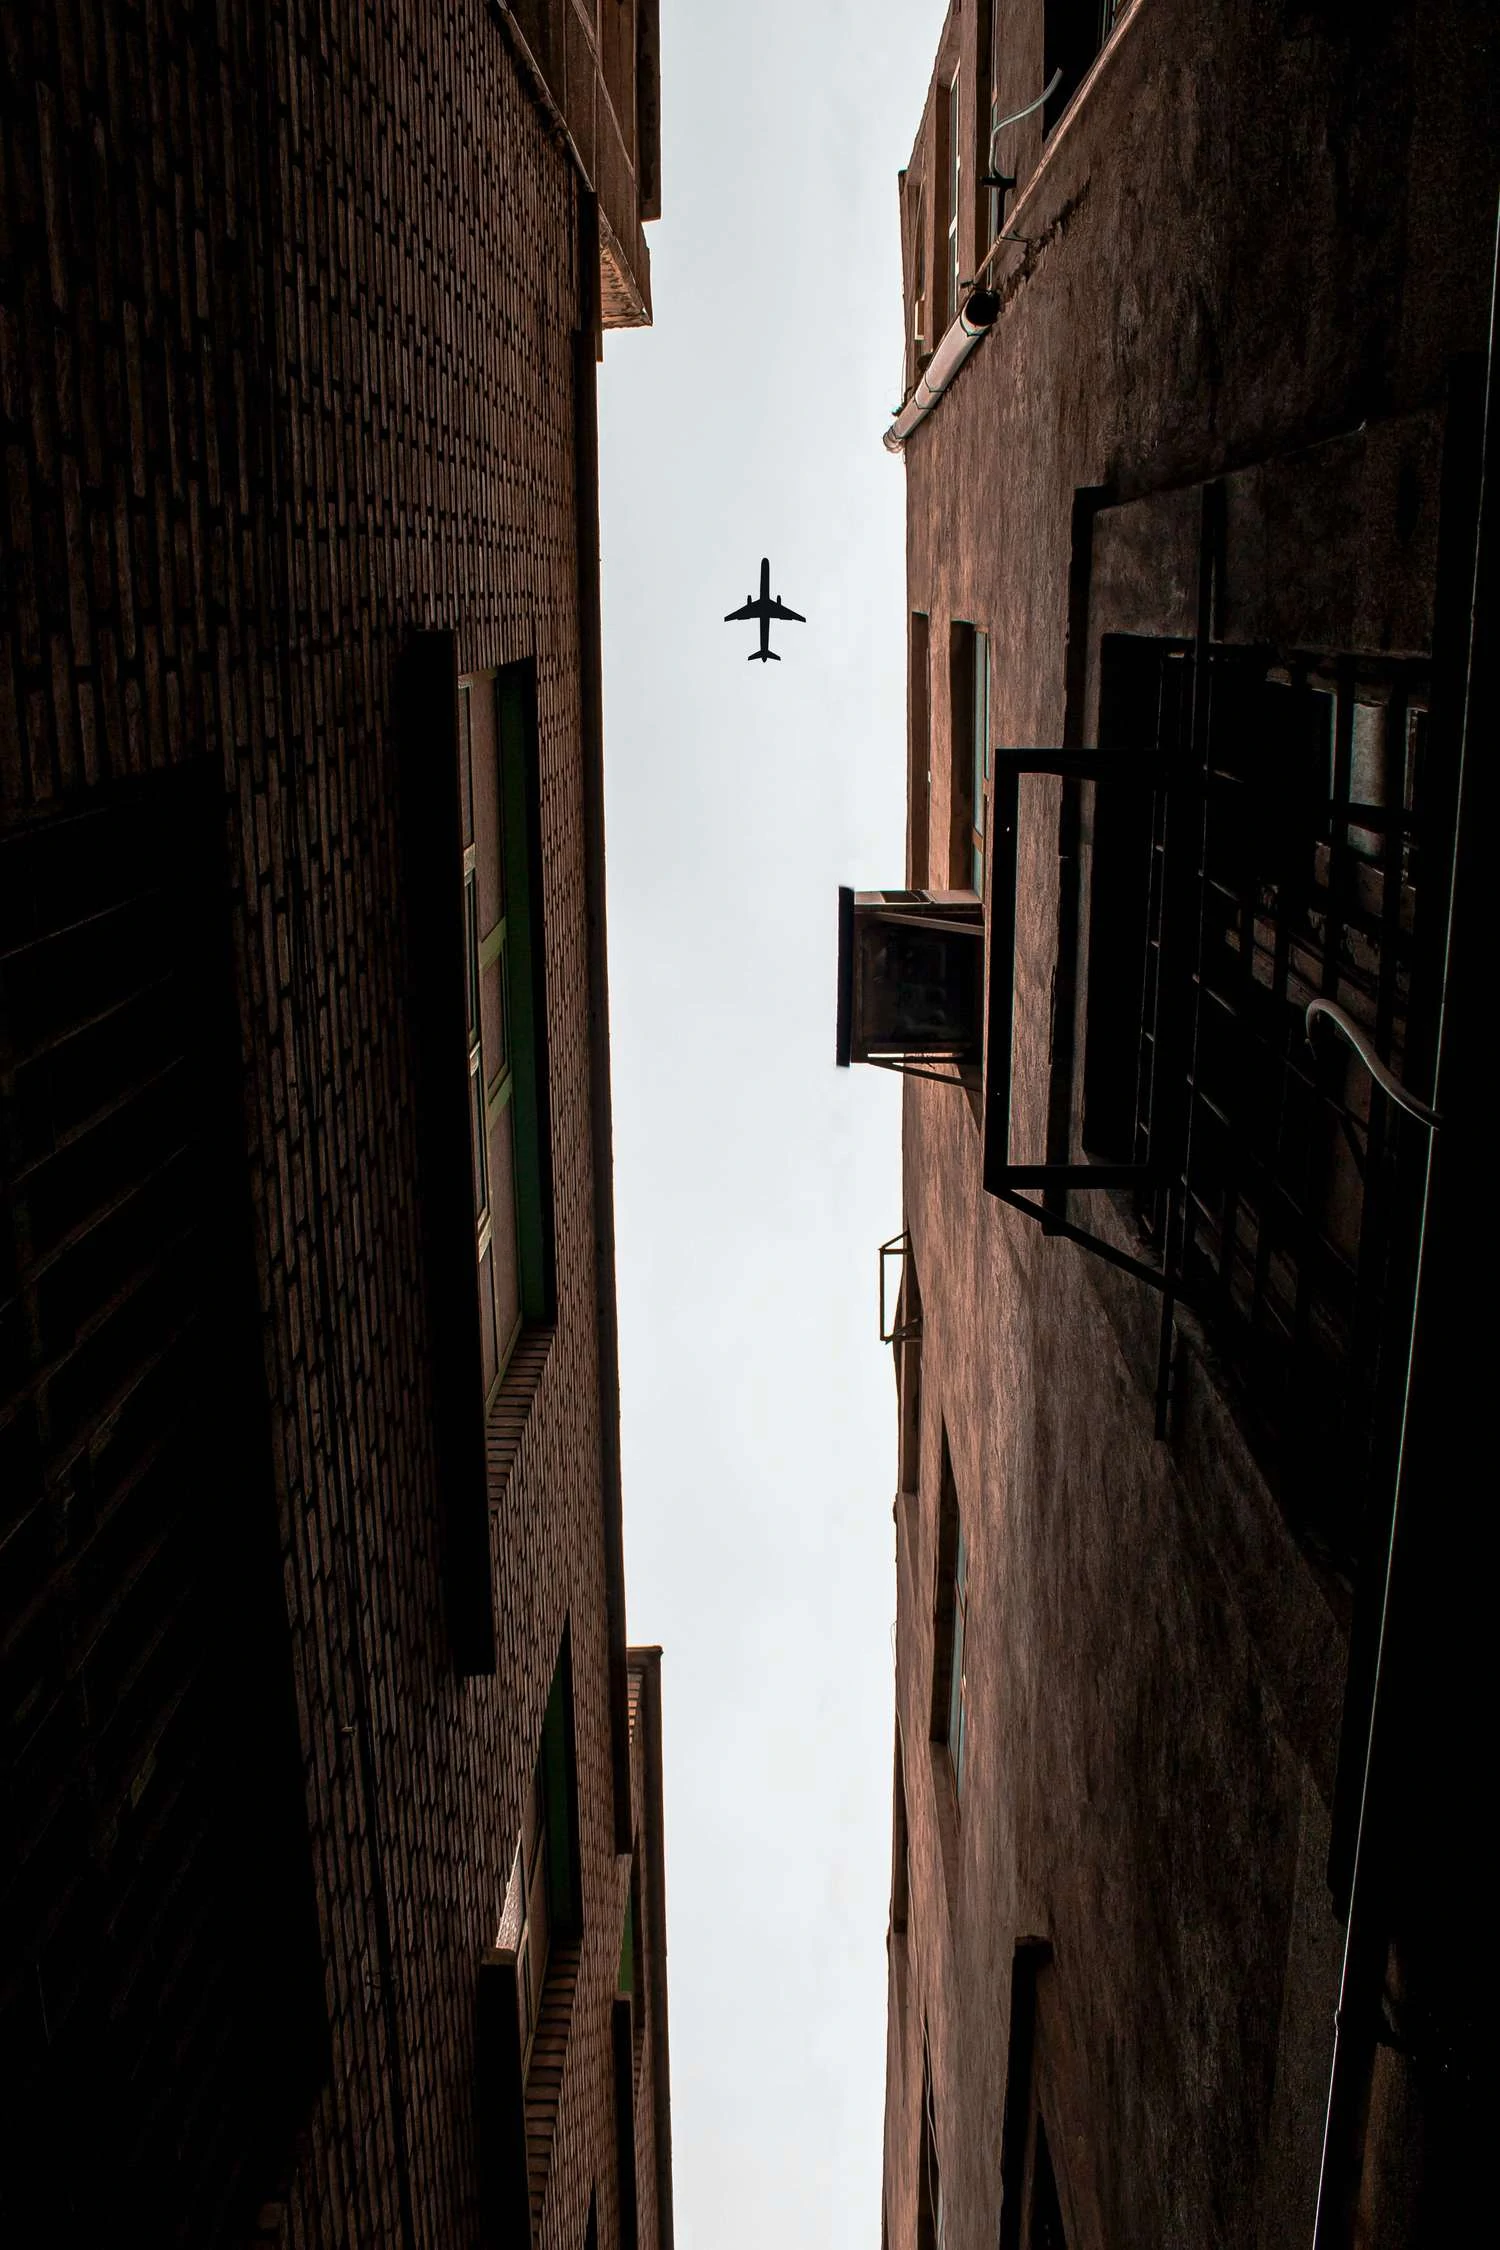
- Perspective. The angle from which you shoot your photograph can completely change the effect caused on the viewer. For example, it will not be the same if you photograph a skateboarder jumping at the level of your eyes as if you do it at ground level.
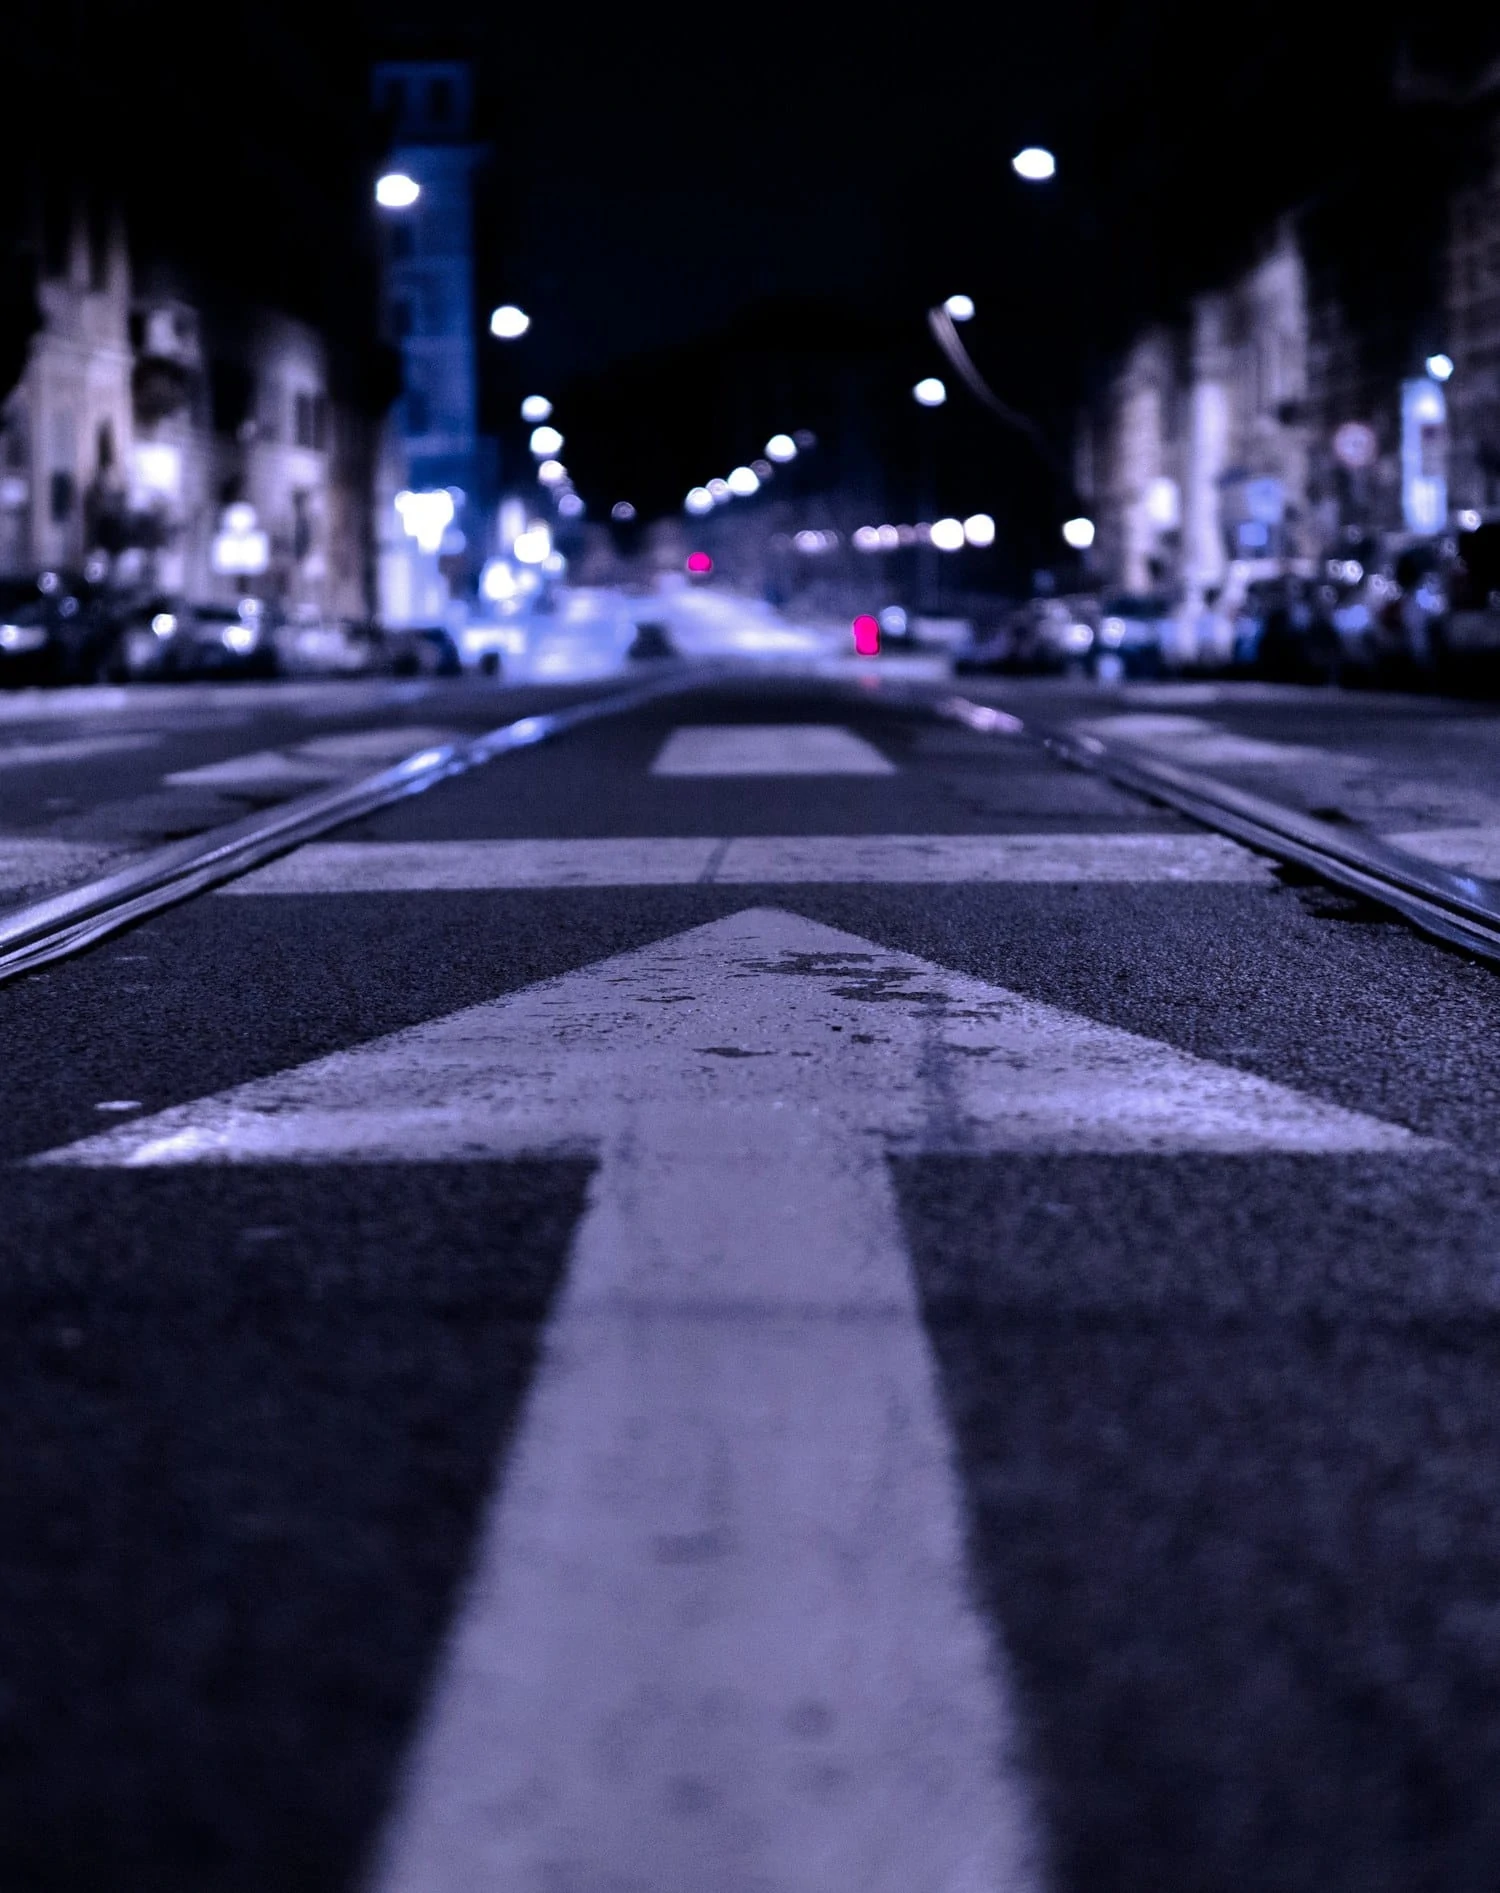
- Lines. The lines help to guide the look. The diagonals create tension, the horizontals stability, the verticals dynamism and the curves are more seductive and subtle.
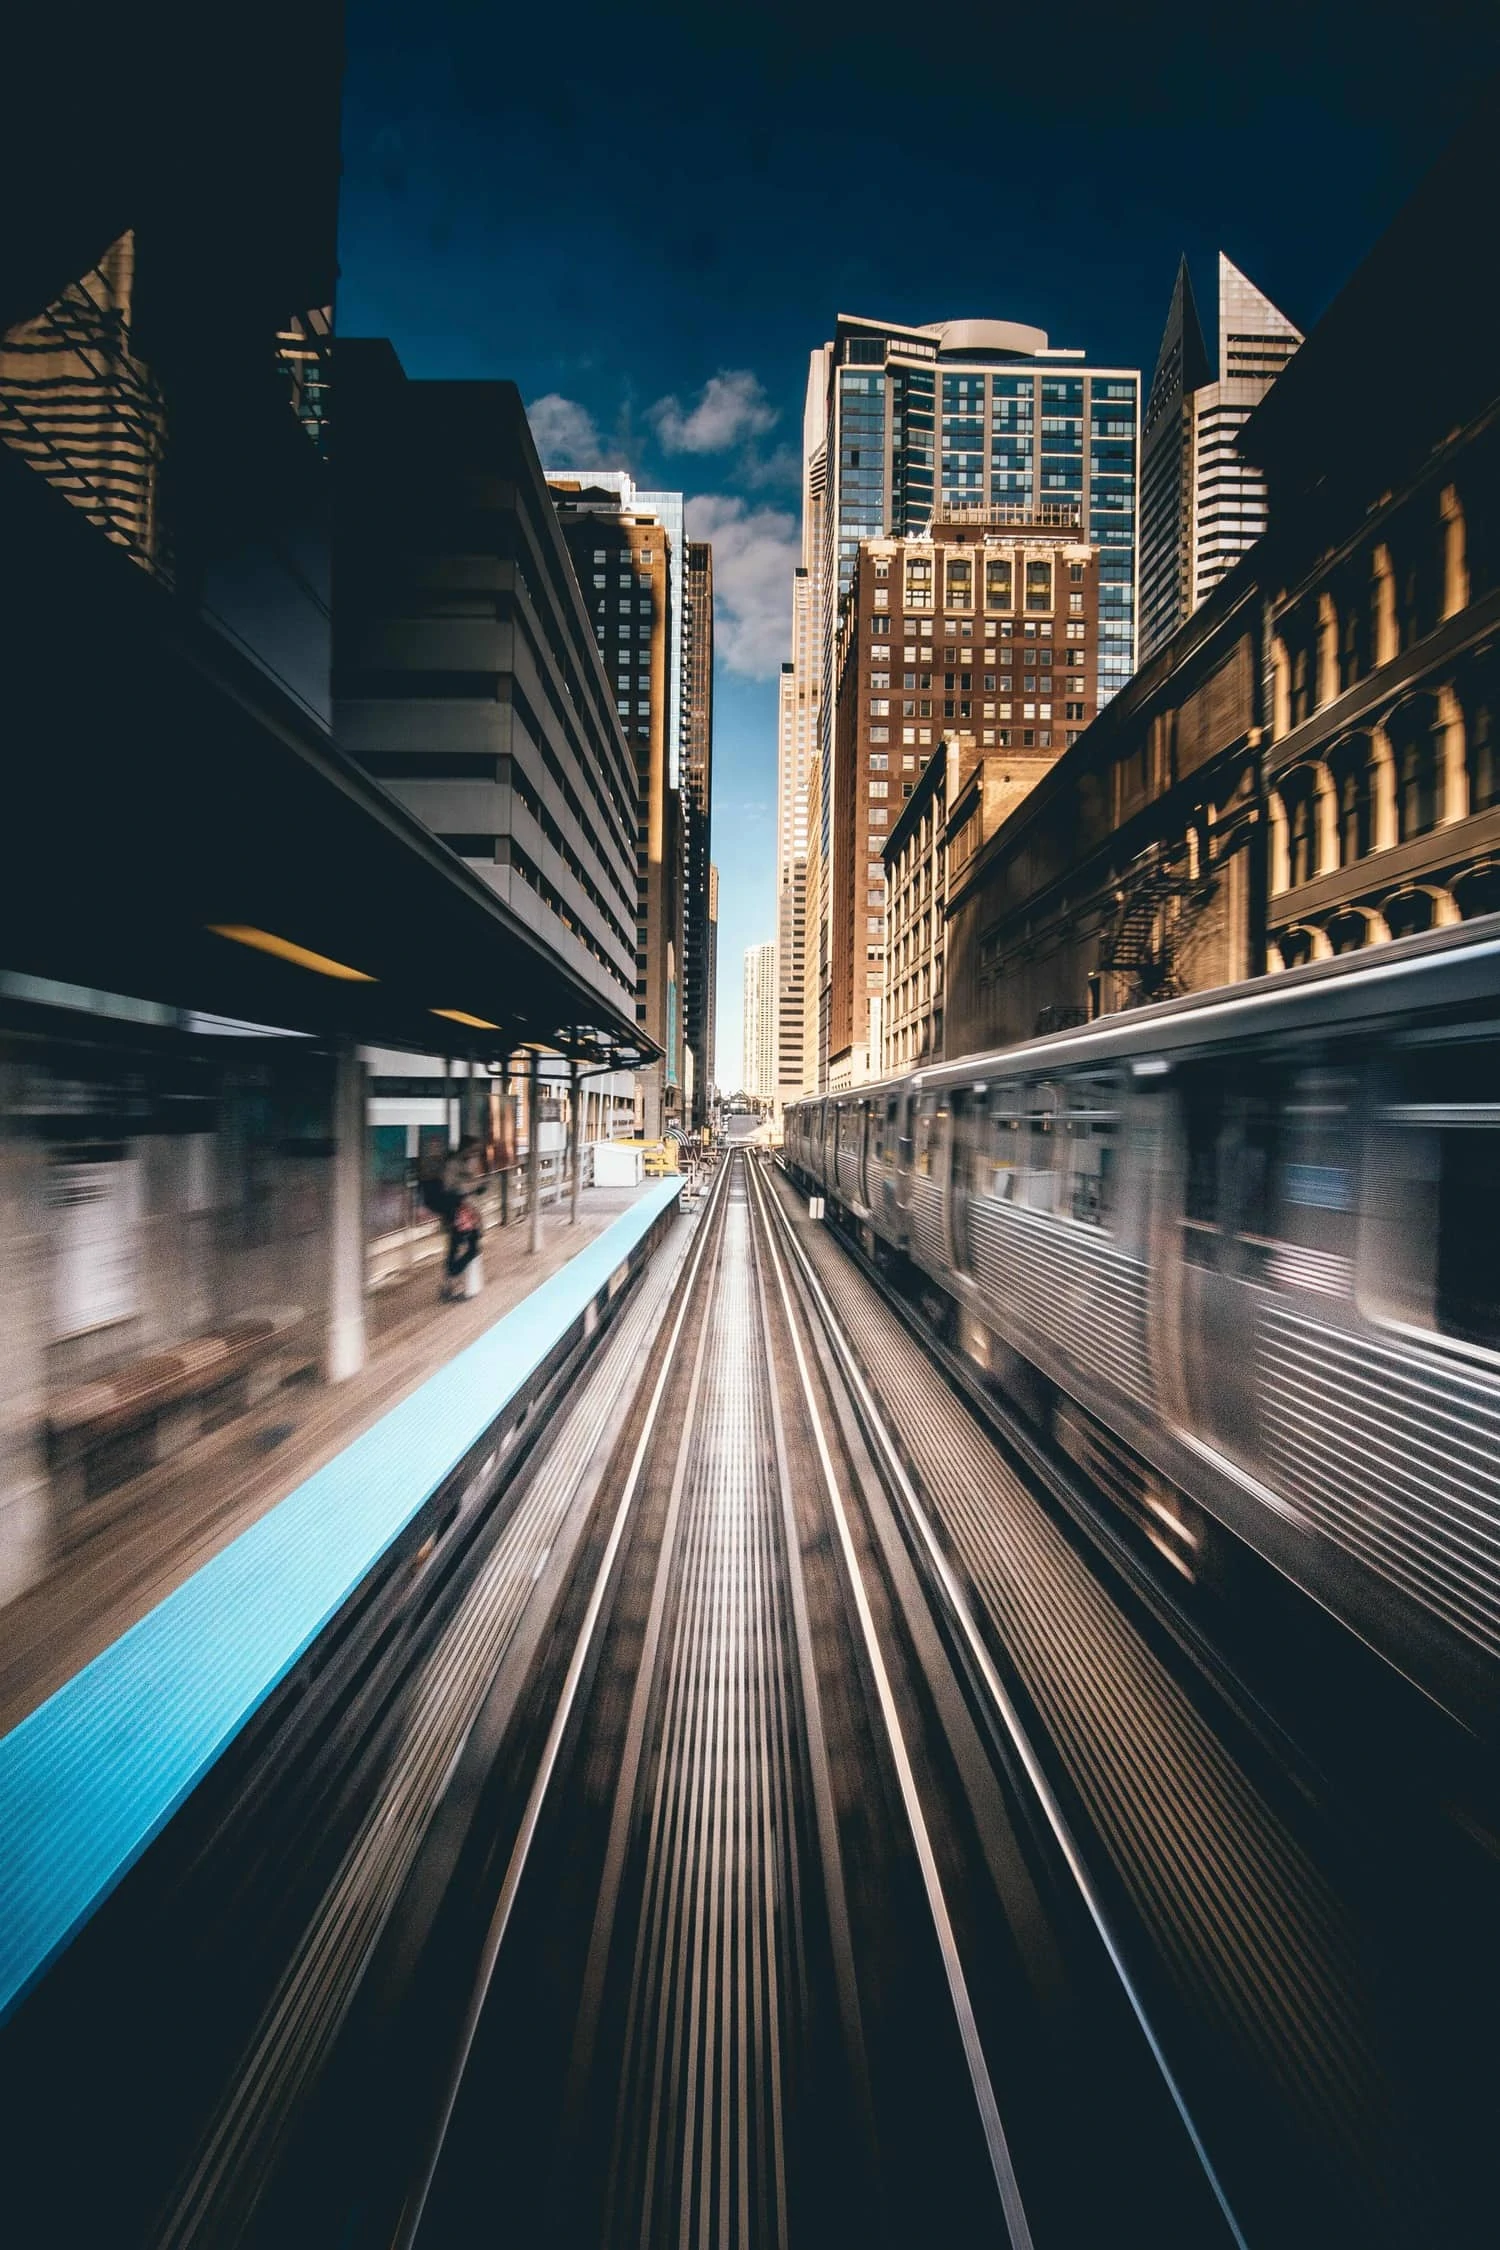
- Vanishing Point. When the lines come together at a point it is known as a vanishing point and this acts as an accurate arrow. The lower the perspective you shoot from, the more powerful the vanishing point effect will be.
- patterns. Several repeated elements form a pattern, this can be more or less uniform but when it is interrupted by a different element it becomes the center of interest. You can use to create rhythm in your image.
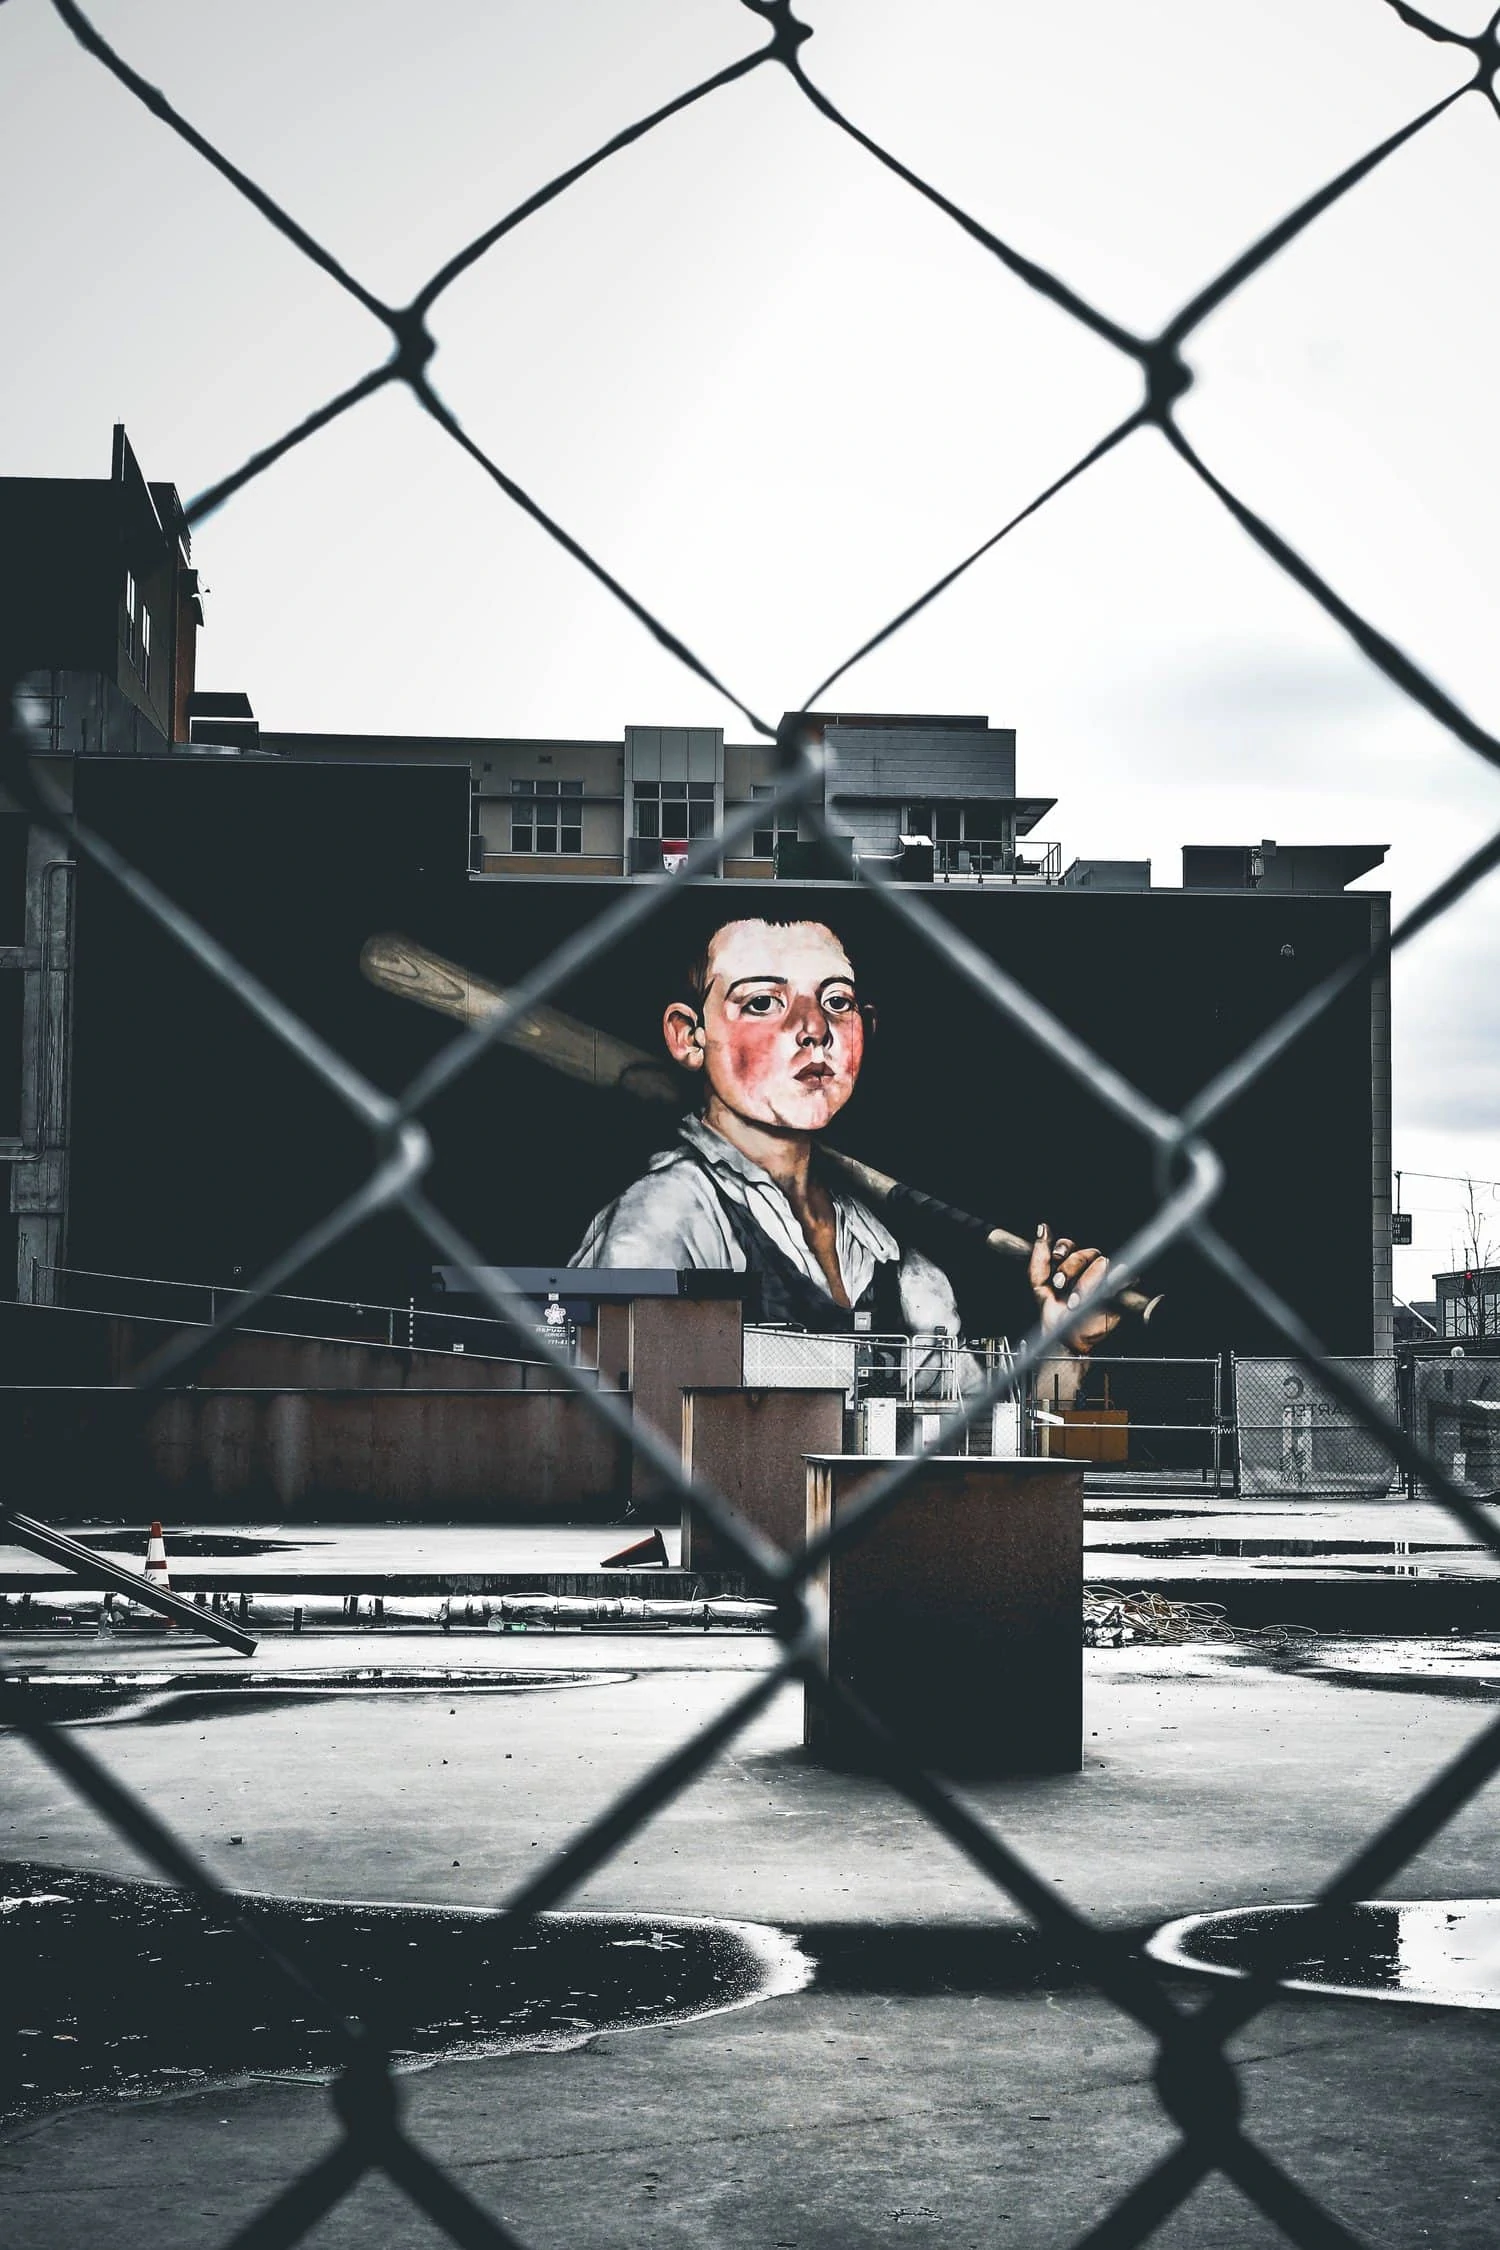
- Natural frame. When you use urban elements to frame your protagonist within the image it is known as natural framing. This makes the gaze focus directly on him.
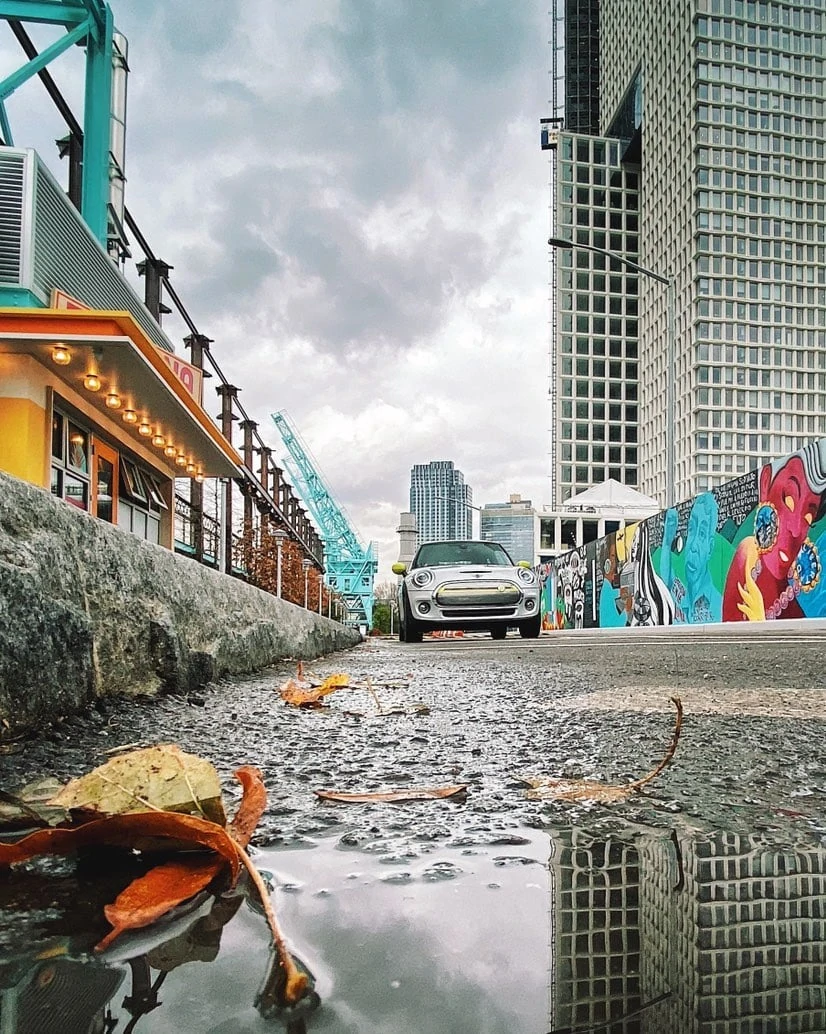
- Reflexes. Take advantage of all the reflective surfaces to get interesting compositions. Puddles, crystals, mirrors, metallic surfaces, etc., will be your allies in the city.
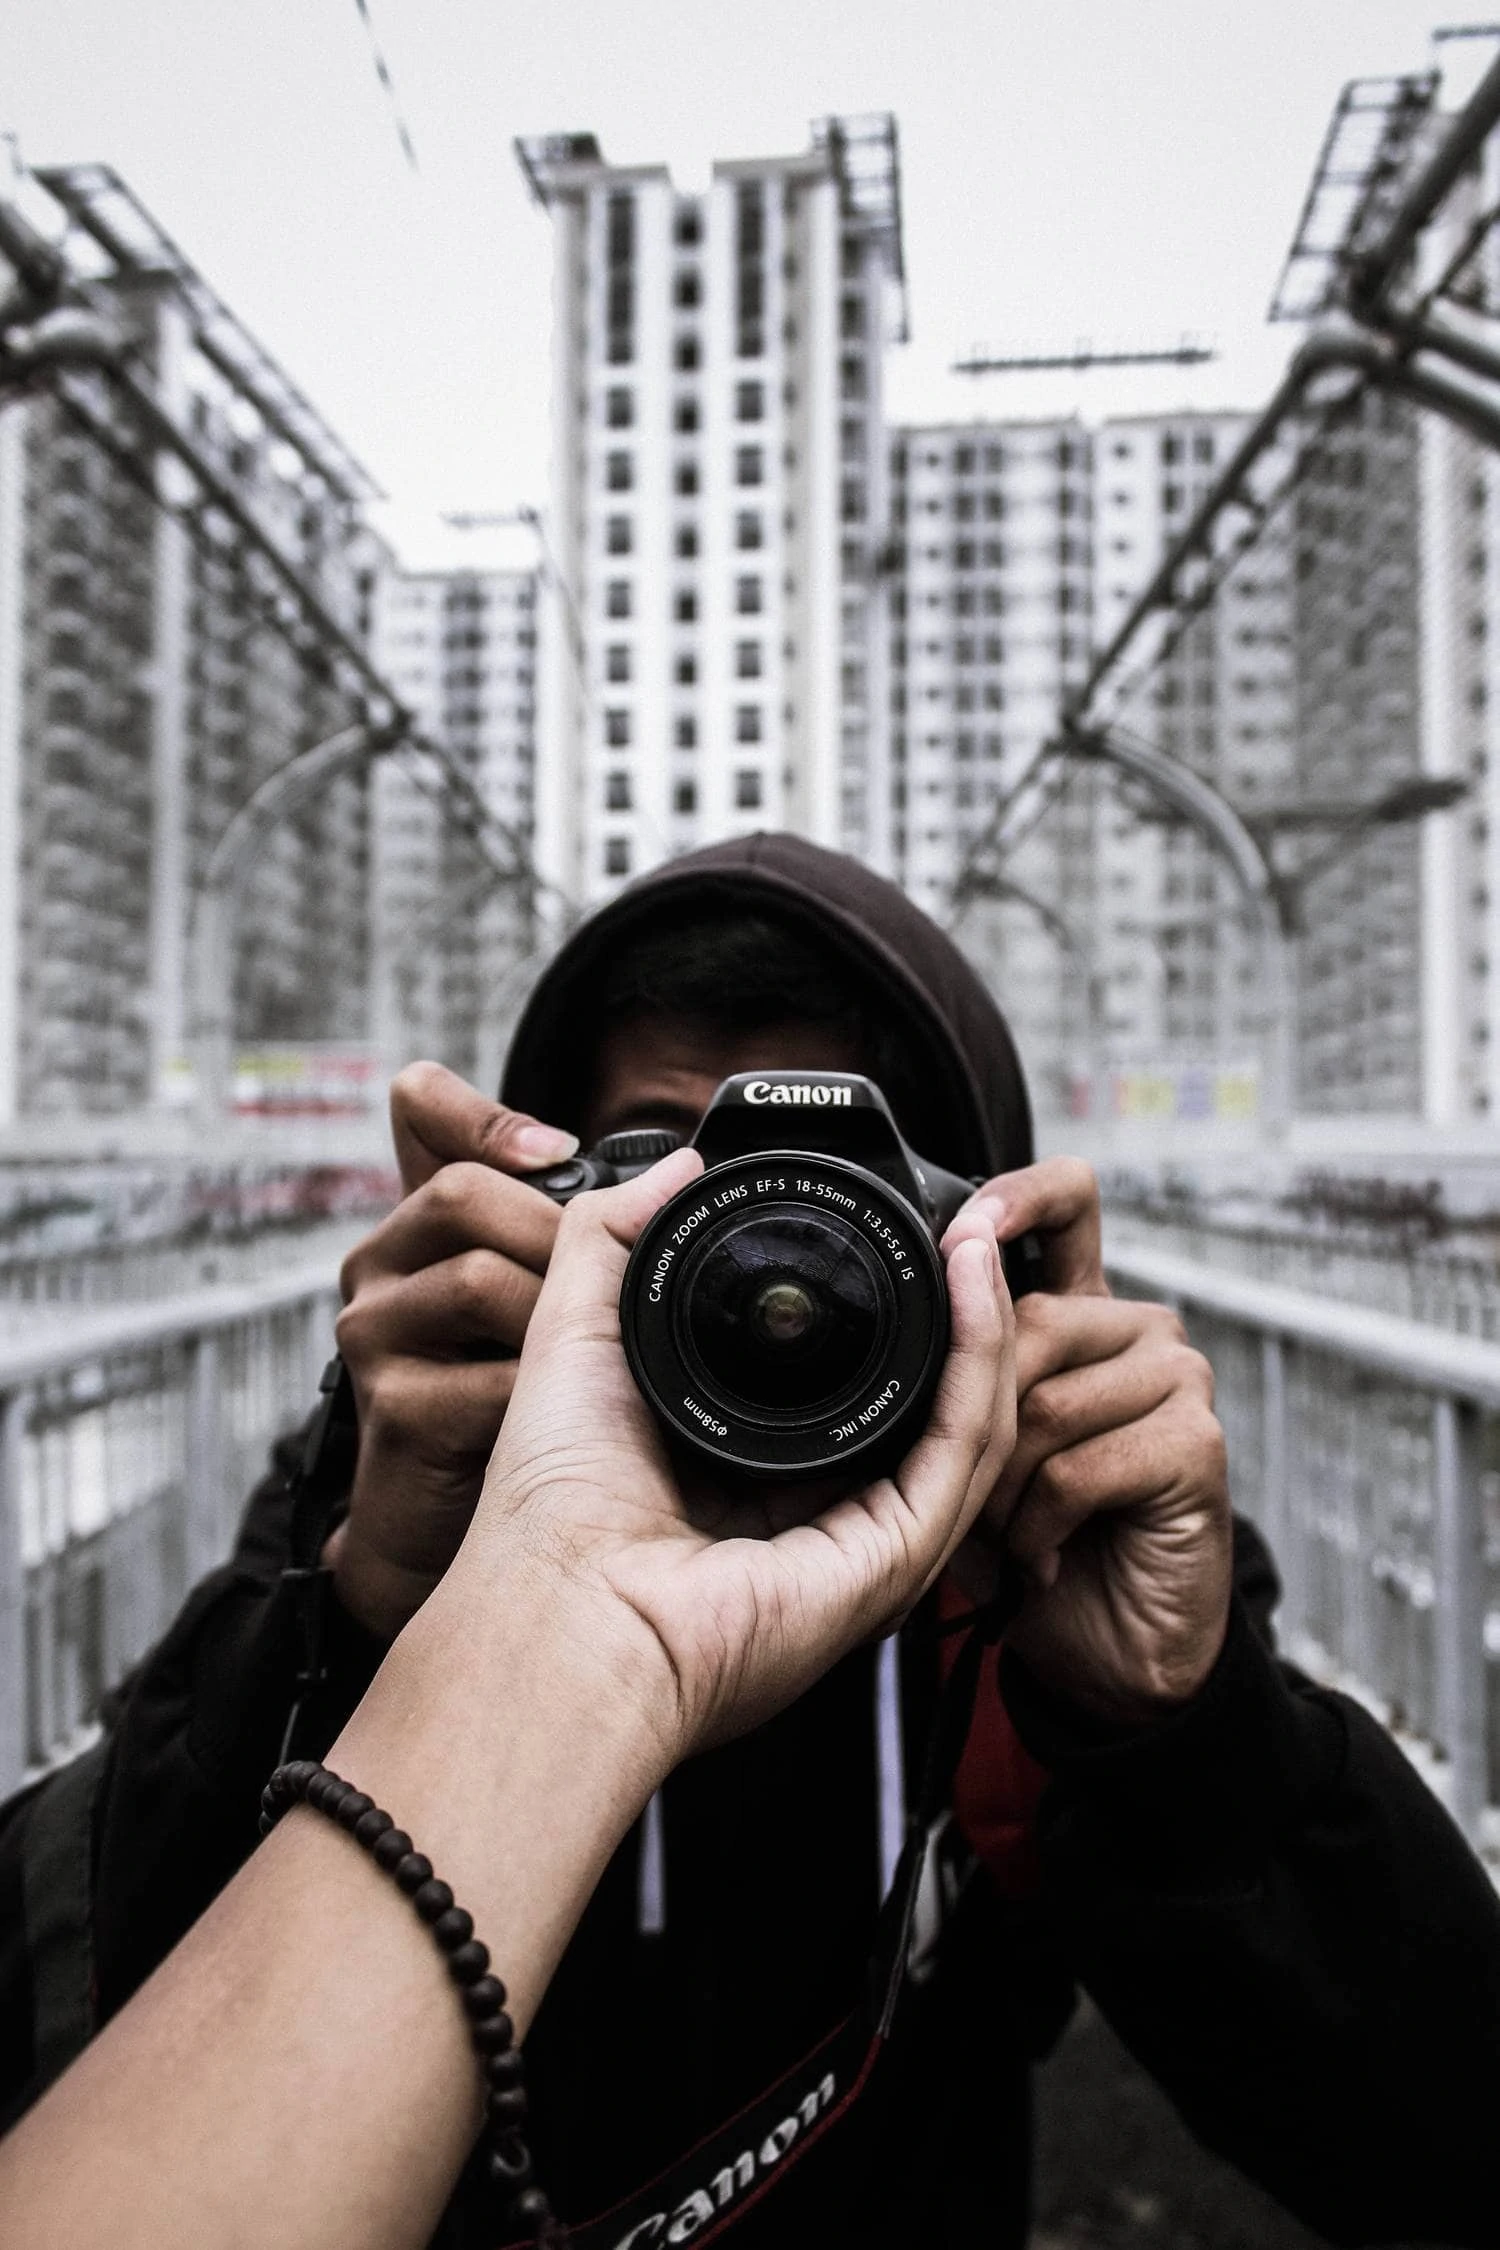
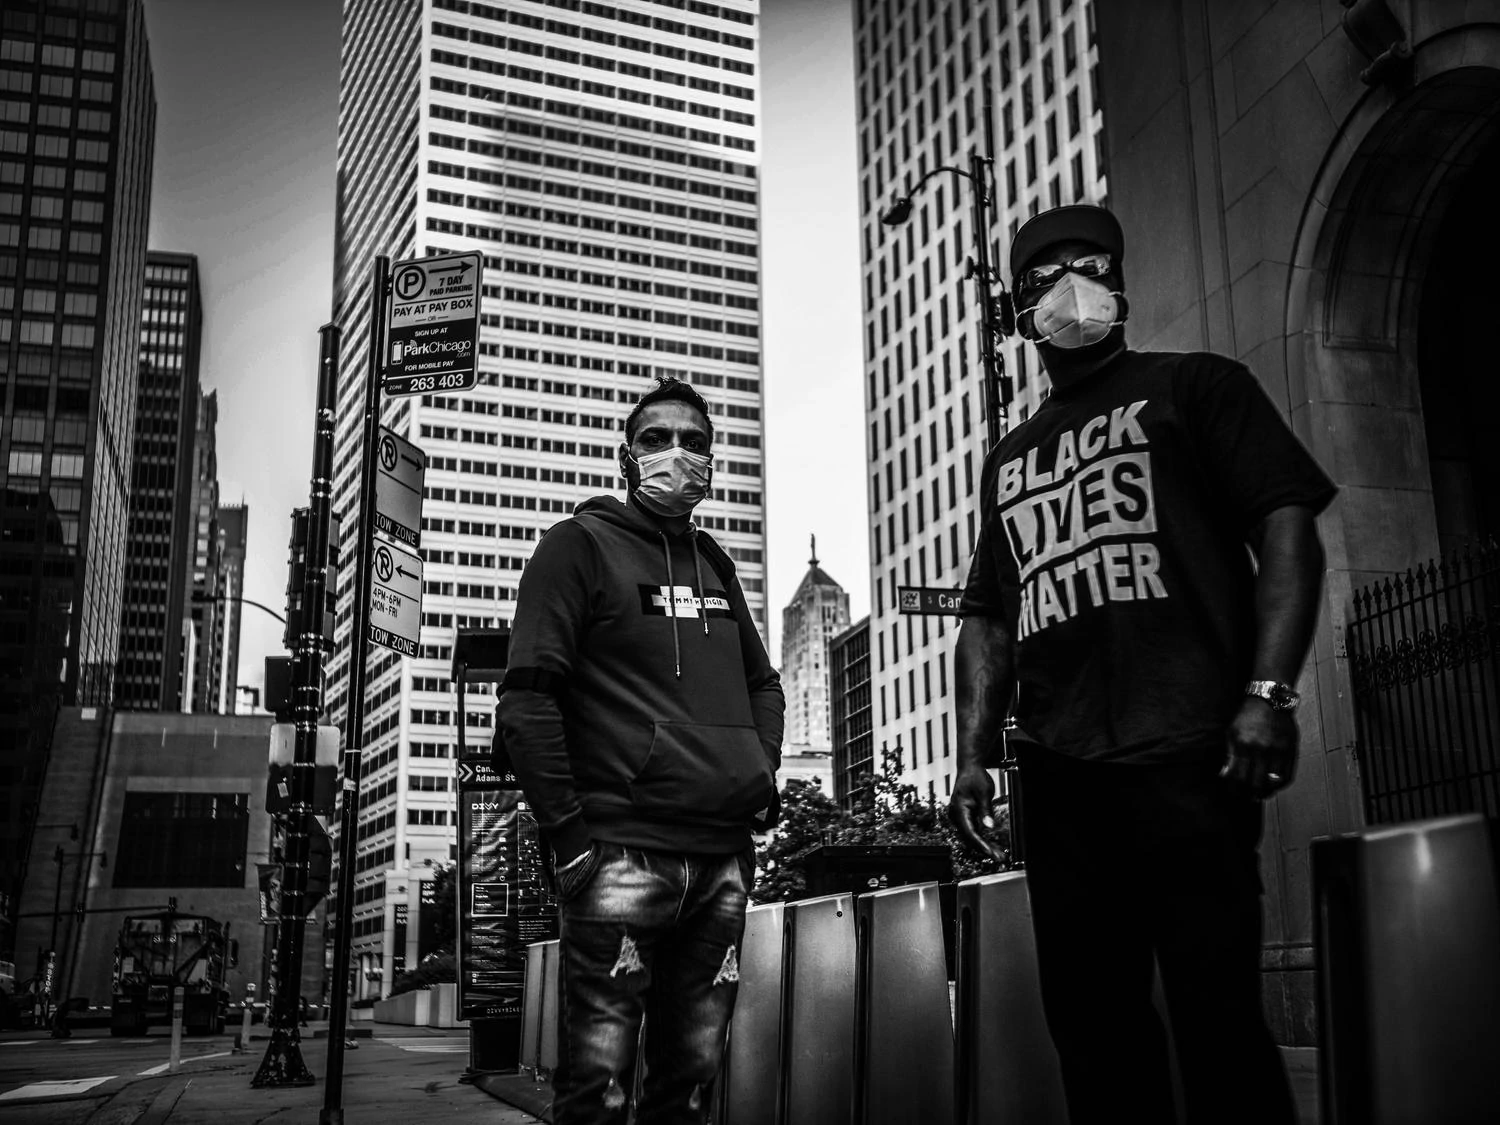
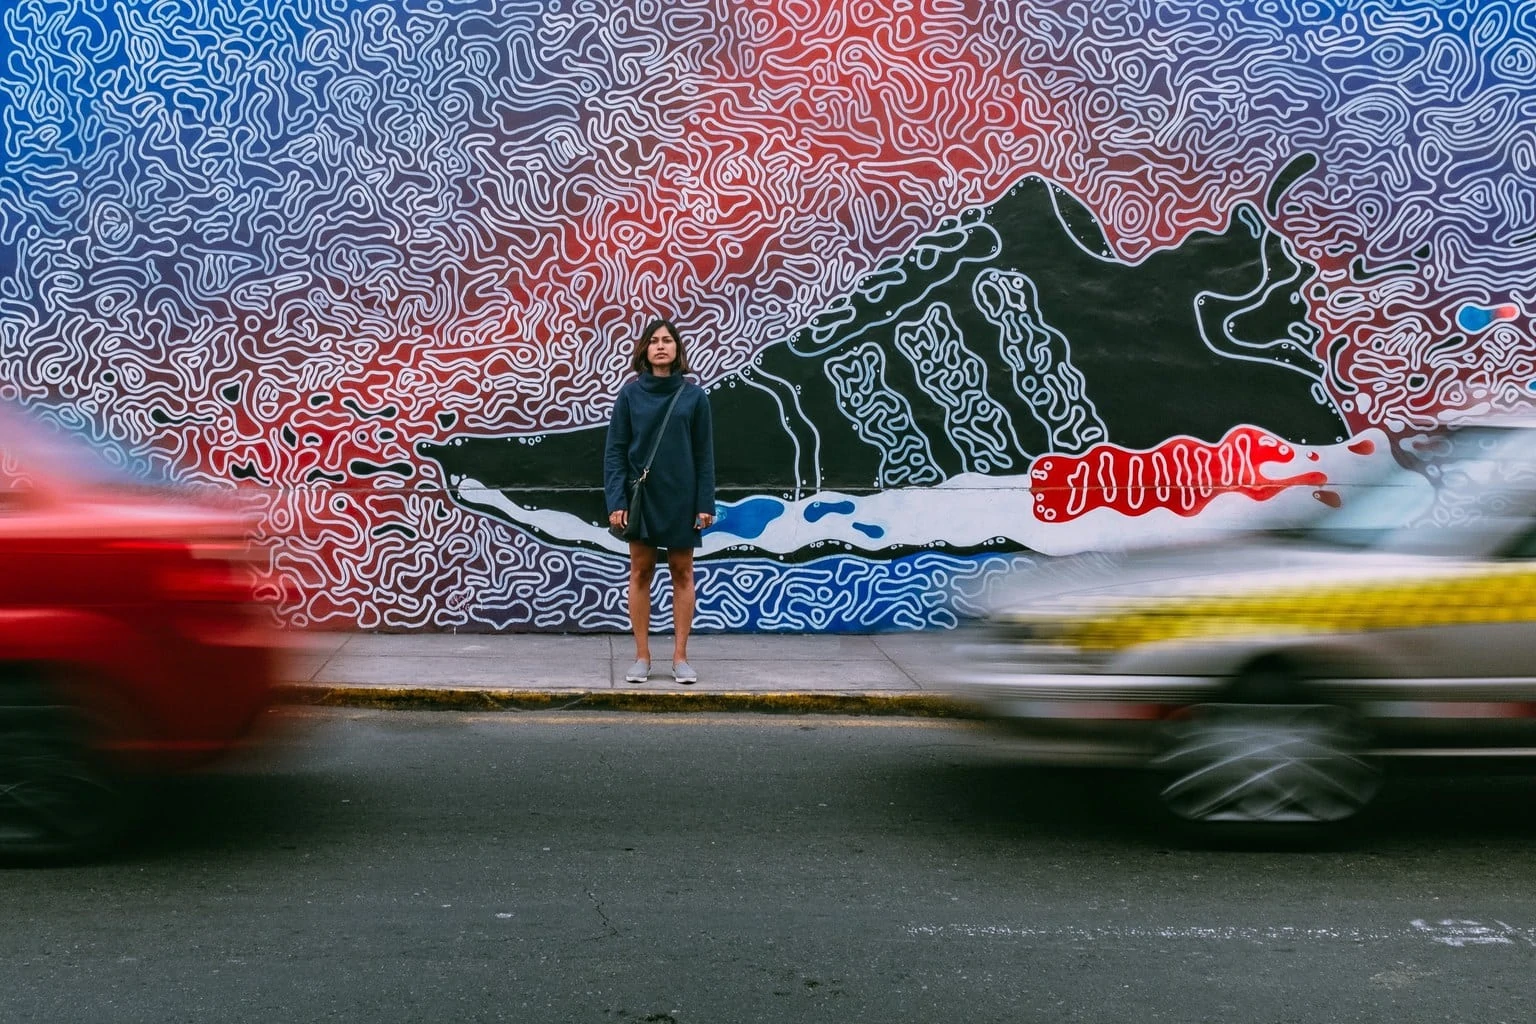
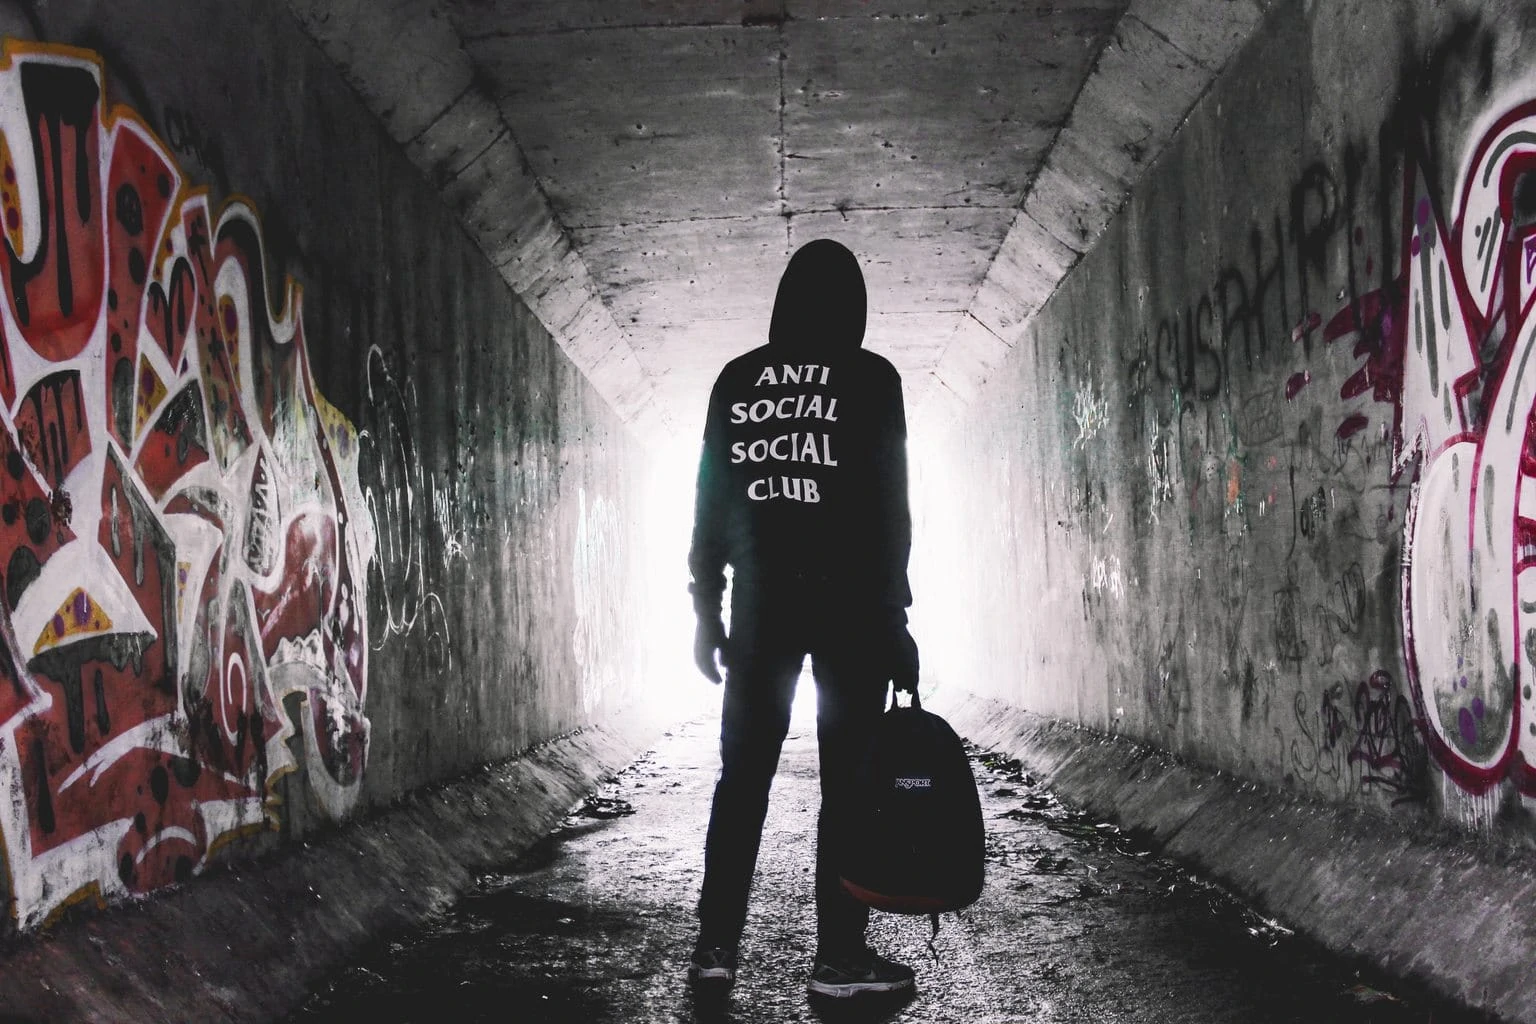
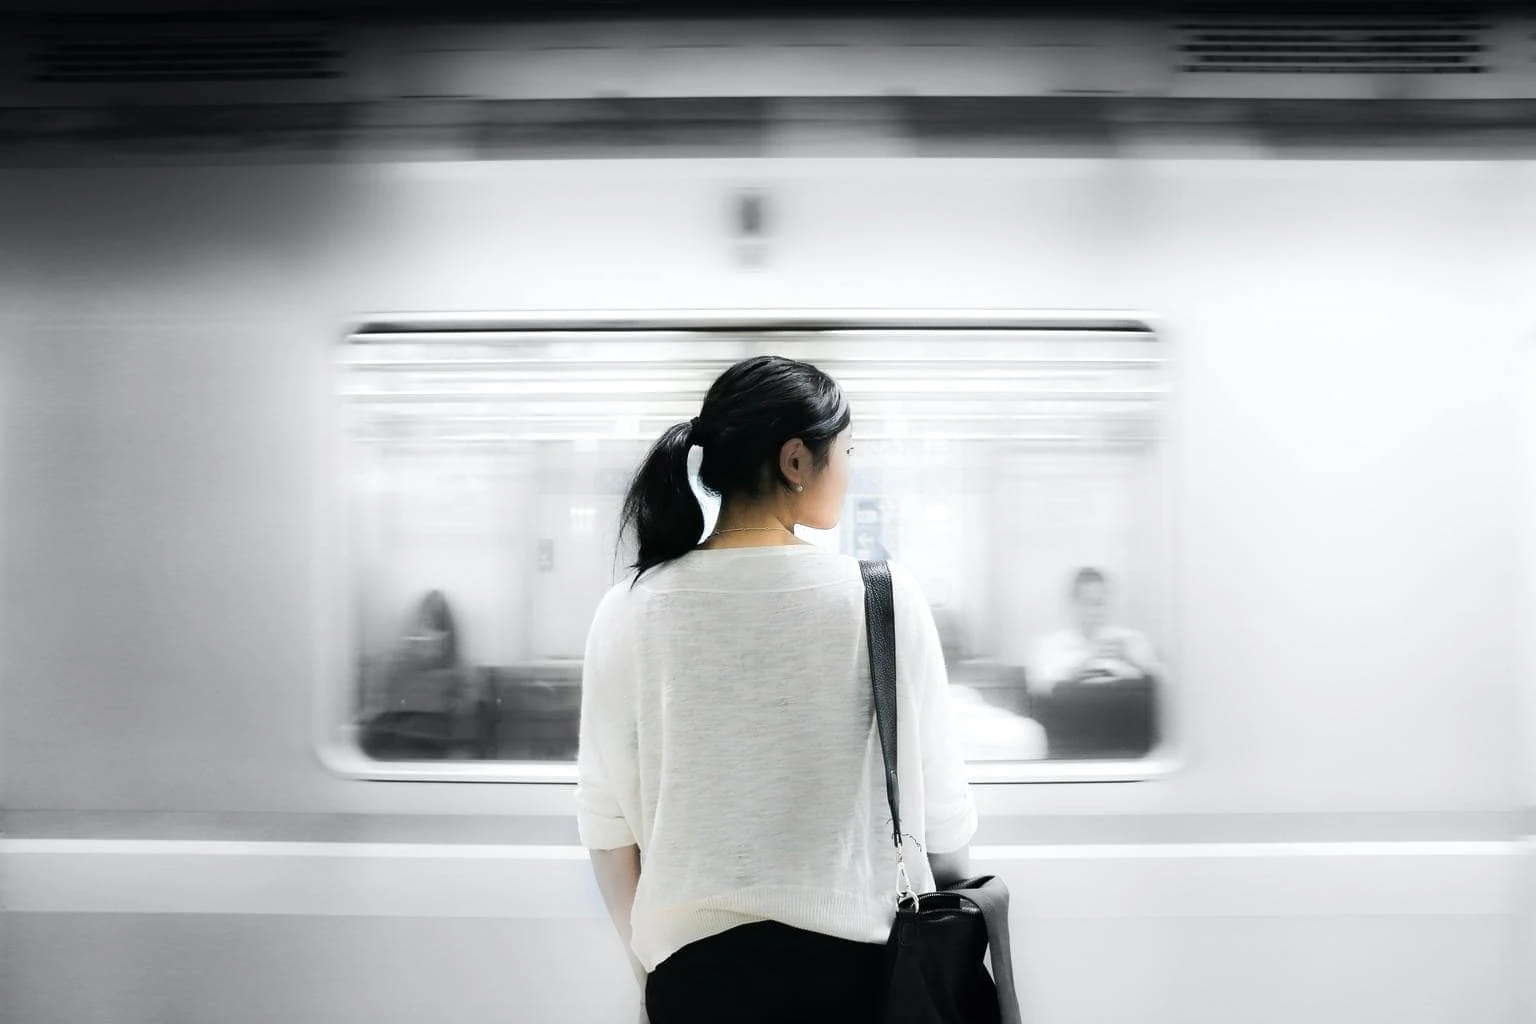
- Human element. In urban photography it is not necessary for the human element to appear, which does not mean that it can be included or that it does not provide interest. As humans that we are, we feel identified immediately. In addition, a human figure not only works as a center of interest, but also includes a size scale and can help reinforce the dynamism or stability of an image depending on the action it performs.
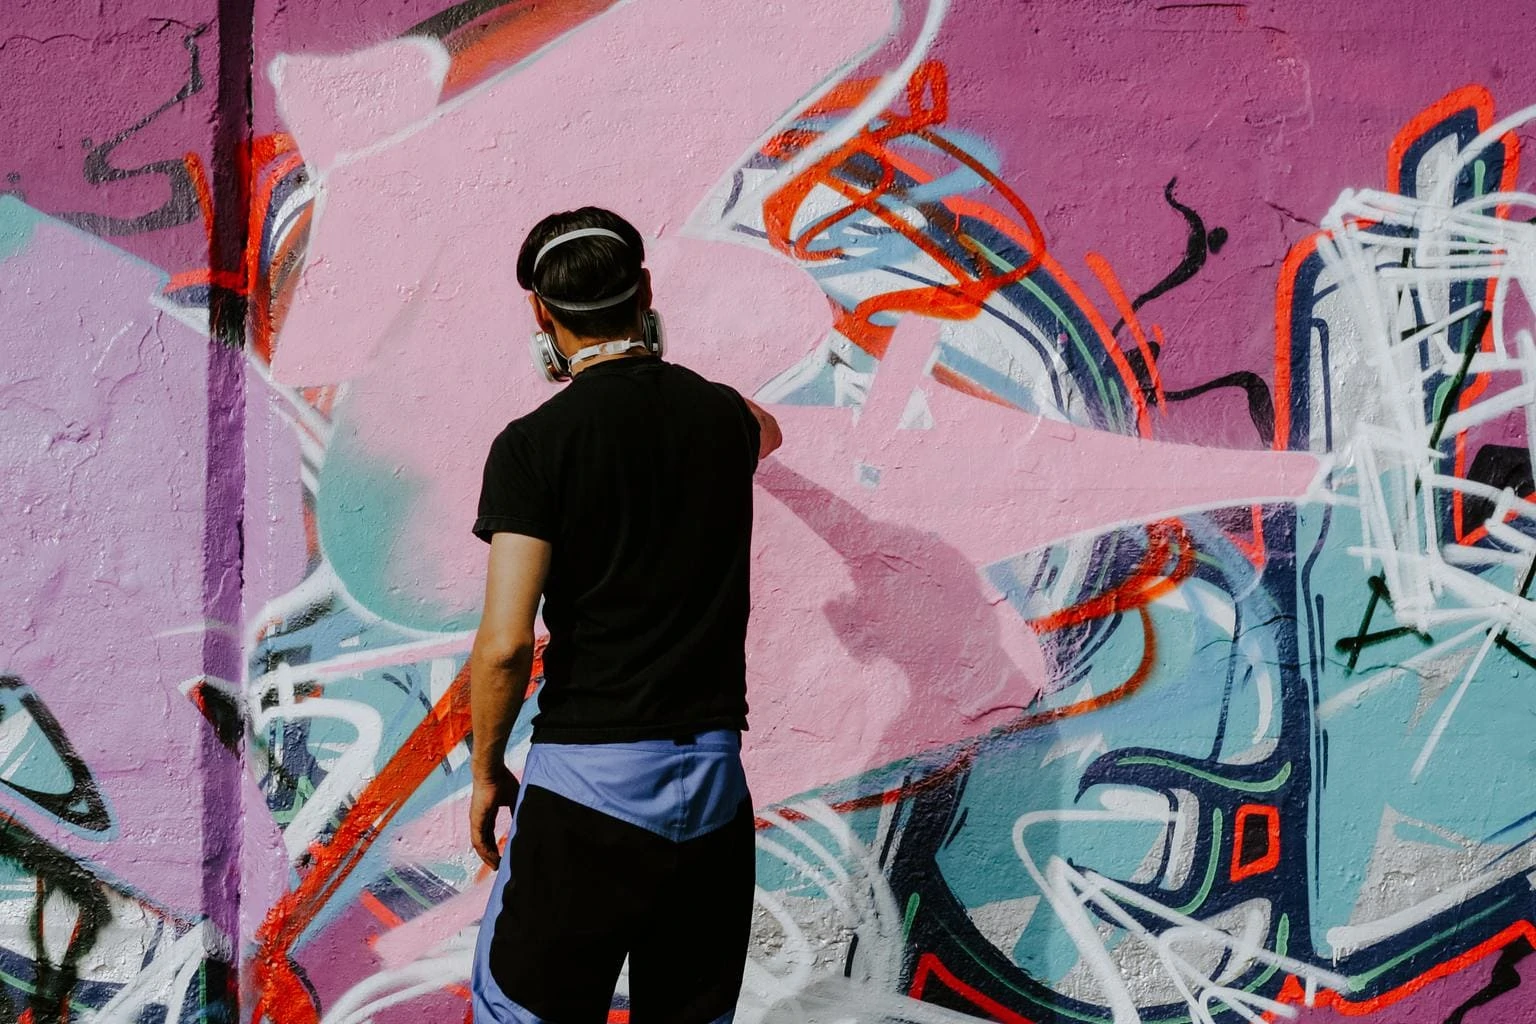
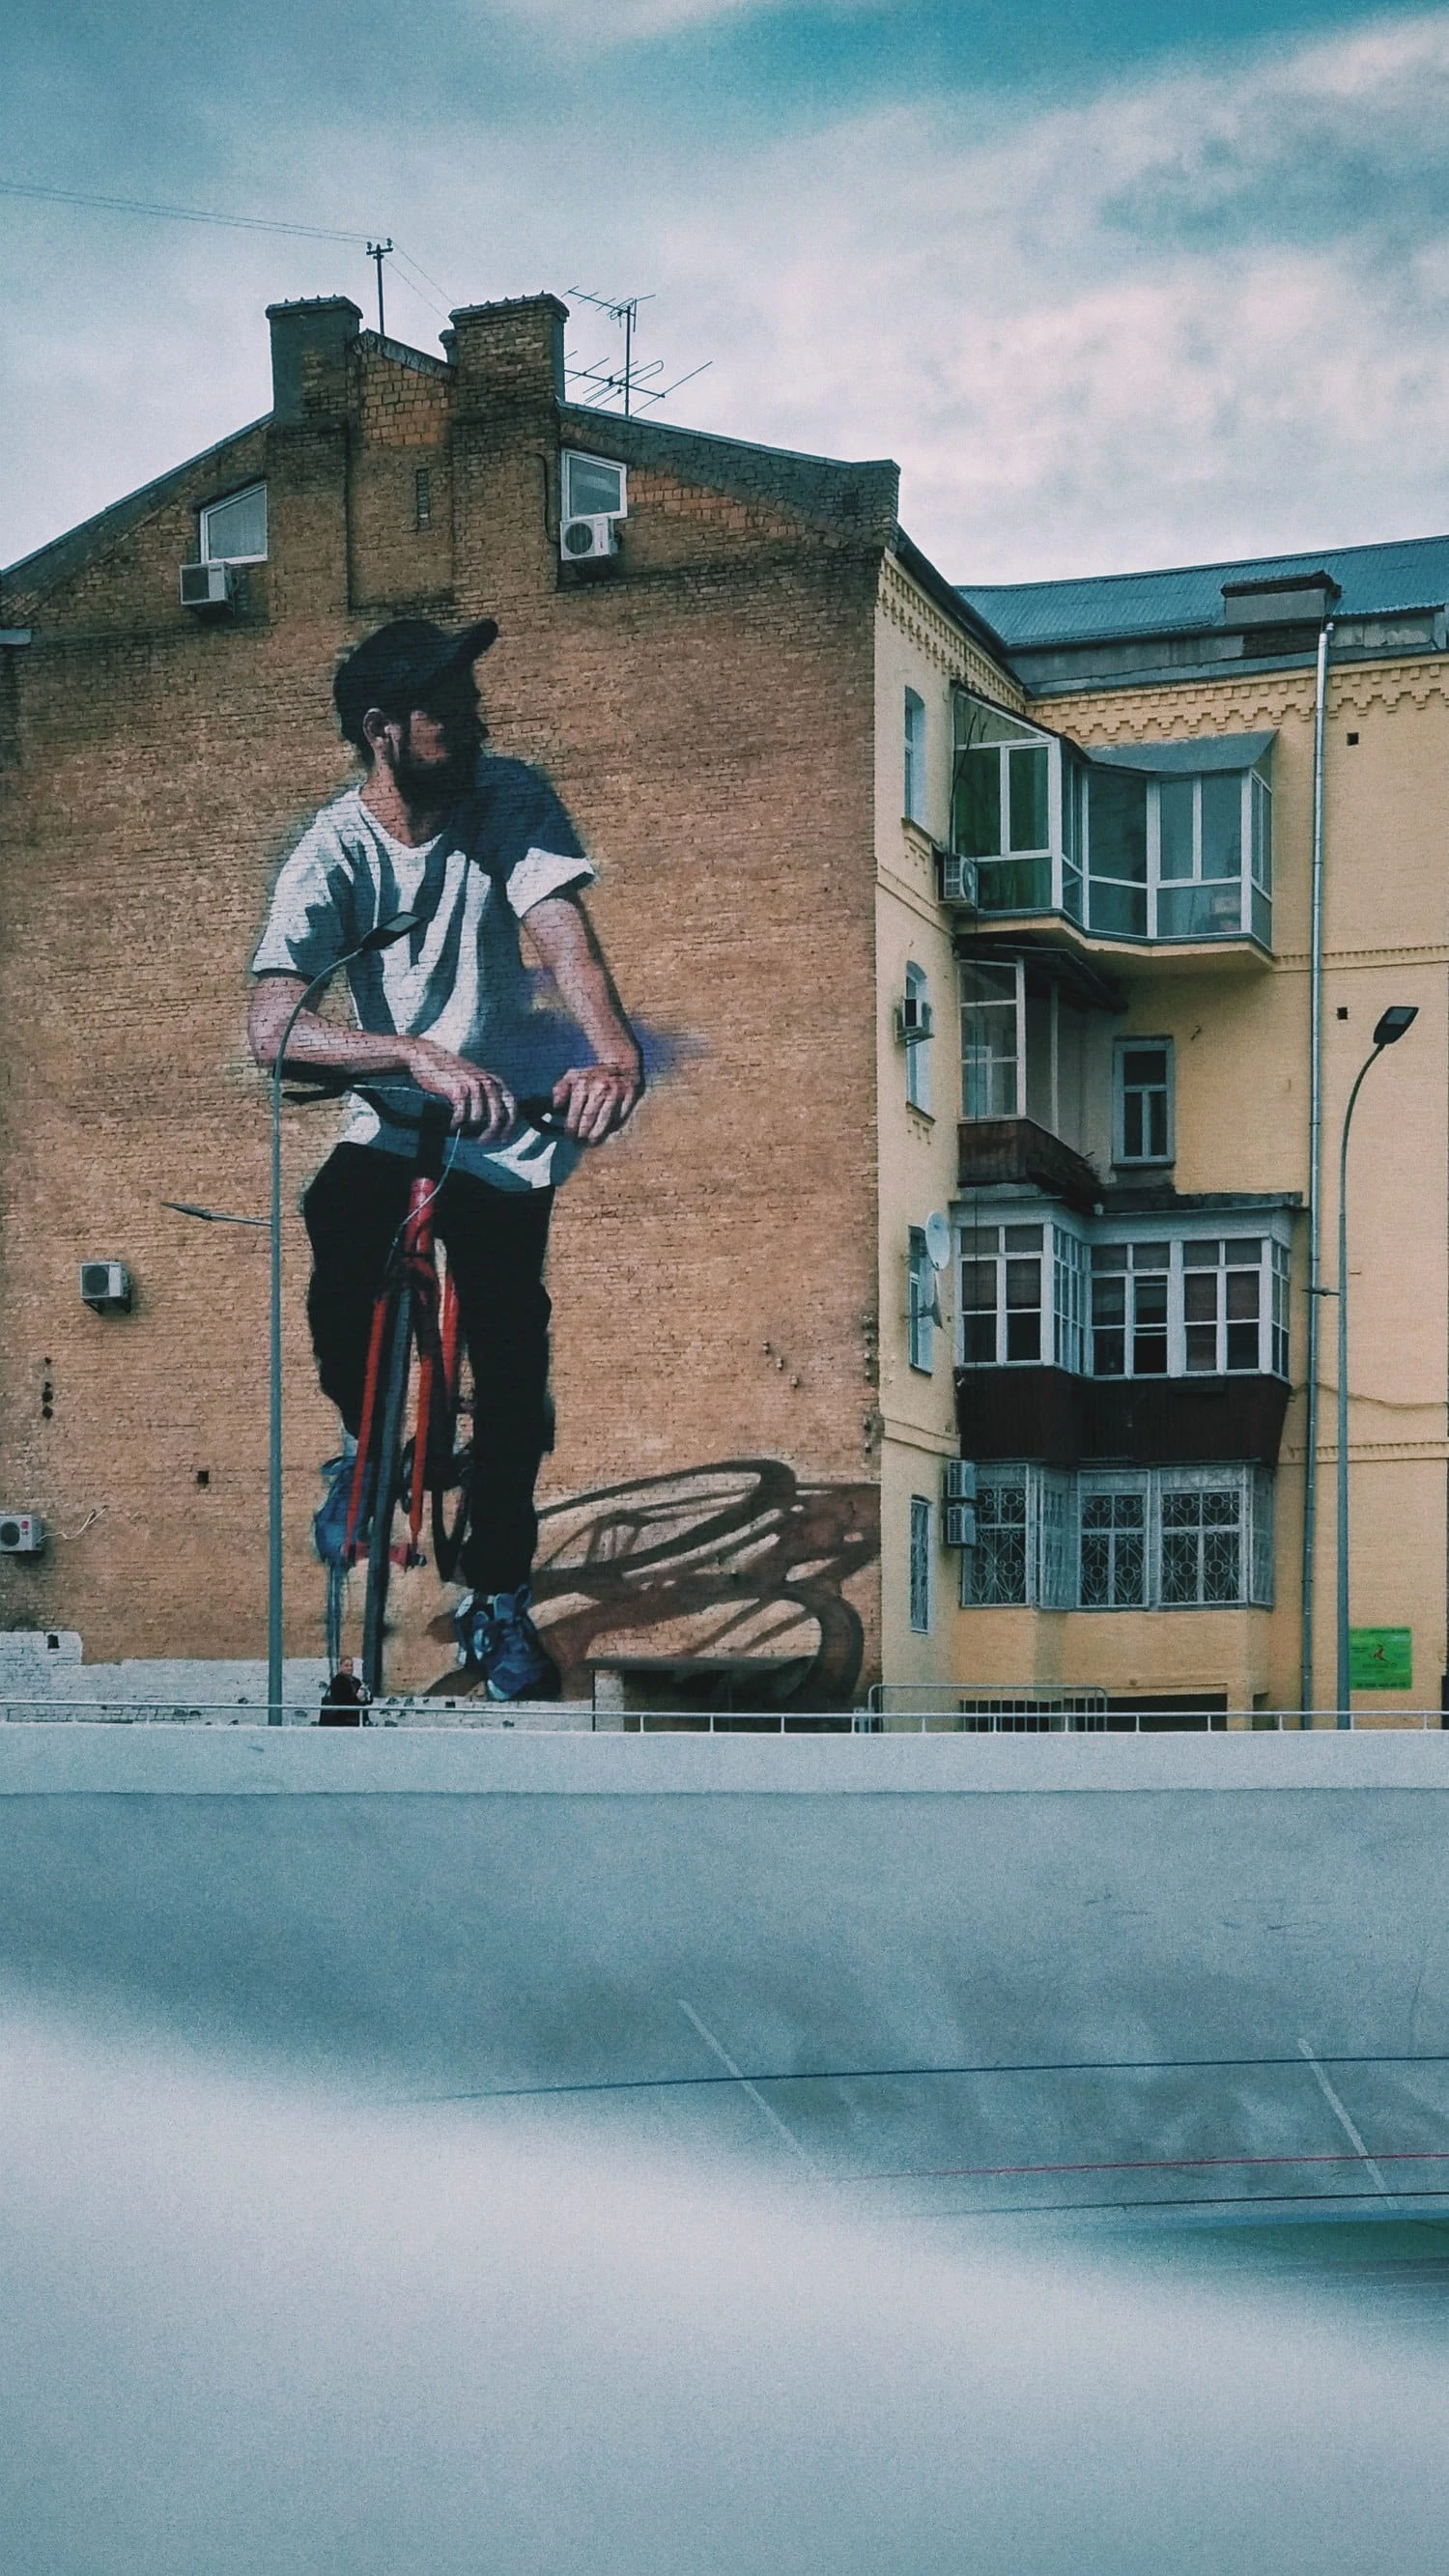
- Graffiti. The city is full of them, combine them with the human element, with the natural frame or play with perspective, but it is a resource that you should not overlook in urban photography.
- Architecture. Architecture is the ideal complement to your urban photographs, as a background, as a protagonist, as a co-star, to use its lines as a guiding element, etc.
- Colour. Use color to convey messages or to achieve more attractive compositions. With analogous colors you can create urban photos full of harmony, on the contrary, if you are looking for contrasts you always have the option of including complementary colors. Red powerfully draws attention wherever you place it. These are just a few examples, but if you want to know how to use color in your photographs, be sure to read this article .
- Black and white. I just told you about color-based compositions, which doesn't mean you can't do black and white urban photography. Of course, although you will have to compose thinking in monochrome, the composition can never be sustained in color because it would not work, although it is advisable to photograph in color and then do the conversion, but always knowing that it will work in grayscale. Lean on lines, patterns, light and shadow, etc.
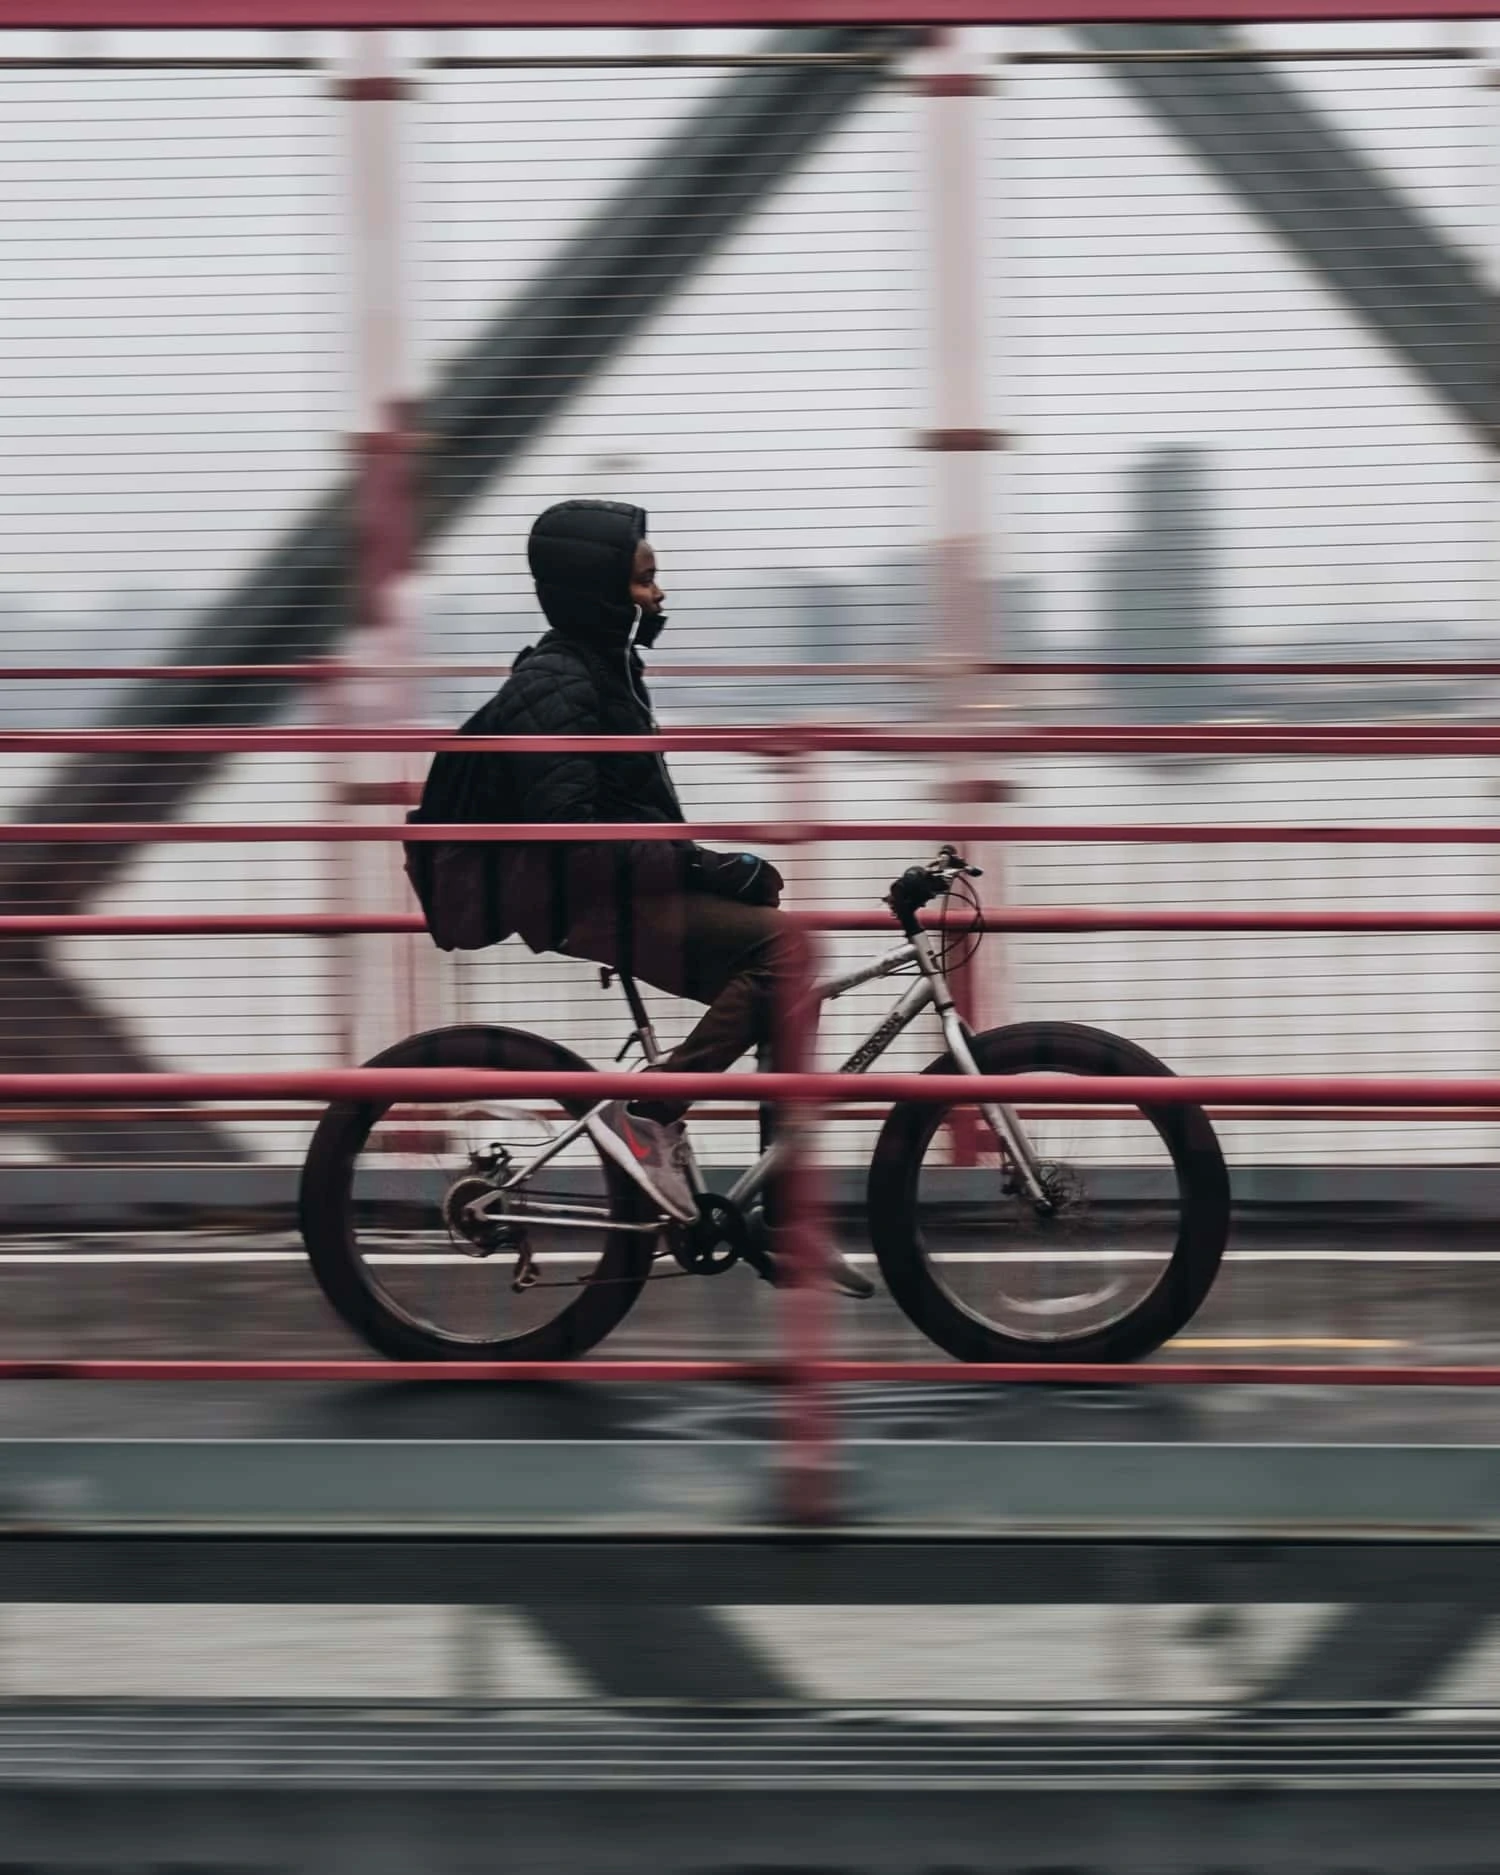
MOTION
Playing with shutter speed you have a lot of power in your hands. From freezing the movement with fast speeds, like a jump, or transmitting it with slow speeds, for example, capturing the speed of a train. The possibilities are endless, the only limit is your imagination.
You can also achieve impressive urban photos using the panning technique . It can be difficult, but it really takes practice. If you want to get it, you can ? .
COMPANIONS
We have already discussed the idea of including the human element. It is fine to photograph passers-by, however, to achieve everything you set your mind to, someone willing to follow your instructions will be of great help. Someone with enough patience and a taste for photography (in front of or behind the camera) to endure a session of "get here", "climb that wall" , "stand like this", "jump", "jump again that it has not turned out well", "shall we go up to the top of that skyscraper?" , etc.
You know what I mean, right? Someone who shares your passion or loves you so much that they don't mind accompanying you on your photographic adventures around the city. And if it's a creative mind that feeds yours, all the better.
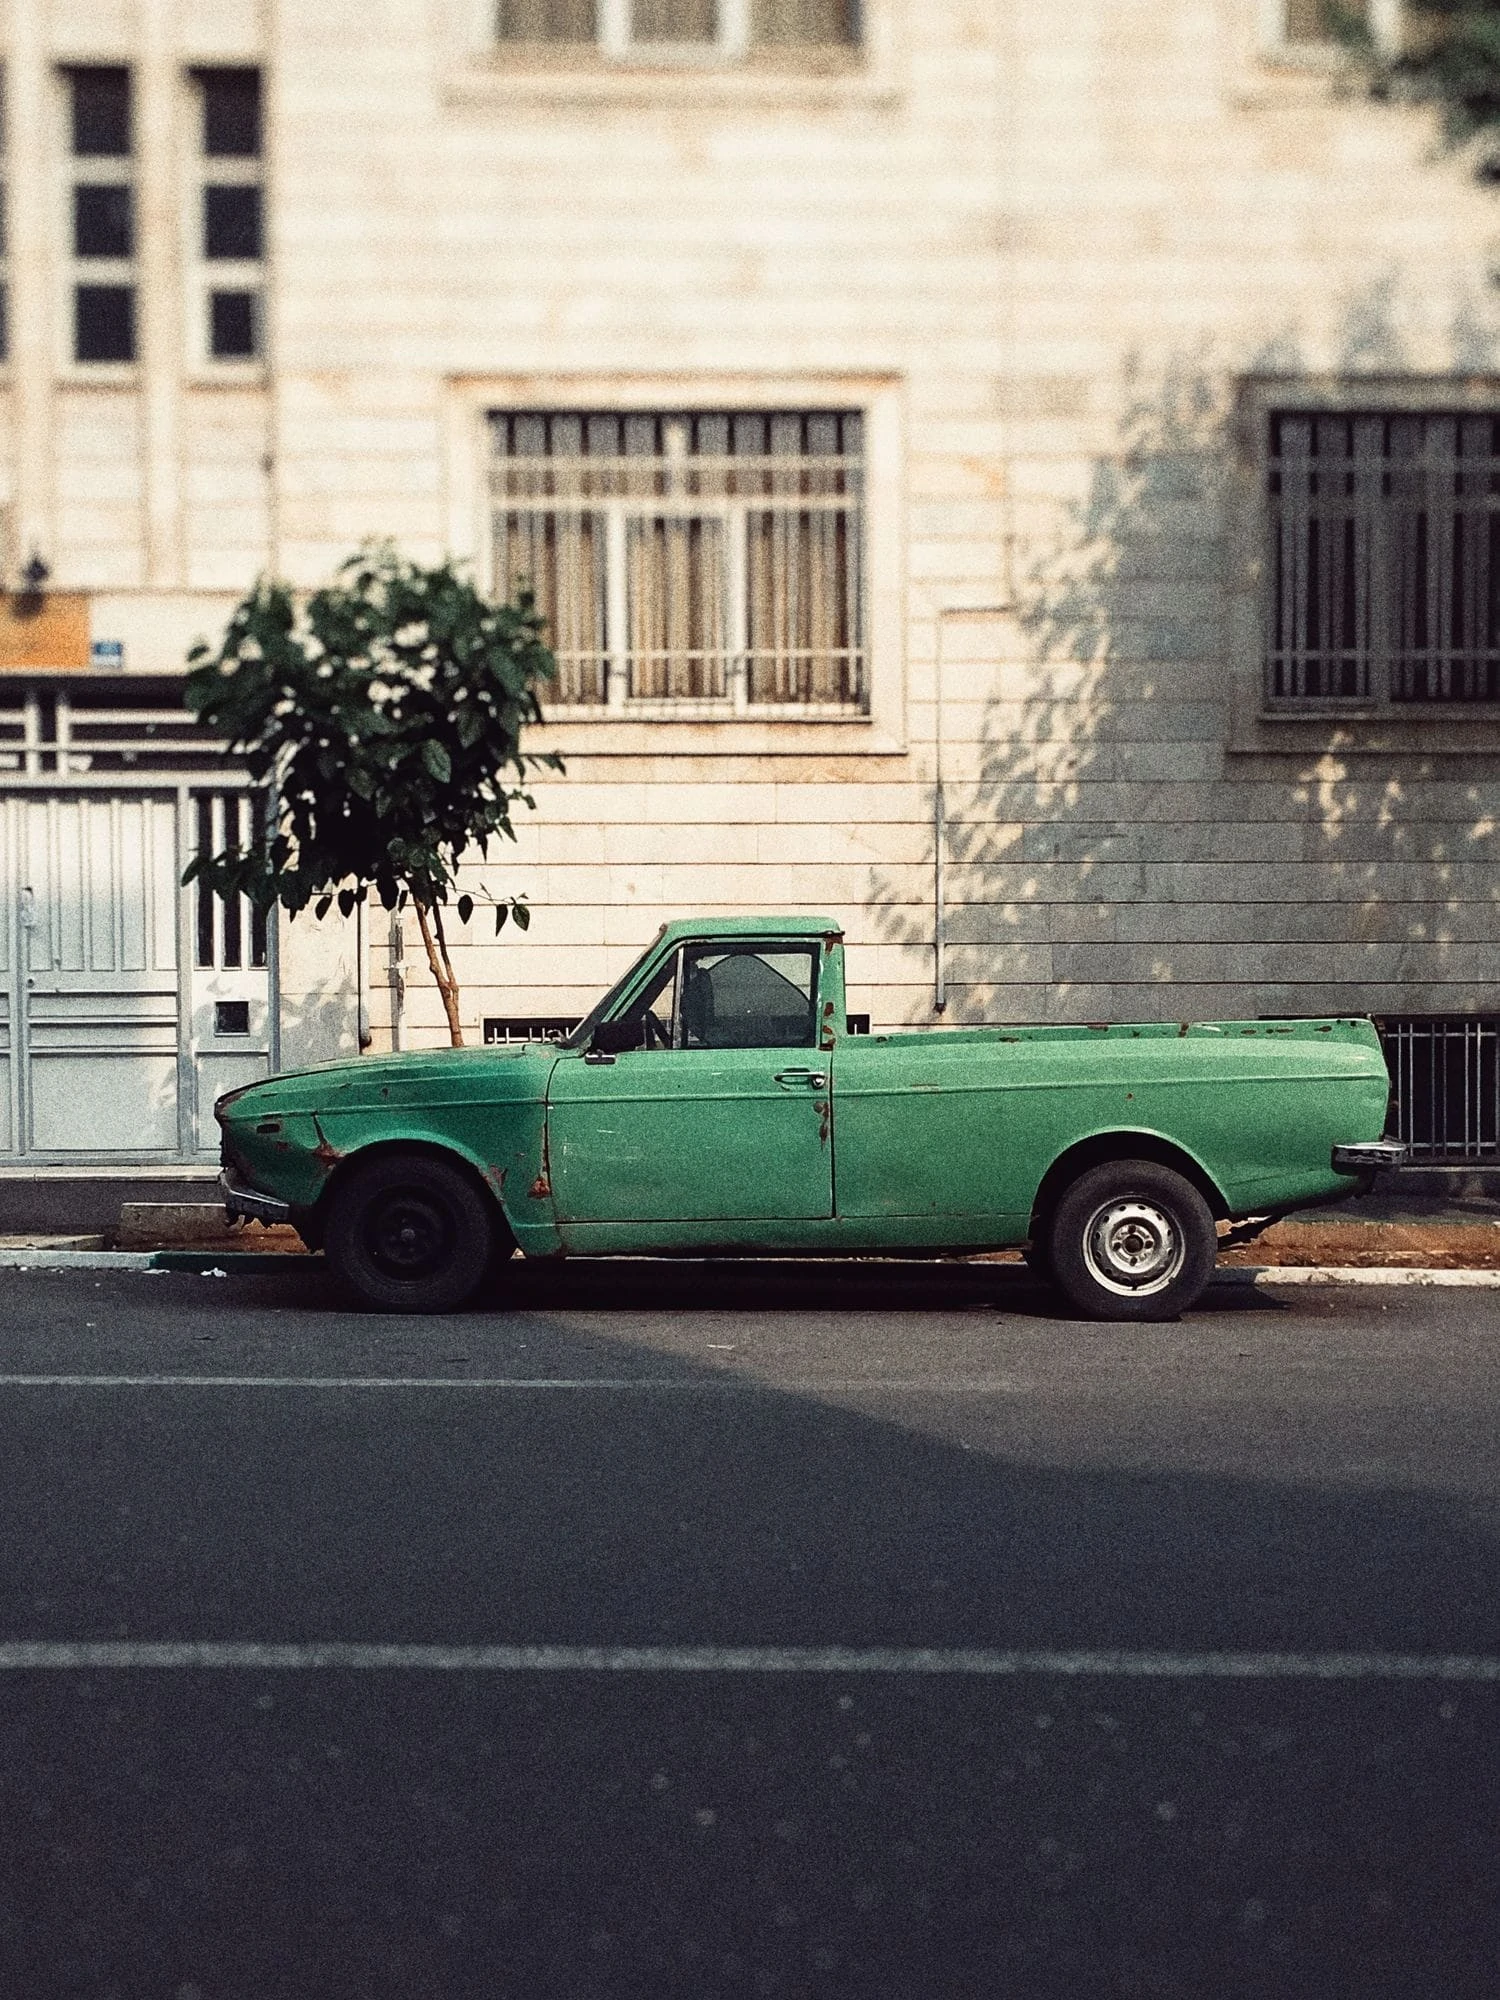
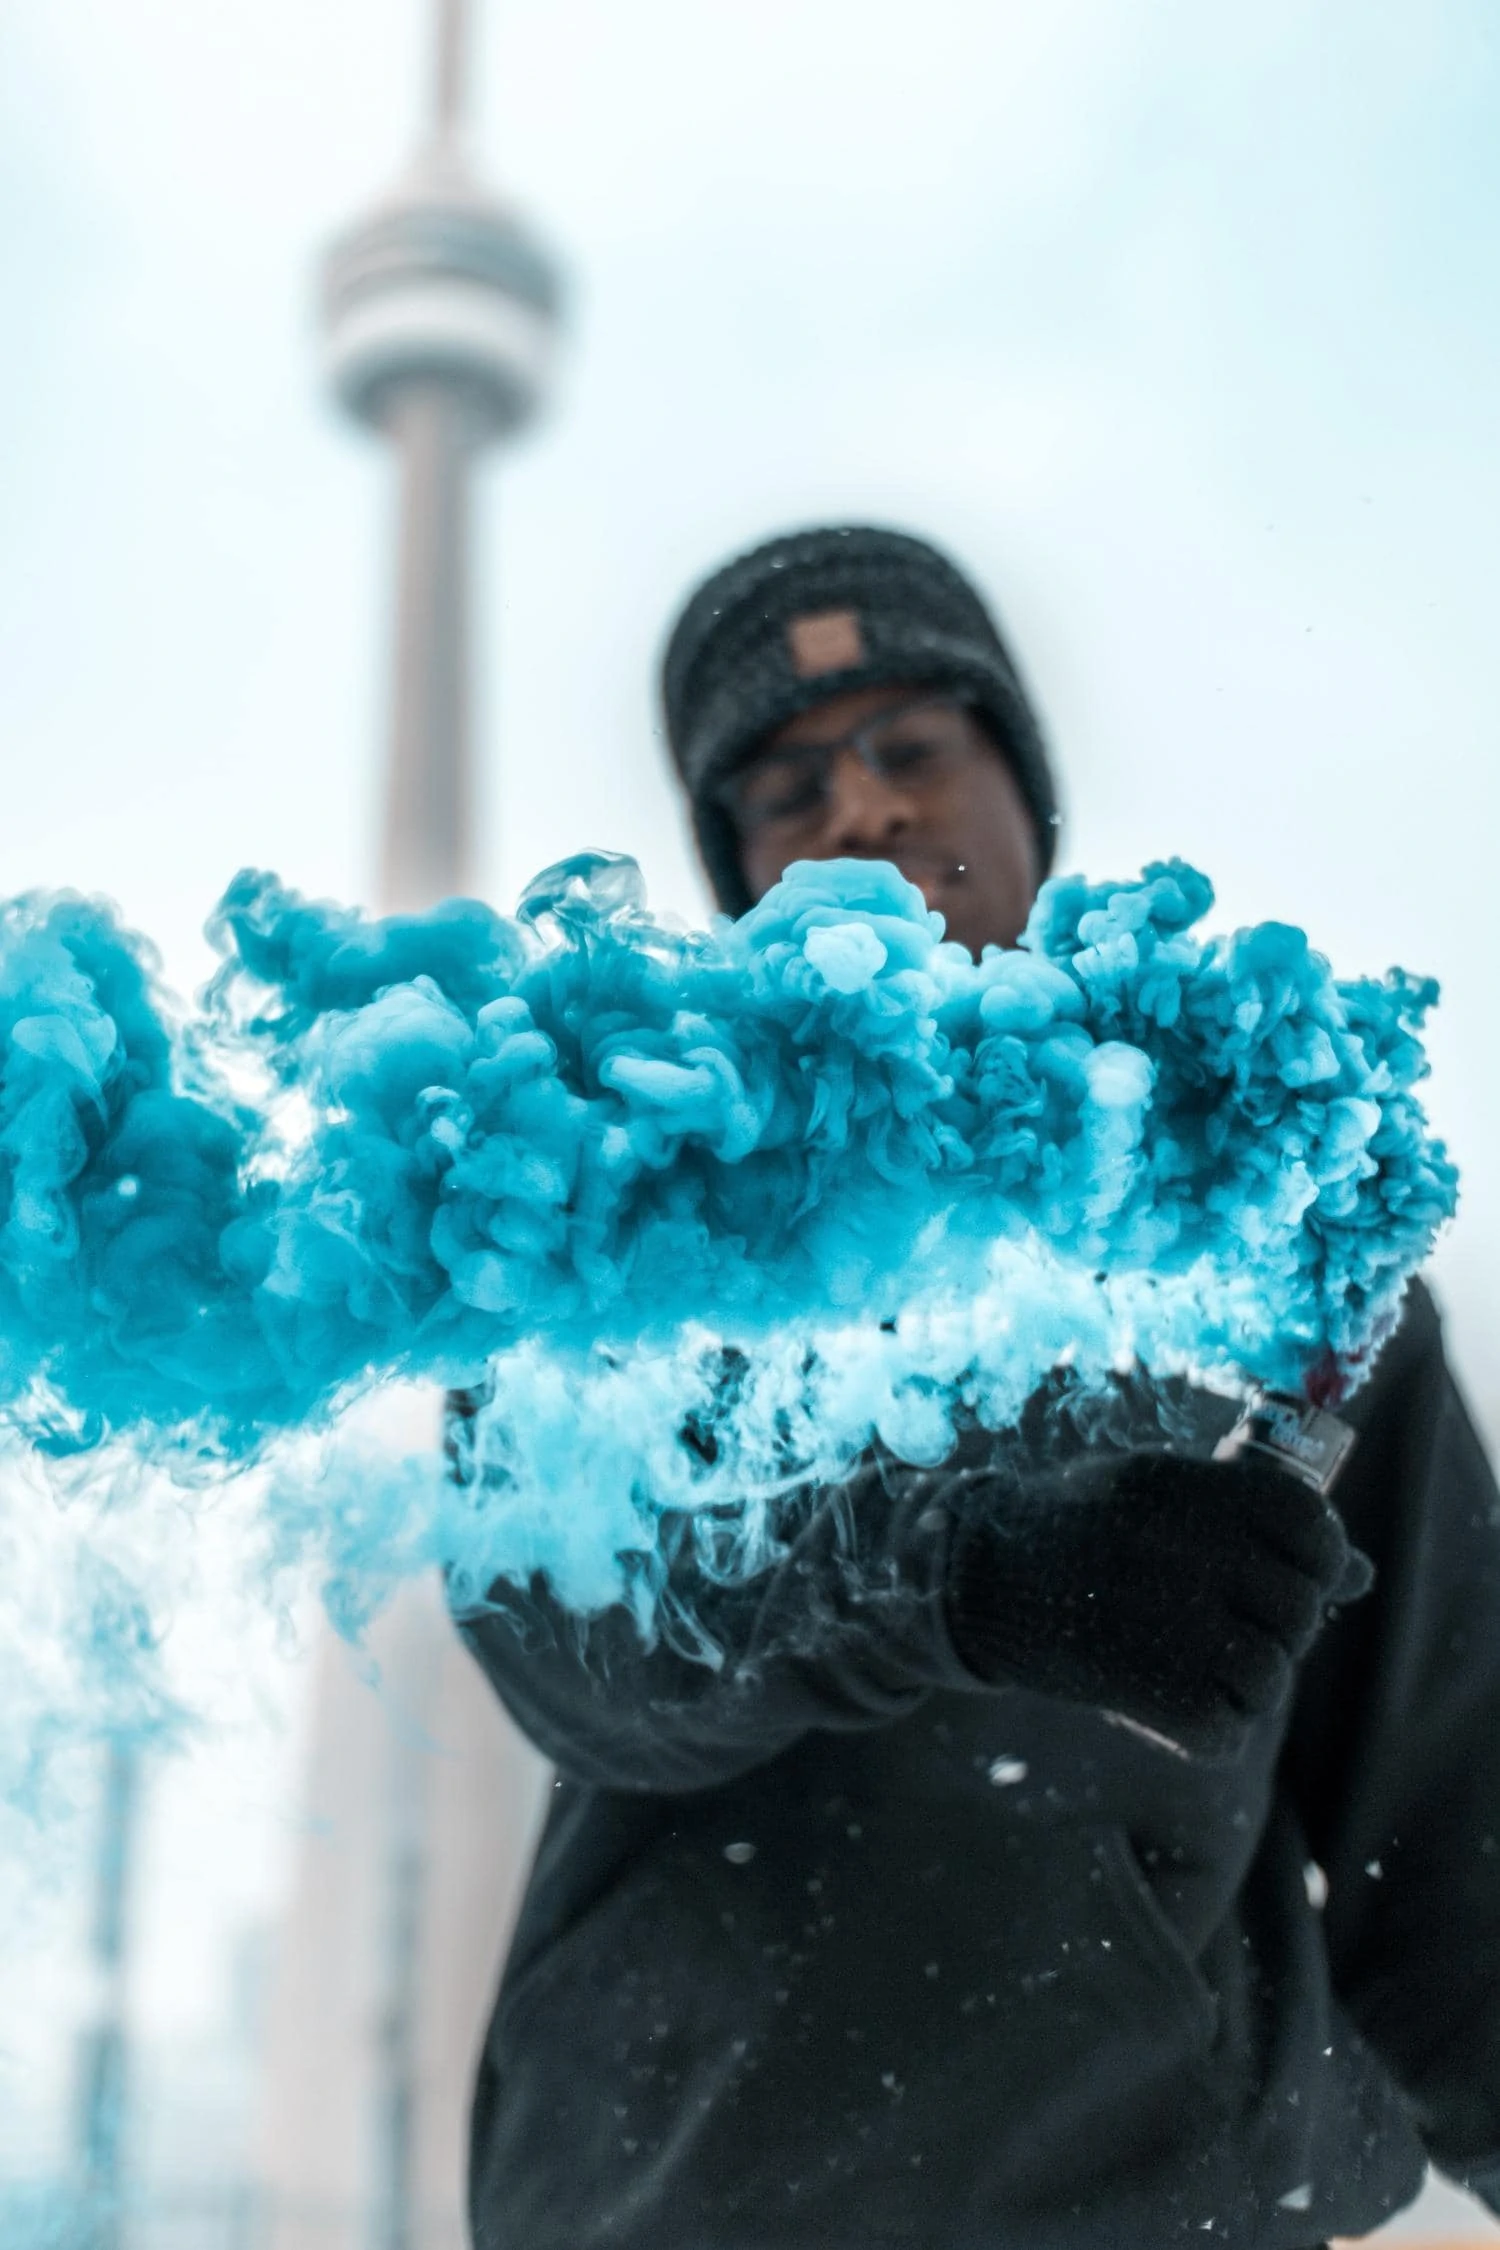
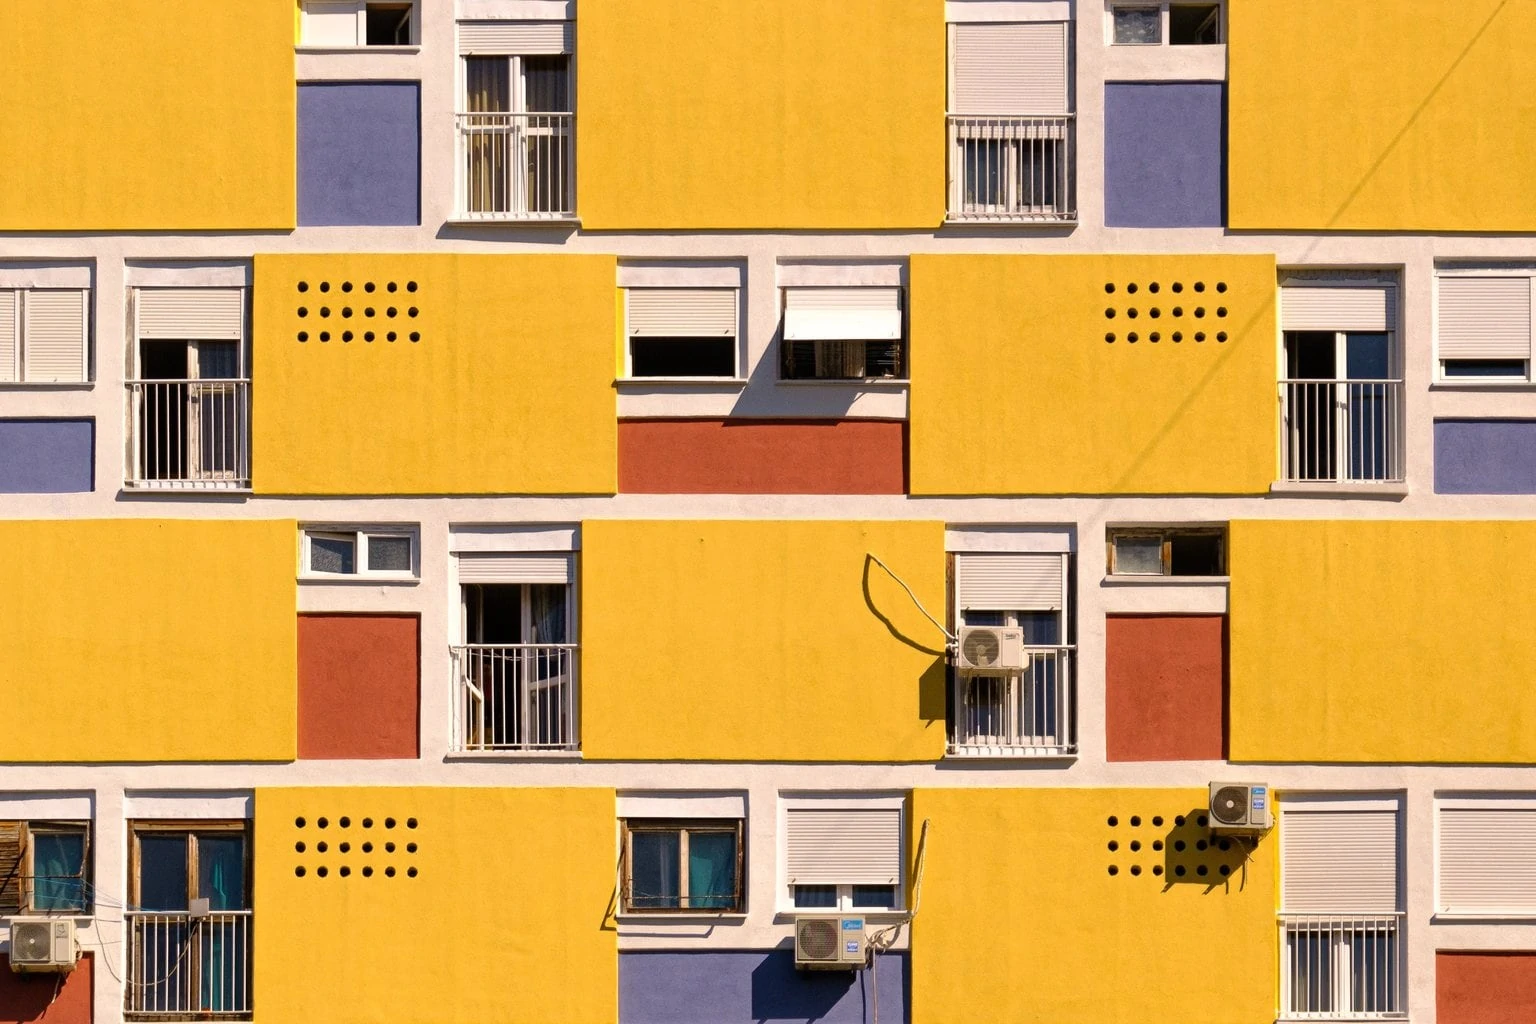
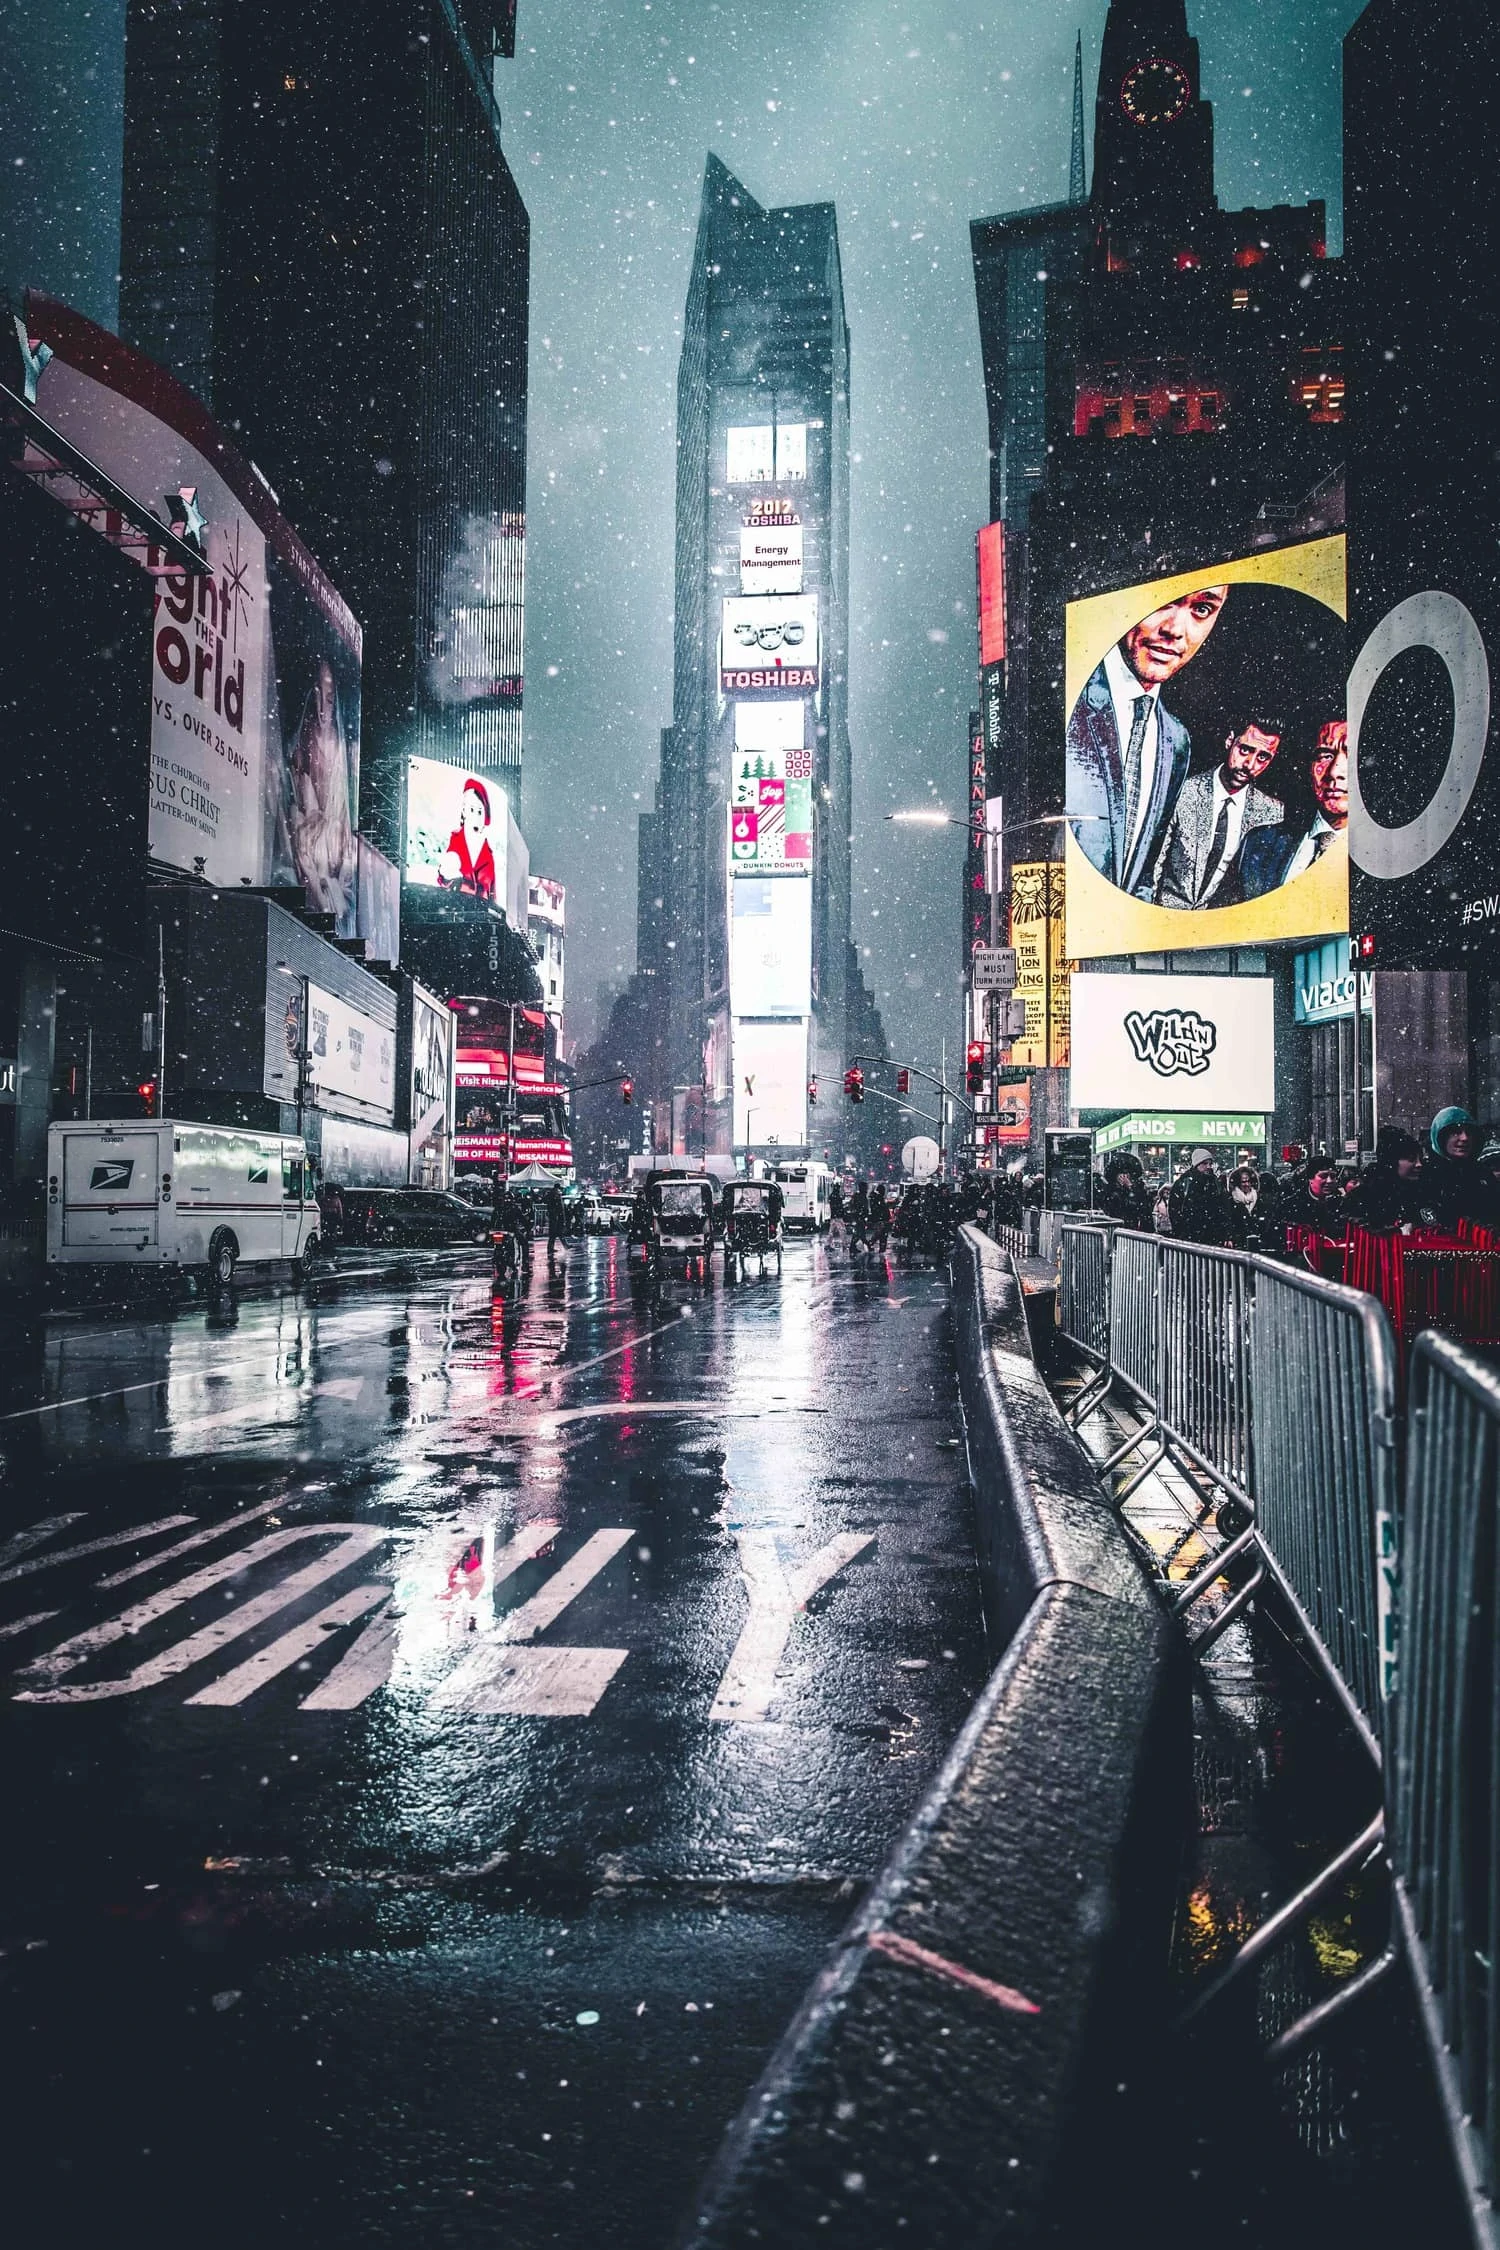
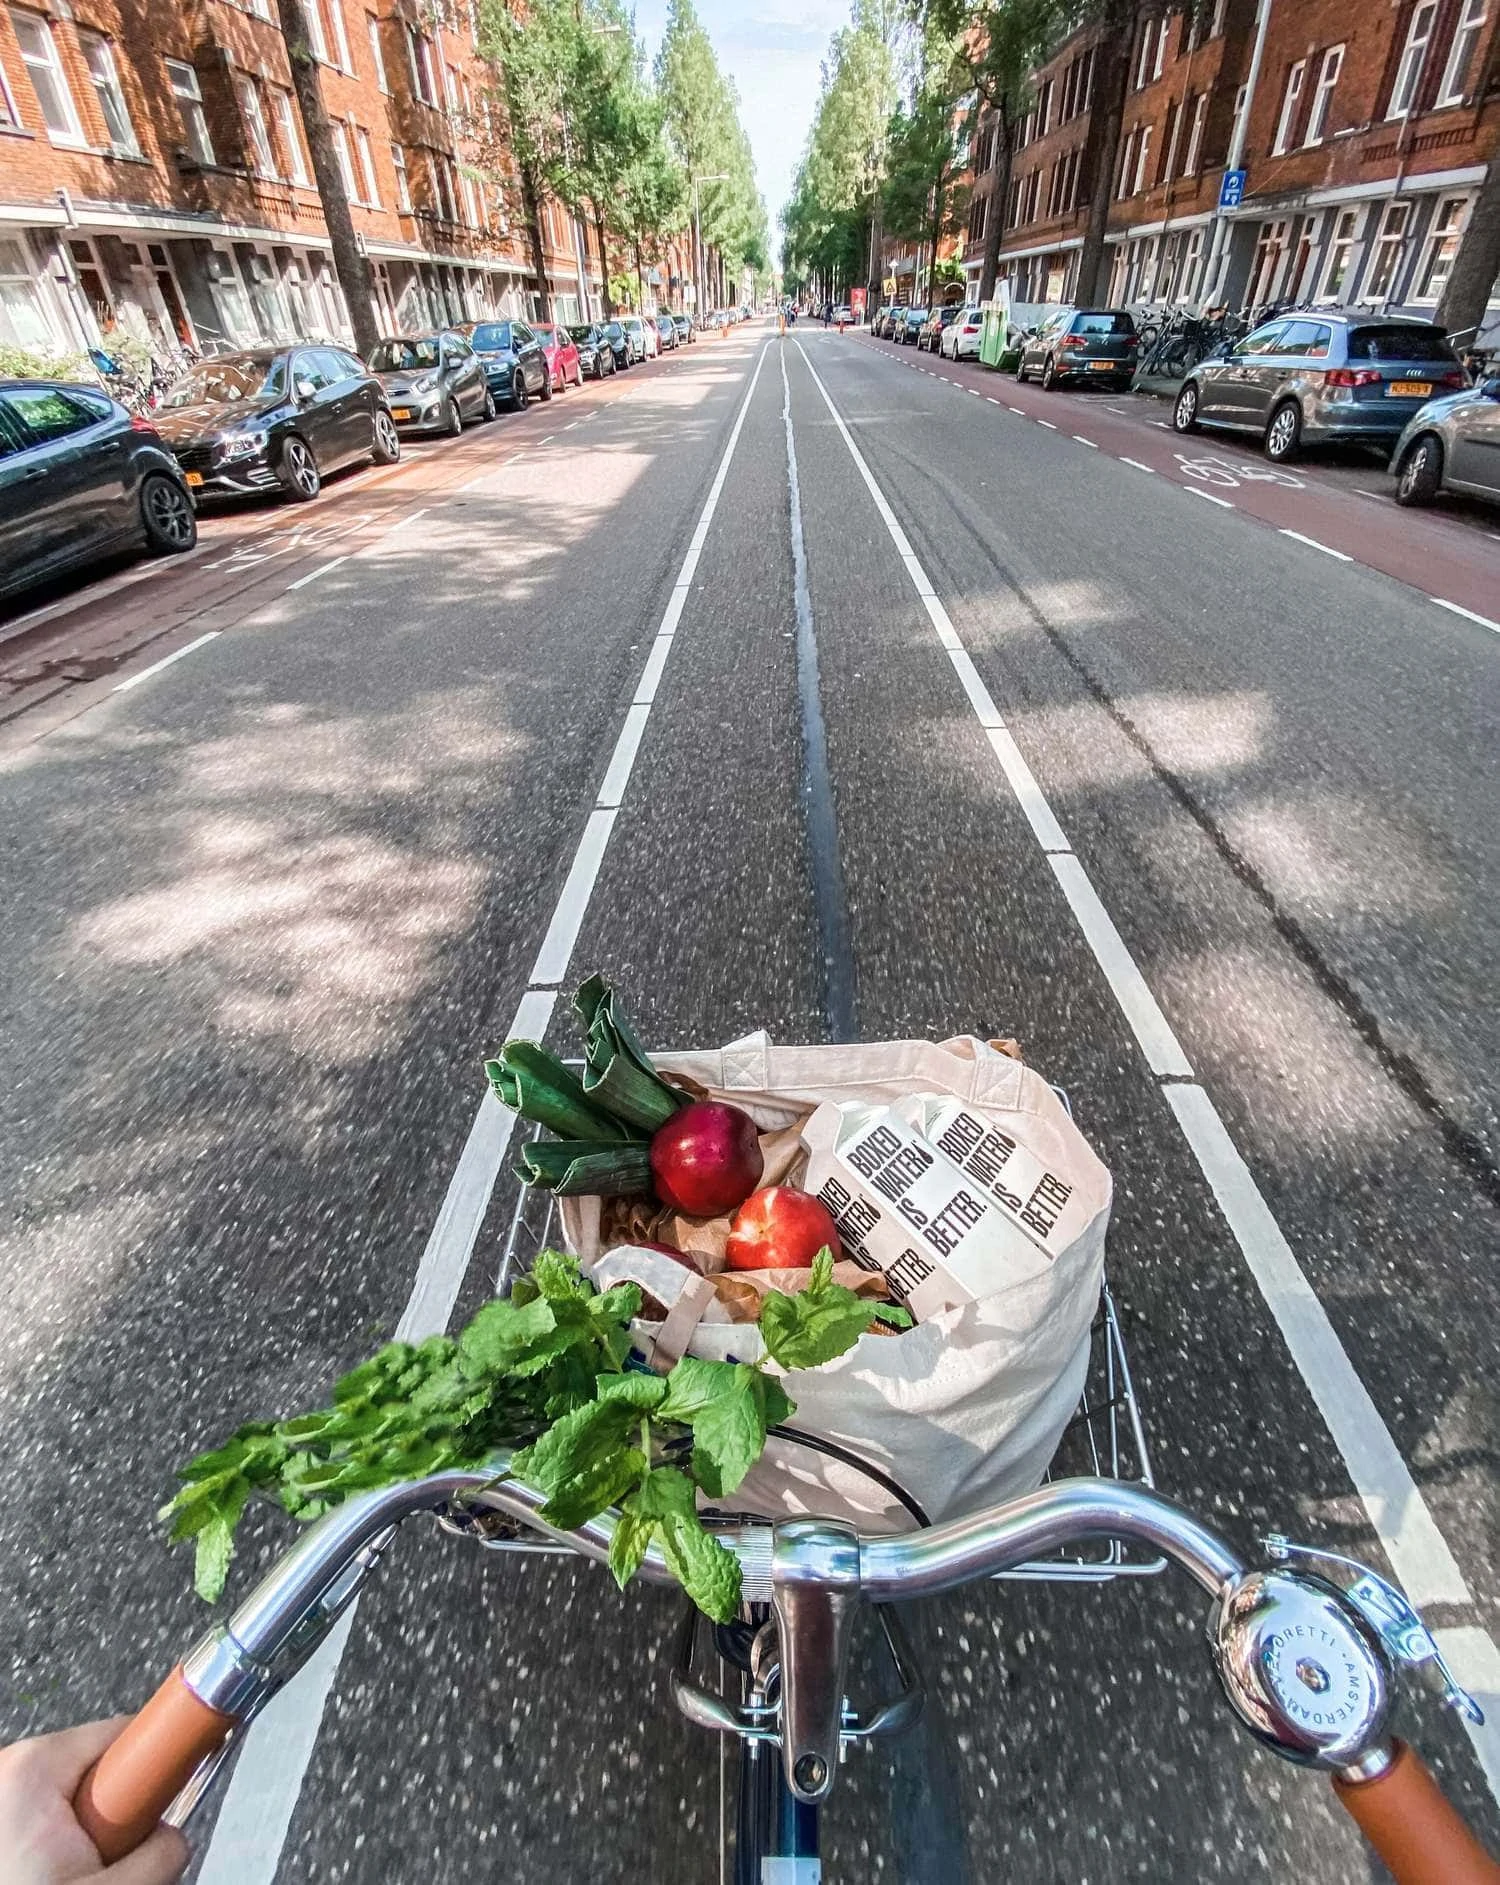
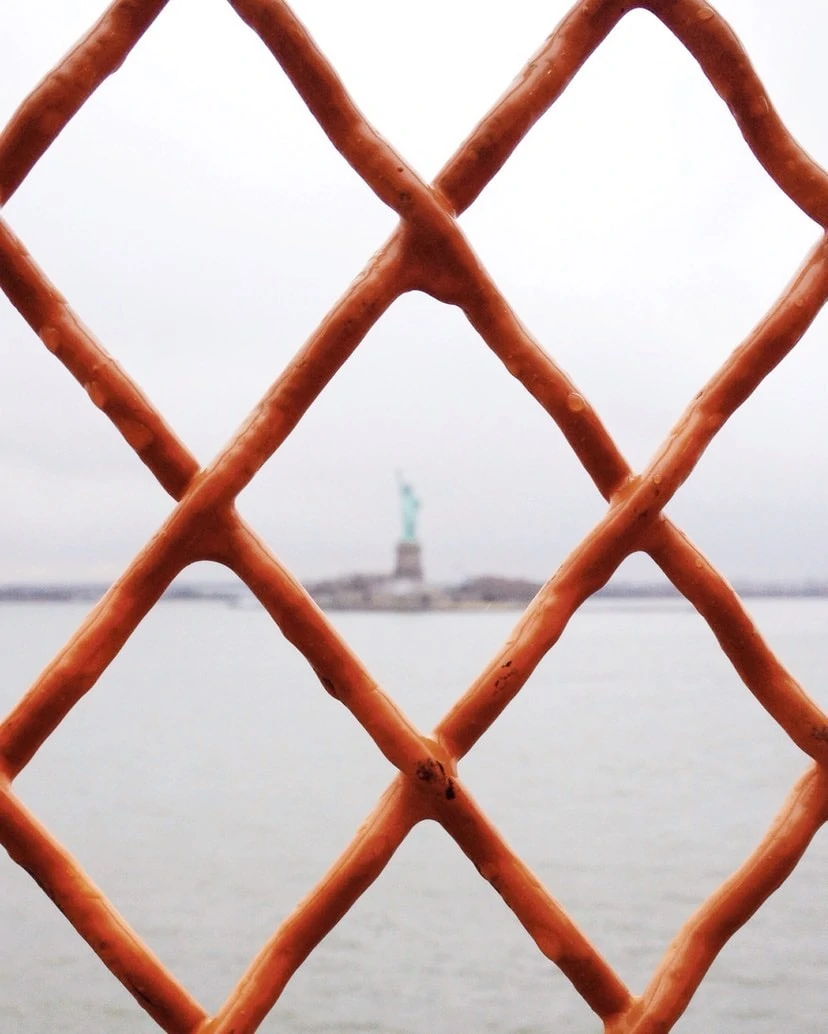
INSPIRATION: URBAN PHOTOGRAPHY GALLERY
I leave you with a gallery of urban images to awaken your creativity and give you ideas with which to go out and practice.

EDITING AND DEVELOPING
Going through Lightroom or any other image processor is not a photographic sin. It is the last step in achieving the photography that you, as an artist, want to achieve.
With the development you finish your photograph, you highlight what is most valuable to you, you bring the color to the tone or saturation you want or touch up wherever you want to make that streetlight that bothers you disappear. Because yes, because other disciplines do not admit that type of retouching, but the urban one does. Creativity and final aesthetics is what prevails, so yes, if you feel like erasing a banana from the ground that does not contribute anything but makes it ugly, why not?
If you have to use Photoshop effects to make your image look more spectacular and that's what you want, why not? There are no limits in art. Do not let them put them on you or put them on you. Just like you have an infinite number of creative filters that you can resort to.
Use all the resources at your disposal, be they material, compositional, lighting or editing software , because this discipline, contrary to street photography, not only admits it, but also appreciates it.
So far this guide on urban photography. I hope this article has helped you but above all, that it has inspired you and you are looking forward to having your camera in your hands and going out to capture the life of the cities with it.
