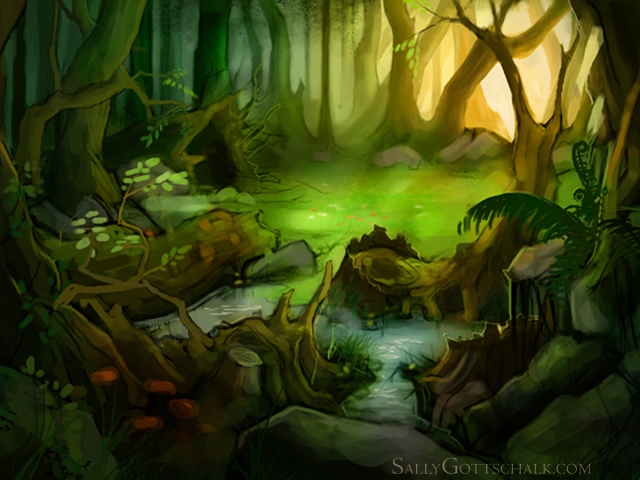
Adobe Photoshop provides very wide opportunities for working with photography and images. You can change the picture beyond recognition, fix flaws and imperfections, or draw something new. It is not necessary to be an artist and create paintings. Drawing skills come in handy when processing photos and collages.
In this article, we will look at the basic drawing tools in Adobe Photoshop and show how to learn how to draw in Photoshop.
In the photo editor you can draw with brushes, pencils, draw straight lines or build geometric shapes.
Of the wide variety of drawing tools, the following are most useful:
- Brush Tool . The size, density and shape of the brush can be changed.
Right-click on the icon of
the Brush tool and select a brush or pencil to draw.
- Mixer Brush Tool / Mix Brush Tool. This brush allows you to mix colors and works almost like a real drawing tool.
- Custom Shape Tool . Right-clicking on it opens a group of tools for drawing geometric shapes and shapes. At the same time, the library can be expanded and supplemented with its own forms.
- Rectangle Tool / Rectangle Tool
- Rounded Rectangle Tool / Rounded Rectangle Tool
- Ellipse Tool / Ellipse Tool
- Polygon Tool / Polygon Tool
- Line Tool
- Custom Shape Tool
- Eraser Tool / Eraser tool removes parts of the image.
At the top of the Photoshop window is the settings menu for the selected tool.
Let's look at the parameters of the
Brush Tool .
The main parameters of the brush are shown in this screenshot. So, you can change the size of the brush, its stiffness and shape (you can create your own brushes and download sets from the Internet), density and fill level.
Try to experiment with the brush settings and paint on a white background with brushes of different shapes, densities and sizes, change the colors and type of tool.
Let's now figure out how to draw a simple picture in Photoshop.
It is better to draw separately from the background, on transparent layers, placing each logical element of the picture on a separate layer.
Click on the color picker and set the active color. Let it be a shade of yellow. After that, select the
Paint Bucket Tool and click on any fragment of an empty white layer. Paint will fill the entire canvas.
Create a new transparent layer using the command
Layer / “Layers” ? New / “New” ? Layer / “Layer” . After that, a transparent layer will appear in the layer panel. The transparent layer works like tracing paper: we don’t see it, but what is painted on it is visible. You can turn off the visibility of the layer using the icon with the image of the eye or change the size and shape by moving the tracing-paper along with the picture.
Choose a different color, click on
the Brush tool and try to draw!
Just move the mouse with the left button on the canvas.
Of course, it’s better to use a graphics tablet for drawing. When working with it, the size and density of the brush will depend on the degree of pressing the pen, and even using the tablet you can more accurately control the brush.
Adobe Photoshop has a workspace designed for artists. It differs from the space for photographers in the arrangement of panels and tools. You can go to it using the menu
Window / "Window" ? Workspace / "Workspace" ? Painting / "Drawing" .
Here, the brushes are arranged in a list, there is quick access to the color palette.
We recommend that you study the hotkey combinations to change the parameters during the drawing process:
- brush size reduction: [
- brush size increase: ]
- brush stiffness: {
- brush stiffness: }
- Switching to the previous brush: ,
- switch to the next brush: .
- switching to the first brush: <
- Switch to last brush: >
- swap colors: X
- default color setting (black / white): D
By changing the types of brushes and their parameters, you can control the appearance of the brush and adjust the size and density of strokes. And this will achieve realistic effects when drawing.


