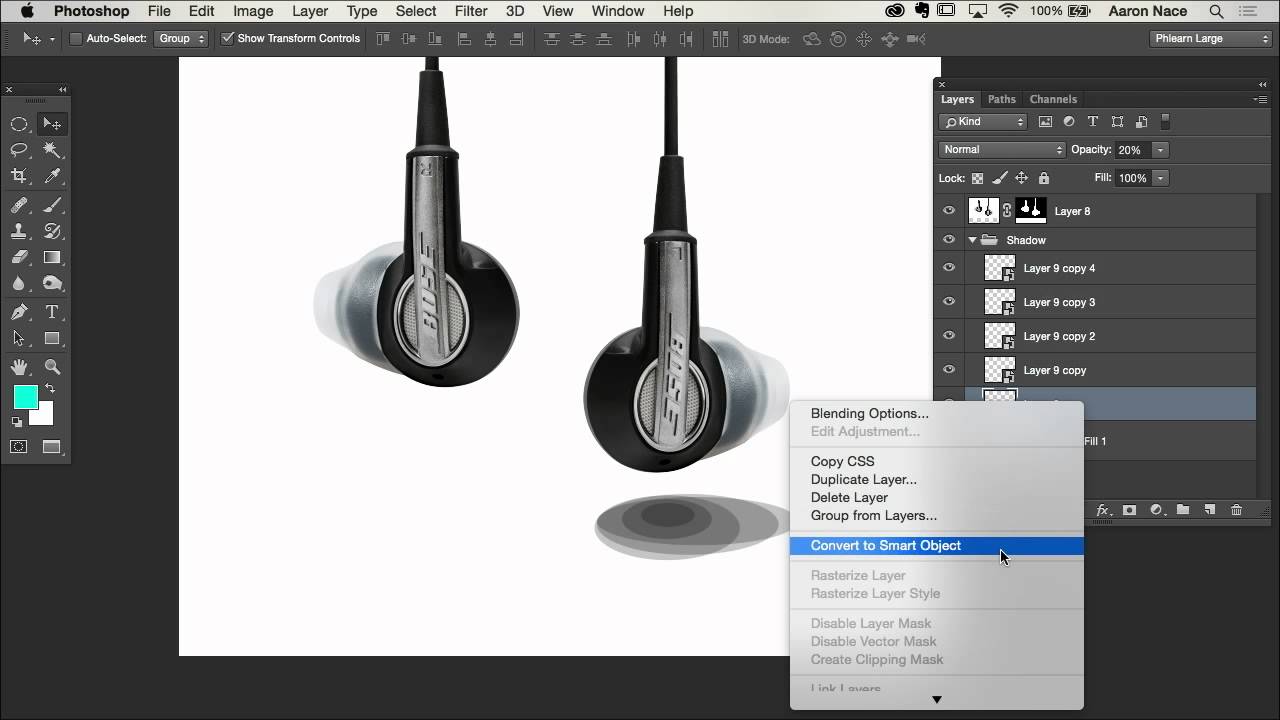
When adding new objects to the photo, it is important not to forget to add shadows from them. Or you can add shadows to enliven a little shot. You need to add the shadow correctly. It should fall at the same angle as the other shadows in the photo. But how to make a shadow in Photoshop? In this article, we will demonstrate how to make an object shadow in Photoshop. Let's start with the case when the shadow can be drawn with a brush. This option is suitable if the shadows are needed scattered. A scattered shadow is a shadow that does not have a clear border between the transition from the darkened part to the lightened one. It does not have to show the full silhouette of the object. Before you make a shadow from an object, you need to carefully consider the projection of the shadow. Open the snapshot in Photoshop. Judging by the sky in this photo, the day was overcast. Shadows from pillars and pelicans are practically invisible. Mentally suppose that the sun shines on the pelicans frontally. Thanks to the clouds, the shadows will be very scattered. So, you can not try to draw a clear silhouette. And let the shadows be a little elongated. When thought out position and form shadows create a new layer Shift + Ctrl + N . We become on it, we call the Brush tool / Brush (key B ). The color of the brush is black, the brush is soft, the size is adjusted with the [ and ] keys , they are also X and Komp . And just draw on a new layer of shadow according to your idea. If you missed somewhere and climbed onto the object itself, you can remove it with an eraser ( E key ). For convenience, the picture can be scaled using the keys Ctrl + and Ctrl- . You can also paint over the shadow side of wooden posts. To make the shadows more realistic, reduce the layer transparency to 35%. To do this, standing on the layer, move the slider to the left on the “Opacity” / Opacity parameter in the layers palette. If something doesn’t work out, press cancel Ctrl + Alt + Z as many times as necessary. So it happened.
How to make an object shadow in Photoshop

Save the result Shift + Ctrl + S , you can choose the usual file format - JPG.
If you need to lay the shadow of an object on the floor, we perform the same actions. After you created the shadow, transfer it to a separate layer. To do this, right-click on the “Shadow” / Shadow item under the layer with the object and select “Create Layer” in the list that appears .
The shadow is transferred to a new layer. To become the shadow layer and press Ctrl + T . Then, by right-clicking the mouse, we call the context menu and select the “Warp” / Warp item . A frame with dots appears. By moving these points, you can change the perspective of the image.
After completing the transformation, press Enter . The opacity of the shadow layer can be removed up to 50%. For greater realism, you can blur the part of the shadow that goes into perspective. Select the eraser with the E key , on the control panel, select the type of brushstroke with the feathered edge and go through the eraser along the edge of the shadow.
As a result, we get a realistic shadow falling on the floor. If such a shadow needs to be created for an object on a complex background, where there is, for example, grass, then you can select an object using the "Quick mask" . How to do this, we wrote in the article How to process the background in Photoshop .
You can learn more about Photoshop in the Fotoshkola.net course, Photoshop. Layers and masks . "

