The number of times you have seen this photographic technique of Cut Out or selective desaturated would need at least both hands to be counted ? . Now, perhaps you hadn't dared to practice with her, you didn't know her name or it seemed complicated to you.
Today I am here to explain this editing technique to you in a simple and step-by-step way so that you are encouraged to unleash your creativity through the game of color and black and white.
WHAT IS SELECTIVE DESATURATION OR CUT OUT?
If you look closely at the title of the technique, you can already guess a little about what it is about. It is about desaturating the colors selectively ;). That is, leaving certain areas of the image without color saturation without touching others.
By removing the saturation, what we actually do is remove the color, leaving those areas in black and white, while the unselected areas would keep the color.
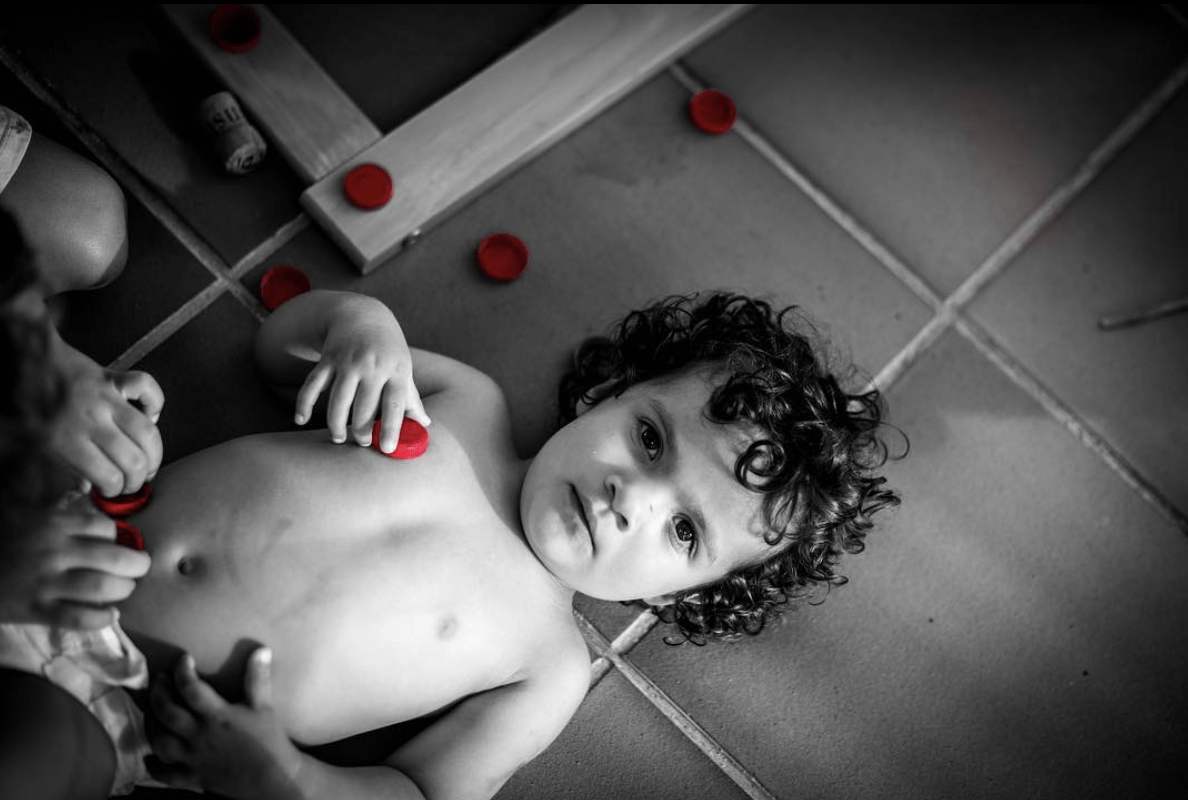
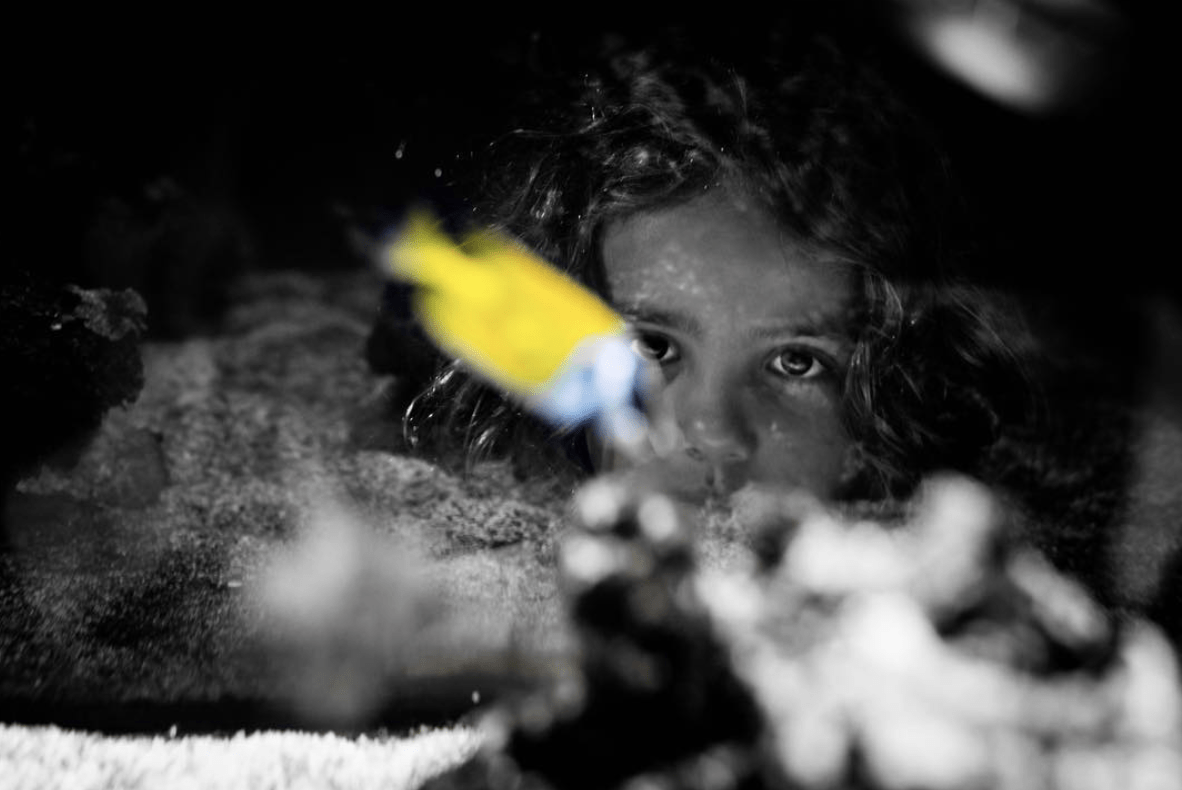
HOW TO CHOOSE AN IMAGE FOR SELECTIVE DESATURATION
The image you choose should meet, in my opinion, a series of requirements to offer you a good result:
- It should work fine in black and white.
- Simple compositions will work best for you (too many elements plus a touch of color can make it difficult to read).
- The center of interest should be a vivid color, and ideally centered exclusively on one point.
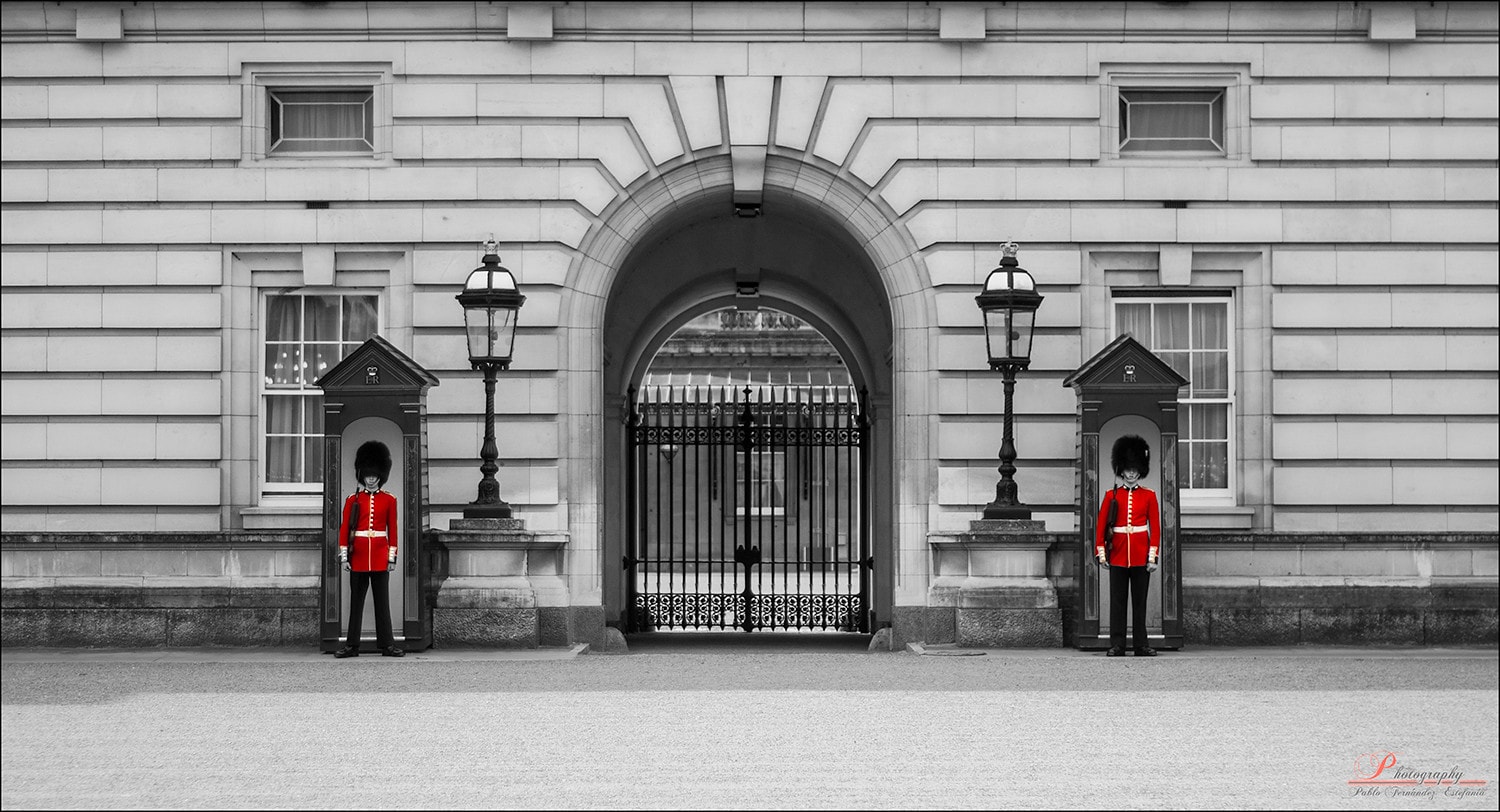
In short, look for an image with a light composition, which contains an element of bright color (you can start by trying red, which is the one that stands out the most). For example, the following image would meet the requirements:
SELECTIVE DESATURATED STEP BY STEP IN LIGHTROOM
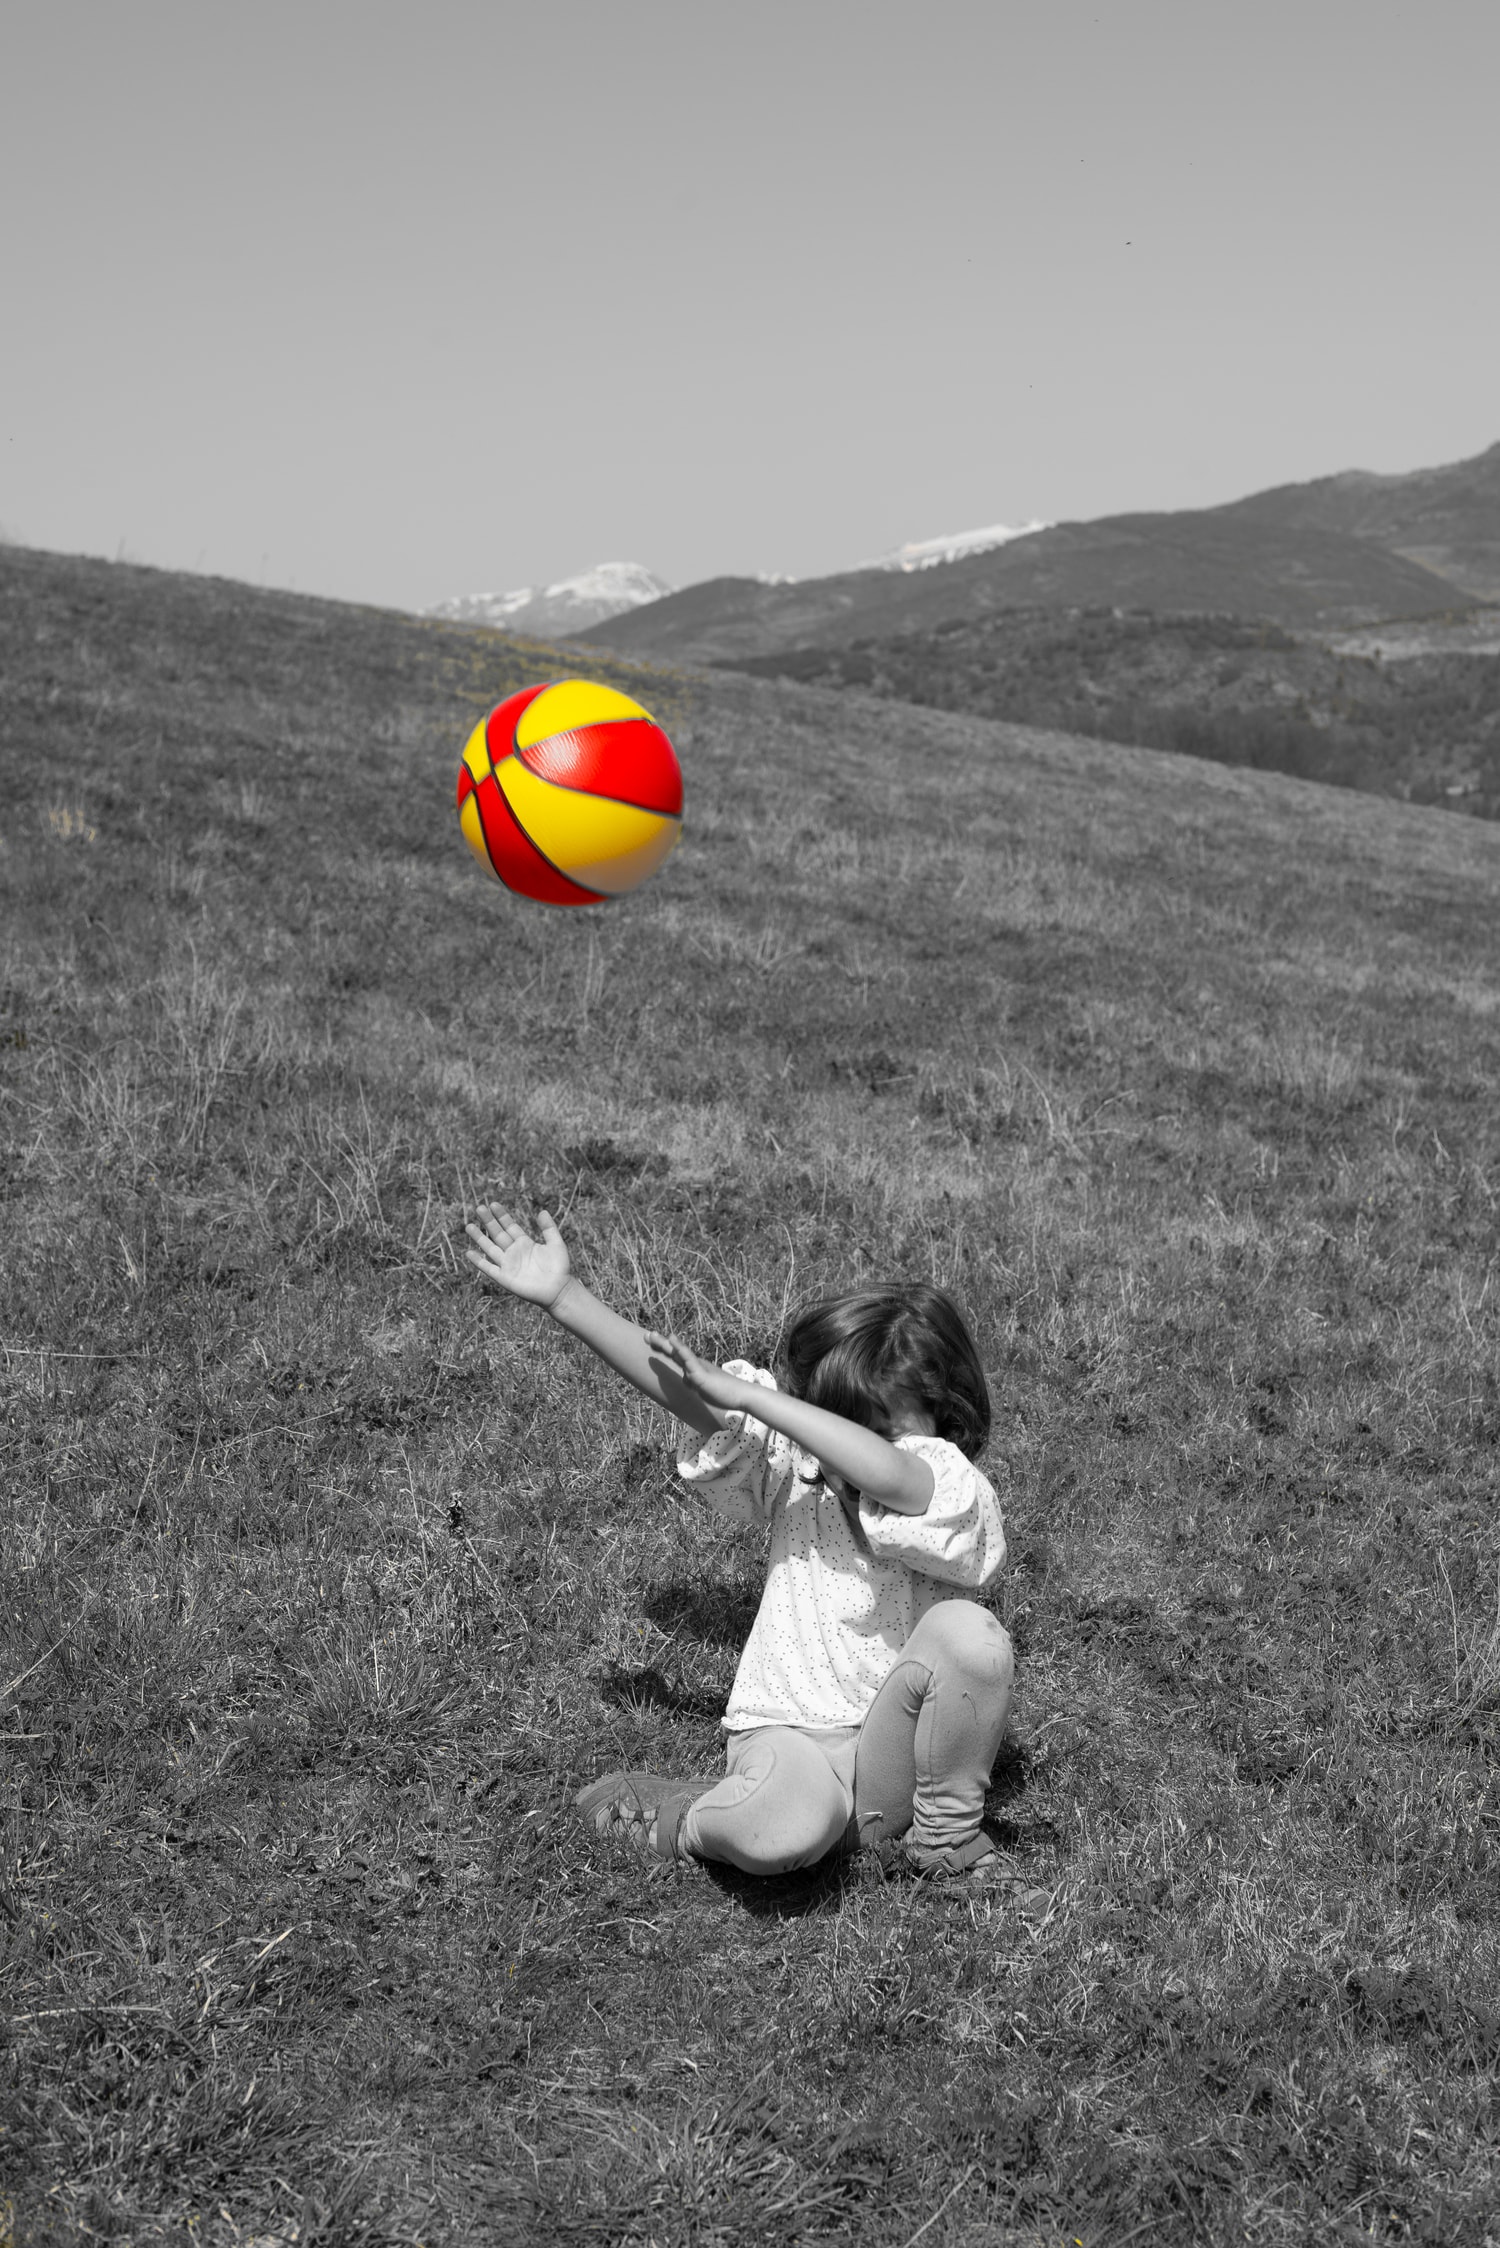
Once you are more or less clear with which image you are going to work this process, open it in Lightroom. I am going to use this one that I show you below because it has a simple composition, that works in black and white, and that also has an element with a very bright color and that works well as part of the center of interest: the ball.
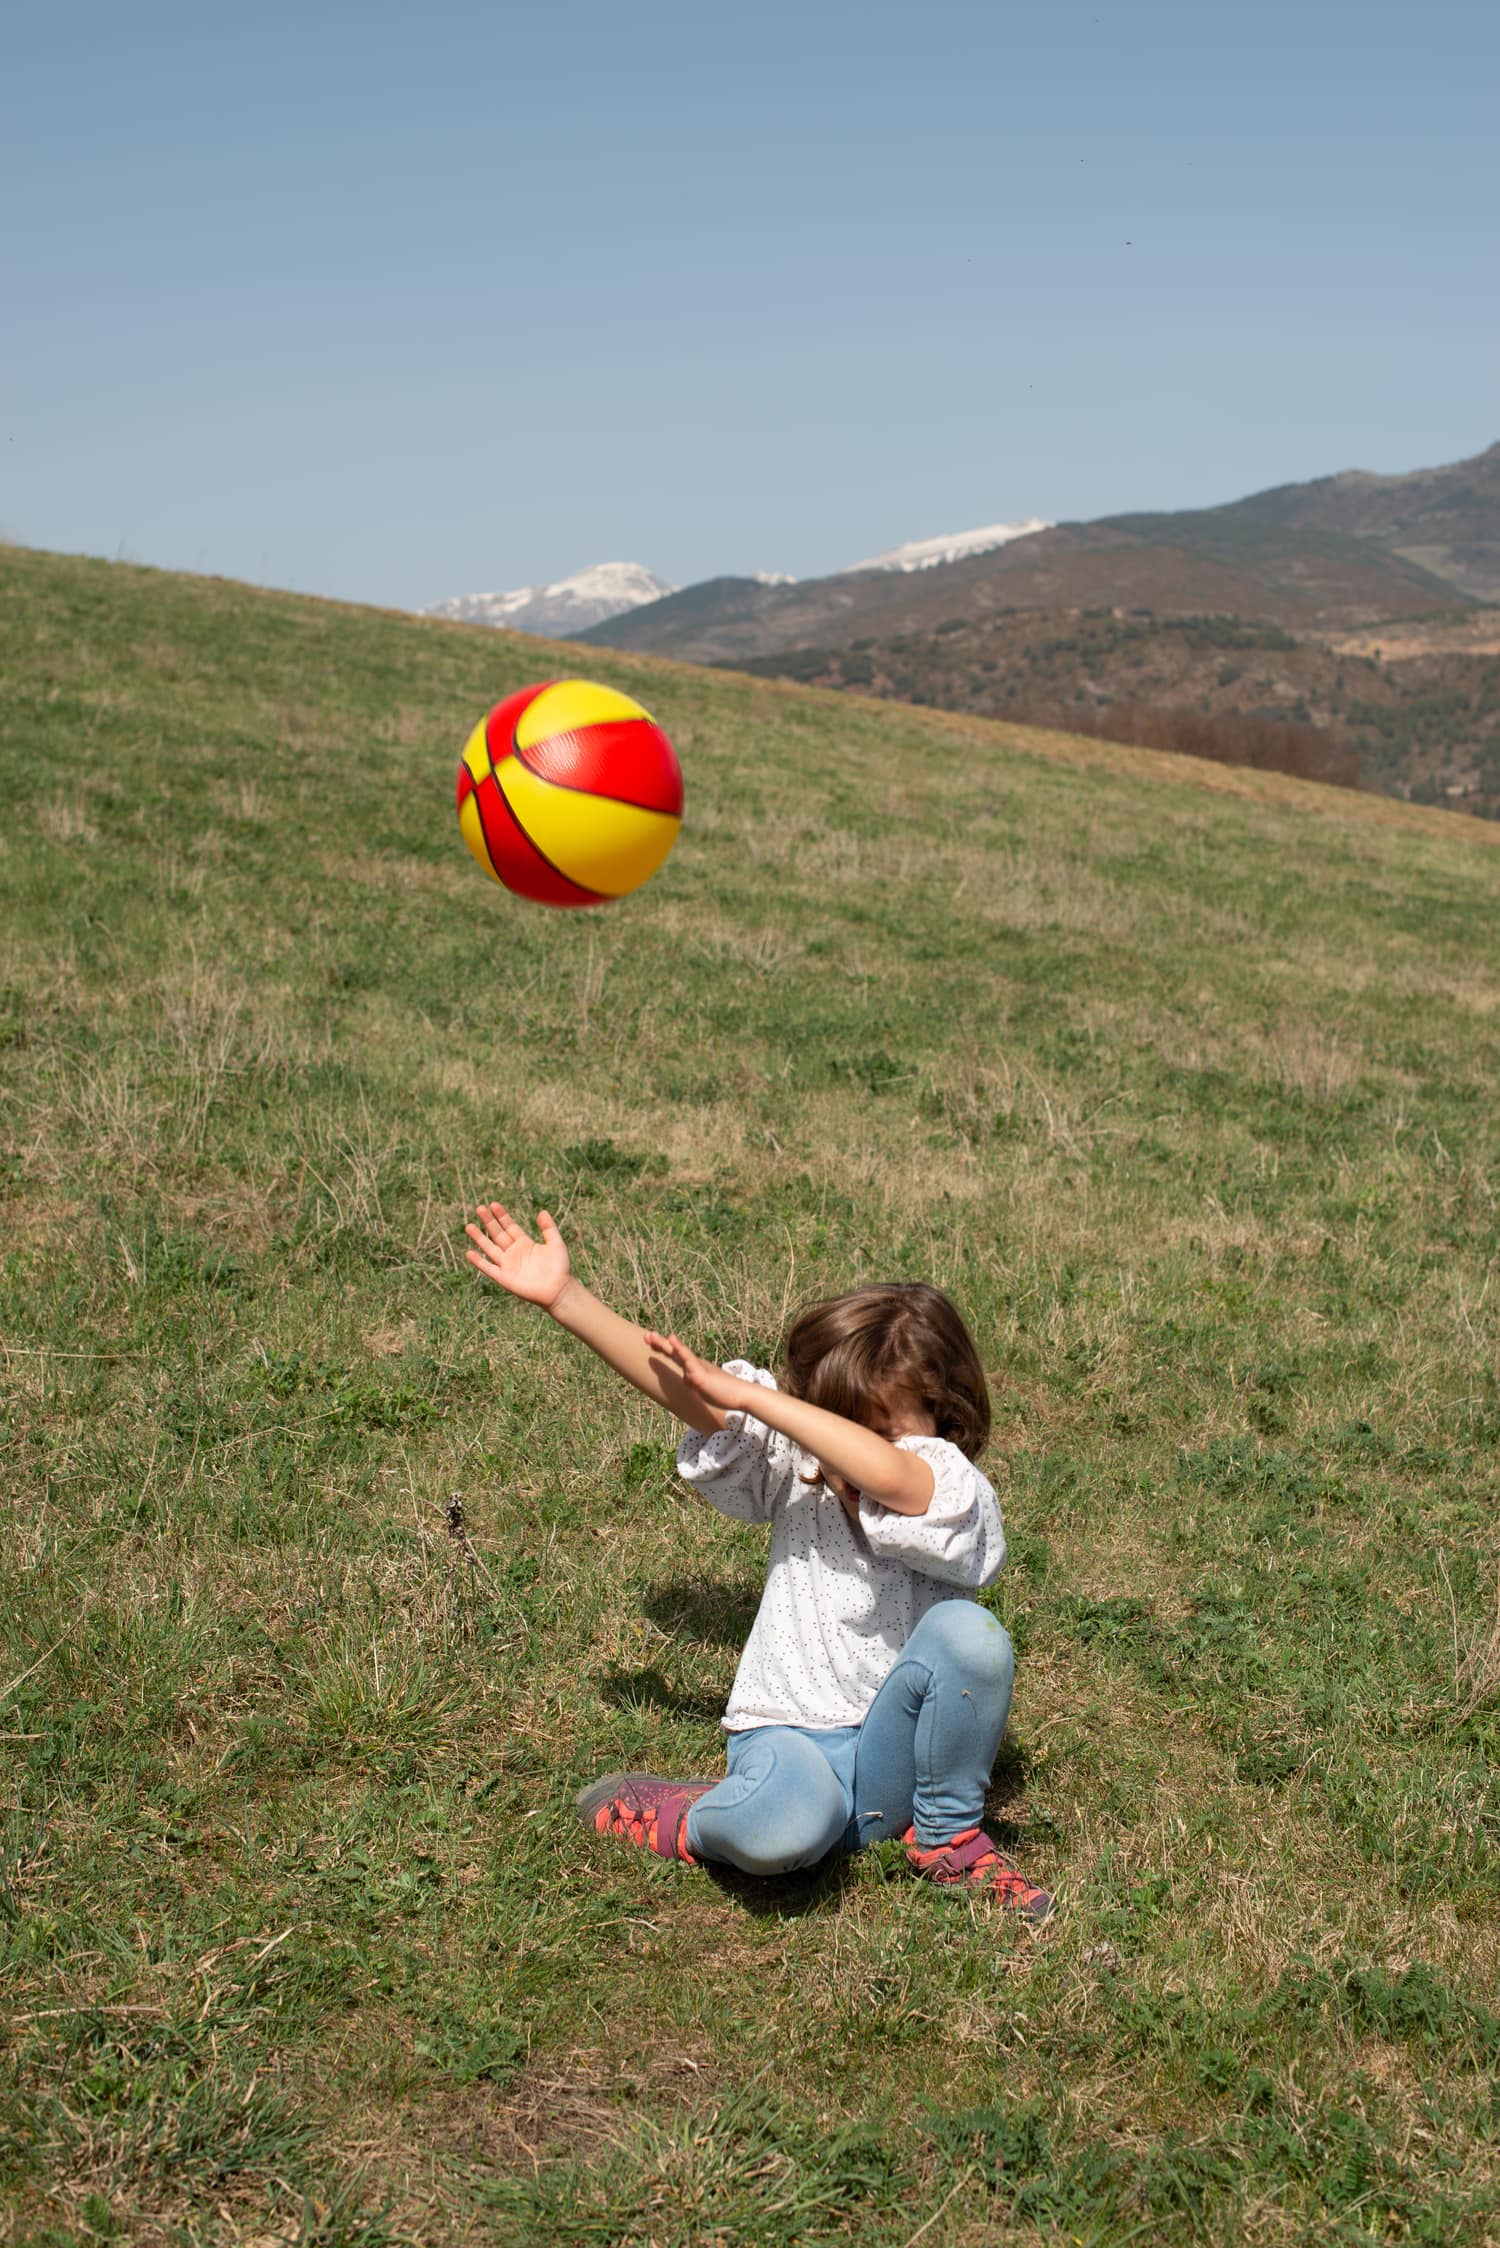
1. DESATURATE THE IMAGE
Once you have your image chosen, go in Lightroom to the “Reveal” module. There you will find the “HSL/Color” tool group. From here you can control the colors of the image: hue, saturation or luminance. In this case we are going to use saturation.
Once you have located the controls, activate the HSL panel, and then go to "Saturation" (they are normally checked by default). In “Saturation” move each of the markers corresponding to each color to the left.
In this way, what you are doing is desaturating the image tone by tone until it is completely black and white.
Here you can see how I have moved the markers to the left and the result in the image:
2. SATURATE THE CHOSEN COLOR
With the image already desaturated, simply choose the color you want to keep and saturate it again, or you can simply not desaturate it at first if you already know what it will be.
I am clear that where I want to keep the color is on the ball, because it has some bright colors that work very well, so I am going to raise the red, which is where I know the original color is. The result would be this:
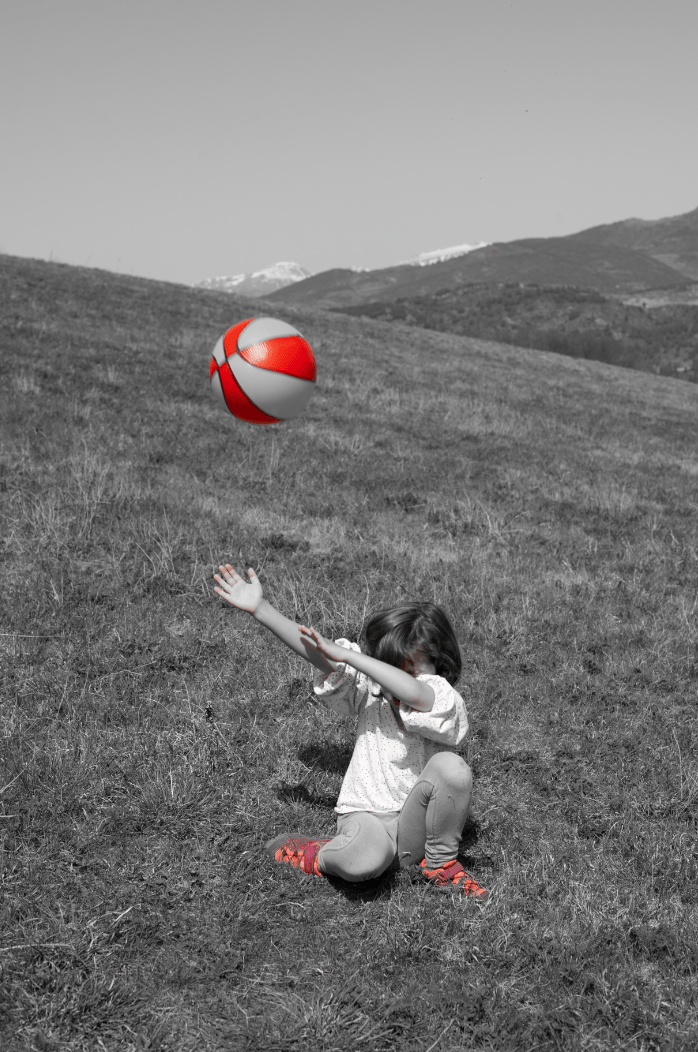
As you can see, the reds have recovered their color, but not only on the ball, but in all the places in the image where there was red: on the shoes, even on the fingers and part of the face.
In this case, I'm not interested in having those reds in the other areas of the image, so what I'm going to do is desaturate them with a more precise tool: the adjustment brush.
3. REMOVE COLOR IN UNWANTED AREAS
The adjustment brush is found in the selection tools module, and it allows you to paint on those areas of the image that you want to correct in a precise way, in order to be able to apply the adjustments you want, both for exposure, color, etc.
I am going to select the adjustment brush and I am going to paint over all those areas in red that I do not want to have selected (shoes and skin) and then I am going to desaturate them as I did at the beginning, moving the saturation marker to the right. left (-100).
TRICK: Whenever you want to see the area that you have painted on the brush, you must have the brush tool selected and click on the bottom “Show selected mask overlay”.
You will be shown the areas selected with the brush marked in red as you can see below:
Up to here I would already have the red located only on the ball and this would be my result (left). As I think that the ball can look better in its original color, I have done the test by saturating the yellow again and desaturating with the adjustment brush all those areas outside the ball that contained yellow, in this case the grass.
So in the image on the right, you have another possible outcome. As you can see, you can apply it to all the colors you want, although the logical thing is that you focus on one, maximum two as in this case.
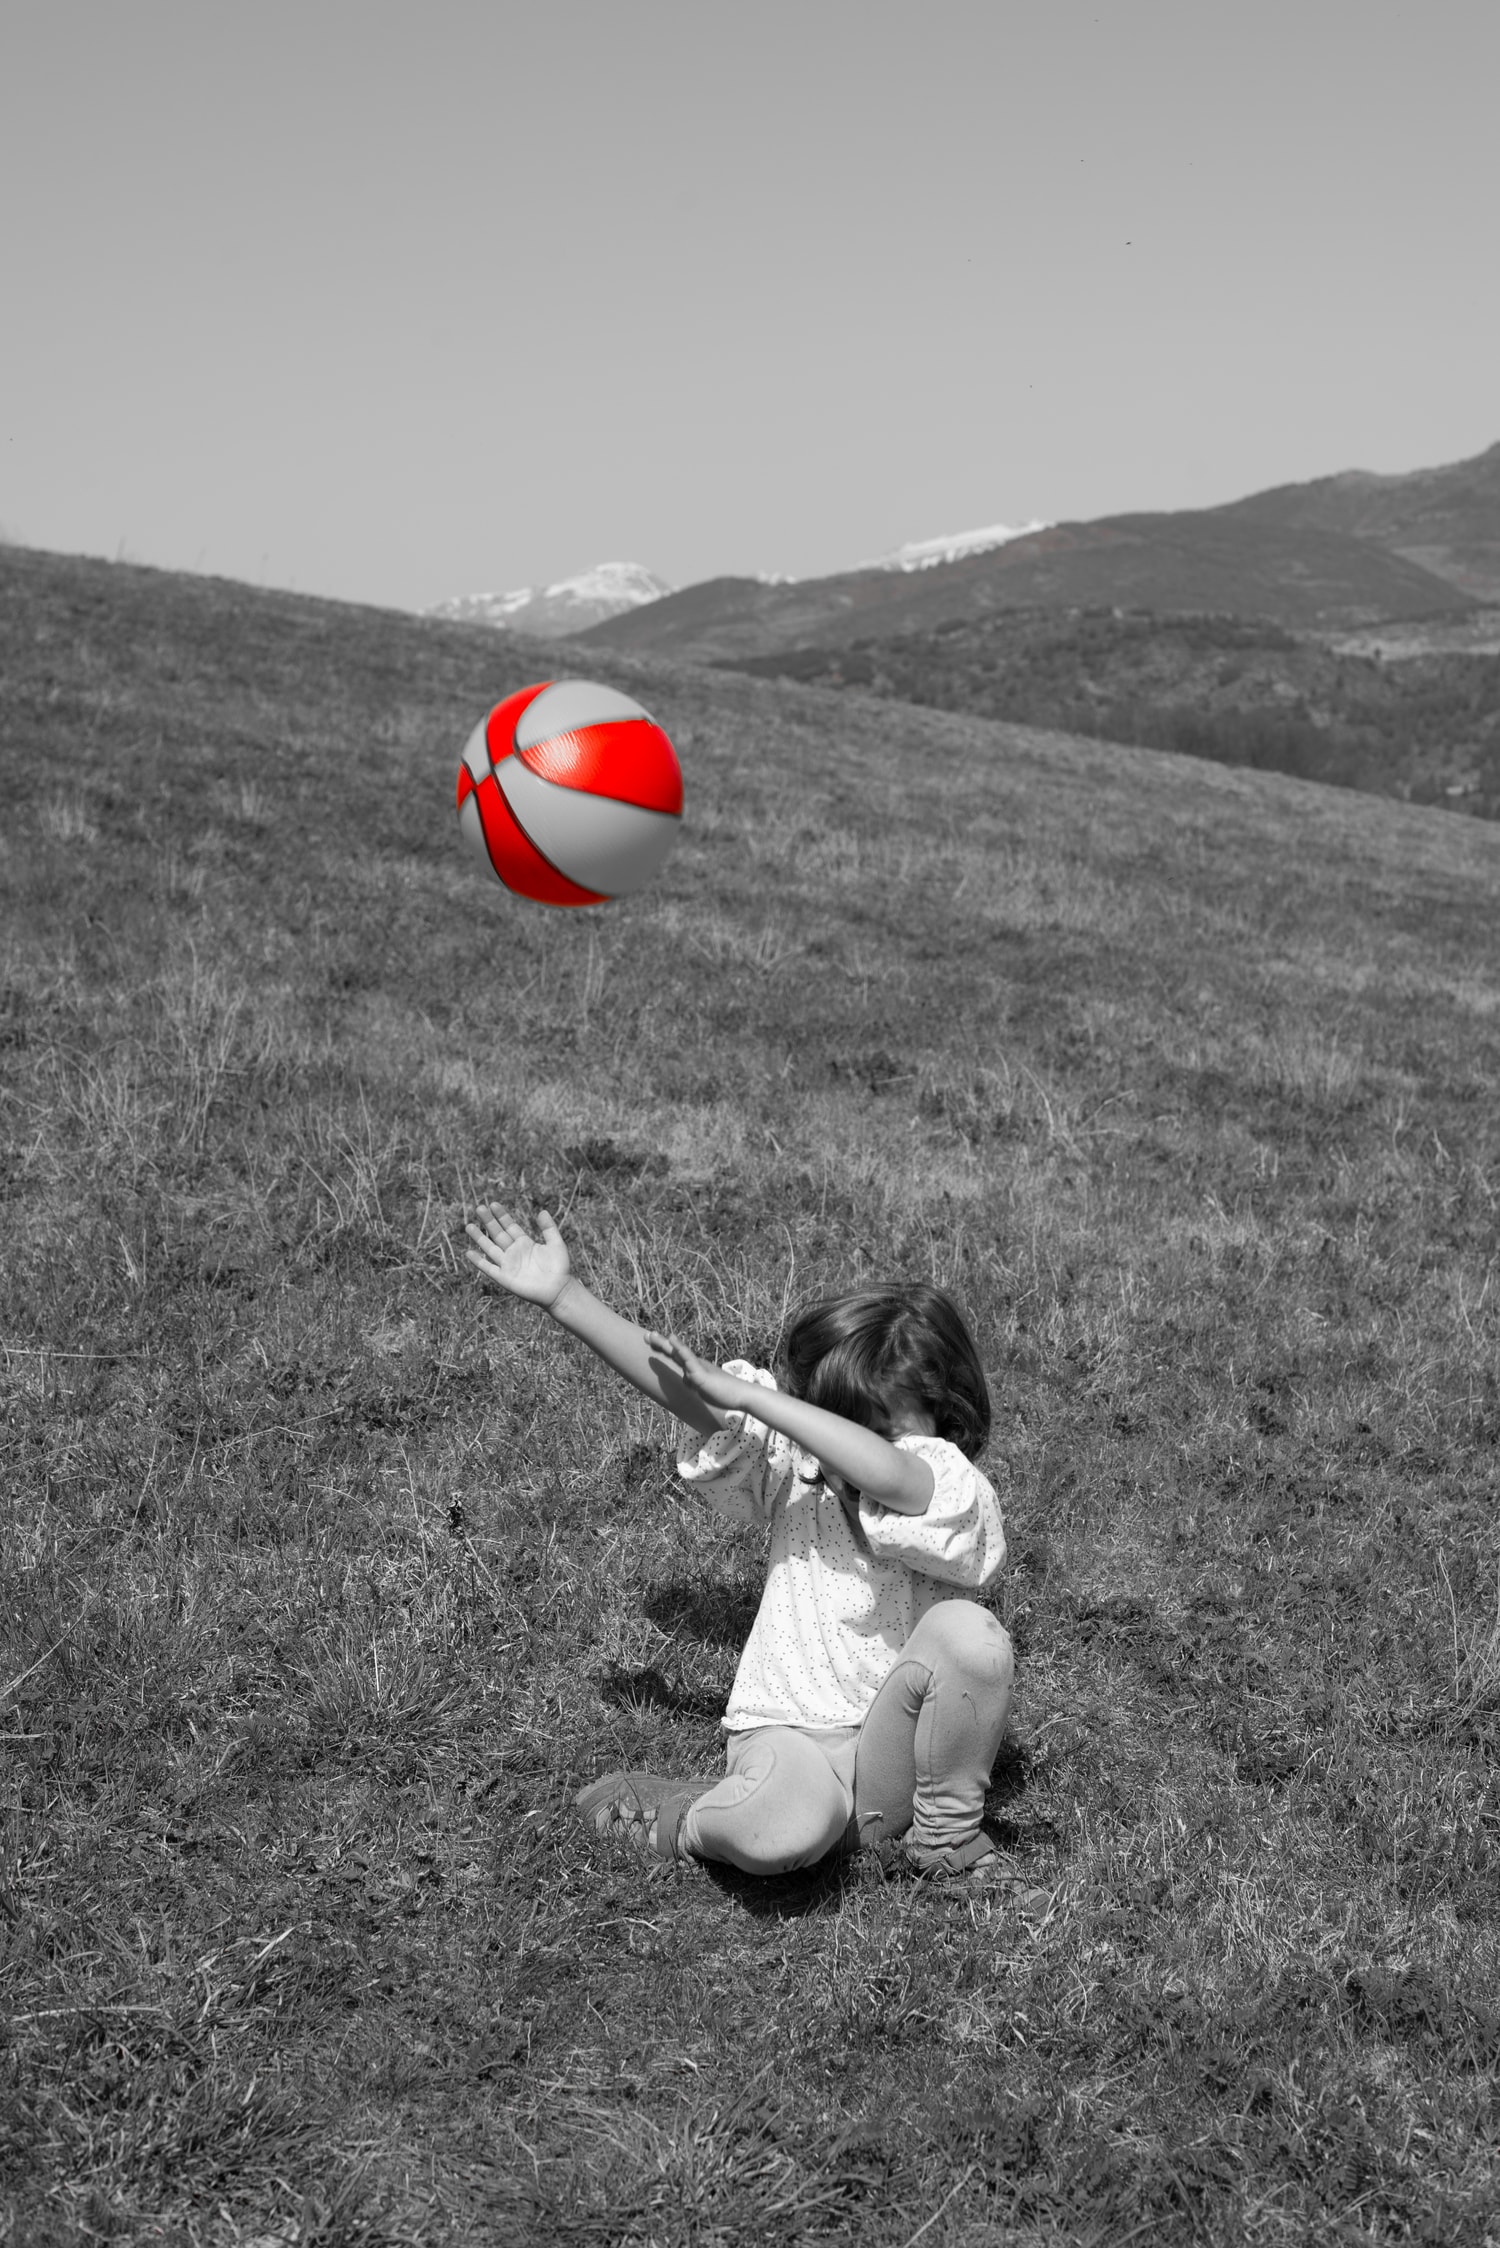
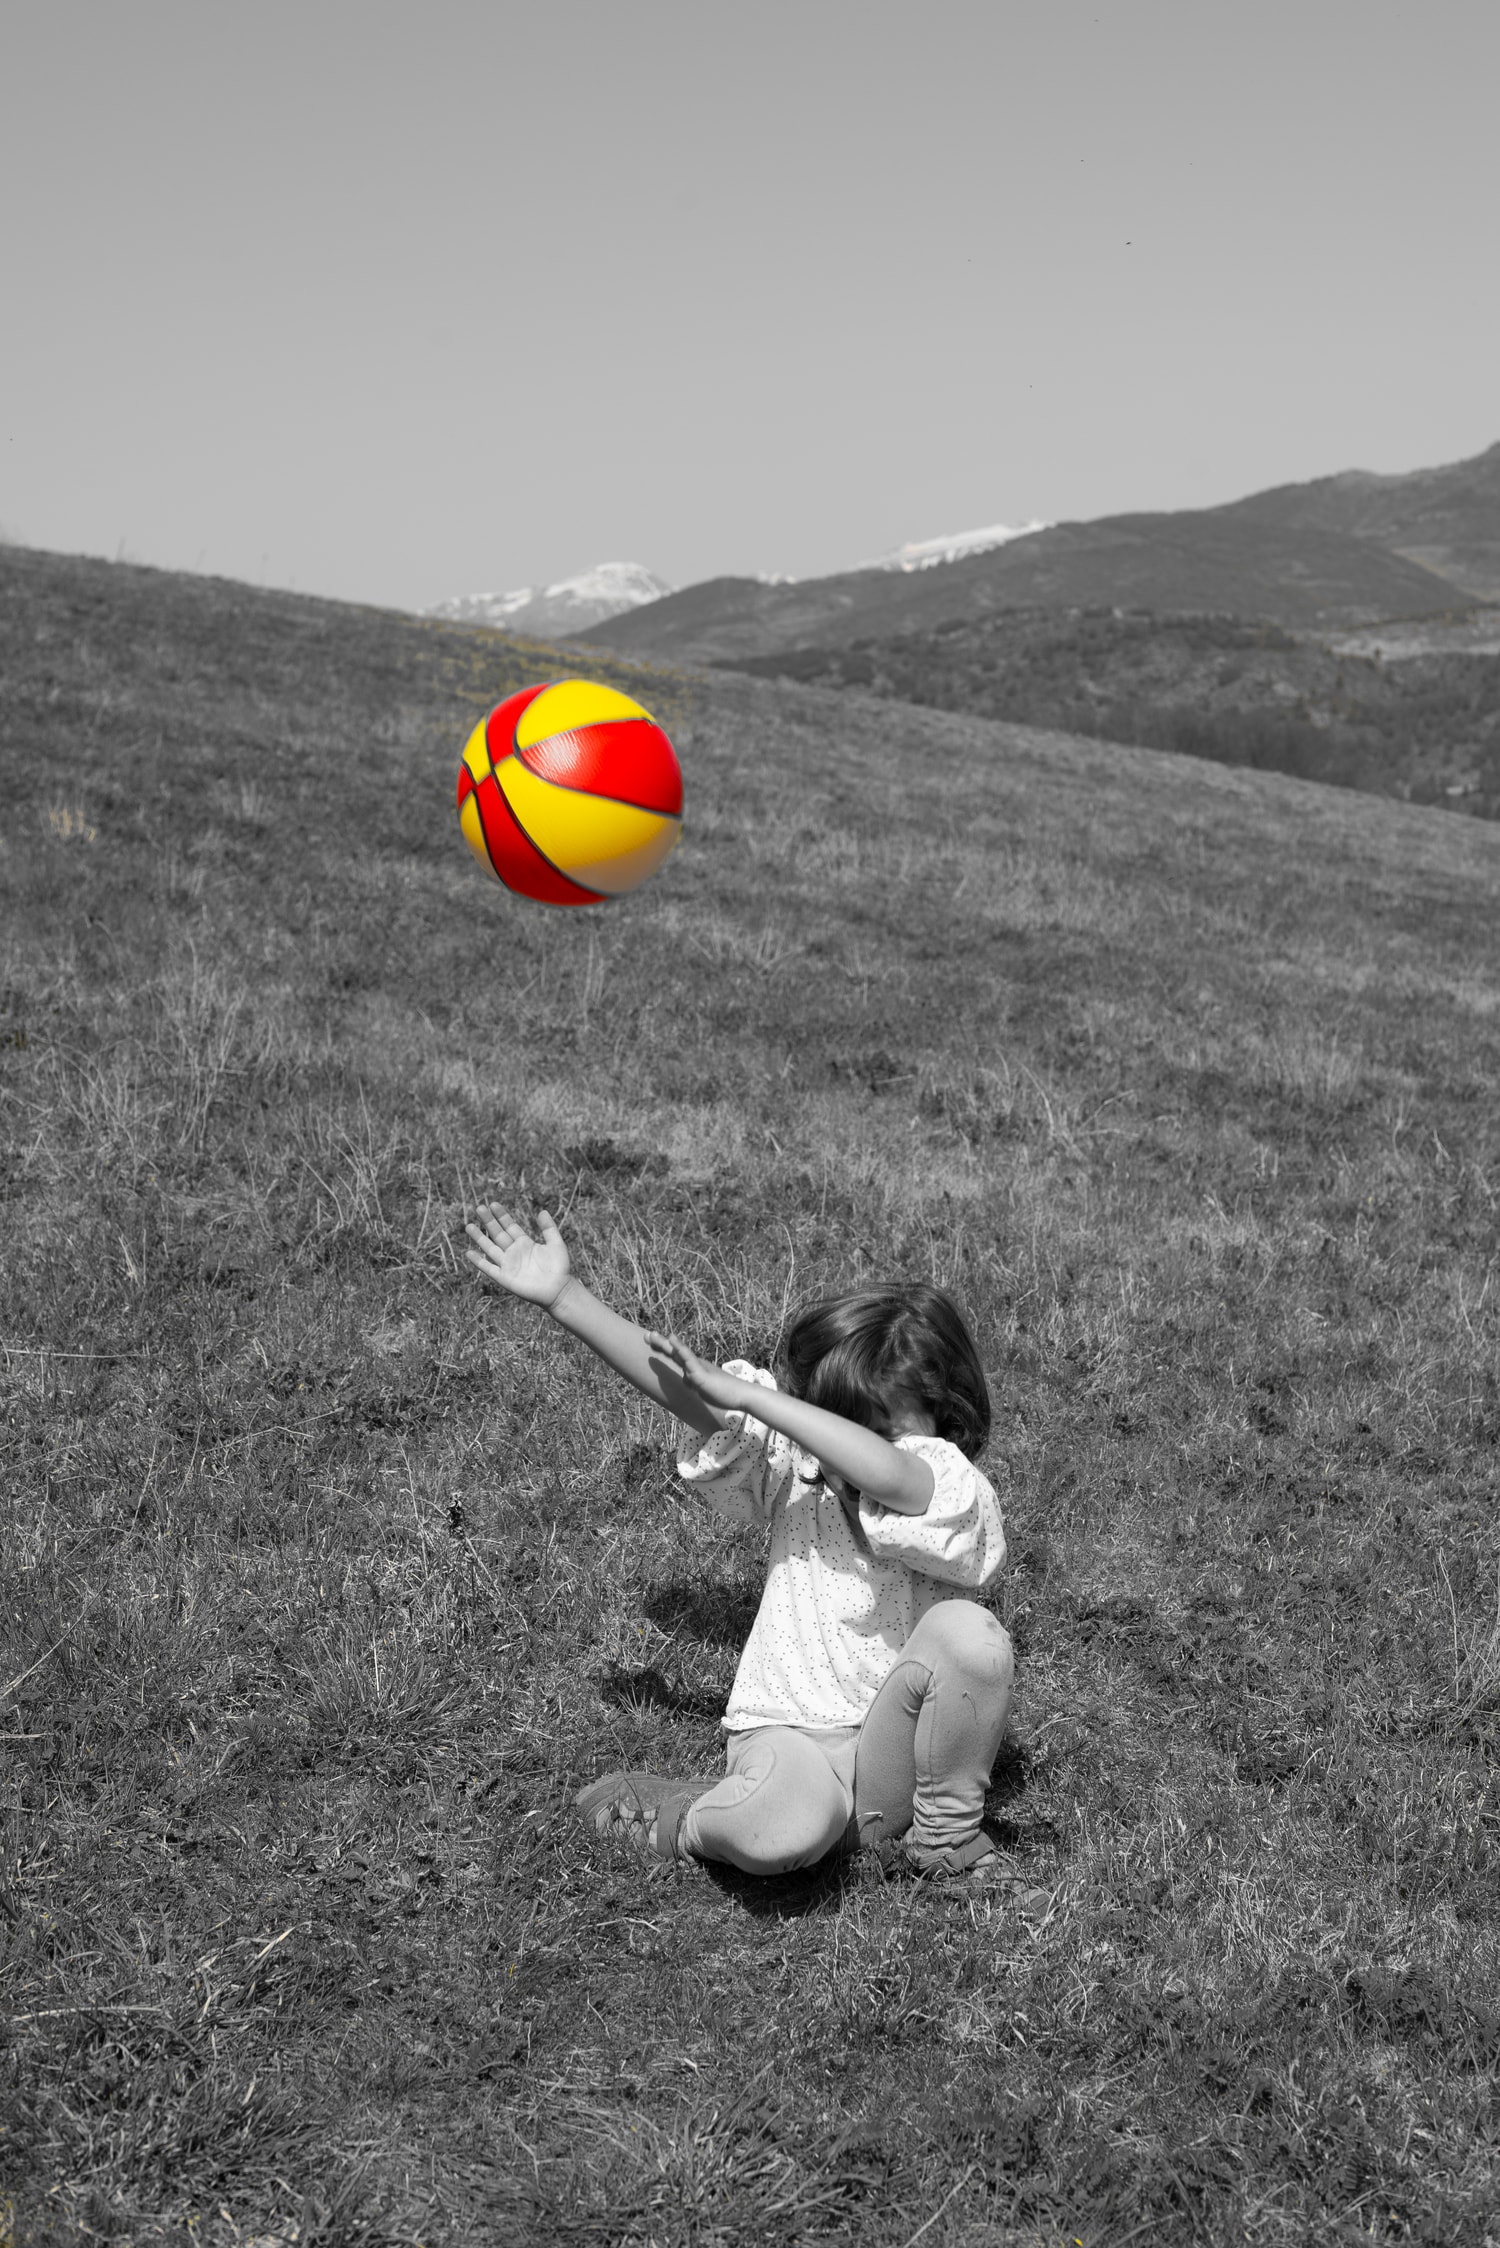
As you can see, it is very simple and the result can be very interesting to play creatively with some of your photos.
I hope you will be encouraged to practice it and lose your fear of editing because in the end it is one more tool with which we can unleash our creativity.

