
I have to say that writing this entry to photograph cakes is going to be delicious torture, and for you reading it too ? Especially if you're on a diet... The sample photos will make you run to the nearest pantry or pastry shop, that is if you don't Give directly to launch yourself into baking, to later photograph and immediately taste! The one who warns is not a traitor ?
And having said that, I can tell you in advance that in today's article I will tell you how to photograph these delicious pastry products such as cakes, muffins, buns, etc. Well, these tips are just as valid for a muffin as for a cupcake. The important thing is that you know how to make them look even more appetizing instead of taking away flavor or visual interest, you already know that you eat by sight and these desserts are usually made with great care and taking care of every detail of the presentation, that's why you can't spoil the process and screw up with the photo.
So open your eyes and pay attention to these simple (but effective) tips to do justice to the delicious treat you just made or that someone has been kind enough to bake for you ?
1. SET THE STAGE
Yes, yes, you read correctly. And it is not that you are going to make a play or a musical, but this task requires a decoration as careful as the preparation of the sweet. The environment should be beautiful and pleasant, in keeping with what you are photographing. In this way the result will be even more appetizing.
If you have a place near a window through which light enters, perfect. If not, later we will see the issue of lighting.

- Order. And for this, the first thing you should do before photographing cakes or any other sweet is to clear the work area. No junk or cooking or anything else. Anything that appears in the photo that is not intentionally placed (and carefully placed) will spoil the result as it will detract from the product by diverting the viewer's attention. So you know, clearing ?
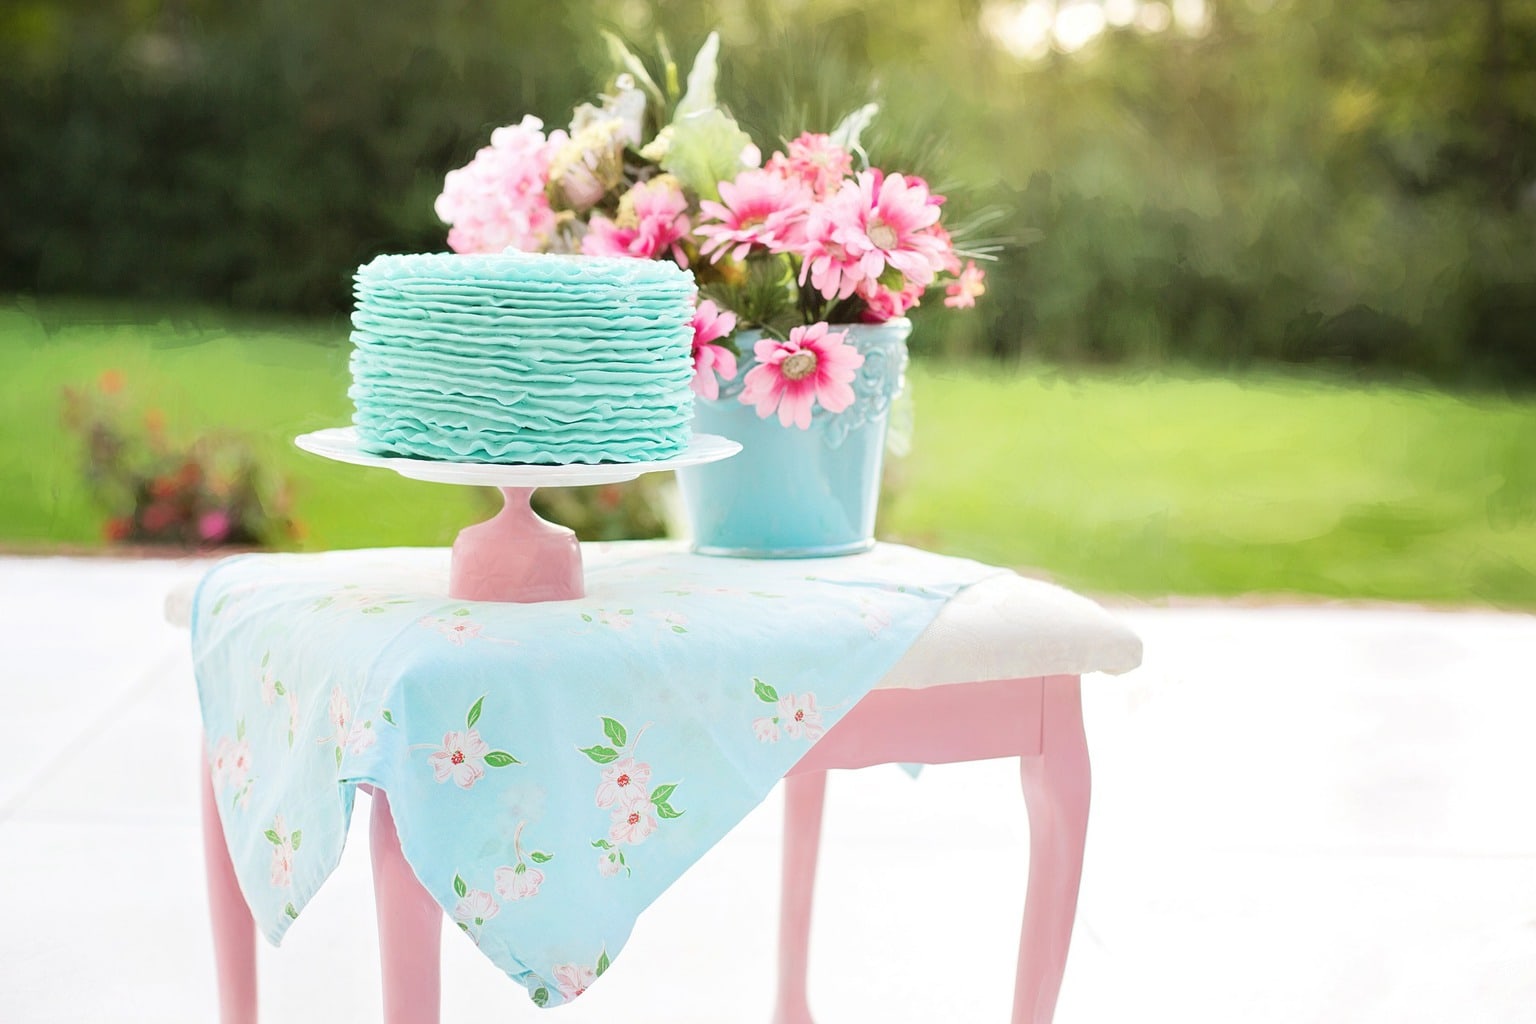
- Background. You can use a smooth wall, a soft color or that contrasts with the color of the product. If this is not possible, get one or more cardboard that will be a perfect background (white is essential, soft colors are the most successful or any color that combines with your dessert). You can also use some fabric or wrapping paper. But of course, something nice, don't go throwing away that crumpled paper that you had left over from last Christmas, eh? Curl it up a bit! ? Here you can see how to build yourself an “infinity background”. Another trick that also works is to use a background wood because it brings a lot of warmth.
Cheats:
- For personal and informal photos, you can resort to festive decorations in the background. Something discreet and stylish to bring freshness to the image.
- Do you have a nice garden? Seize it!
- Vintage is in fashion, but it's just that this confectionery business is also doing great. If you have a beautiful vintage-style crockery and/or cutlery, do not hesitate to take it out to set the photos. But... be careful, let it be a background, subtle accompaniment, not a steal-prominence-from-the-cake ?
2. ADD THE STAR INGREDIENT: THE COMPOSITION
Just like your dessert has one or two star ingredients without which it wouldn't work or would taste completely different, the same thing happens in photography. One is lighting and the other is composition. Do not forget to take care of these aspects when composing your image:
- Blur. Use a wide aperture to blur the background. This way you will focus the viewer's attention exactly where you want it. Also, the bokeh can be very beautiful when there is a lot of color in the cake. A focus in the background can also give good results. Do several tests and keep the one you like the most.
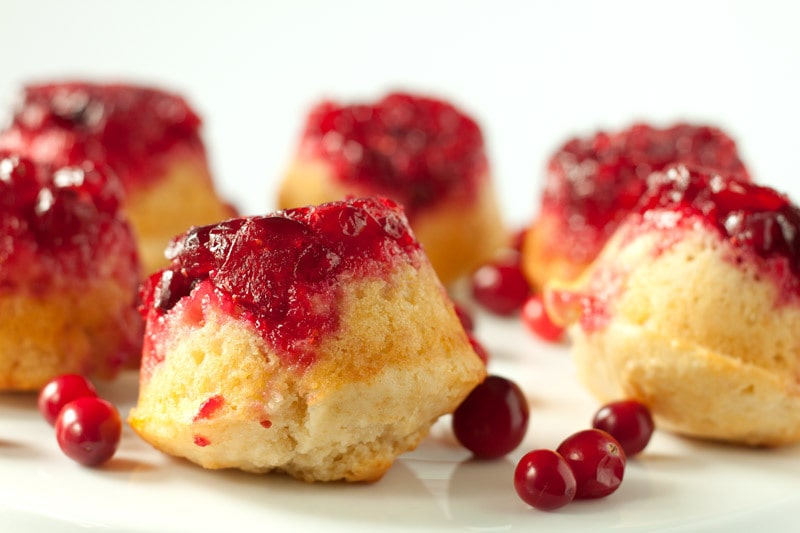
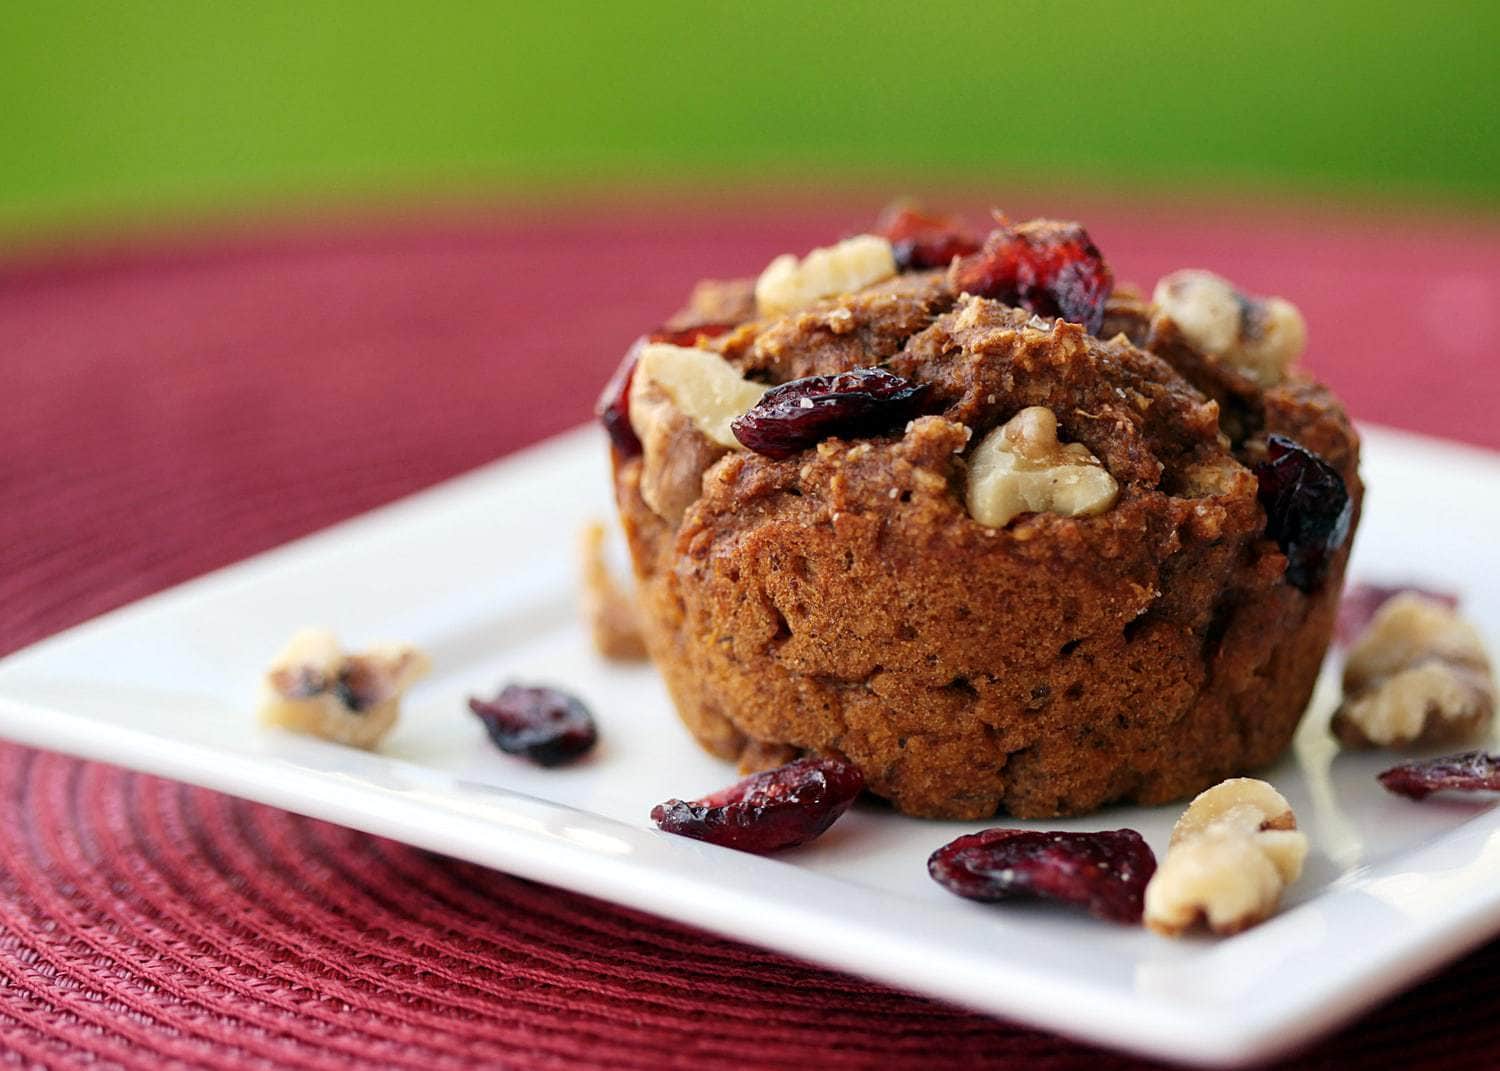
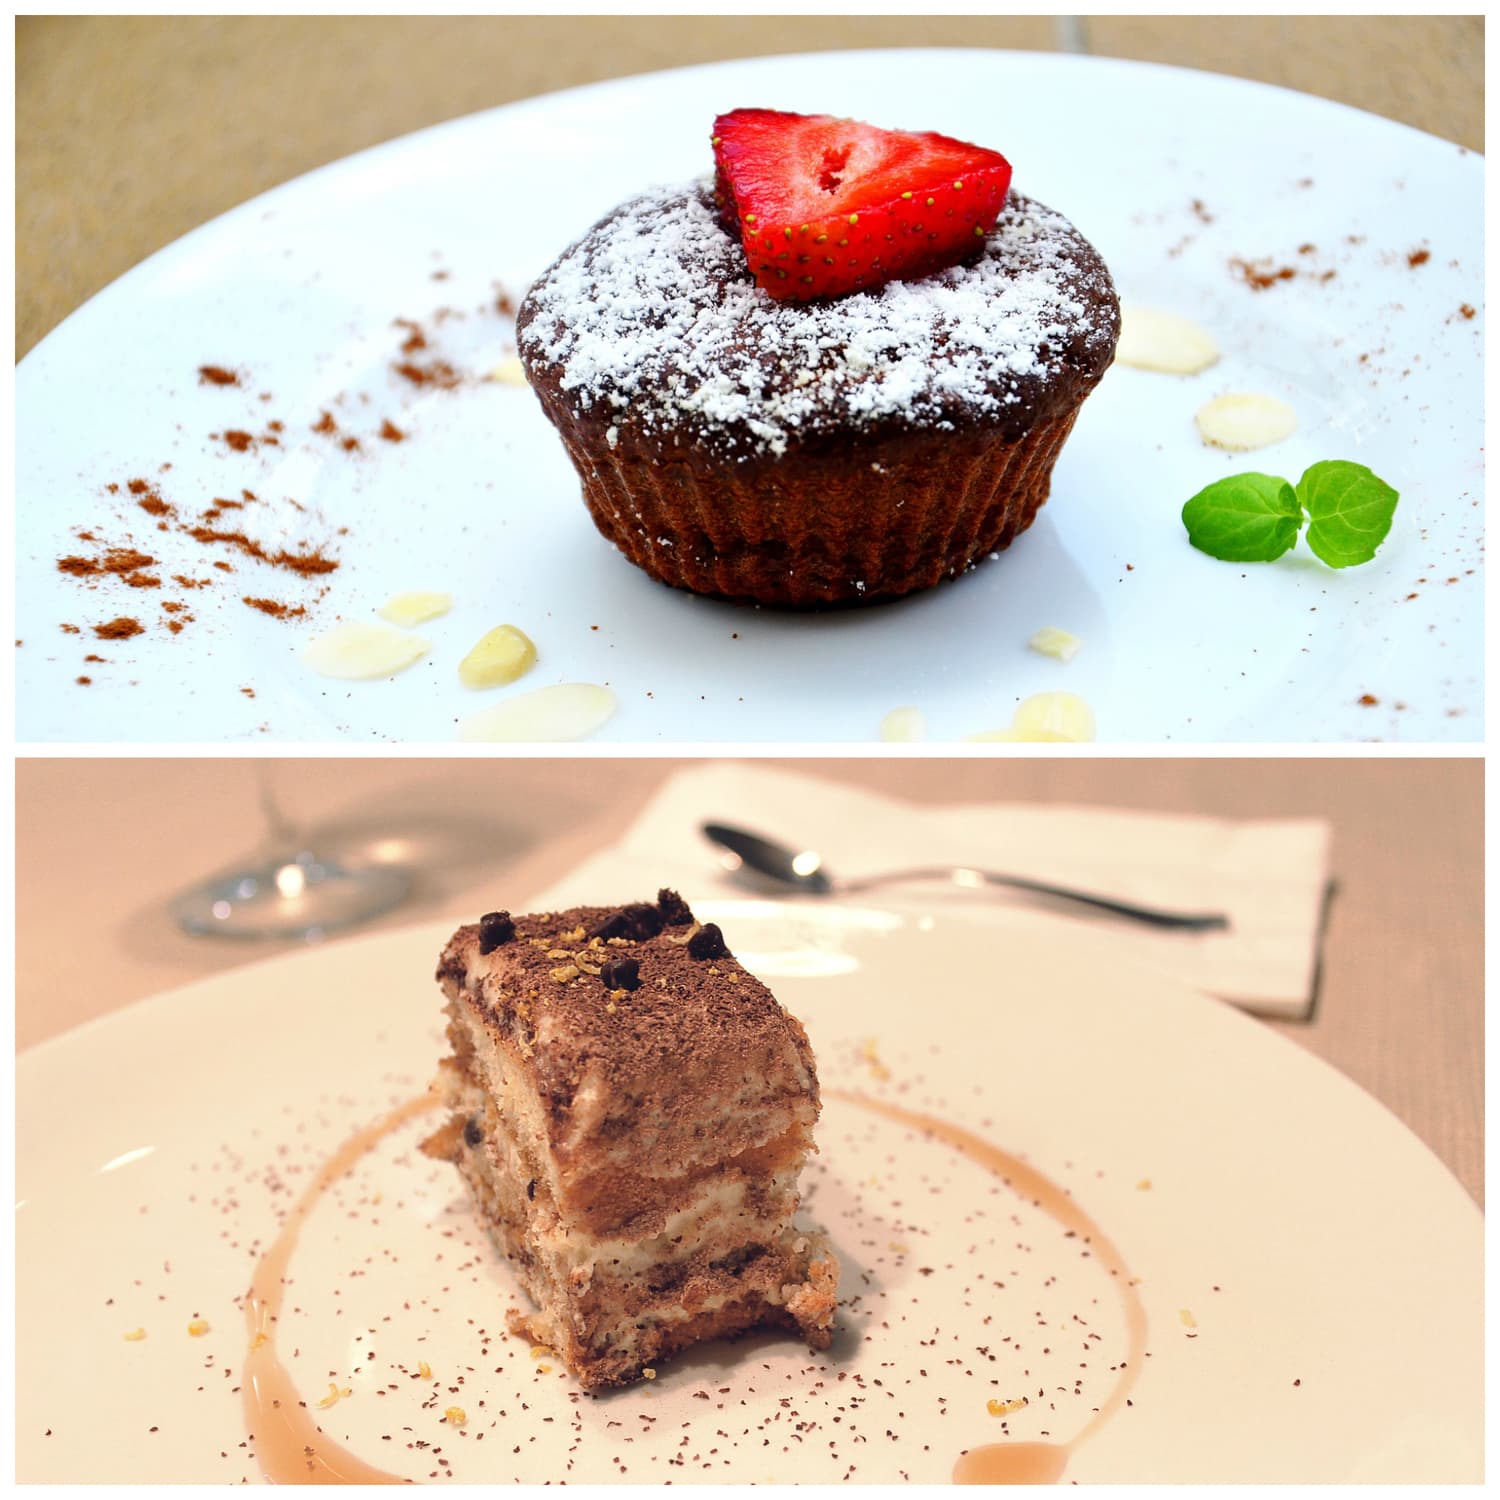
- Less is more. If you are going to photograph several cakes, buns or muffins at the same time, make sure that only one is in focus (like the image above), or isolated from the rest. In this way you will be creating a center of interest where the gaze will rest and, in addition, the image will be more balanced.
- Perspective. Don't just shoot from your normal position, in fact, better avoid it. Get down, get on a chair, move around the product, but don't always stay in the same position. The closer you bring the product to the viewer's eye, the more appetizing it will be, especially if they see it at eye level or from an attractive perspective , for example, an extreme angle (zenithal angle).
- Apply the rule of thirds , the horizon, resort to negative space ... but avoid at all costs putting the product in the center of the image unless it is intentionally and very carefully. As tempting as the sweet itself is to center it to give prominence, however, you will achieve the opposite effect.
3. CONVEY SENSATIONS
Confectionery is mainly related to two senses, taste and smell. The photos can only be seen at first, but you can almost smell them. With a few tricks you will make the viewer perceive the smell of cake or cinnamon, or the aroma of fresh from the oven and salivate without realizing it. For this you can:
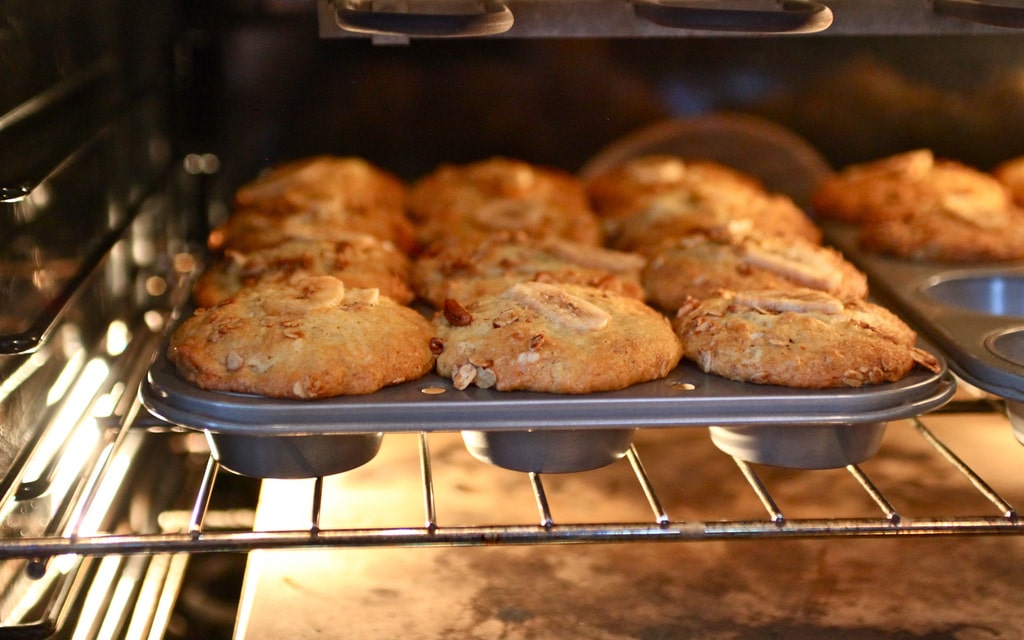
- Photograph the product in the oven itself or on the tray, so you can make sure that the aroma of freshly baked reaches it.
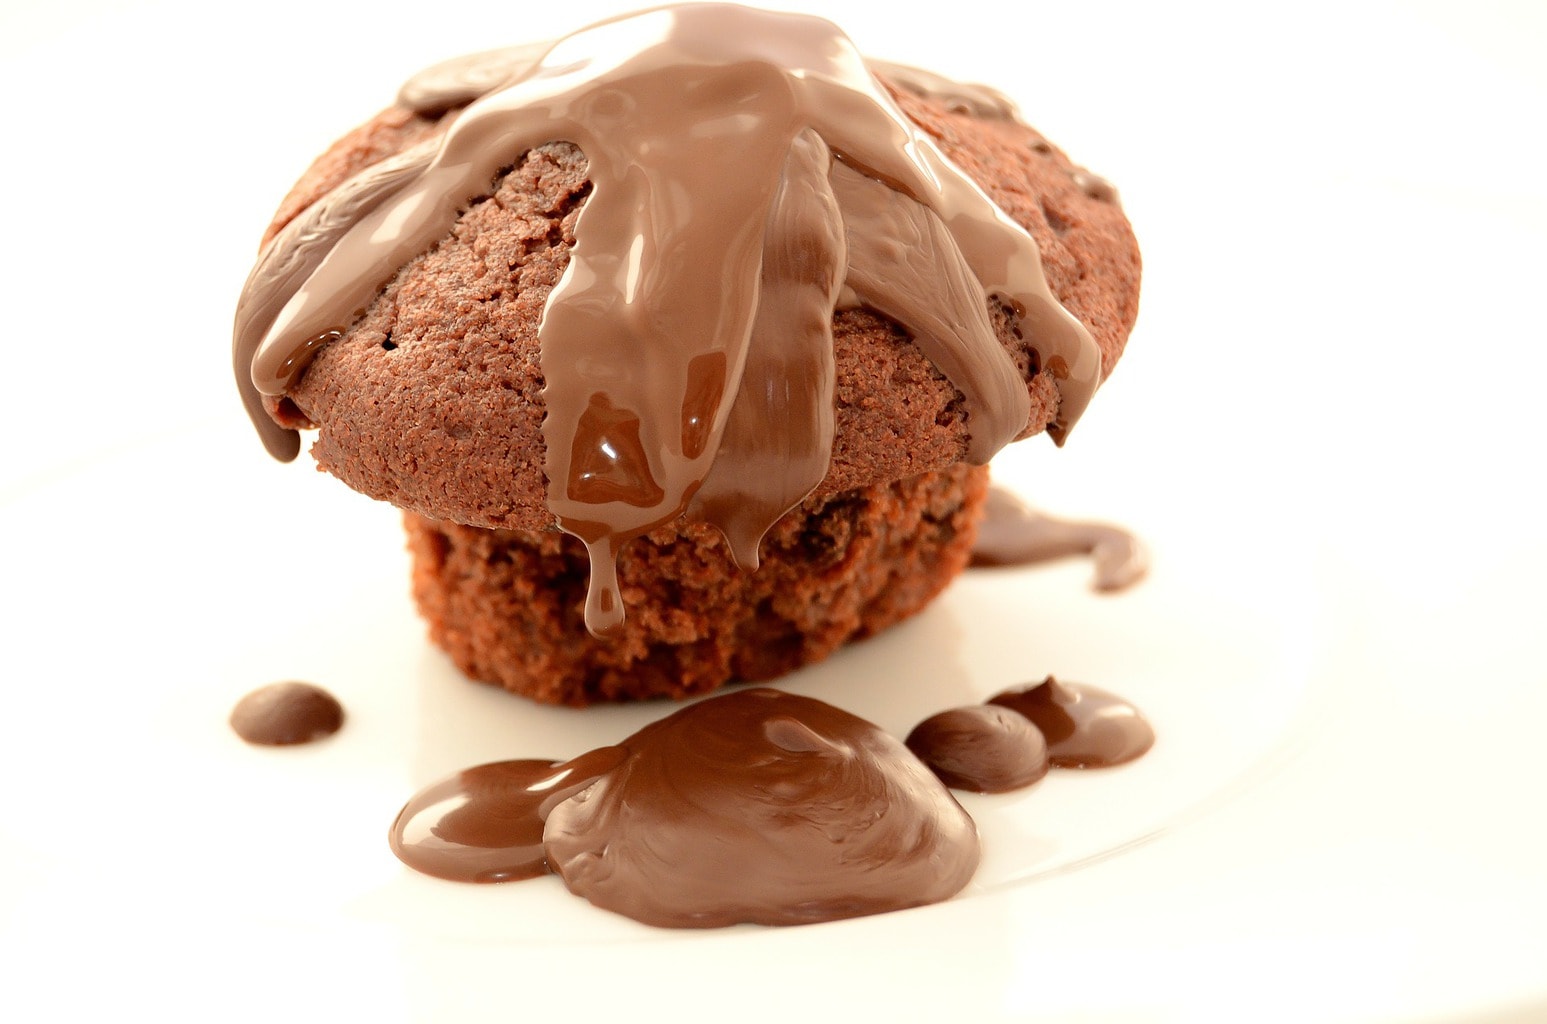
- Highlight the texture with an extreme close-up so that you feel how it melts in your mouth.
- Fill the frame. If there is nothing else in sight, the candy will seem so close that the urge to take a bite will be inevitable.

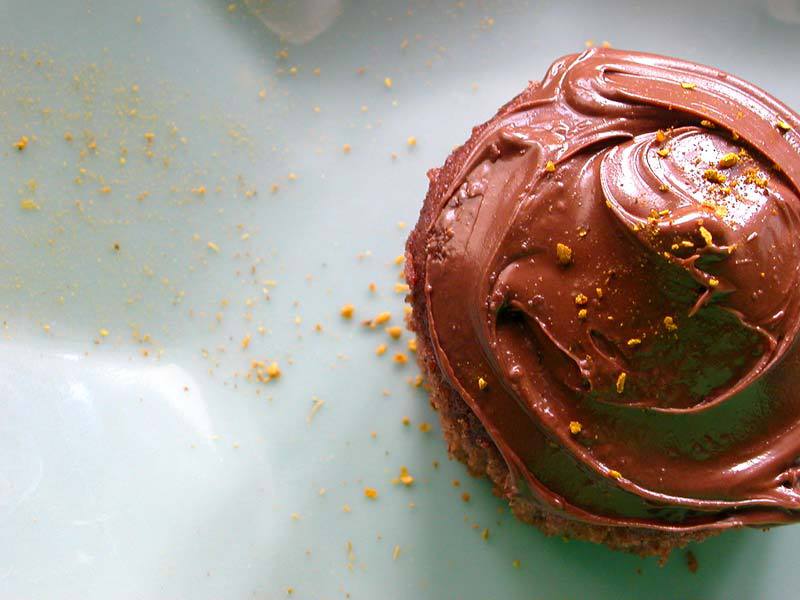
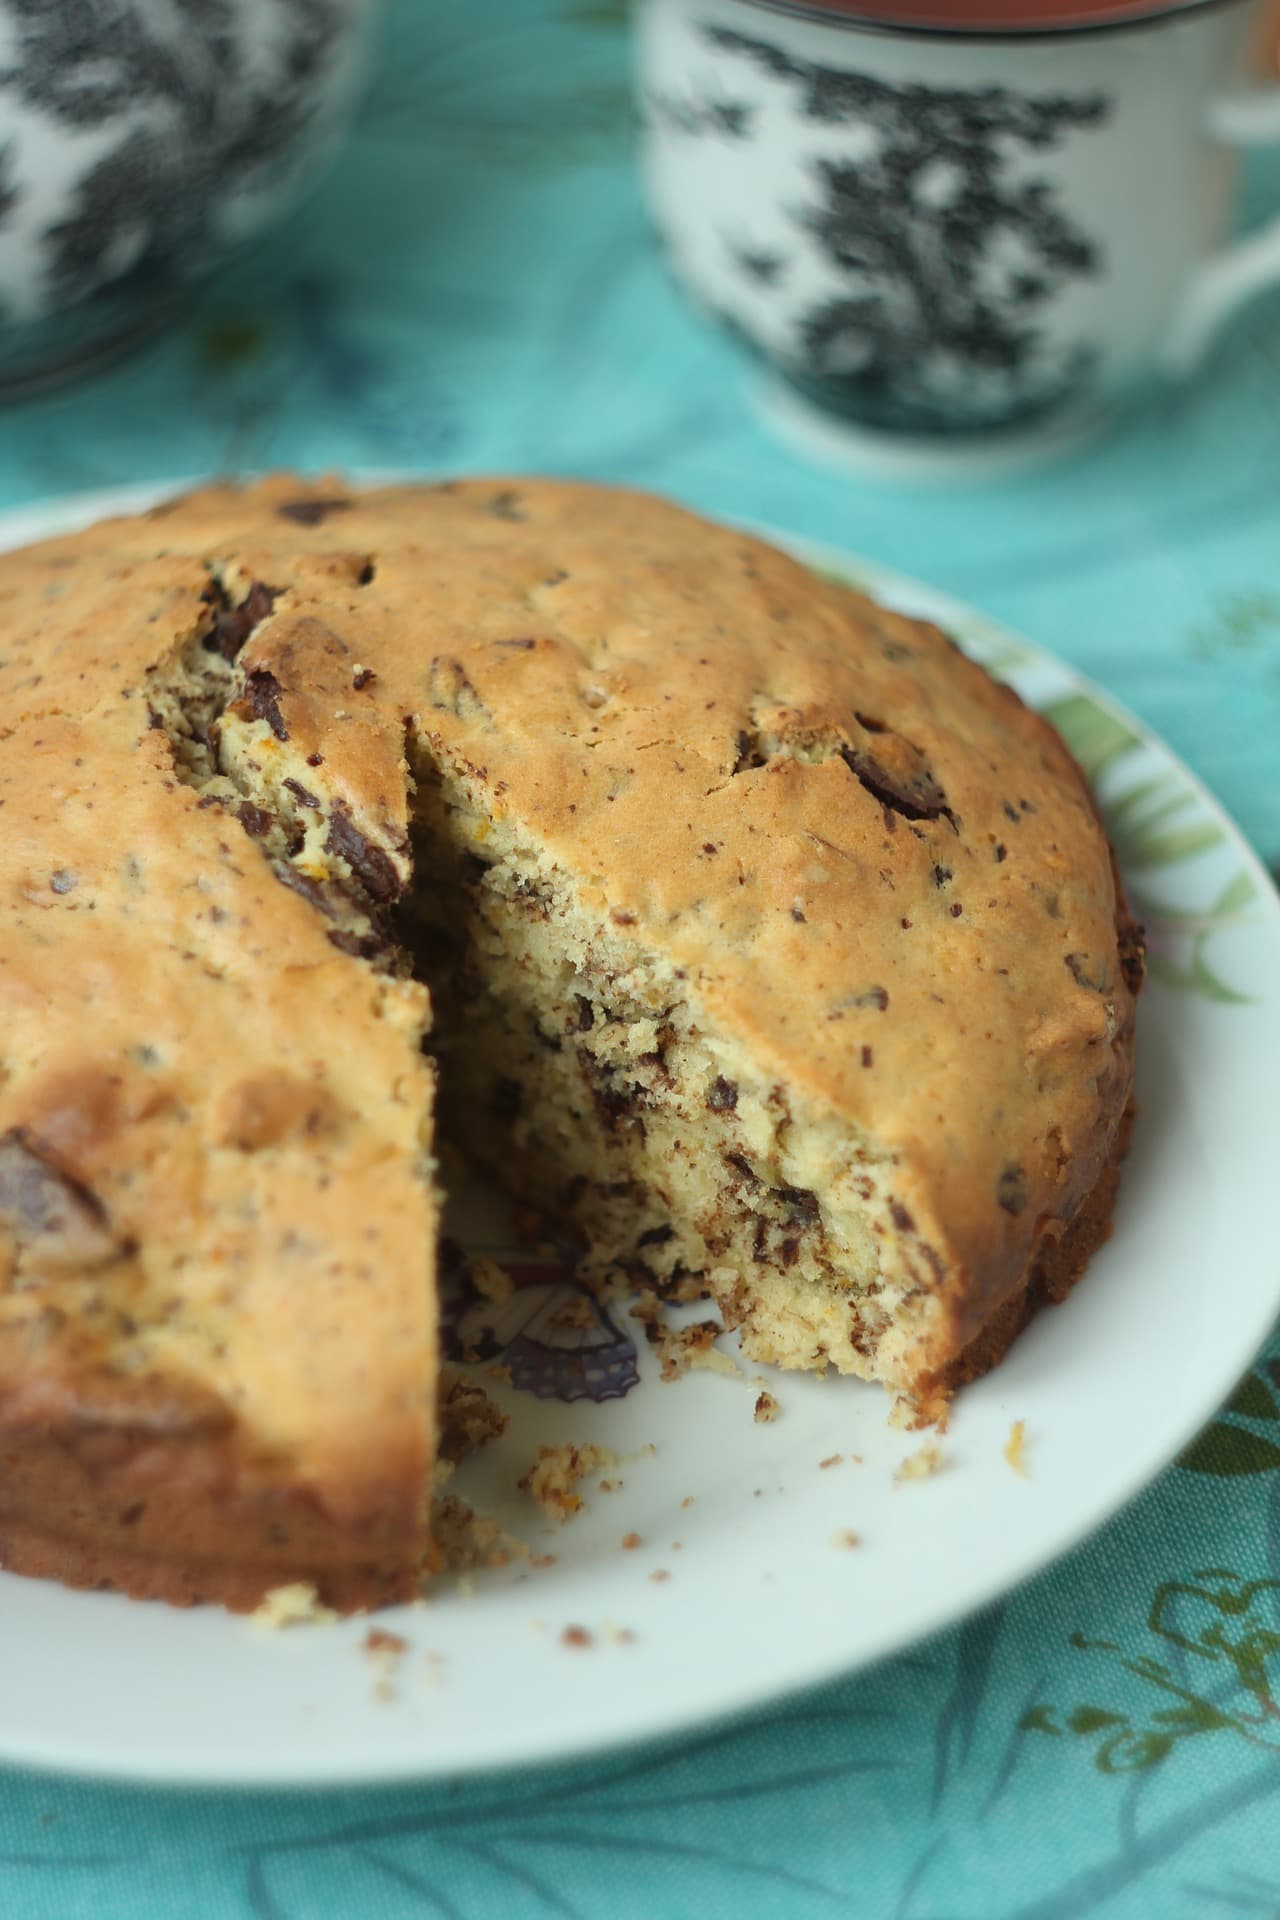
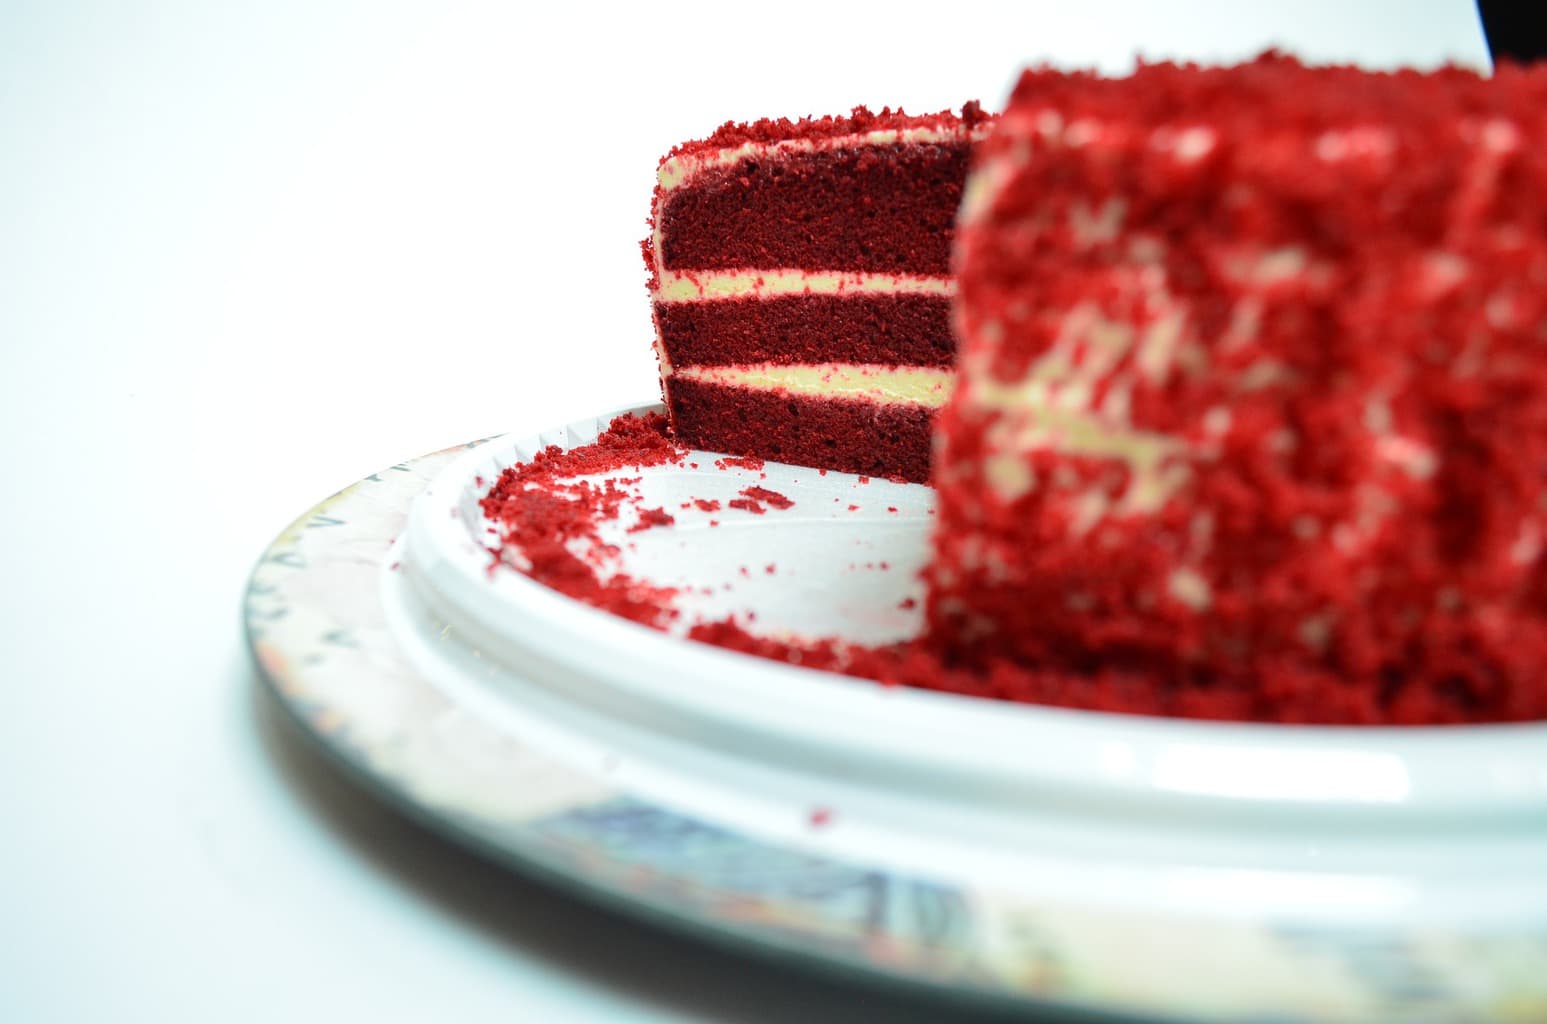
- Show inside. The cake is not just what you see on the outside, showing a piece or photographing the cut cake so that the filling can be seen will make it look much more appetizing.
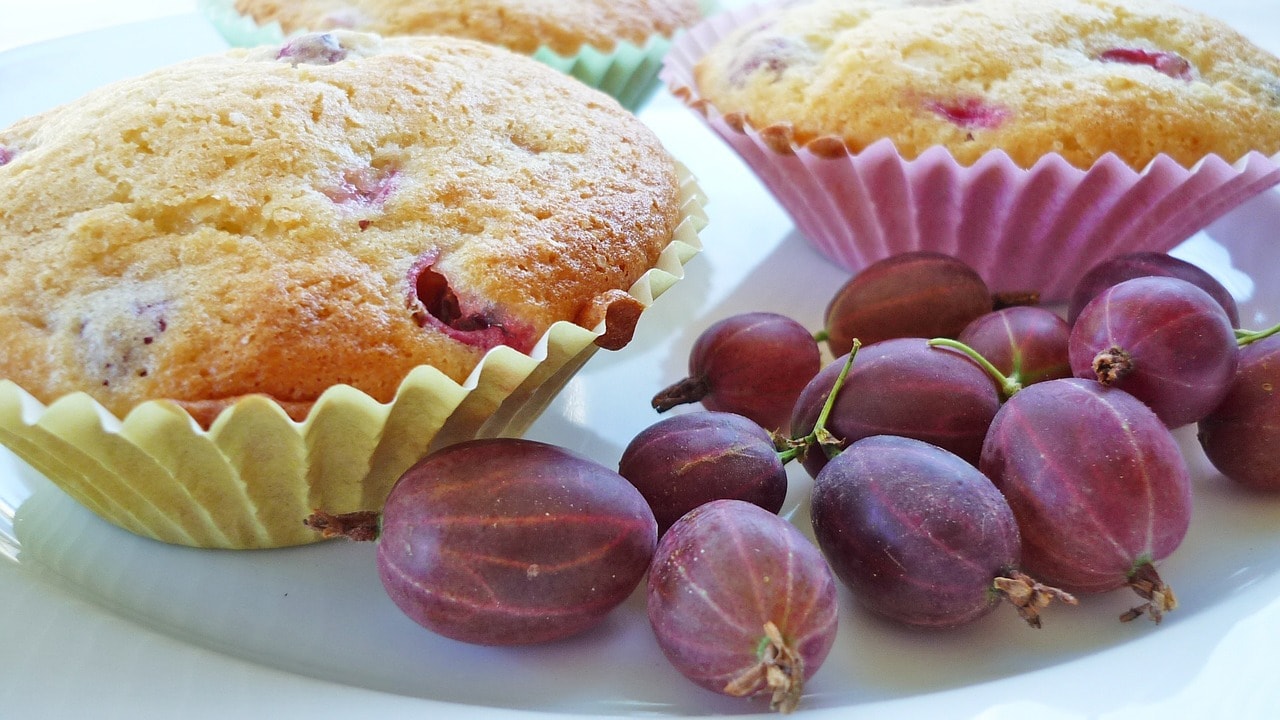
- Accompany the product with an aromatic plant and/or one of the ingredients. It will not only serve as a decoration, it will also stimulate the sense of smell and/or taste.
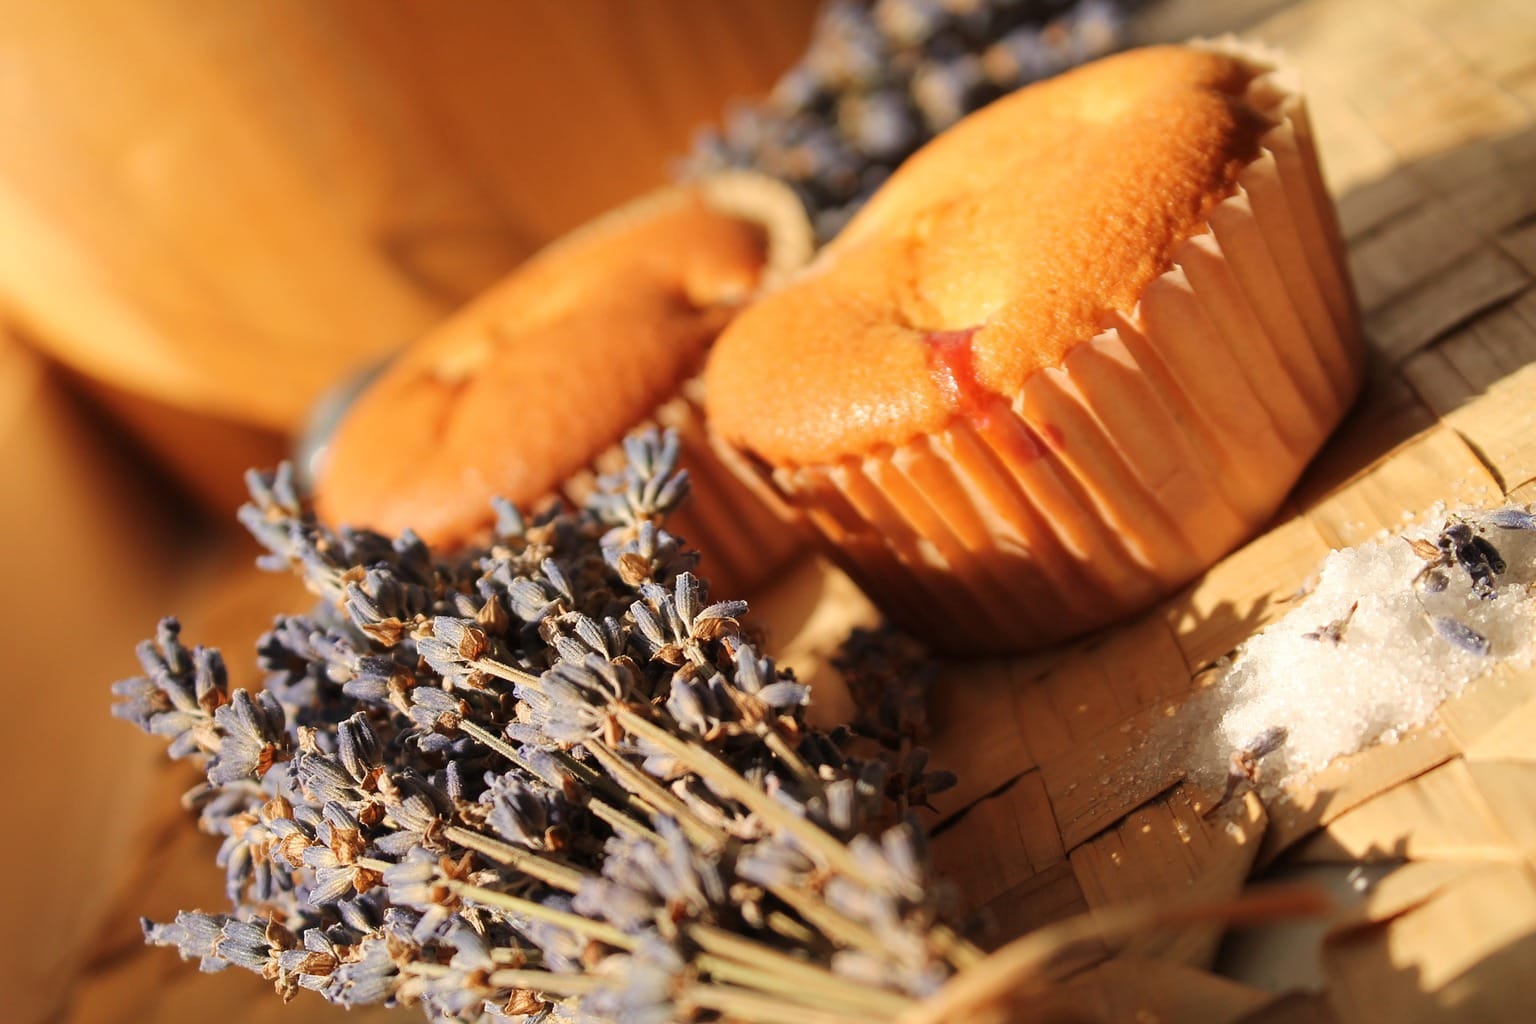
Take a look at this example in which several of these tricks are applied: a wooden background, aromatic plants, the piece of cake served on the plate... don't you have a terrible desire to take that piece of cake or does it just happen to me?

4. LIGHTING
As I told you before, composition and lighting are the two most important factors. We have already dealt with the first one, now we are going to see how you can illuminate your delicious dessert so that the lack of light does not cloud its splendor ?
- Natural light. I repeat myself again, but it's important... Whenever you can, get close to a window. Or even in the garden. Now, if the light is very harsh (central hours of the day and the sun shines directly on the window) you have to be careful because this type of light causes very pronounced shadows and they don't look good at all, your dessert has to look soft and sweet ;). To do this, if you are in the garden, stand in the shade, under a large tree, under a roof... or take advantage of the first and last hours of the day when the light is softer or more diffuse. And if it is through the window where the sunlight enters directly, a very effective trick is to cover it with a white curtain or place a tissue paper on the glass. Infallible. You will achieve a perfect light because the paper will work as a diffuser.
- Light box. If you can't go for the first option and you have a light box, use it. You do not have? And you still haven't thought about getting one ?? You can also build it yourself, it's very easy! And the results will surprise you.
- Flash. As a last alternative, use the handheld flash (never the one that comes on the camera if you want to achieve a decent result). Bounce your flash or use a window light or diffuser. It is about lighting evenly and in a way that is pleasing to the eye, a "flash" would create very annoying shadows.
- Reflector. If you have a great one, if not, don't worry because a white cardboard will serve to reflect the light that you have and illuminate the other part of the dessert. in this photoyou can see how its author illuminates a miniature car with a homemade light window and two homemade reflectors (a cutting board and the base of a box). He explains everything to you and also includes a link to the result. The reflector can be used both with natural light and with artificial light.
- white balance If you don't know what it is, read this article . To find out why it is important to take this aspect into account, look at the following photographs. Do the two seem correct to you or do you think there is one that has "better color"?
5. INSPIRATION
Creativity is learned. And he finds himself looking for her. The muses don't always come to visit us when we need them, just like that. Browse the net in search of inspiring photographs, browse pastry books, visit cooking blogs... in short, take a sweet walk anywhere you can find photographs of cakes or the like.
