What are the most used photographic techniques ? How can they help you find a way to express yourself through your photographs? When you are learning photography it is very common to be overwhelmed by the amount of information on the subject, the amount of technical words, camera models, lenses, compatibilities and a thousand concepts in which it is very easy to get lost.
As all of us who are part of this team have gone through this situation, I want to offer you a place where you can find, in a summarized and ordered way, all those photographic techniques that you will experience throughout your photographic career. From the simplest to some slightly more complicated. Breathe, I'm going to make it as easy as possible for you.
I am going to ask you, before continuing, to keep this guide on photographic techniques, since I know that it is very likely that you will want to use it another day. I want that when you think "How did you get a black background in a photograph?" or "How did you get that cool silky effect in rivers?" or any technical question that crosses your mind, you can refer to this guide again and easily find the answer you were looking for.
LIGHTING-BASED PHOTOGRAPHIC TECHNIQUES
Most of the techniques are based to a certain extent on lighting, you know that photography is writing with light, without it we would not have photography or many of the most visually interesting photographic techniques. So lighting or lack thereof is key when it comes to taking your images a step further.
HIGH KEY
In this technique priority is given to light and white backgrounds . It transmits purity, happiness or joy. You can read more about it and learn how to do it step by step in our article , find high key inspiration here , and even get spectacular high key photos on your mobile phone by following these tips.
We must not lose sight of the fact that one of the main parts of the process is developing, for this we also have an article dedicated to high key editing explained in a very simple way and with many tricks. You will love this technique, it gives a lot of play and gives you some positive images, with a lot of narrative and super pleasing to the eye.
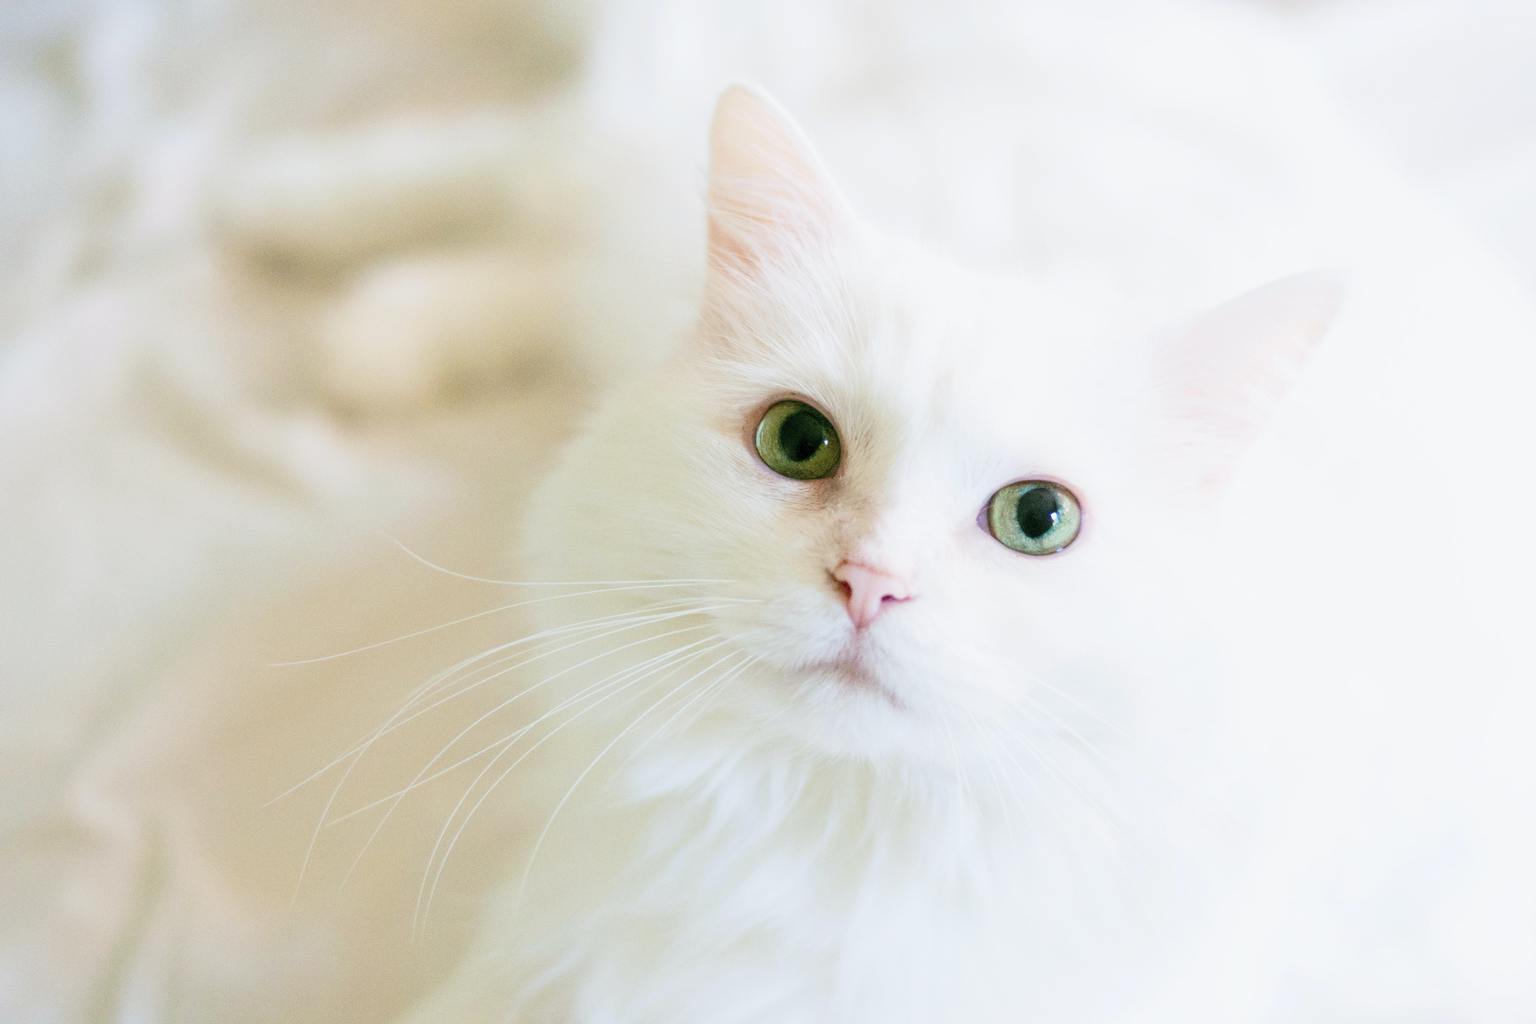
LOW KEY
The low key is a photographic technique that is based on darkness, on black backgrounds and that conveys mystery and elegance. It is widely used in portraits, nudes or product photography.
It's not difficult at all to use and yet it provides us with spectacular images, you can see for yourself in this inspirational compilation of low key photography.
Did you like it? Well , learn how to do low key photography step by step with these tips , and edit your photos in an accessible and easy way in this other one about low key editing .
RIGHT HISTOGRAM
This photographic technique is very simple and effective when it comes to getting rid of the noise in the photographs caused by the lack of light.
The technique of shifting the histogram to the right is based on taking the lights to the right of the histogram , but without leaving the graph (which would indicate that we are burning the lights and, therefore, running out of information).

Explained in a simple way, it is about slightly overexposing the image so that the shadow areas do not remain underexposed, because recovering underexposed areas is one of the reasons why noise is generated in the image.
I leave you with a complete article on righting the histogram that will surely help you.
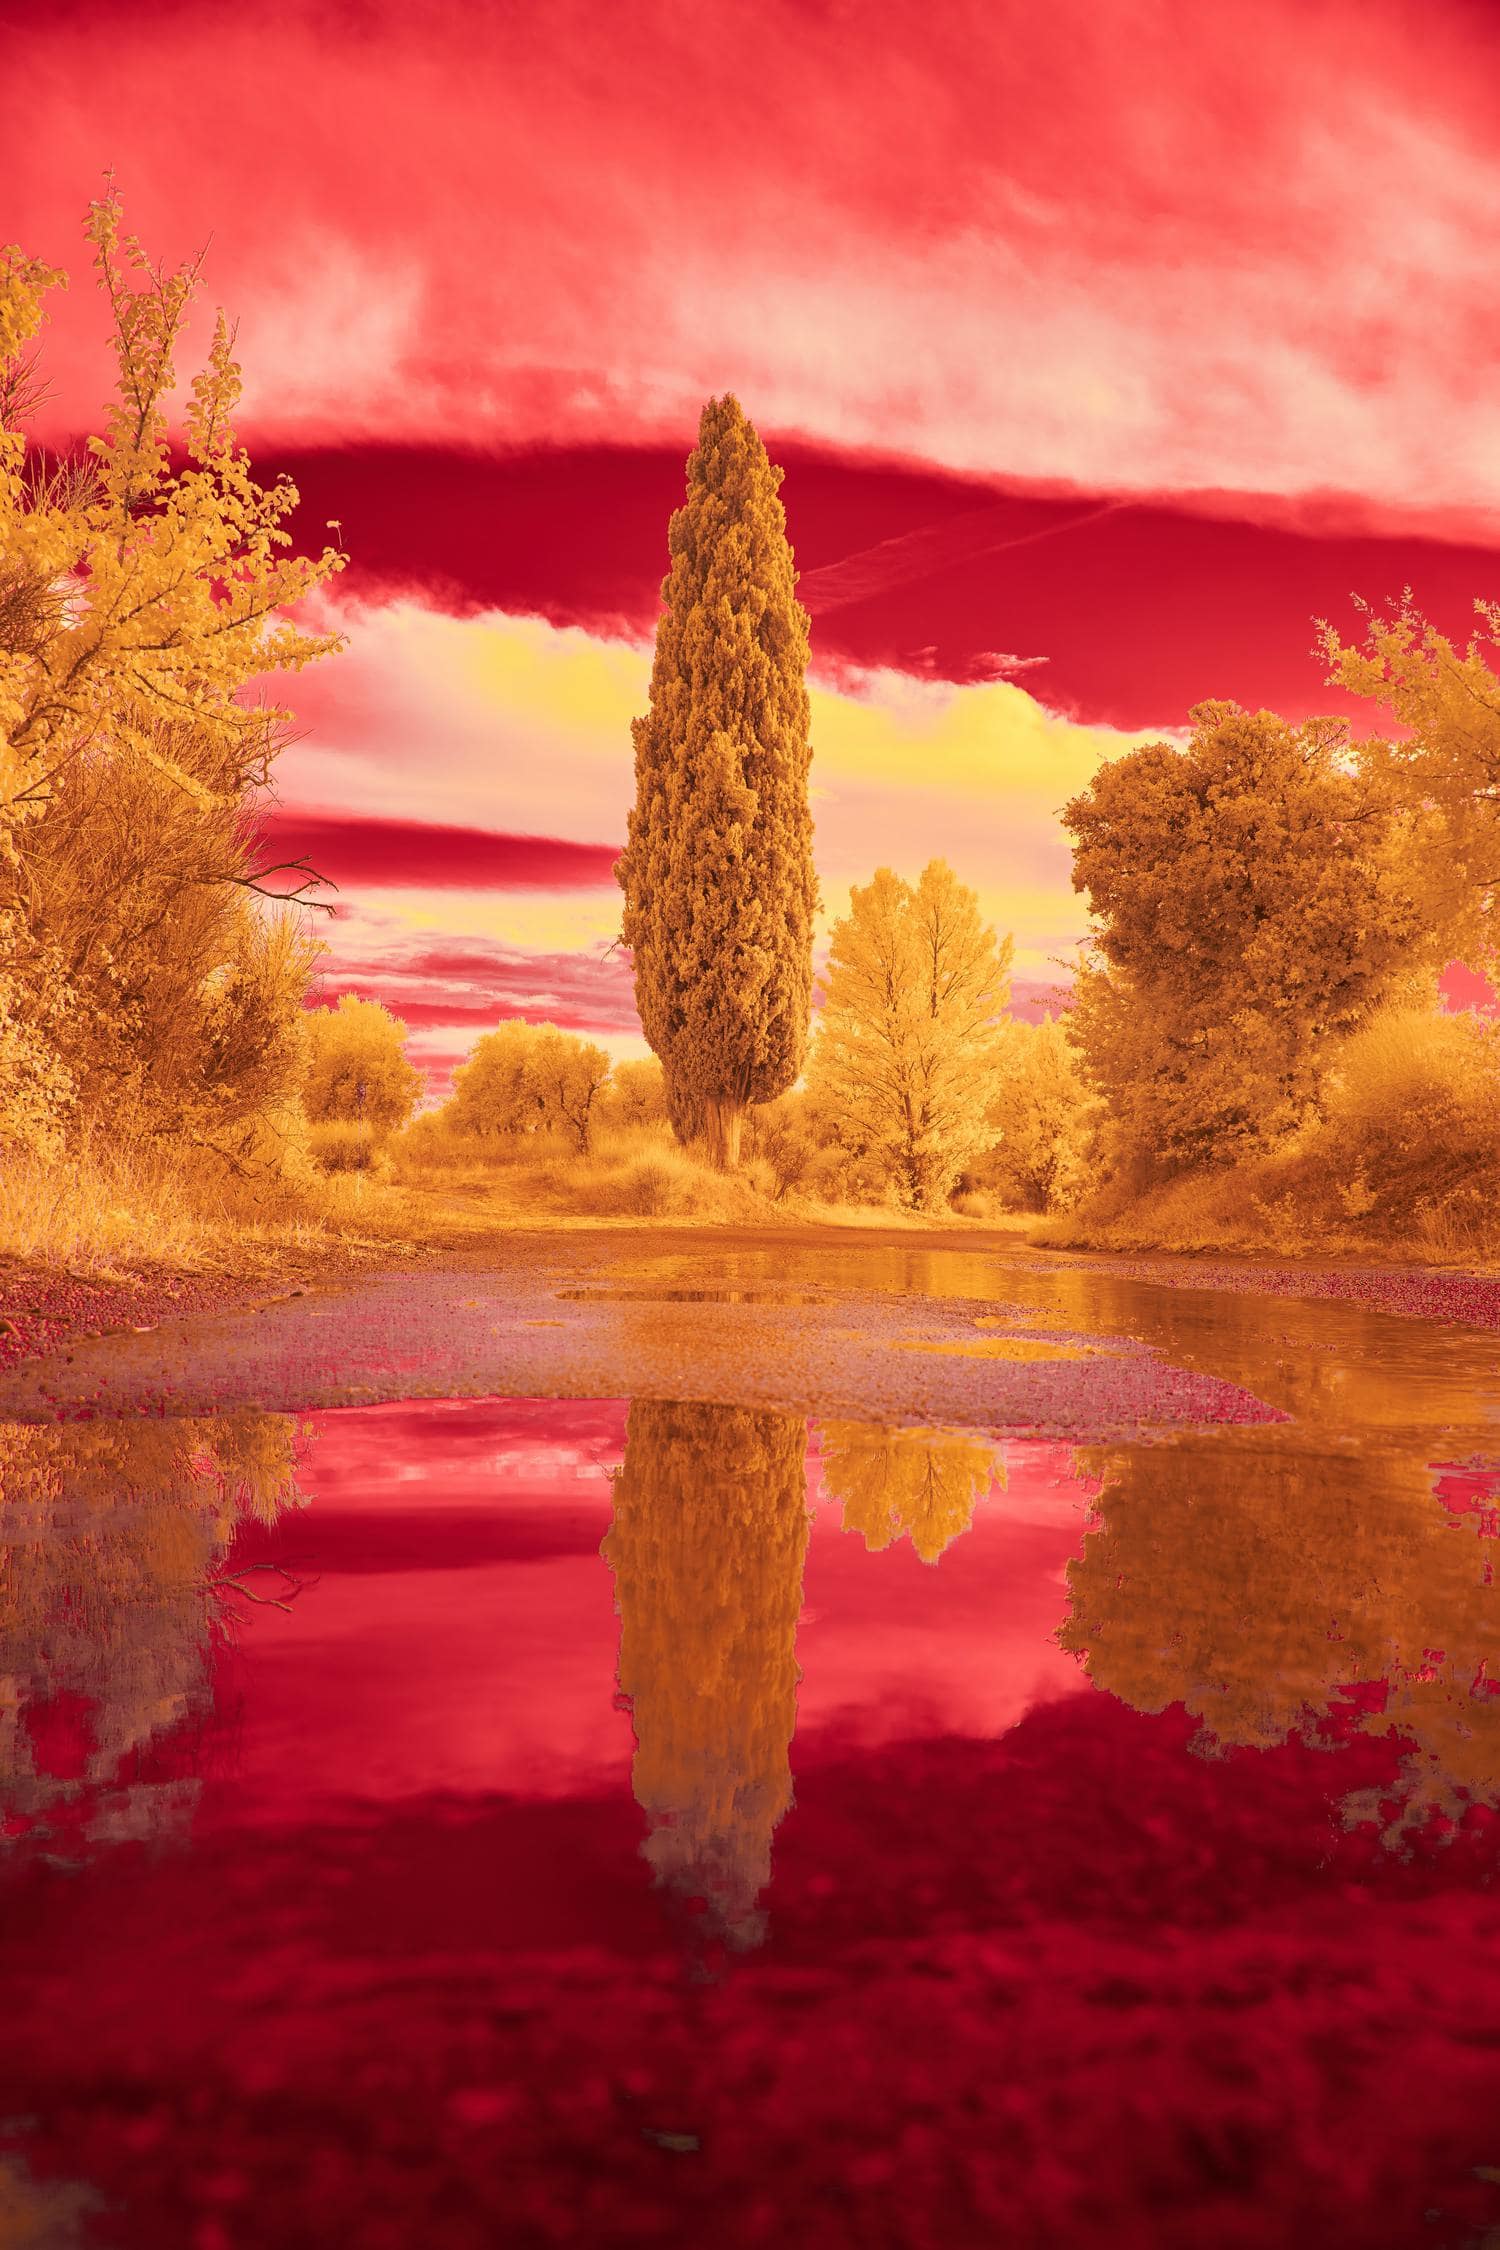
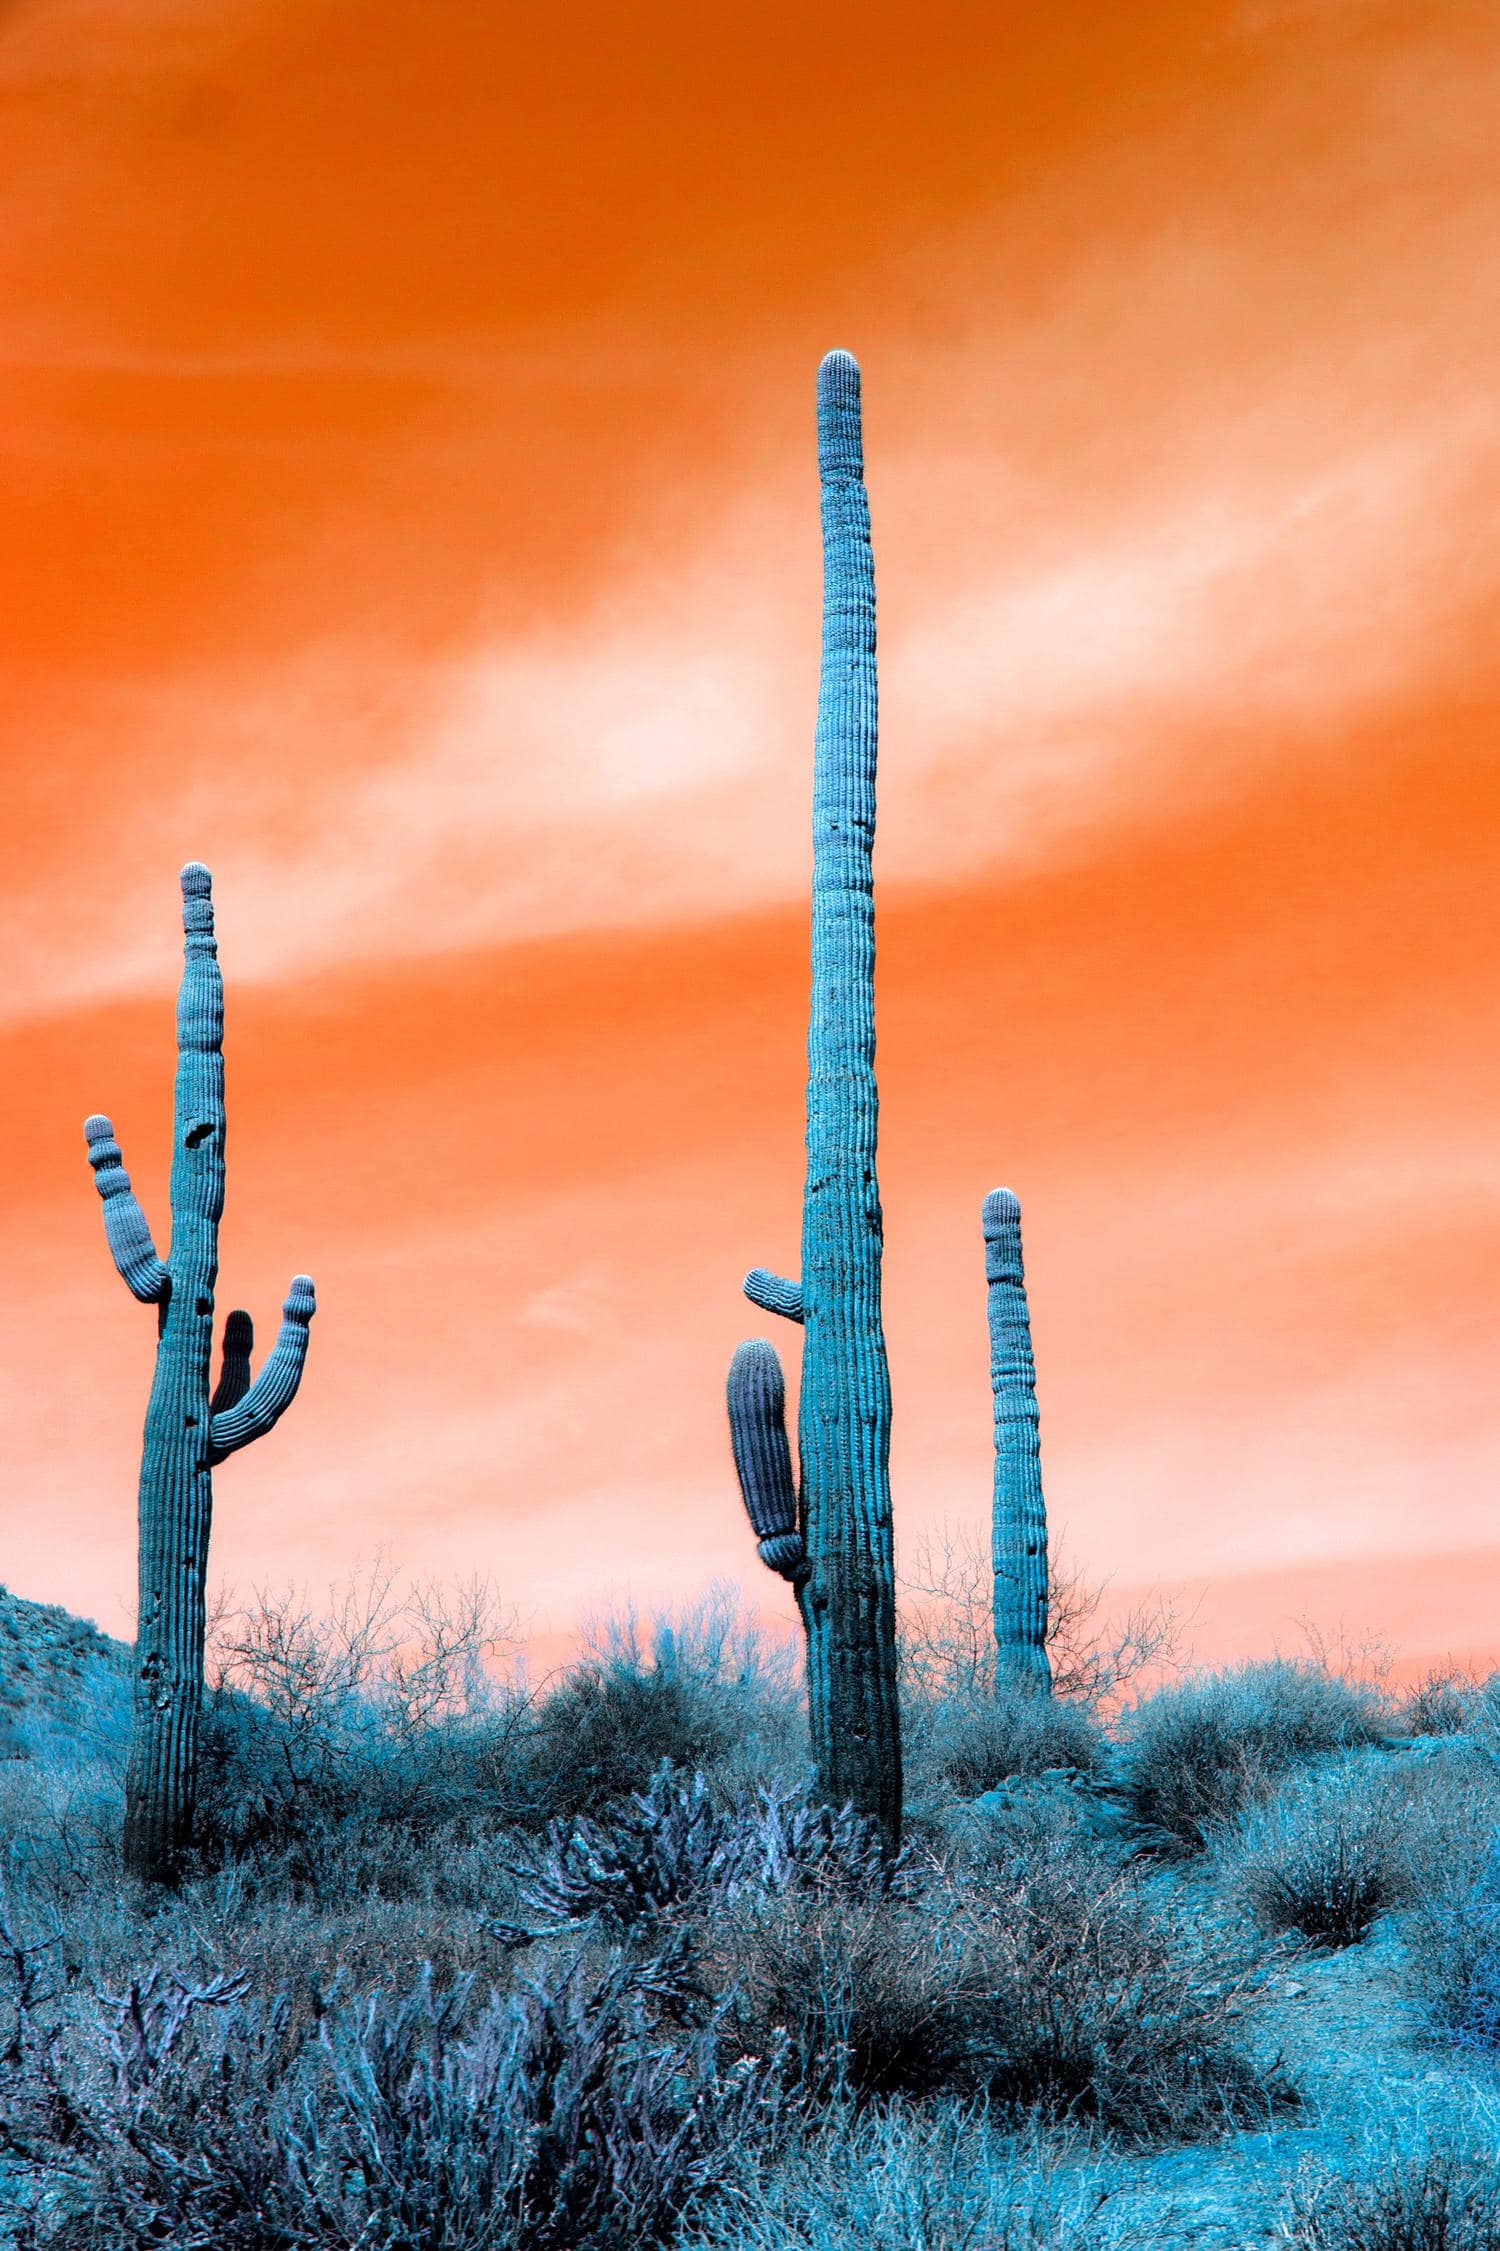
INFRARED PHOTOGRAPHY
To take your first infrared photography, all you need is an infrared filter, a tripod, and learning how to control exposure settings with the filter.
Natural landscapes with trees, cloudy skies, reflections in the water, etc., are ideal settings for practicing infrared photography.
DAYTIME LONG EXPOSURE
Many times, when we talk about long exposure, we think of night photography, but we forget that the day can also give us spectacular photographs of this style. Let's see how.
SILK EFFECT WATER
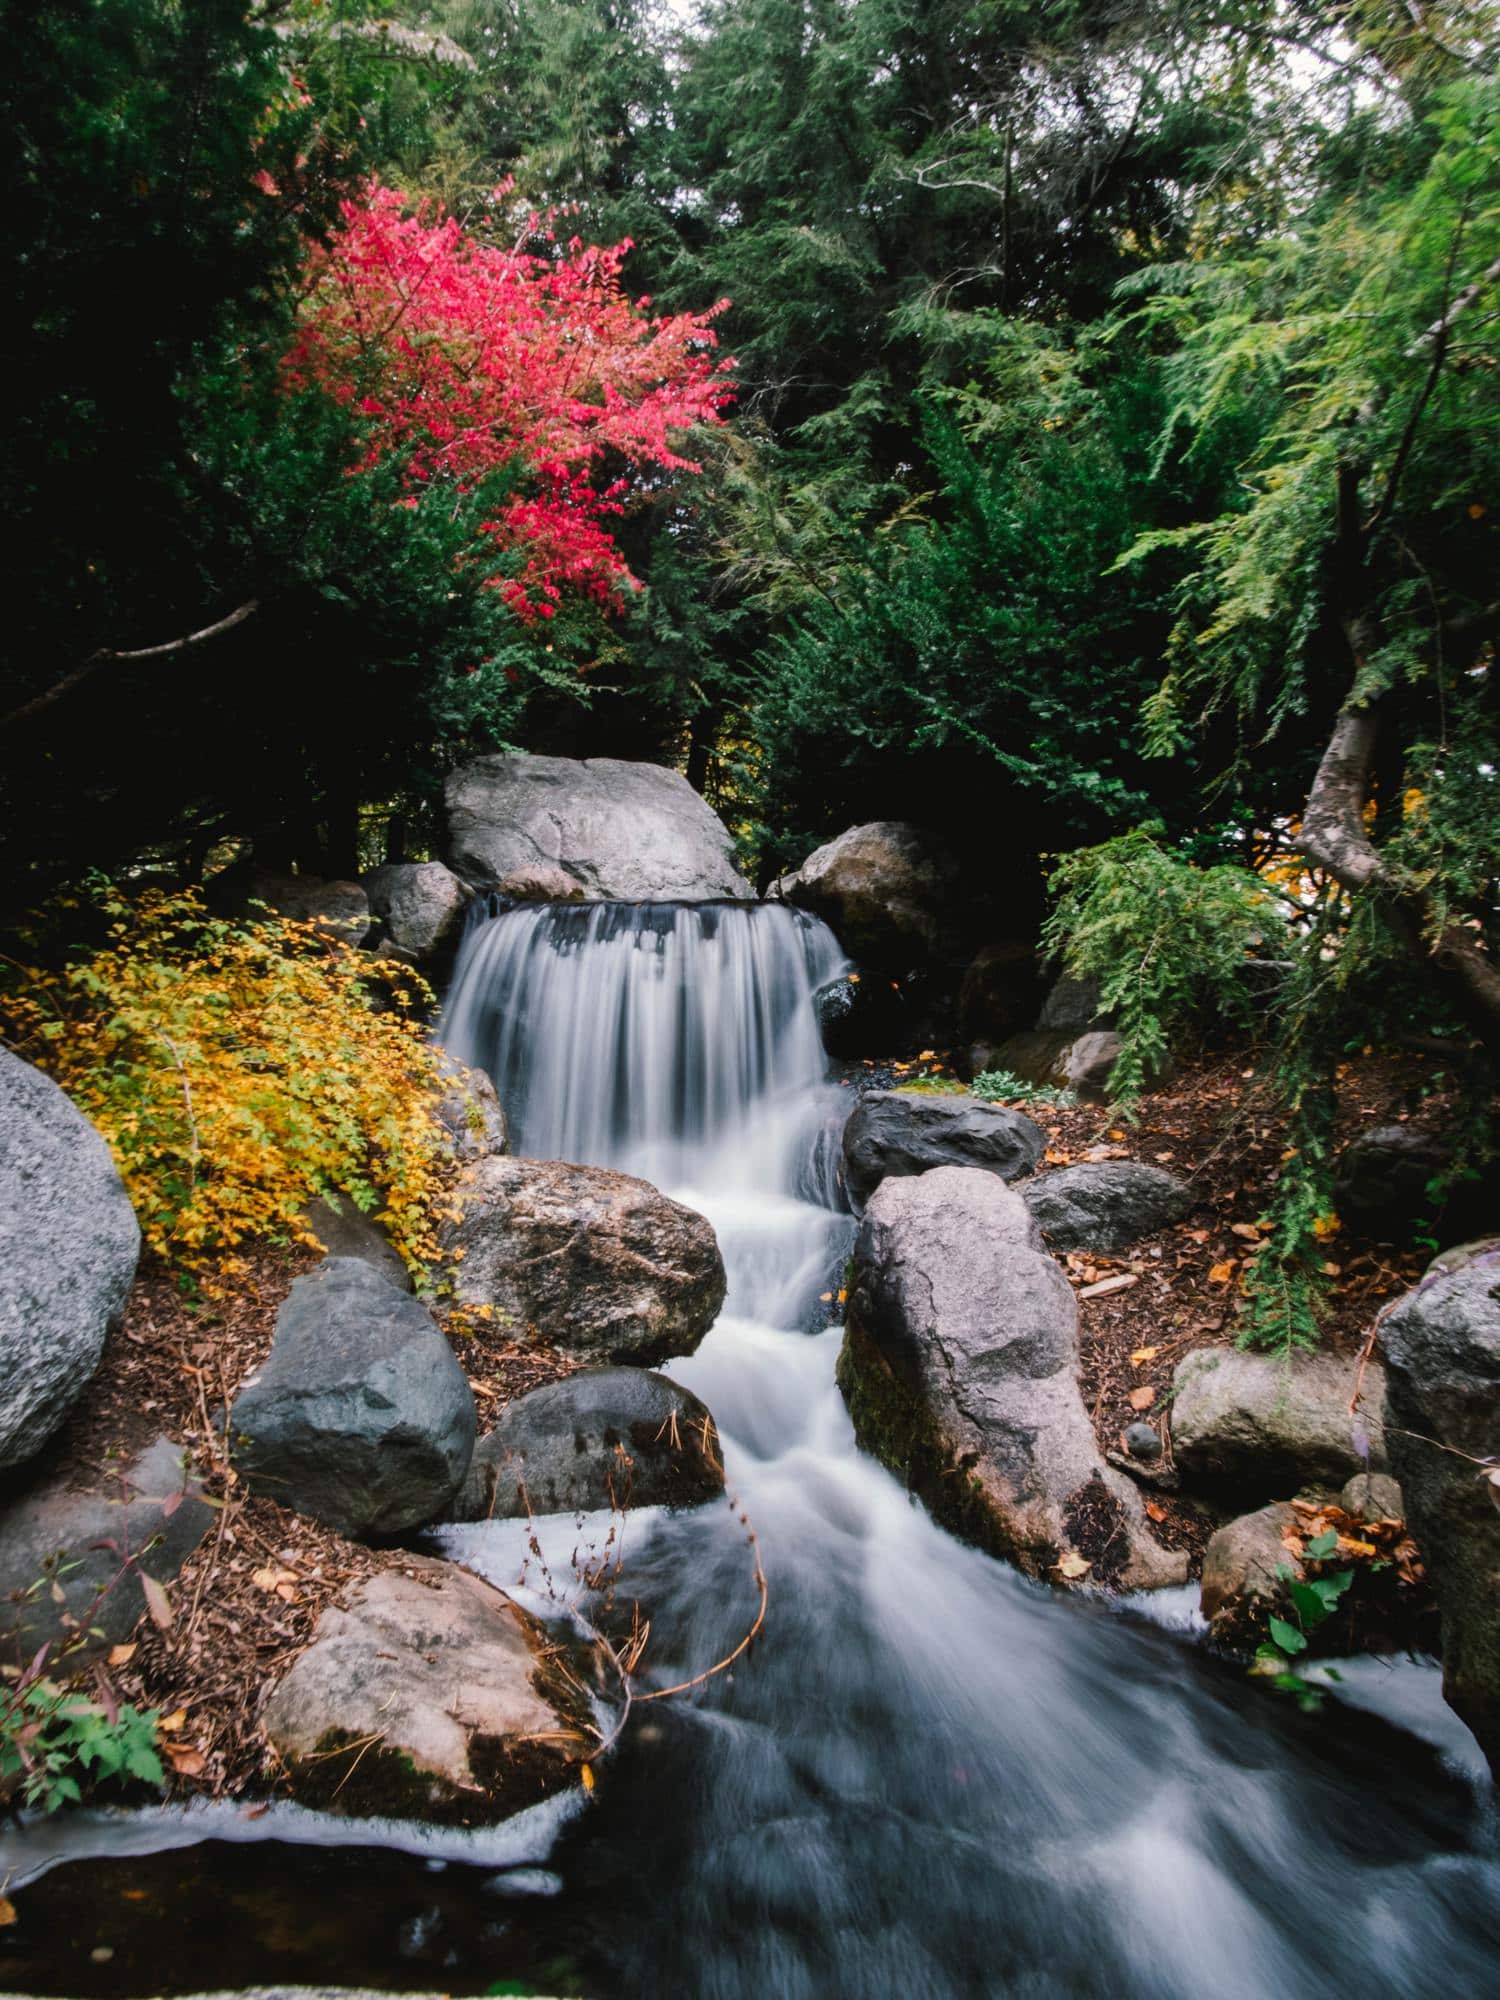
It is perhaps the most widely used daytime long-exposure photographic technique. Especially in landscapes where water is, at least in part, the protagonist of the image. Through very slow speeds, the water imprints its movement on the image, adding this silky visual effect to the photograph.
If you want to learn how to use it in your photographs of rivers, seas and even clouds, don't miss our article specially dedicated to the silky effect of water .
MOTION SWEEP
Panning is achieved by adding slow speeds, moving objects or people, and camera movement. It is not strictly a daytime long exposure photographic technique since it can also be achieved at night with excellent results.
If you want to encourage yourself to practice it, do not miss these tips to achieve spectacular sweeps of movement.
And if you want to delve into all the secrets about photographic lighting, I prepared this super complete guide on the subject, I recommend that you take a look at it.
LONG NIGHT EXPOSURE
The night already requires slow speeds from us due to the lack of light that it brings with it. That is why long exposure night photography techniques are varied, from photographing stars to painting with light, all of this has a place in night photography . Let's see the most common.
STAR PHOTOGRAPHY
When capturing the stars, the lack of light forces you to photograph at slow speeds. A clear sky, a tripod and some patience can give you images like this:
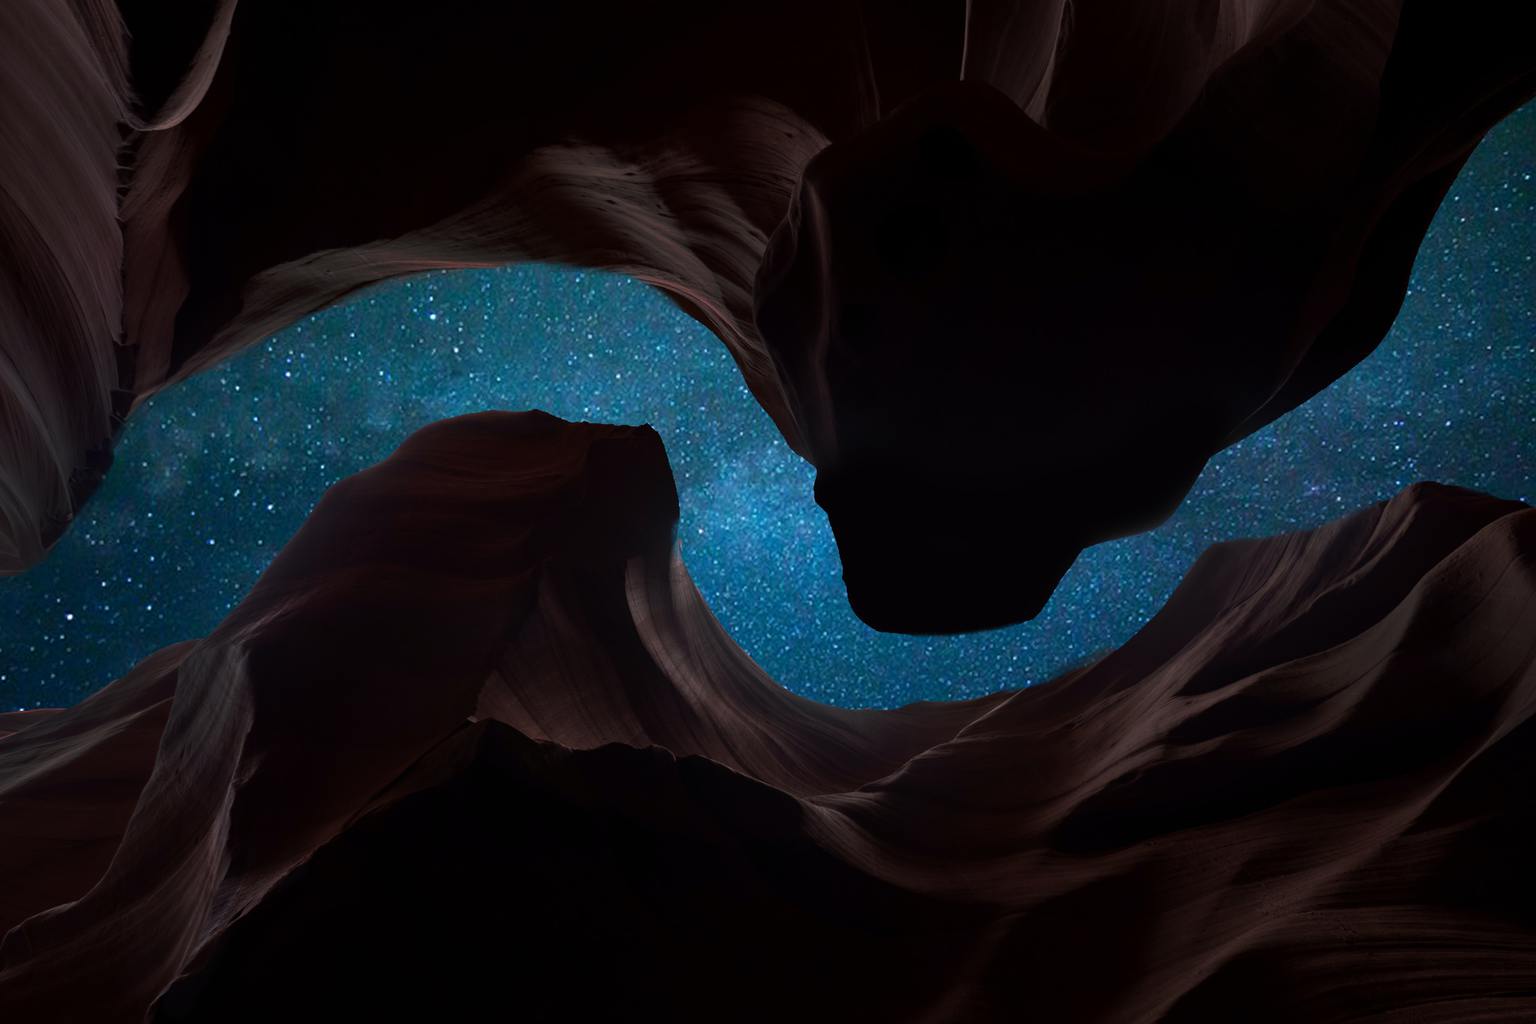
If this is the technique that interests you the most, take a pen and paper and take a look at this article that will help you photograph a sky full of stars , or perhaps you are lucky enough to immortalize a meteor shower , in the link you will discover how to achieve it.
PHOTOGRAPH THE MILKY WAY
The photography of the Milky Way is another of the night long exposure techniques that I recommend you to know.
If you are a nature lover, given to planning, have a good dose of patience and want to get spectacular images, here is an article with all the tricks for photographing the Milky Way.

LIGHT PAINTING
Another photographic technique based on long exposure is the Lightpainting technique or, what is the same, painting with light. Through slow speeds, a light source, and a high dose of creativity, you can create truly impressive photos like this one.

Learn step by step how to achieve a Lightpainting photograph with this initiation guide and find the inspiration you need to carry it out with these 11 impressive Lightpainting photographs .
PHOTOGRAPH LIGHT TRAILS
With the long exposure, you can also get striking images thanks to the lights of the cars. These create photogenic trails of light that are ideal for adding interest to your street photography images. Here you have how to capture, step by step, the trails of light to achieve a spectacular result and, if you are looking for inspiration, you will find it in this other article with some images that will take your breath away ? .
HIGH SPEED PHOTOGRAPHIC TECHNIQUES
On the opposite side of long exposure we have high speed photography, in which you will photograph, as you imagine, at high speeds. With this type of images you will be able to capture and freeze the movement of a drop of water, a balloon exploding, a strawberry falling into a glass of milk, etc. The limit is in your creativity ? .
WATER DROP
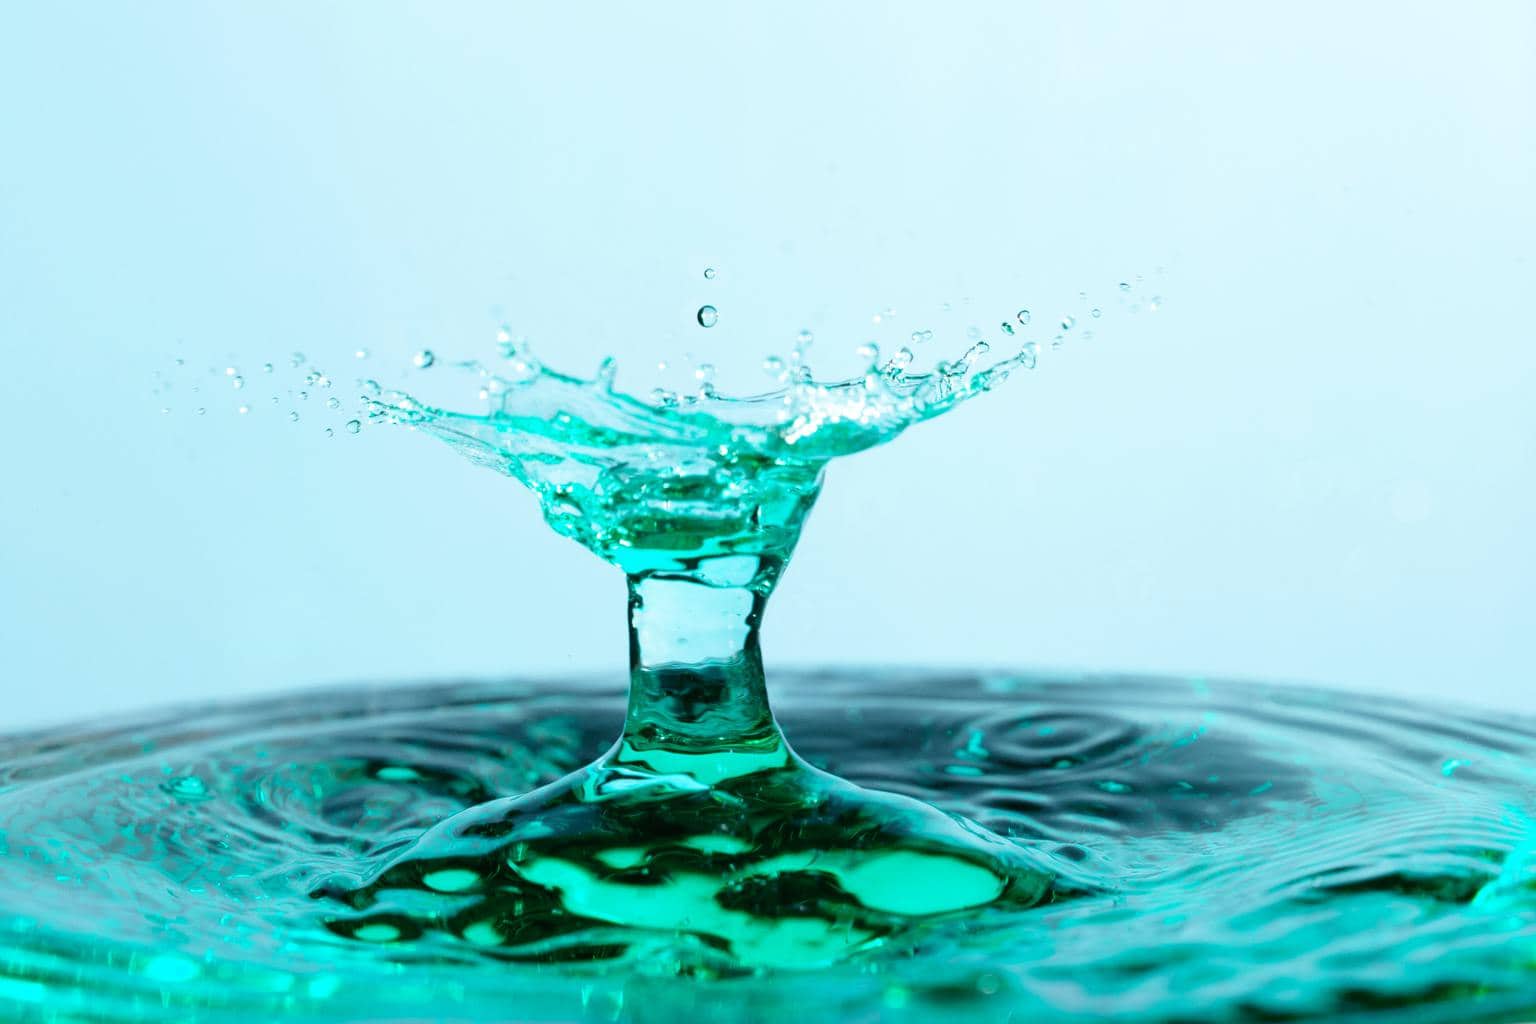
An exercise that you can do at home with some patience, very little resources, but with spectacular results is to photograph a drop of water.
One day I got down to work to document it and explain to you step by step how to photograph the falling drop and not die of despair. A tutorial that was very successful!
PHOTOGRAPHIC TECHNIQUES BASED ON THE APERTURE OF THE DIAPHRAGM
Through the diaphragm opening you control not only the entry of light but also the blur or depth of field. Playing with this setting, you will be able to delve into techniques such as bokeh or hyperfocal. We see them below.
BOKEH
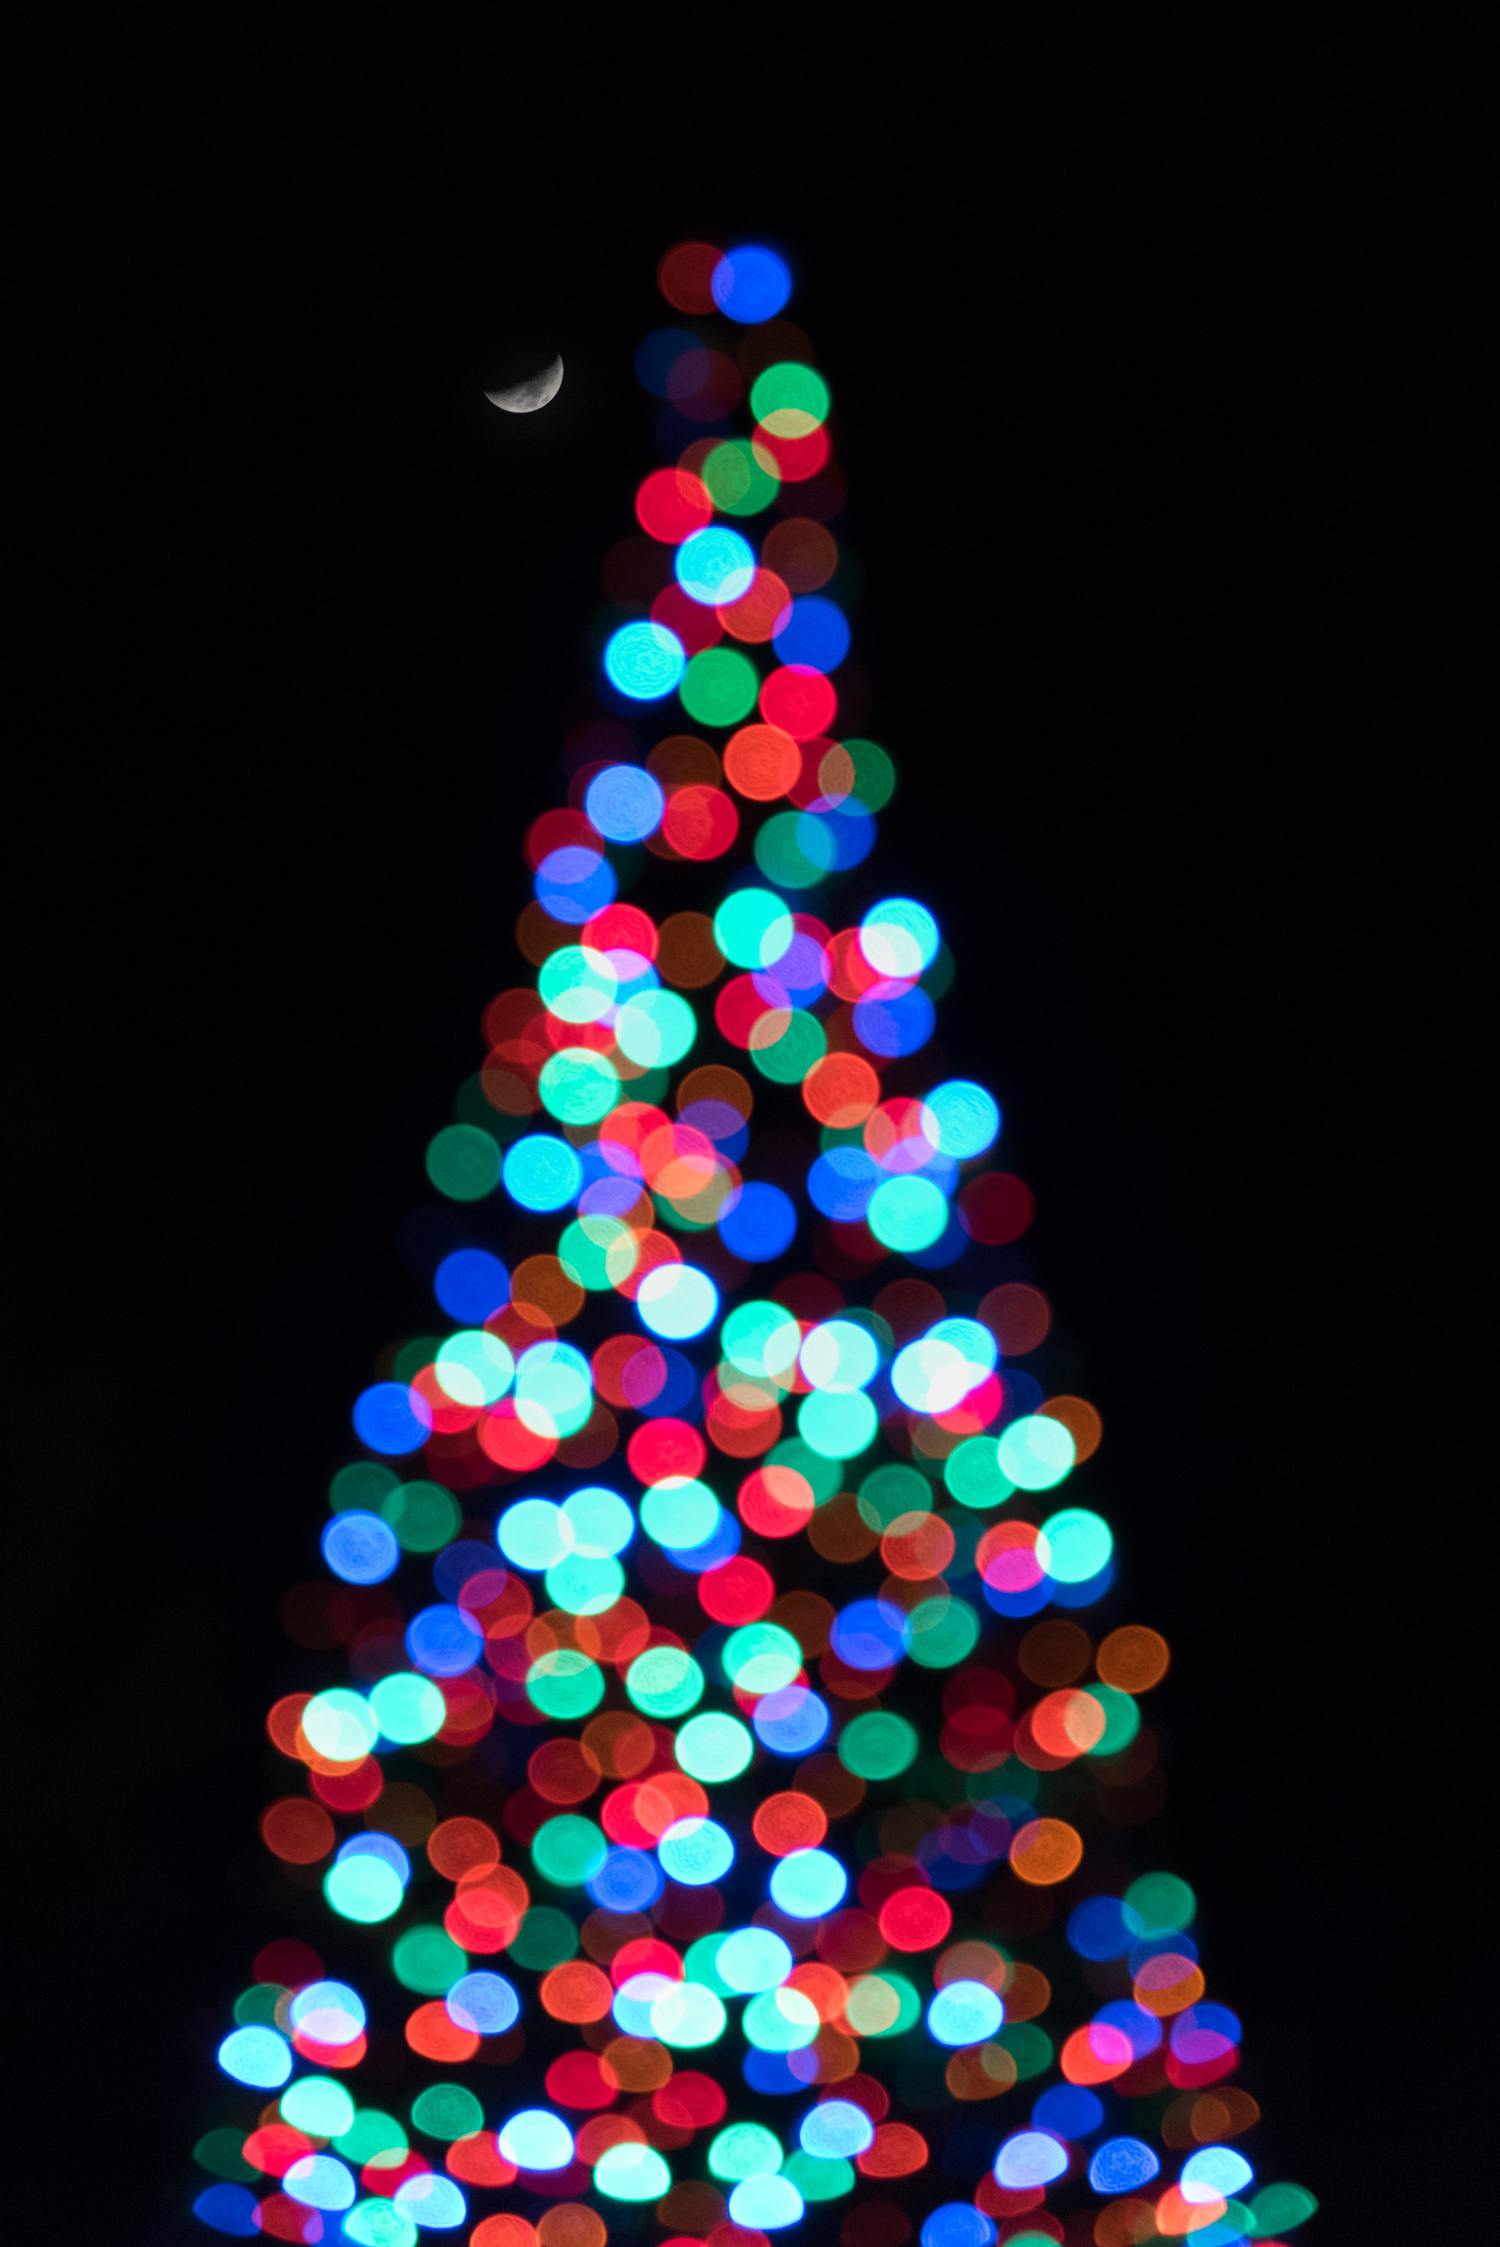
If you have ever hallucinated with the blur of the points of light in the background of a portrait, or with those Christmas photos full of colored lights..., you should know that this photographic technique is called Bokeh , a term that means blur. When working with large apertures, the blur increases and the highlights become those very photogenic soft spots.
You can wow your audience with spectacular Bokeh photography if you take a look at this article , and you can also follow this one to achieve stunning Bokeh in 7 steps.
HYPERFOCAL
At the opposite point in terms of depth of field, we find the Hyperfocal. This technique achieves the maximum possible depth of field in an image, even more than closing the aperture to the maximum and with much better results.
The Hyperfocal, with this ugly name, is a photographic technique widely used in landscape photography or street photography . I leave you our article where you will find the Hyperfocal technique explained as God commands , that is, in a simple way, to understand it easily . Once you get the hang of it, it's not complicated at all and very useful.
OTHER PHOTOGRAPHIC TECHNIQUES
Beyond the light or the aperture of the diaphragm, there is a great variety of photographic techniques with which you can give free rein to your creativity.
You will see how you can play with the zoom of your objective, with the color of the background, get a perfect focus and many other tricks. Let's see them.
ZOOMING
This movement effect that you can see in the image can be achieved in two ways, by zooming with Photoshop , or by following the steps that we explain in this article to achieve manual zooming. Straight from camera. Which prefer?

BRACKETING OR BRACKETING
This technique is ideal for increasing focus, exposure or ISO value. It is based on taking 3 or more identical images varying a single adjustment (if we want a focus bracketing , for example, we would vary the focused areas in the image) and then join them in editing and thus "add" those adjustments.
Do not panic, in this article we explain with the simplicity to which we are used to what bracketing or bracketing is and how to achieve it.
HDR
It is similar to the previous one, since it is also based on "adding" several images to obtain more detail in both light and dark areas. Through HDR you will get images where information is not lost due to the high dynamic range of the scene.
HDR is a photographic technique that should not be abused, in the following link we teach you how to make a good HDR without ruining your image.

PANORAMIC PHOTOGRAPHY
Although it is more than a photographic technique it is a format, I include it here because it has its "technique", it is not just shooting and that's it. If you want to know how to take a panoramic heart attack photograph, regardless of the type of camera you have, do not miss this article.
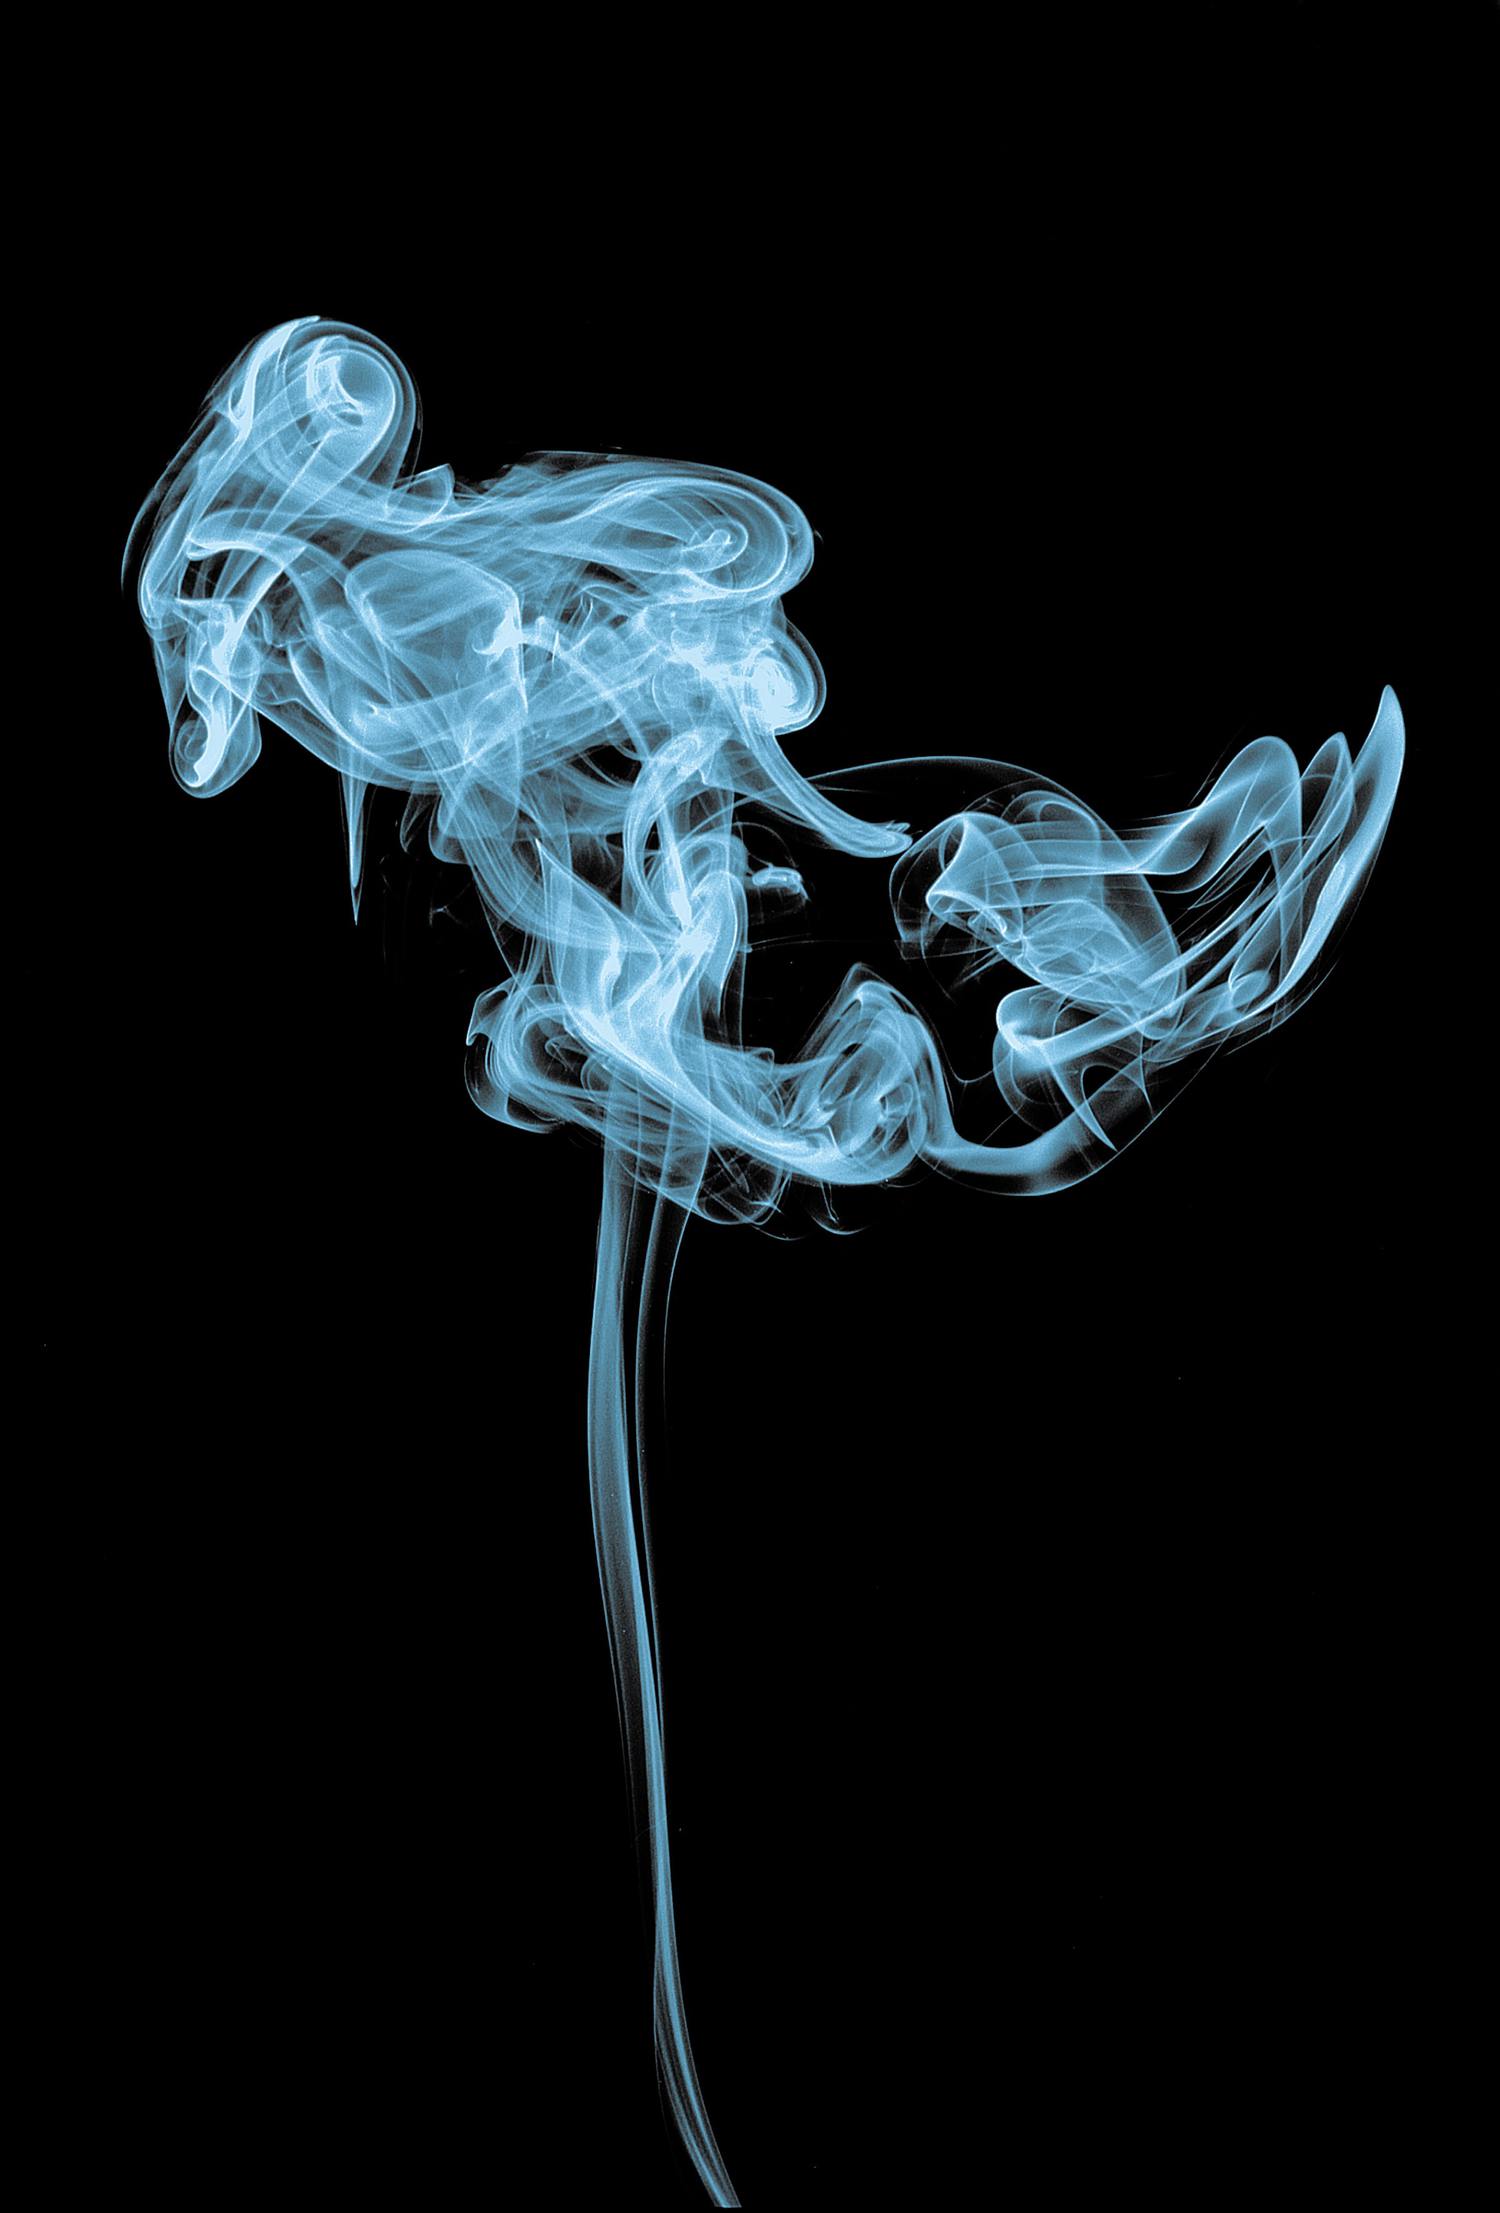
SMOKE PHOTOGRAPHY
With this detailed guide to taking smoke photography, you will learn how to portray it to create artistic photographs that you can also practice without leaving home .
WHITE BACKGROUND
How many times have you looked for a white background for your photographs but then you have realized that it is not just white? It has its trick, we reveal how to make a white background really white in this detailed article .

BLACK BACKGROUND
If in the previous point we were looking to get a white background, in this case we show you the tricks to get a black background (that is really black) .
The black background is elegant, mysterious, ideal for experimenting with smoke, as you have seen a moment ago, or with portrait or product photography , among others.
TIME LAPSE
Another photographic technique to portray the passage of time that, if you don't know it, you will love it is Time Lapse . It is about taking several photographs with the same composition and a moving element (the sun, the sea, the clouds, etc.), to later put them together in video.
Learn how to make your first Time Lapse easily with these tips and with these 5 applications . You can also do Time Lapse with your mobile !
STOP MOTION
With many points in common with Time Lapse, there is another very creative technique called Stop Motion . Or how to create an animation from a series of photographs.
It's a lot of fun and the results are very striking. You're going to love it!
PHOTOGRAPHIC EDITING TECHNIQUES
As far as photographic editing techniques are concerned, we always try to be faithful to the style of the blog, simple techniques but with spectacular results. These are the ones we have selected, which one is your favourite?:
SELECTIVE DESATURATED
Get black and white photos with a touch of color with the selective desaturated technique . It is very simple and it turns out to be successful.
BRENIZER METHOD
You already know that the more angle a lens has, the more difficult it is to get blurred backgrounds. Well, with the Brenizer method , you'll be able to maintain that wide angle while getting bokeh worthy of a Prime Lens lens .
FINE ART PHOTOGRAPHY
Fine Art photography is characterized by a high aesthetic sense in which the perfection of every aspect of the image is sought. It does not faithfully represent reality but rather prioritizes aesthetics above all else.
Surely you have seen many Fine Art images circulating on the networks, especially on Instagram. With this article with tips and tricks for Fine Art photography , you can be the one to create them and leave us all speechless with the result ? .
MULTI EXPOSURE IN PHOTOSHOP
Multi-exposure is a way similar to Time Lapse to portray the process of an event such as sunrise, the phases of the moon, an eclipse or simply multiplying a person, for example.
The main difference is that we do not seek to generate movement with the different captures through a video, but to be able to combine them in the same image. You can see how to get this type of photography here.

ORTON EFFECT
If you like landscape photography, you will love this effect. The Orton effect is a very simple development technique that allows you to play with the blur, giving the photographs a pictorial or dreamlike air that you will love.
You can see how to do the Orton effect step by step in Lightroom or Photoshop within this article.
DOUBLE EXPOSURE
Another very cool editing technique, which is also very easy to do, is double exposure. It is about adding two different images to get a single one.
You can get inspired by diving into these 14 double exposure images. After seeing them, surely you will want to do this technique, right? Well, here you have a complete guide, and step by step , how could it be otherwise ?
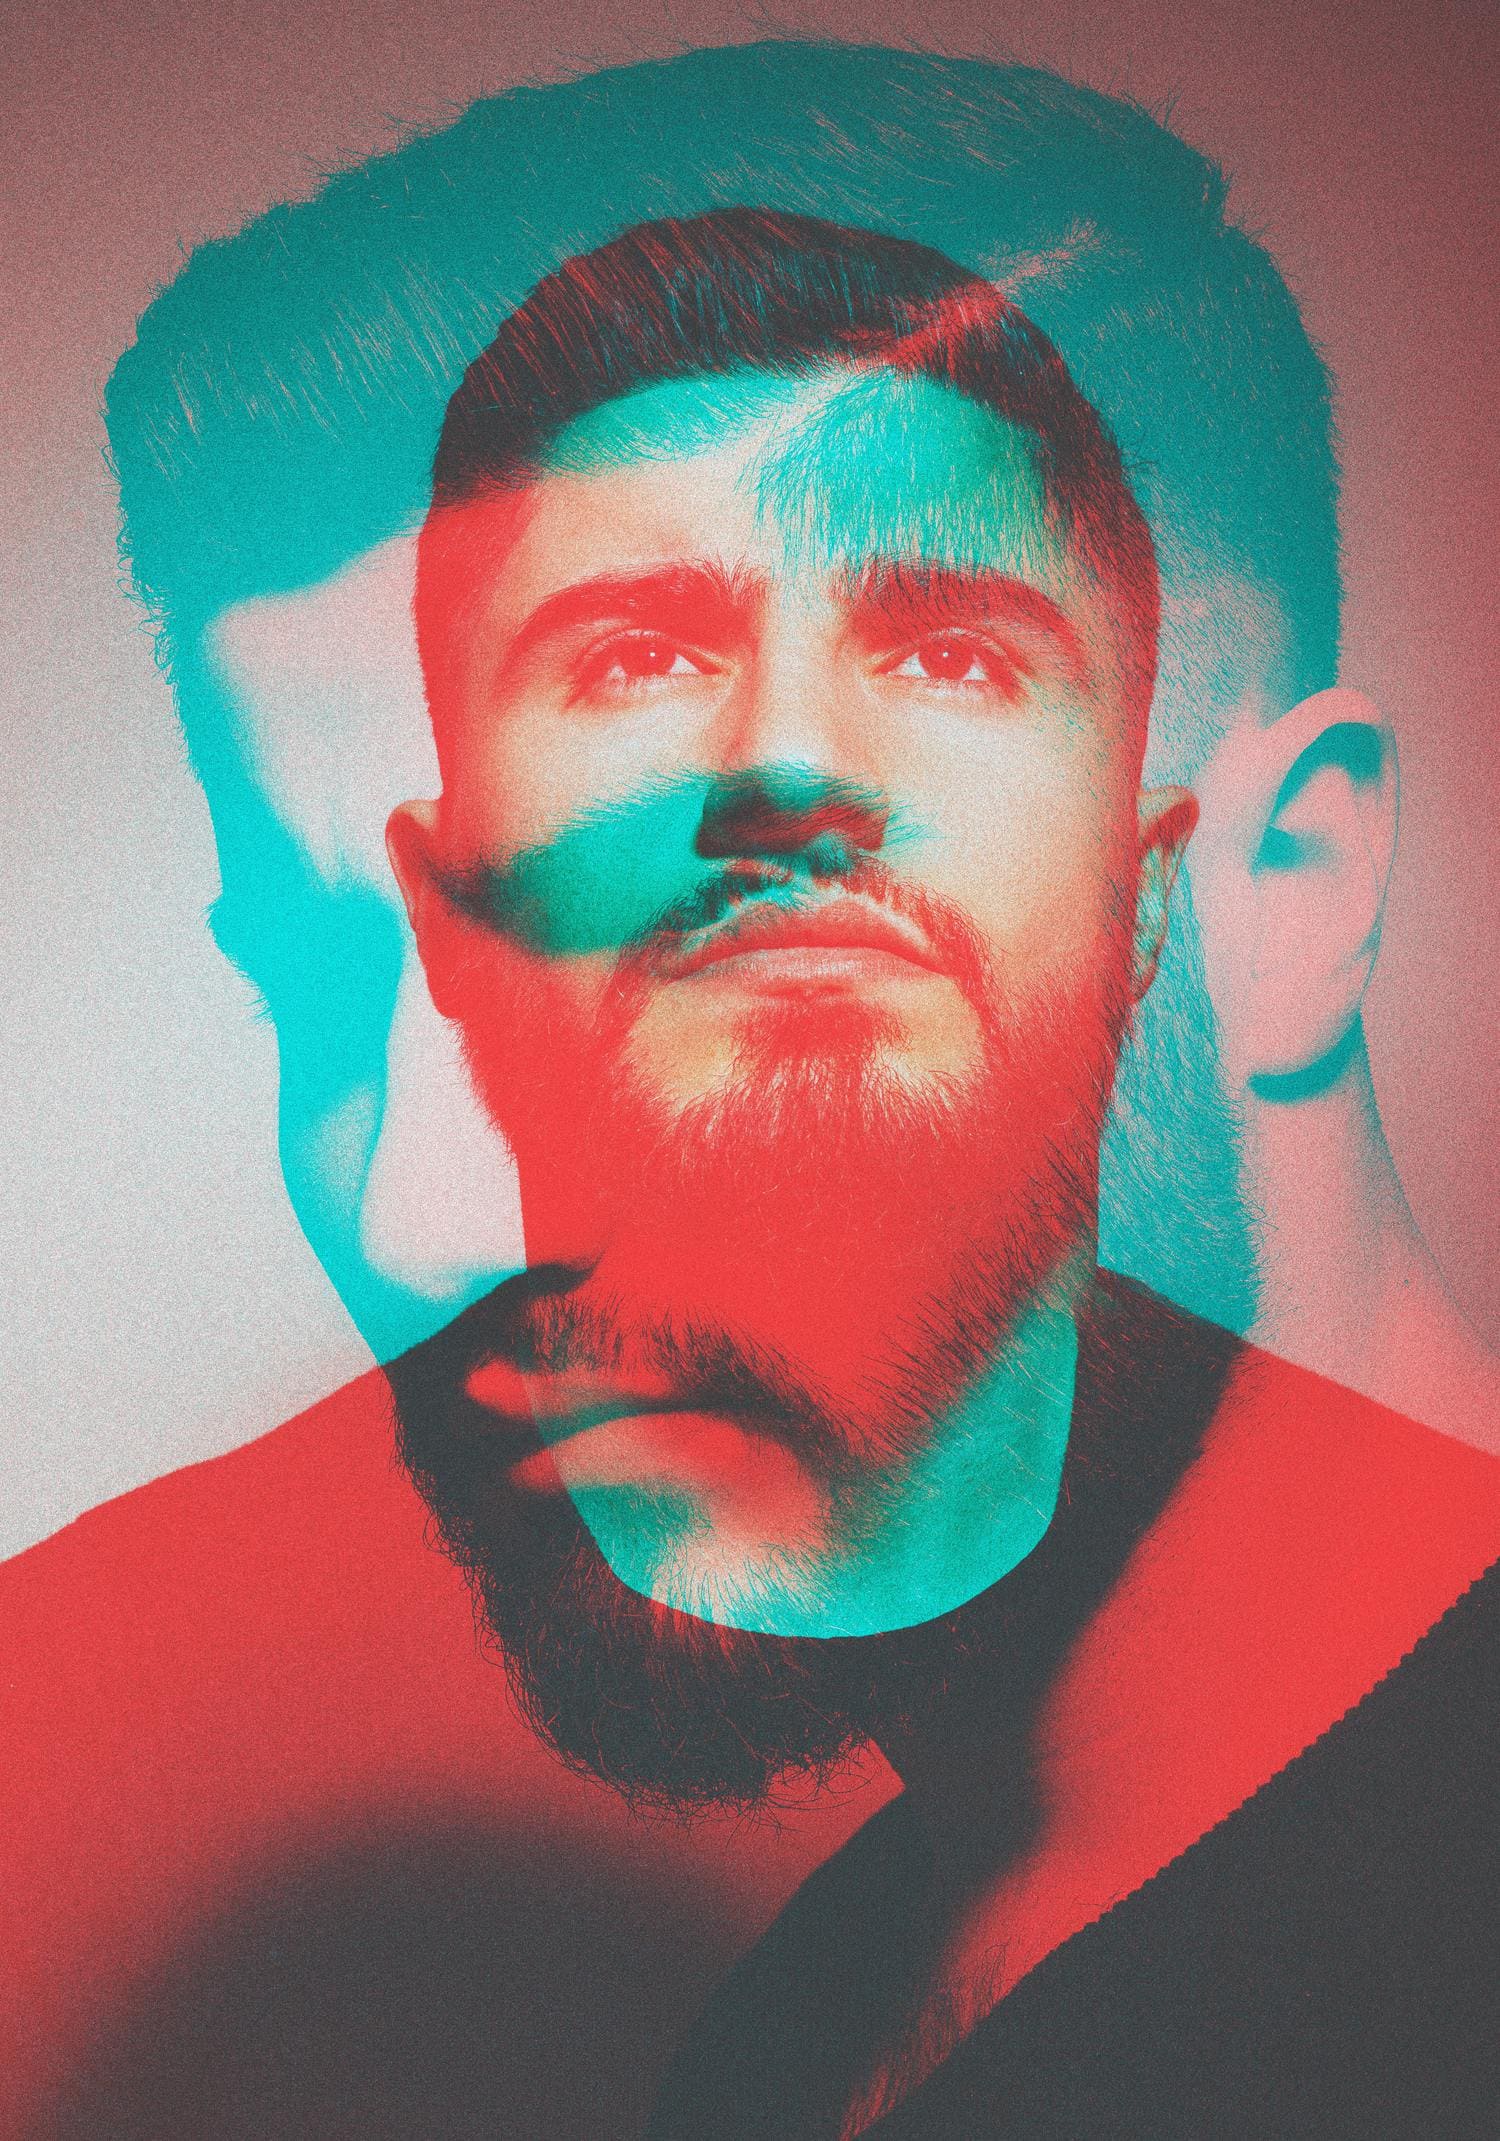
ADAMSKI EFFECT
Lastly, I want to introduce you to the Adamski Effect , named after its creator Josh Adamski. Through editing blur, you can achieve images like this one by @pepelatas, who was the winner of Fotoreto1 with the Black and White theme.
Learn how to do the Adamski effect step by step in Photoshop .

I bet you already have at least a couple of photographic techniques that have caught your eye and that you would like to put into practice. Photography goes far beyond pressing the shutter in front of a scene that inspires you, there are many ways to give shape and message to your images, from the composition of the image , the message, the lighting or its editing.
Just like to write a book, the more vocabulary you have, the more creative freedom and the better result you will have; The same thing happens with photography, the more photographic techniques you know and the more you master the settings, the more freedom you will have to capture that image you have in mind.

