I will not get tired of reiterating as many times as necessary that to learn photography you have to practice it. It is not enough just to read books, follow this blog (or any other) or memorize the instruction book of your camera if you do not practice the acquired theoretical knowledge. That's why I bring you 10 photographic exercises to practice with your camera. If you are left wanting more, do not miss this other article where we compile all the photography exercises you may need or imagine.
Today I am going to propose some exercises in which you will have to work on contrasts, light, shutter speed... These exercises will help you learn techniques that will help you improve your photographs in general. The photographer's eye and creativity are a fundamental part of this art, but the technique also helps. It is useless to capture a beautiful image with a perfect composition in which the lack of light makes the result completely deteriorate, or that is a little moved.
1. HIGH KEY AND LOW KEY
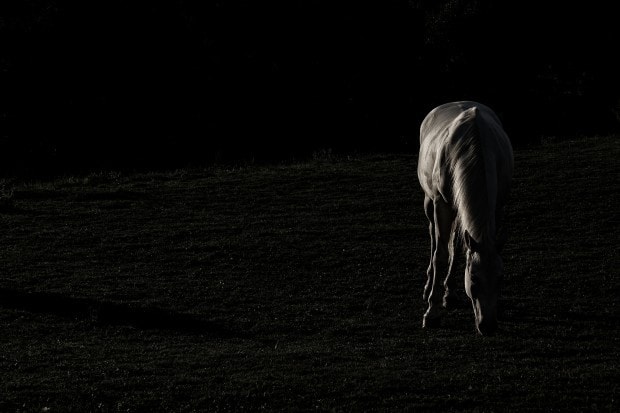
This is a really useful exercise to learn light management. It will help you work in both extremes, high light and very low light for really different results. You will learn to manage light and distribute it strategically. In addition, you will learn to achieve a type of photography that achieves a great impact on the viewer.
Here you have a step-by-step explanation of how to get these images and then two examples so you know what I'm talking about.

2. SILK EFFECT
One way to practice long exposure is to achieve the well-known silk effect of water, like the one in the following image. You may have already tried it and it may have worked for you or it may have been a catastrophe. The main problem why we fail when doing this exercise is that we usually test in broad daylight and the photos are overexposed. Practice these days if you have a river or a sea nearby, if not, a source from your city can help you learn. The important thing is to have moving water. Iaio explains here perfectly how to achieve it and in this other article you will find a good dose of photos with a silk effect to inspire you .

3. WATER DROPS
Perhaps you have already practiced this exercise, or perhaps not. If you have already done it, you can try to repeat it to add a creative touch, put your differentiating stamp on it. You will have already verified that almost all the photos of water drops look very similar. You can try to capture the drop falling on an object, a fruit, some hands... in short, let your imagination and creativity work.
If you have not practiced it yet, you should know that it is a good exercise to learn how to control shutter speed and lighting. It is not an easy exercise, it requires a lot of patience, but when you manage to get a good catch, you feel that the effort has been worth it and you end up jumping for joy.
In this article Mario explains how to photograph a drop of water without dying of despair ? or you can also capture the drops of water in another context such as rainy days , although of course, it depends on the weather... ?

4. STRONG BACKLIGHT
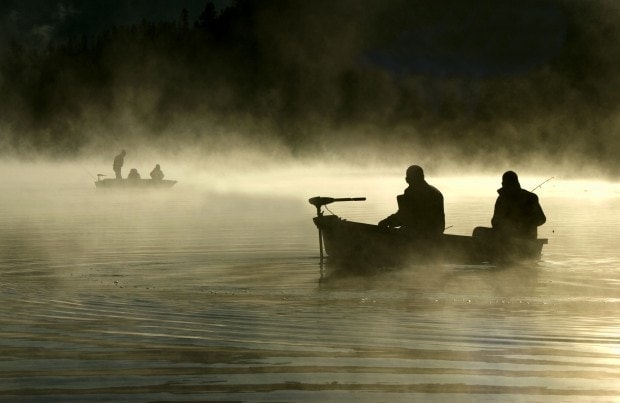
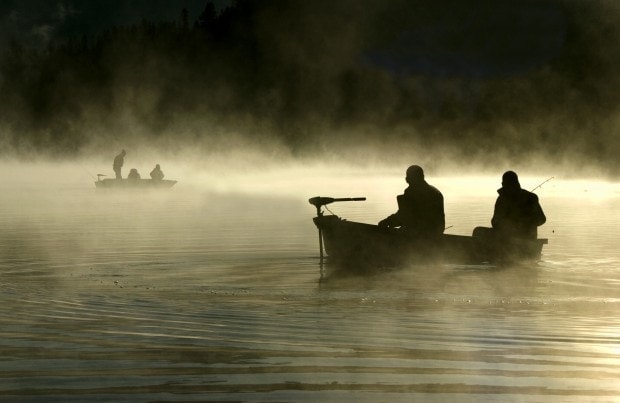
You can practice this exercise at sunset to understand the principles of exposure metering , since the background light has nothing to do with the subject's light. You will get a silhouette that will have more or less strength depending on what you manage to tell with it, if your silhouette seems to tell a story, your photography will have a greater impact and interest.
5. SMOKE
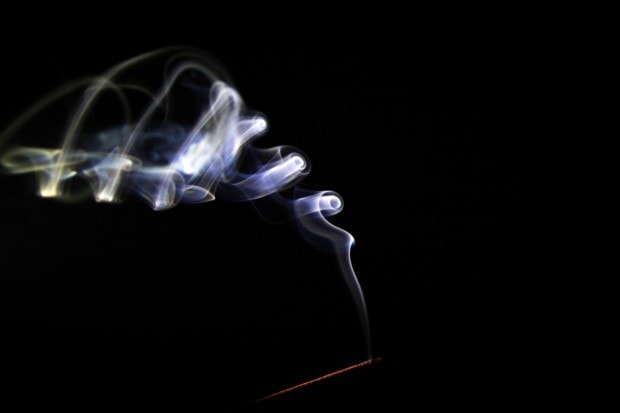
Photographing smoke will help you understand backlighting, one of the most basic lighting schemes, while also helping you practice with your external flash. In this tutorial I explain step by step how to achieve your smoke photography. If you have already done it and want to continue practicing, try introducing some creative element, such as a color filter or try to achieve the same result with another background, I leave that to your choice so that you can throw a little imagination and experiment.
6. DO A SERIES
This exercise is not to learn any technique, but to train your creativity. Choose a theme, the one you like the most, and take a series of photographs that revolve around this theme. Of course, it is not worth just shooting, put into practice what you have already learned!
7. DEPTH OF FIELD
Mastering the depth of field is very important in photography. Playing with it you can give your subjects more prominence or get more spectacular landscapes. Capture the same object or the same person playing with different “f-numbers” and switch focus between the background and the foreground. In this way you will check the different effects achieved depending on the depth of field you use or what part of the image you focus or blur. It is an exercise that will be very useful to improve your portraits.
8. PHOTOGRAPH THE SAME SCENERY AT DIFFERENT TIMES OF THE DAY
Light is not only an essential element to achieve a photograph, it can also become a creative element or the protagonist itself. One way to learn how light can "affect" your photography is to shoot in the same setting at different times of the day. The result will be very different in the golden hour (sunset or sunrise), in the blue hour (between sunrise or sunset and total darkness) or at noon. This exercise will help you make the most of the different nuances that natural light offers us depending on the time of day. It is true that it is widespread that the best time is at sunset or sunrise, but it will also depend on what you want to achieve or transmit with your images.
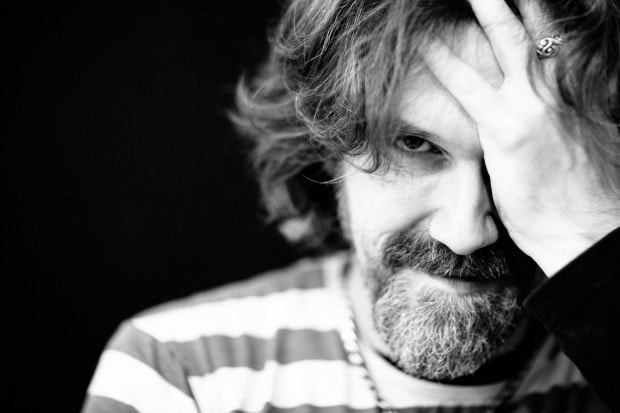
9. TAKE A PORTRAIT (OR BETTER SEVERAL)
But not just any portrait, a portrait that says much more, that tells something of the subject's personality, that his gestures and his gaze speak of him and his story. I recommend that you first take a look at this article and this one .
10. CLEAN UP YOUR HARD DRIVE
This is one of those photographic exercises that seems easy but is really difficult, throwing our work away is not easy, I know, but it is necessary. As you advance in this art and improve the quality of your photographs, you will realize that many of the images that at first seemed great (modesty aside, it has happened to all of us), now you will see that they are not so good. You have already learned to be somewhat more selective or selective and surely you are more demanding of yourself. I'm not talking about eliminating memories, we don't care if these images have more or less quality, because they have heart. But surely there are many others that are "empty" and in addition to not transmitting or remembering, they lack interest. This exercise will help you not only to make space on your disk for future shots,
You already have photographic exercises to practice even without leaving home. You can work on the high and low key, the depth of field, the smoke and the water without leaving home, and clean the disk even without leaving your chair ? . So you can practice right NOW without excuses. Theory and words are all very well, but they just fade away in our brain, while practical learning settles in so that you apply what you have learned even without realizing it.
Thank you for continuing to read and learn with us. If you liked it and find it useful, share with your friends ? . Until the next reading!

