
When you are the official family photographer or photographer you realize that you never appear in the photos. I feel much more comfortable behind the camera. Forever. And in most cases I usually avoid putting myself ahead. However, there is something that saddens me and that is to realize the few photos I have with my daughter. Removing the "selfies" I can count on the fingers of my hand the photos that I have with her in which we are both focused. And it is that his father has many virtues but that of photography is not one of them (he is as good at picking up a tennis racket as he is). If the same thing happens to me, you have no choice but to take action on the matter and solve it now. Me, this year I have proposed to do at least one selfie a week (or at most every fortnight). And who talks about selfies in a photography blog, does not talk about those that one does by stretching his arm with the mobile phone, no, we are talking about a decent self-portrait, with your real camera. With the one you love so much. Today I will give you a few tips to achieve the best selfies with your children beyond a mobile shot. You stay, right?
- Planning
- Location
- Adjustments
- Focus
- Close the diaphragm!
- Tripod
- Remote trigger (or timer)
- Interval timer
- Ready, Set, Go!
- Spontaneity
- Naturalness
- Let your child press the button
- Change perspective
- Be careful with the equipment
- Ideas
- Have fun
- problems
1. PLANNING
This is not something really important, a spontaneous photograph can be just as wonderful. What happens is that if you take care of some details you have the possibility of achieving better results. Obviously you are not going to lose a photo full of emotion because you have not planned the background or the wardrobe, but if you are thinking of a session for a few days, try to choose the right place in terms of light (if you can photograph in natural light better what better), decorated or even a significant place depending on what you want to tell. Prepare the clothes, try to make them colors that do not clash with the background or between them. Soft colors are more accurate for babies, as they convey more tenderness . Which doesn't mean you can't wear happy colors, but be careful not to kill each other! And even less that they steal your leading role.2. LOCATION
Choose the place where you want to take the photo. Good for the decoration, for the light, because it means something special or because it is the background that best suits the image. Remove any object that bothers the eye. Concentrate well, because what at first glance may go unnoticed, in the image it will not, that cable sticking out, the broomstick, the shoe box or the coat that appears behind the door will ruin your photography. If it is indoors, try to place yourself near a good source of natural light.3. SETTINGS
Once you have chosen the stage, make the appropriate adjustments depending on the conditions: aperture , speed, ISO , white balance , etc. As babies and children are somewhat moved, try to use fast speeds, better if it is above 100, so that this photo does not happen to you and your hand moves, hiding the control and some extremities of your little one too.4. FOCUS
This is the key. At the moment you can put the focus in automatic mode. If your little one is able to hold without moving, you can focus it, if it is too small (or active) for it, better place a doll, a stuffed toy or similar in the place where you are going to place yourself and focus on manual or automatic pressing the fire button halfway. Now that you have the point exactly in focus, change the focus to manual and there will be no unwanted refocusing.5. CLOSE THE DIAPHRAGM!
As loving as it is of wide openings and their corresponding bokeh and blurs, this time I must recommend that you use somewhat smaller openings if you do not want to find a sad blur in your faces. Use openings ("f" number) of 5.6 or more. You can bridge the blur loss by using smoother backgrounds or by leaving a greater distance between it and you. In this way you make sure that, although it is not very out of focus, at least it does not subtract too much prominence.6. TRIPOD
Place the camera on the tripod. It is not that a tripod is essential but it is of great help. You can also use another family member to hold the camera at the height and distance you want but I know few people with as much patience and a good pulse as a tripod7. REMOTE TRIGGER (OR TIMER)
I recommend the timer thing exclusively if you don't have any option to get a remote trigger. It is not for nothing, but if it is already a hassle to make a self-portrait with the timer where you have to be running from one place to another and many times you go "on the move", if you add to that having to watch for a baby or a child, the task is really complicated. Surely you end up giving up. The best thing is a remote trigger and use the delay option, because that couple of seconds that you have margin are used to release or hide the command even if you are closing your fist. The first time it may come out regu, but then you take it easy.8. INTERVAL TIMER
Some cameras have the option to shoot at time intervals, this is widely used for Time-Lapse photography . You can program it to fire for example every ten seconds. There are also remote triggers with intervalometers. If you have any of these options, use it, this way you can relax, play with your little one and achieve much more spontaneous images.9. READY, SET, GO!
Once you have all the adjustments made, the camera well placed on the tripod, the focus, and more or less thought about what type of photo you want, it is time to involve your child. Never before!10. SPONTANEITY
Although I have told you about planning the photo and preparing some details, that is something that should not be noticed in the photo. Try to make the situation seem spontaneous, that there is another person shooting and that you don't even know it. Your photo is sure to be much more interesting than if you appeared looking at the camera.11. NATURALNESS
When you grow up, your baby will not expect to find you in a make-up photo, elegantly dressed or with just out or leaving the salon. What your child will want is to have a photo (or many) with you, of the moments you spent together, of the shared laughter, the stories read or the jumps in the garden. It does not matter if you are wearing a haute couture suit or a cowboy, if your hair is tousled or you are freshly shaved, the most important thing is the smile, the gestures of affection, the closeness. That is what it will be worth in 3o years (or more), that is what it will want to remember about you.12. LET YOUR CHILD PUSH THE BUTTON
If your little one is over three years old, or old enough to push the button (and you're confident of leaving the trigger on him), let him "play" a little. In this case, it may be convenient for you to deactivate the burst shooting because, as long as you keep your finger stuck, you will load the memory of the card in a blink. It will be fun for him, you can relax, and he will also feel that he is helping you, participating and who you know… maybe in the future you end up sharing a hobby13. CHANGE PERSPECTIVE
Let creativity take over and your photo will appreciate it. With children there are no rules, so with the photos in which they appear, there should be none. Lower the tripod to its height even if you cut your body in everyday situations. Drop to the ground and shoot flush with it. Shoot from behind. Up close and far. Capture your day to day from all angles, without a script, only with the heart.14. BE CAREFUL WITH THE EQUIPMENT
Unless we are talking about a baby who does not move, be careful with the equipment. The fall of your camera from the height of the tripod can be a good task (I still suffer the consequences of one of these falls with the focus. And if that were not enough, when trying to create some photos for this entry he has suffered another fall again ...). I repeat, be careful!15. IDEAS
You can propose a family documentation exercise. Spend a day thinking about being home to immortalize your routines. Take the tripod wherever you go (from the kitchen to the bathroom, to the living room or to the bedroom) and shoot, capture each of the activities of your daily life. It will be a report that your older children will love. It will also help you to discover the most photogenic places in your home Another idea is to leave everything ready at night to capture the moment of waking up. You may not have the best face, but those moments are so special and wonderful that in a few years you will appreciate having done so. You can make a self-portrait in places that are special to you: your little one's favorite park, where he took his first steps, the first excursion, his favorite corner of the house ... Buy yourself an identical suit, identical pajamas or the same shirt. It is also a fun photo. You have a few other ideas on this Pinterest board .16. HAVE FUN
This session is not to win a Pullitzer, it is to have a nice memory and spend a pleasant time with your child. If you do not get what you expected, do not worry, another day will come out. Do not obsess over technical details, enjoy the moment and feel it, it will be what is most reflected in your image.17. PROBLEMS
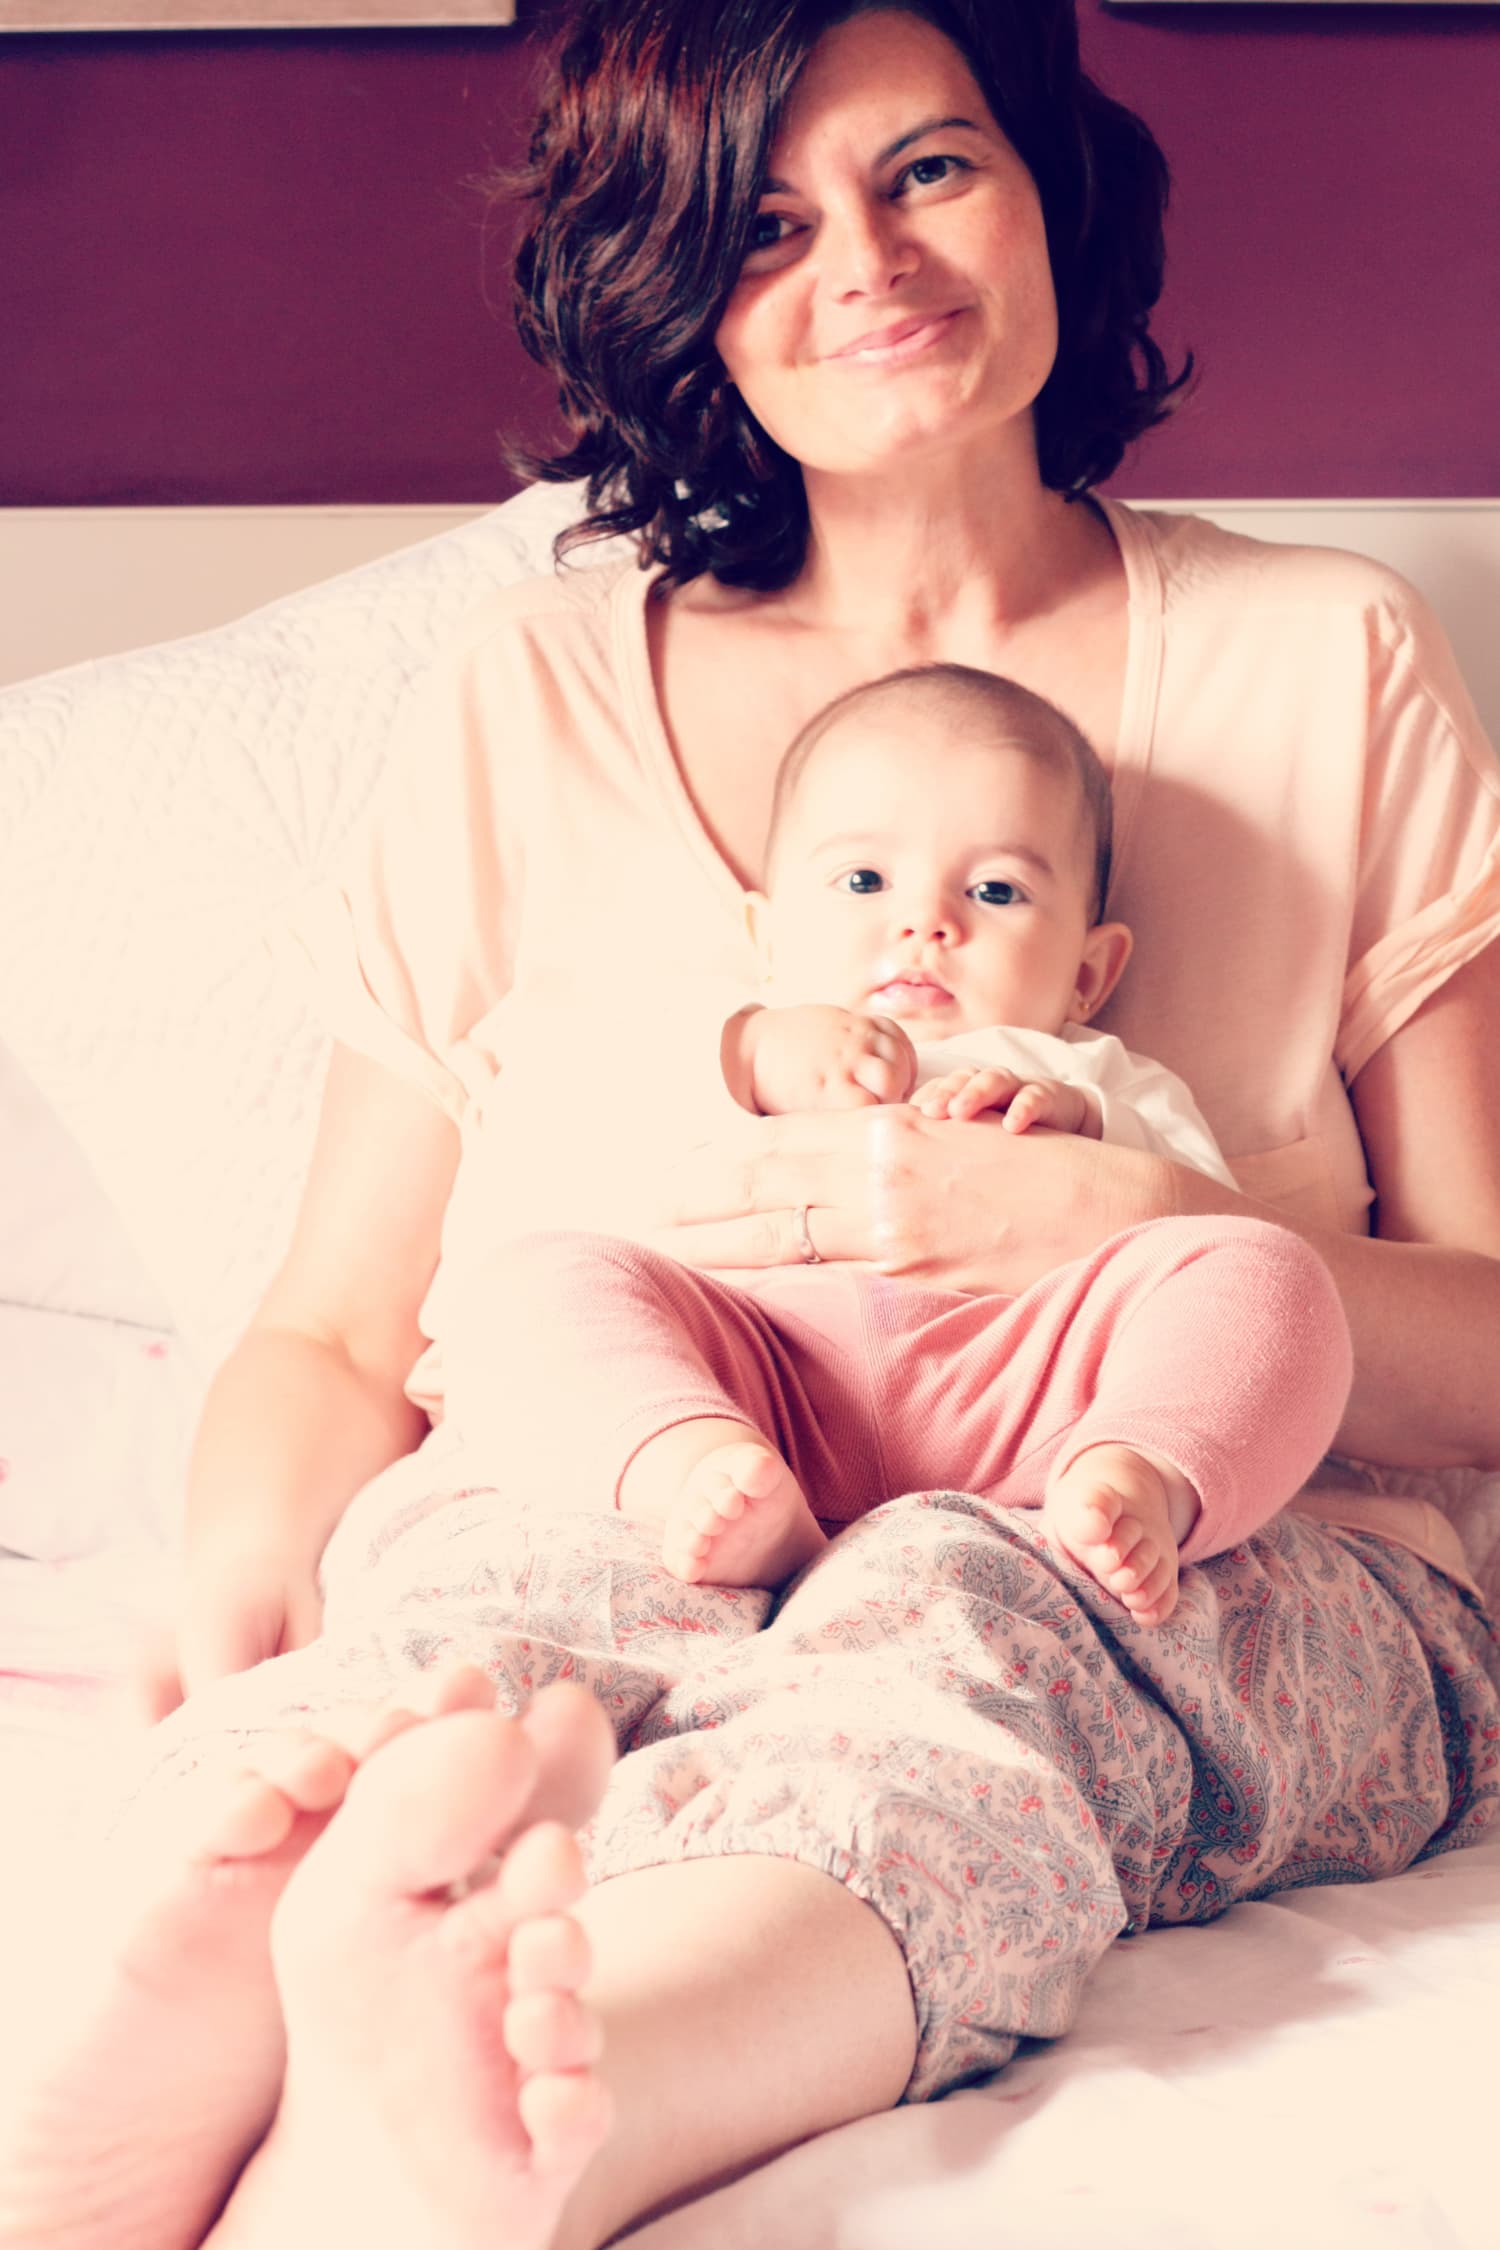
What problems can arise? Well look I will tell you everything that happened to me today in the attempt to capture something nice for this post. The day has dawned sooo cloudy that it seemed like it was getting dark and it stayed that way until night fell. It has not led to giving the timer to my little one because he caught me the first time and there was no way to release it. As much care as I have been, between being a little clumsy and having an earthquake at home, the entire team has fallen to the ground (camera, tripod and flash). As you can see it was not the day. Solutions? If you don't have enough natural light you can try to do your session another day or use a handheld flash (please, avoid the built-in camera at all costs). If your little one moves as much as mine, you have no choice but to use wide frames (long live wide angles), small apertures (high "f" number) and fast speeds, of course you will have to raise the ISO or shoot outdoors. That he wants to take over the command, let him shoot until he gets tired, do not fight, when you get tired of shooting your turn has come. If someone can take care of your little one to prepare everything quietly better than better (it may be the only way to achieve a correct pre-focus). What if you want to eat? Well, you take a break (but halfway), do not release the trigger, you can achieve the best image of the day. In fact, it is the most decent that has come out today, I have already told you that it was not the day… AND SMILE
It is the best solution for everything And practice, each time they will come out better (and more beautiful). If you liked this article, share it, the children of today will thank you tomorrow, and the fall of my camera will not have been in vain Thank you and until next time!