
![SILHOUETTE PHOTOGRAPHY: STEP BY STEP [UPDATED]](https://photographychef.com/wp-content/uploads/2023/01/SILHOUETTE-PHOTOGRAPHY.jpg)
We all like silhouette photography . The silhouettes give photography a dramatic, mysterious and very beautiful touch. We love silhouettes because they are simple yet captivating. A silhouette can convey ideas and messages that a well-lit portrait with a thousand colors could not.
If you like this type of photography, today I am going to give you the basic rules so that you can take your first steps on the subject. Please don't be intimidated by the technical terms. I will try to make this article as flat, simple and easy to understand as possible. I just want you to pay a little attention to me, you'll see how easy it is.
HOW DO SILHOUETTE PHOTOS WORK?
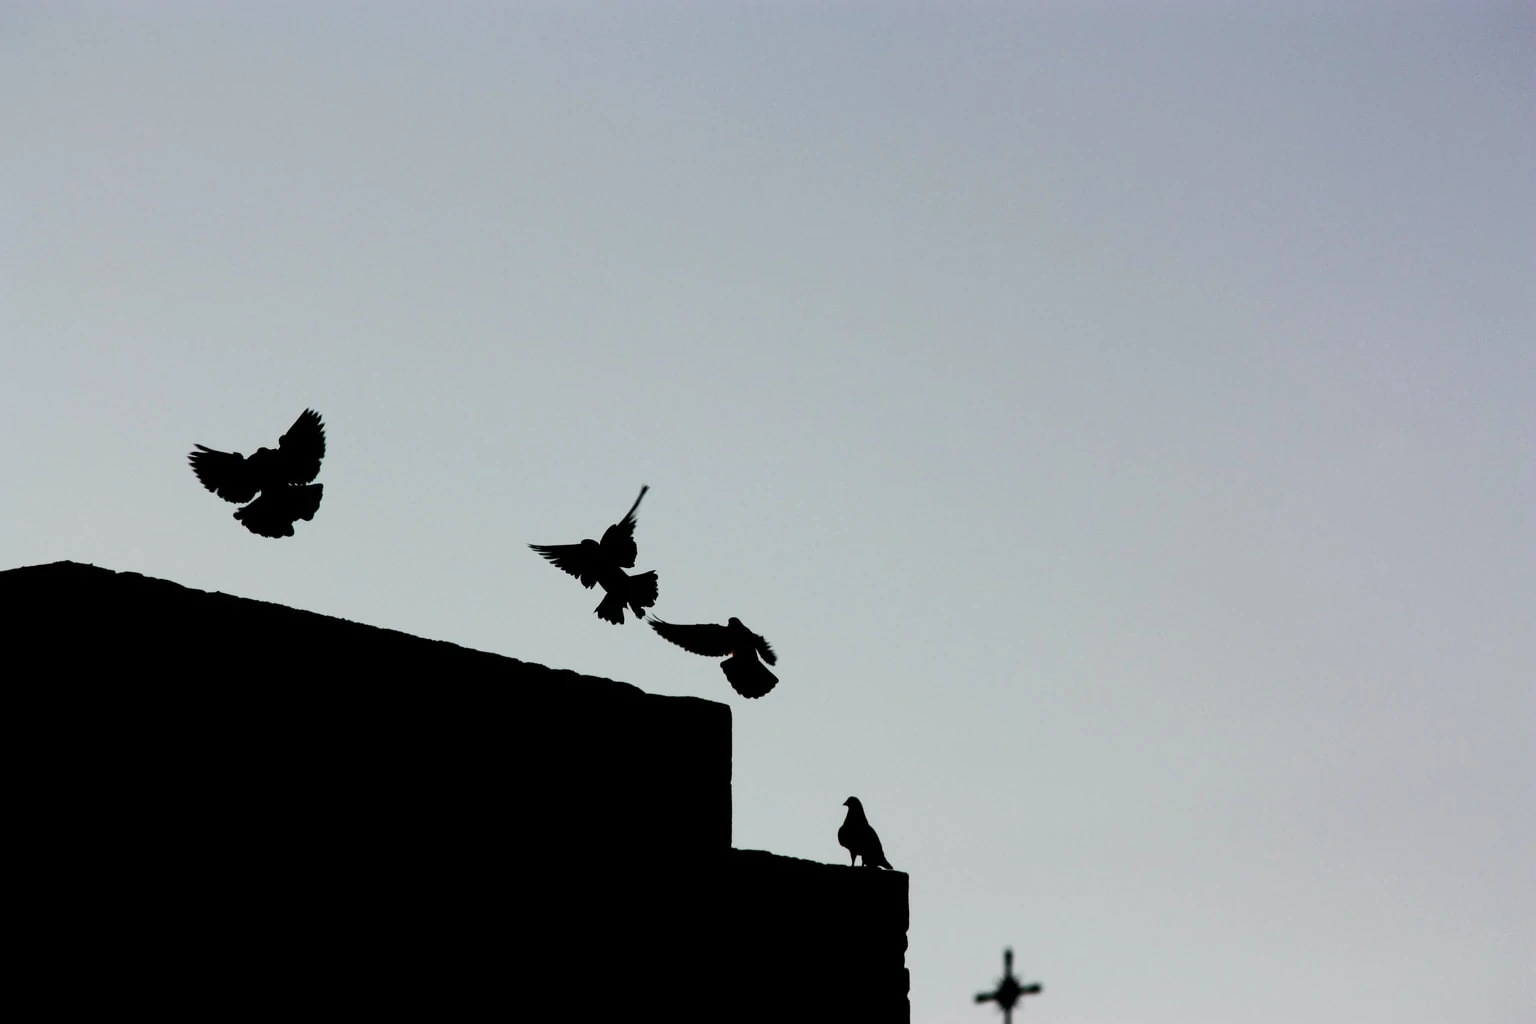
Before going into details, let's see how this effect is achieved in a general way, like this above. The camera normally works in such a way that:
- If there is a lot of light , the camera itself tries to "darken" the photo a bit to compensate for so much light and that in the end a balanced light is achieved. The technical term here would be underexposure , for those who want to know.
- If the light is low the camera will normally try to "brighten" the final photo. It's overexposure .
So, to shoot a silhouette, we should simply shoot the person but get them underexposed or "blacked out" . How can we darken a person (in a portrait for example)? Easy… putting light, lots and lots of light behind her. Why? Well, because that way the camera will see that there is a lot of light and therefore it will try to “darken” the photo to reduce that light. When the camera does it, incidentally it will also darken our subject, which is great because it is what we were looking for, to obtain that silhouette as a result.
Roughly that is the idea. Everything else is technical maneuvers to improve this idea and refine it, but the base is that: place the subject in front of a light source . Graphic illustration below to make the concept clear of what a rear light would look like:

Once this idea has been clarified, let's move on to the details that will help us improve the result.
A RECOGNIZABLE SUBJECT OR OBJECT
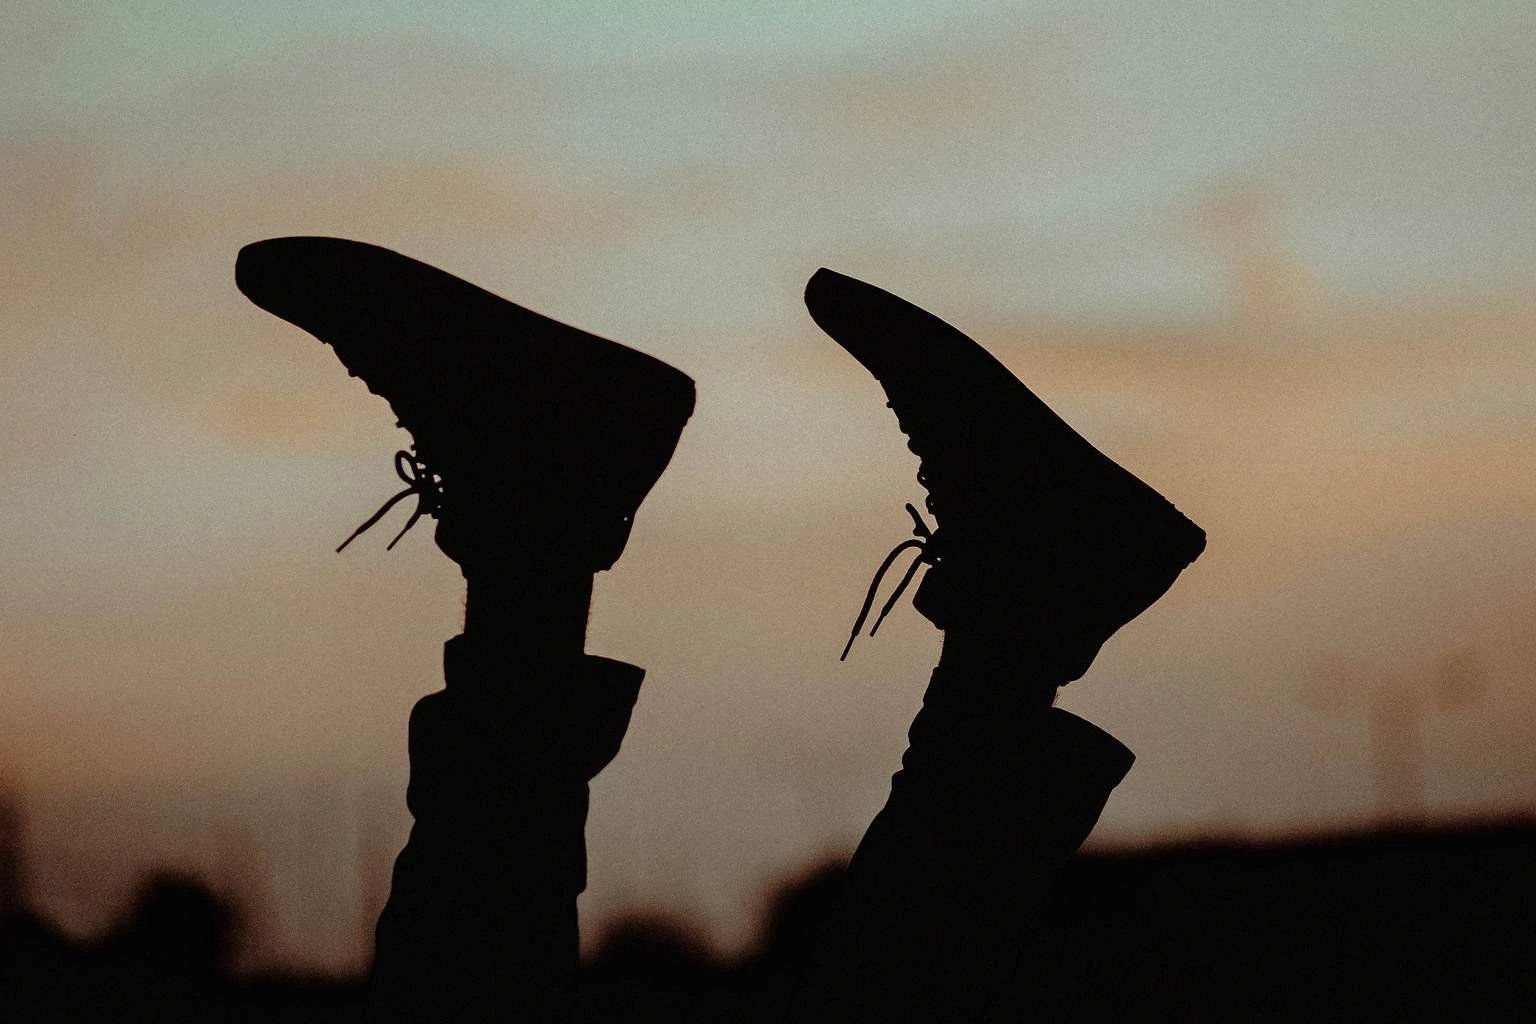
The silhouette game could be practiced on almost anything, however I recommend that you choose subjects with a typical, easily recognizable, prominent, striking, etc. shape. This is because the photo normally, in addition to the shape, is supported by other elements such as color, contrast, focus/blur, etc. When we work with silhouettes, we lose these elements, and we only keep the shape of the silhouette , so we must give great importance to the shape.
FLASH OFF
Evident. If you leave the camera fully in automatic mode, the flash may go off. Try to have it well deactivated. You know, if the flash goes off, the subject you are photographing lights up and the silhouette goes to waste ?
GIVE PROMINENCE TO THE SUBJECT
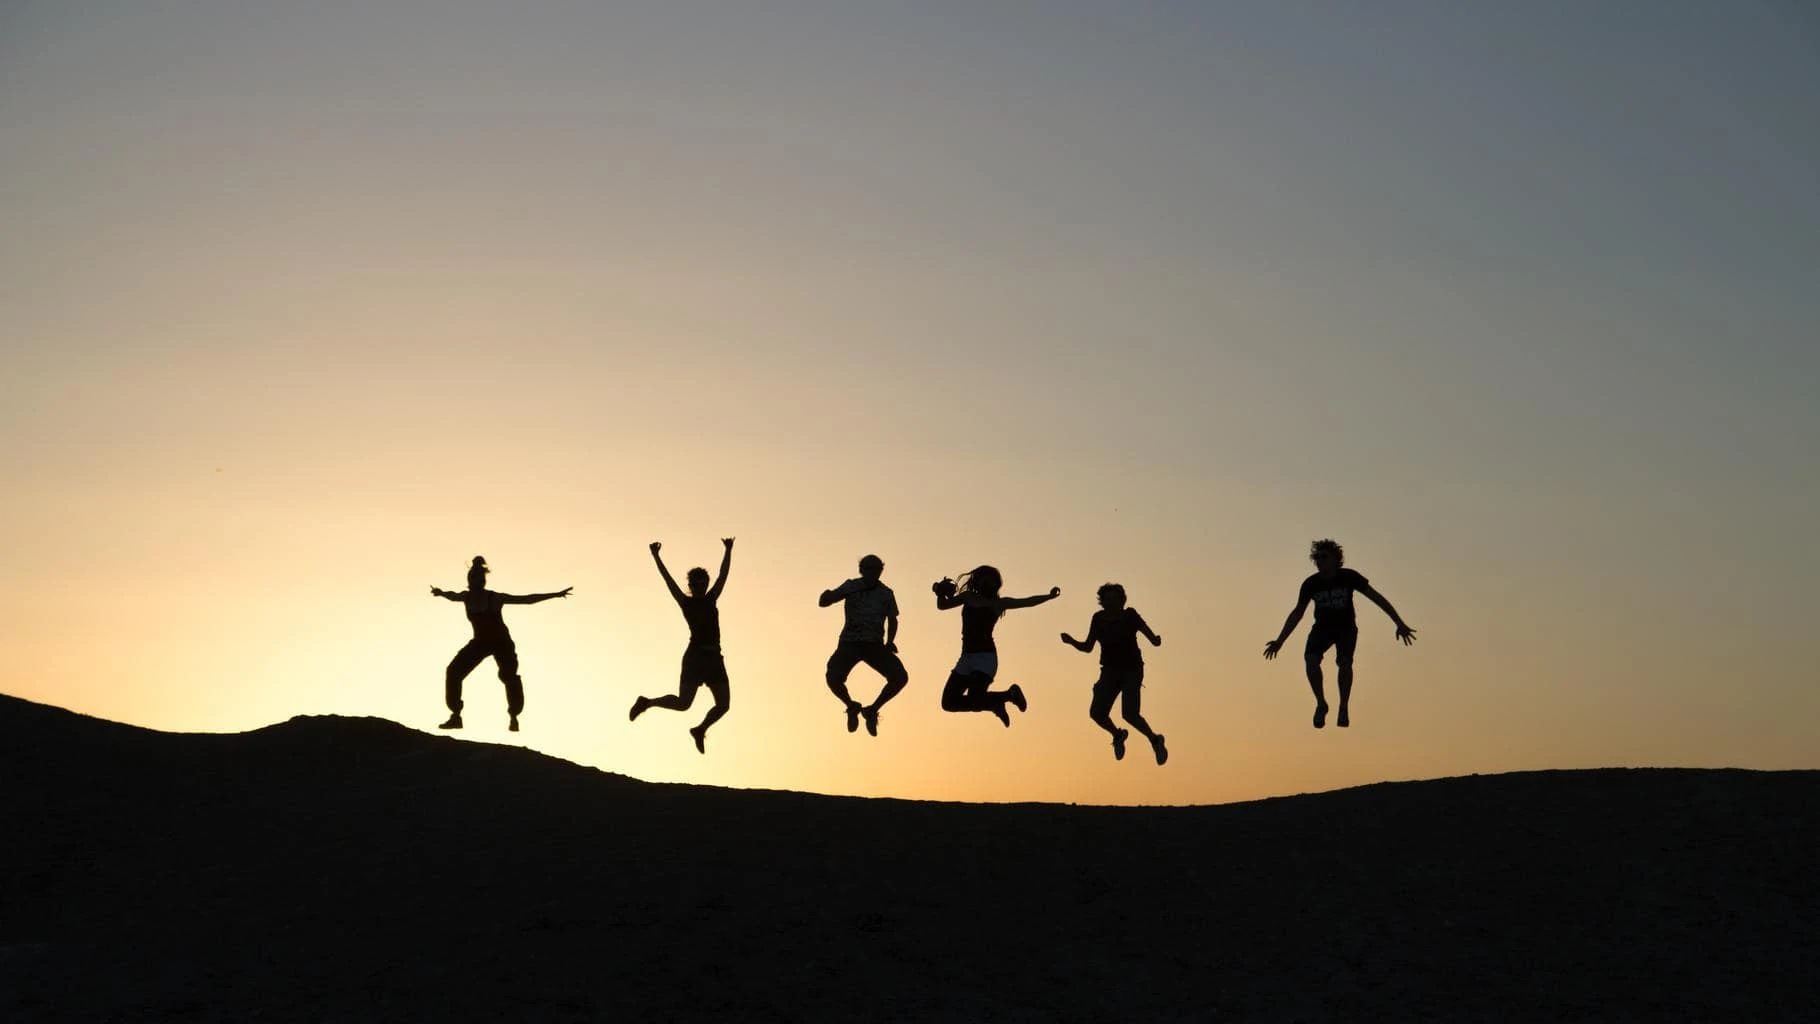
Decide what thing or body you want to take as a silhouette, and make sure that it has all the prominence in the photo. She takes care of the details, and tries to prevent more undesirable silhouettes from appearing that will later distract the viewer's attention. There is no problem in wanting to give prominence to several silhouettes at the same time, for example a group of people, a crowd, etc., the only thing is that it has to be because you want to, not because it is a mistake. Control the role. Do not allow anything to "steal" your subject's prominence unless you want it to be so beforehand.
And if it is a group of people, make sure that they do not overlap and that each silhouette has its well-defined shape.
PORTRAITS, BEST IN PROFILE
Most of the time it is better to photograph silhouettes of people from profile, to highlight their nose, mouth, eyes, forehead, etc.

STEPS FOR A SILHOUETTE PHOTOGRAPH WITH A COMPACT CAMERA
If you use a digital compact camera follow these steps:
- Focus on the brightest area of the landscape, for example focus directly on the light source.
- Press the shutter button only halfway.
- Move your hand with the camera and now frame your subject well to take the photo, all this while keeping the shutter button pressed halfway.
- Now that you have your subject well framed, press the shutter button deeper and take the photo.
This trick will work on most compact cameras and will help the photo come out with very dark silhouettes, although it is true that on some compact cameras it may not work. Test it.
STEPS TO ACHIEVE A SILHOUETTE PHOTOGRAPH WITH AN SLR CAMERA
The recommended steps for photographing a silhouette are:
- Shoot in RAW mode . On several occasions I have explained to you that the RAW mode is fabulous but that it was not appropriate to use it always, but only on some occasions. Well, this is one of those occasions in which the RAW mode will help you achieve real fancy things. On our blog there are articles that explain how to lose your fear of RAW mode and how to get the most out of it. Read them please.
- Measure with spot metering in the background, in the illuminated area.
- Lock the exposure and reframe to get a good composition of the silhouette.
Let's see here the difference of measuring the light in the background or in the subject to which you want to make the silhouette. Images are unedited. But if you have listened to me and you have shot in RAW, you can darken only the shadows and thus darken your silhouette and even lighten the background if necessary.
-
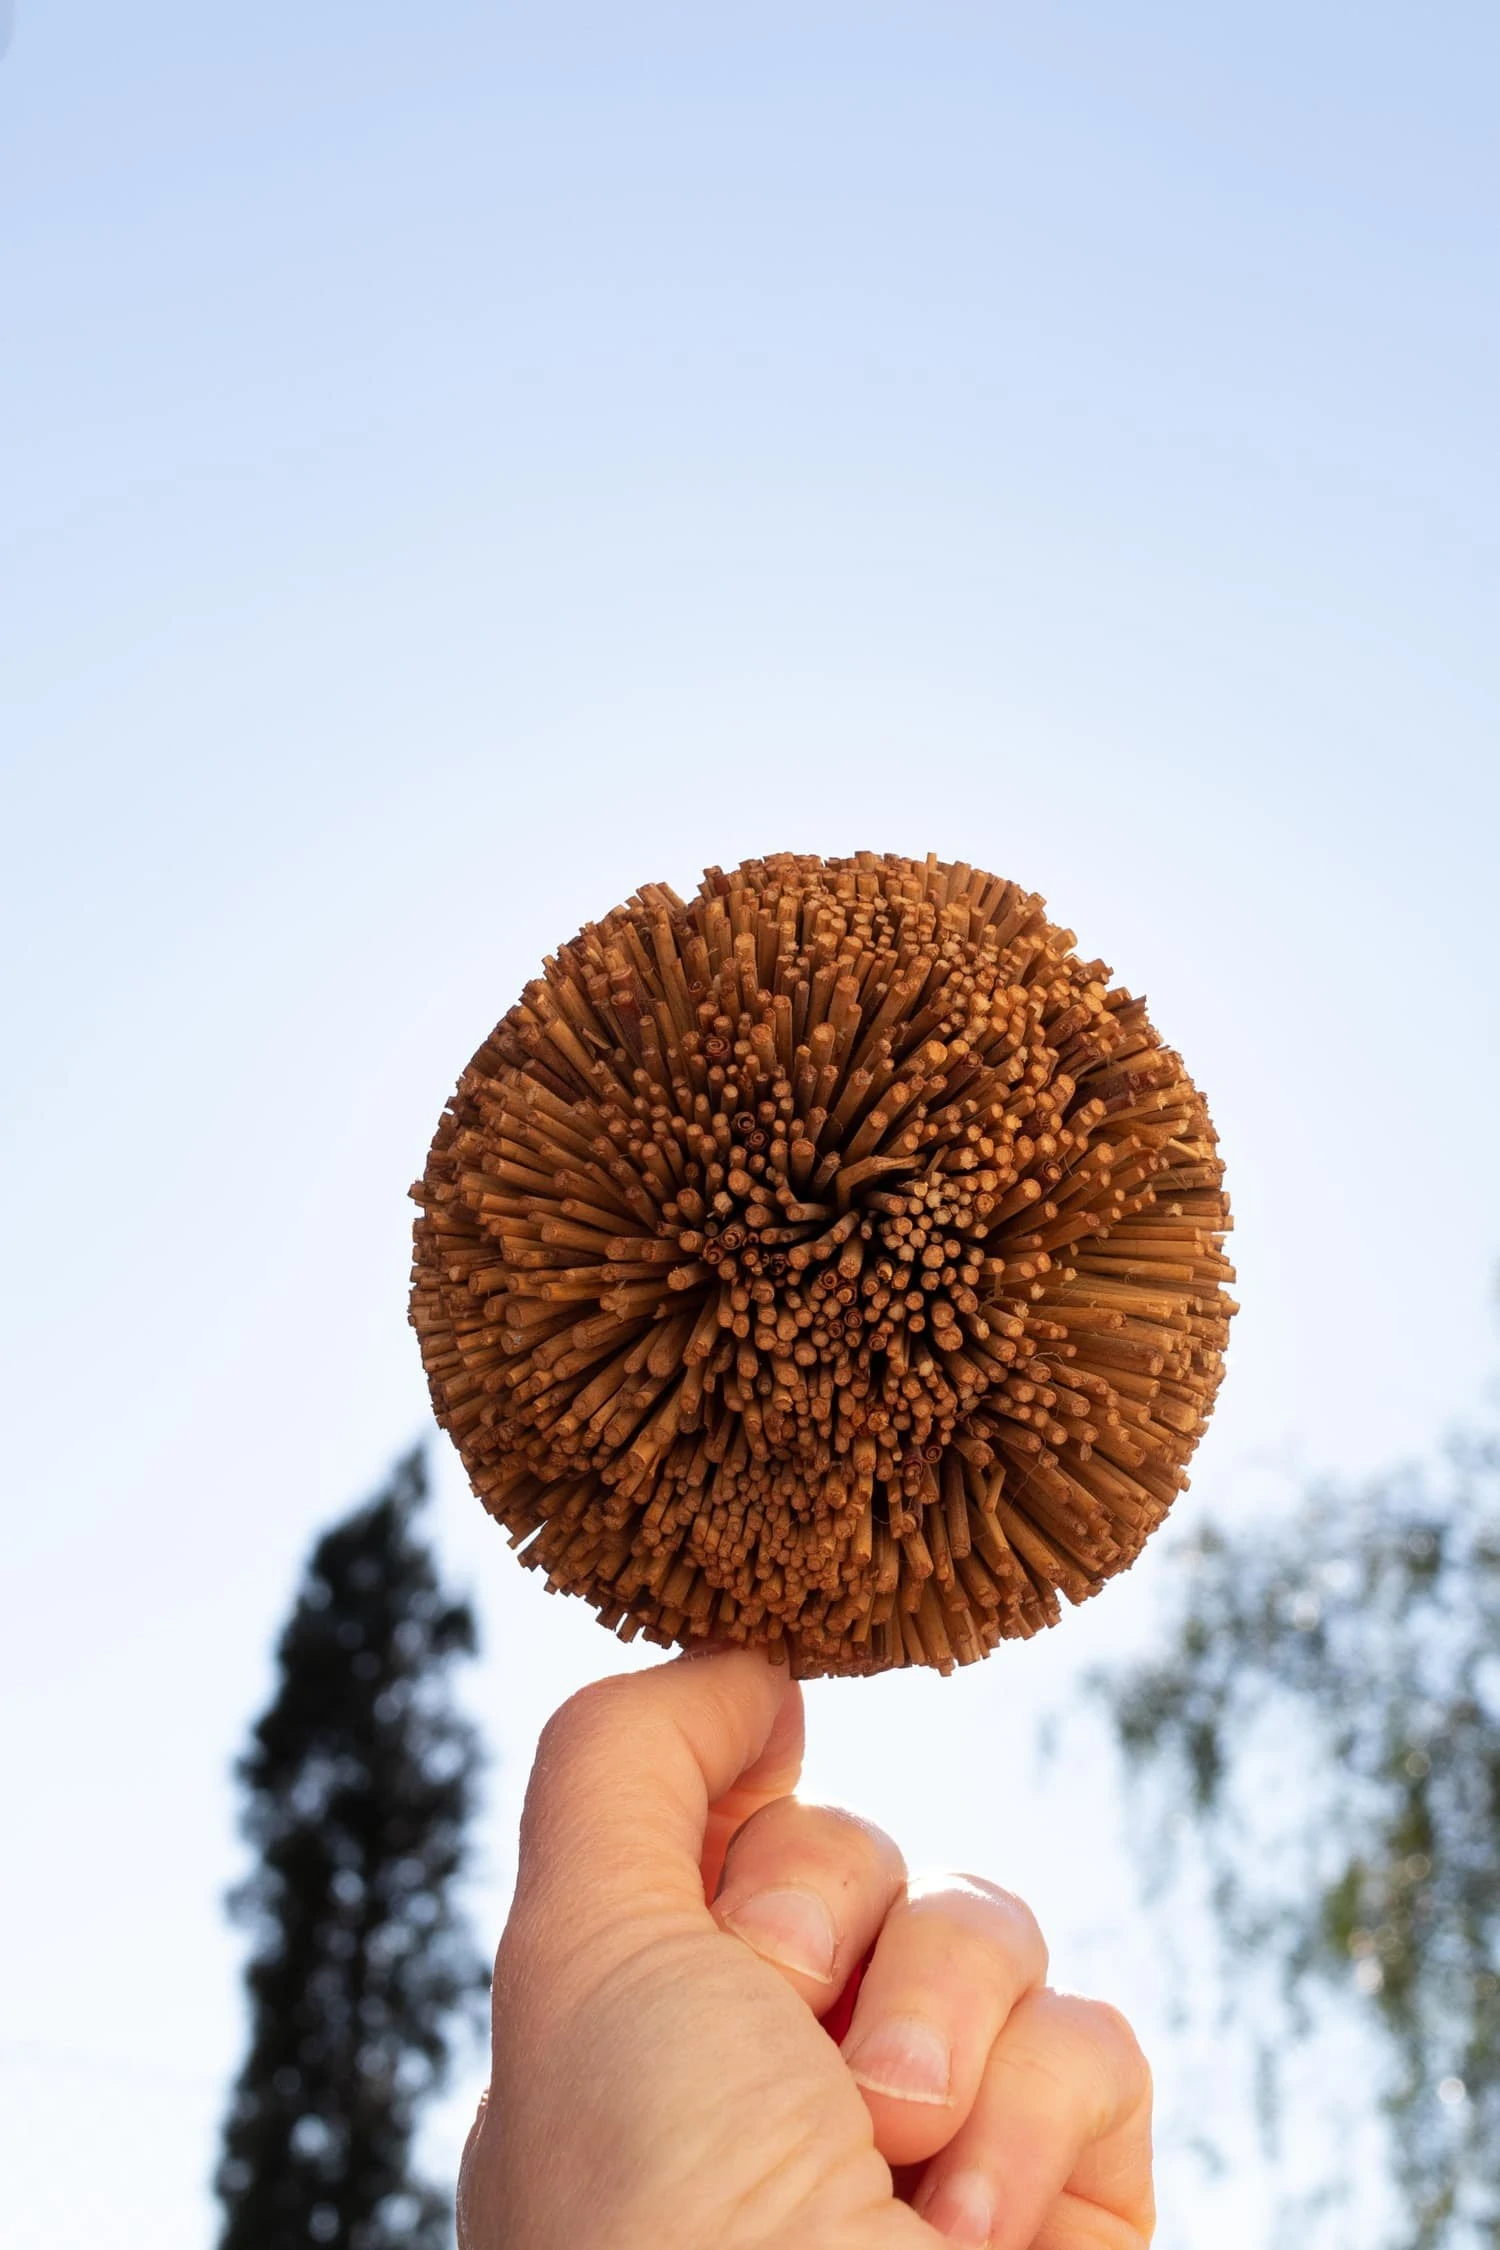
Light measurement on the ball -
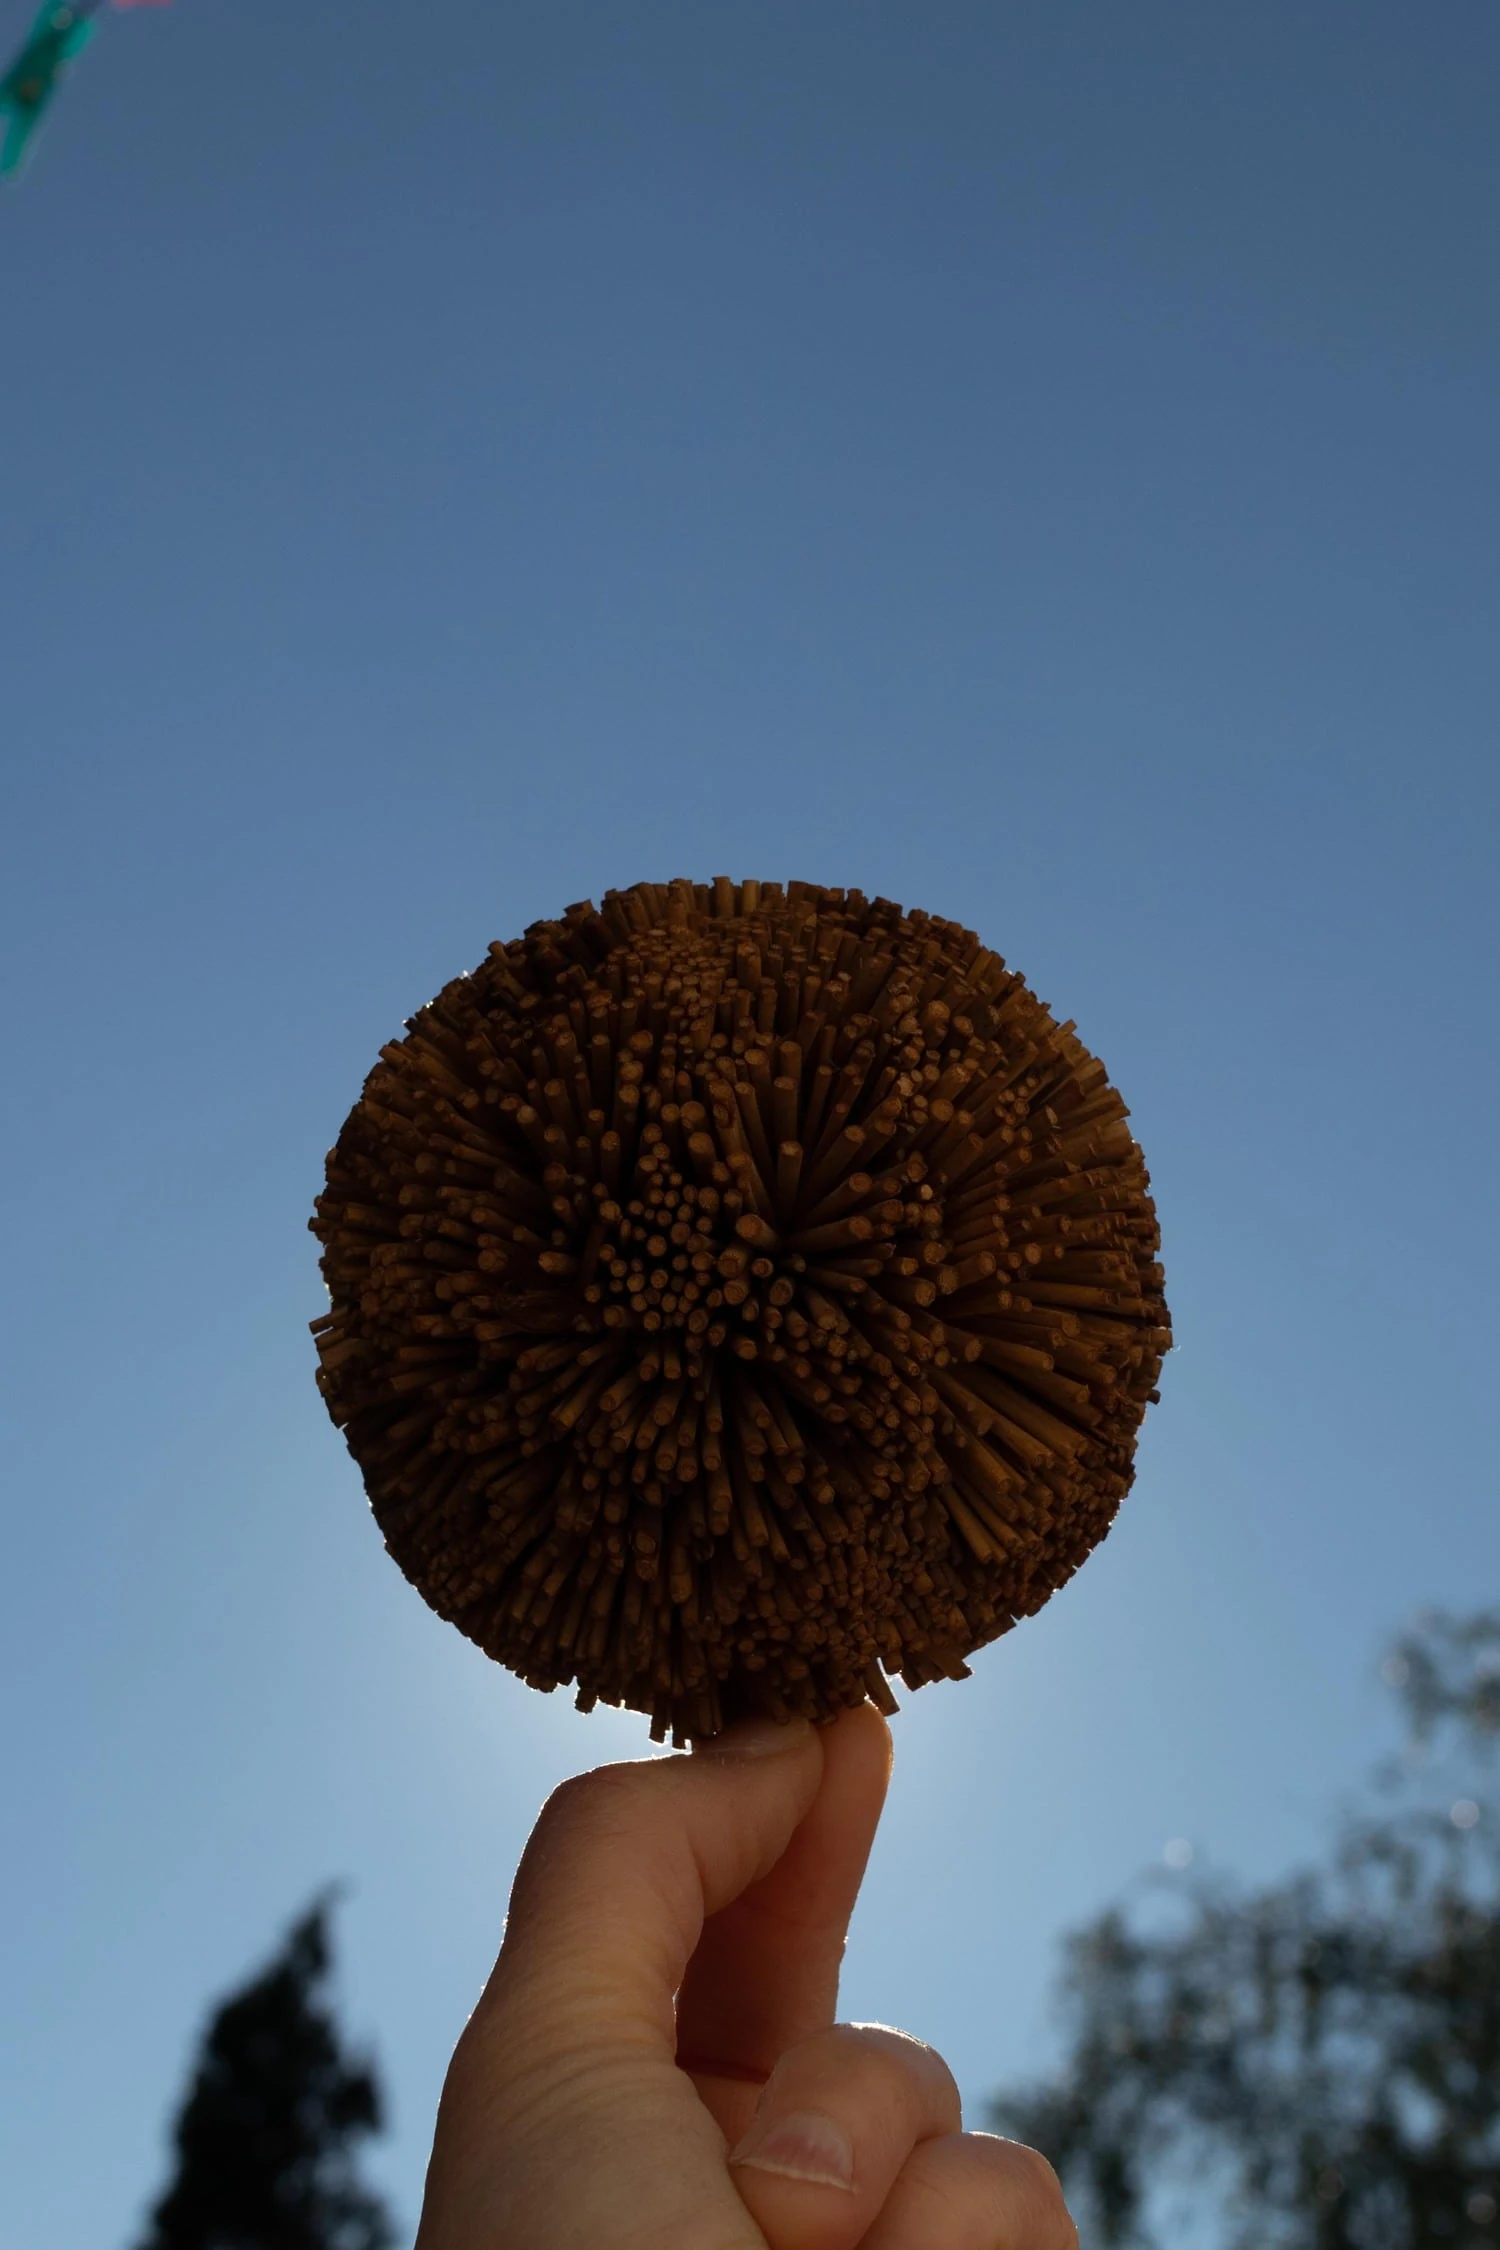
Background light measurement
LAST ADVICE
The best silhouettes are usually achieved during sunset or sunrise. Obviously with a clear sky or at least the sun is visible.
Do you like what you have read so far? As an example and inspiration I leave you a photograph that I took a while ago in Asturias and that came out relatively decent, where this technique can be appreciated.
Do you see it easy? I hope so. If you find this article useful to improve your silhouette photography, please let me ask you 2 things : the first is that you recommend it on Facebook, we need to grow as a blog and reach more people, and we will only achieve that with your help and your recommendations.
